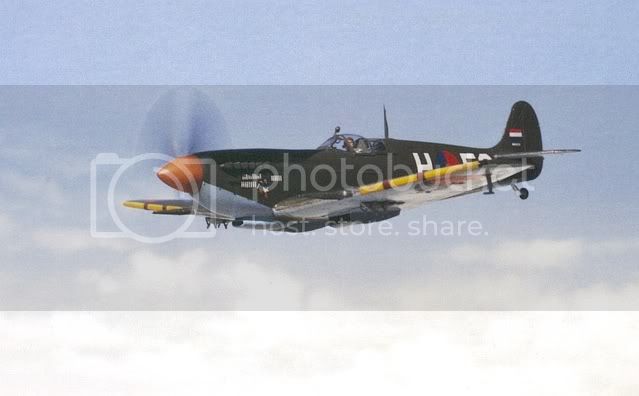
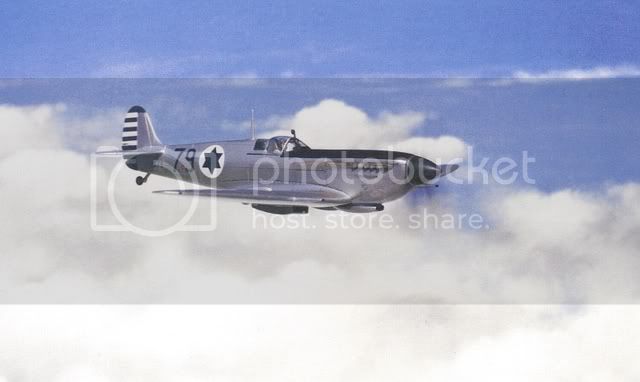
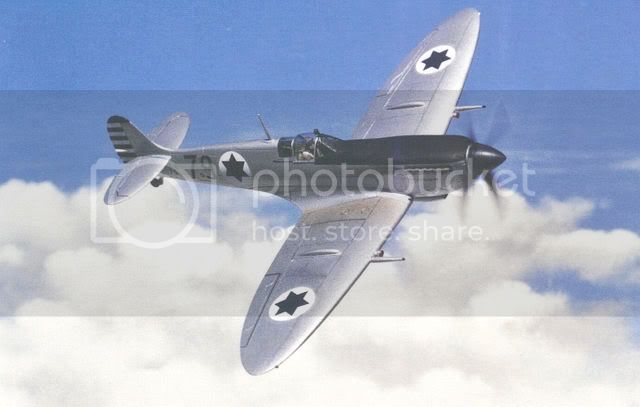
Thanks gents....Russell, Shawn, Damien and Jean-Luc.
Damien, I'll load up a few more shortly, plus some of the many works in progress on my very messy work bench, and Jean-Luc, thanks for the tip about the portfolio...I'll find my way to it eventually!
Ask any questions you like about the models, chaps, and I'll do my best to come up with answers. Anyway, here's a bit of a look at what's hanging around the work bench...
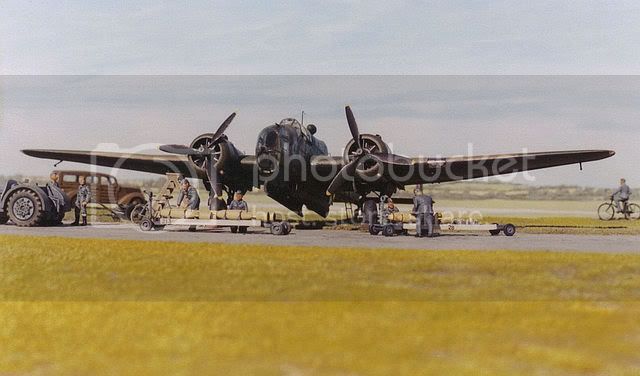
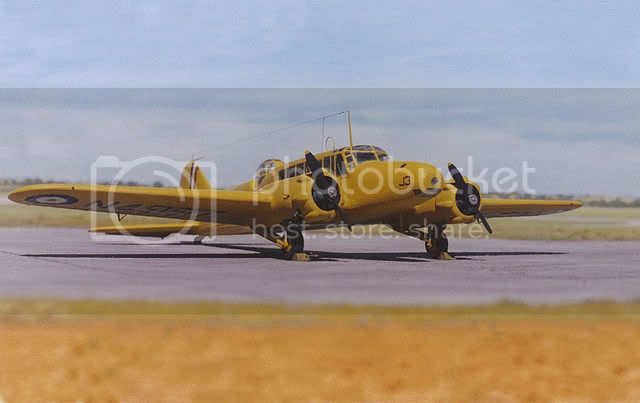
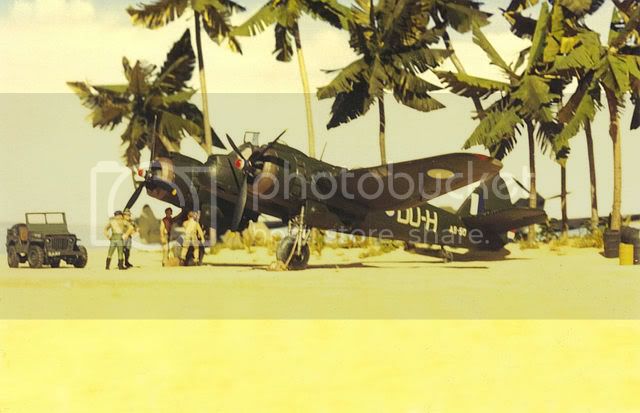
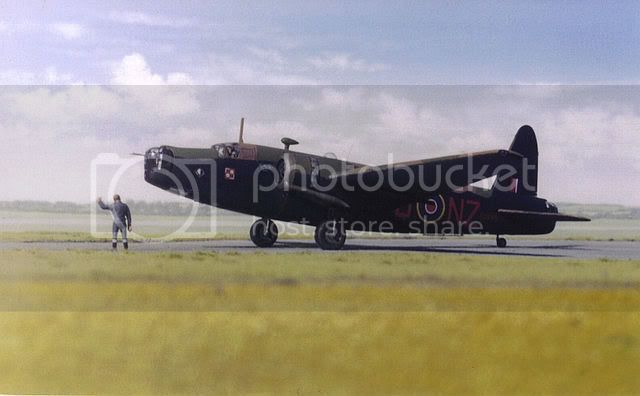
This old Frog Whitley must be one of the longest-running projects in history, as it's been on the go for well over twenty years! It's had bits of work done in sporadic bursts of enthusiasm and then usually put aside again for lack of reference material...only to be resumed at odd times when new information or photographs come to light...
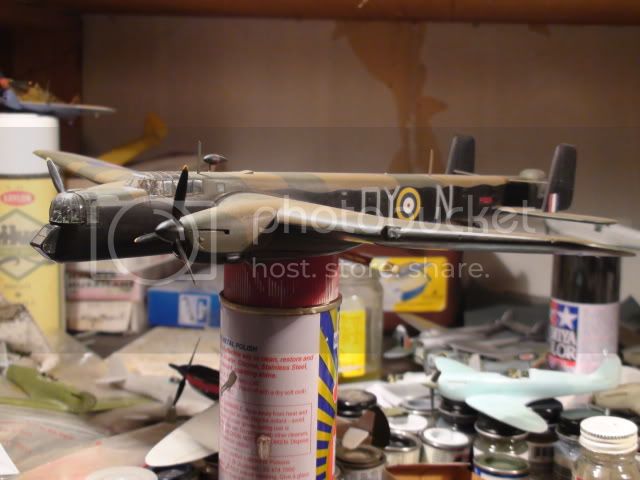

Anyone familiar with the kit will know that it's pretty simple in terms of detail, but I think it's always been assumed to be fairly accurate otherwise. From careful study of every photograph that I can lay my hands on, I can tell you it isn't!
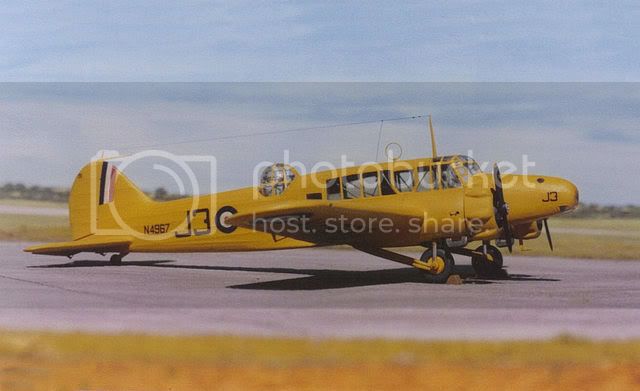
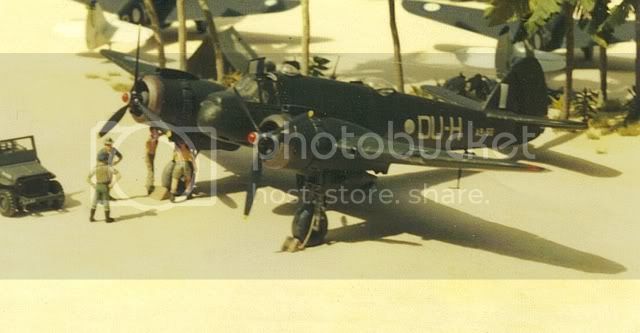
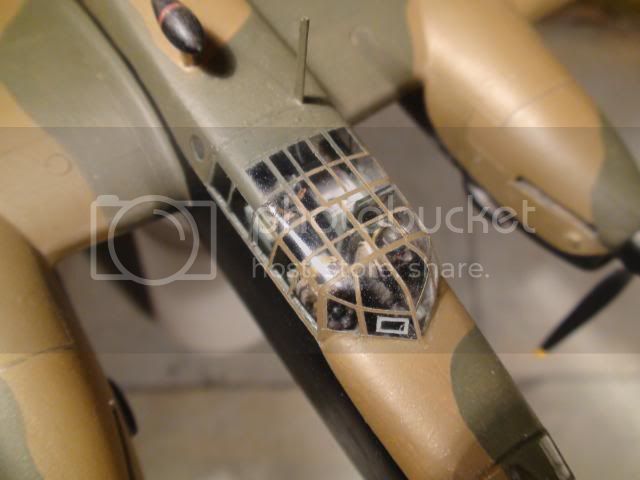
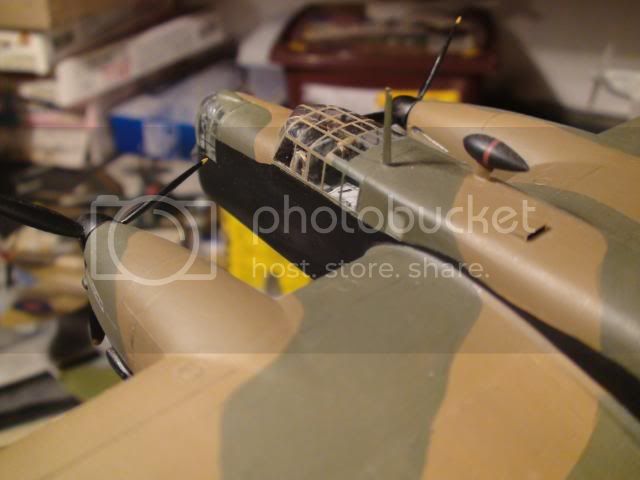
One fairly minor inaccuracy is the bomb-aimer's window unit, which Frog have moulded not only too narrow, but also to be fitted offset to one side (which side, I can't remember now). I widened the kit part and used it as a master for a crash-mould in acetate.
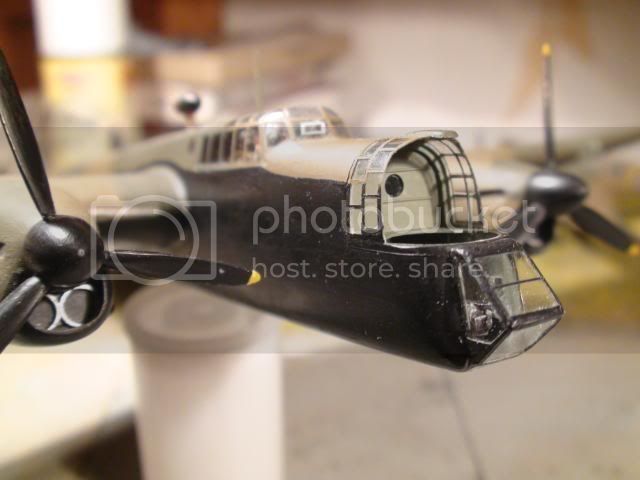
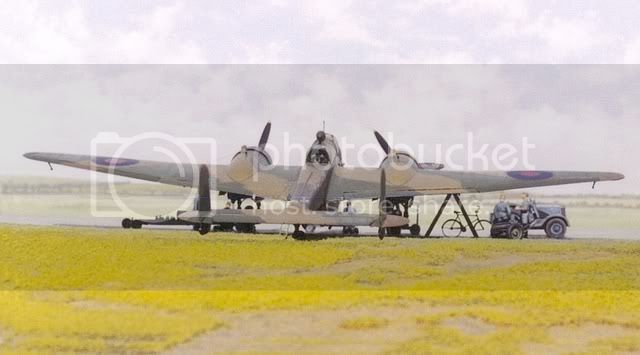
Also by careful study of photographs, I was able to discern what exists behind the turret...a bulkhead with a glazed porthole. Also in this view you can see a glimpse of the modified radiator intakes. As supplied in the kit, they are simply moulded as blank flats with some poor and inaccurate raised detail.
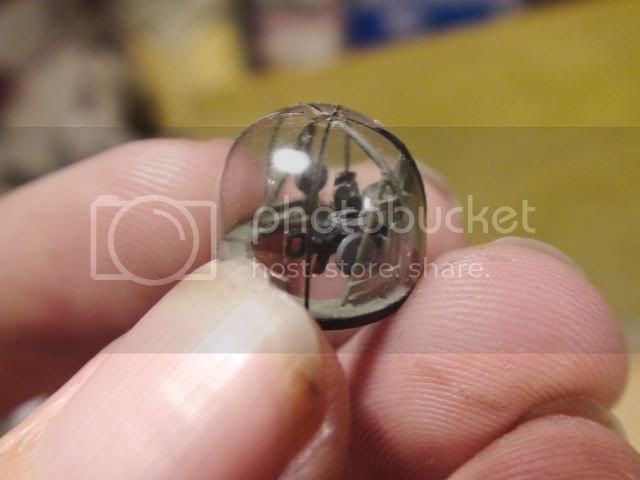
The turret itself is a fully domed perspex moulding without the solid metal back seen on nose and tail turrets of other types of bombers. I simply joined two turret halves together (one from another Whitley in the stash) and made an acetate crash-mould. The interior was scratch-built as closely to photographs as I could make out.
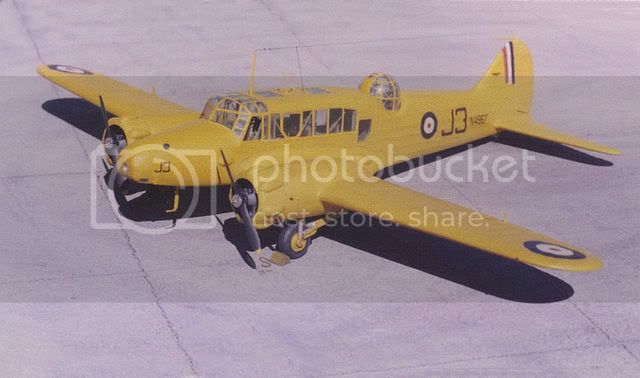
And here's the turret in place...
Actually, I've since discovered that the turret interior colour should be anodised natural metal, rather than Interior Grey/Green...but I'm not about to pull it apart and re-paint it now! Oh well, I'll know better when I build another Whitley.
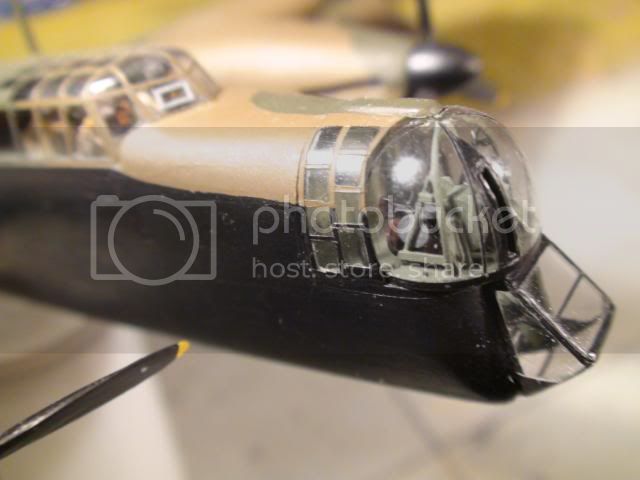
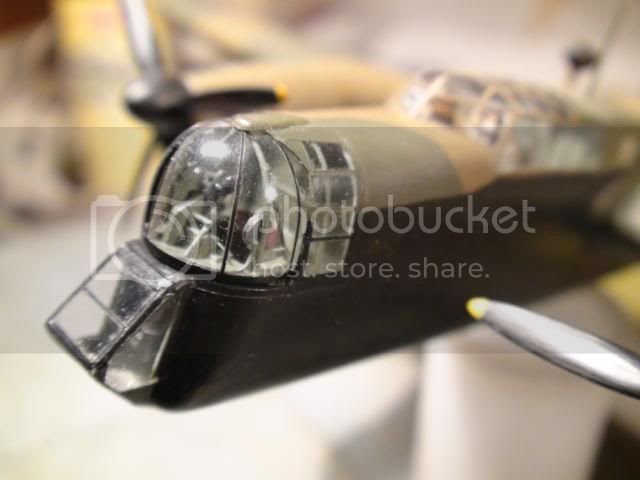
The kit's cockpit canopy is very thick and heavily framed. I cleaned it up and, again, made an acetate crash-mould from it. Incidentally, I mask and paint all canopy framing in stages...usually first the lateral frames and then the lengthwise ones. It's time consuming, but I feel I have more control and can achieve better accuracy than masking the entire canopy and cutting out all the framing in one go.
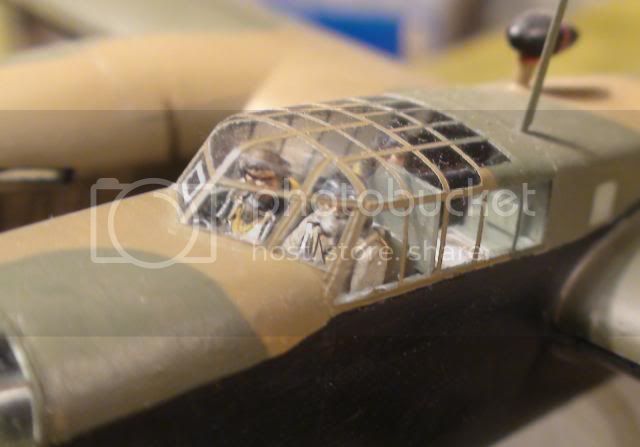
Also, inside the canopy there really should be a rather complicated lengthwise structure above the pilot's head, its purpose I don't know, but the only photograph I have of it doesn't really show it in good enough detail to enable me to scratch-build it...
Aside from that, the photograph is no use to me now anyway because I didn't find it until AFTER I'd fitted the canopy! Isn't that always the way?
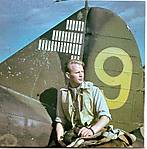
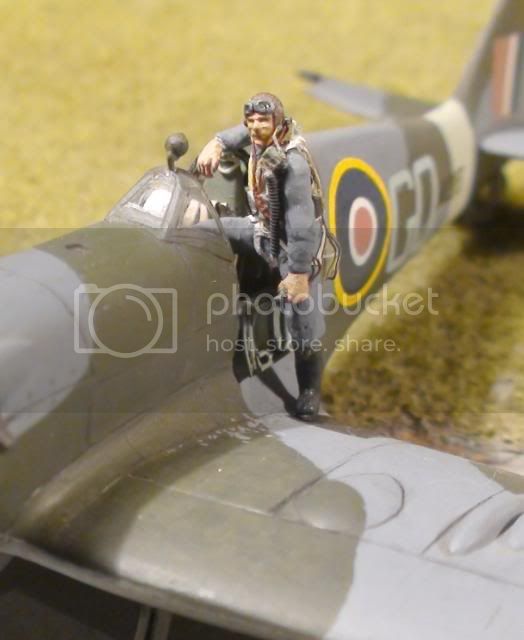
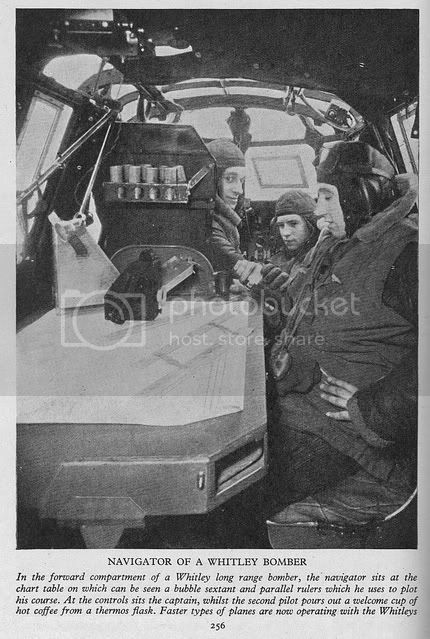
I used to have one of those Air Ministry issue bubble sextants. That one's carrying case (at left) looks like it's made of metal...mine's case was that brown resin/bakelite that some Spitfire seats were made out of.
In addition to the engine cowlings having a few shape problems, if they're fitted as intended by Frog they'll be pointing upwards at the wrong angle...so that needed to be fixed and a lot of filler used on the join to the nacelles.
Unfortunately the filler has shrunk in a few places, which is a bit of a nuisance, so I'll just have to try to disguise it with the eventual weathering effects on the overall paintwork.
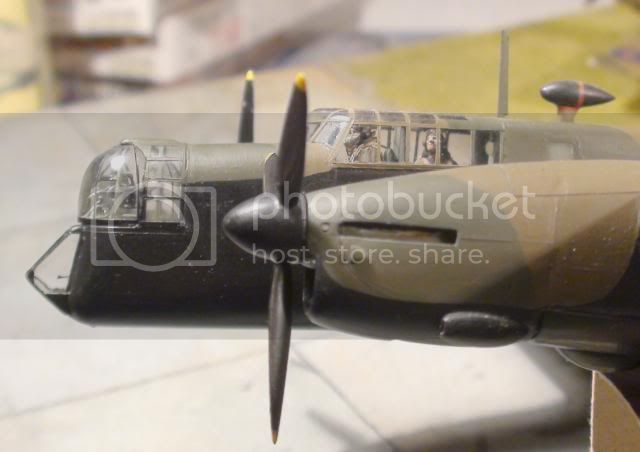
The kit's propellers are also very poor, with the spinners being undersized ant too pointed. I think these ones may have come from an Airfix Sunderland, but even then they needed subtle re-shaping to more closely resemble those of a Whitley. I do at least know that the propeller blades are slightly modified items from an Airfix Mosquito.
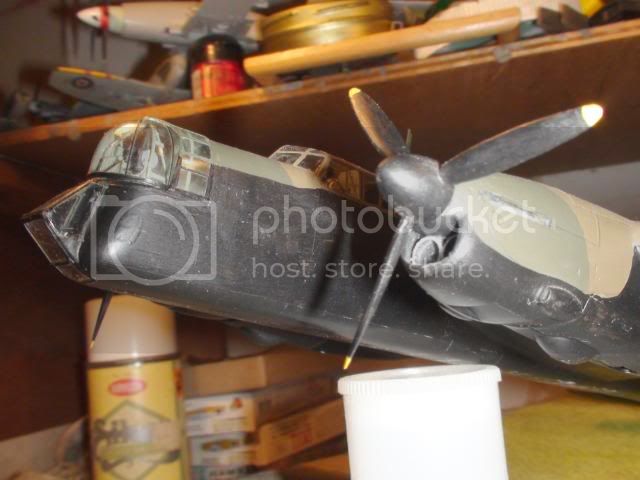
Also in the view above, you can see that I've opened up the radiator shutter recesses underneath the cowlings. The shutters themselves have yet to be made in plastic card.
Another inaccuracy of the kit is that the fuselage tapers too narrowly towards the rear end, which results in Frog supplying a ridiculously narrow rear turret to match. This is reasonably easy to fix by adding shims top and bottom to force the fuselage halves out so they'll accept a new rear turret...in this case one from a scrapped Airfix Lancaster. I'll probably scratch-build a new turret eventually.
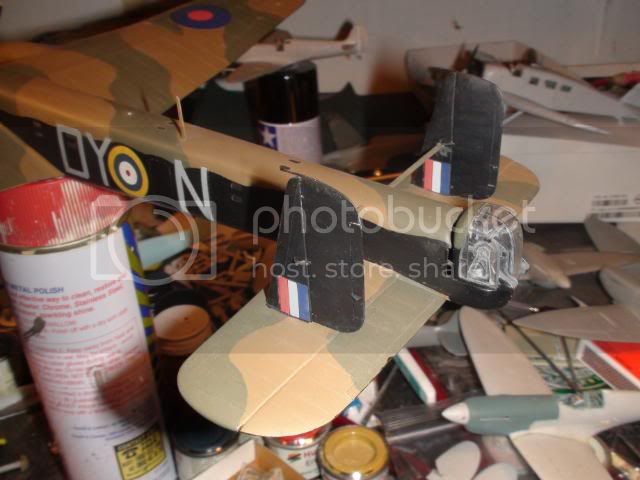
All the rear fuselage windows are simply depicted by raised detail marking their locations. I could have just painted them glossy black, but I wanted to be able to see light through them, so I cut out rectangles and fitted corresponding slabs cut from an audio-cassette cover. Then, after much fairing in with filler, sanding and polishing, the windows were simply masked prior to the application of paint.

While we're looking at the rear fuselage, here's one of the aerial masts...
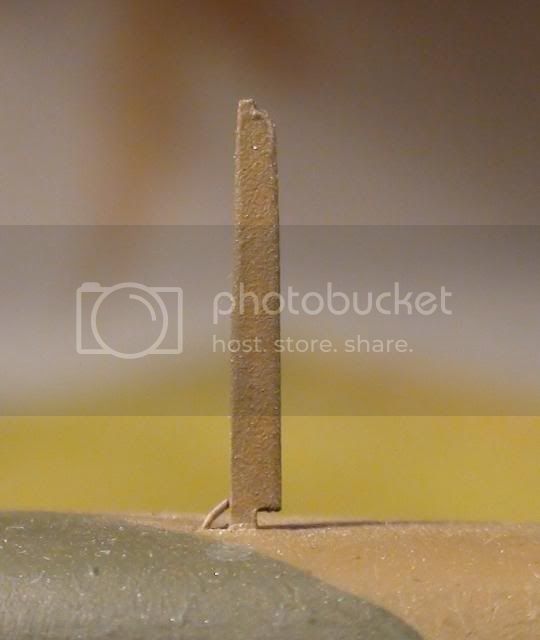
It has a distinctive shape and you can also see a lead entering the fuselage at the bottom front edge. I'm probably obsessed with small details like these, but if I can see them in photographs of the real aircraft, then I'm almost compelled to reproduce them on my models.
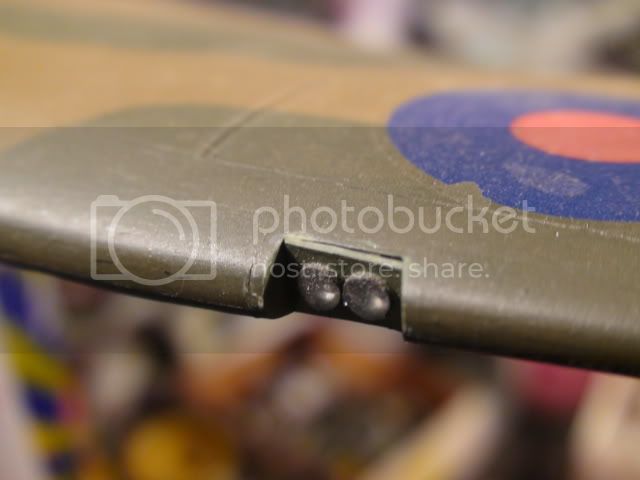
Frog make no provision at all for the leading edge landing lights, so I've cut out the recess, lined it with plastic card and added slices of transparent sprue shaped into lenses. Eventually the clear cover will be added from Sellotape.
Another thing Frog didn't get right is the outlet vent on top of the fuselage. The kit has it as a simple moulding at the fuselage centreline, whereas it should be offset to the port side. A simple matter of scratching a new one with plastic card.
I notice too, that the acetate window I've added for the wireless operator has somehow gone cloudy! Not to worry...it's fixed in place with PVA, so it'll be easy to remove and replace.
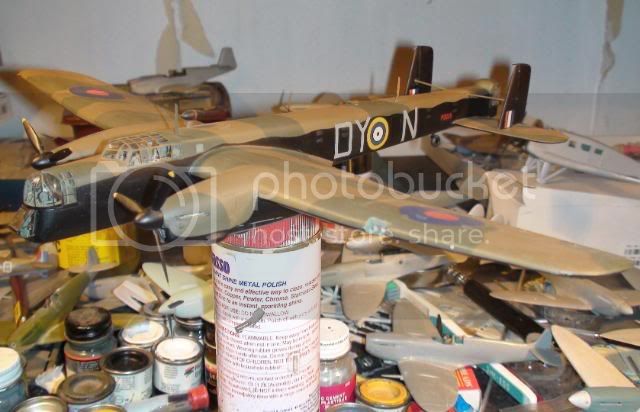
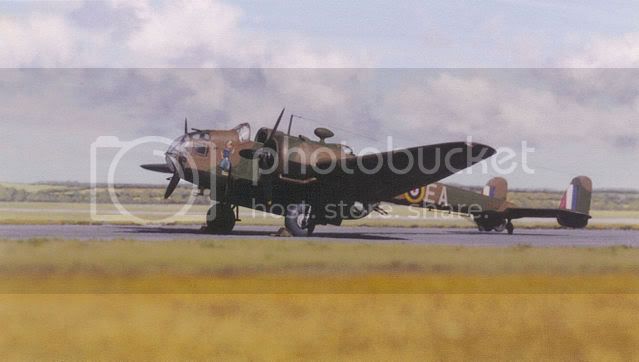
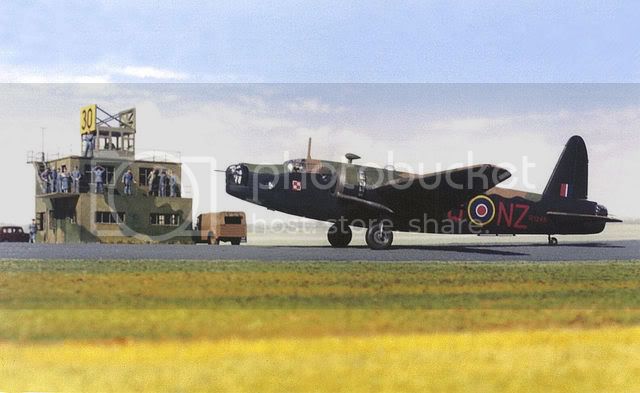
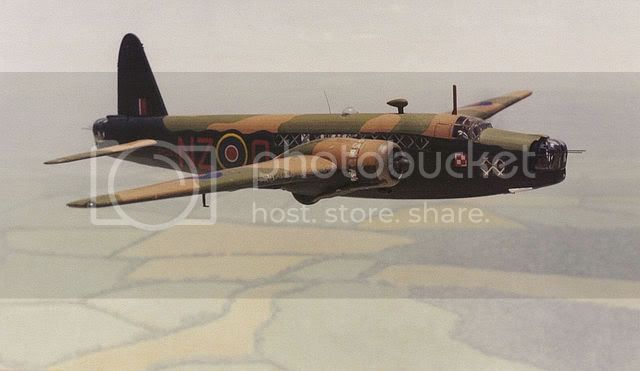
Well, she may look substantially complete, but there's still a fair way to go before her maiden flight for the camera.
I'll be back soon with some more...right now it's time for a tea break!
Cheers!
Tim.