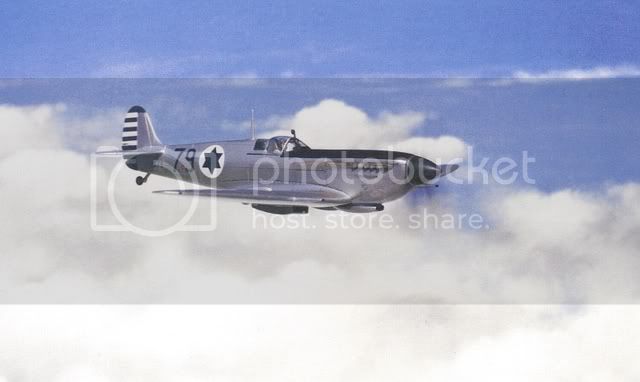
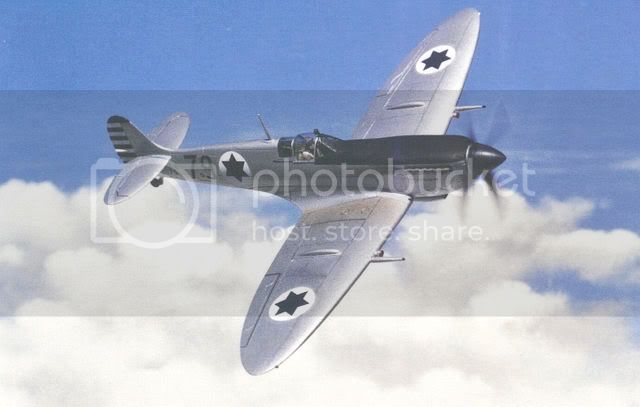
Greetings all,
My first post here and It may take me a while to learn the layout. I build mostly 1/72 almost exclusively for the purpose of photographing them in realistic settings. No Photoshop (wouldn't have a clue how to do THAT!) and only just starting to use a digital camera.
No doubt I'll find out shortly how many (or how few) pictures I'm allowed to post in one go...and no doubt someone will tell me if I'm putting them in the wrong place!
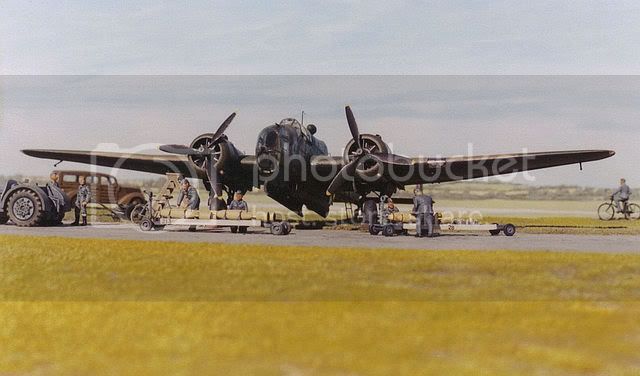
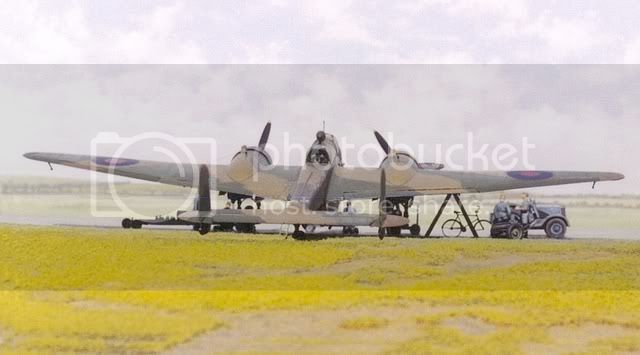
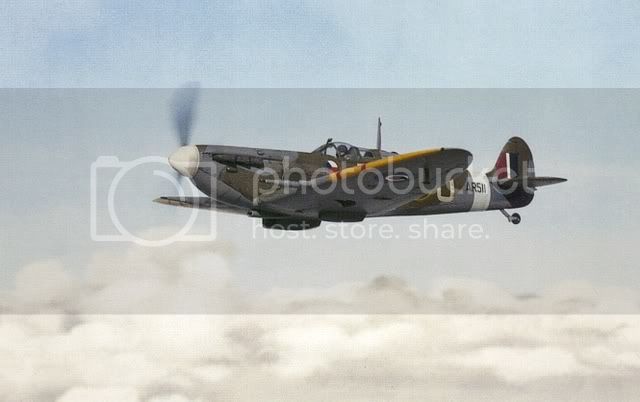
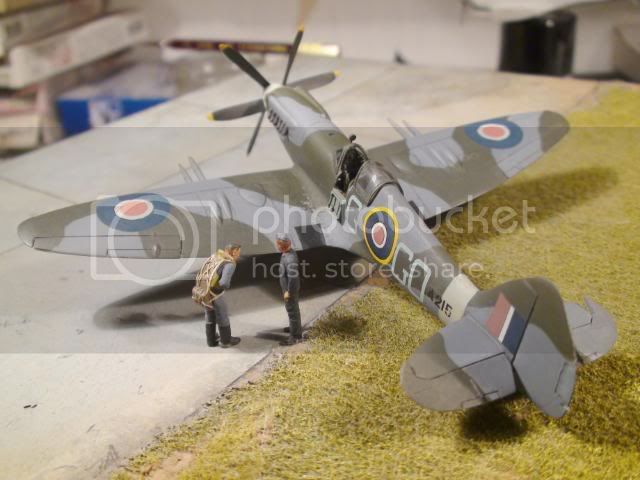
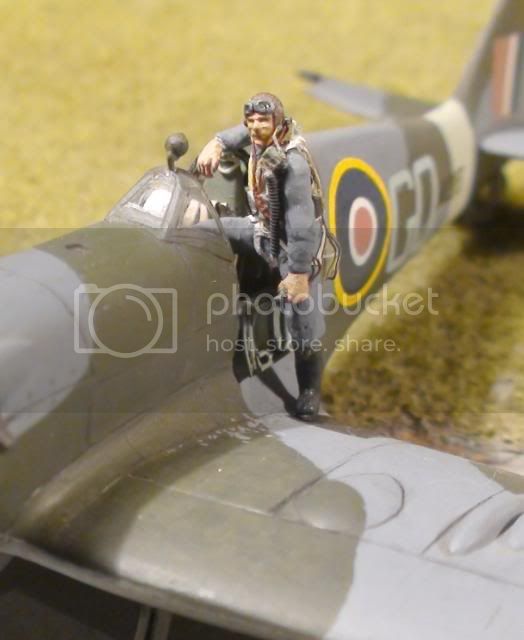
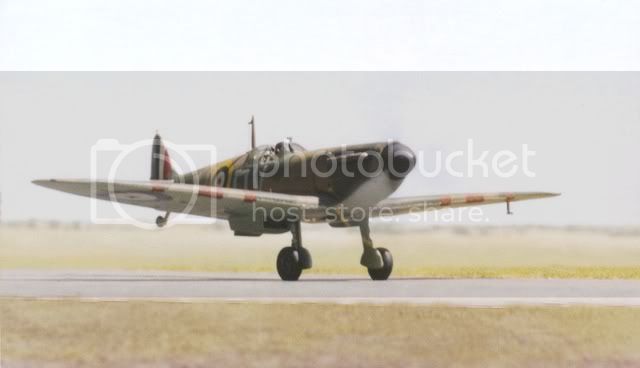
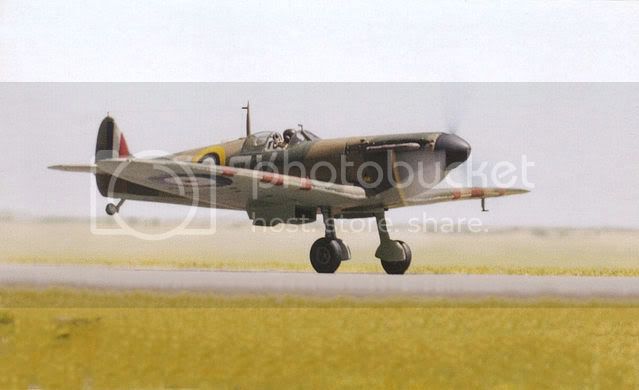
Anyway, here's a selection to show what I do, all 1/72 unless otherwise stated...
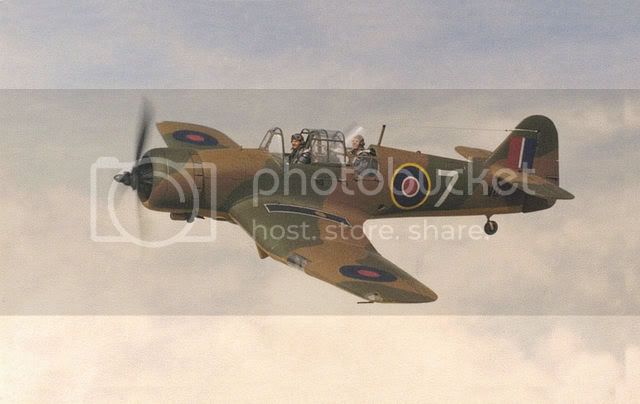
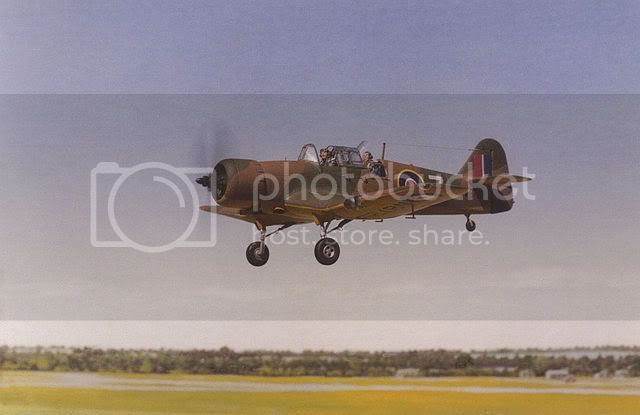
Frog...Miles Master Mk III
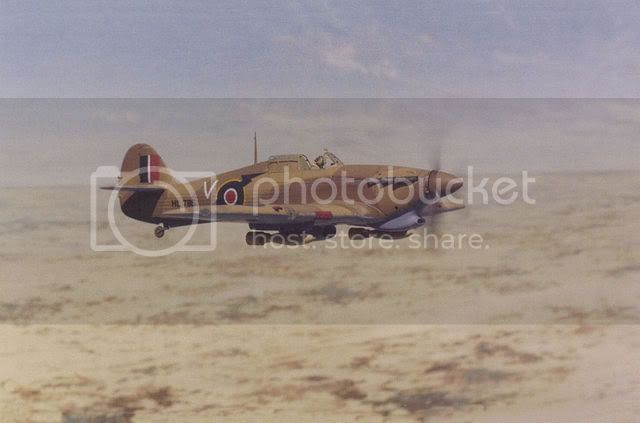
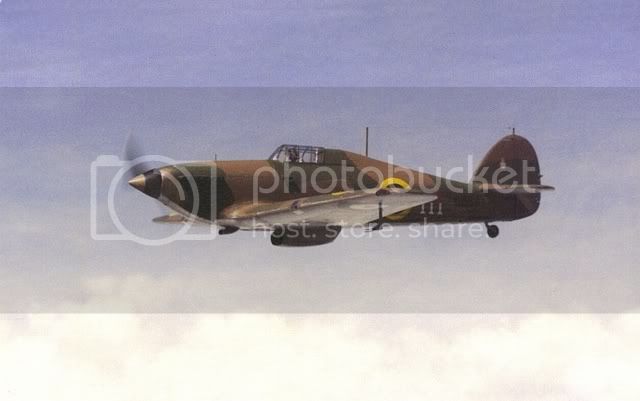
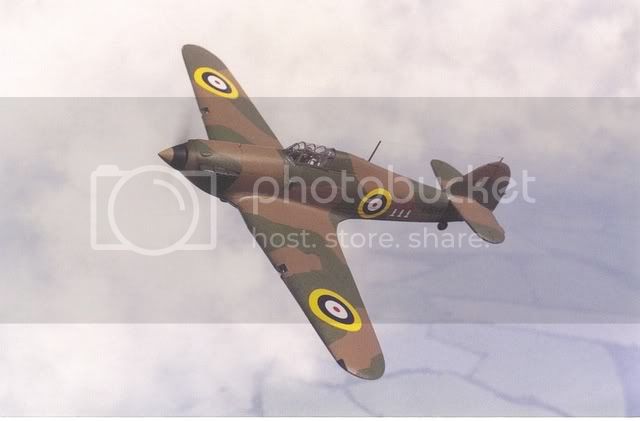
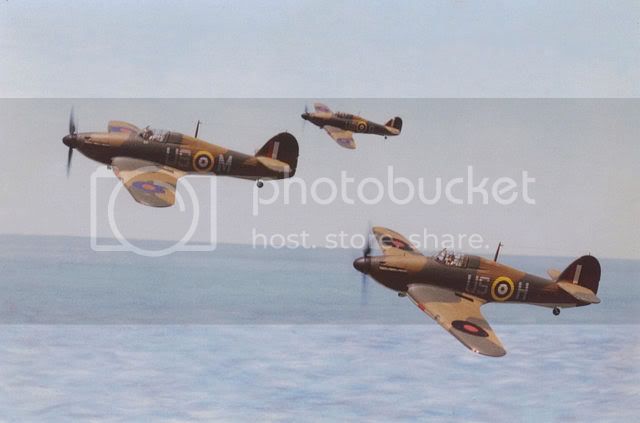
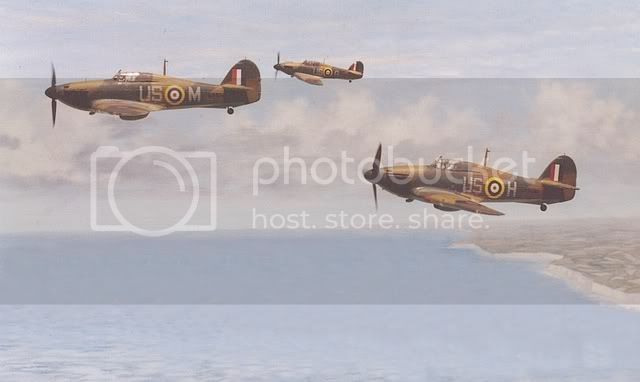
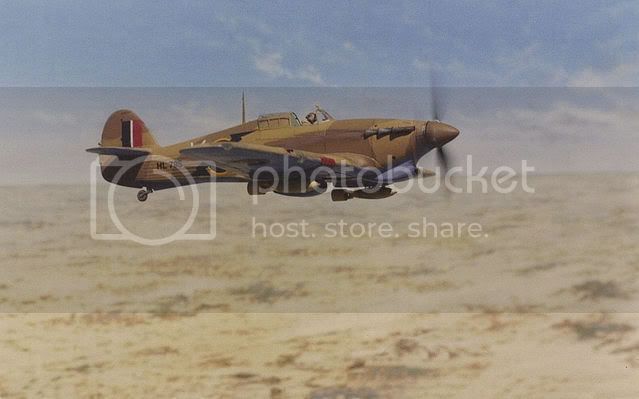
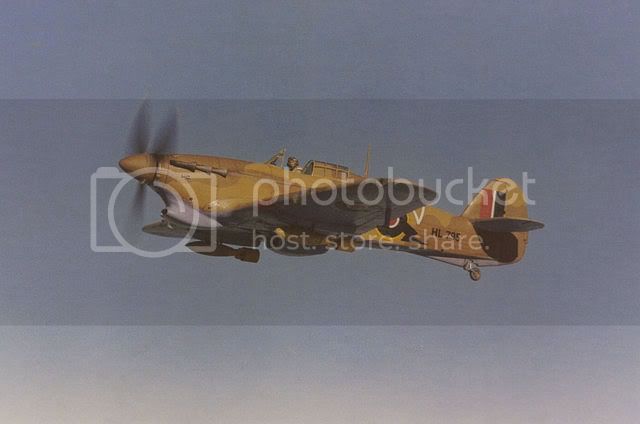
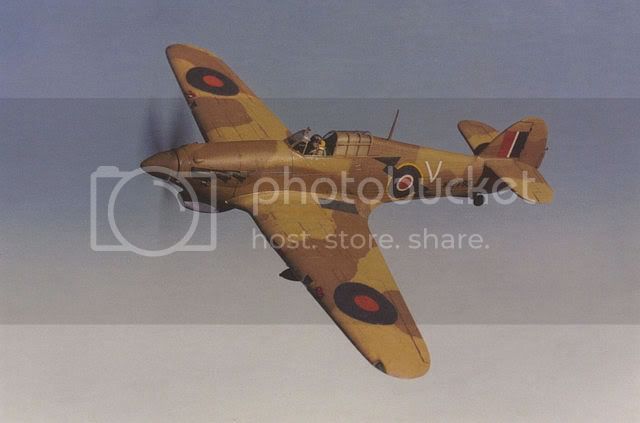
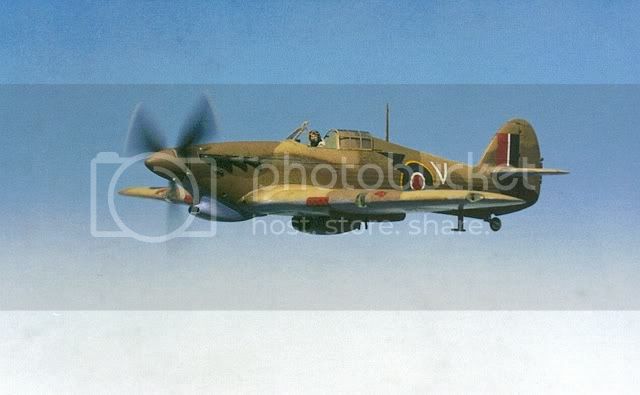
Revell...Hurricane Mk IIb
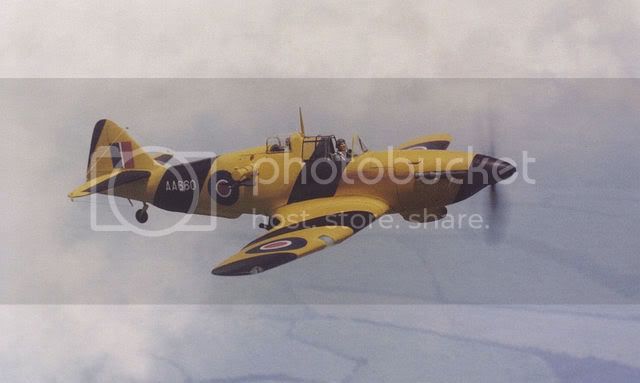
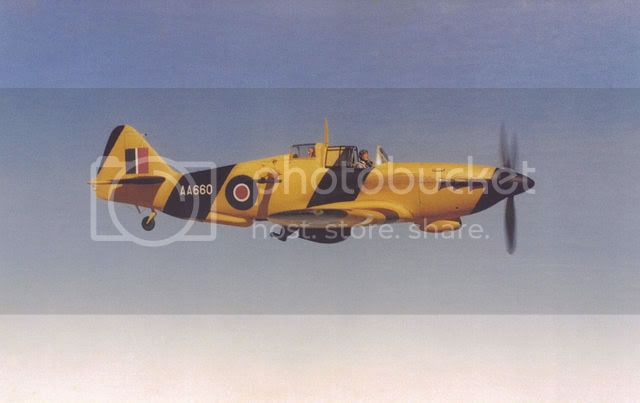
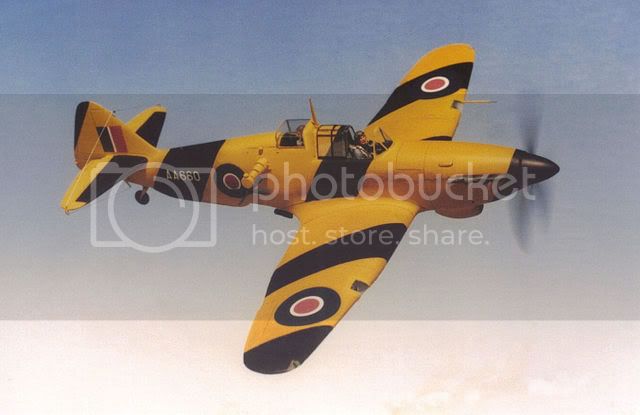
Pegasus...Defiant TT Mk II
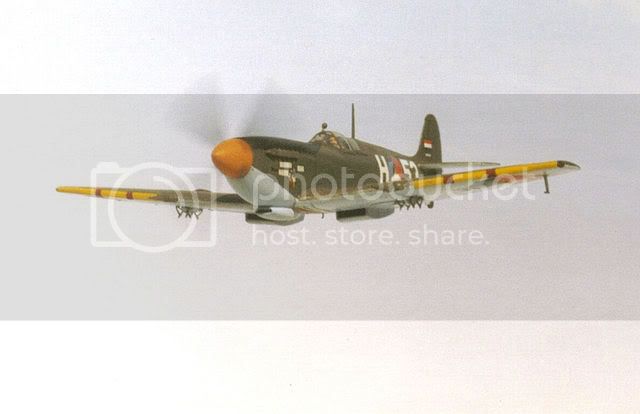
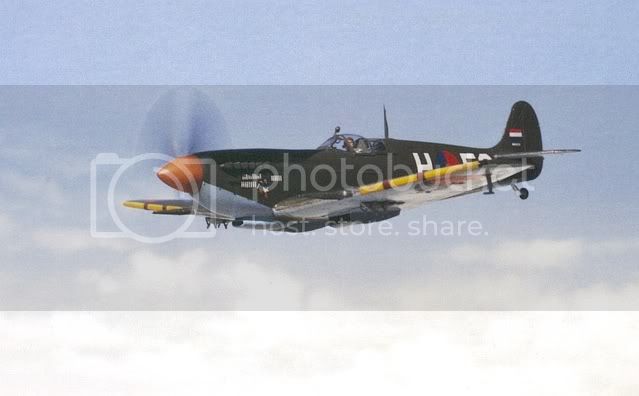
Matchbox...Tempest Mk VI
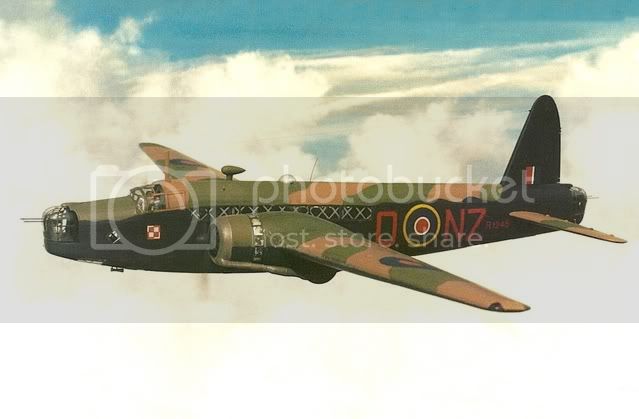
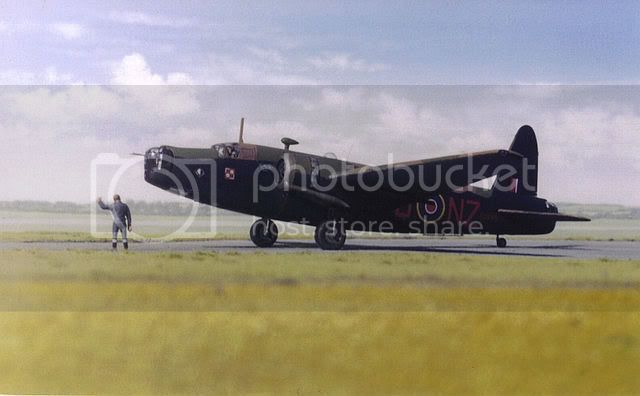
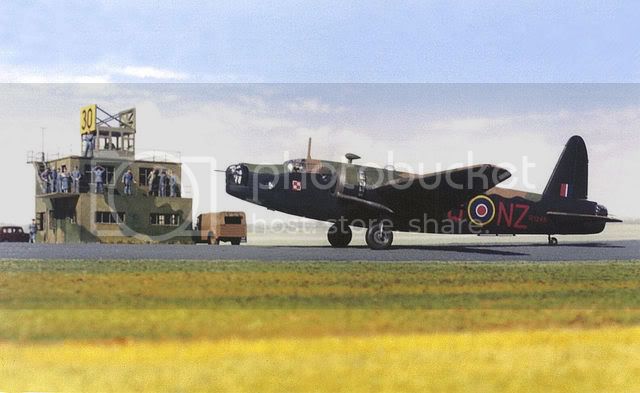
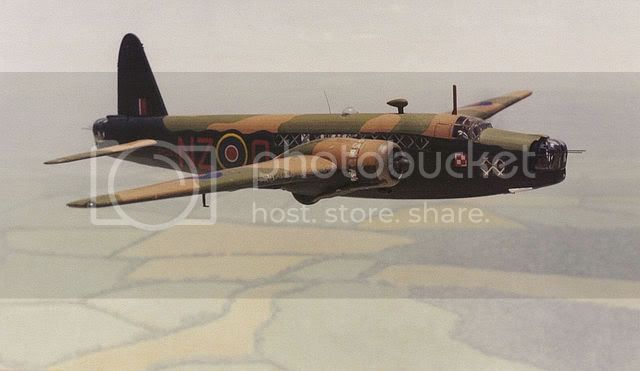
MPM...Wellington Mk Ic
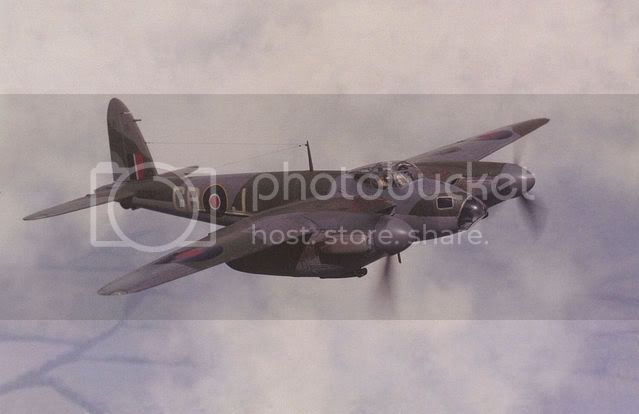
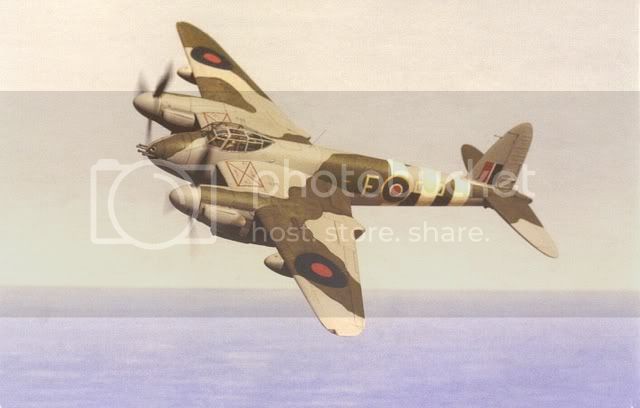
Tamiya...Mosquito B Mk IV
Hasegawa...P 47D
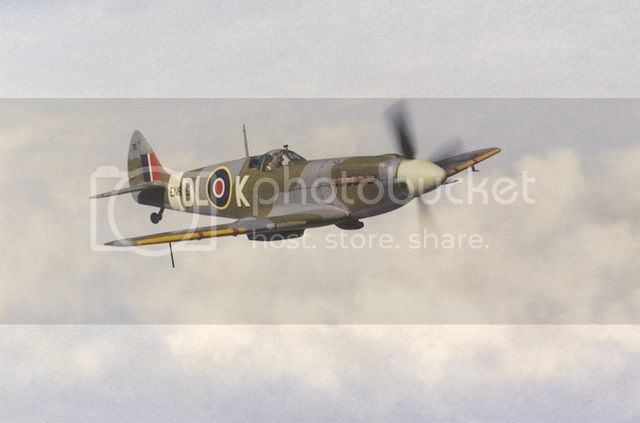
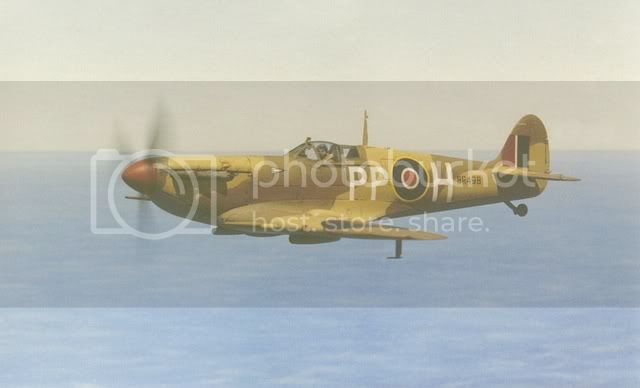
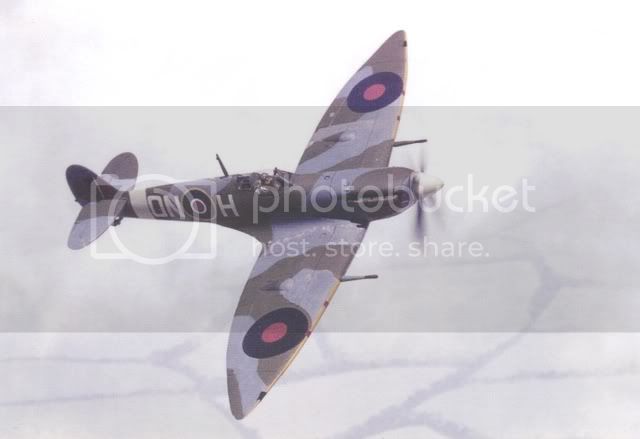
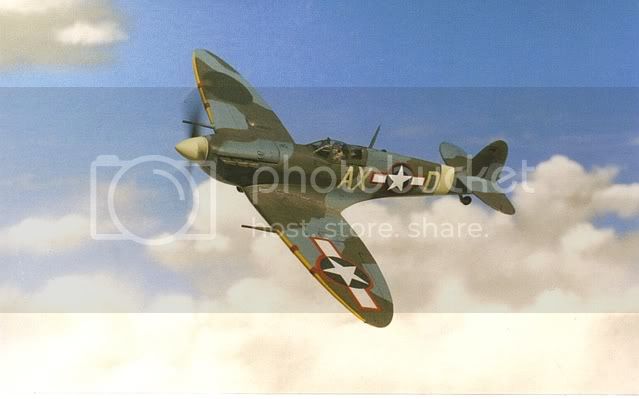
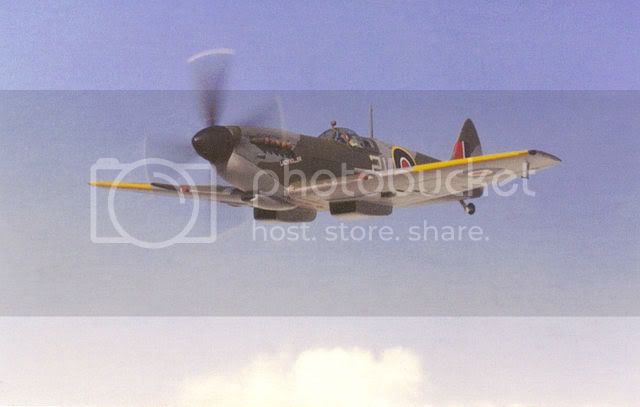
Hasegawa...Spitfire Mk IXc
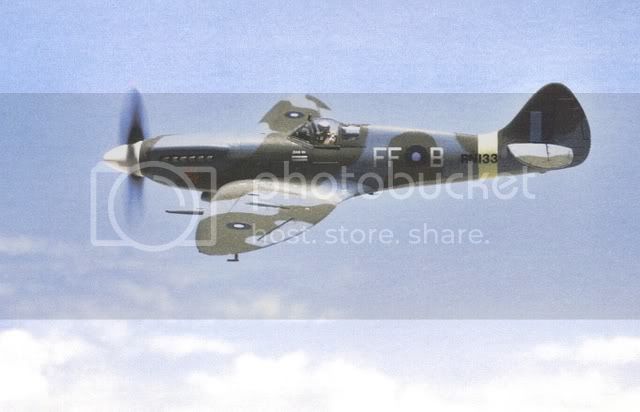
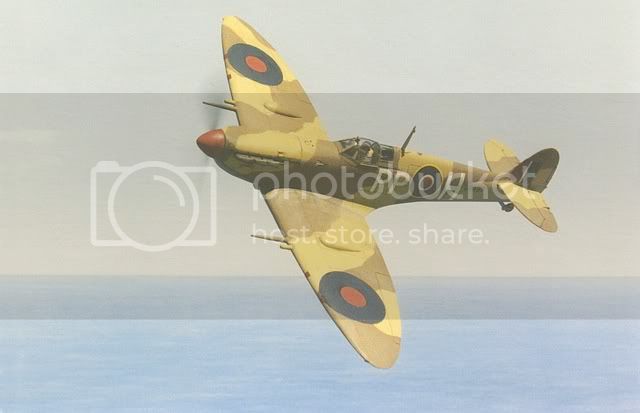
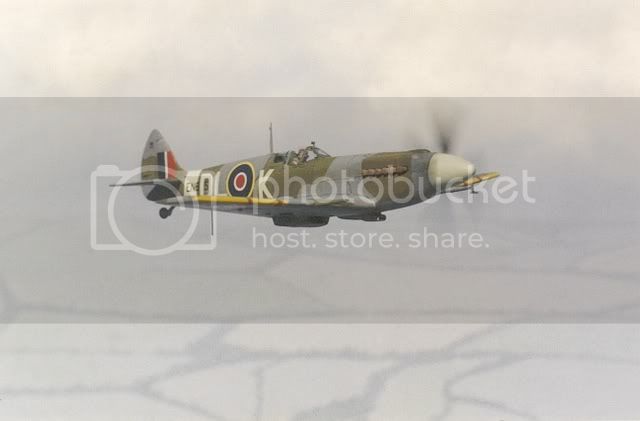
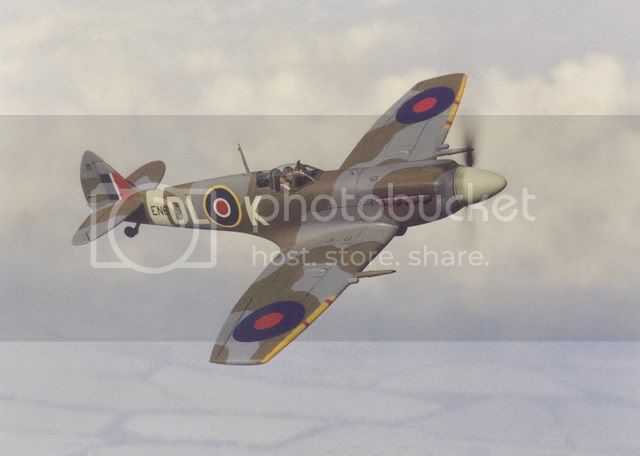
Brigade Models...Spitfire Mk XII
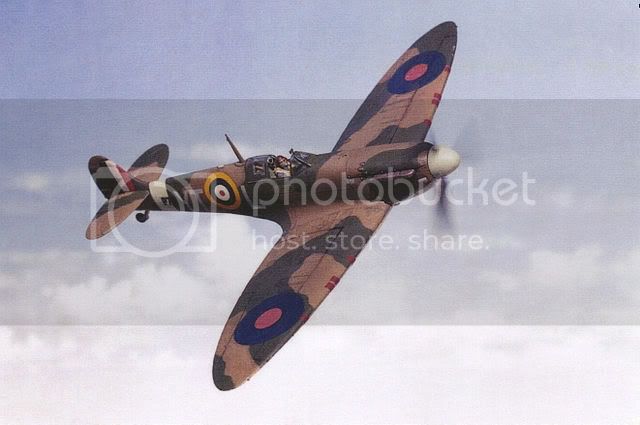
Airfix...Spitfire Mk Ia
Airfix...1/48 and 1/72 Hurricanes Mk I
Revell...Hurricanes Mk IIb
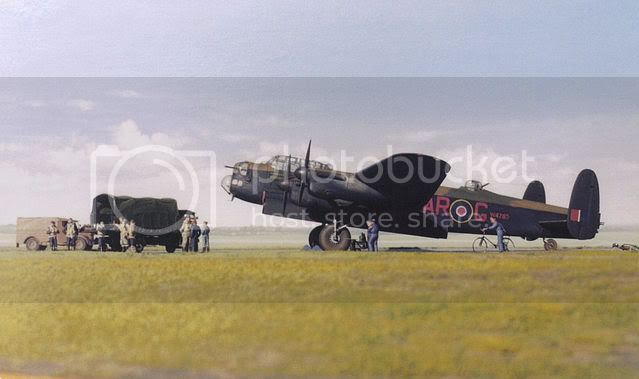
Airfix...Lancaster B Mk I
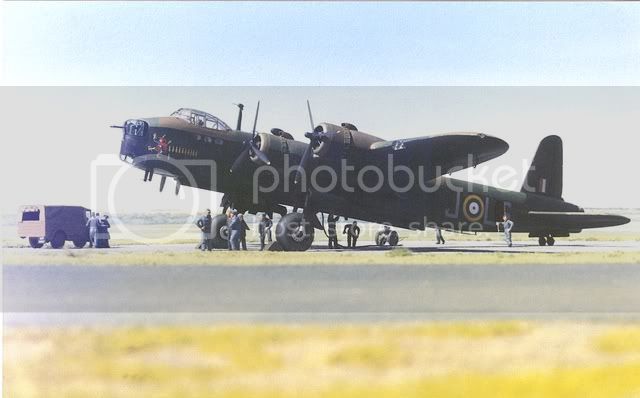
Airfix...Stirling B Mk I
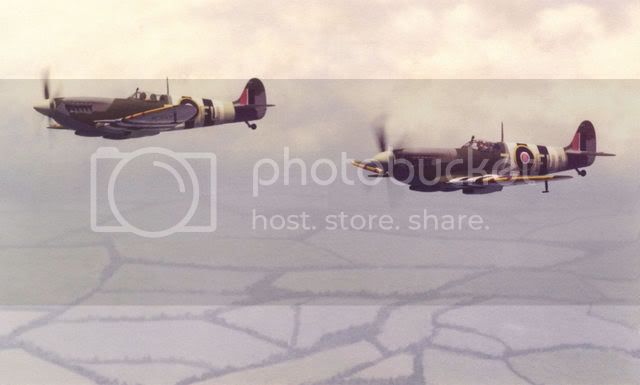
Otaki 1/48 and Hasegawa 1/72 Spitfires Mk IX
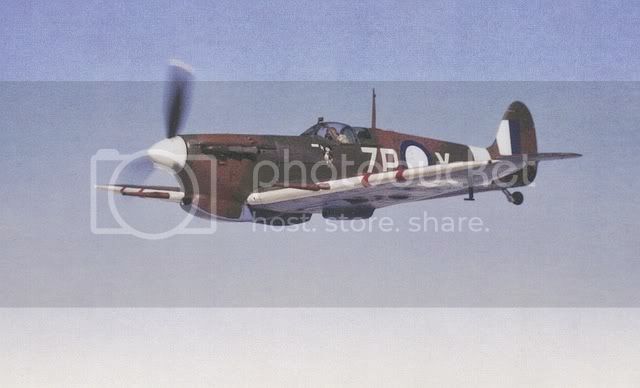
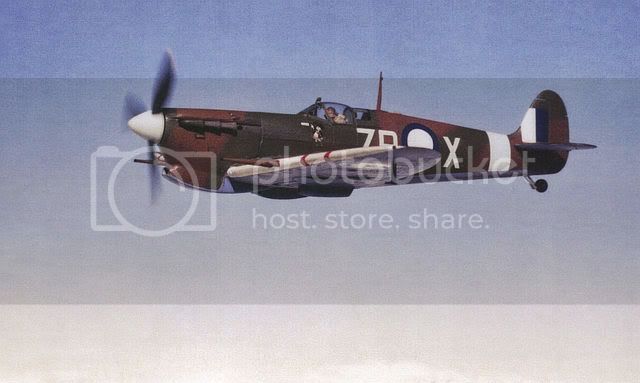
Airfix...Spitfire Mk Vc
Aeroclub...DH Tiger Moth.
Well, that lot should keep you all amused for a while!
I've been building models for about 45 years and taken thousands of photographs like these ones. If you like these and want to see more...just say so and I'll be happy to show them off!
In the meantime, I'm looking forward to 'meeting' you all. Now I'm off to look at some of YOUR models!
Cheers all,
Tim.
World War II
Discuss WWII and the era directly before and after the war from 1935-1949.
Hosted by Rowan Baylis
Flying plastic.
Tango-India-Mike
Western Australia, Australia
Joined: August 31, 2009
KitMaker: 88 posts
AeroScale: 79 posts
Joined: August 31, 2009
KitMaker: 88 posts
AeroScale: 79 posts
Posted: Monday, August 31, 2009 - 06:42 AM UTC
Siderius
Tennessee, United States
Joined: September 20, 2005
KitMaker: 1,747 posts
AeroScale: 1,673 posts
Joined: September 20, 2005
KitMaker: 1,747 posts
AeroScale: 1,673 posts
Posted: Monday, August 31, 2009 - 06:59 AM UTC
Very nice work indeed! Really enjoy those "in flight" photographs. Hope to see more. Welcome to Aeroscale. Russell
P.S. Nice to see someone else who works in 1/72 as well!
TuomasH
Turku ja Pori, Finland
Joined: September 10, 2008
KitMaker: 470 posts
AeroScale: 279 posts
Joined: September 10, 2008
KitMaker: 470 posts
AeroScale: 279 posts
Posted: Monday, August 31, 2009 - 07:06 AM UTC
Nice photos! How do you keep them "in air" when you are taking photographs? Are you using rod or strings?
Btw. you have forgotten canopy open on miles magister and revell hurricane.. otherwise perfect
Tango-India-Mike
Western Australia, Australia
Joined: August 31, 2009
KitMaker: 88 posts
AeroScale: 79 posts
Joined: August 31, 2009
KitMaker: 88 posts
AeroScale: 79 posts
Posted: Monday, August 31, 2009 - 07:33 AM UTC
Thanks Russell and Tuomas! I'm pleased to meet you both.
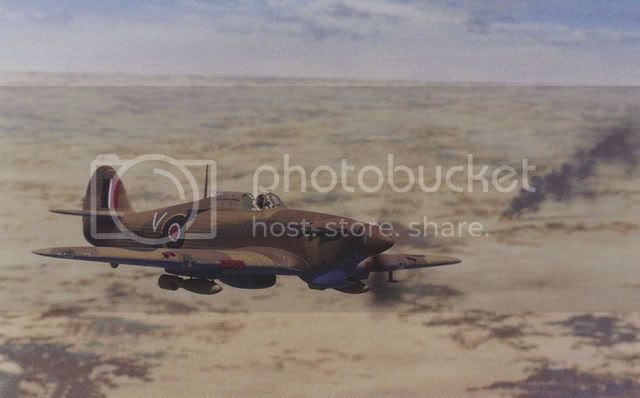
Tuomas, it isn't at all uncommon for pilots to fly with their canopies open, especially if it's a nice warm day, and especially in the desert where that Hurricane is operating. On the Master, the instructor's canopy was designed to tilt open as you see it here, so he could raise his seat and have a better forward view.
Of course, in this view below, the pupil in the front cockpit has started to feel a bit chilly and pulled the canopy shut...
The models are simply mounted with bits of blue-tack onto a pane of glass tilted in front of my hand-painted backdrops. A polarising filter eliminates reflections in the glass and an out-of-shot electric fan spins the propellers. It's all done outdoors in natural daylight...a very rudimentary set-up on an old kitchen table, but it works for me! Who needs Photoshop?
Cheers gentlemen...and thanks for the nice comments!
Tim.
stonar
England - West Midlands, United Kingdom
Joined: August 15, 2008
KitMaker: 337 posts
AeroScale: 309 posts
Joined: August 15, 2008
KitMaker: 337 posts
AeroScale: 309 posts
Posted: Monday, August 31, 2009 - 09:00 AM UTC
I really enjoyed scrolling through that lot. Lovely models and impressive photography. You may find taking images like that straight forward but I struggle to get any decent pictures, David Bailey I ain't!
I really like the bombers, fantastic. I for one look forward to seeing some more.
Cheers
Steve
I really like the bombers, fantastic. I for one look forward to seeing some more.
Cheers
Steve
thehannaman
New York, United States
Joined: April 04, 2006
KitMaker: 279 posts
AeroScale: 194 posts
Joined: April 04, 2006
KitMaker: 279 posts
AeroScale: 194 posts
Posted: Monday, August 31, 2009 - 09:24 AM UTC
Really cool! Those are some of the most convincing model a/c pictures that I've ever seen. They even have a sort of washed-out vintage look. I don't know if that's intentional.
Thanks for sharing!
Thanks for sharing!
FalkeEins
England - South East, United Kingdom
Joined: March 07, 2005
KitMaker: 868 posts
AeroScale: 690 posts
Joined: March 07, 2005
KitMaker: 868 posts
AeroScale: 690 posts
Posted: Monday, August 31, 2009 - 10:50 AM UTC
Quoted Text
The models are simply mounted with bits of blue-tack onto a pane of glass tilted in front of my hand-painted backdrops. A polarising filter eliminates reflections in the glass and an out-of-shot electric fan spins the propellers. It's all done outdoors in natural daylight...a very rudimentary set-up on an old kitchen table, but it works for me! Who needs Photoshop?
who indeed !!
fantastic work Tim - but there must be more to it than that surely..? how do you create the multiple a/c shots & manage the perspective so well ? Blue-tack ??
Tango-India-Mike
Western Australia, Australia
Joined: August 31, 2009
KitMaker: 88 posts
AeroScale: 79 posts
Joined: August 31, 2009
KitMaker: 88 posts
AeroScale: 79 posts
Posted: Monday, August 31, 2009 - 10:57 AM UTC
Greetings Steve, and thanks...I'm glad you enjoyed them!
Well, I guess with many other things in life, I didn't just have the skill to do this overnight. I've been fooling around with cameras and models from when I was a teenager...an awfully long time ago now. Somehow my desire to make models as realistically as I can just isn't fully satisfied by putting them on a shelf when they're finished. I've always been fascinated by miniature illusions of reality, so it was a natural progression to making images of them in their natural surroundings. Of course, this has also led to making customised figures, scratch-building various bits of support equipment and converting vehicles if there aren't suitable kits available. It was thanks to my folio of model photographs that I found employment making models and scenic effects for television commercials back in the early '90s...before computer graphics came along and ruined it all for me a few years later, of course!
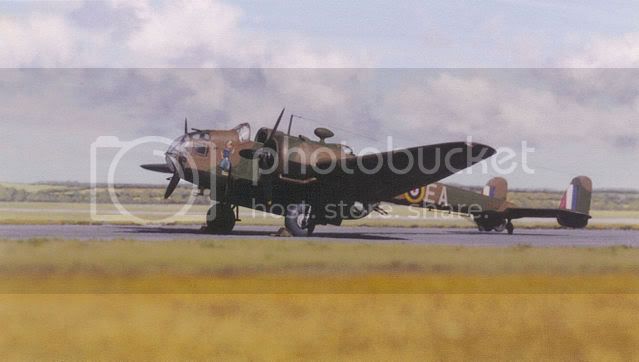
Anyway...so I gather that it's okay to post my pictures here...and I'm very pleased to note that I can do quite a few of them in a single post too! So, here are some more...
MPM/Condor...A 36A Apache.
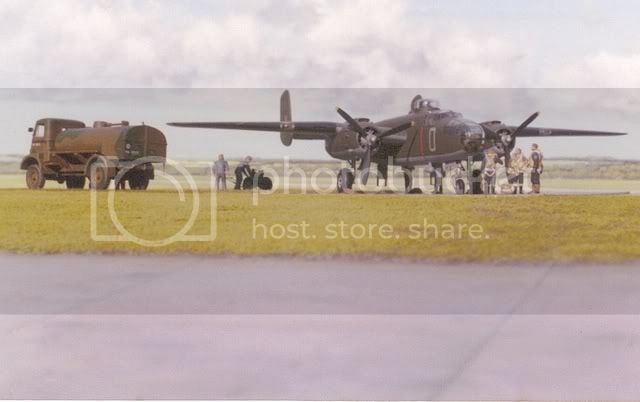
Italeri...B25.
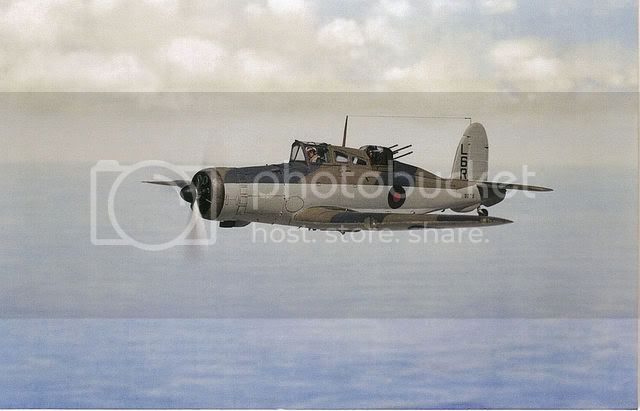
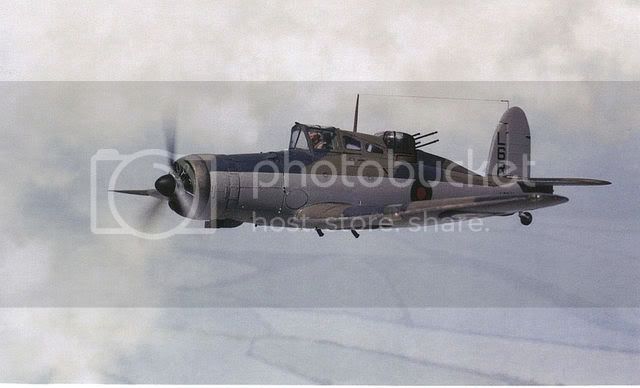
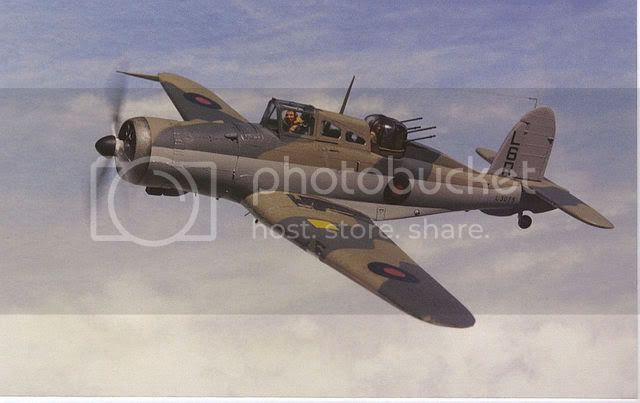
Pavla...Blackburn Roc.
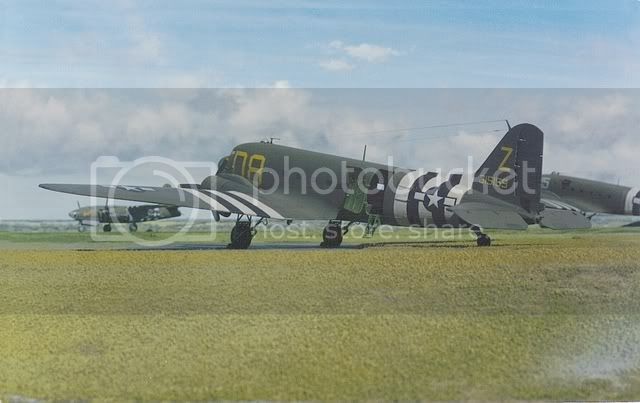
Italeri 1/72 and Doyusha 1/100 C47 Dakotas and Crown 1/144 B26 Marauder.
Airfix CAC Boomerang.
Sword...Hurricane Mk I.
Frog...Fairey Barracuda.
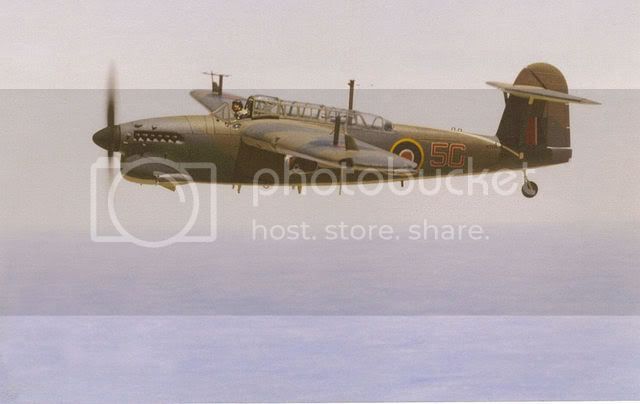
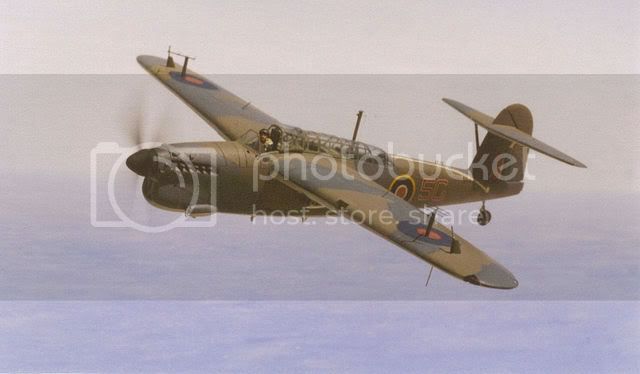
Airfix...Fairey Firefly Mk 6 (Korean War really, but essentially a WWII design)
Airfix...Handley-Page Hampden.
Airfix...Spitfire mk Vc.
Academy...Spitfire Mk XIVc.
Fujimi...Spitfire Mk XIVe.
Airfix...Spitfire Mk Vb.
Revell...Spitfire Mk Vb.
Hasegawa...Spitfires Mk IXc.
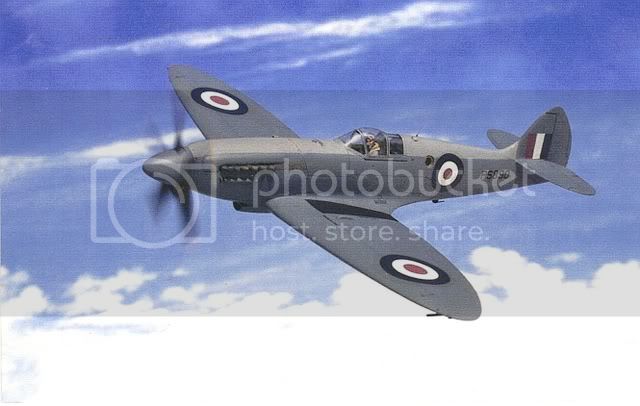
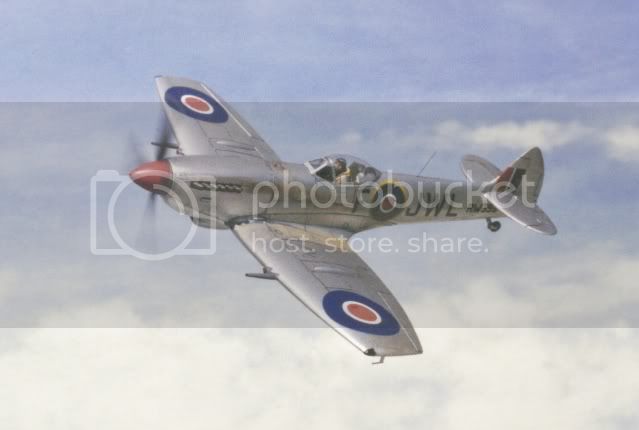
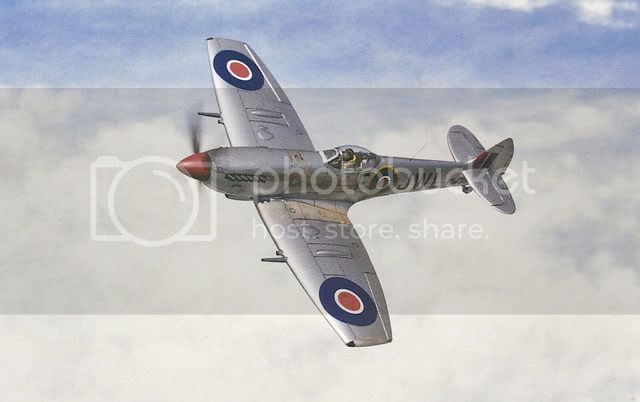
MPM...Spitfire PR Mk XIX.
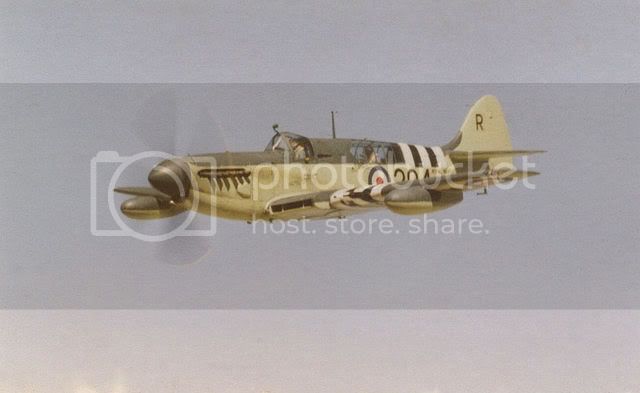
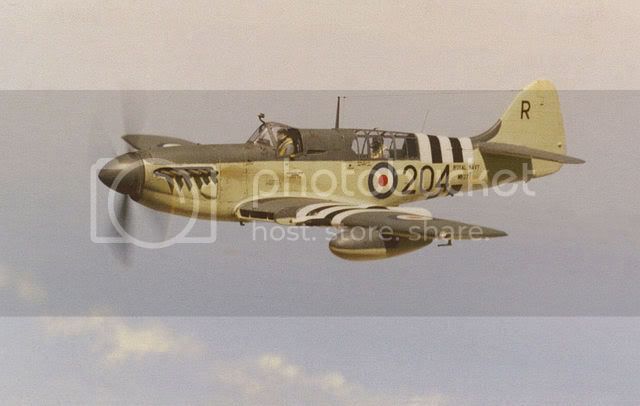
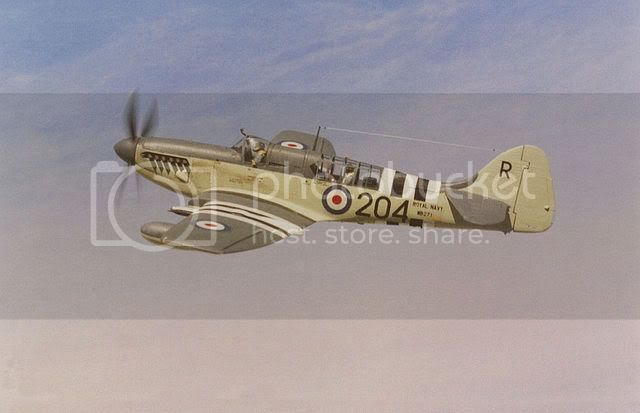
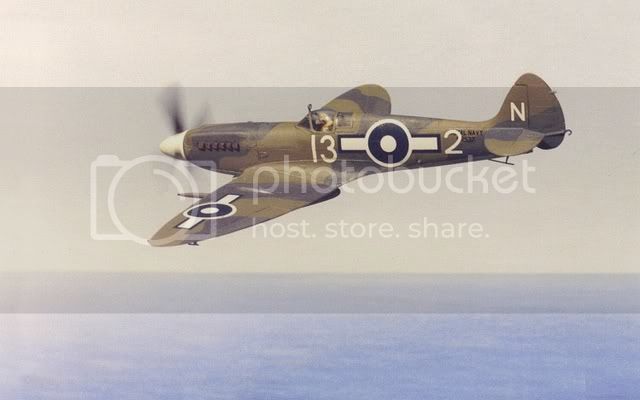
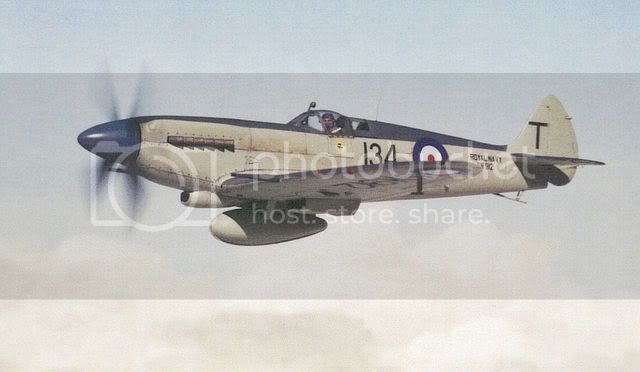
Ventura...Seafire Mk XV.
Brigade Models...Seafire Mk XV.
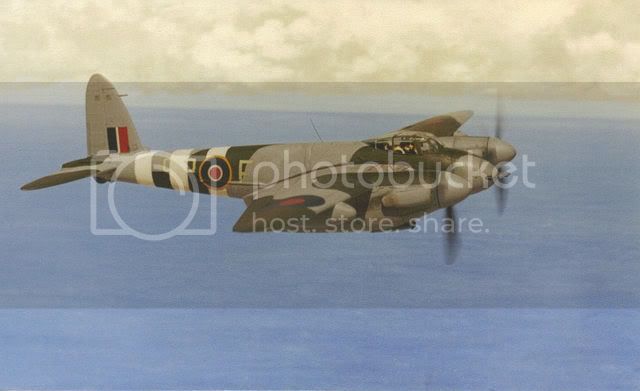
Tamiya...Mosquito FB Mk VI.
Airfix...Westland Whirlwind.
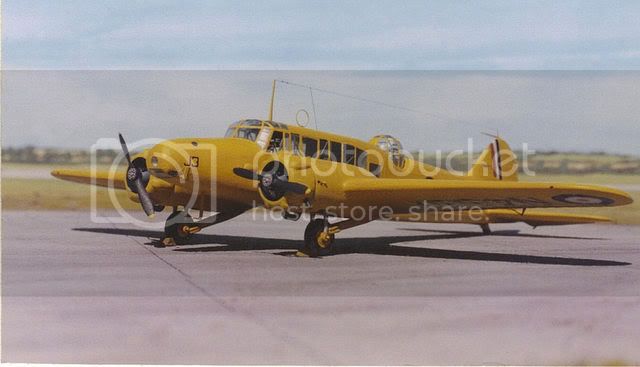
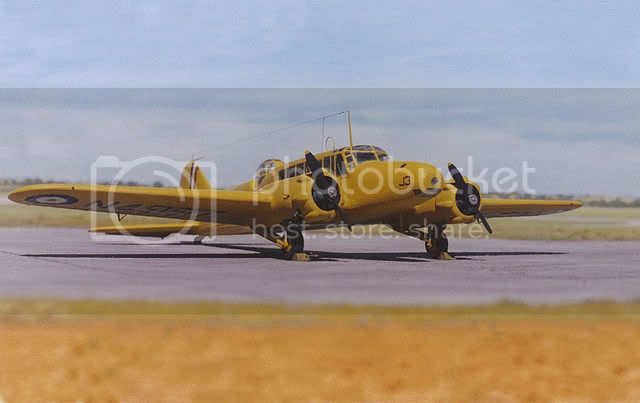
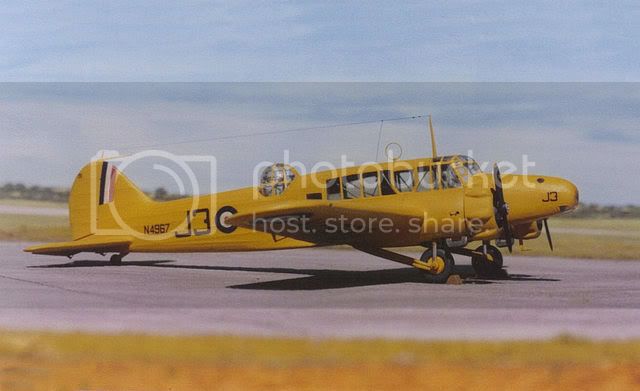
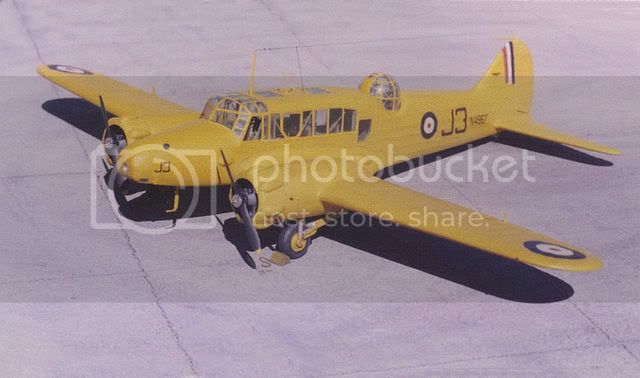
Airfix...Avro Anson.
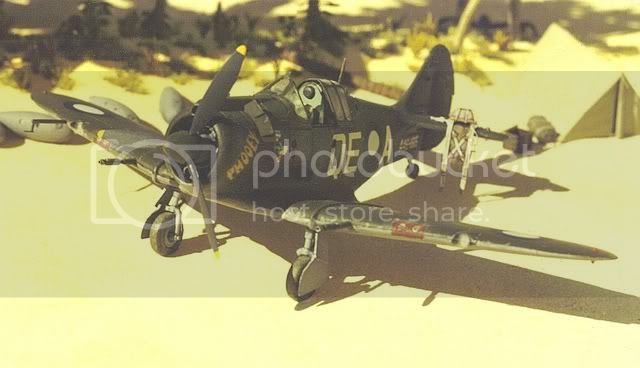
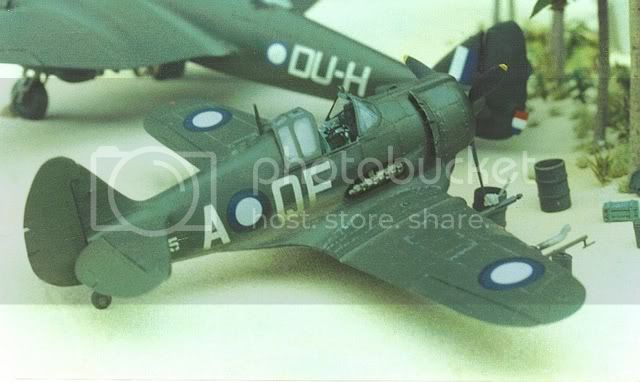
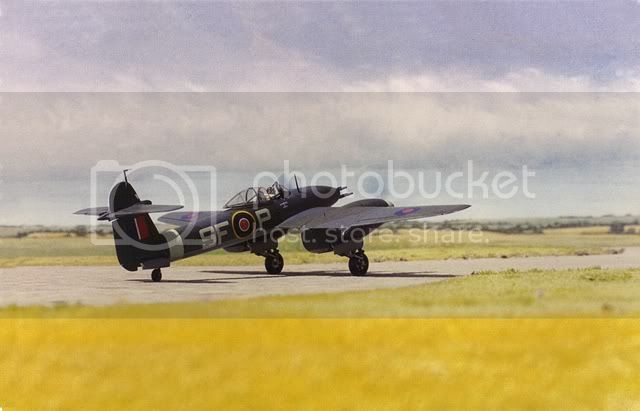
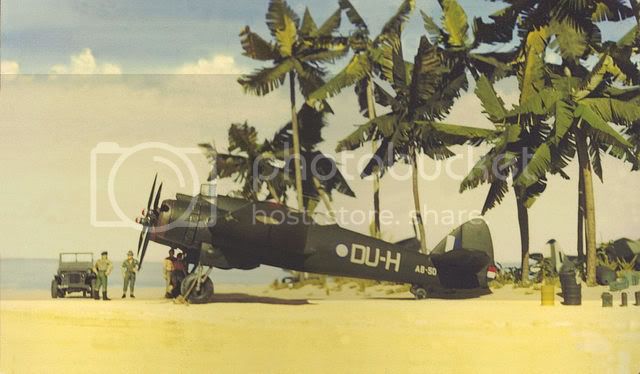
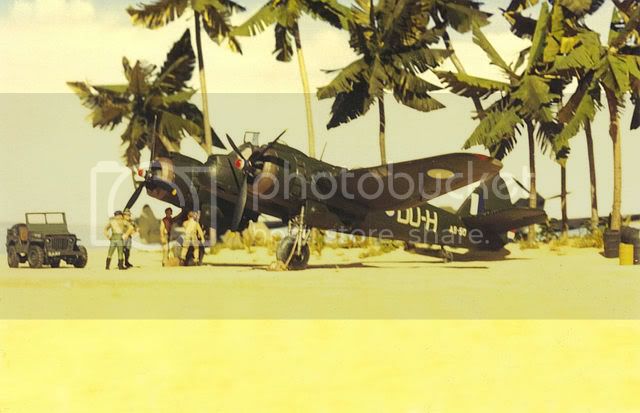
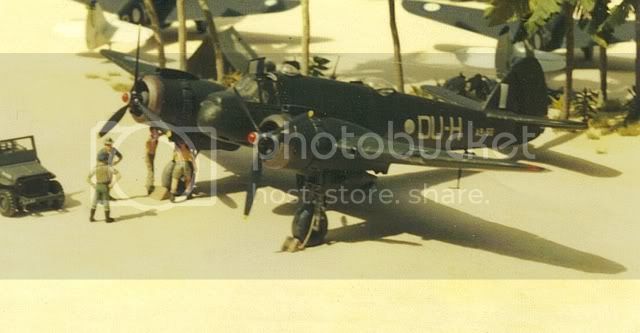
And to finish off with (I'm tired!), a real oldie...about thirty years old, diorama and all...
Frog...Beaufighter Mk 21.
Time I hit the sack...cheers all!
Tim.
Tango-India-Mike
Western Australia, Australia
Joined: August 31, 2009
KitMaker: 88 posts
AeroScale: 79 posts
Joined: August 31, 2009
KitMaker: 88 posts
AeroScale: 79 posts
Posted: Monday, August 31, 2009 - 11:39 AM UTC
Thanks Justen and Neil!
Justen, the washed-out look is probably just me messing about with the contrast after scanning the prints...and, unfortunately I've only recently joined the computer age and didn't know about scanning at higher resolution...it doesn't like like being fiddled with at the low DPI setting I had the scanner set at. I really don't fancy doing the whole lot again at a higher DPI setting because there are thousands of prints. It's going to be interesting when I get around to doing this sort of stuff with digital photography!
Neil, perspective is something that I've been slowly working away at for years to get right. Obviously using models of differing scales helps to create distance, but there's an awful lot of adjusting, checking through the camera view-finder, adjusting again...and so on, until it all looks right and I can then take the picture. Oddly enough, the in-flight stuff is fairly easy...it's the photos on the ground that are difficult to get right. Simply placing smaller scale models on a flat setting doesn't work. In that one with the two C47s and the Marauder for instance, to get a convincing sense of perspective the smaller C47 is sitting on a flat base a little bit higher than the one in the foreground, and then the Marauder is on another just a little higher again. As I said, lots of trial and error until it looks right through the camera's view-finder.
I'll try to explain it in more depth another time, but it's now gone 6.30 in the morning and I haven't been to bed! I'm normally a night owl, but this time I've outdone myself...just as well I don't have to go to work!
I'll be back!
Cheers for now,
Tim.
Siderius
Tennessee, United States
Joined: September 20, 2005
KitMaker: 1,747 posts
AeroScale: 1,673 posts
Joined: September 20, 2005
KitMaker: 1,747 posts
AeroScale: 1,673 posts
Posted: Monday, August 31, 2009 - 12:29 PM UTC
Wow! More super photos of model aircraft. They don't look like models though. The Fairy Barracuda and Firefly are really, really nice, two of my favorite British designs I must say.
The Seafire looks great too. Again, great work, glad to have you onboard. Russell
ShawnM
Missouri, United States
Joined: November 24, 2008
KitMaker: 564 posts
AeroScale: 510 posts
Joined: November 24, 2008
KitMaker: 564 posts
AeroScale: 510 posts
Posted: Monday, August 31, 2009 - 12:43 PM UTC
beautiful work!
as a photographer and model builder your images are magical and inspiring.
thank you for sharing
as a photographer and model builder your images are magical and inspiring.
thank you for sharing
Posted: Monday, August 31, 2009 - 04:23 PM UTC
G'day Tim, stunning work, especially the Mossie low-flyer with the shadow on the ground. I've learned a stack of techniques for building since I joined this site a few short months ago, but seeing your photography might just make me put my little digital camera away for good!!
Anyway, I for one can't wait to see some more shots, and maybe some in-progress kits?
Cheers from a fellow Aussie
Anyway, I for one can't wait to see some more shots, and maybe some in-progress kits?
Cheers from a fellow Aussie
Posted: Monday, August 31, 2009 - 06:44 PM UTC
Hi Tim,
Wow, impressive work in every aspect!
I still believe that most of the pictures are for real and that you are fooling us... These are indeed the best and most realistic photos of models I've ever seen!
We have a Portfolio format here on Aeroscale. I'm sure it would suit your work perfectly.
Jean-Luc
Tango-India-Mike
Western Australia, Australia
Joined: August 31, 2009
KitMaker: 88 posts
AeroScale: 79 posts
Joined: August 31, 2009
KitMaker: 88 posts
AeroScale: 79 posts
Posted: Tuesday, September 01, 2009 - 01:32 AM UTC
Thanks gents....Russell, Shawn, Damien and Jean-Luc.
Damien, I'll load up a few more shortly, plus some of the many works in progress on my very messy work bench, and Jean-Luc, thanks for the tip about the portfolio...I'll find my way to it eventually!
Ask any questions you like about the models, chaps, and I'll do my best to come up with answers. Anyway, here's a bit of a look at what's hanging around the work bench...
This old Frog Whitley must be one of the longest-running projects in history, as it's been on the go for well over twenty years! It's had bits of work done in sporadic bursts of enthusiasm and then usually put aside again for lack of reference material...only to be resumed at odd times when new information or photographs come to light...
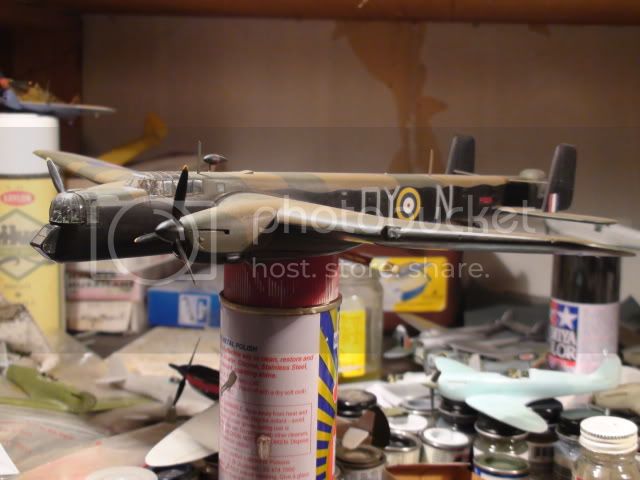
Anyone familiar with the kit will know that it's pretty simple in terms of detail, but I think it's always been assumed to be fairly accurate otherwise. From careful study of every photograph that I can lay my hands on, I can tell you it isn't!
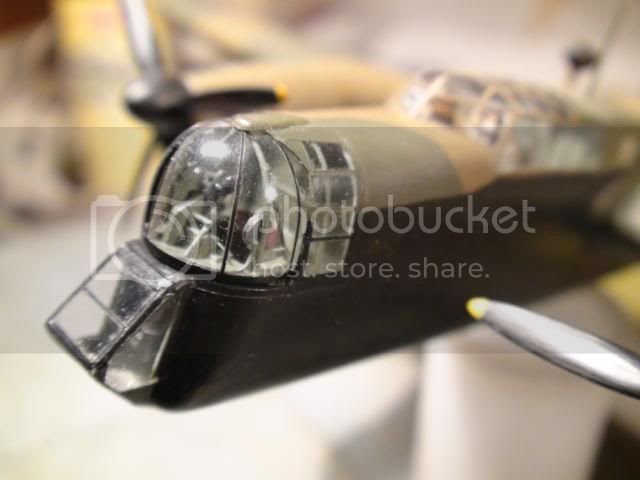
One fairly minor inaccuracy is the bomb-aimer's window unit, which Frog have moulded not only too narrow, but also to be fitted offset to one side (which side, I can't remember now). I widened the kit part and used it as a master for a crash-mould in acetate.
Also by careful study of photographs, I was able to discern what exists behind the turret...a bulkhead with a glazed porthole. Also in this view you can see a glimpse of the modified radiator intakes. As supplied in the kit, they are simply moulded as blank flats with some poor and inaccurate raised detail.
The turret itself is a fully domed perspex moulding without the solid metal back seen on nose and tail turrets of other types of bombers. I simply joined two turret halves together (one from another Whitley in the stash) and made an acetate crash-mould. The interior was scratch-built as closely to photographs as I could make out.
And here's the turret in place...
Actually, I've since discovered that the turret interior colour should be anodised natural metal, rather than Interior Grey/Green...but I'm not about to pull it apart and re-paint it now! Oh well, I'll know better when I build another Whitley.
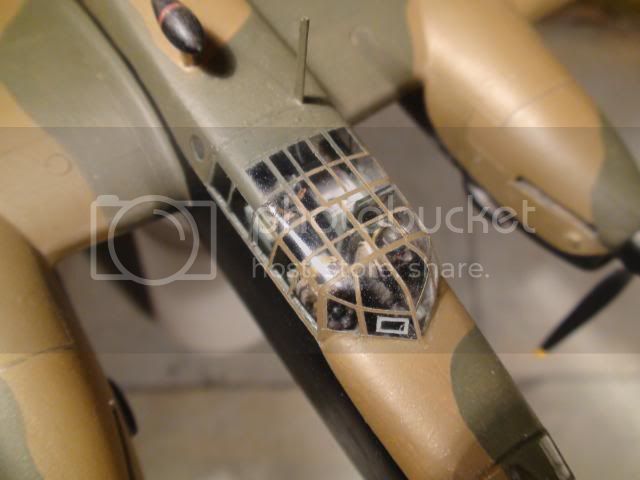
The kit's cockpit canopy is very thick and heavily framed. I cleaned it up and, again, made an acetate crash-mould from it. Incidentally, I mask and paint all canopy framing in stages...usually first the lateral frames and then the lengthwise ones. It's time consuming, but I feel I have more control and can achieve better accuracy than masking the entire canopy and cutting out all the framing in one go.
Also, inside the canopy there really should be a rather complicated lengthwise structure above the pilot's head, its purpose I don't know, but the only photograph I have of it doesn't really show it in good enough detail to enable me to scratch-build it...
Aside from that, the photograph is no use to me now anyway because I didn't find it until AFTER I'd fitted the canopy! Isn't that always the way?
I used to have one of those Air Ministry issue bubble sextants. That one's carrying case (at left) looks like it's made of metal...mine's case was that brown resin/bakelite that some Spitfire seats were made out of.
In addition to the engine cowlings having a few shape problems, if they're fitted as intended by Frog they'll be pointing upwards at the wrong angle...so that needed to be fixed and a lot of filler used on the join to the nacelles.
Unfortunately the filler has shrunk in a few places, which is a bit of a nuisance, so I'll just have to try to disguise it with the eventual weathering effects on the overall paintwork.
The kit's propellers are also very poor, with the spinners being undersized ant too pointed. I think these ones may have come from an Airfix Sunderland, but even then they needed subtle re-shaping to more closely resemble those of a Whitley. I do at least know that the propeller blades are slightly modified items from an Airfix Mosquito.
Also in the view above, you can see that I've opened up the radiator shutter recesses underneath the cowlings. The shutters themselves have yet to be made in plastic card.
Another inaccuracy of the kit is that the fuselage tapers too narrowly towards the rear end, which results in Frog supplying a ridiculously narrow rear turret to match. This is reasonably easy to fix by adding shims top and bottom to force the fuselage halves out so they'll accept a new rear turret...in this case one from a scrapped Airfix Lancaster. I'll probably scratch-build a new turret eventually.
All the rear fuselage windows are simply depicted by raised detail marking their locations. I could have just painted them glossy black, but I wanted to be able to see light through them, so I cut out rectangles and fitted corresponding slabs cut from an audio-cassette cover. Then, after much fairing in with filler, sanding and polishing, the windows were simply masked prior to the application of paint.
While we're looking at the rear fuselage, here's one of the aerial masts...
It has a distinctive shape and you can also see a lead entering the fuselage at the bottom front edge. I'm probably obsessed with small details like these, but if I can see them in photographs of the real aircraft, then I'm almost compelled to reproduce them on my models.
Frog make no provision at all for the leading edge landing lights, so I've cut out the recess, lined it with plastic card and added slices of transparent sprue shaped into lenses. Eventually the clear cover will be added from Sellotape.
Another thing Frog didn't get right is the outlet vent on top of the fuselage. The kit has it as a simple moulding at the fuselage centreline, whereas it should be offset to the port side. A simple matter of scratching a new one with plastic card.
I notice too, that the acetate window I've added for the wireless operator has somehow gone cloudy! Not to worry...it's fixed in place with PVA, so it'll be easy to remove and replace.
Well, she may look substantially complete, but there's still a fair way to go before her maiden flight for the camera.
I'll be back soon with some more...right now it's time for a tea break!
Cheers!
Tim.
Damien, I'll load up a few more shortly, plus some of the many works in progress on my very messy work bench, and Jean-Luc, thanks for the tip about the portfolio...I'll find my way to it eventually!
Ask any questions you like about the models, chaps, and I'll do my best to come up with answers. Anyway, here's a bit of a look at what's hanging around the work bench...
This old Frog Whitley must be one of the longest-running projects in history, as it's been on the go for well over twenty years! It's had bits of work done in sporadic bursts of enthusiasm and then usually put aside again for lack of reference material...only to be resumed at odd times when new information or photographs come to light...
Anyone familiar with the kit will know that it's pretty simple in terms of detail, but I think it's always been assumed to be fairly accurate otherwise. From careful study of every photograph that I can lay my hands on, I can tell you it isn't!
One fairly minor inaccuracy is the bomb-aimer's window unit, which Frog have moulded not only too narrow, but also to be fitted offset to one side (which side, I can't remember now). I widened the kit part and used it as a master for a crash-mould in acetate.
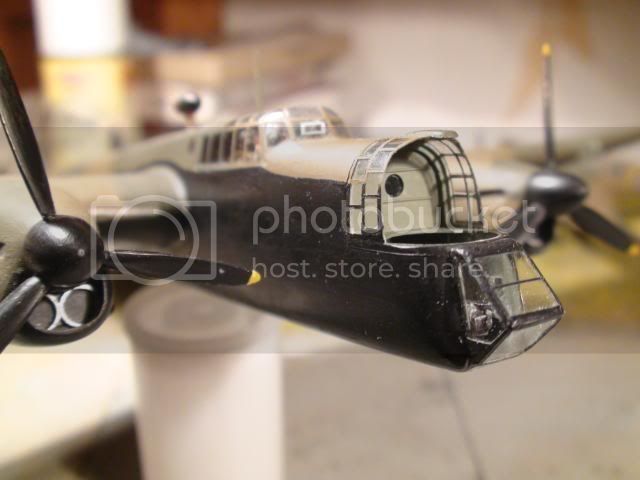
Also by careful study of photographs, I was able to discern what exists behind the turret...a bulkhead with a glazed porthole. Also in this view you can see a glimpse of the modified radiator intakes. As supplied in the kit, they are simply moulded as blank flats with some poor and inaccurate raised detail.
The turret itself is a fully domed perspex moulding without the solid metal back seen on nose and tail turrets of other types of bombers. I simply joined two turret halves together (one from another Whitley in the stash) and made an acetate crash-mould. The interior was scratch-built as closely to photographs as I could make out.
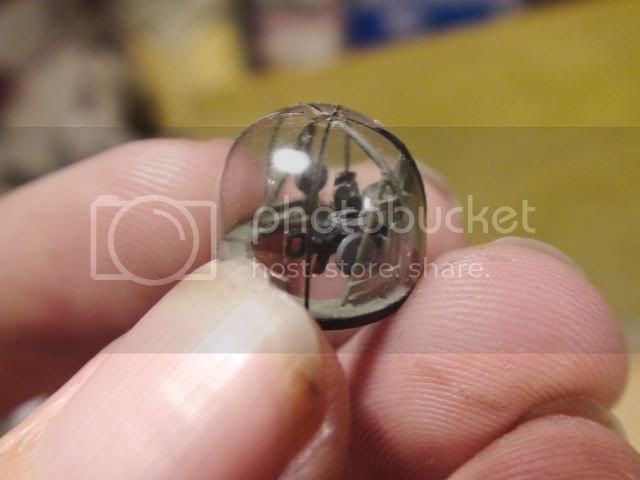
And here's the turret in place...
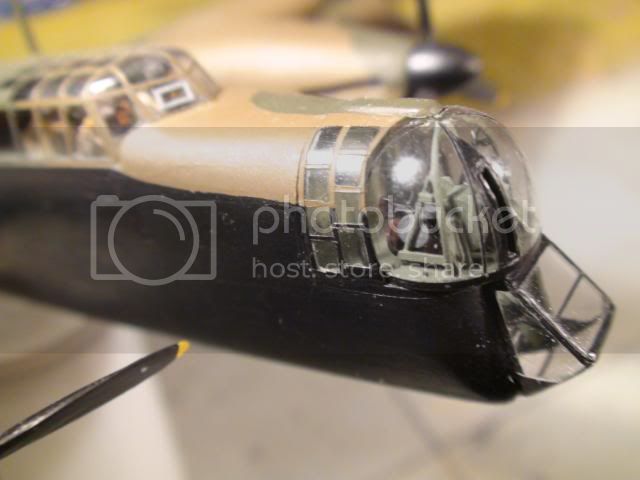
Actually, I've since discovered that the turret interior colour should be anodised natural metal, rather than Interior Grey/Green...but I'm not about to pull it apart and re-paint it now! Oh well, I'll know better when I build another Whitley.
The kit's cockpit canopy is very thick and heavily framed. I cleaned it up and, again, made an acetate crash-mould from it. Incidentally, I mask and paint all canopy framing in stages...usually first the lateral frames and then the lengthwise ones. It's time consuming, but I feel I have more control and can achieve better accuracy than masking the entire canopy and cutting out all the framing in one go.
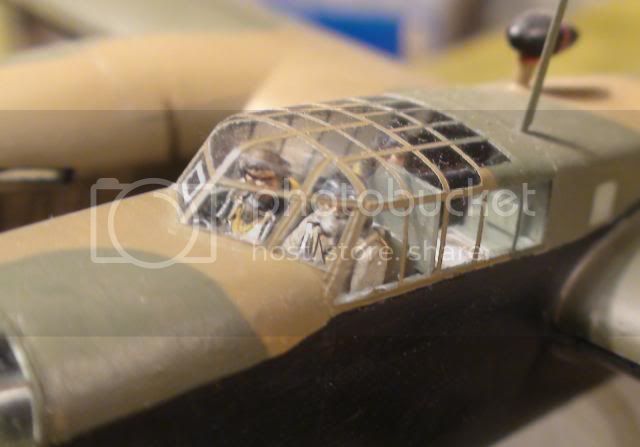
Also, inside the canopy there really should be a rather complicated lengthwise structure above the pilot's head, its purpose I don't know, but the only photograph I have of it doesn't really show it in good enough detail to enable me to scratch-build it...
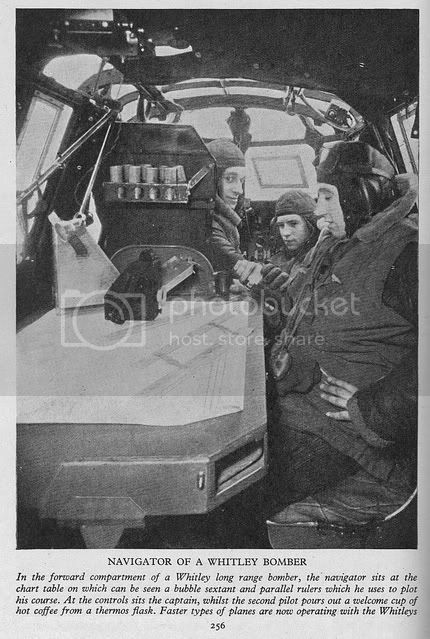
Aside from that, the photograph is no use to me now anyway because I didn't find it until AFTER I'd fitted the canopy! Isn't that always the way?
I used to have one of those Air Ministry issue bubble sextants. That one's carrying case (at left) looks like it's made of metal...mine's case was that brown resin/bakelite that some Spitfire seats were made out of.
In addition to the engine cowlings having a few shape problems, if they're fitted as intended by Frog they'll be pointing upwards at the wrong angle...so that needed to be fixed and a lot of filler used on the join to the nacelles.
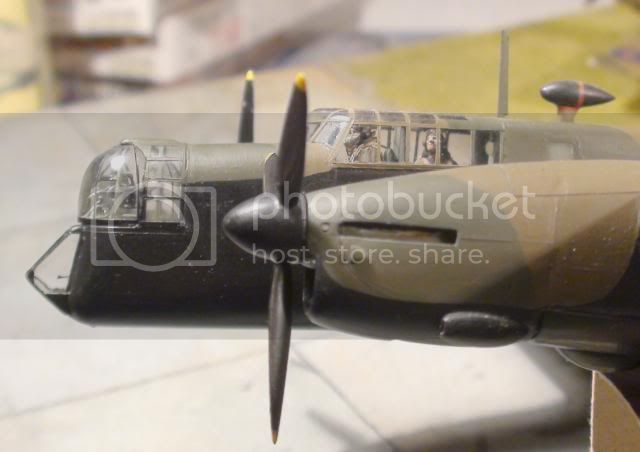
Unfortunately the filler has shrunk in a few places, which is a bit of a nuisance, so I'll just have to try to disguise it with the eventual weathering effects on the overall paintwork.
The kit's propellers are also very poor, with the spinners being undersized ant too pointed. I think these ones may have come from an Airfix Sunderland, but even then they needed subtle re-shaping to more closely resemble those of a Whitley. I do at least know that the propeller blades are slightly modified items from an Airfix Mosquito.
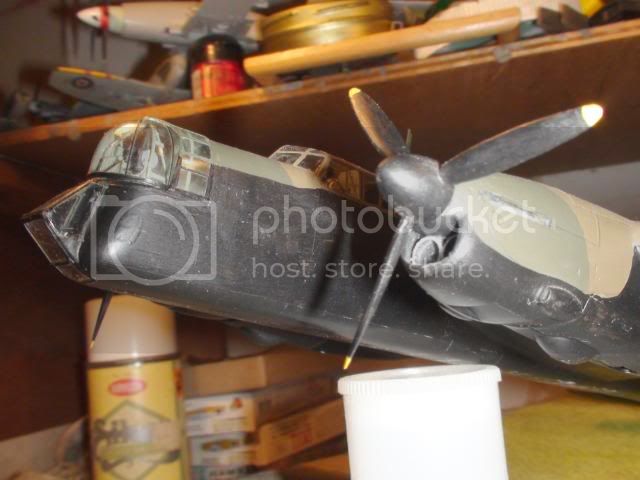
Also in the view above, you can see that I've opened up the radiator shutter recesses underneath the cowlings. The shutters themselves have yet to be made in plastic card.
Another inaccuracy of the kit is that the fuselage tapers too narrowly towards the rear end, which results in Frog supplying a ridiculously narrow rear turret to match. This is reasonably easy to fix by adding shims top and bottom to force the fuselage halves out so they'll accept a new rear turret...in this case one from a scrapped Airfix Lancaster. I'll probably scratch-build a new turret eventually.
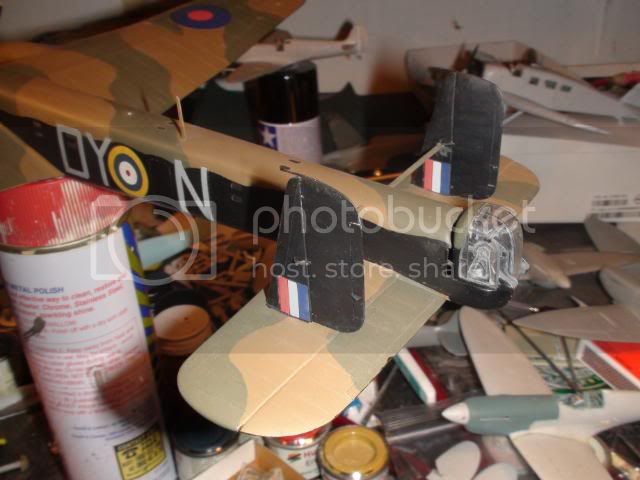
All the rear fuselage windows are simply depicted by raised detail marking their locations. I could have just painted them glossy black, but I wanted to be able to see light through them, so I cut out rectangles and fitted corresponding slabs cut from an audio-cassette cover. Then, after much fairing in with filler, sanding and polishing, the windows were simply masked prior to the application of paint.
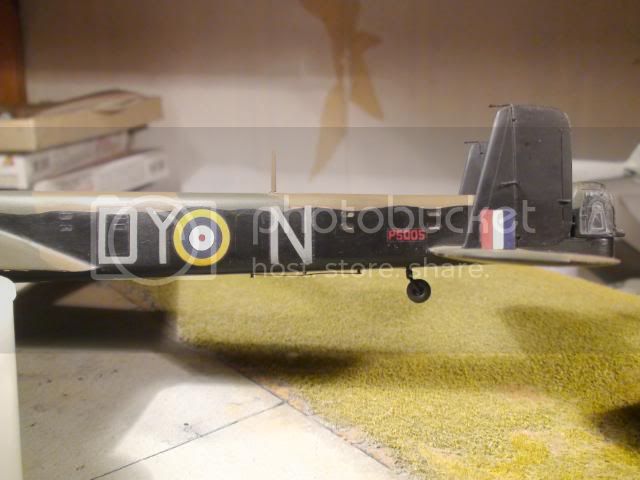
While we're looking at the rear fuselage, here's one of the aerial masts...
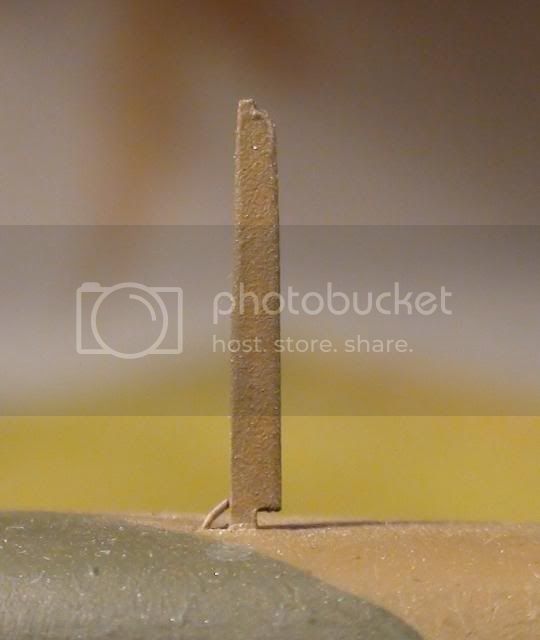
It has a distinctive shape and you can also see a lead entering the fuselage at the bottom front edge. I'm probably obsessed with small details like these, but if I can see them in photographs of the real aircraft, then I'm almost compelled to reproduce them on my models.
Frog make no provision at all for the leading edge landing lights, so I've cut out the recess, lined it with plastic card and added slices of transparent sprue shaped into lenses. Eventually the clear cover will be added from Sellotape.
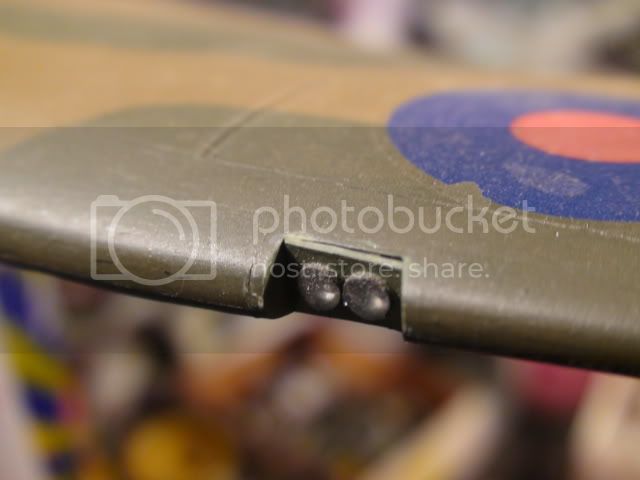
Another thing Frog didn't get right is the outlet vent on top of the fuselage. The kit has it as a simple moulding at the fuselage centreline, whereas it should be offset to the port side. A simple matter of scratching a new one with plastic card.
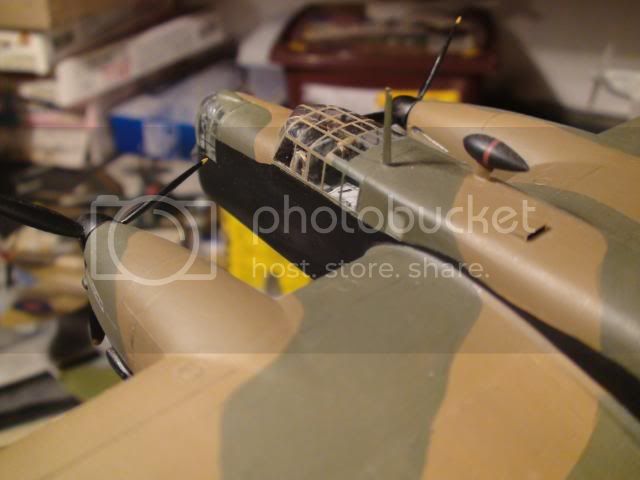
I notice too, that the acetate window I've added for the wireless operator has somehow gone cloudy! Not to worry...it's fixed in place with PVA, so it'll be easy to remove and replace.
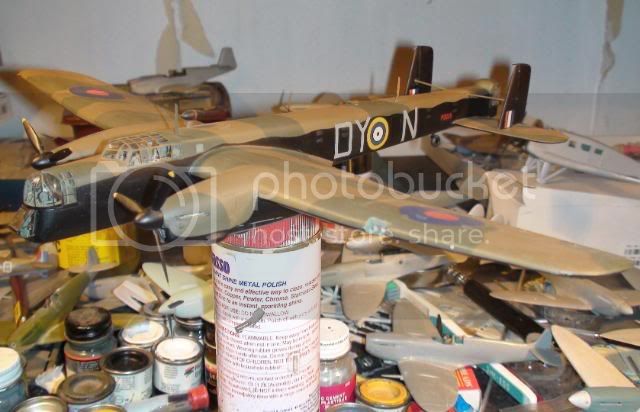
Well, she may look substantially complete, but there's still a fair way to go before her maiden flight for the camera.
I'll be back soon with some more...right now it's time for a tea break!
Cheers!
Tim.
thegirl
Alberta, Canada
Joined: January 19, 2008
KitMaker: 6,743 posts
AeroScale: 6,151 posts
Joined: January 19, 2008
KitMaker: 6,743 posts
AeroScale: 6,151 posts
Posted: Tuesday, September 01, 2009 - 01:51 AM UTC
Most impressive Tim !
Thank -you for sharing your wonderful collection with us . I see on your bench you have have many in progress builds going on . I've been getting more into the 72 scale do to the less space they take up at least for the WW2 . Looking forward to more of your pic's !
Welcome to the site
Thank -you for sharing your wonderful collection with us . I see on your bench you have have many in progress builds going on . I've been getting more into the 72 scale do to the less space they take up at least for the WW2 . Looking forward to more of your pic's !
Welcome to the site
Plasticat
Idaho, United States
Joined: September 03, 2003
KitMaker: 448 posts
AeroScale: 10 posts
Joined: September 03, 2003
KitMaker: 448 posts
AeroScale: 10 posts
Posted: Tuesday, September 01, 2009 - 02:01 AM UTC
WOW, fantastic photography!
Aside from the great builds and the great backdrops, the part that really captures me is that a lot of the pilot figures appear to be looking at the camera! Nice convincing affect!!! They really do look like real airplanes that you are fooling us with.
Tango-India-Mike
Western Australia, Australia
Joined: August 31, 2009
KitMaker: 88 posts
AeroScale: 79 posts
Joined: August 31, 2009
KitMaker: 88 posts
AeroScale: 79 posts
Posted: Tuesday, September 01, 2009 - 02:29 AM UTC
Hey, thanks very much Terri!
And yet another lady modeller too!
Since joining the computer age a year or so ago and discovering modelling forums, I've been amazed at the number of ladies building model aircraft...and doing it exceptionally well too. It's completely blown apart perceptions of the hobby being an exclusively male domain...and I think it's fabulous!
Yes, I do have an awful lot of unfinished projects gathering dust in the modelling room. Quite truthfully, I haven't been able to do much modelling for the last few years because I've been heavily committed to my other love in life...Theatre. Having to retire from full-time work as a scenery and props artist in television and theatre, because of some health problems, I sat around making models as if there was no tomorrow. But then I needed to get out and do something to justify the pension I'm getting, so became a volunteer 'talking books' narrator for the blind, as well as getting back into Community Radio, which was something I did for a while during the '90s. Then I spotted an audition notice for a forthcoming Community Theatre production of FRANKENSTEIN and decided to go for it because I really enjoyed doing all the characters in the books I was narrating and figured that I might as well be on the stage.
I haven't had a break from both acting and painting stage sets for four years now. It's been great too...won lots of awards and made a lot of really good friends along the way. I'm still doing my radio programs twice a week too, but right now I'm taking a few months off from theatre so that I can get some modelling done.
Only trouble is, I'm finding it quite difficult to get my 'mojo' back. Still, I've had 'modeller's block' before and somehow got over it. Any day now something will just click and I'll be off again, turning them out one after another...at least I hope so anyway!
All the best to you, Terri...where can I find some of your models to look at?
Tim.
thegirl
Alberta, Canada
Joined: January 19, 2008
KitMaker: 6,743 posts
AeroScale: 6,151 posts
Joined: January 19, 2008
KitMaker: 6,743 posts
AeroScale: 6,151 posts
Posted: Tuesday, September 01, 2009 - 02:42 AM UTC
Hey Tim ! Wow you are a very busy man indeed . There is a few of us female modellers on this site ( we are better then the guy's you know ) Last year I ran a contest for us female models and had 8 sign up . Few of the guy's wifes are into it as well .
I mainly build WW 1 aircraft . Just finished doing a dual build review on Eduards Pfalz D.IIIa with Mark . Just Started building Rodens Kit of the Pfalz D.III in 32 scale as well as a vac kit of the Aviatik D.I in 48 scale for a Campaign . Finishing up a build for the stripes in the sky Campaign and will be starting another project for the Camel vrs Fokker Campaign .
So look in the early avaition forums and happy modelling
Tango-India-Mike
Western Australia, Australia
Joined: August 31, 2009
KitMaker: 88 posts
AeroScale: 79 posts
Joined: August 31, 2009
KitMaker: 88 posts
AeroScale: 79 posts
Posted: Tuesday, September 01, 2009 - 02:48 AM UTC
Thanks Plasticat! You got in while I was replying to Terri...I'm having major trouble with my computer and it's working VERY slowly and jerkily. I think it's got a virus of some sort and I'll have to get someone to come and fix it.
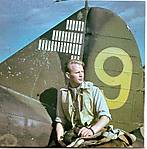
Yes, my pilot figures are an important part of creating the illusion. Each one is individually customised and I'll show you some of them soon. It can be a bit of a pain doing new figures for each model I build, so I really wish I knew someone who could cast some of my best ones in resin and save me all that work! Actually, a lot of people ask me about pilot figures because there's clearly a need for them, so if anyone here DOES know how to do it, then I'd be very happy to supply unpainted examples for mass reproduction.
A few you might like!
All the best,
Tim.
EDIT: Can some kind soul explain how I add the little yellow notice on the forums page that tells browsers that there are MODEL PHOTOS in these posts?
drabslab
European Union
Joined: September 28, 2004
KitMaker: 2,186 posts
AeroScale: 1,587 posts
Joined: September 28, 2004
KitMaker: 2,186 posts
AeroScale: 1,587 posts
Posted: Wednesday, September 02, 2009 - 01:17 AM UTC
This is really exceptional work!!!!
I wished having 5% of your talent
I copy Jean-Luc;
this just SCREAMS for a portfolio (or several of them)
and
a feature on how this was photographed.
I wished having 5% of your talent
I copy Jean-Luc;
this just SCREAMS for a portfolio (or several of them)
and
a feature on how this was photographed.
calvin2000
Colorado, United States
Joined: July 25, 2007
KitMaker: 886 posts
AeroScale: 332 posts
Joined: July 25, 2007
KitMaker: 886 posts
AeroScale: 332 posts
Posted: Wednesday, September 02, 2009 - 04:27 AM UTC
I echo what others are saying this is just outstanding stuff. keep posting so i can see more.
Kelly
Kelly
Tango-India-Mike
Western Australia, Australia
Joined: August 31, 2009
KitMaker: 88 posts
AeroScale: 79 posts
Joined: August 31, 2009
KitMaker: 88 posts
AeroScale: 79 posts
Posted: Friday, September 04, 2009 - 06:05 AM UTC
Thanks Kelly and Drabslab...here's a bit more flying plastic, as requested!
Airfix...Spitfire Mk I
Airfix...Spitfire Mk II (converted Mk I)
Airfix...Spitfire Mk Vc (converted Mk Vb)
Airfix...Spitfire Mk VI (converted Mk Vb)
Airfix...Spitfire Mk Vb.
Airfix 1/72 and Revell 1/44 Hurricanes Mk I.
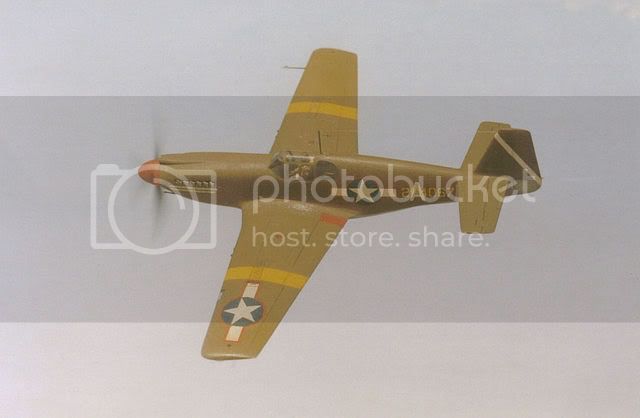
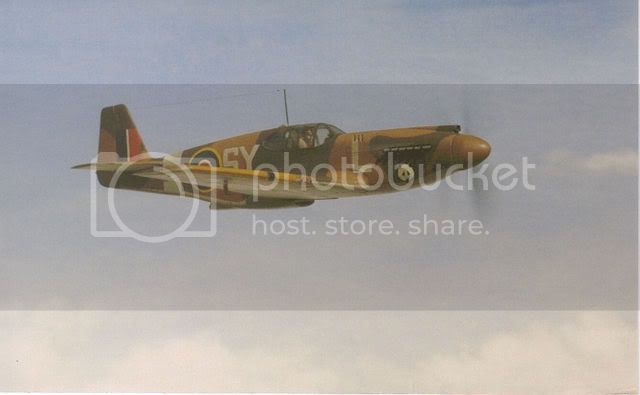
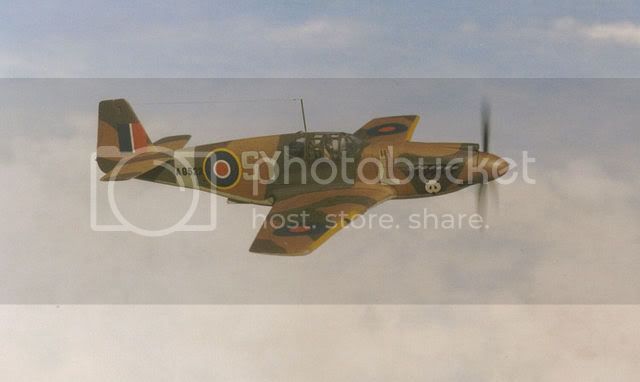
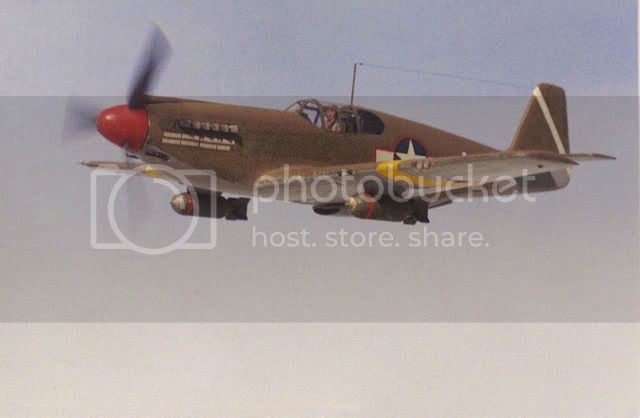
Frog...Mustang Mk II.
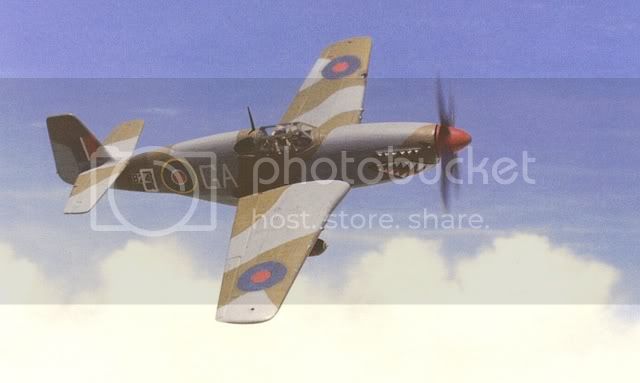
Airfix...Mustang Mk III.
Revell...Hurricane Mk IIb.
Pegasus...Defiant TT Mk II.
MPM...Wellington Mk Ic.
KP...Spitfire Mk XVIe.
Heller...Spitfire Mk XVIe
Brigade Models...Spitfire Mk XII.
Hasegawa...Spitfire Mk IXc
Hasegawa...Spitfire Mk IXc.
Hasegawa...Spitfire Mk IXe.
. . . .and there are plenty more where that lot came from!
Cheers all,
Tim.
Tango-India-Mike
Western Australia, Australia
Joined: August 31, 2009
KitMaker: 88 posts
AeroScale: 79 posts
Joined: August 31, 2009
KitMaker: 88 posts
AeroScale: 79 posts
Posted: Saturday, September 05, 2009 - 11:54 PM UTC
Sorry Neil, I now realise that your query about the blue-tack was not an incredulous exclamation about my method, but a question about what the stuff is! Talking with a few modelling friends today, I learned that the product name 'Bluetack' is not known in other countries...although similar material possibly would be familiar by other brand names. It's a malleable and tacky poster mounting adhesive...and here in Australia it's a pale blue colour. Something like slightly sticky modelling clay that you roll into a ball between your fingers, and is re-useable.
I hope that makes sense!
Tim.
I hope that makes sense!
Tim.
Posted: Sunday, September 06, 2009 - 12:40 AM UTC
Hi Tim
Simply amazing! As Jean-Luc suggests, your work would be perfect for a Portfolio Feature.
All the best
Rowan
Simply amazing! As Jean-Luc suggests, your work would be perfect for a Portfolio Feature.
All the best
Rowan
Gorizont
Sachsen, Germany
Joined: November 28, 2007
KitMaker: 1,462 posts
AeroScale: 27 posts
Joined: November 28, 2007
KitMaker: 1,462 posts
AeroScale: 27 posts
Posted: Sunday, September 06, 2009 - 01:39 AM UTC
Wow... on first sight, I thought the photos of the flying airplanes were real!
Great work!
greetings...
Soeren
Great work!
greetings...
Soeren