Thank you all very much for your kind words.
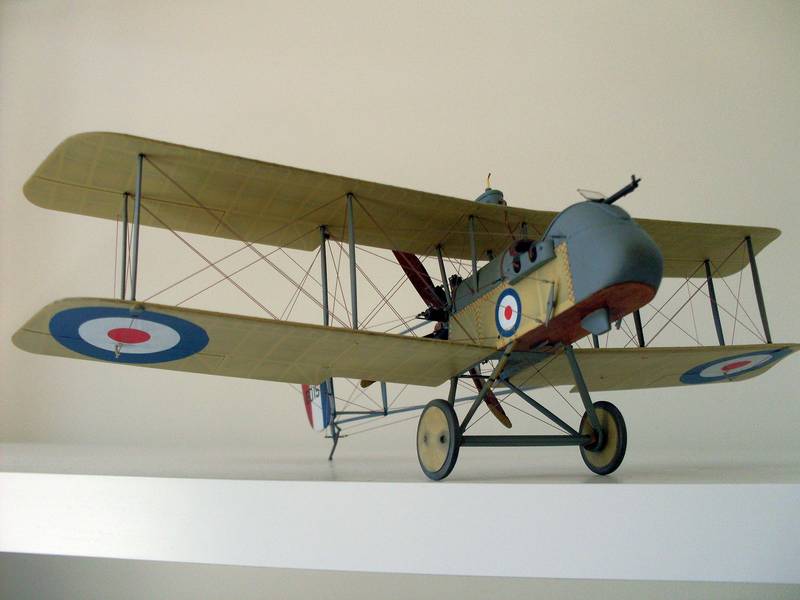
This is not one of Rodens better kits but it still makes up to be a pretty good looking model, I hope my build will encourage others to tackle this model.
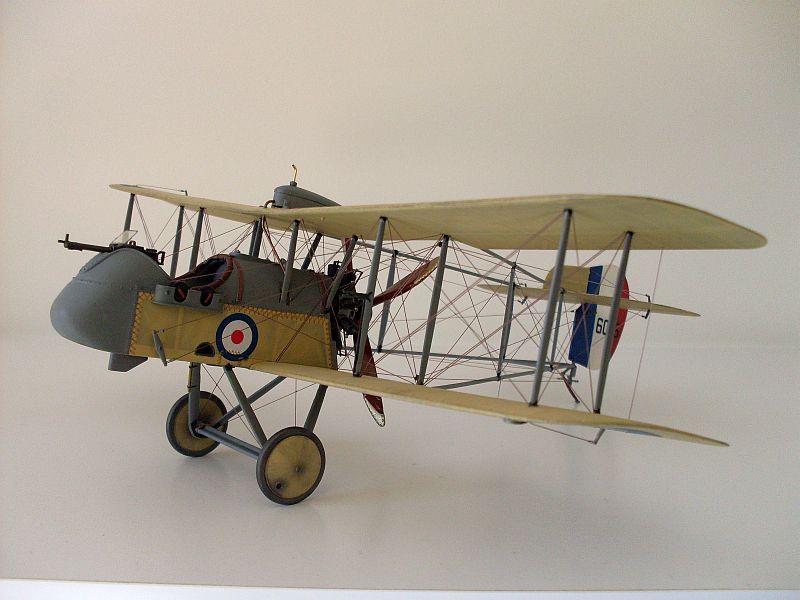
Terri, I used the kit supplied booms, they are flimsy but once rigged are reasonably stiff. I found the trickiest part of the entire build was fitting the tail section to the wings. Getting the alignment right and trying to hold it all in place was a little awkward. Care must be taken when rigging the tail section as it is very easy to distort.
Stephen, I did not keep a photographic file of this build so I would not be able to do a build log, thank you for the offer.
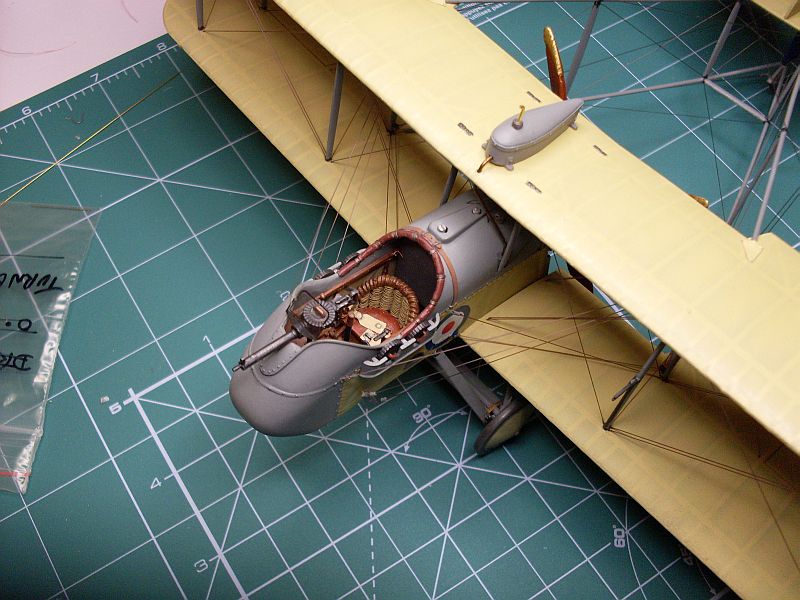
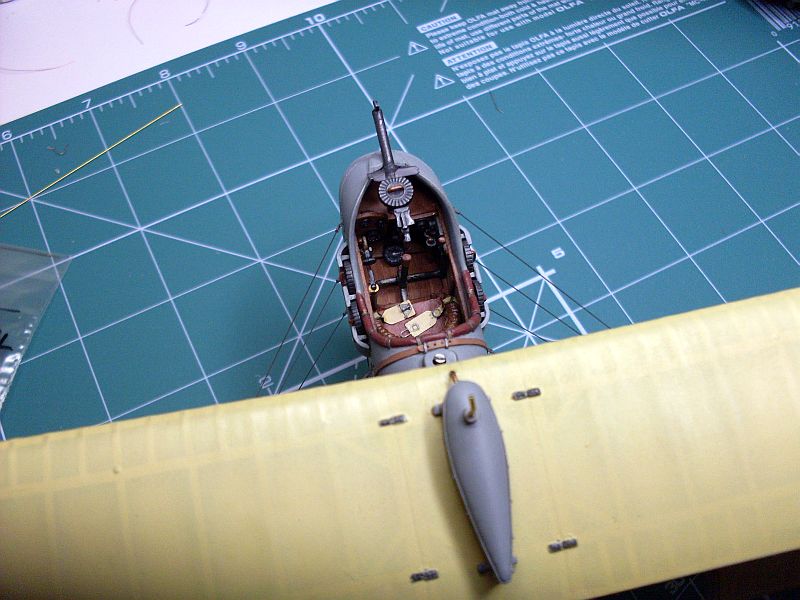
Tony, the stitching around the nacelle is only painted on, I then drilled a 0.2mm hole at each end of every stitch, gives the effect of the stitches going through the fabric. Rigging can look daunting but it is not as hard as it looks. I followed the Tim West rigging guide for this one.
Shawn, the pre-shading was my first attempt, I had seen it done by many other people and thought now would be a good time to start, I am very pleased with the result.
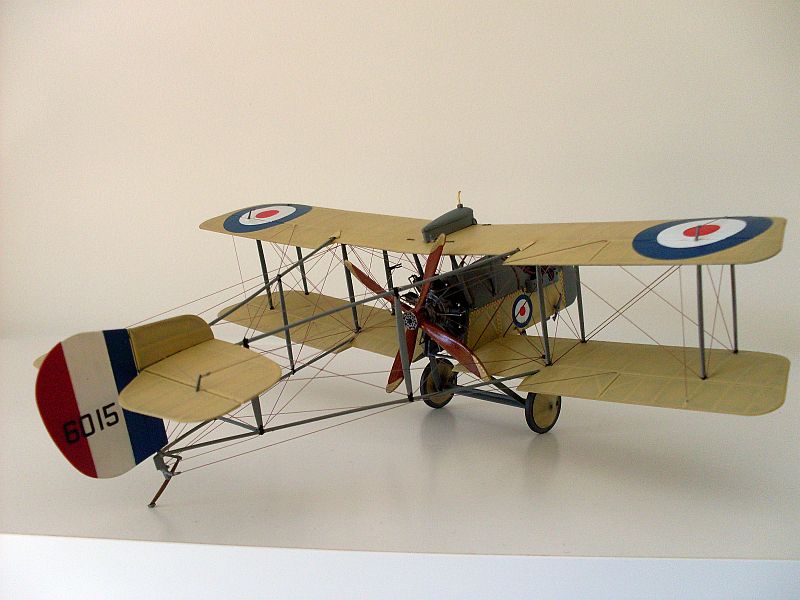
Mike, the prop is painted in oils over a coat of enamel, streaked to give a wood effect, prop tips are painted with gold leaf. Roden over did the rivets (or bolts or screws, I don't know what they use to hold the brass to the prop), so I thinned them a bit, I could have gone a lot thinner or better still remove them completely and fix new ones.
I would be only too pleased to answer any questions regarding this build, I have a very limited number of progress photos which I would gladly share with anyone who is interested.
Thanks again for your comments, I thoroughly enjoyed building this model and I am very proud of the end result.
Cheers
Des.
Check my site for 1:32 scale WW1 aircraft model build logs, build techniques, how to make turnbuckles and eyelets plus much more, plenty of photos of my finished models


 Tony
Tony


