Early Aviation
Discuss World War I and the early years of aviation thru 1934.
Discuss World War I and the early years of aviation thru 1934.
Hosted by Jim Starkweather
WNW GB 2009 -10 SE5a Carl
CaptainA

Joined: May 14, 2007
KitMaker: 3,117 posts
AeroScale: 2,270 posts

Posted: Sunday, December 06, 2009 - 10:35 AM UTC
2nd Build started. I have been Hijacking Terri's BLog. I am sure she will appreciate me starting my own thread.
thegirl

Joined: January 19, 2008
KitMaker: 6,743 posts
AeroScale: 6,151 posts

Posted: Sunday, December 06, 2009 - 10:51 AM UTC
no worries Carl ! Will be following your build just as well and looking forward to your take on this bird !
CaptainA

Joined: May 14, 2007
KitMaker: 3,117 posts
AeroScale: 2,270 posts

Posted: Friday, April 09, 2010 - 09:42 AM UTC
Hi folks. Remember this thread?
Some interior shots.

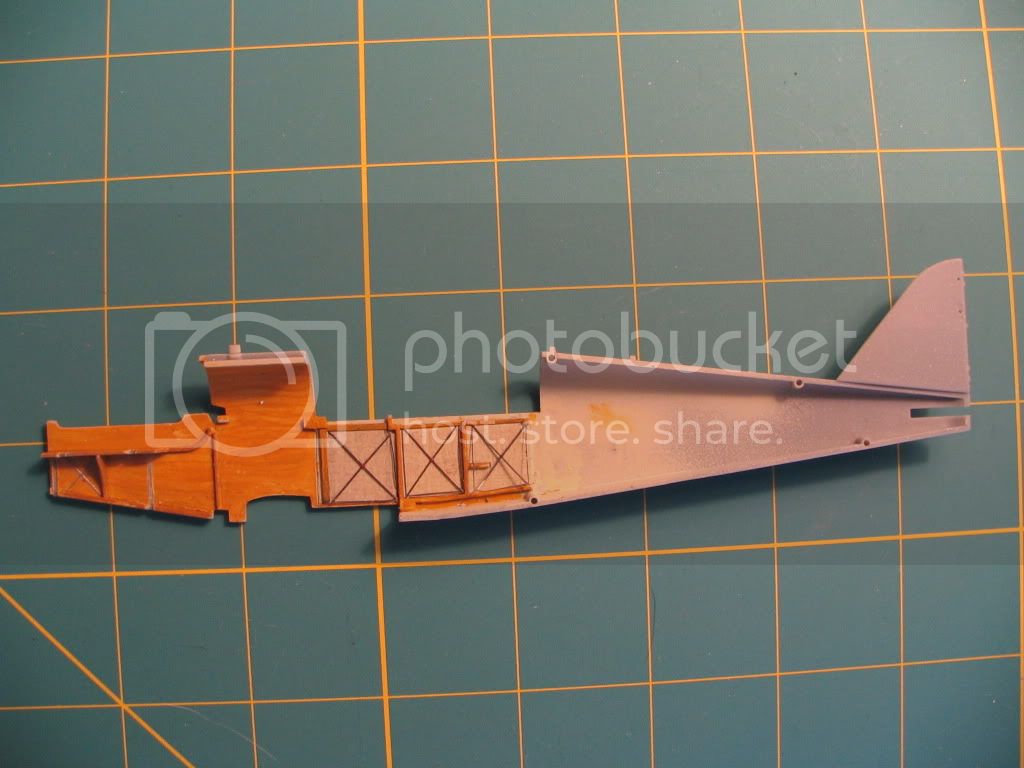

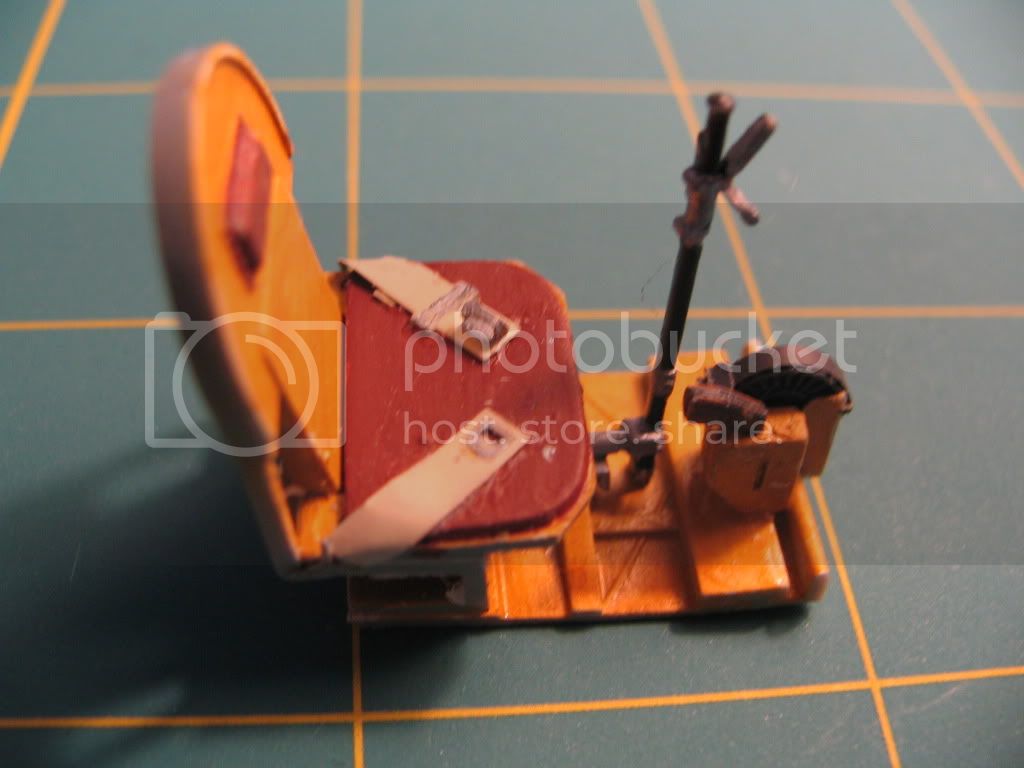

Trying to get my building mojo back. Three aircraft builds going on at once. There are also a few darkside builds going on in the background.
Thanks for looking.
Some interior shots.


Trying to get my building mojo back. Three aircraft builds going on at once. There are also a few darkside builds going on in the background.
Thanks for looking.

Mgunns

Joined: December 12, 2008
KitMaker: 1,423 posts
AeroScale: 1,319 posts

Posted: Friday, April 09, 2010 - 01:08 PM UTC
 Hi Carl:
Yeah, I remember this build.
 Anyway, looking good so far. Looks like you have photo etch interior parts. I like your highlights on the interior fabric.
JackFlash

Joined: January 25, 2004
KitMaker: 11,669 posts
AeroScale: 11,011 posts

Posted: Friday, April 09, 2010 - 03:48 PM UTC
There you are you little rascal!
thegirl

Joined: January 19, 2008
KitMaker: 6,743 posts
AeroScale: 6,151 posts

Posted: Friday, April 09, 2010 - 04:38 PM UTC
Nice to see you back on this build Carl . Nice touch with the linen decals . Tom has an excellent product . Just wish he would start doing this in 32 scale .
CaptainA

Joined: May 14, 2007
KitMaker: 3,117 posts
AeroScale: 2,270 posts

Posted: Friday, April 09, 2010 - 11:58 PM UTC
Quoted Text
There you are you little rascal!
Rascal? Yes
Little?


Quoted Text
Tom has an excellent product . Just wish he would start doing this in 32 scale .
I agree. I need lozenge.

Kornbeef

Joined: November 06, 2005
KitMaker: 1,667 posts
AeroScale: 1,551 posts

Posted: Saturday, April 10, 2010 - 12:55 AM UTC
Correction Carl....WE need lozenge, lovely work too by the way 

RAGIII

Joined: June 19, 2007
KitMaker: 604 posts
AeroScale: 600 posts

Posted: Saturday, April 10, 2010 - 01:55 PM UTC
Quoted Text
Correction Carl....WE need lozenge, lovely work too by the way
I agree on BOTH counts! well done so far Carl!
RAGIII
CaptainA

Joined: May 14, 2007
KitMaker: 3,117 posts
AeroScale: 2,270 posts

Posted: Sunday, April 11, 2010 - 12:20 AM UTC
He does offer the best lozenge around (Microsculpt for any Neophytes out there), and he also offers Texture you can use over the loz to make the loz look a little rougher. I used the texture over CDL and it really works there also. It is his 1/48th scale line, but I think it is perfect for 32nd scale. The colors of his loz are fantastic. The texture and loz can be seen on one of my earlier builds. (HALBOF, as Stephen would say.)
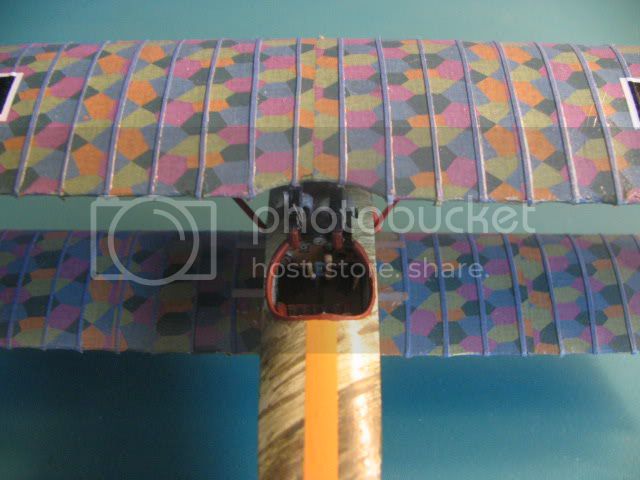
I did quite a bit of scraping and dryfitting to make sure everything would fit with the PE in place. The wood is simple oils. This is a great kit folks. The tolerances are very tight. So beware if you are using the PE set. And the PE set is so nice, you really should use it.
What's that D.VII doing in this post

CaptainA

Joined: May 14, 2007
KitMaker: 3,117 posts
AeroScale: 2,270 posts

Posted: Thursday, April 15, 2010 - 07:53 AM UTC
The Albatri are in there respective boxes for a few days. So I have pulled the SE 5a out of its box and began studying the instructions again. This bird has been sitting in its box for about 3 months, and I really need to figure out where I am and where I am going on this build. The Eduard PE really looks great, but needs some pre planning to get good results. So I am off to do a little studying.

Mgunns

Joined: December 12, 2008
KitMaker: 1,423 posts
AeroScale: 1,319 posts

Posted: Friday, April 16, 2010 - 03:08 AM UTC
 Hi Carl:
Ensure you study the instructions during the interior construction phase. THere are some areas that are out of sequence and can really cause a lot of hate and discontent if you don't scope them out and test fit. I don't have the areas in question at my finger tips; but it involves the fire wall and some other areas of the interior, so be sure to look ahead and and put things in their proper sequence. Once that is done, it is a real joy to build. I didn't like it at first, but I would do another one.
Best
Mark

CaptainA

Joined: May 14, 2007
KitMaker: 3,117 posts
AeroScale: 2,270 posts

Posted: Saturday, April 17, 2010 - 07:42 AM UTC
Quoted Text
Hi Carl:
Ensure you study the instructions during the interior construction phase. THere are some areas that are out of sequence and can really cause a lot of hate and discontent if you don't scope them out and test fit. I don't have the areas in question at my finger tips; but it involves the fire wall and some other areas of the interior, so be sure to look ahead and and put things in their proper sequence. Once that is done, it is a real joy to build. I didn't like it at first, but I would do another one.
Best
Mark
Thanks Mark
Update
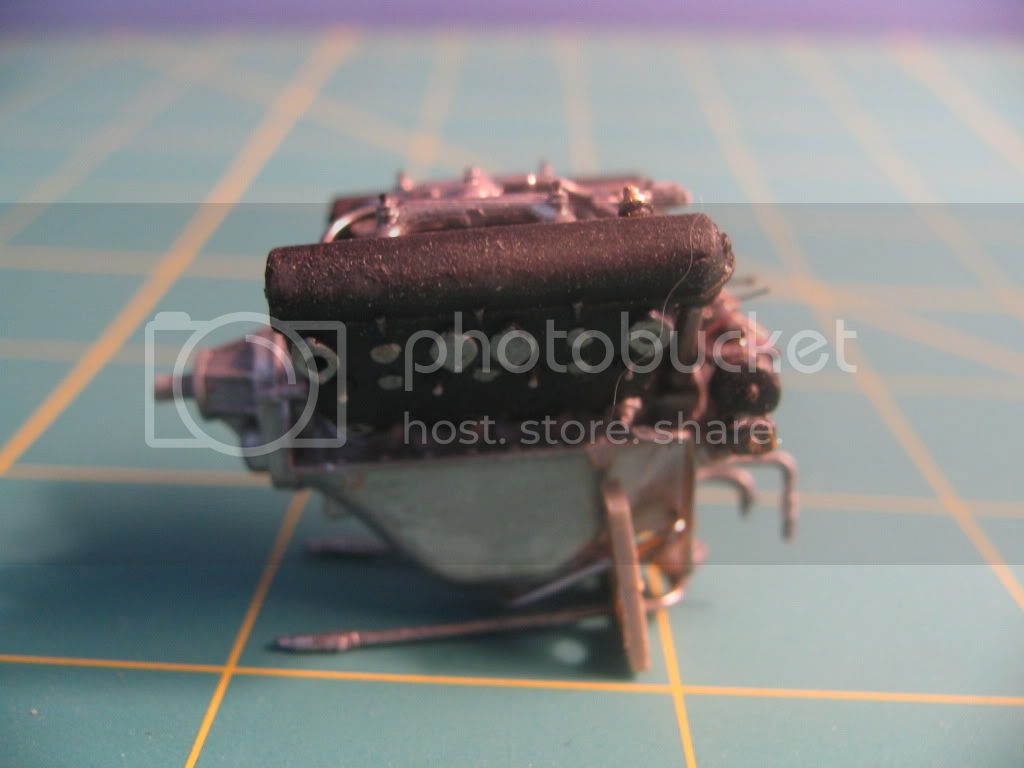
Just check out that cat hair.
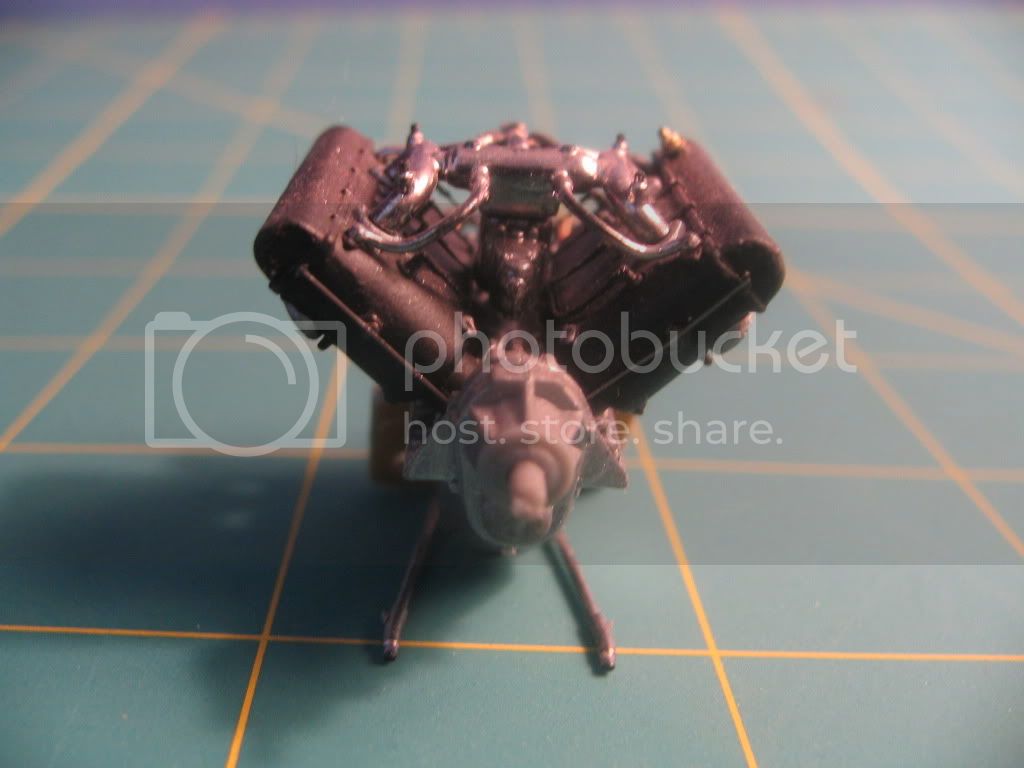

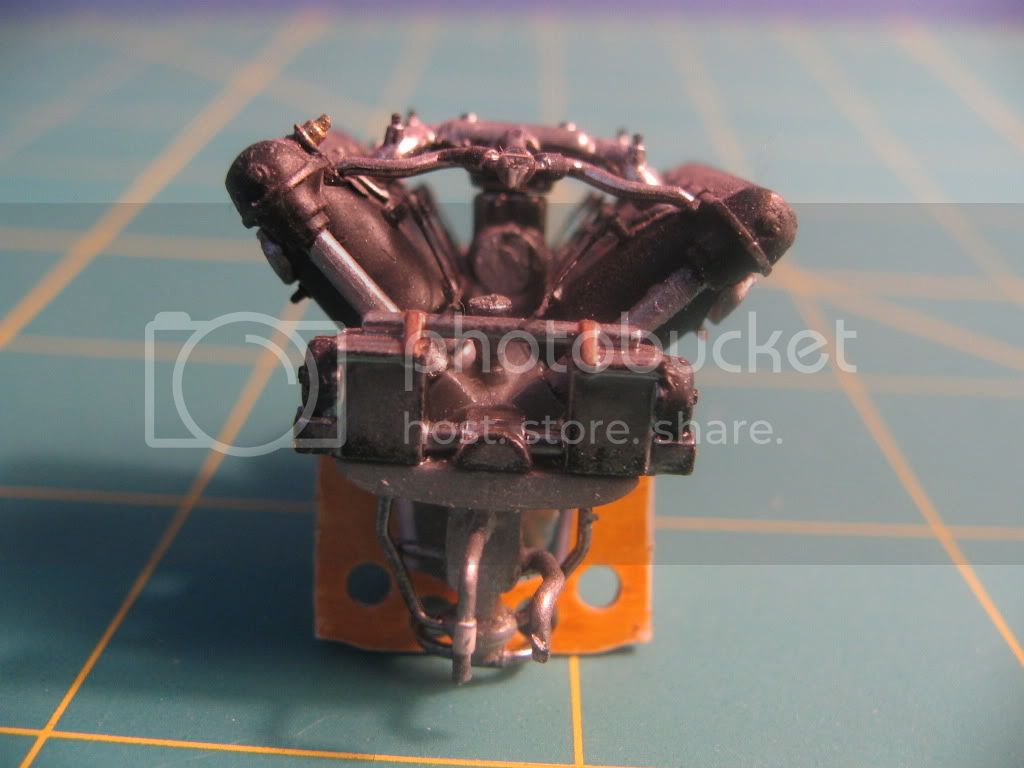
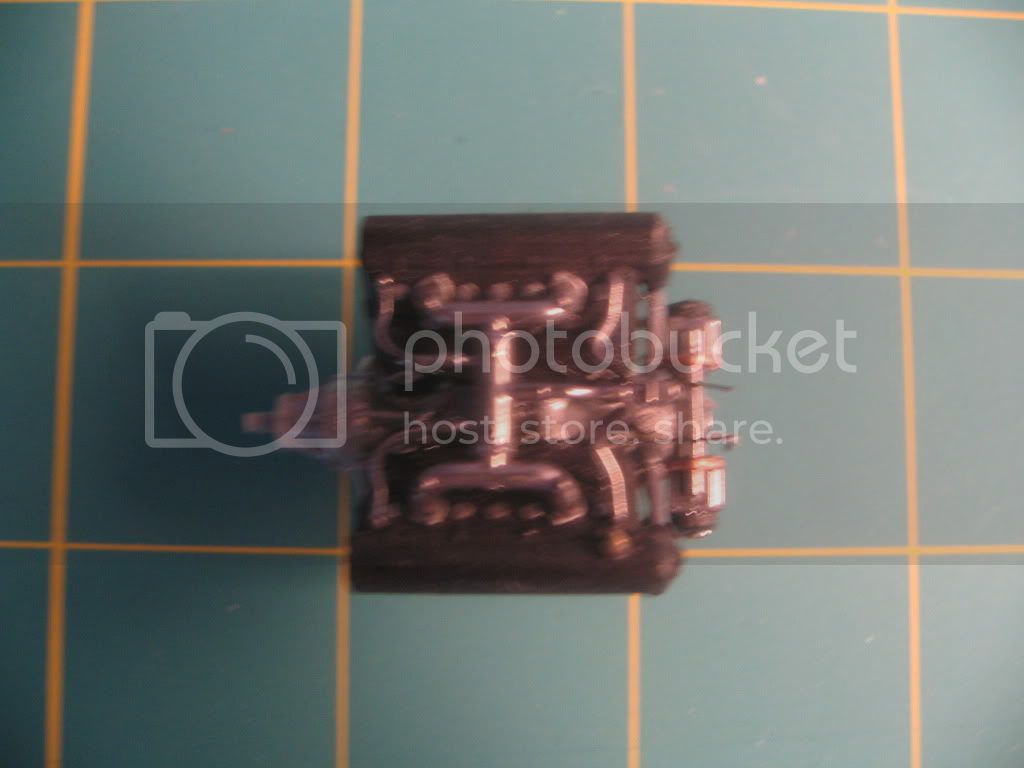
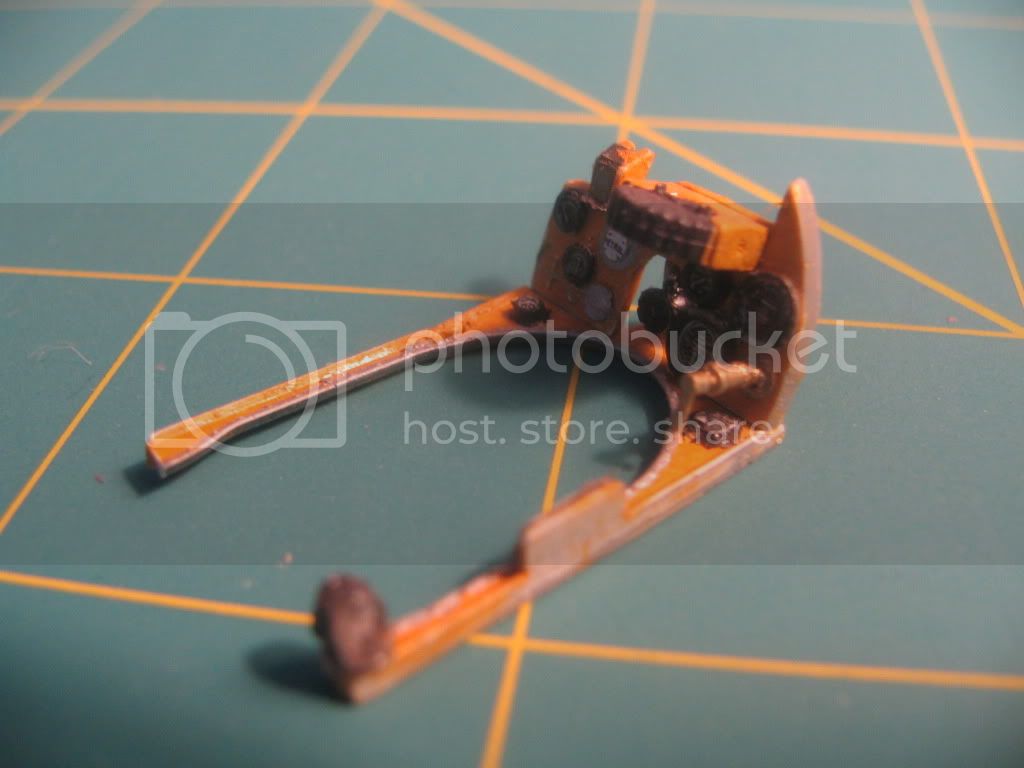

The Eduard set really enhances the office, doesn't it?
Looks like I might be joining the fuselage halves soon. Progress at last. Gotta go out and tend my garden now.
CaptainA

Joined: May 14, 2007
KitMaker: 3,117 posts
AeroScale: 2,270 posts

Posted: Monday, April 19, 2010 - 01:40 AM UTC
Progress. I am just about ready to join the fuselage. I hope to get that done later, if I get some time in the cave today. This is a nice kit.
thegirl

Joined: January 19, 2008
KitMaker: 6,743 posts
AeroScale: 6,151 posts

Posted: Monday, April 19, 2010 - 03:18 AM UTC
Engine looks great so far Carl ! The Ed set really set's off the instrument panel just right . Nice wood effect as well .
CaptainA

Joined: May 14, 2007
KitMaker: 3,117 posts
AeroScale: 2,270 posts

Posted: Tuesday, April 20, 2010 - 08:55 AM UTC
Thanks Terri.
I did not get into my cave yesterday, but I spent all morning in there today. I have been working on the underside of the wings. When it dries up, I can post some pictures.
I did not get into my cave yesterday, but I spent all morning in there today. I have been working on the underside of the wings. When it dries up, I can post some pictures.

Mgunns

Joined: December 12, 2008
KitMaker: 1,423 posts
AeroScale: 1,319 posts

Posted: Tuesday, April 20, 2010 - 09:14 AM UTC
Hi Carl:
Looking good. I think the Eduard set really brings the dash board to life, as to the engine, you can't see anything if you button it up. It's nice to know that I am not the only one to fight the daily battle against cat hair encroachment.
Take care
Mark
Looking good. I think the Eduard set really brings the dash board to life, as to the engine, you can't see anything if you button it up. It's nice to know that I am not the only one to fight the daily battle against cat hair encroachment.

Take care
Mark
CaptainA

Joined: May 14, 2007
KitMaker: 3,117 posts
AeroScale: 2,270 posts

Posted: Tuesday, April 20, 2010 - 10:52 AM UTC
Quoted Text
Hi Carl:
It's nice to know that I am not the only one to fight the daily battle against cat hair encroachment.
Take care
Mark
It is more of a full scale invasion.
CaptainA

Joined: May 14, 2007
KitMaker: 3,117 posts
AeroScale: 2,270 posts

Posted: Wednesday, April 21, 2010 - 07:30 AM UTC
I have been working on the lower sides of the wings. Since it is aupposed to be CDL, my goal was to convey a sense of depth. These pictures really don't show it to well, but in person, it really lookes like it is three dimensional.
Lower starrboard wing. This picture shows the fabric texture quite well.

A close up of the same wing. You can get a little sense of depth in this one.

This is what the wing looks like before adding the texture decals. These pictures look a little dark, but the colors are almost exactly the same as the pictures of the lower wing surfaces in the modern day color photos.

This photo shows the untextured wing with a textured Aileron for comparison.

A close up of the previous picture.

Different angle.

That is all for now.
Lower starrboard wing. This picture shows the fabric texture quite well.

A close up of the same wing. You can get a little sense of depth in this one.

This is what the wing looks like before adding the texture decals. These pictures look a little dark, but the colors are almost exactly the same as the pictures of the lower wing surfaces in the modern day color photos.

This photo shows the untextured wing with a textured Aileron for comparison.

A close up of the previous picture.

Different angle.

That is all for now.

edoardo

Joined: November 30, 2007
KitMaker: 642 posts
AeroScale: 382 posts

Posted: Wednesday, April 21, 2010 - 08:23 PM UTC
Hi Carl!
The texture decal are a real improvement on the look of the surface!
It should require a very careful painting job, though... are they used as a preshade or do you apply them over CDL paint?
I am really curious on how it will turn out!
ciao
Edo
The texture decal are a real improvement on the look of the surface!
It should require a very careful painting job, though... are they used as a preshade or do you apply them over CDL paint?
I am really curious on how it will turn out!
ciao
Edo
CaptainA

Joined: May 14, 2007
KitMaker: 3,117 posts
AeroScale: 2,270 posts

Posted: Thursday, April 22, 2010 - 12:11 AM UTC
Thanks Edo,
I painted the entire wing using Polly Scale Dirty White. Then I masked the ribs and spars. Next, I dusted them with Stardust Powders Light Dust mixed with a little MIG Faded Green, fixed in place with a coat of clear flat. Then a second coat of dusting and clear flat. Pull all the masking tape and dust with the Light Dust to blend everything together and finish it off with a clear coat of gloss. Decal with the Texture decals from Microsculpt.
It really does not translate well in pictures, but it does take a 3-D appearance. All the levels built up under a mostly clear decal really work well. I picked up the pigment skills from my building days (Forgive me, but I am / was a Cavalry Captain). I added the Faded Green to pick up a tint of the PC10 showing through from the top wing, with a ratio of about 7 dust : 1 Faded Green.
In retrospect, I would use white instead of Dirty White, to lighten it up a bit, and I would Add a bit more Faded Green than I did. But, Holding the wing up against the picture of the undersurface pictures, my biggest critic / supporter said the colors were almost exact.
I painted the entire wing using Polly Scale Dirty White. Then I masked the ribs and spars. Next, I dusted them with Stardust Powders Light Dust mixed with a little MIG Faded Green, fixed in place with a coat of clear flat. Then a second coat of dusting and clear flat. Pull all the masking tape and dust with the Light Dust to blend everything together and finish it off with a clear coat of gloss. Decal with the Texture decals from Microsculpt.
It really does not translate well in pictures, but it does take a 3-D appearance. All the levels built up under a mostly clear decal really work well. I picked up the pigment skills from my
 building days (Forgive me, but I am / was a Cavalry Captain). I added the Faded Green to pick up a tint of the PC10 showing through from the top wing, with a ratio of about 7 dust : 1 Faded Green.
 In retrospect, I would use white instead of Dirty White, to lighten it up a bit, and I would Add a bit more Faded Green than I did. But, Holding the wing up against the picture of the undersurface pictures, my biggest critic / supporter said the colors were almost exact.

Mgunns

Joined: December 12, 2008
KitMaker: 1,423 posts
AeroScale: 1,319 posts

Posted: Thursday, April 22, 2010 - 08:50 AM UTC
 Hi Carl:
I have used those decals to good effect, but didn't use them on my SE5 build. I think yours look outstanding, and know how the camera does not convey the 3d effect to good effect. I plan on using it on the Pup when I get to it.
What are your thoughts concerning the SE5 to this point?

Take care
Mark


Kornbeef

Joined: November 06, 2005
KitMaker: 1,667 posts
AeroScale: 1,551 posts

Posted: Thursday, April 22, 2010 - 09:52 AM UTC
Beautiful...... nothing more to add
Keith
Keith

edoardo

Joined: November 30, 2007
KitMaker: 642 posts
AeroScale: 382 posts

Posted: Thursday, April 22, 2010 - 11:22 PM UTC
Hi Carl!
Really a great work, and a piece of craftmanship!
Great attention to details, too!
Since I learned you are a "cross modeller", may I ask if did you put something in Armorama?
Ciao
Edo
Really a great work, and a piece of craftmanship!
Great attention to details, too!
Since I learned you are a "cross modeller", may I ask if did you put something in Armorama?
Ciao
Edo
CaptainA

Joined: May 14, 2007
KitMaker: 3,117 posts
AeroScale: 2,270 posts

Posted: Friday, April 23, 2010 - 12:30 AM UTC
Quoted Text
What are your thoughts concerning the SE5 to this point?
I like pretty much everything about this kit. It is a wonderful piece of engineering. The tolerances are very close, maybe to close. Adding the Eduards PE makes it necessary to do some thinning on the plastic. I could not get the fuselage to join to the lower wing because of the PE. I had to do some scraping on the lower wing section to get them to mate up. Very important to test fit. Almost as important as keeping parts away from the heat lamp.
 This is a great kit that deserves more attention from modelers.
 Quoted Text
Since I learned you are a "cross modeller", may I ask if did you put something in Armorama?
Ciao
Edo
When I started on Kitmaker, I did mostly tanks for about the first year. I liked the folks better over here in Early Aviation. So I found myself staying over here more and more. I always loved the early aviation. My first kit was an Albatros way back in about 1966 or so. So I have done many kits in Armor. I also have one going over in the Ferarri GB right now. It is good to cross model as skills learned in one specialty often can be useful in another, unexpected area. If you look at my signature banner, you will see a Mk. IV tank in heavily worn desert camo. So, Yes, I put a lot of things on ARMORAMA.
Thanks Keith. I just wish the pictures showed the dimensionality better. I am going to see if I can take some better pictures later with more light and the Super Camera. I have been taking pictures with my old camera that was broken. I found out there was a recall on the old camera and got it fixed free. I like it because it is easier to use. But the other camera really takes great pictures and is much better at close-ups. But rain is forecast today and tomorrow.
Update
I got the rest of the undersurfaces textured yesterday. I have not gotten to the fuselage join yet, but I will probably do that next, then paint the upper wing surfaces and wrap-around. I also want to practice some weathering techniques for the CDL around the areas mud would splatter up.
Thanks for your comments
 |


