I had at home an Airfix Spit Mk 1 that someone had chucked into a kit I bought secondhand as spare parts...they'd done a shocking job on it. Nevertheless it looked a fine test subject to learn how to use the brush.
All paints were Tamiya Acrylics.
Lessons Learned and Conclusions Drawn
From my massive two days experience

1. Like many people, I was initially highly apprehensive, but I need not have been. It is relatively simple....although I can easily see that expertise is a long way off!
2. Pull your airbrush apart before you start and just have a look. It corrected a number of mis-apprehensions on my part...eg when I hear people talking about .35mm needles I imagined a hypodermic type thingy with a .35mm hole in the tip. Not so. It's a solid needle forming the flow through a hole in the tip of the airbrush of the appropriate size. I imagine that pulling the needle back a little adjusts the spray pattern (haven't tried this yet).
3. I'm actually very glad I started with a double action. Being to do air-on before introducing paint is excellent for getting any paint spatter out of the way and also sorts out any water building up in the line.
4. See above....I need a moisture trap and so will you unless you're working in a humidity controlled environment. Auckland in December is humid and I'm working un-airconditioned just off the garage. But turning air-on away from the model for a sec or two then bringing it to the model without turning the air off is good practice and usually clears any water there might be.
5. Thinning paint is easy to over-do initially, but is quickly routine by sight. I was thinning about 50% early on, but probably settled to 40% later.
6. Don't put thinners in your jar with the paint. Mix it in the cup. Why? Because unless its a new paint bottle with a tight fitting cap, the paint is now thin enough that shaking it is a BAD idea. Your imagination can fill in the details.
7. Use the lowest air pressure you can. The paint goes on better and the air is less likely to blow it around. It lets you get closer to the model which is great for accuracy and better lines/less overspray...unless you're trying to do big areas at once.
I started on 15-20PSI, but by the end was trying (the compressor regulator is not terribly precise) about 10-15PSI. This is actually slightly problematic with a syphon feed which needs more energy to haul the paint up, but it will come...sometimes took a few secs to get a flow going.
8. Acrylic paints don't stink, but thinners do. Being a beginner, I purchased the Tamiya thinners for flow enhancing and retarding (as well as thinning ofc). The place soon reeked, and this is with a large window open. I may use water more for in-between-colour cleaning, but you're still using plenty of thinner in the actual plaint. Some ventilation and/or a mask will be a must. Because I'm sharing a room with the family PC, I'm going to have to do something about an extractor fan. It just won't do.
9. Cleaning ain't so bad. Soon got the hang of it, and the pieces are fairly robust. Cotton-buds (or Q-tips as I understand they are called) are your friend. I am now the cotton-bud distributor's friend, as I will be putting his children through university. You can never have too many.
10. Picking up paint to put into the cup. I was using a couple of big droppers I got from a chemist....but they do retain a heap of the paint; seems kind of a waste.
What I'm going to do is get a bunch of squirt bottles from somewhere and tip my paints into them. Can't see it costing much. Squirting straight into the cup will be the way to go.
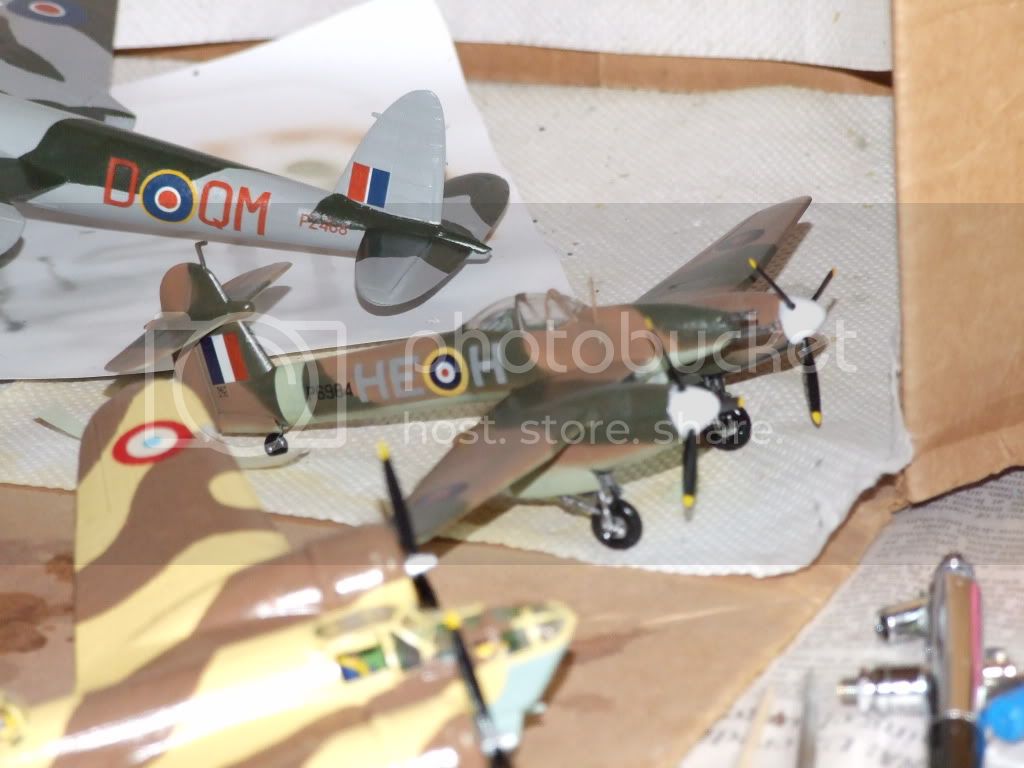
11. Masking is a pain in the ass.
There's a hard line to find between something that will stick and something that will then pull off the underlying paint. My paint masking tape comes off too easy when there are obstructions lurking close to the line, meaning the demarcation suffered.
I cut out camou masks from paper and stuck them in place with blue tack...beware the tendency to make your masks bigger than they ought to be; left the second colour a bit aneamic. Not to mention I also masked the actual areas I wanted to colour green...LOL....but no matter. I just have a test Spit with the green and brown camou areas reversed from normal.
I bought some more blu-tack and will try using that for curving camouflage, but straight lines still needs masking tape. Will experiment with thinner and thinner widths of tape that avoid other bits on the model lifting it.
12. You don't always have to mask if you don't need a hard-edged or dead straight line. I can already see that you can get quite a decent demarcation by hand. Will just need more practice. Another reason I'm happy to have a double-action first.
13. Spray some stuff on the sprue or on cocktail sticks + bluetack. Too much hassle to mask it properly once it's on the model. Things in this category are props & spinners and undercarriage.
14. Spray back and forth rather than in one place. Build up the colour. Sticking to one spot invites puddling. Back and forth.
14. Moving your airbrush back and forth rapidly leads to unplanned redecoration of your desk surface
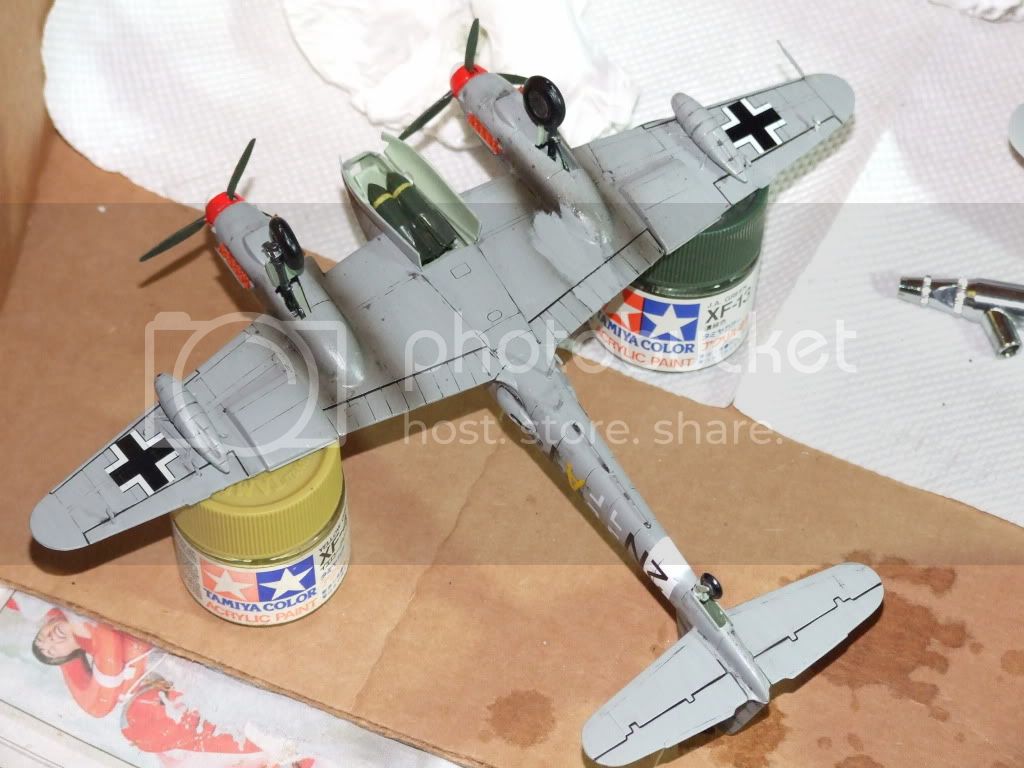
On a related note, try not to fill up your cup too far. Half a cup is far more than enough for a single engine 1/72. Any more is just asking for it to be slopped over the table by some clutz who shall remain nameless.I'm sure I can think of more but that will do..and my lunch hour is ending. Thoroughly enjoyed my first run with an air brush, and by the end of it was confident enough to spray a white band around the fuselage of my Italeri Me 210, which went ok although I managed a very slight spider right at the start as there was still thinner left in the brush from the colour change clean.
Looking forward to experimenting more with it, as well as painting my first "real" model....which will likely be an Airfix Hudson with a simple three colour scheme. I think we'll be leaving the German camouflages for just a wee while yet!