Okay: I know I said I was going to do the old Aurora Breguet 14, I still might, but I had to break the 'curse' of the WNW SE5, and my girlfriend really wanted to see this LVG to completion: She got it for me as a Christmas Present; so here goes.
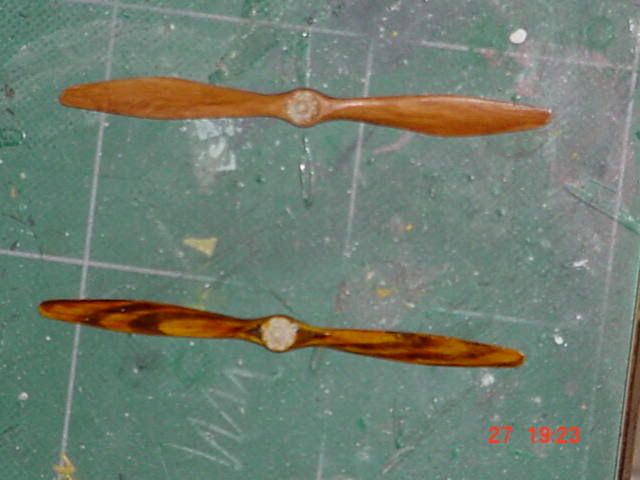
Here is the scheme I am going to do it in. I am going to try the dark stain, just to mix it up, as we have seen the light, honey textured stain by many on this forum. According to some of the photo's it seems to indicate a darker stain.

I had seen some work using the SPADA decals wood grain, and the old Aero Scale wood grain, so I thought I would give it a go. This is the starboard fuselage half. I used Aero Scale wood for the forward panels, and shifted the direction, I then highlighted them with Tamiya Clear Yellow and orange. The wood grain towards the rear is the WE32_03 over Tamiya Deck Tan. On some panels I used Clear orange, others I used clear yellow. I thought I would try something different and see if I liked it. As it is the inside it isn't real well seen, and if I didn't like I could always remove it and start over. Personally, I like it. On the middle and other panels where I used the Aero Scale, I overlaid it with W48-05, a real fine grain to give it some depth.


Here the fuselage halves are together and you can see the decal wood grain gives it the effect of different panels. I used the measurement of the outside engraved panel lines and put the decal in the approrpriate spot inside the fuselage. Again I changed the direction of the grain to give it interest.

This is the cockpit tub from the front view. The wood grain here is WE32-003 over a combination of Tamiya Deck Tan as the base, over laid with a mix of Tamiya Clear Orange and Yellow.

From the rear using the same technique

The starborad side showing some of the detail. I painted the seat Model Master Leather and a light green as per the instruction photo, the gas tank is Model Master Brass. I used thin wire for the control cable going to the rear, and EZ line on the rudder pedals.

This has been a fun build up to this point. I am happy with the decals wood grain effect. I ordered more from Mike Taylor at Misterkit USA. There are several grains available and they can be used together for different effects.
Stay tuned for more.