Modern (1975-today): USA
Modern aircraft of the United States.
Kitech F-16 Build Log
Merlin
Staff MemberSenior Editor
AEROSCALE
#017
_VISITCOMMUNITY
United Kingdom
Joined: June 11, 2003
KitMaker: 17,582 posts
AeroScale: 12,795 posts
Posted: Monday, March 08, 2010 - 09:40 AM UTC
Cheers Mark

That's a very neat bit of lateral thinking! I'm not sure if I can get Testors' paint pens this side of the Pond, but I've seen Tamiya ones. I'll definitely give it a try.

All the best

Rowan
md72
#439
_VISITCOMMUNITY
Washington, United States
Joined: November 05, 2005
KitMaker: 4,950 posts
AeroScale: 3,192 posts
Posted: Tuesday, March 09, 2010 - 04:36 PM UTC
Wow, I'm sorta impressed with myself. I've been collecting modeling tips for years . Never figured I'd be able to return the favor. Cheers
md72
#439
_VISITCOMMUNITY
Washington, United States
Joined: November 05, 2005
KitMaker: 4,950 posts
AeroScale: 3,192 posts
Posted: Monday, March 15, 2010 - 09:18 AM UTC
Got a lot of work done this weekend. Not sure if it will count as progress.

First, words of thanks to the F-16 modelers who have suggested using house paint to paint / smooth and finish the intake. I tried it and it worked well enough to consider using on the rest of the F-16 squadron in the stash. Any hints on masking the interior to get the ‘aluminum’ finish on the leading edge of the intake are welcome.

I added some weight to the nose, but the molder doesn’t suggest if any is needed. I’ll have to get a balance test started to see if I have enough weight before I close up the fuselage.

The landing gear was driving me a bit crazy. From my perspective, the gear struts were molded backwards and they were missing an attachment point for the actuator piston. The rectangular bosses that would mate with the oleo struts were on the back side of the struts. So, I cut off the mounting posts, drilled holes through the old locations and installed some rod stock thru the holes to the opposite side. I also drilled holes for the actuator strut mounting post that was missing and glued in more rod. If these gear don’t go together and look a little like an F-16, it’s all my fault now.

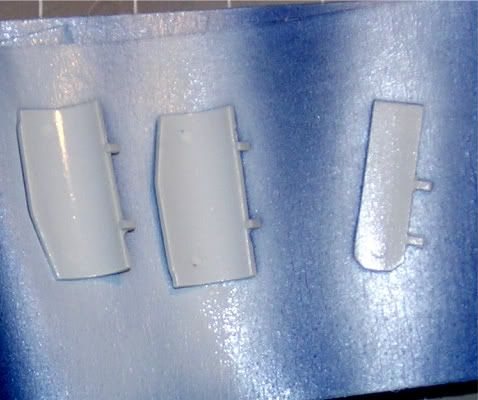
I had hoped to leave the landing gear parts on the sprue and spray them in one pass. Unfortunately the mold halves were slightly off set so I had to cut them free and clean up the misalignment. I ended up painting them by hand. Cleaned up the ejector pins on the doors while I was at it. Sadly, while the instructions show some nicely detailed LG doors, the molded parts are completely lacking in detail.

Now to the ‘big’ event. I managed to find where I packed my airbrush 3 years ago. So I cleaned up all the remaining white parts and got them ready to paint. Gathered up another orphan project that also needed some white paint. I’ve got a nice jar of Tamiya white that I thought would work well, unfortunately, Sunday evening is not a good time to locate the appropriate thinner for Tamiya acrylics. My first try with Testors acrylic thinner didn’t produce globs of a paint like substance but neither did it produce anything that flowed through the airbrush either. A complete airbrush rebuild later, I noticed that I had a medium needle and a fine tip. I found the old fine needle and reassembled the brush and started over again Testors paint and thinner. That worked a lot better and I managed to use up nearly all of the paint I mixed.

Once I get some photos posted, it’s onto getting ready to close it up and get closer to finished.
md72
#439
_VISITCOMMUNITY
Washington, United States
Joined: November 05, 2005
KitMaker: 4,950 posts
AeroScale: 3,192 posts
Posted: Tuesday, March 16, 2010 - 02:29 AM UTC
Photos:
Main gear bay:


Gear doors: Almost got the ejector pins filled


Gear bits and house painted intake:


Thanks for stopping by.
Merlin
Staff MemberSenior Editor
AEROSCALE
#017
_VISITCOMMUNITY
United Kingdom
Joined: June 11, 2003
KitMaker: 17,582 posts
AeroScale: 12,795 posts
Posted: Tuesday, March 16, 2010 - 09:11 AM UTC

Quoted Text

Got a lot of work done this weekend. Not sure if it will count as progress...


Hi Mark

LOL! I think that sounds like my average modelling session - I know I must have done a reasonable amount because hours have gone by, but there's s*dd-all to show for it!

I'm glad you got your airbrush sorted - that is time well spent that will repay dividends in future.

What's the blue tape you use to mask with? Anything special? - I haven't come across anything that colour this side of the Pond.

All the best

Rowan
md72
#439
_VISITCOMMUNITY
Washington, United States
Joined: November 05, 2005
KitMaker: 4,950 posts
AeroScale: 3,192 posts
Posted: Tuesday, March 16, 2010 - 11:21 AM UTC
3M (and various knock offs) 'Blue' painter's tape. Supposed to be a low tack masking tape. Plenty of it to be found in our local big box home improvement stores.
Merlin
Staff MemberSenior Editor
AEROSCALE
#017
_VISITCOMMUNITY
United Kingdom
Joined: June 11, 2003
KitMaker: 17,582 posts
AeroScale: 12,795 posts
Posted: Tuesday, March 16, 2010 - 07:54 PM UTC
Cheers Mark

I have "low-tack" tape OK - I've just never seen blue stuff. It's certainly striking.

All the best

Rowan
md72
#439
_VISITCOMMUNITY
Washington, United States
Joined: November 05, 2005
KitMaker: 4,950 posts
AeroScale: 3,192 posts
Posted: Monday, March 22, 2010 - 08:09 AM UTC
Another weekend with lots of work and no progress. I spent most of my time on 1:1 projects, but. I tried to strat working on the inlet-skins-NLG sub assy. The engineering might have been close, but the molding didn't catch up. The inlet is molded in one piece and has the two side skins that wrap around it and trap the NLG bay. The whole sub assembly fits into a well behind the splitter and infront of the MLG bay. Coulda worked.
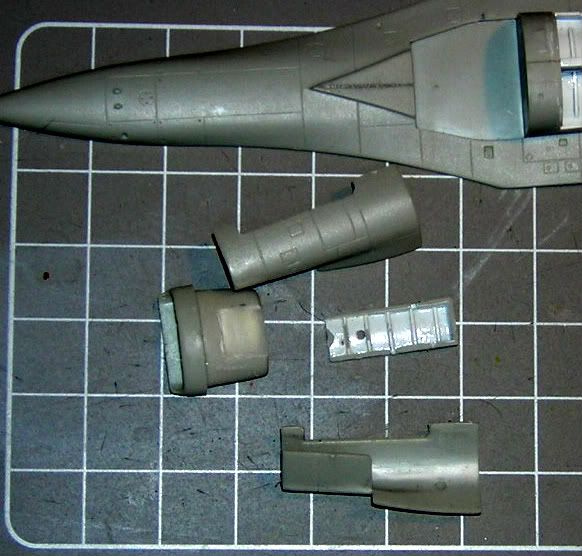
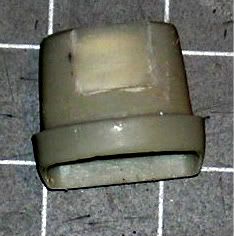
Unfortunately, where the 2 side skins were supposed to match the shape of the inlet, they shrank as they cooled. Slipping them over the inlet stretched them back to the desired shape, but left stress whitening along the curve. Hope that paints out. The overall width of the 2 side skins seems to be a bit larger than the width of the fuselage infront of the MLG bay. Simple enough toe sand out and that's done.

The true failure was that the inlet fits so tightly to the bottom surface of the skins, there is no room for the NLG bay. I tried to sand all the parts out, including trying to maintain the curve on the bottom of the NLG bay. No luck. My latest attempt, and it seems to be working, is to chisel out a section of the inlet to match the outline of the NLG bay. It's close, but I have to avoid chiseling into the inlet. Hope to have phots to post tomorrow, just wish I'd thought to take pics of the before condition.......
md72
#439
_VISITCOMMUNITY
Washington, United States
Joined: November 05, 2005
KitMaker: 4,950 posts
AeroScale: 3,192 posts
Posted: Tuesday, March 23, 2010 - 02:27 AM UTC
Here's the photos:
THe collection of suspects. What looks like light reflecting off of the inlet cover is the stress whiteing I mentioned.


Here's the inlet with the NLG bay chiselled out. The white glow is the paint on the inside of the inlet.

md72
#439
_VISITCOMMUNITY
Washington, United States
Joined: November 05, 2005
KitMaker: 4,950 posts
AeroScale: 3,192 posts
Posted: Saturday, March 27, 2010 - 09:02 AM UTC
No build update today. Maybe something Sunday or Monday.

Just wandered through the stash and took a look a look inside the Hasegawa F-16B box. Grrrrr The Kitech sprues have a distinct relationship to the Hasegawa ones. Kitech had 2 sprues and the Hase has 4, one for the two place cockpit. But Kitech managed to get all the parts in pretty much the same place (relationship part to part) as Hase did. Hase did manage to get much sharper details and it looks like the got the MLG parts right. It also looks like the details shown in the Kitech instructions match the Hase parts, but not actually on the Kitech ones.
md72
#439
_VISITCOMMUNITY
Washington, United States
Joined: November 05, 2005
KitMaker: 4,950 posts
AeroScale: 3,192 posts
Posted: Tuesday, March 30, 2010 - 11:12 AM UTC
A tiny bit of progress:

I stuffed some plastic stock into the huge gaps in the inlet. .045 at the back, .036 rod along the center seam, and .02 between the inlet and the shell. Since then I've actually trimmed the .02 glush and started to get some filler into the smaller cracks.
md72
#439
_VISITCOMMUNITY
Washington, United States
Joined: November 05, 2005
KitMaker: 4,950 posts
AeroScale: 3,192 posts
Posted: Wednesday, April 07, 2010 - 04:57 AM UTC
Scrap.

Turns out my fixes to the inlet made it too large to fit into the space under the fuselage. A few removed joints later and it seems to be ready.

Now I have to finish the taxes and a few 1:1 projects and wait for the monsoon season to end so I can do some painting before I start putting the fuselage back together.
didgeboy
_VISITCOMMUNITY
Washington, United States
Joined: September 21, 2010
KitMaker: 1,846 posts
AeroScale: 103 posts
Posted: Tuesday, June 07, 2011 - 11:09 AM UTC
What ever happened to this project??
md72
#439
_VISITCOMMUNITY
Washington, United States
Joined: November 05, 2005
KitMaker: 4,950 posts
AeroScale: 3,192 posts
Posted: Thursday, June 09, 2011 - 04:19 PM UTC
Wow, You had to put some effort into finding this. I pretty much abandoned the whole project last year. The whole kit is so poor, (compared to it's source, the Hasegawa F-16B) I just haven't picked it back up and went on to some other group builds instead.
Removed by original poster on 04/09/17 - 04:41:39 (GMT).
md72
#439
_VISITCOMMUNITY
Washington, United States
Joined: November 05, 2005
KitMaker: 4,950 posts
AeroScale: 3,192 posts
Posted: Saturday, April 08, 2017 - 09:52 AM UTC
WOW, this one has a chance to come off of the Wall of Shame. I can enter it in the Terrible Teens campaign next month and maybe get it finished. Just have to start by solving this problem:

No idea how that happened, but it's been in storage for nearly 7 years.
md72
#439
_VISITCOMMUNITY
Washington, United States
Joined: November 05, 2005
KitMaker: 4,950 posts
AeroScale: 3,192 posts
Posted: Tuesday, May 09, 2017 - 09:08 AM UTC
Well it turns out that the crack was a good thing after-all. If the part had stayed together it would have been too narrow to match the rest of the fuselage, I put enough pressure on the parts to get them to nestle into the opening. now I just have to work all of the parts to the right place.
Cosimodo
#335
_VISITCOMMUNITY
Auckland, New Zealand
Joined: September 03, 2013
KitMaker: 1,808 posts
AeroScale: 195 posts
Posted: Tuesday, May 09, 2017 - 02:00 PM UTC
I'm impressed you have re-animated this build Mark. The kit looks a shambles so kudos for your perseverance, I think?!.

cheers
Michael
md72
#439
_VISITCOMMUNITY
Washington, United States
Joined: November 05, 2005
KitMaker: 4,950 posts
AeroScale: 3,192 posts
Posted: Tuesday, May 09, 2017 - 10:26 PM UTC
Thanks, I had a moment when Hanger Queen 7 came along I counted a ridiculous number of started but unfinished kits in the stash, 30?. Planes, tanks, boats cars... I had to do something. Terrible Teens offered some motivation to get one done.
md72
#439
_VISITCOMMUNITY
Washington, United States
Joined: November 05, 2005
KitMaker: 4,950 posts
AeroScale: 3,192 posts
Posted: Friday, October 20, 2017 - 12:07 PM UTC
Been feeling guilty, other folks are making great progress on their Terrible Teens. So I dragged this one back onto the bench. Tried to close up the fuselage and it wouldn't close together. Ended up trying to move the cockpit back, that made it better. Then I found my old notes suggesting that was the way I tried years ago. In the process I managed to break out the seat and the ejector yoke.

md72
#439
_VISITCOMMUNITY
Washington, United States
Joined: November 05, 2005
KitMaker: 4,950 posts
AeroScale: 3,192 posts
Posted: Monday, October 23, 2017 - 10:21 AM UTC
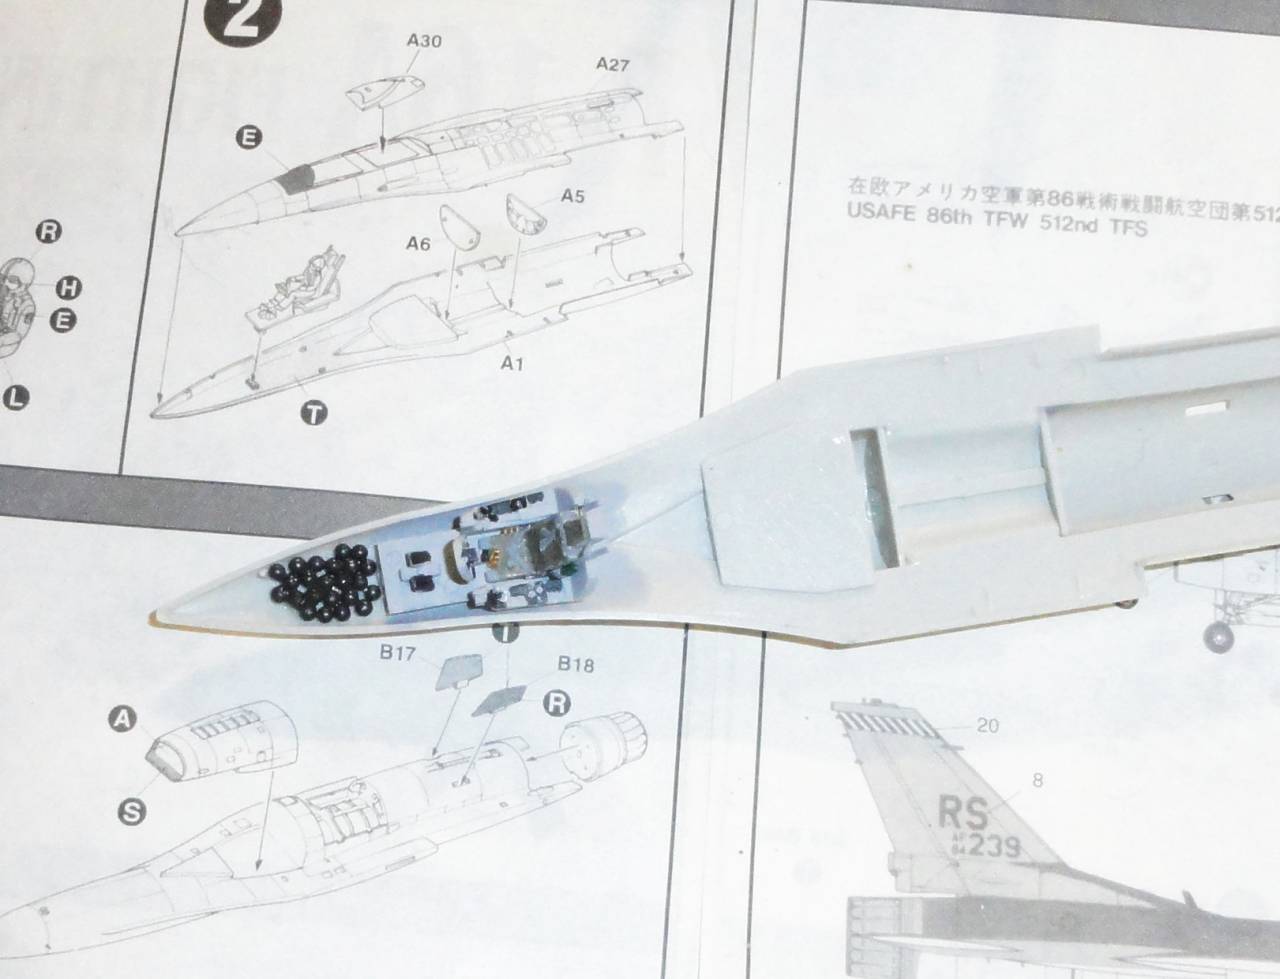
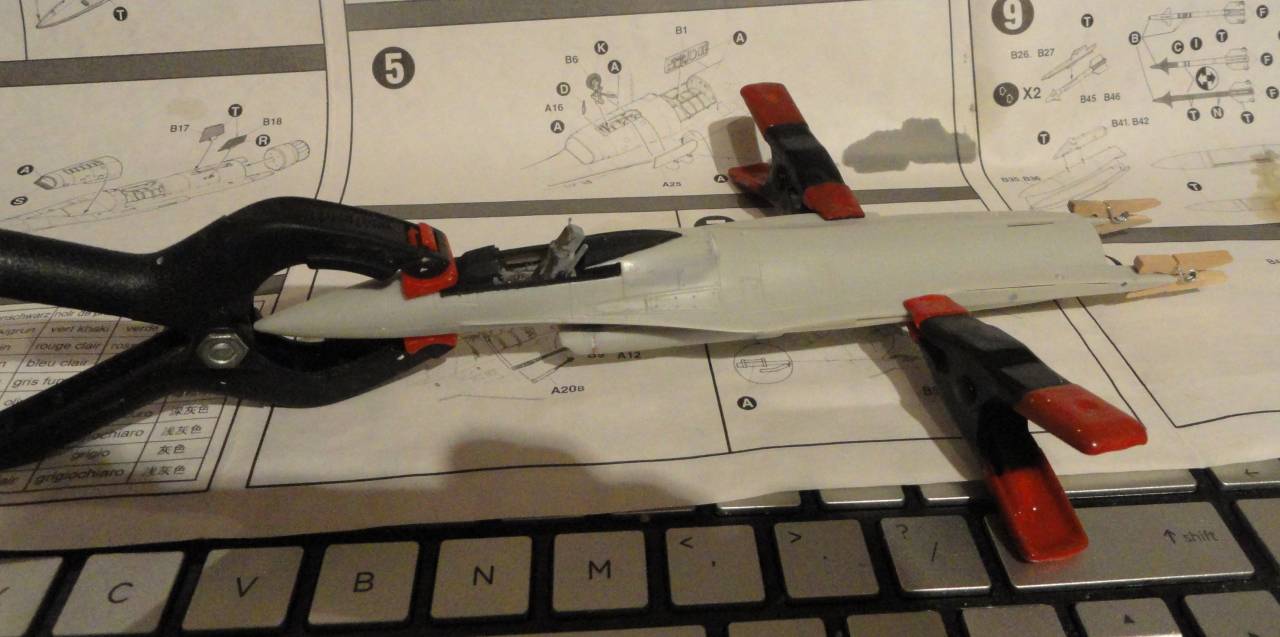
How disturbing. I see that I started this project over 7 years ago. In my defense it's been in a bag on the shelf of shame for 6 of those years. Now I'm almost all the way through step 3.

Well, progress is progress. Clamping was a bit of a challenge on this shape, too many curves to tightly clamp.

The cockpit looks OK with some homemade belts, a stand in controller, and some home made seat do dads.


Now there's a nifty gap along the wing root to fix....

Blundering onward!
md72
#439
_VISITCOMMUNITY
Washington, United States
Joined: November 05, 2005
KitMaker: 4,950 posts
AeroScale: 3,192 posts
Posted: Wednesday, November 01, 2017 - 10:22 AM UTC
Two steps forward, three steps back.
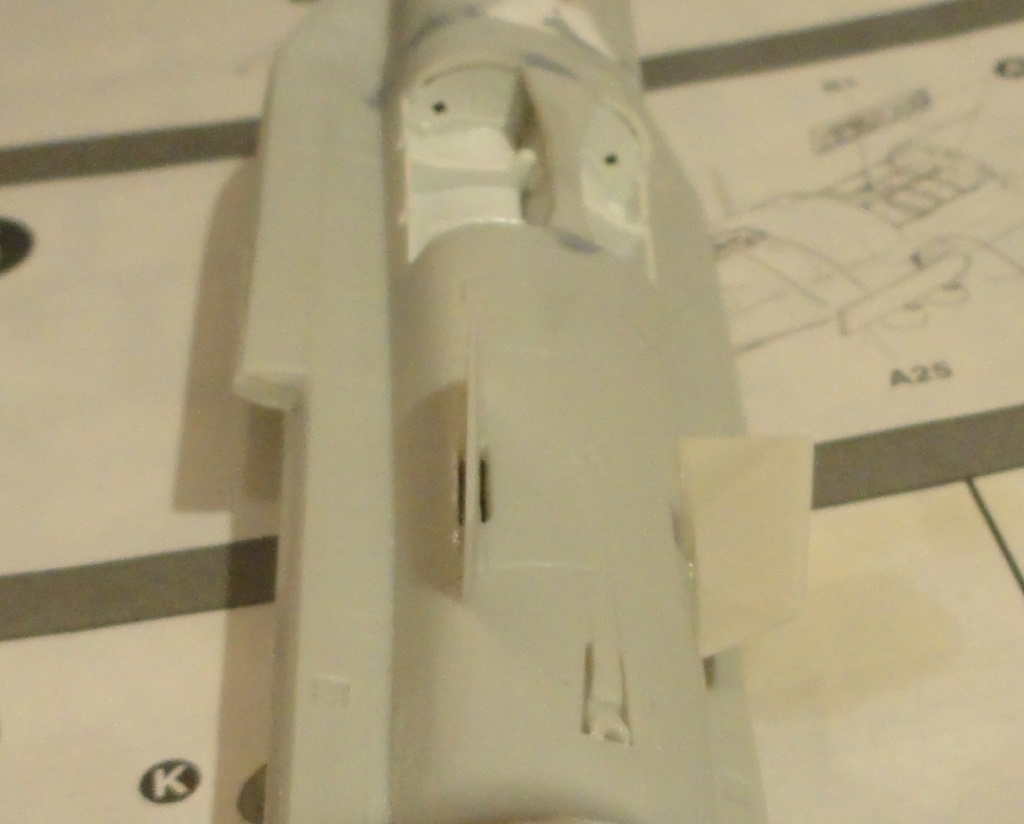
I installed the strakes. Turns out they're molded backwards. There's a little bit of shape to them, the outboard side has triangular facets along the leading and trailing edge. The way theu were molded, the shape is inboard and the outboard surface is dead flat. The strakes are keyed, there are different sized tabs that are supposed to locate them. A better modeler might have trimmed the long one to fit in the small tab so the features are outboard... The slots are also 2-3 times wider than the tab, so there's a lot left to fill.


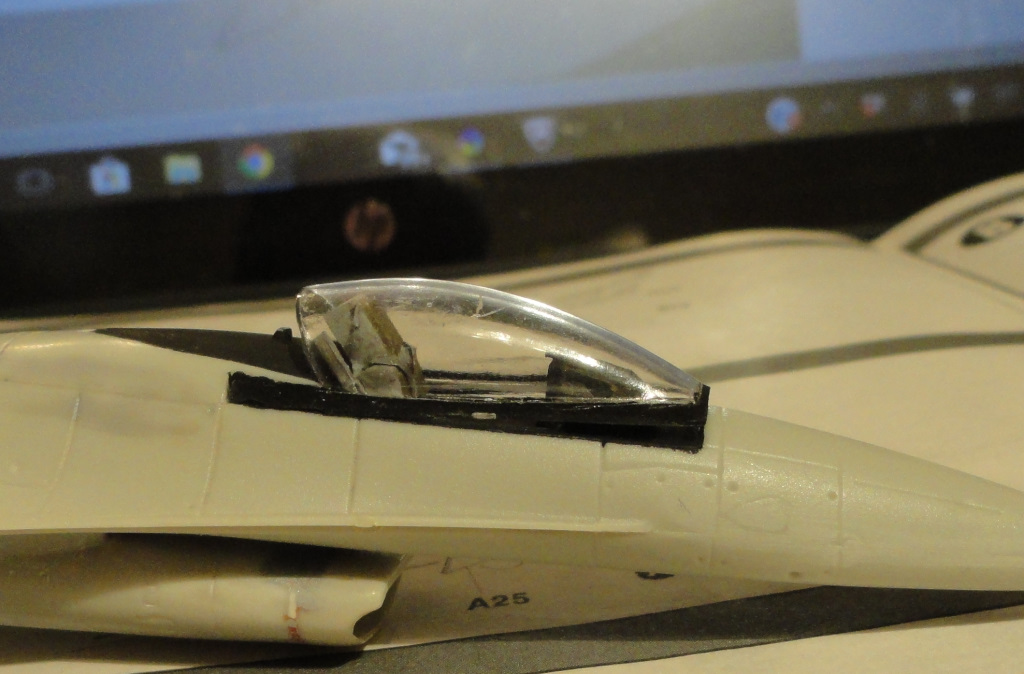
I also checked on the canopy, my old notes were good. The instrument hood is too high and interferes with the canopy, I'll have to assemble it opened.

md72
#439
_VISITCOMMUNITY
Washington, United States
Joined: November 05, 2005
KitMaker: 4,950 posts
AeroScale: 3,192 posts
Posted: Thursday, November 02, 2017 - 10:28 AM UTC
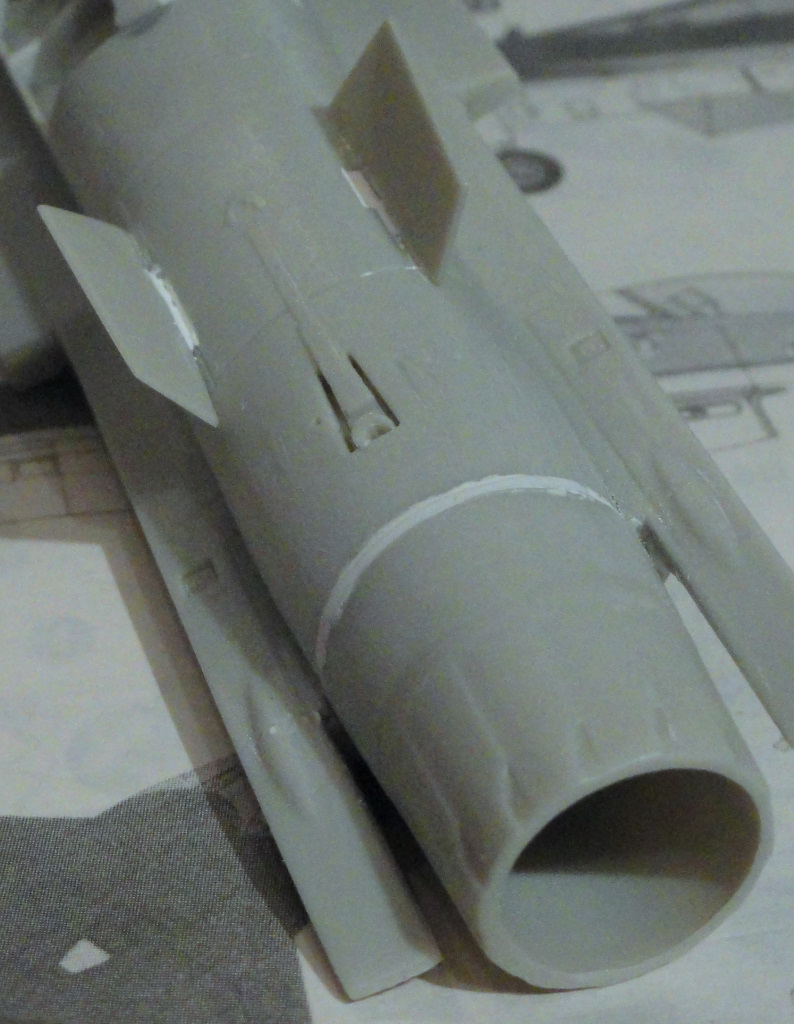
Oh, I forgot to add that the halves of the fuselage didn't match at the back. IIRC the engine in the F-16 is on center-line so it doesn't tip up or down. So I matched up the top half and filled the bottom to match.

Picture also shows the putty in the gaps at the strakes.
md72
#439
_VISITCOMMUNITY
Washington, United States
Joined: November 05, 2005
KitMaker: 4,950 posts
AeroScale: 3,192 posts
Posted: Thursday, November 09, 2017 - 11:09 AM UTC
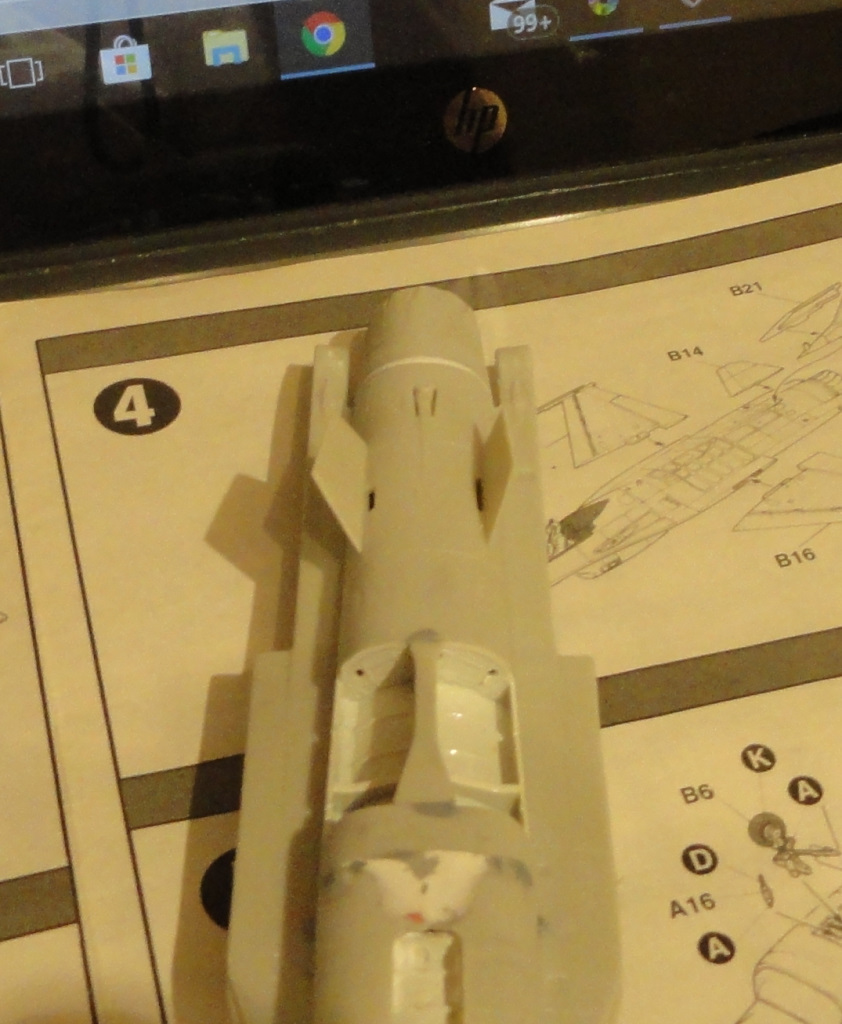
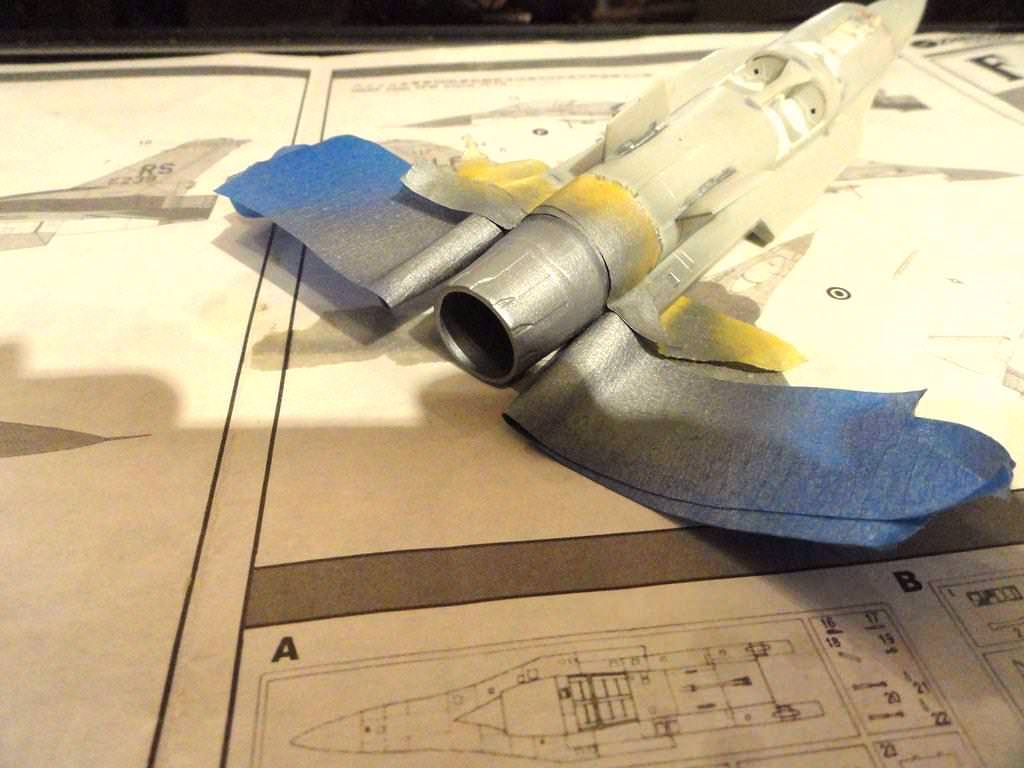
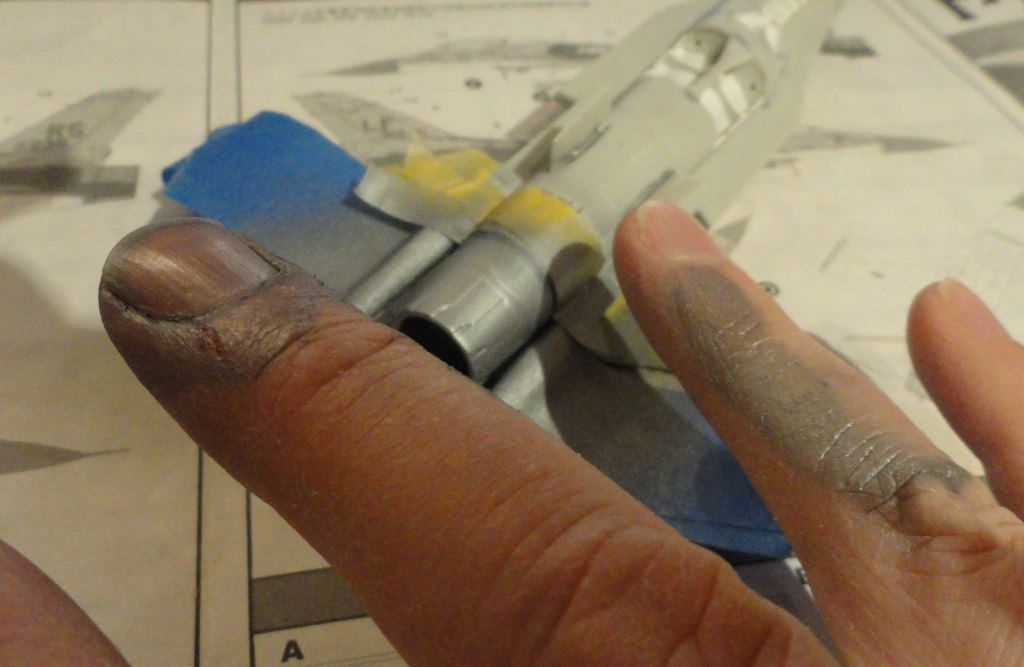
Well, I'm calling it progress. Managed to get the tail cone painted.

And I managed to get more paint on the plane than me....

md72
#439
_VISITCOMMUNITY
Washington, United States
Joined: November 05, 2005
KitMaker: 4,950 posts
AeroScale: 3,192 posts
Posted: Sunday, November 12, 2017 - 05:11 AM UTC
Well, I got the tail feathers on, but I think I managed to get them on upside down. Popped out the Metalizer and painted them stainless steel then sealed them. Now I'm adding black paint to out line the petals and a black wash on the afterburner frame. I even had to set up a home made height gauge to make sure the wings were level.