


Quoted Text
The kit claims to be an F-16A, but all of the marking options are for Block 25 F-16C's. Since the Big mouth didn't come in until Block 30/32, I sure it;s the P&W engine.
....
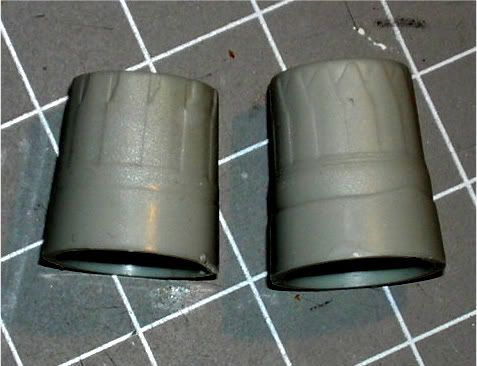
Till I cleand up this picture, I was leaning towards the long one, but I noticed the slighest bulge near the front end that hints at the GE engine. Any thoughts?
...
I would say that the one on the left (short one) is the P&W nozzle.


