Uncle Ernie can rest easy. My Albies have finally arrived. In with the packing list was a note from Dave Johnson stating there was an error in processing some of the early orders, causing a delay, which hasnow been corrected. Along with the apology, was an extra Mercedes D.III sprue. (I also opened up my second LVG a few weeks ago to find it was missing a sprue. That was express mailed to me along with one of those little black carrying bags.) In response to this, I would like to give Wingnut wings a BIG pat on the back. These People are great. They produce some of the best kits in the world and customer response is fantastic. I think they have earned my loyalty as a customer.
But this is a build log for a very long awaited Albatros D.V. People who have been hanging aroud here for the last few years know I am Albatros Crazy. I have been waiting for a 32nd scale Albie for YEARS. Now I have a D.V, a D.Va and an extra engine in my big grubbies. So lets Kick this build off.
First impressions.
Engine sprue. I think it looks real nice. Lots of detail. It is the first thing I will build up.
D Sprue with wheels, V struts, and Spandaus. No complaints about these parts. The also look very detailed. MGs are provided with molded on or PE jackets. Either way you get some nice Spandaus for the extra parts box.
F Sprue. Fuselage halves radiators, and spinner. Sure looks like an Albatros to me. It has some real real nice detailing that is delicate and not overdone. On the inside, there is no mistaking where the ribs go.
B Sprue. Wings are nicely detailed with no warpage. Rib tapes are part of the detail on the wings and there are no rib tape decals. Not a big thing for the plane I am going to build, but some of you might be happy you kept the extra rib tapes from the LVG kit. (You did get an LVG, didn't you?)
A Sprue. Ribs and such looks great. I can already see great care will be needed to remove some of those really delicate parts. (Removing fragile parts from sprues is my bigest shortcoming).
Decals, Instructions, and PE. PE seatbelts ans MG parts look great. The decals are in perfect register and provide some colorful options. Instructions are what we have come to expect from this company and what we would like to see from other manufacturers. But, do check their website under the tips page for corrections or updates.
Build plan:
1. Prep the plastic.
2. Prime
3. Paint the wood interior with oils.
4. While waiting for the oil paint to dry- build the engine(s).
5. Go on vacation for a week or two, and hope the oil paints are dry.
6. Build OOB from thereuntil it is time to paint
7. Paint the outside yellow and figure out how to mask the markings.
8. Submit photos to WNW.
9. Garner accolades from the entire modeling community.
Y'all have fun watching this build.
Early Aviation
Discuss World War I and the early years of aviation thru 1934.
Discuss World War I and the early years of aviation thru 1934.
Hosted by Jim Starkweather
WNW GB 2009- 2010 Alb.D.V Carl
CaptainA

Joined: May 14, 2007
KitMaker: 3,117 posts
AeroScale: 2,270 posts

Posted: Friday, April 02, 2010 - 08:55 AM UTC
Posted: Friday, April 02, 2010 - 09:11 AM UTC
Hi Carl
Glad to hear your package arrived safely.
 That sounds like my experiences with oils! Jean-Luc mentioned a product that speeds up the drying time - Courtrai Drier. My local art shop doesn't stock it, but it definitely sounds worth tracking down to give it a try.
All the best
Rowan
Glad to hear your package arrived safely.

Quoted Text
3. Paint the wood interior with oils.
4. While waiting for the oil paint to dry- build the engine(s).
5. Go on vacation for a week or two, and hope the oil paints are dry.
 That sounds like my experiences with oils! Jean-Luc mentioned a product that speeds up the drying time - Courtrai Drier. My local art shop doesn't stock it, but it definitely sounds worth tracking down to give it a try.
All the best
Rowan

RAGIII

Joined: June 19, 2007
KitMaker: 604 posts
AeroScale: 600 posts

Posted: Friday, April 02, 2010 - 10:57 AM UTC
Quoted Text
Hi Carl
Glad to hear your package arrived safely. Quoted Text3. Paint the wood interior with oils.
4. While waiting for the oil paint to dry- build the engine(s).
5. Go on vacation for a week or two, and hope the oil paints are dry.
That sounds like my experiences with oils! Jean-Luc mentioned a product that speeds up the drying time - Courtrai Drier. My local art shop doesn't stock it, but it definitely sounds worth tracking down to give it a try.
All the best
Rowan
Rowan, Use a "Hotter" thinner. I use Testors Model Master Airbrush thinner. Excellerates the drying time by days! When I am not jn as much of a hurry I simply use an oderless Turpentine substitute. Still dries faster but gives more time to work the pattern.
Carl,
Glad your kits finally arrived! Welcome to the build.
RAGIII

Mgunns

Joined: December 12, 2008
KitMaker: 1,423 posts
AeroScale: 1,319 posts

Posted: Friday, April 02, 2010 - 01:26 PM UTC
 Hi Carl:
Welllllllllllllll.........Patience pays off! Congratulations on the arrival and looking forward to following your build. I sent an order off last week and still haven't heard from WNW, so hopefully I will hear soon. As an aside, I am going to do another LVG, in the markings with the ladies names on it, and put my lady Claire on it. She really likes the LVG. I am presently working on the Encore D.II so i will be working coincidentally with you on an Alabatros project. I am looking forward to it.

Good Luck and best wishes
Mark

Kornbeef

Joined: November 06, 2005
KitMaker: 1,667 posts
AeroScale: 1,551 posts

Posted: Friday, April 02, 2010 - 02:59 PM UTC
welcome to the DV/DVa build frnzy at last  Albi's are go!
 Albi's are go!
Posted: Friday, April 02, 2010 - 10:02 PM UTC
Quoted Text
Rowan, Use a "Hotter" thinner. I use Testors Model Master Airbrush thinner... RAGIII
Hi Rick
Thanks for the tip.
 I'm not sure I can get that one over here, but I'll try cellulose thinners or maybe a drop of Rustins' Driers.
I'll be joining the Wingnuts Frenzy soon, so anything to speed up drying times will be a huge help.
All the best
Rowan

CaptainA

Joined: May 14, 2007
KitMaker: 3,117 posts
AeroScale: 2,270 posts

Posted: Friday, April 02, 2010 - 11:58 PM UTC
I have also started a D.III. If you all don't mind, I will build them side by side here.
thegirl

Joined: January 19, 2008
KitMaker: 6,743 posts
AeroScale: 6,151 posts

Posted: Saturday, April 03, 2010 - 02:57 AM UTC
Quoted Text
I have also started a D.III. If you all don't mind, I will build them side by side here.
For the past few years I have heard you talk and wish for nothing but a D.V /a in 32 scale . Praying to the Lord of the kit's has paid off ! Congrats Carl


This will be a fantastic build and will be one of your best yet . It will be a great pleasure watching the build unfold in to a Master piece .
 Would also be cool seeing the D.III as well , your candy stripe one turned out beautiful
CaptainA

Joined: May 14, 2007
KitMaker: 3,117 posts
AeroScale: 2,270 posts

Posted: Sunday, April 04, 2010 - 10:31 AM UTC
All righty then. The D.III will be done in Jasta 5 livery with a Bavarian tail. All the painting will be from home made masks. The D.V will be done to match my desk top. Oberleutnant Ernst Althaus. (Yeah, I know that will come as a big suprise to all of you.) I will be doing a few comparisons to start the build off. I have much of the interior and the engine almost finished on the D.III.
The D.V is a beautiful kit. But so is the D.III.
I am in Albatros Heaven.
I think I will get a few more D.III's and D.V's after I pay off the taxes. We got SLAMMED big time this year.
The D.V is a beautiful kit. But so is the D.III.
I am in Albatros Heaven.
I think I will get a few more D.III's and D.V's after I pay off the taxes. We got SLAMMED big time this year.
CaptainA

Joined: May 14, 2007
KitMaker: 3,117 posts
AeroScale: 2,270 posts

Posted: Tuesday, April 06, 2010 - 11:10 AM UTC
I got some oil paint on plastic today. It is boxed up and will be sitting in the closet, away from dust, cat hair, and fat finger prints. I will shoot some pictures of the D.III tomorrow. On the D.V, I noticed the fuselage bottom has the drainage holes molded in. I can honestly say I have never seen these on a model kit before. Nice attention to detail WNW.

Mgunns

Joined: December 12, 2008
KitMaker: 1,423 posts
AeroScale: 1,319 posts

Posted: Wednesday, April 07, 2010 - 02:42 AM UTC
 Hi Carl:
I can echo Terri's sentiment, I am looking forward to your build. Your "Candy Striper" D.III motivated me to build and complete one, so this will be good. Looking forward to your D.III and D.V concurrent builds.
Best
Mark
CaptainA

Joined: May 14, 2007
KitMaker: 3,117 posts
AeroScale: 2,270 posts

Posted: Wednesday, April 07, 2010 - 07:27 AM UTC
I will do as much as I can before my June 3 doctor imposed deadline. That's right, yet another surgery. This will be a minor one for trigger finger on my right hand. They said no golf for a month, so I did not ask how long until I could model.
Checked the Oils today. Not suprising, but they are not dry.
We are going to have a few days of heavy rain, so I was out in the yard. I got it all finished up, along with shopping and doctors appointments, so I can model for the next two days.
Checked the Oils today. Not suprising, but they are not dry.

We are going to have a few days of heavy rain, so I was out in the yard. I got it all finished up, along with shopping and doctors appointments, so I can model for the next two days.

Pulpinator

Joined: March 25, 2007
KitMaker: 78 posts
AeroScale: 53 posts

Posted: Thursday, April 08, 2010 - 09:48 PM UTC
To decrease oil paint drying time: get a bottle of Cobalt Siccative! A drop of this in your turpentine/oil mix will make the paint dry in a day at the most, and gives a pleasing almost flat finish.
Another great product is Winsor&Newtons "Liquin Original". Greatly reduces drying time, dries to a satin finish, and is also perfect for making glazes, semitransparent filters (great fun äwhen simulating wood!) and so on.
/Hans
Another great product is Winsor&Newtons "Liquin Original". Greatly reduces drying time, dries to a satin finish, and is also perfect for making glazes, semitransparent filters (great fun äwhen simulating wood!) and so on.
/Hans
CaptainA

Joined: May 14, 2007
KitMaker: 3,117 posts
AeroScale: 2,270 posts

Posted: Friday, April 09, 2010 - 09:33 AM UTC
Thanks. I found that puting the oils on cardboard when you are mixing colors greatly reduces drying time. The cardboard draws much of the oil out of the paint. I have 3 aircraft going on at the same time, so there will be plenty of drying time from one to another to the other. My "Old Mans" version of multitasking.
First, some pictures of the D.III. This is what I have done so far.
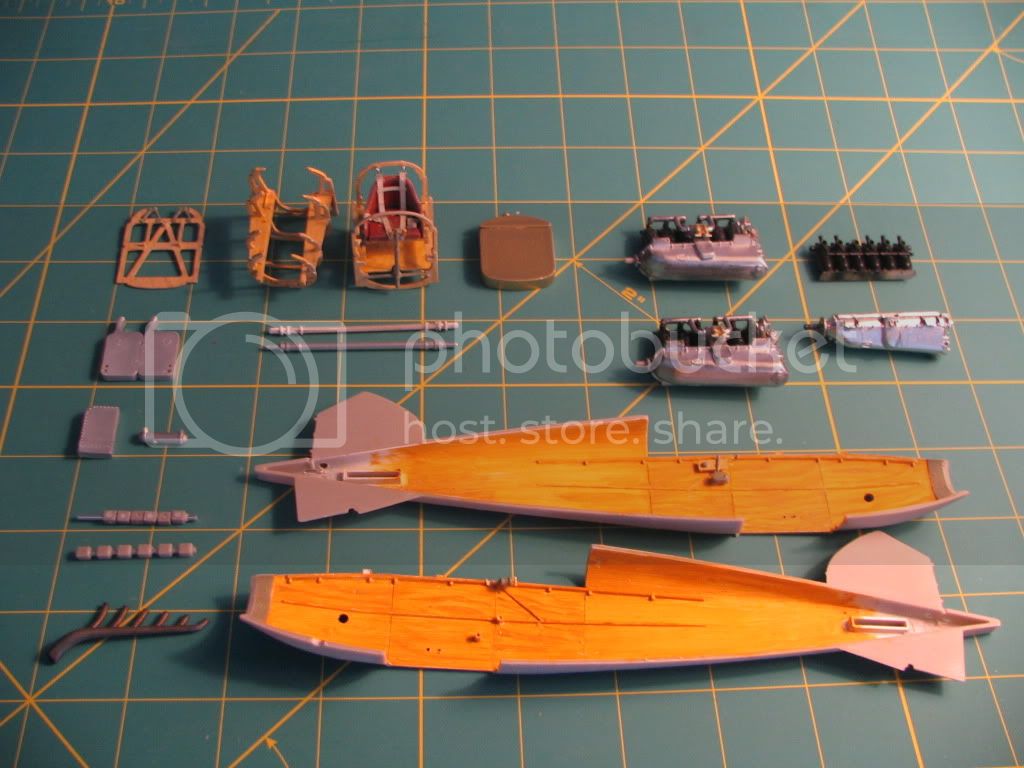
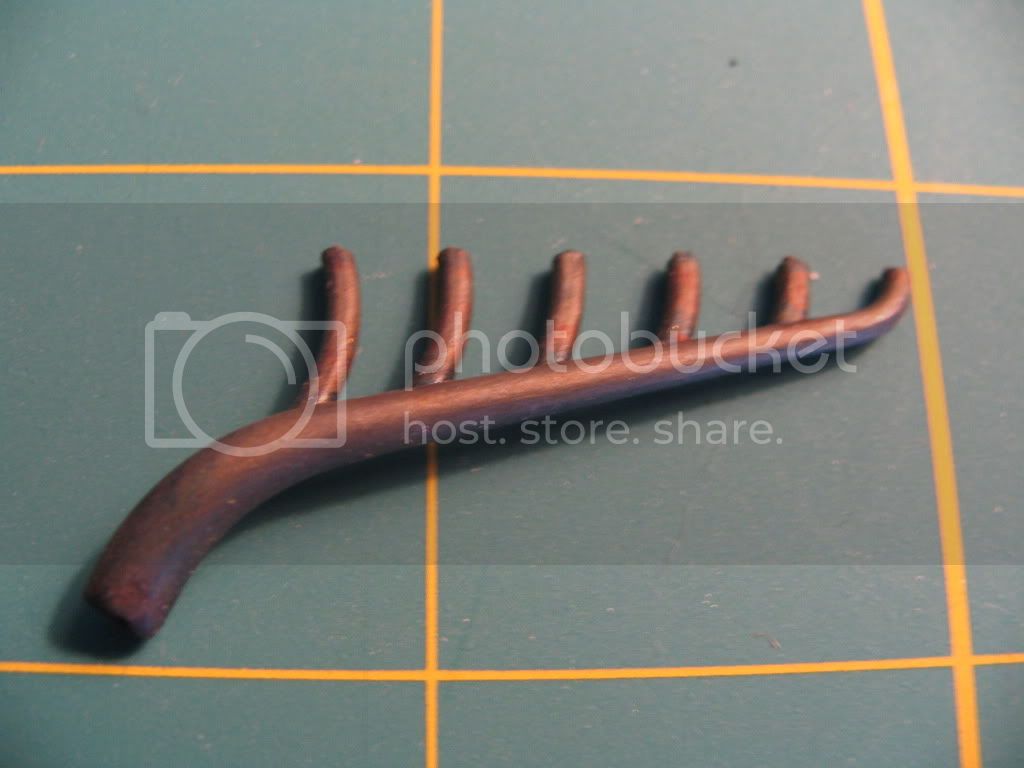
The exhast pipe with some burnt iron.
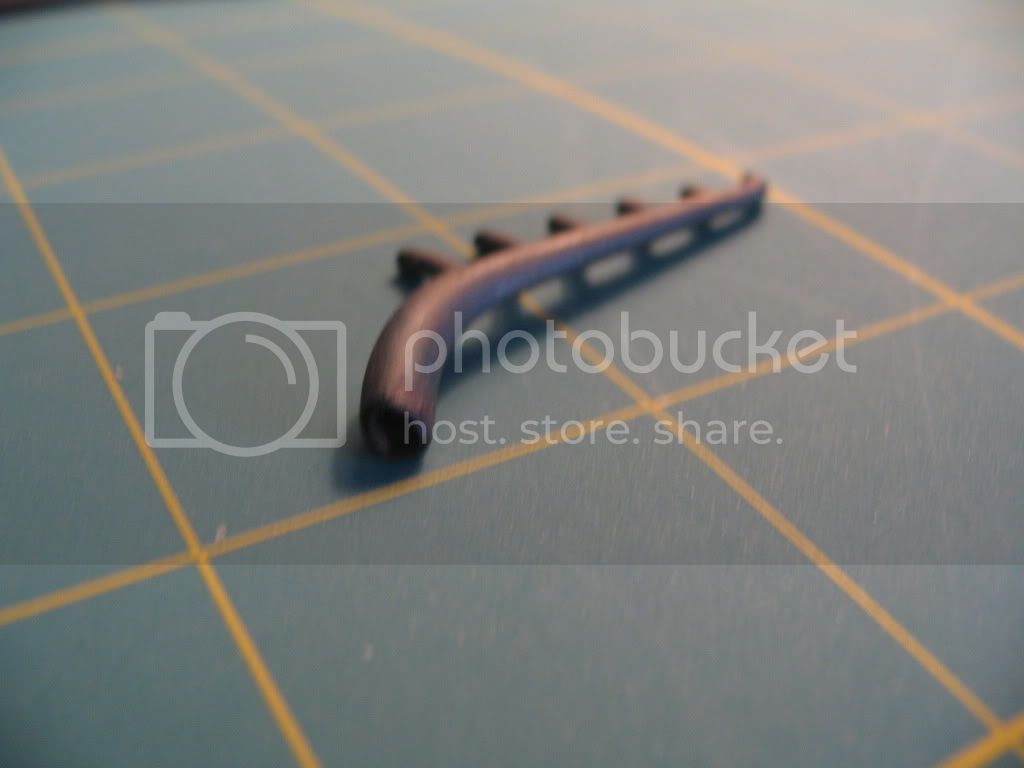
And it has hollowed out also.
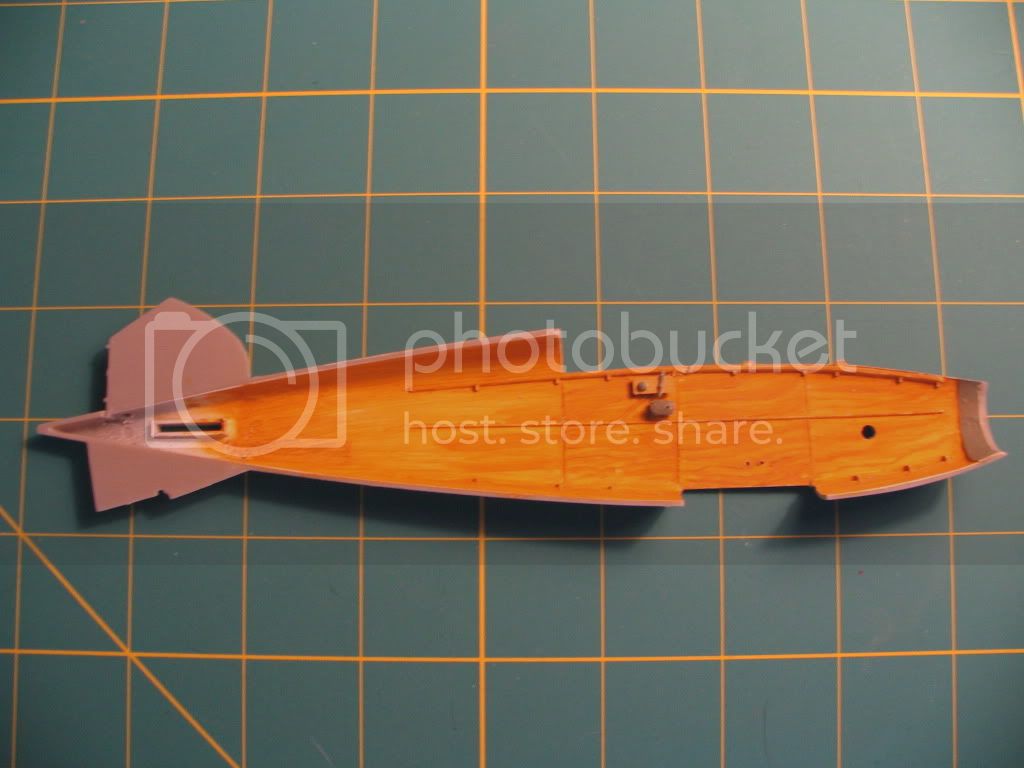
Inside the fuselage.

Stroebel's Office.
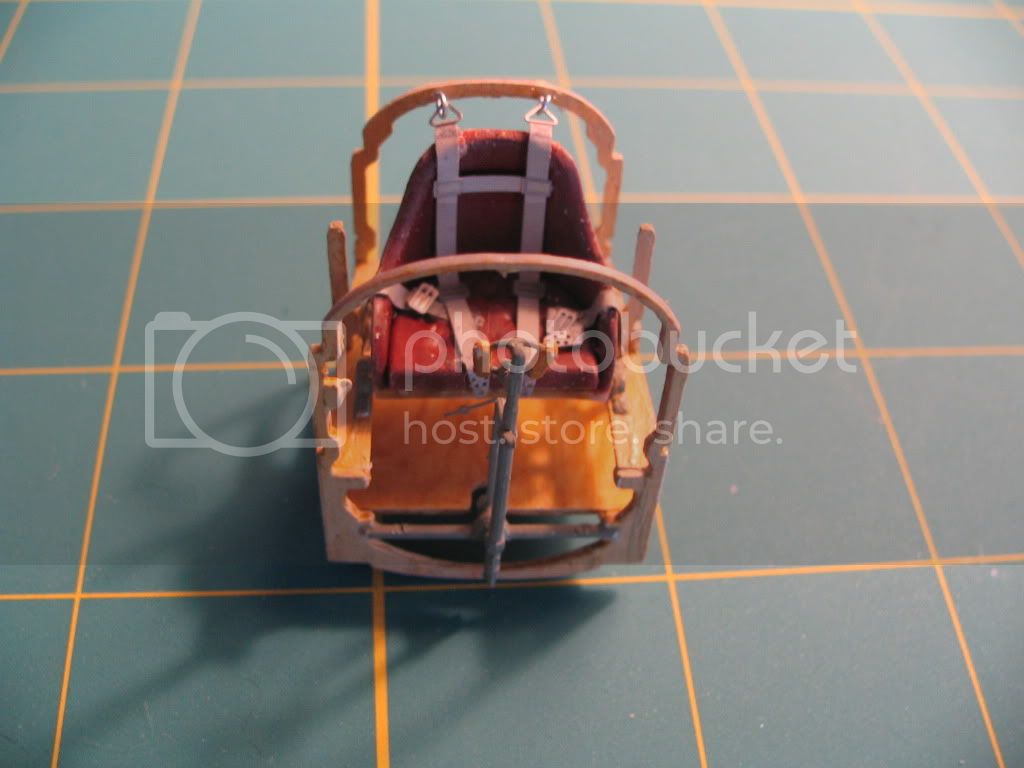
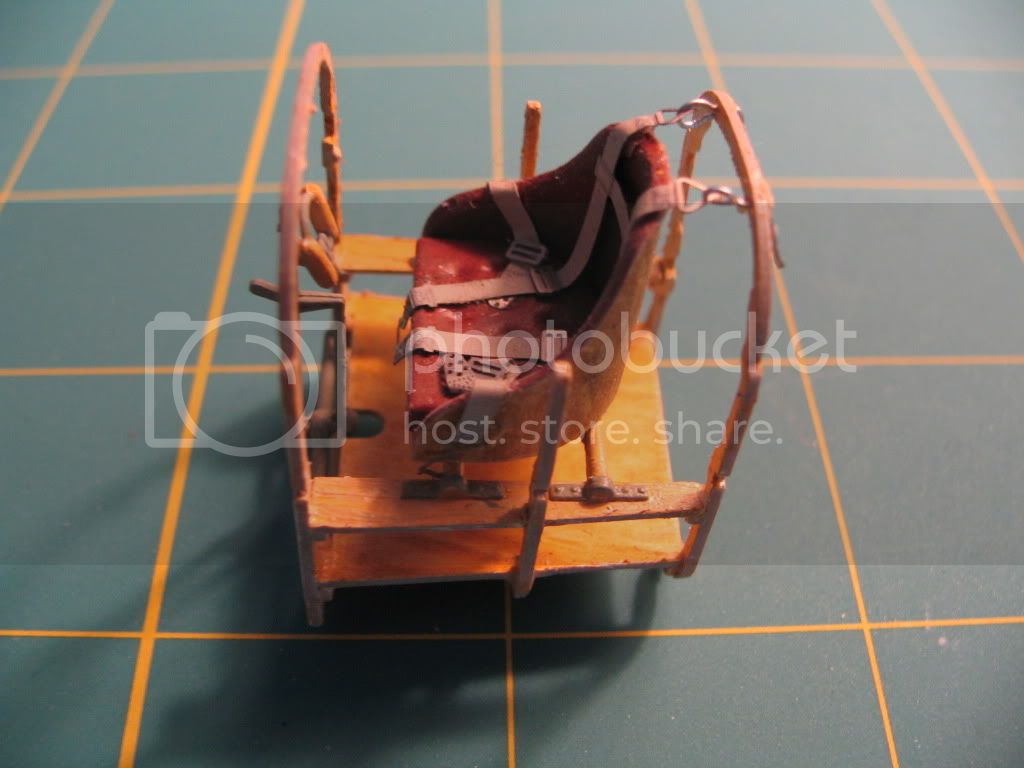
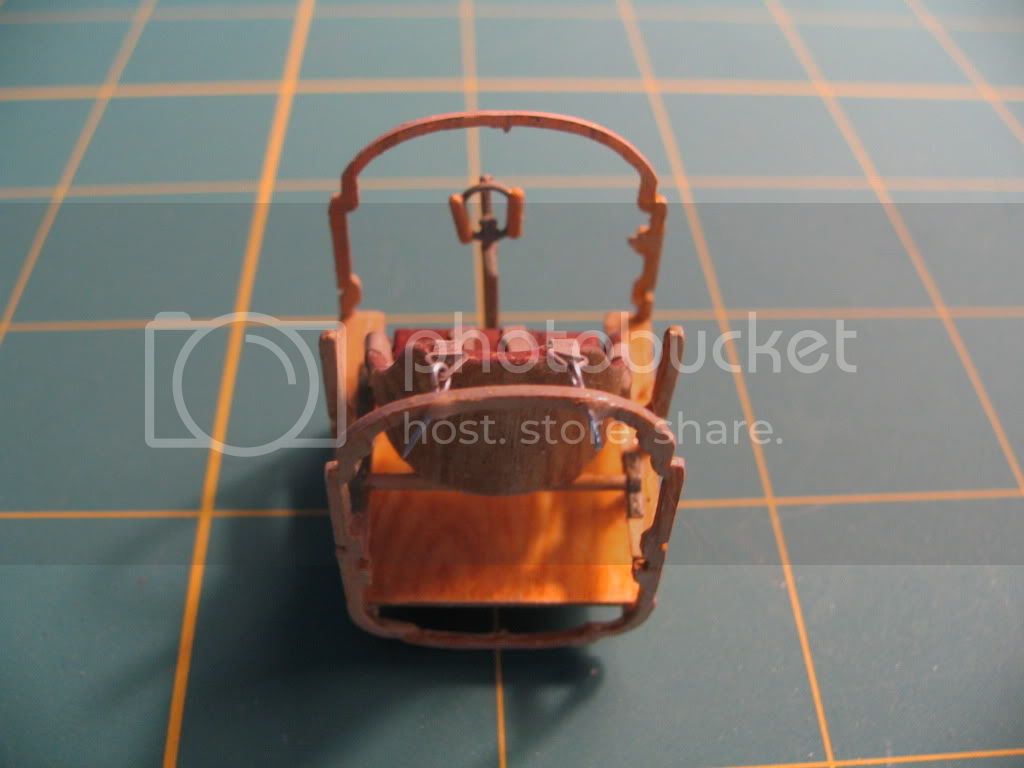
I made the axel out of aluminum. It looks a little bit better than the plastic.

Gas Tank in brass.
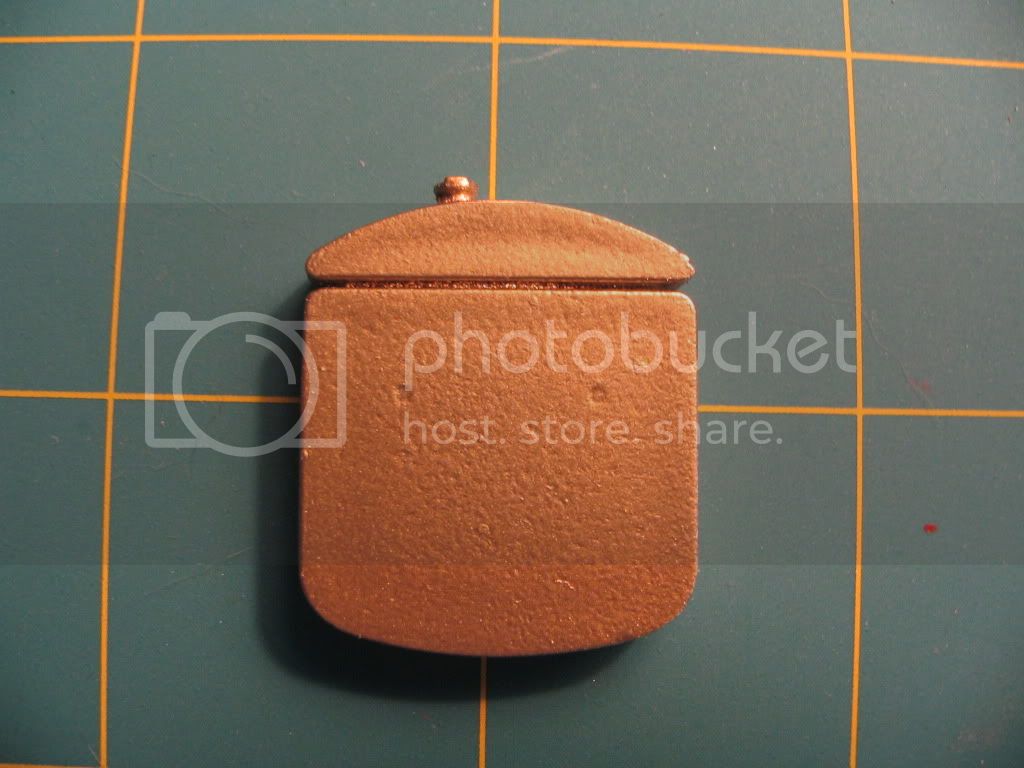
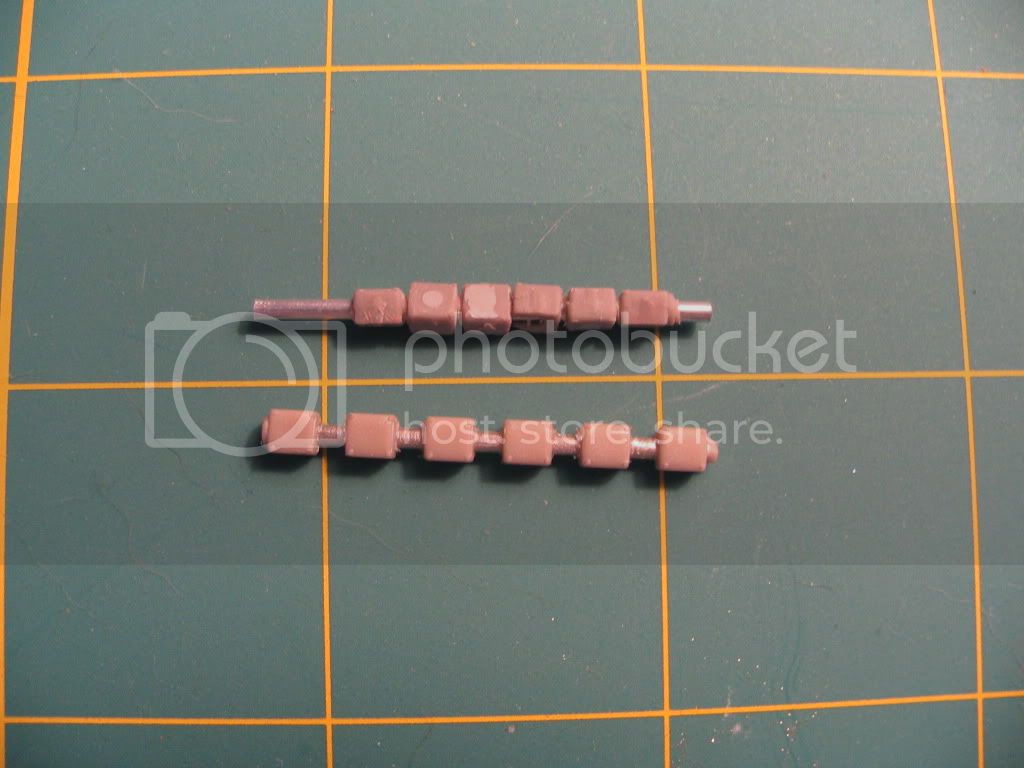
Modifying the rocker boxes. They had some really, really bad sink marks. Also, the aluminum tube looks a little better than the plastic version. The one on the top is being modified. The one on the bottom is all plastic from another kit, shown for the fun of it.
Some more interior parts.
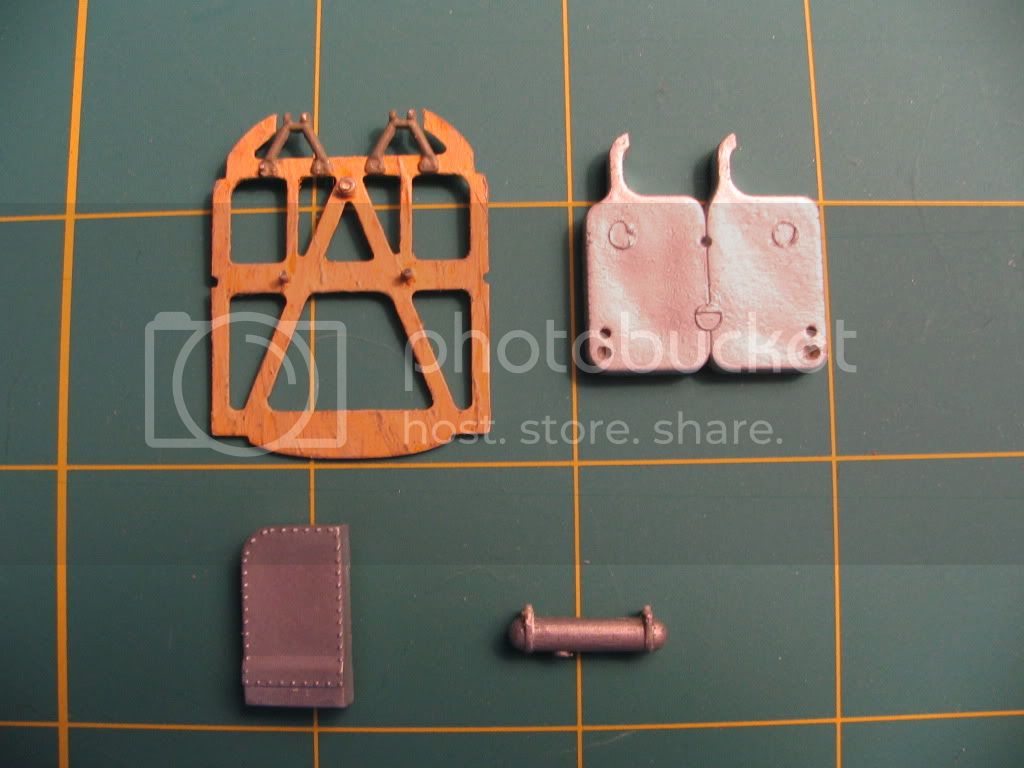
Engine framing.


Always good to have a few spare engines laying around.
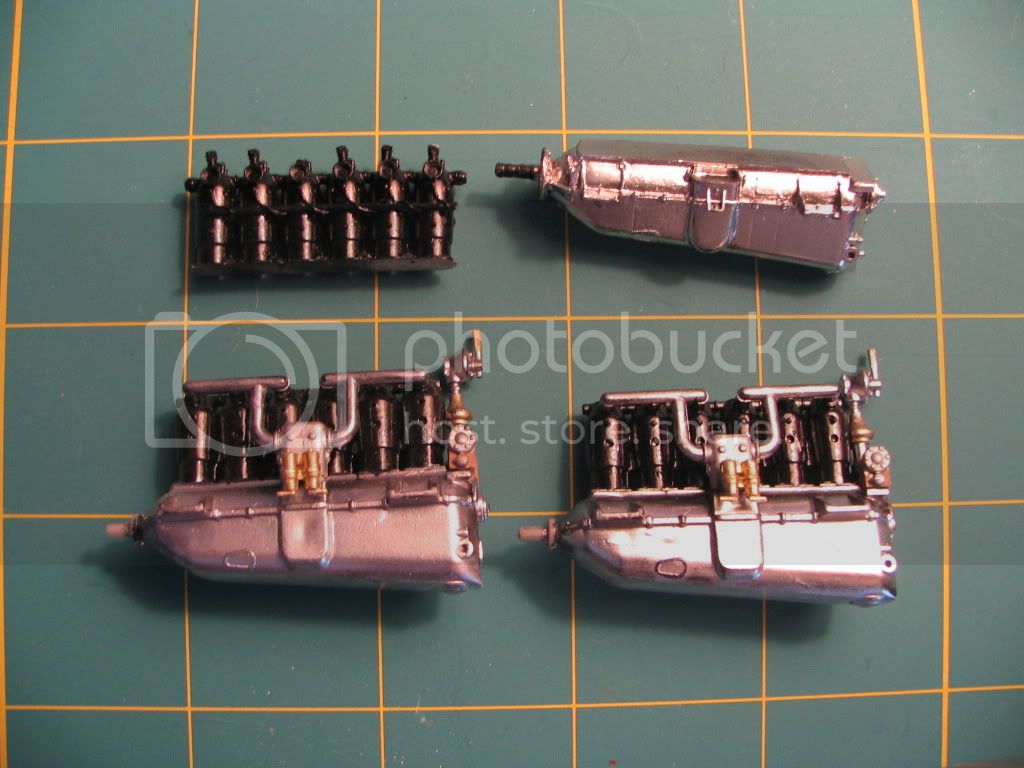
I seem to remember having a spare WNW engine also. I wonder how that would fit.
Thanks for looking good folk.
First, some pictures of the D.III. This is what I have done so far.

The exhast pipe with some burnt iron.

And it has hollowed out also.

Inside the fuselage.


Stroebel's Office.


I made the axel out of aluminum. It looks a little bit better than the plastic.

Gas Tank in brass.

Modifying the rocker boxes. They had some really, really bad sink marks. Also, the aluminum tube looks a little better than the plastic version. The one on the top is being modified. The one on the bottom is all plastic from another kit, shown for the fun of it.

Some more interior parts.

Engine framing.


Always good to have a few spare engines laying around.

I seem to remember having a spare WNW engine also. I wonder how that would fit.

Thanks for looking good folk.

Kornbeef

Joined: November 06, 2005
KitMaker: 1,667 posts
AeroScale: 1,551 posts

Posted: Friday, April 09, 2010 - 12:35 PM UTC
well Carl you know........theres spare rocker assys manifold and if you have 2 engines its not impossible to make a set of cylinders out of two spare sides.
from the WNW kit parts.
Also I recall finding the Roden engine a little out sizewise and the DIII OAW having the wrong engine...as Stephen kindly pointed out after I had detailed the first attempt up.....
Oh I think you may have the handgrip on the column upturned Carl? Very nice work though as always
Keith
from the WNW kit parts.
Also I recall finding the Roden engine a little out sizewise and the DIII OAW having the wrong engine...as Stephen kindly pointed out after I had detailed the first attempt up.....
Oh I think you may have the handgrip on the column upturned Carl? Very nice work though as always

Keith

Mgunns

Joined: December 12, 2008
KitMaker: 1,423 posts
AeroScale: 1,319 posts

Posted: Friday, April 09, 2010 - 01:15 PM UTC

Hi Carl: That fuselage looks familiar as I am doing the D.II. You are certainly putting a lot of effort into the interior of the engine well and the engine itself. With the D.II kit comes a resin engine, which isn't too bad. I don't know who makes it, but it might be worth the price. I am looking forward to your progress. I already see where I screwed up with the seat belts. Oh well.

Looking forward to more.
Best
Mark


CaptainA

Joined: May 14, 2007
KitMaker: 3,117 posts
AeroScale: 2,270 posts

Posted: Saturday, April 10, 2010 - 12:05 AM UTC
One of those 3 engines is frm the kit you are doing. The seatbelts are Eduards. I like there seatbelt sprues. Fantastic and two sided. If you are doing more than one early aviation kit, they are a wise investment. I used them on the LVG and the SE 5a. 

CaptainA

Joined: May 14, 2007
KitMaker: 3,117 posts
AeroScale: 2,270 posts

Posted: Sunday, April 11, 2010 - 12:41 PM UTC

Am I correct that this is probably the 160 hp Engine?

Kornbeef

Joined: November 06, 2005
KitMaker: 1,667 posts
AeroScale: 1,551 posts

Posted: Sunday, April 11, 2010 - 01:39 PM UTC
Carl, I wouldnt like to say for sure from this pic.
:)
:)

JackFlash

Joined: January 25, 2004
KitMaker: 11,669 posts
AeroScale: 11,011 posts

Posted: Monday, April 12, 2010 - 02:45 AM UTC
Quoted Text
Am I correct that this is probably the 160 hp Engine?
The 160hp was outclassed by early 1917. It is more likely an 170hp (July 1917).
CaptainA

Joined: May 14, 2007
KitMaker: 3,117 posts
AeroScale: 2,270 posts

Posted: Monday, April 12, 2010 - 08:57 AM UTC
Thank you.

JackFlash

Joined: January 25, 2004
KitMaker: 11,669 posts
AeroScale: 11,011 posts

Posted: Monday, April 12, 2010 - 08:09 PM UTC

Note also that the water pipes. One apprears to be unattached and one is hidden by the forward cabane strut. Probably a repair underway?
CaptainA

Joined: May 14, 2007
KitMaker: 3,117 posts
AeroScale: 2,270 posts

Posted: Tuesday, April 13, 2010 - 12:11 PM UTC
Quoted Text
Note also that the water pipes. One apprears to be unattached and one is hidden by the forward cabane strut. Probably a repair underway?
My eyes are not as good as yours. It looks like both pipes go into the radiator, then the forwardpipe goes around and attaches into the first water jacket.
Found this as a help to whoever.
Engine Name Power Date Modification
Mercedes D.III 160 hp 8/15/16 Initial production run with concave pistons
Mercedes D.III 175 hp 2/1/17 Replaced concave pistons with flat shaped piston head for Albatros D.III
Mercedes D.IIIa 180 hp 9/15/17 Initial production run of D.IIIa block with minor changes and new carburetor
Mercedes D.IIIaü 200 hp 3/1/18 High compression domed pistons replaced the fatheaded pistons and altitude compensating carburetor/throttle added
Mercedes D.IIIavü 220 hp 10/15/18 Oversized cylinders with aluminum pistons were added changing bore size
I could not find anything to show the production dates and what engine was put into which serial number run (not that that would have mattered as soon as they arrived at their unit).
Any take on which radiator?
Started the WNW engine today. Nothing that is photoworthy.

Kornbeef

Joined: November 06, 2005
KitMaker: 1,667 posts
AeroScale: 1,551 posts

Posted: Tuesday, April 13, 2010 - 12:55 PM UTC
RE the Rad Captain,
well theres no flap mechanisms or control lever showing in the pic so I would guess a T&B rad but of course the pic quality is not so good and the background is either faded/bleached out or censored, you can't even see the header tank on the upper wing.
well theres no flap mechanisms or control lever showing in the pic so I would guess a T&B rad but of course the pic quality is not so good and the background is either faded/bleached out or censored, you can't even see the header tank on the upper wing.
CaptainA

Joined: May 14, 2007
KitMaker: 3,117 posts
AeroScale: 2,270 posts

Posted: Thursday, April 15, 2010 - 07:31 AM UTC
The parts of this kit a very delicate. I have not broken anything other than one of the framing pieces. Not a big deal as it can easily be glued, and is in a spot that wont show. But as a warning, be very, very careful removing parts from the sprue. The nipper might be too big and I think I will be cutting many of the parts off with an Axacto. The detail in this kit is amazing.
I got most of the bits and pieces painted yesterday and today. They are drying out in a cat-proff room as I am writing this. Nothing worthy of pictures yet. In the morning, all the sprues and pieces will go in a box for a few days while I open up the SE 5a. So, I will see you all over there
I got most of the bits and pieces painted yesterday and today. They are drying out in a cat-proff room as I am writing this. Nothing worthy of pictures yet. In the morning, all the sprues and pieces will go in a box for a few days while I open up the SE 5a. So, I will see you all over there
 |


