Hi Guys
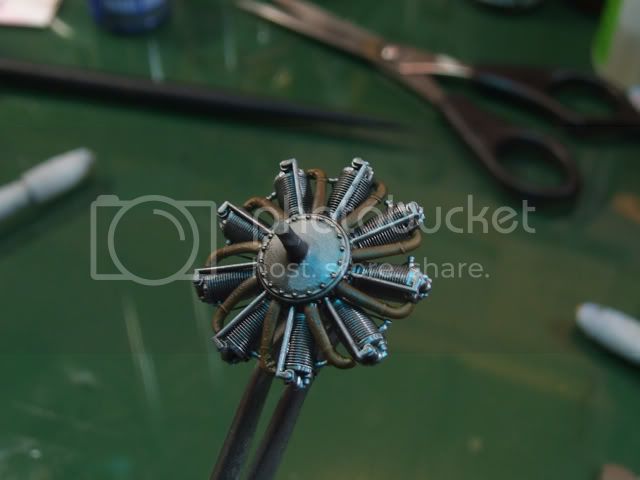
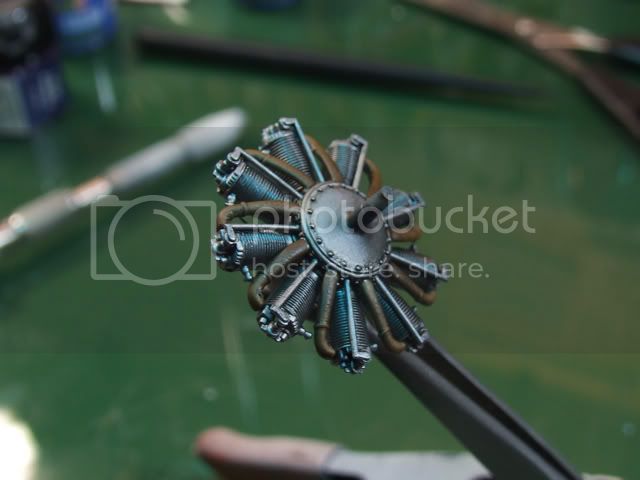
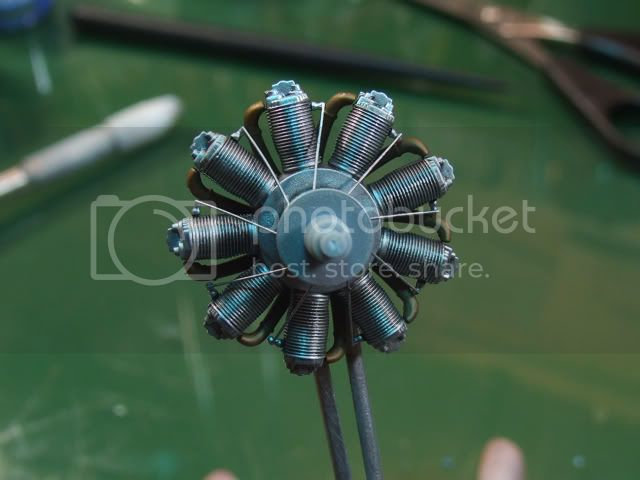
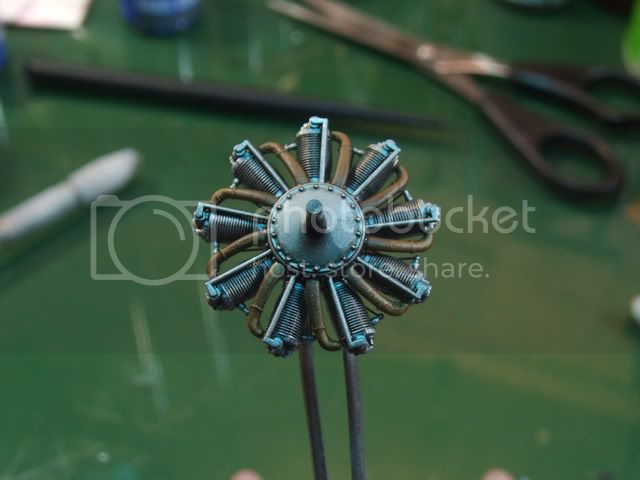
As I have left the LVG to fester for a little while I decided to give the RNAS Pup A go, its lovely, and the here are the first progress shots.
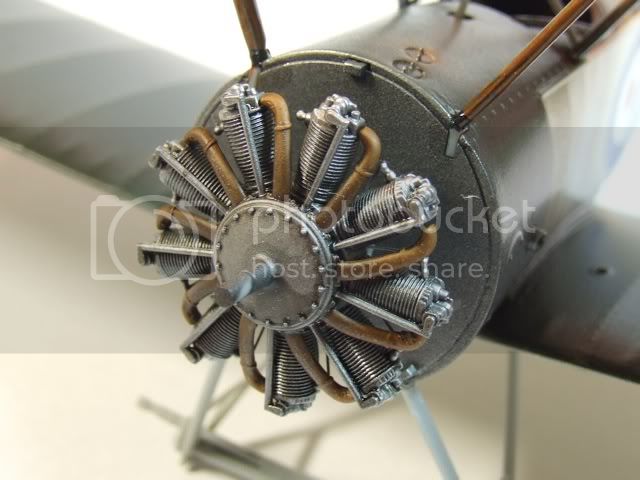
Engine first, assembled with manipulated copper pipes and ignition leads following the WNW instructions, then as seen painted with Alclad Aluminium and a wash of Tamiya smoke, copper pipes done in oil based printers ink.
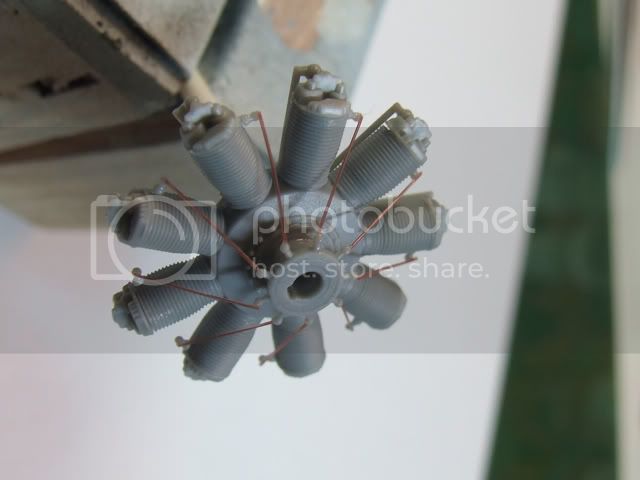
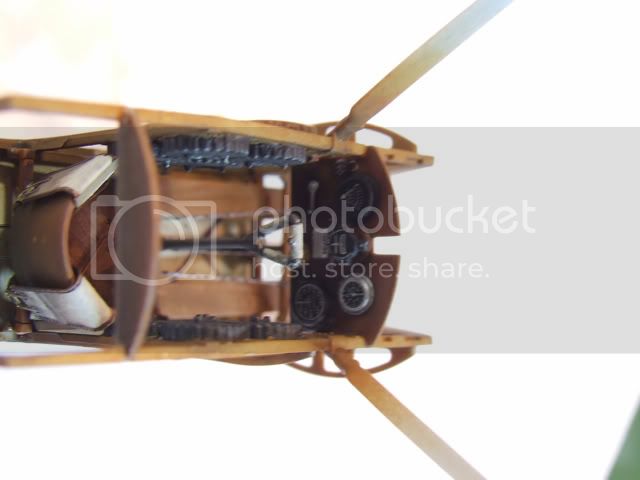
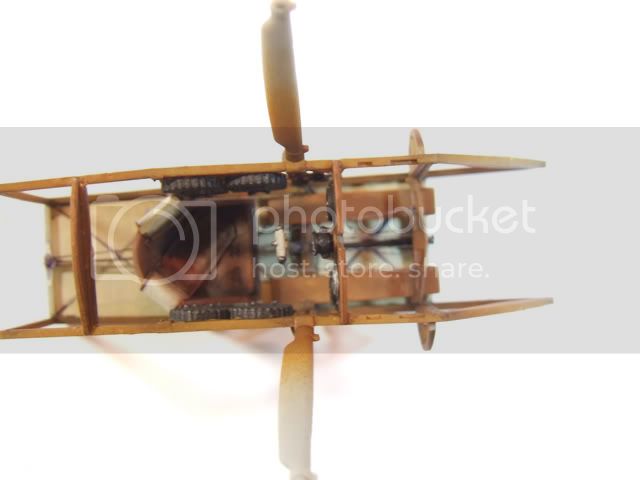
Next up a couple of images of the cockpit area before installation to the fuselage, all painted with acrylics, still have loads and loads to do before its buried in the fuselage
Sorry about the pics I will add some better ones in due course
Dave
Early Aviation
Discuss World War I and the early years of aviation thru 1934.
Hosted by Jim Starkweather
WNW 2009 -10 RNAS Pup DaveM
FigureMad
England - South East, United Kingdom
Joined: May 09, 2006
KitMaker: 118 posts
AeroScale: 89 posts
Joined: May 09, 2006
KitMaker: 118 posts
AeroScale: 89 posts
Posted: Monday, April 19, 2010 - 10:18 AM UTC
Posted: Monday, April 19, 2010 - 10:37 AM UTC
Hi Dave
It's already looking very nice indeed!
All the best
Rowan
It's already looking very nice indeed!
All the best
Rowan
Kornbeef
England - South East, United Kingdom
Joined: November 06, 2005
KitMaker: 1,667 posts
AeroScale: 1,551 posts
Joined: November 06, 2005
KitMaker: 1,667 posts
AeroScale: 1,551 posts
Posted: Monday, April 19, 2010 - 01:56 PM UTC
Yes
FigureMad
England - South East, United Kingdom
Joined: May 09, 2006
KitMaker: 118 posts
AeroScale: 89 posts
Joined: May 09, 2006
KitMaker: 118 posts
AeroScale: 89 posts
Posted: Sunday, October 10, 2010 - 04:52 AM UTC
Hi Guys and girls
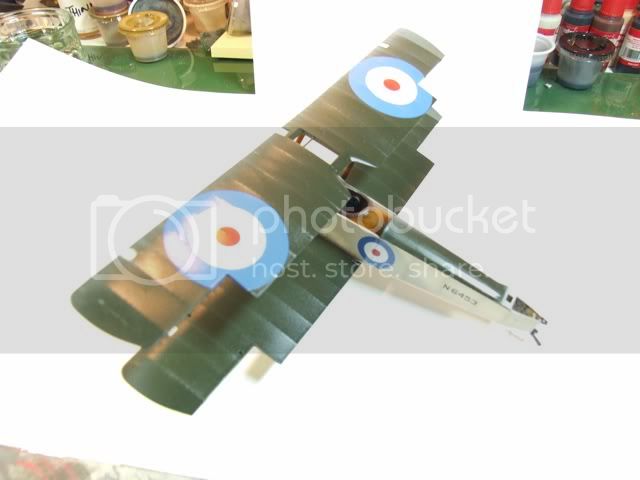
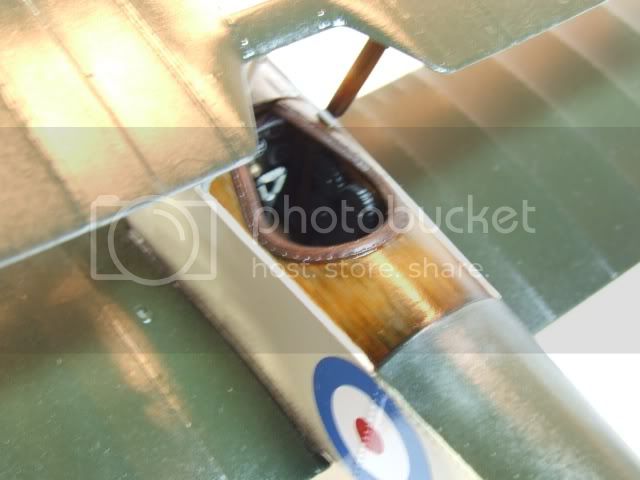
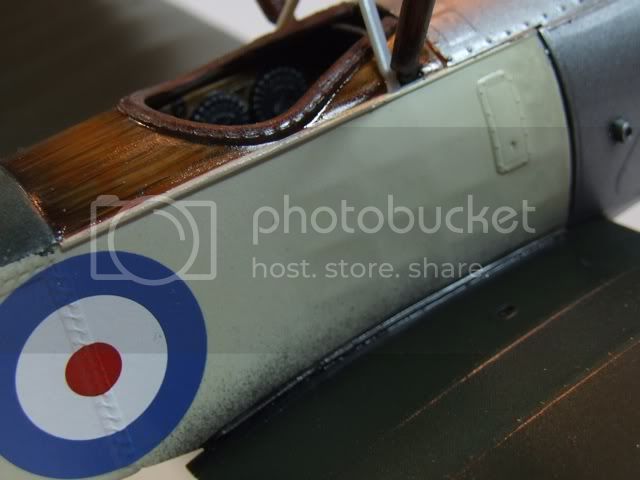
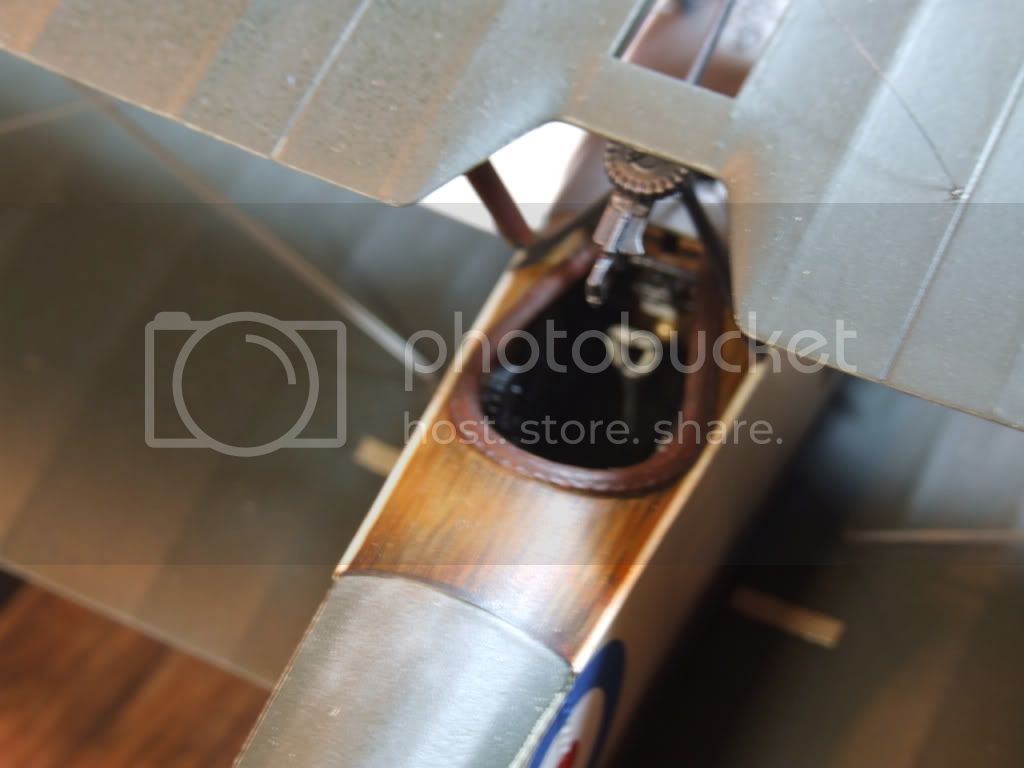
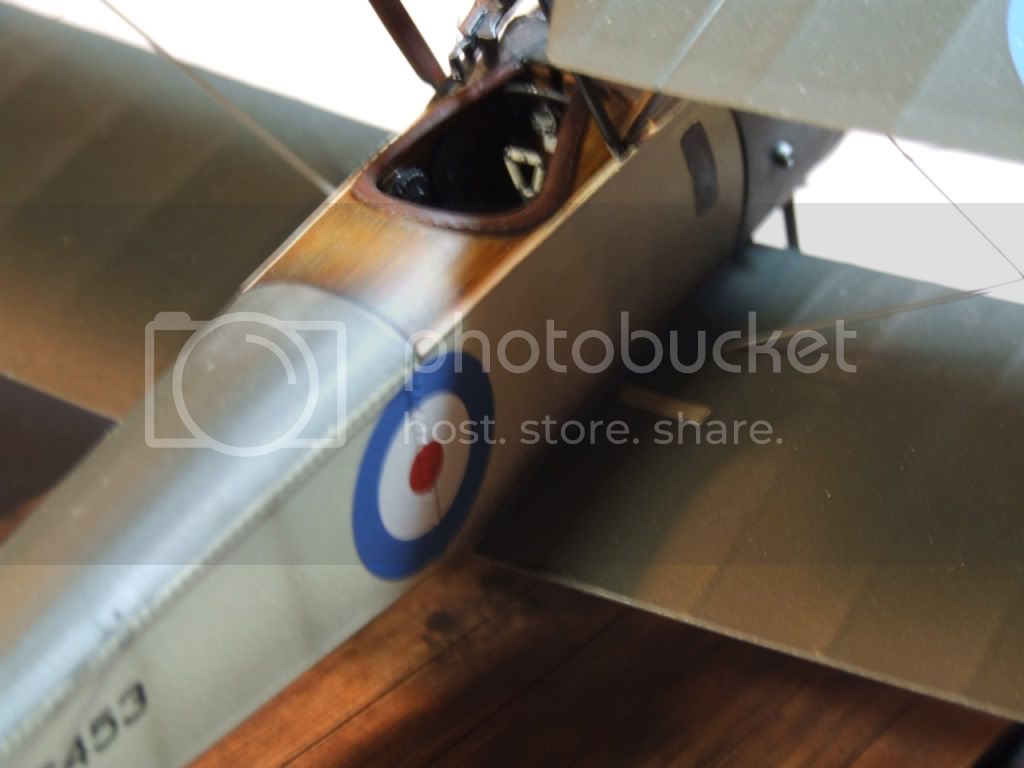
Its been a while since I updated this, well I actually have been pushing it along while things have been drying in the figure department, so forgive the lack of in between images, but this is about 2/3rd way through now, I hope to have it done for the closure date...... its glossy fro the application of the decals as you all well know (not Future as you all know its now illegal to sell one of the chemicals that are in Future within the UK) its actually a very light coat of clear lacquer that will dull down with testors dull coat as soon as I have finished the decals, the upper wing assembly is just placed for visual purposes, before I add all the rigging I am dreading this proses, but I have read the rigging tech on here through a couple of times to get a visual hang of it in my head before I start.
Well let me know what you think, but be truethful, let me know where you see any problems as I have now 3 others WNW kits to do and want to do a good job
Thanks Dave
Its been a while since I updated this, well I actually have been pushing it along while things have been drying in the figure department, so forgive the lack of in between images, but this is about 2/3rd way through now, I hope to have it done for the closure date...... its glossy fro the application of the decals as you all well know (not Future as you all know its now illegal to sell one of the chemicals that are in Future within the UK) its actually a very light coat of clear lacquer that will dull down with testors dull coat as soon as I have finished the decals, the upper wing assembly is just placed for visual purposes, before I add all the rigging I am dreading this proses, but I have read the rigging tech on here through a couple of times to get a visual hang of it in my head before I start.
Well let me know what you think, but be truethful, let me know where you see any problems as I have now 3 others WNW kits to do and want to do a good job
Thanks Dave
JackFlash
Colorado, United States
Joined: January 25, 2004
KitMaker: 11,669 posts
AeroScale: 11,011 posts
Joined: January 25, 2004
KitMaker: 11,669 posts
AeroScale: 11,011 posts
Posted: Sunday, October 10, 2010 - 10:11 AM UTC
Quoted Text
". . .Well let me know what you think, but be truethful, let me know where you see any problems as I have now 3 others WNW kits to do and want to do a good job
Thanks Dave"
Bit of green overspray here. The access hatch should be metal.
FigureMad
England - South East, United Kingdom
Joined: May 09, 2006
KitMaker: 118 posts
AeroScale: 89 posts
Joined: May 09, 2006
KitMaker: 118 posts
AeroScale: 89 posts
Posted: Sunday, October 10, 2010 - 08:33 PM UTC
Hi Stephen
Thank you for that, but I was trying to represent a little oil overspray from the engine cowling, I must have gone just a little over board.......
Thanks
Dave
Thank you for that, but I was trying to represent a little oil overspray from the engine cowling, I must have gone just a little over board.......
Thanks
Dave
thegirl
Alberta, Canada
Joined: January 19, 2008
KitMaker: 6,743 posts
AeroScale: 6,151 posts
Joined: January 19, 2008
KitMaker: 6,743 posts
AeroScale: 6,151 posts
Posted: Monday, October 11, 2010 - 03:02 AM UTC
Intersting wood effect .......
She is looking good so far
OEFFAG_153
Västra Götaland, Sweden
Joined: February 19, 2010
KitMaker: 1,473 posts
AeroScale: 1,450 posts
Joined: February 19, 2010
KitMaker: 1,473 posts
AeroScale: 1,450 posts
Posted: Monday, October 11, 2010 - 03:12 AM UTC
This is looking really nice so far – looking forward to more.
Mikael
Mikael
Alastair
Dubayy, United Arab Emirates
Joined: April 05, 2006
KitMaker: 20 posts
AeroScale: 6 posts
Joined: April 05, 2006
KitMaker: 20 posts
AeroScale: 6 posts
Posted: Wednesday, October 13, 2010 - 07:16 AM UTC
i am building the same kit...
i really like your wood effect - lots of texture and different shades.
As for the oil spray .. in the WNW booklet there is a pup and it is filthy with castor oil and dirt. i think that these planes especially with the doped linen as an exterior colour would not stay prisitine for long.... salt water, oil, fuel, exhaust... nice mix..
:)
FigureMad
England - South East, United Kingdom
Joined: May 09, 2006
KitMaker: 118 posts
AeroScale: 89 posts
Joined: May 09, 2006
KitMaker: 118 posts
AeroScale: 89 posts
Posted: Tuesday, November 02, 2010 - 09:25 AM UTC
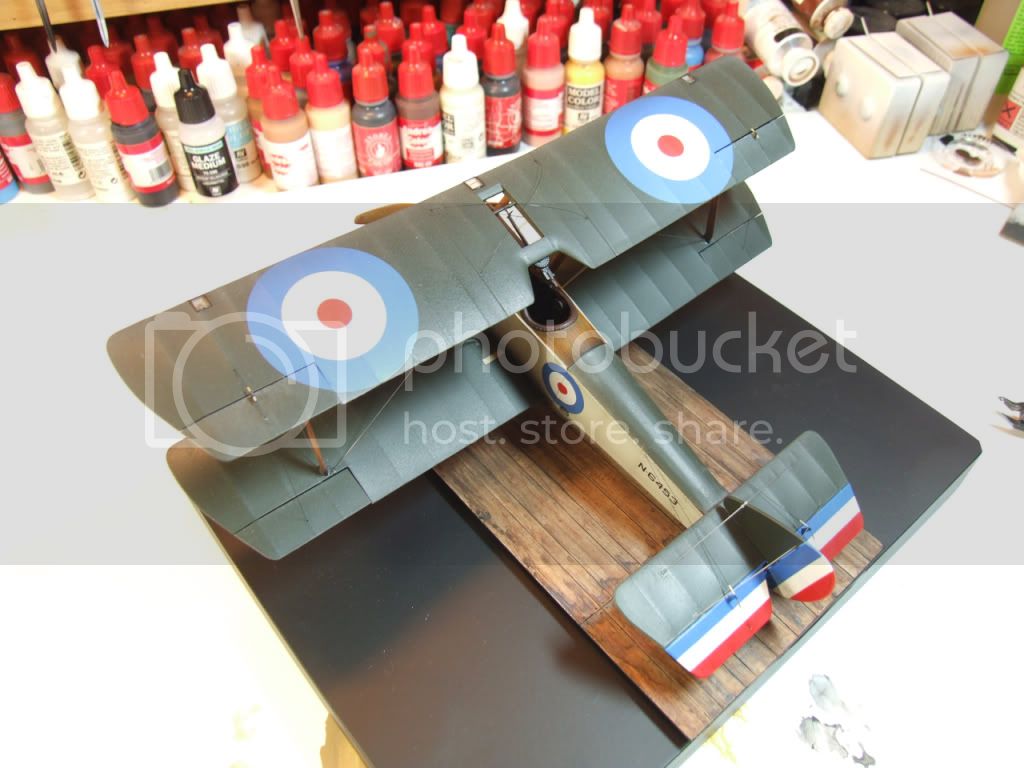
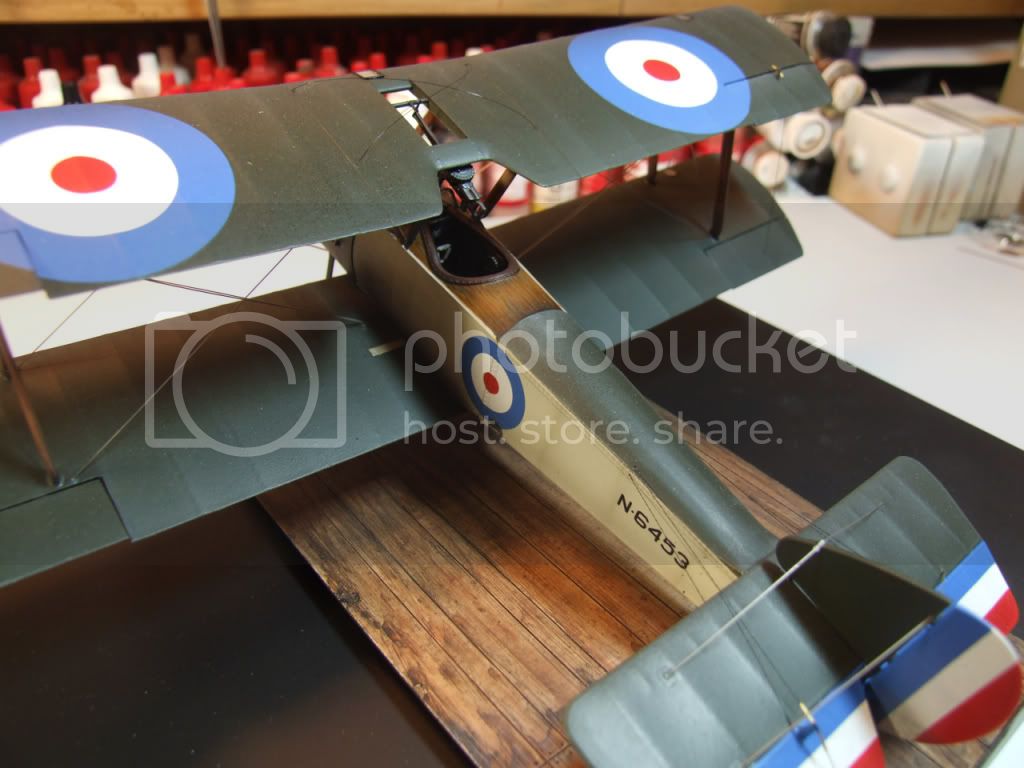
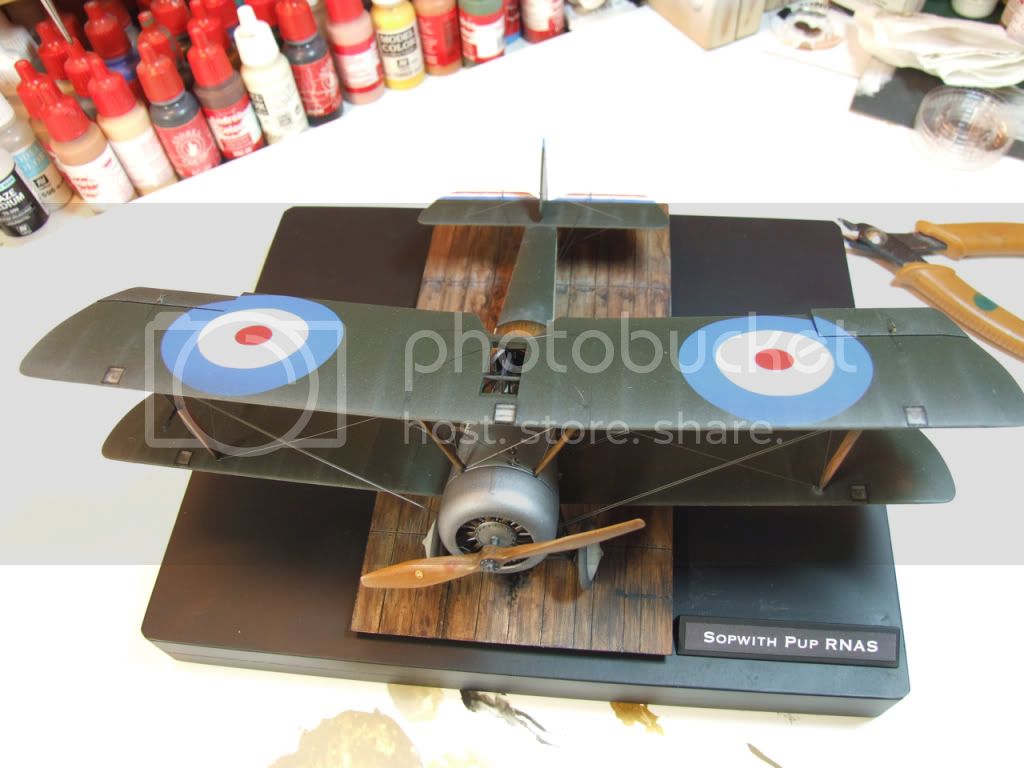
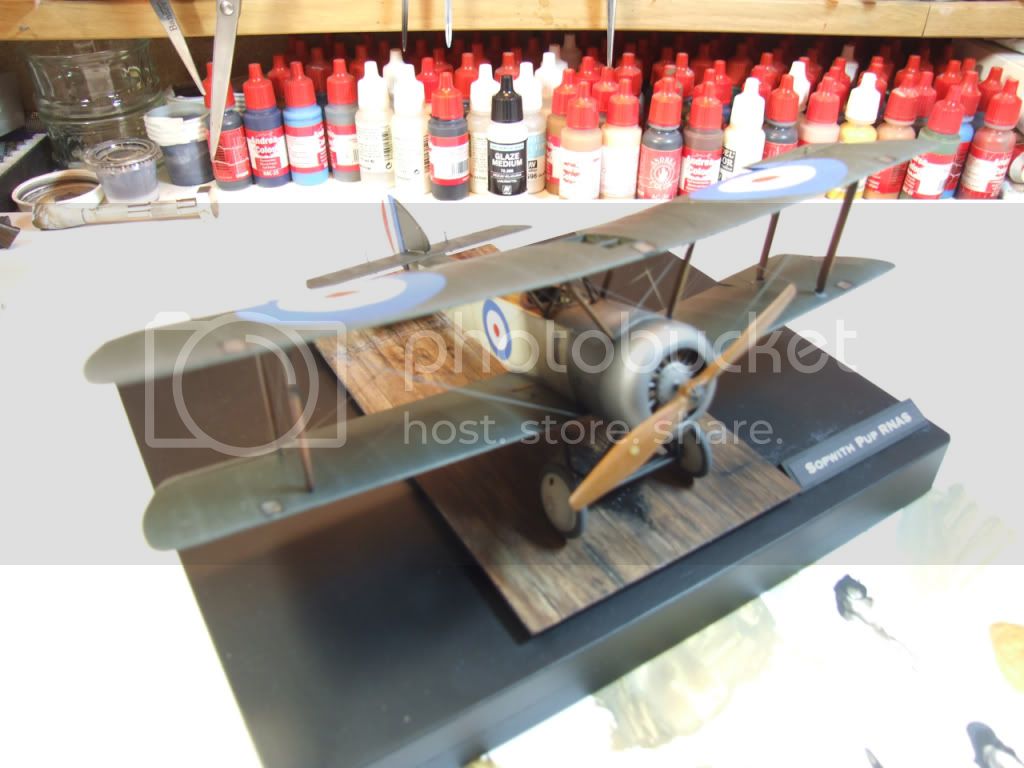
Hi Guys thanks very much I have to say I have now finished my very first WW1 aircraft, I decided to put it on a base with some planking to represent the wooden staging, I hope this works. I dont want to do the rigging on another British WW1 aircraft especially with the profiled wires, I use RB Products PE wires, boy do they want to leave the rigging points in a hurry when you move the aircraft.
What a challenge and a joy, both at the same time
Let mw know what you think
Dave
What a challenge and a joy, both at the same time
Let mw know what you think
Dave
OEFFAG_153
Västra Götaland, Sweden
Joined: February 19, 2010
KitMaker: 1,473 posts
AeroScale: 1,450 posts
Joined: February 19, 2010
KitMaker: 1,473 posts
AeroScale: 1,450 posts
Posted: Tuesday, November 02, 2010 - 07:53 PM UTC
Hi Dave,
Very nice looking pup indeed – I do like the base you did for it, and I really like your textures abd shadings over all!
Congartulations on finishing
Mikael
Very nice looking pup indeed – I do like the base you did for it, and I really like your textures abd shadings over all!
Congartulations on finishing
Mikael
Mgunns
Arizona, United States
Joined: December 12, 2008
KitMaker: 1,423 posts
AeroScale: 1,319 posts
Joined: December 12, 2008
KitMaker: 1,423 posts
AeroScale: 1,319 posts
Posted: Wednesday, November 03, 2010 - 02:06 AM UTC
Hi Dave:
Nice Looking Pup! Good job on the preshading and wood grain. Very striking indeed.
Best
Mark
Nice Looking Pup! Good job on the preshading and wood grain. Very striking indeed.
Best
Mark
thegirl
Alberta, Canada
Joined: January 19, 2008
KitMaker: 6,743 posts
AeroScale: 6,151 posts
Joined: January 19, 2008
KitMaker: 6,743 posts
AeroScale: 6,151 posts
Posted: Wednesday, November 03, 2010 - 02:10 AM UTC
Hi Dave !
You did a super job on your Pup and the base sets it off just right
JackFlash
Colorado, United States
Joined: January 25, 2004
KitMaker: 11,669 posts
AeroScale: 11,011 posts
Joined: January 25, 2004
KitMaker: 11,669 posts
AeroScale: 11,011 posts
Posted: Wednesday, November 03, 2010 - 02:15 AM UTC
Don't forget to post the finished build images in the Gallery
chukw1
California, United States
Joined: November 28, 2007
KitMaker: 817 posts
AeroScale: 729 posts
Joined: November 28, 2007
KitMaker: 817 posts
AeroScale: 729 posts
Posted: Wednesday, November 03, 2010 - 02:41 AM UTC
Stellar work indeed! The engine wiring is perfect- and the plywood decking is totally convincing.
Cheers!
chuk
Cheers!
chuk
gcn123
Joined: September 13, 2007
KitMaker: 69 posts
AeroScale: 60 posts
KitMaker: 69 posts
AeroScale: 60 posts
Posted: Thursday, November 04, 2010 - 10:45 PM UTC
Very nice, I've just completed one of these myself and being forewarned about the wing to fuselage join resulted in a pretty trouble free build.
This scheme was by far and away the stand out scheme for me.
I would be interested in how you created the base and I feel mine would look better a suitable base.
This scheme was by far and away the stand out scheme for me.
I would be interested in how you created the base and I feel mine would look better a suitable base.