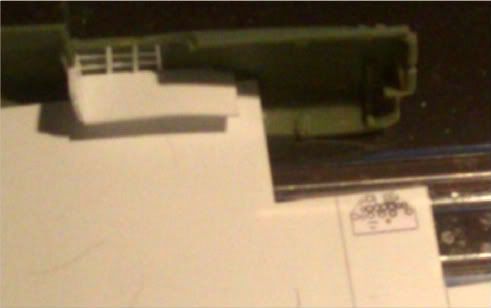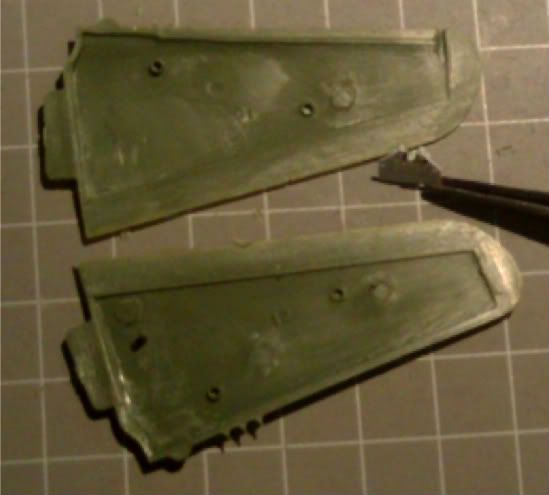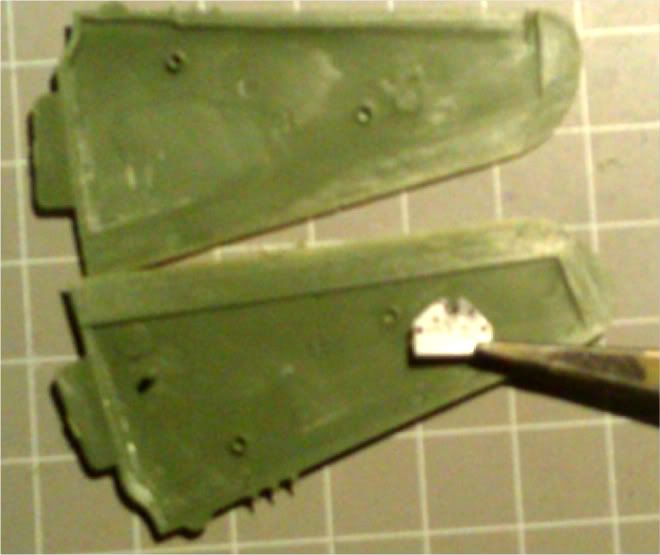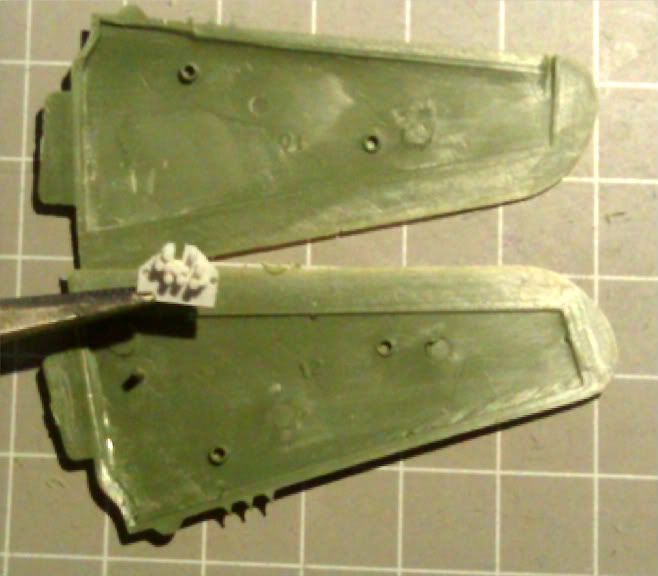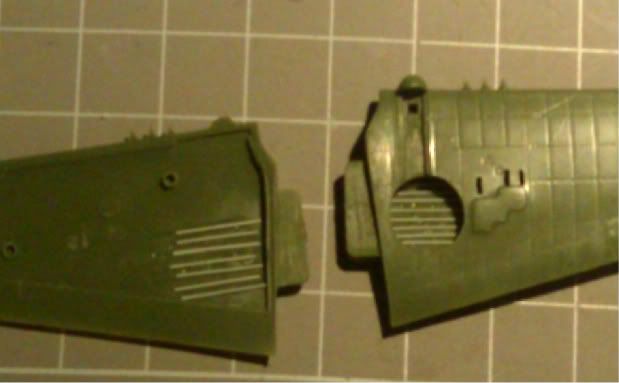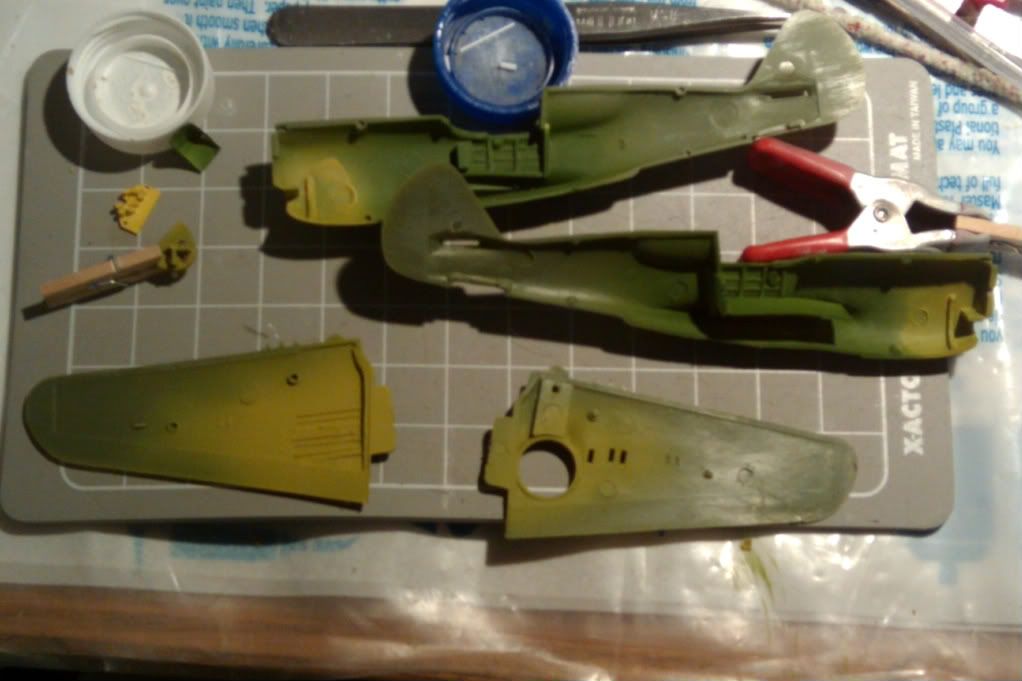
Of course, I started in the cockpit. As rendered by Heller, half of it is covered over by an overly large instrument hood, an optical gun sight and a Barcalounger for the pilot to perch in. Since there is no detail in the engine compartment, its a see thru fuselage. Ill have to add something there to block it off. Being the fool I am, I cut away the instrument hood, added a couple of frames and stringers to give some dimension to the cockpit. Ive added a rear wall behind the seat and set up some supports for a cockpit floor. Since the floor of the P-40 cockpit was the top of the center fuel tank, I set up some braces that follow the top contour of the wing and Ill glue a sheet of plastic stock over them to be the floor.

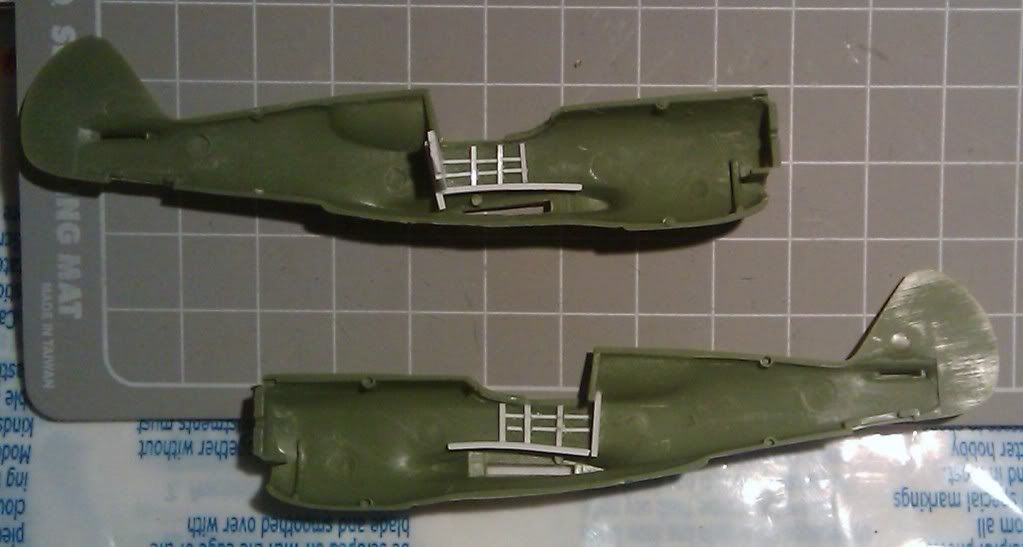
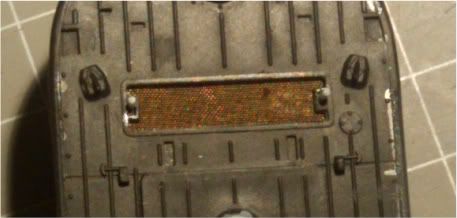
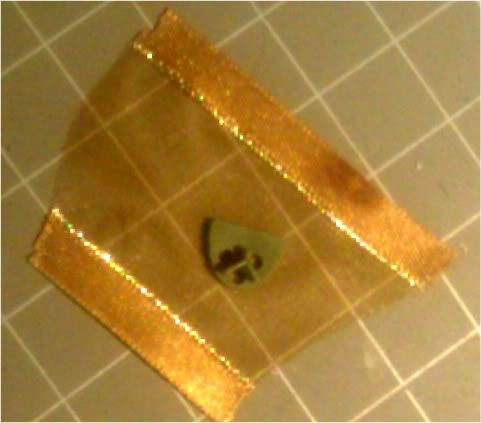
Ive got a P-40 cockpit detail set in hand for another build, so I traced the outline of the seat onto some .005 plastic stock, cut it out, bent it up and glued it together.
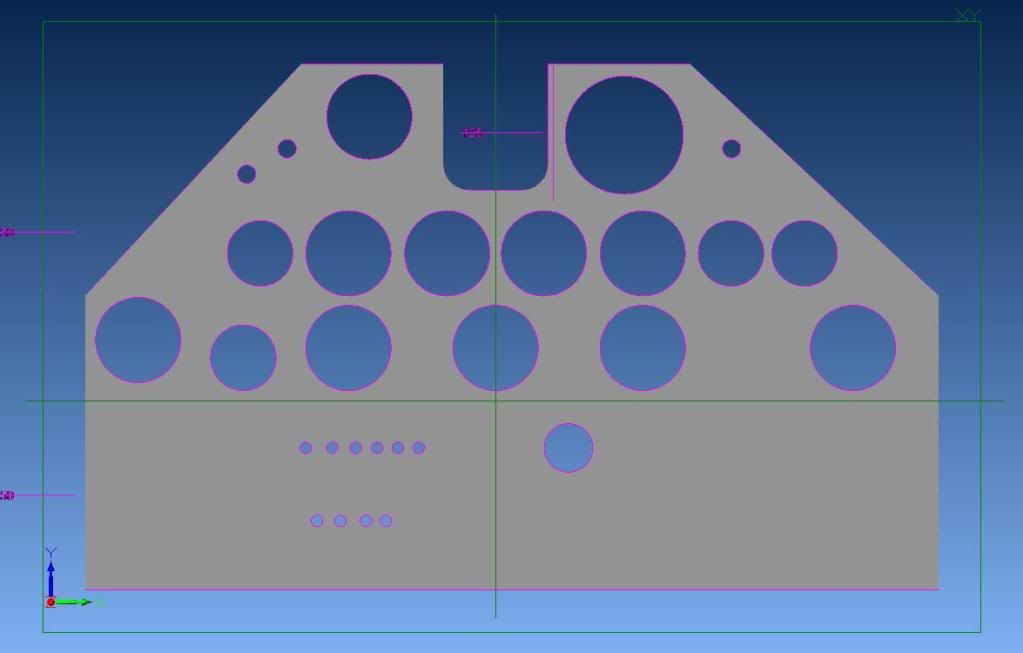
Measuring a near face on photo of the instrument panel, I drew up a panel in CAD and then reduced it in size to fit the opening in my cockpit. Once I get it printed out and stuck on a piece of plastic, Ill add instrument housings to the back side and see if I can salvage the optical sight.