The missing stitches and trying something newish... My work is progressing very slowly, being distracted by many things, the time for modelling is limited and the quality of the kit kinda make you do your best to give it what it deserves.
But I have reached the stage, where most parts are attached to the fuselage and the interior is sealed up and masked off. First layer of green including preshading is on and I figured it would be easier to do the green first, masking the edges of the underside and apply the linen afterwards.
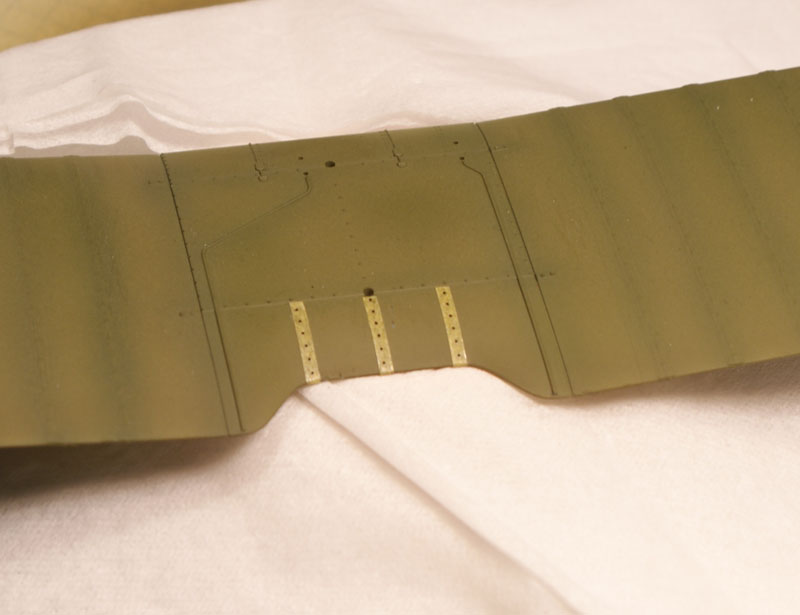
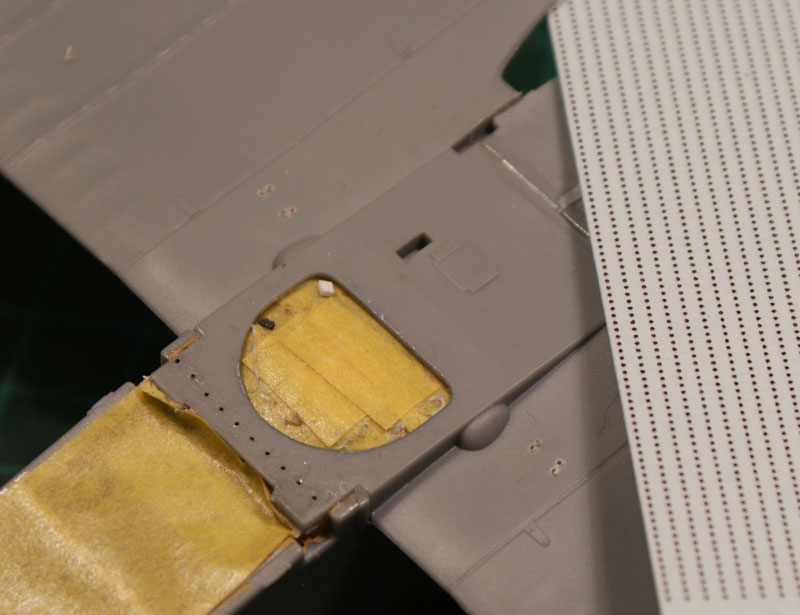
During painting - I happend to take a closer look at the area in the middle of the upper wing. Photos show that almost all of the underside misses 5 rows of tape/stiches and the backwards upper section misses 3 rows.
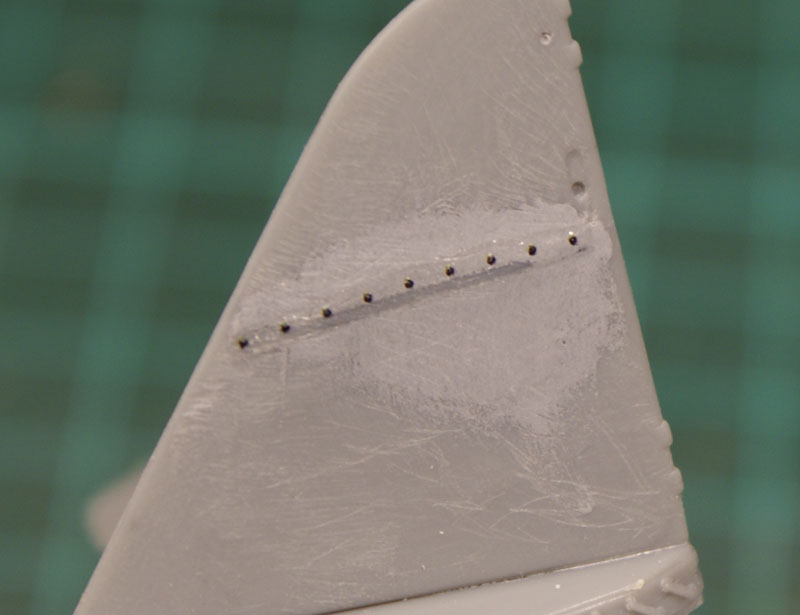
I have tried using Tamiya masking tape to do the tape and some of the archer decals to do stitches - but I am not that happy with the result, as I find the edges of the tape too sharp - I migth yet peel it off again and use very thin styrene sheet that can be sanden back instead.
Well, pics:
Below:
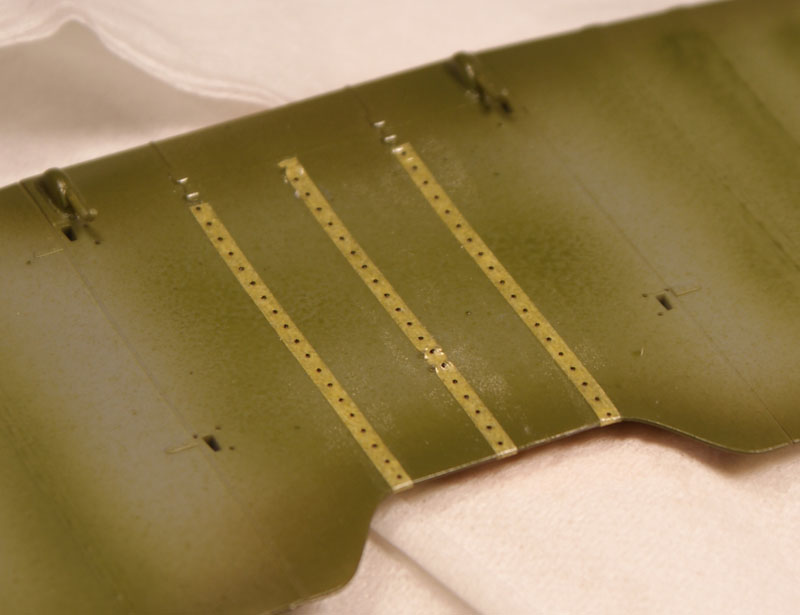
Upside:
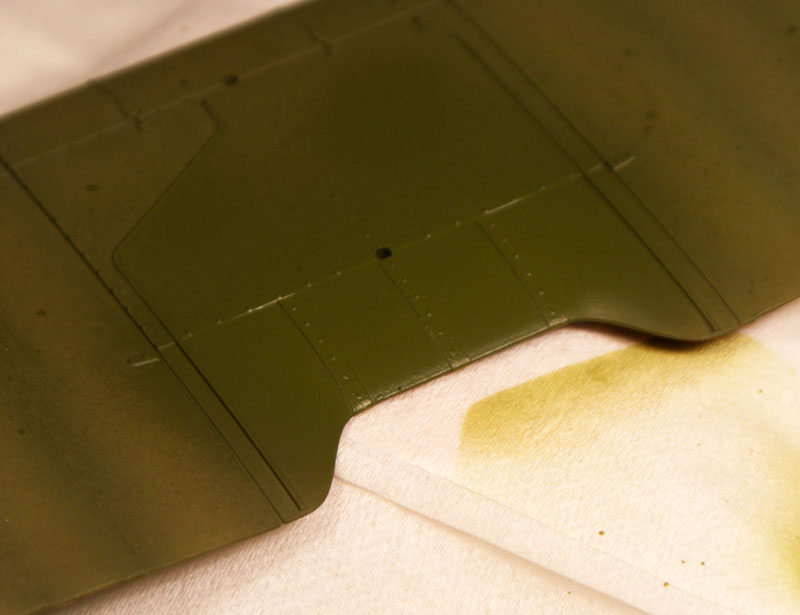
And after a coat of paint - it needs to be properly preshaded etc..:
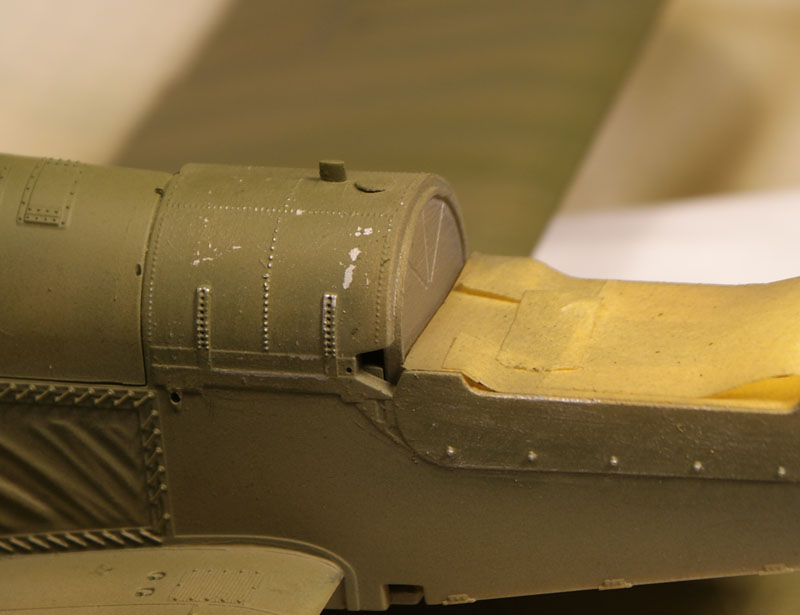
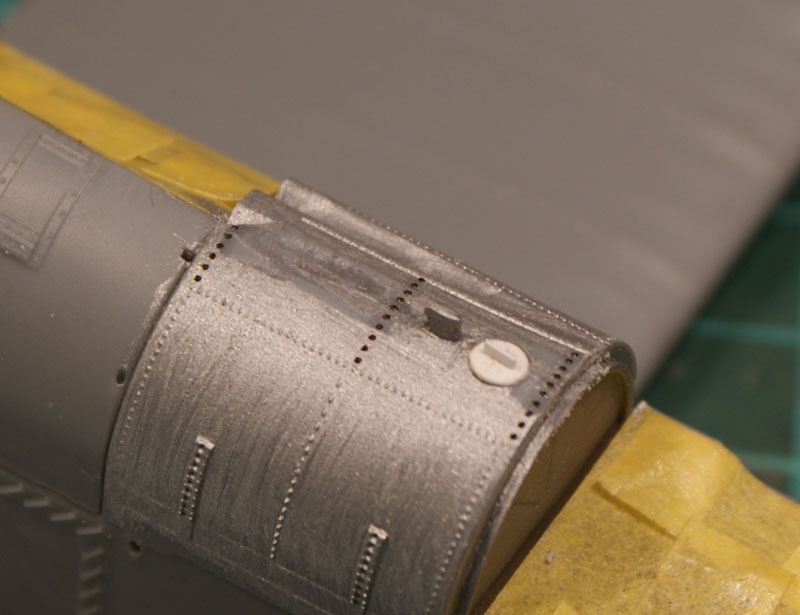
And some scratches on the fueltank - the tank is painted aluminium and a coat of hairspray is applyed to facilitated scratching the final layer off.
Any suggestions - should I keep the stitches or is it a "redo" ?
Cheers/Jan


 Hi Jan:


 )
)


