_GOTOBOTTOM
Early Aviation
Discuss World War I and the early years of aviation thru 1934.
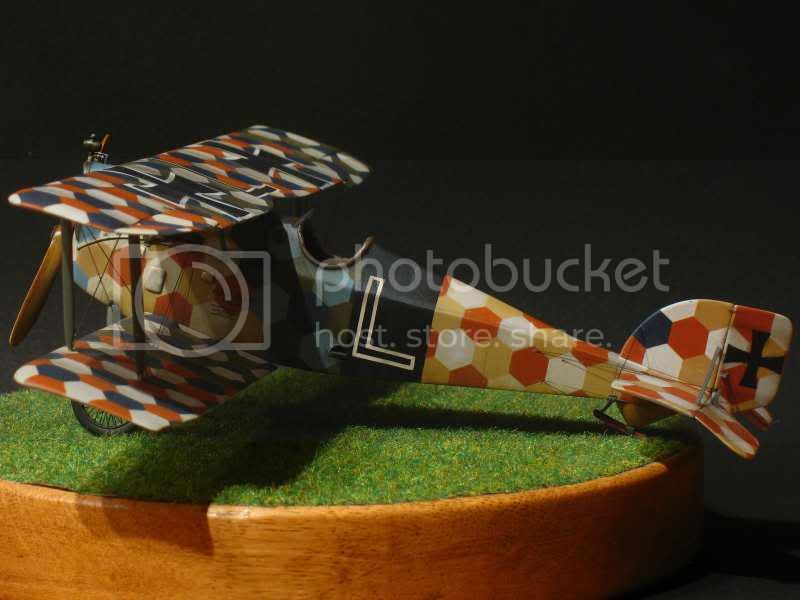
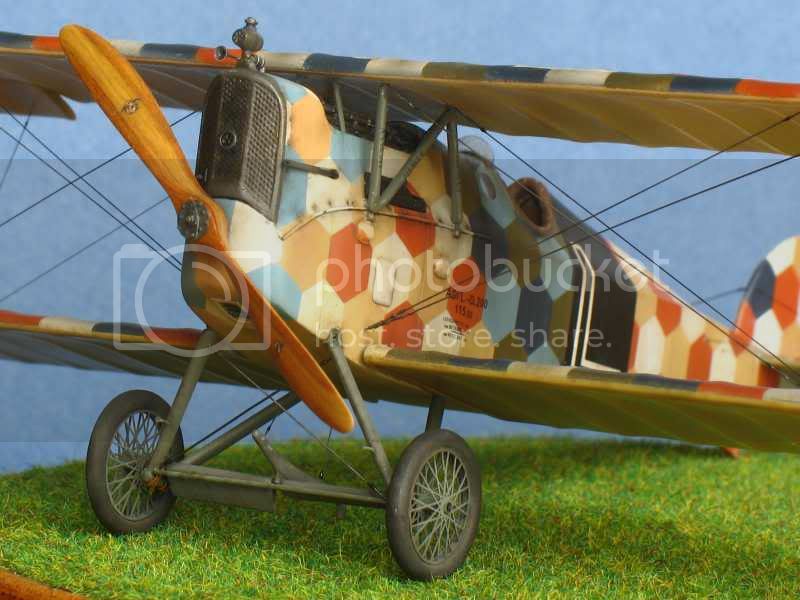
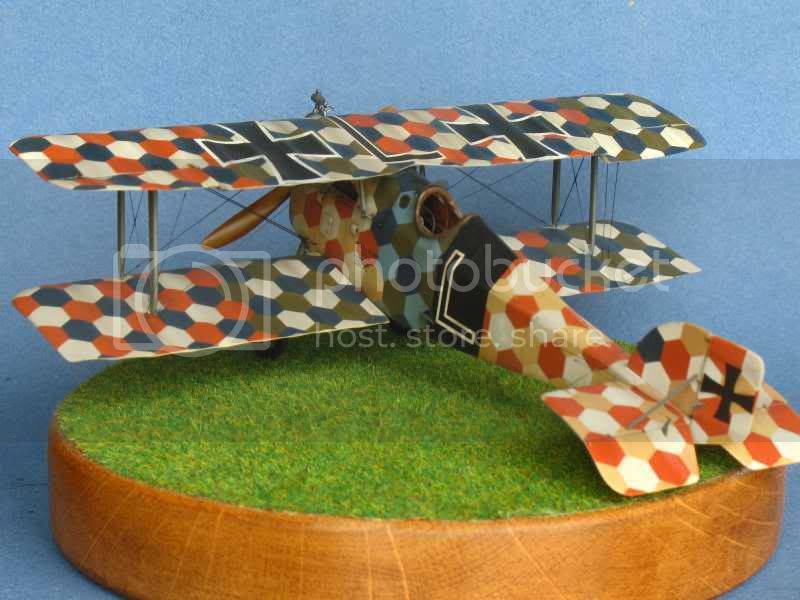
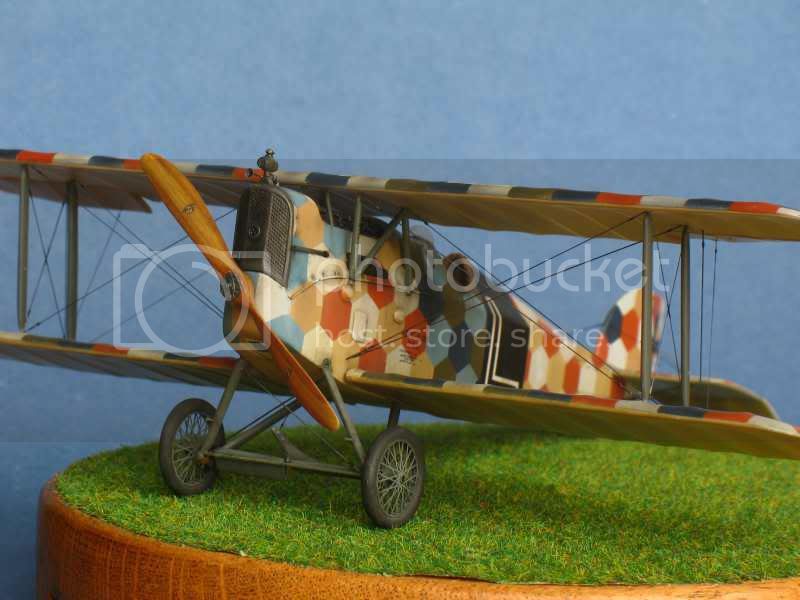
Flashback 1:48 Aviatik Berg D.I
Louis
_VISITCOMMUNITY
Bas-Rhin, France
Joined: May 21, 2006
KitMaker: 472 posts
AeroScale: 471 posts
Posted: Saturday, October 23, 2010 - 08:31 AM UTC
This built was published some years ago on another forum. The beginning of the assembly was in French, now in English (something like that).


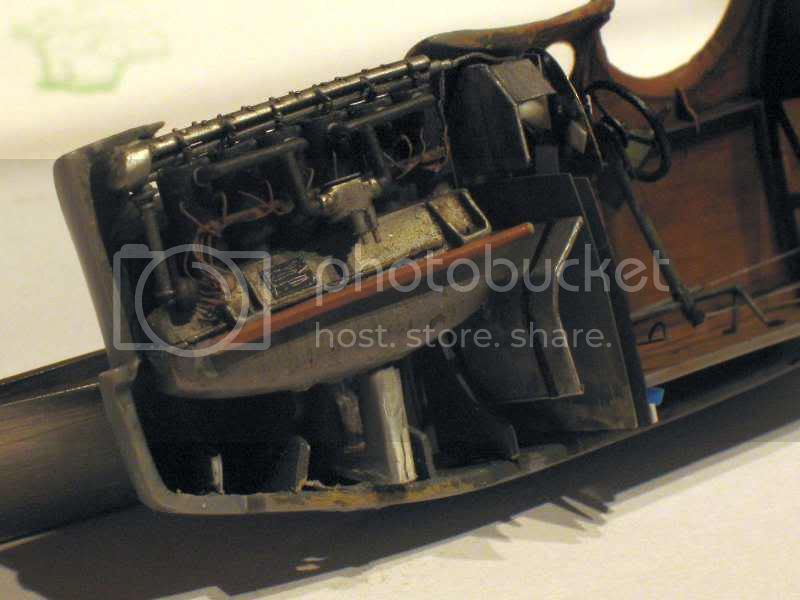
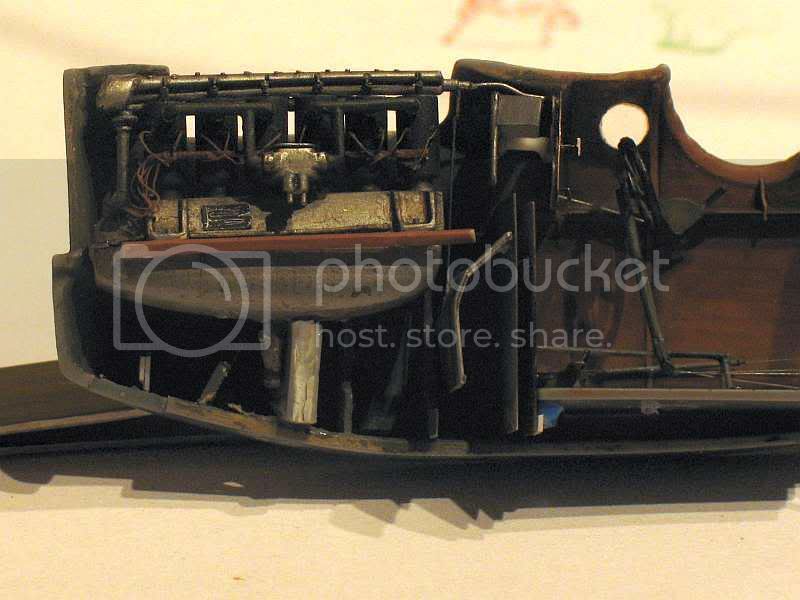
The engine:


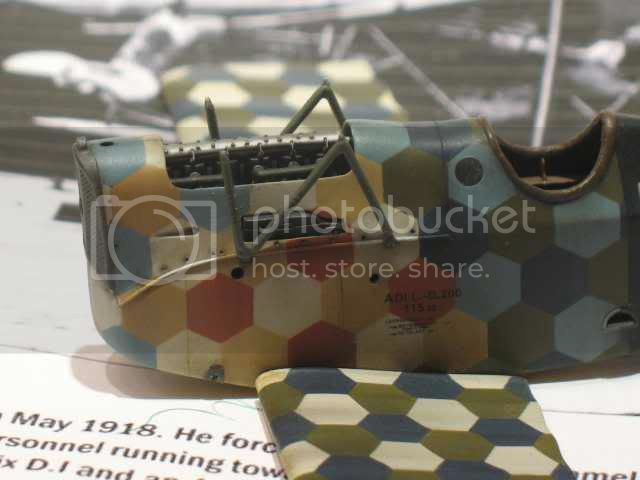
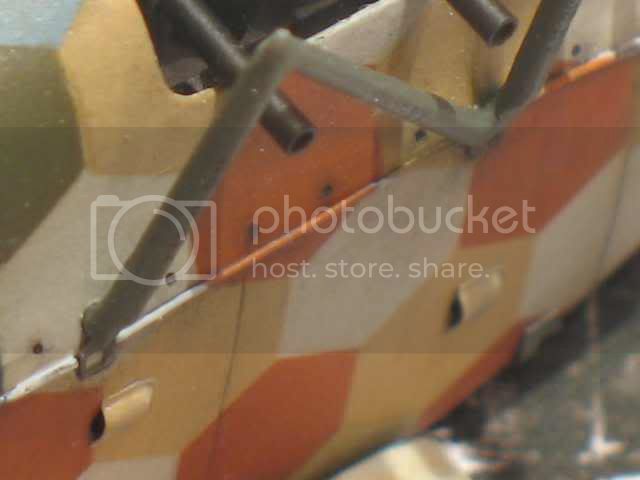
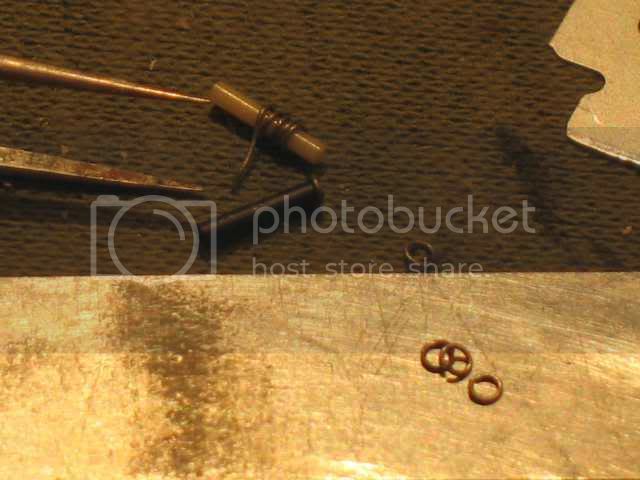
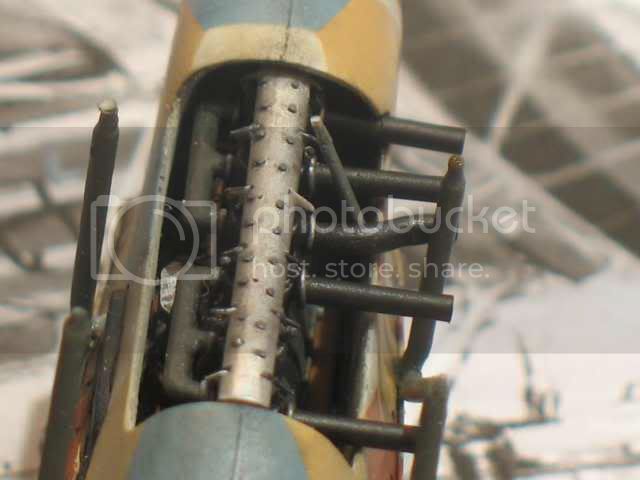
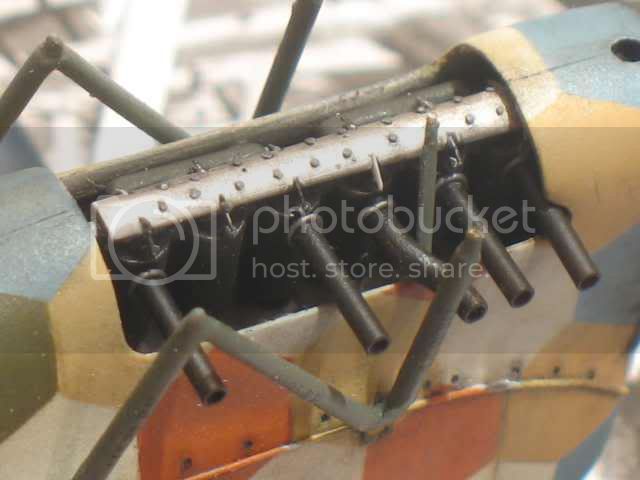
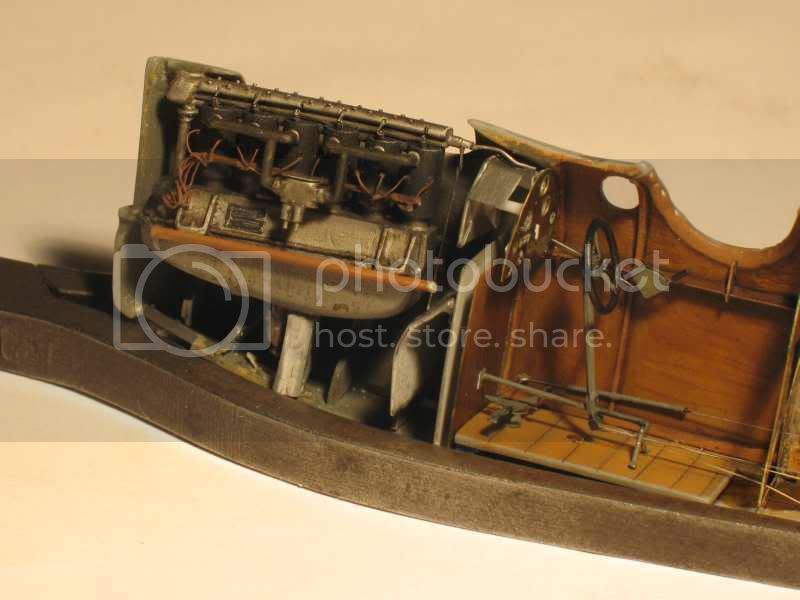
I kept the engine block (the big aluminum thing) and remade the cylinders that were neither identical nor right. The springs are made with a copper wire wound. The top engine is a plastic rod-shaped half-cylinder cut and drilled to put the nuts (wire lead). All painted aluminum, painted black "smoke" from tamiya.
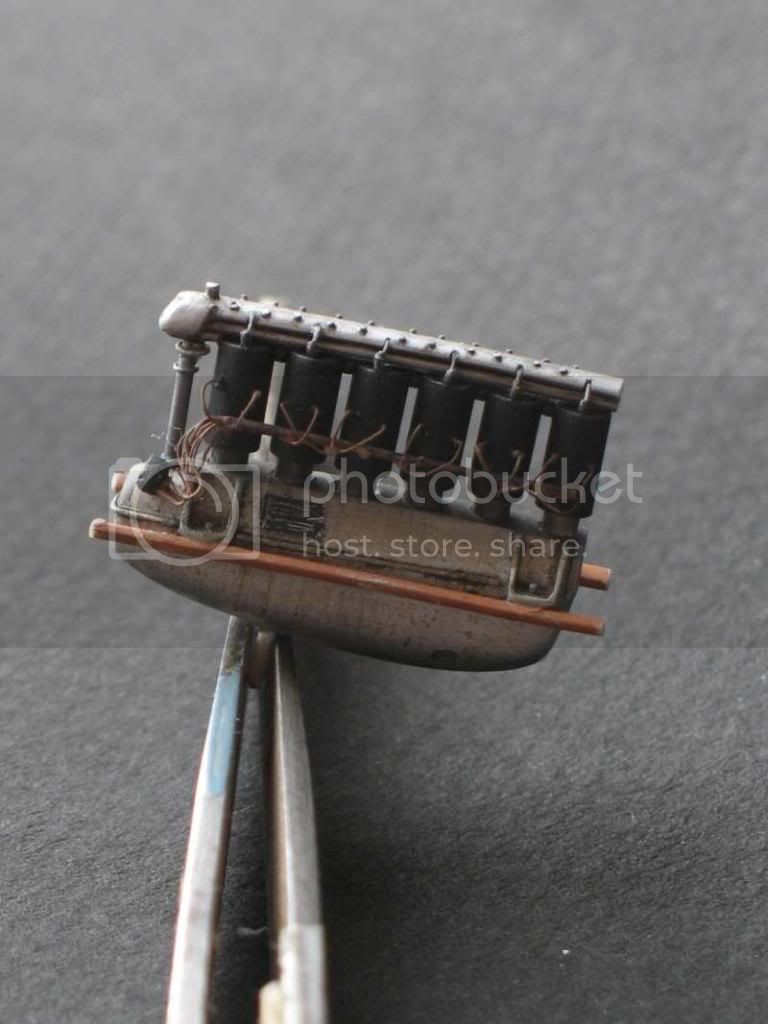

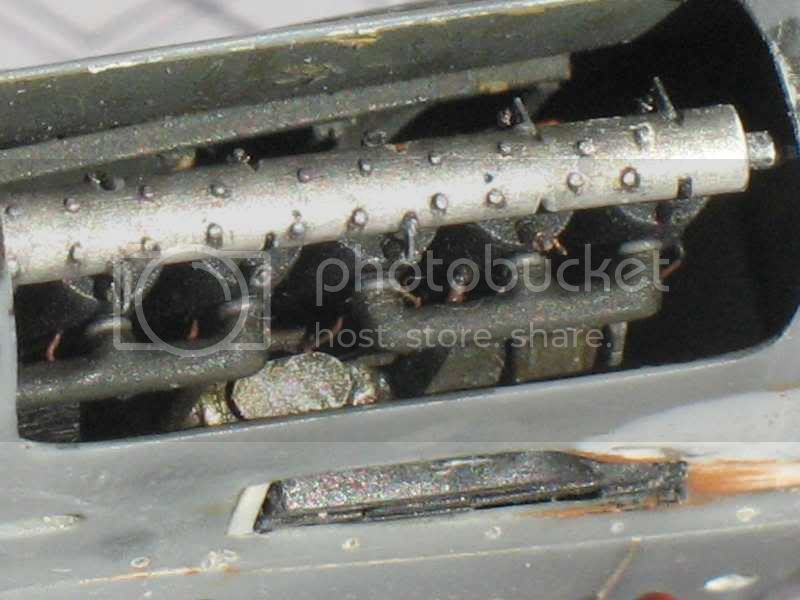
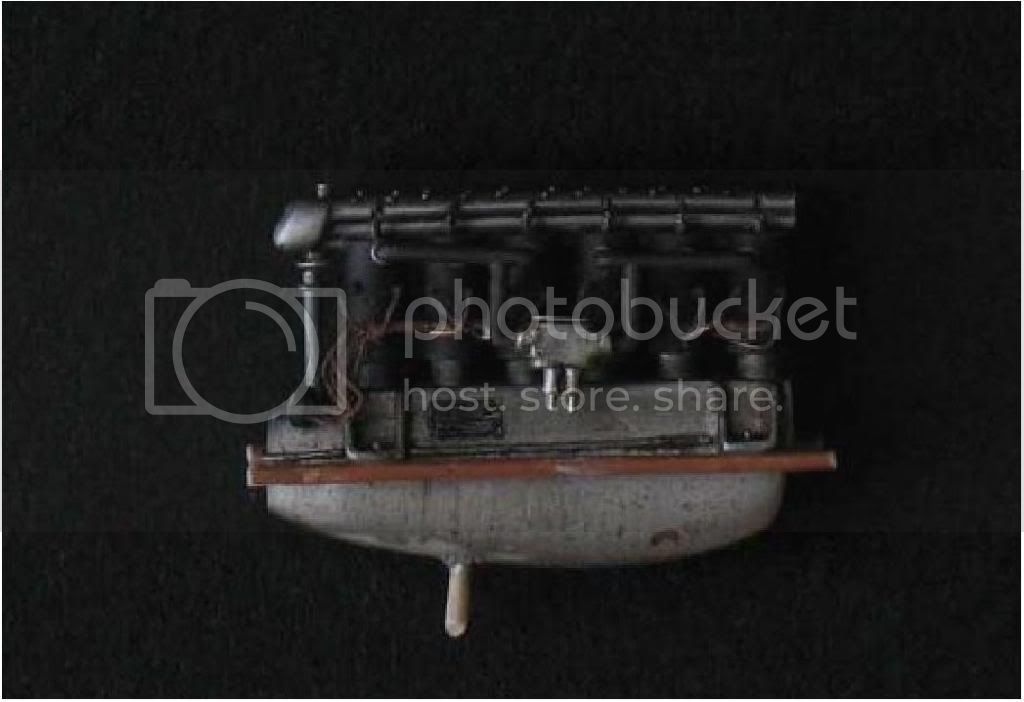


Pipes entering the cylinders are not yet in place because they are not glued. The housing at the base did not fit ... but we will not see it
The "stem" at the very front must be moved because it is skewed and it shows when the engine is in place.


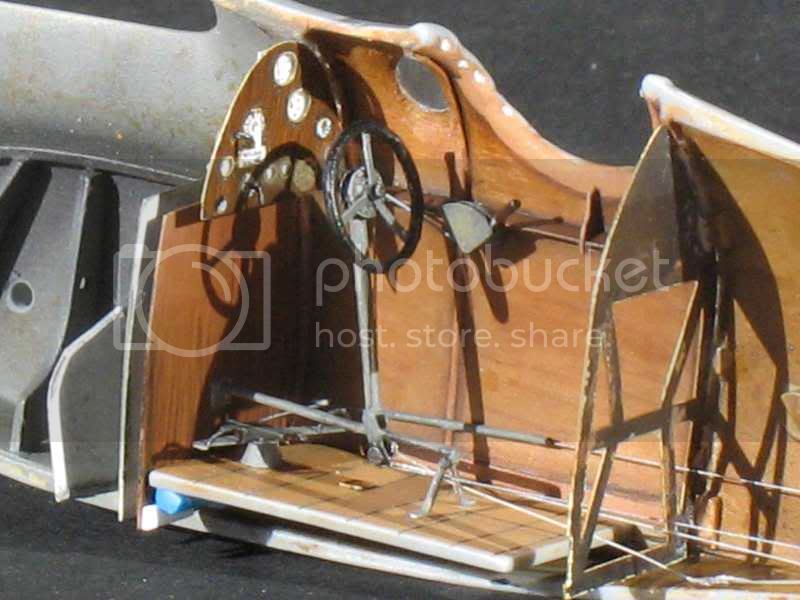
Inside:
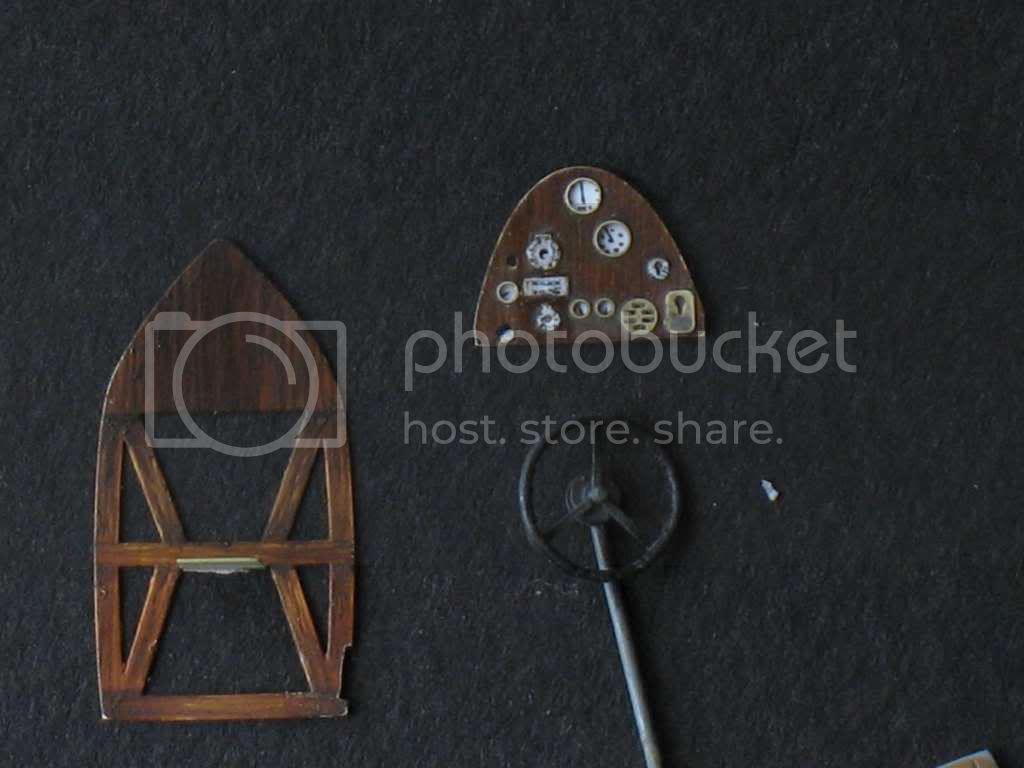


I added edges that go instrument panel to behind the driver's seat on each side of the cockpit.


The windows were moved because they are too high on the angle of the fuselage. They are rounded on their upper part (there are normally flat). I have lowered and enlarged for easy paste. then sanding and polishing. Their diameter is too large will be reduced when painting.

The instrument panel is painted with Humbrol paint color light wood with streaks of brown ink hazelnut (Prince August) and then for several coats brown ink. . Then I used sandpaper to expose the "clocks" brass (I think they were gray or aluminum but...) The bottom of the face are black in the original model but on my Photos they are white. So I've redone with black ink.
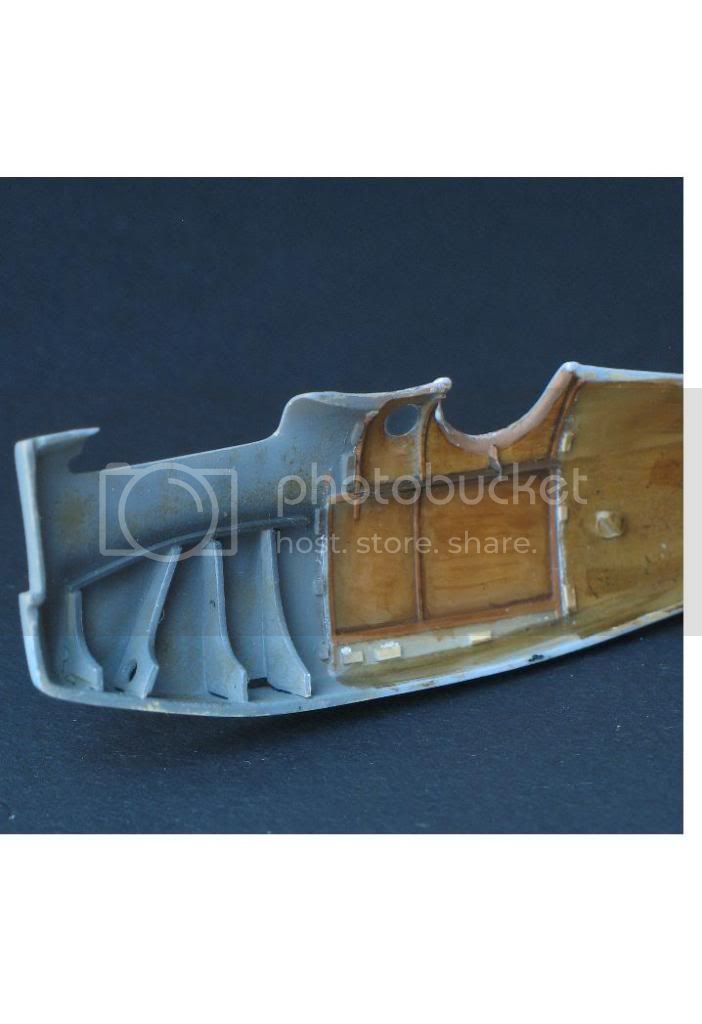


The pulley is made of coiled copper wire and the pulley is made with two small access doors in photo cutout of a model of Camels.


The engine mounts are made of plastic card but do not see nearly. I had not thought about the exhaust pipes that obstruct the view seriously.

The wood of the interior is painted in the same way that the instrument panel .


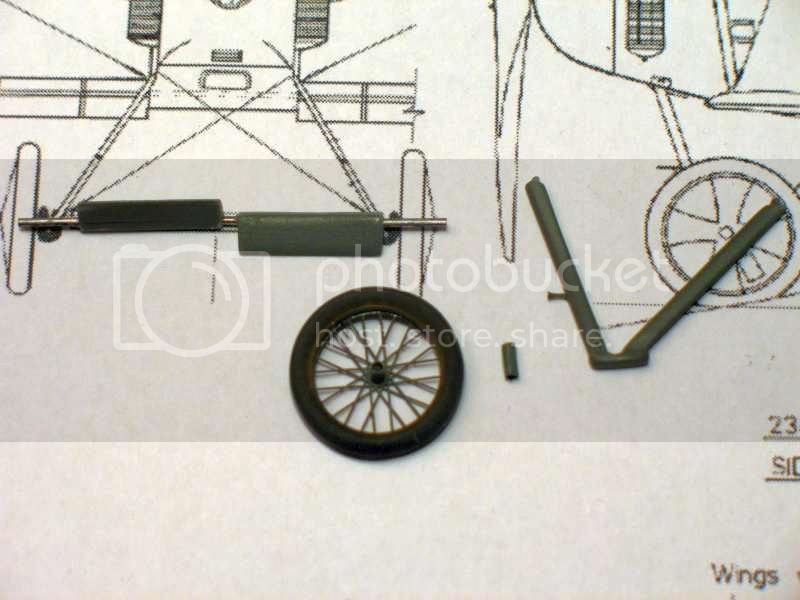
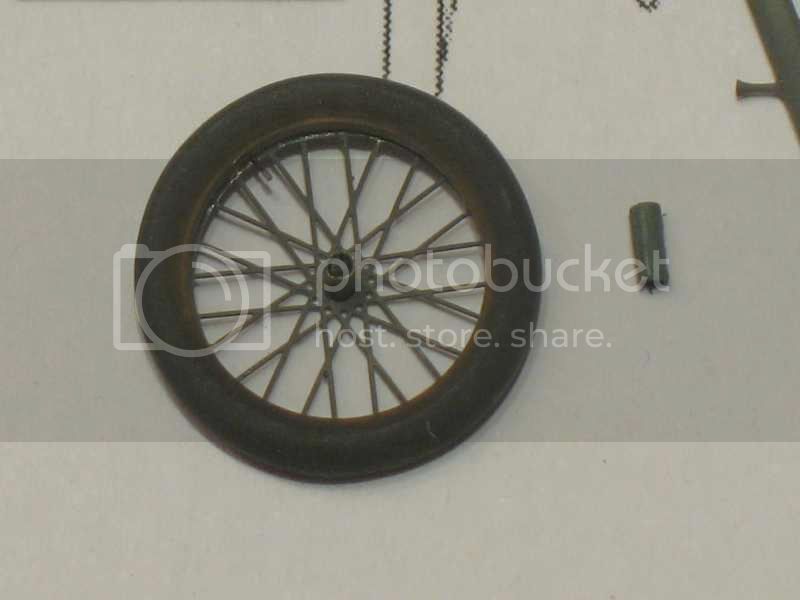
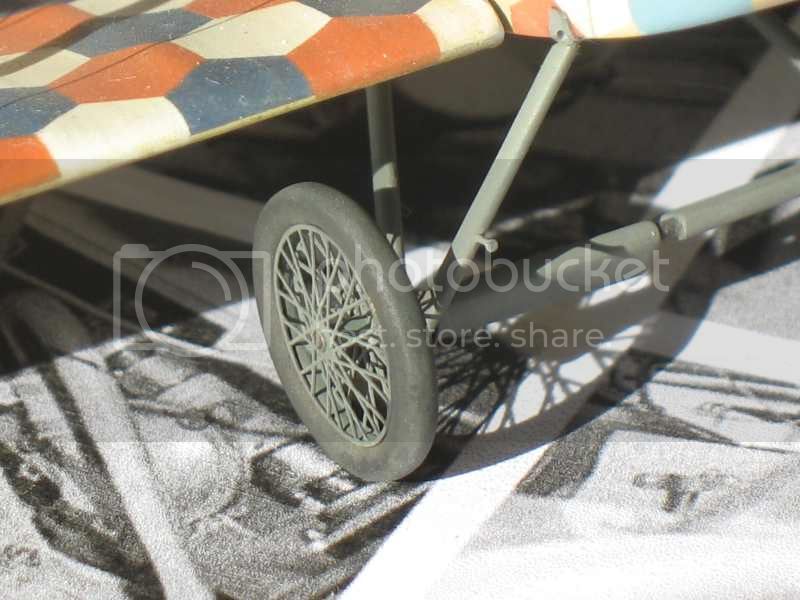
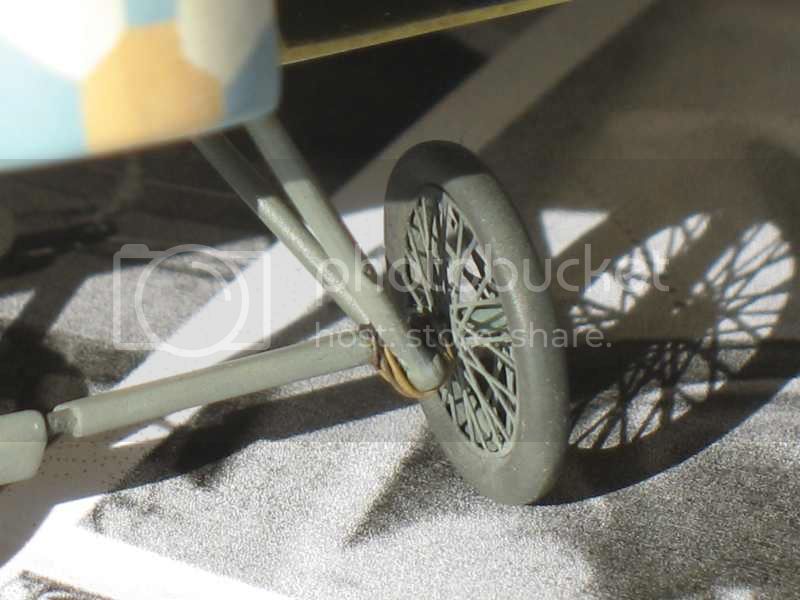
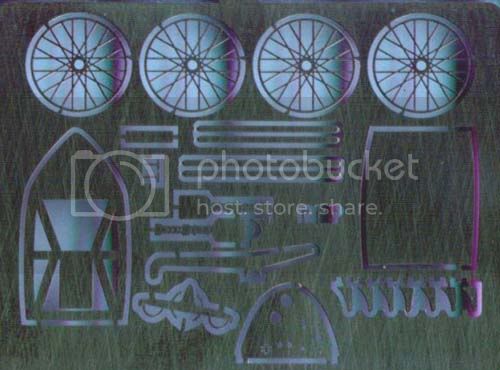
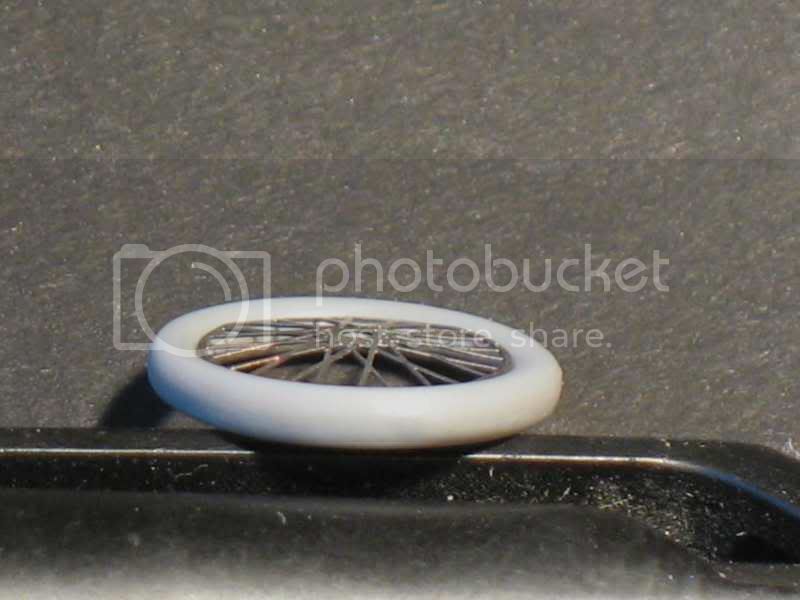
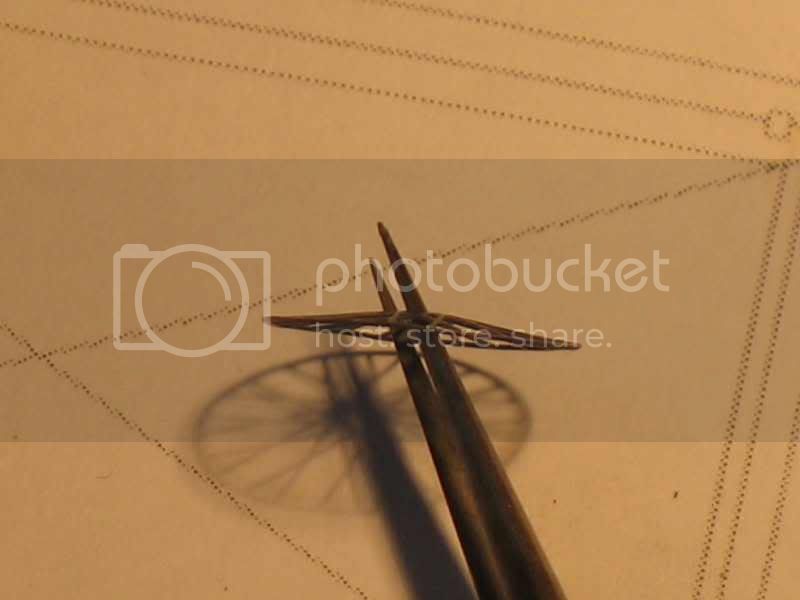
The spokes are mounted on flexible tire included in the kit but the tires are too big! So I emptied the plastic wheels up to enter the spoke. The spoke are rendered "convex" by placing them on a large diameter ball. Dangerous for the spokes and not very useful. I would dissuade you.



The left side panel which hides the gun is opened. I do not have pictures of the opening, just drawings.


Air intake:

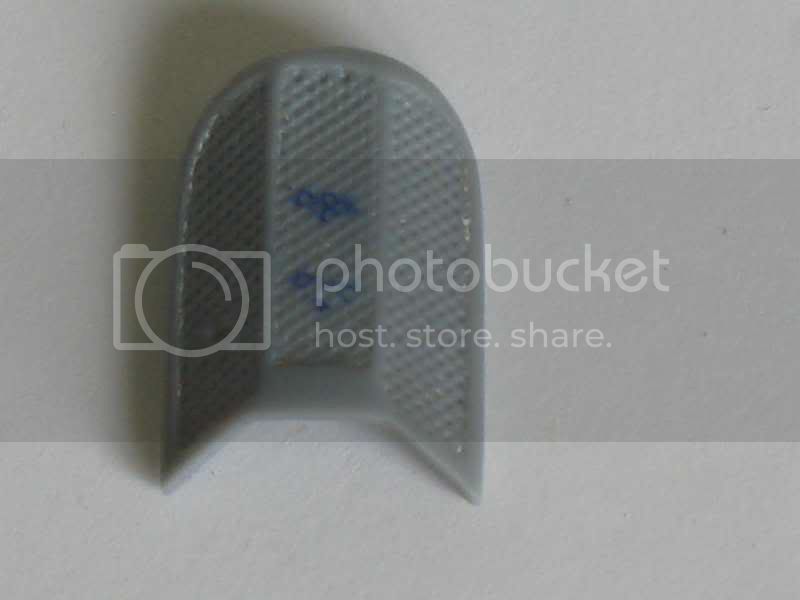
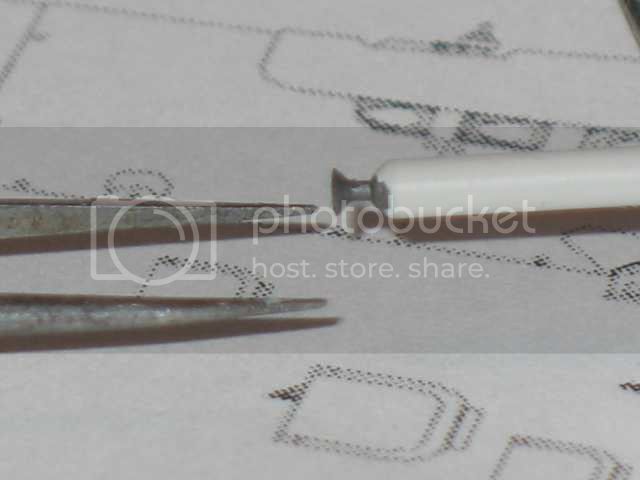
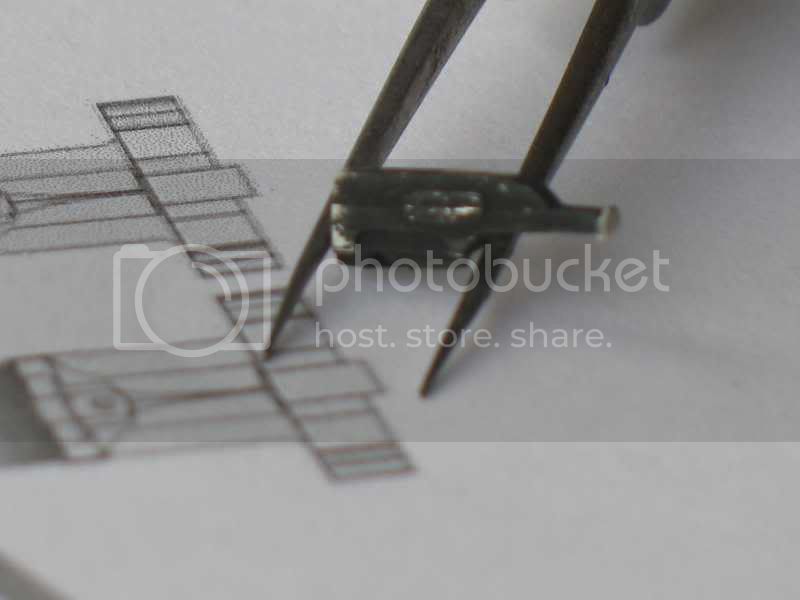
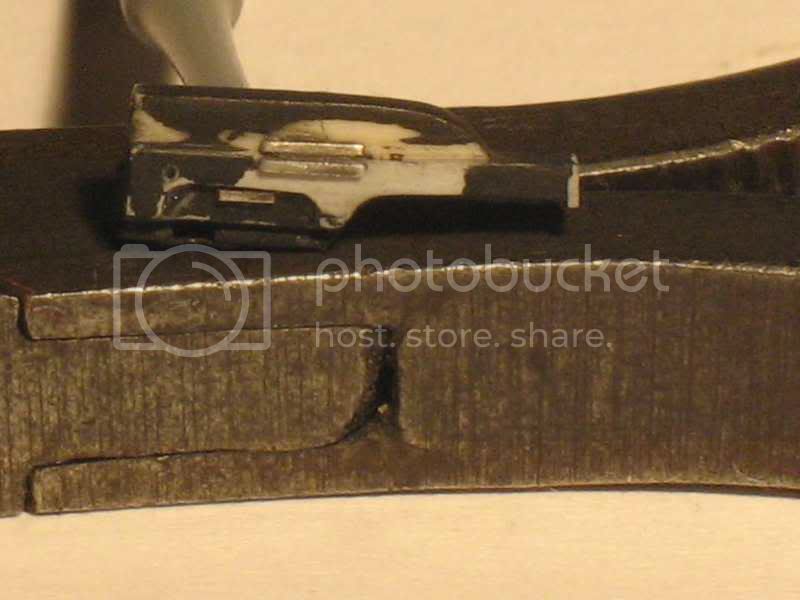
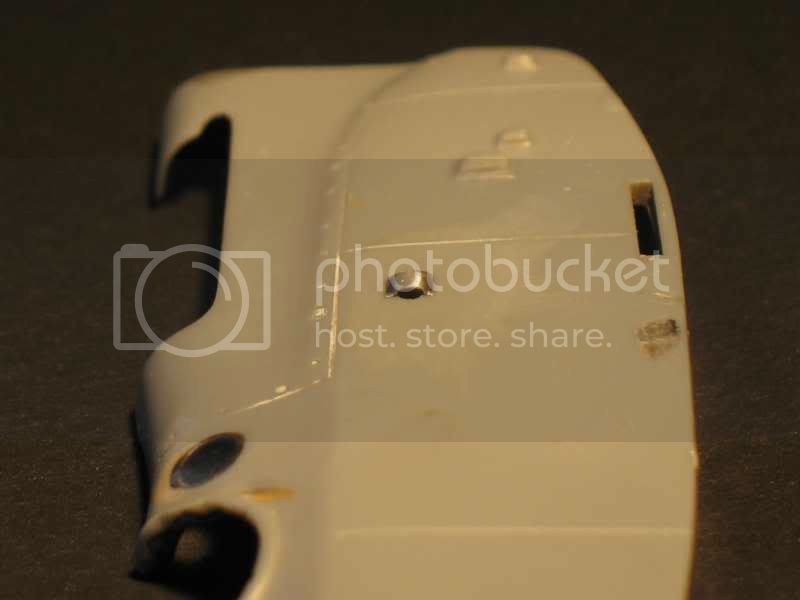
The model (in white) is glued on a support (CD box) and the piece of metal (lead) secured with tape. A good shape is easy to do, not 3 minutes more, but cutting around the air intake give it a shape... You must do two or three others who will accompany him.
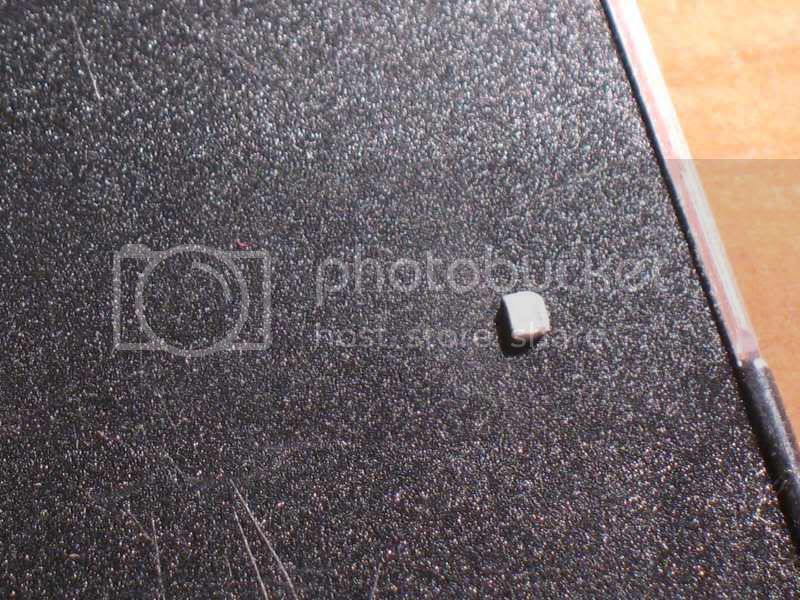
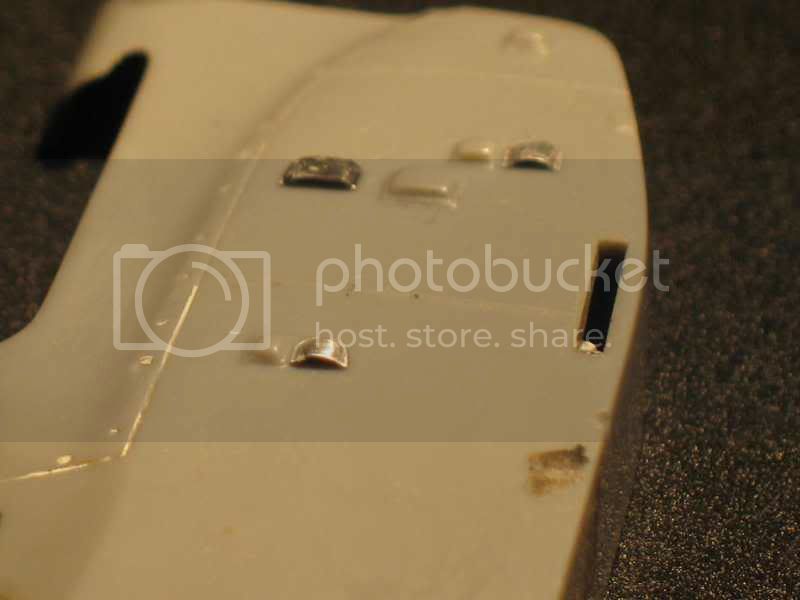


the air intake located furthest forward is to remove the right and left (I think). They are visible in any photos. Neither in the book in Japo (p30 to 32) or in windsockdatafile (p6 bottom photo). the largest is more like an inspection door closed on 4 sides to an “air intake"".
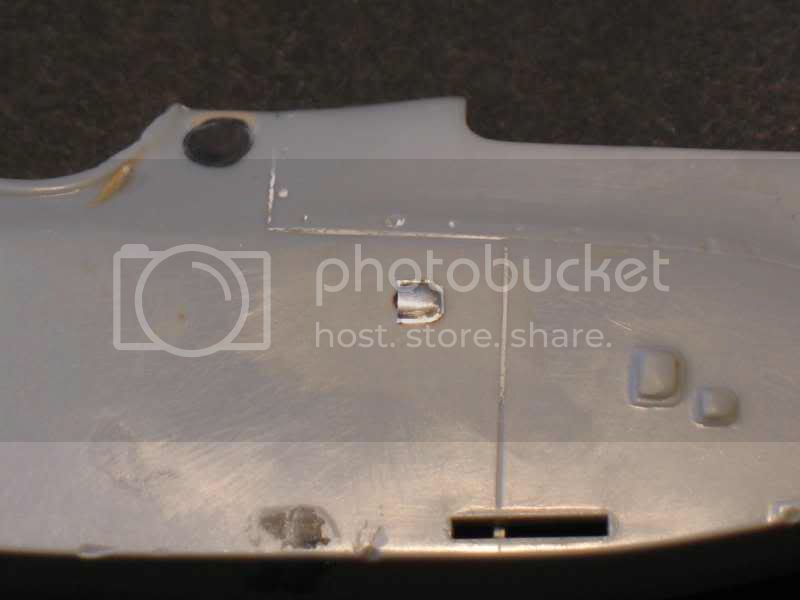
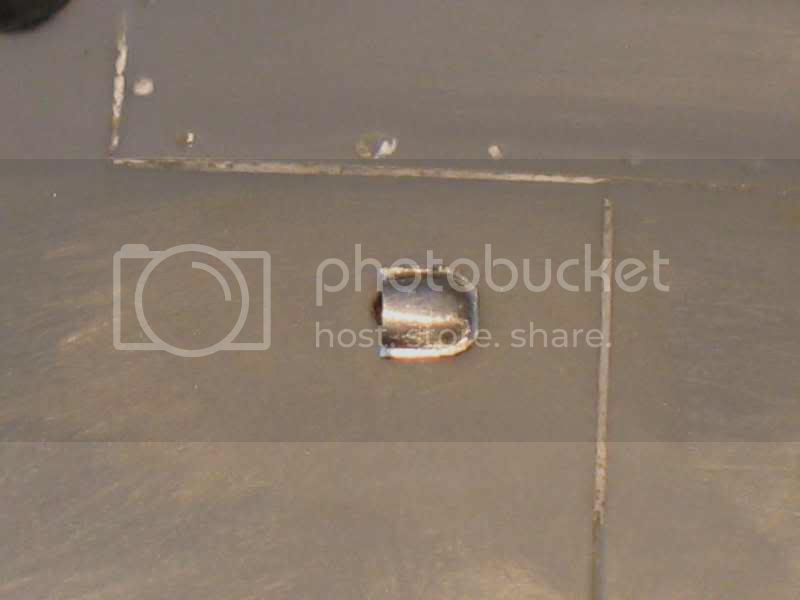


Wings:

The ailerons were cut and must be "twisted" up into hot water.
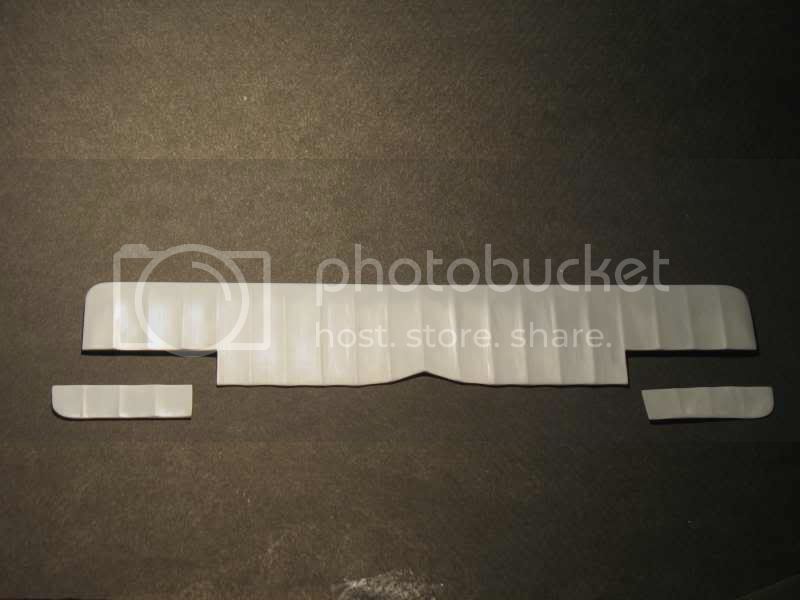


Clearly visible in many photos. The flap is removed with a file and frame size of the flap is made. It will then stuck chewed. The "fins" will be glued at the end.


the fuselage:

A tank is glued under the engine. It is a plastic card with aluminum tape.
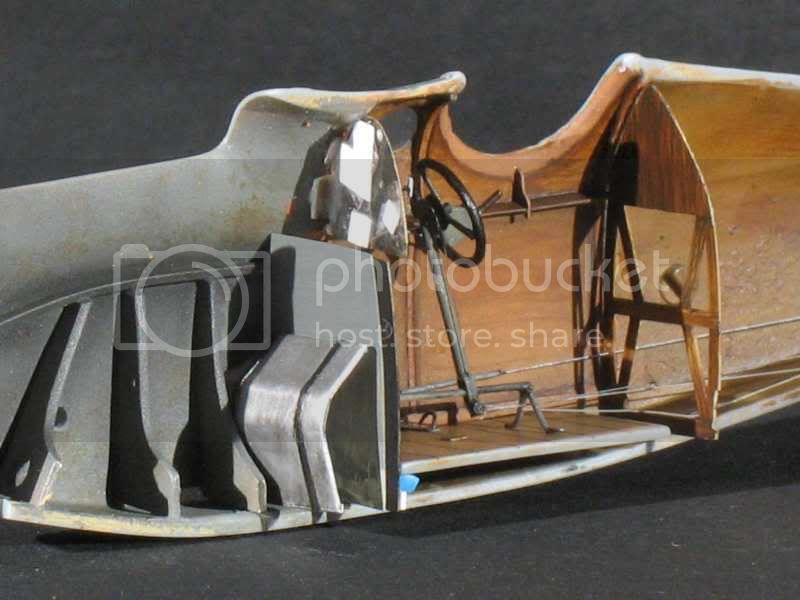


The steering wheel is stuck. I have no other picture of the base of the control column .


The three "frames" in a "U", placed under the engine and placed at the bottom of the fuselage are not visible at all when the engine is in place.
A final layer remains to pass to make everything smooth. dirt and then others.
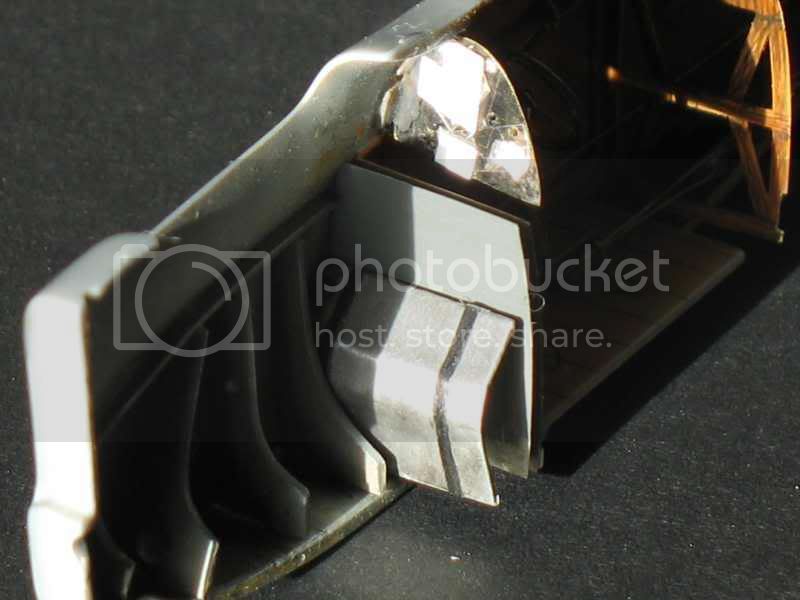
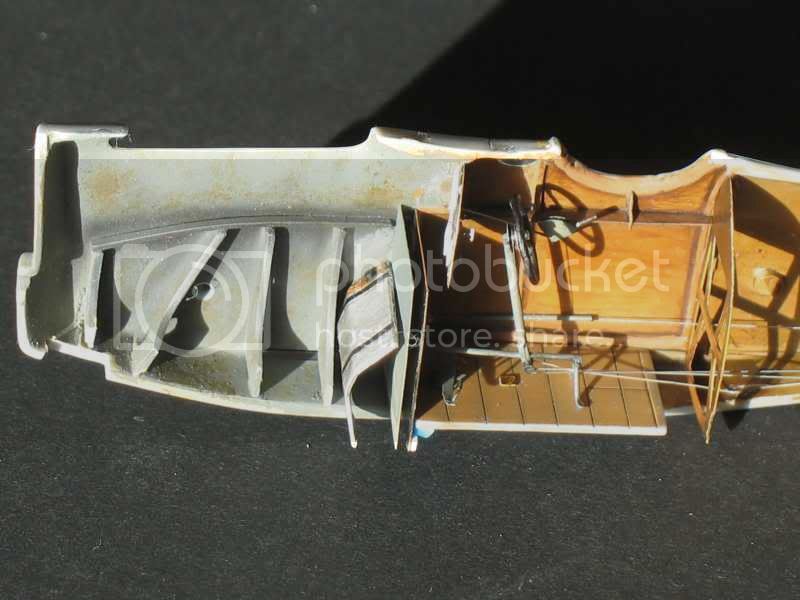


The fuselage is glued and putty will be useful everywhere.

We see nothing under the hood except the sanding dust and pieces of engine were loose.


I started to put decals on the wings ......but the ribs are very deep and decals very hard.
The microsol softener arranges things but it's not beautiful.




alpha_tango
_VISITCOMMUNITY
Germany
Joined: September 07, 2005
KitMaker: 5,609 posts
AeroScale: 5,231 posts
Posted: Saturday, October 23, 2010 - 08:59 AM UTC
Great Stuff Louis!

I will look closely to this! According to the JaPo the rear upper cowling (between the engine and the cockpit forward of the windows) shall also be removed .. will you do this too?

If I open the MG cover I plan to use a spare Schwarzlose MG from the Offfag kit. Is yours scratch build?

all the best and good luck!

Steffen
Louis
_VISITCOMMUNITY
Bas-Rhin, France
Joined: May 21, 2006
KitMaker: 472 posts
AeroScale: 471 posts
Posted: Saturday, October 23, 2010 - 09:44 AM UTC

Quoted Text

Great Stuff Louis!

I will look closely to this! According to the JaPo the rear upper cowling (between the engine and the cockpit forward of the windows) shall also be removed .. will you do this too?

If I open the MG cover I plan to use a spare Schwarzlose MG from the Offfag kit. Is yours scratch build?

all the best and good luck!

Steffen


Thank you Steffen,

I don't know for "the rear upper cowling". I must see that into my books...

If you need anything (pictures or book)...


Regards.
alpha_tango
_VISITCOMMUNITY
Germany
Joined: September 07, 2005
KitMaker: 5,609 posts
AeroScale: 5,231 posts
Posted: Saturday, October 23, 2010 - 10:10 AM UTC
Hello Louis

I am not sure either. But it is shown this way in the profiles in JaPo (both Lohner 115 series aircraft on that page).
BTW I think you might have put the cockpit - instrument panel and control lever - a bit too far forward inside the fuselage, but as I am neither a WW1 nor an Aviatik expert I should better keep my mouth shut and watch your progress in awe (your wood imitation looks great!! not to mention that beautiful engine!)

all the best

Steffen
Louis
_VISITCOMMUNITY
Bas-Rhin, France
Joined: May 21, 2006
KitMaker: 472 posts
AeroScale: 471 posts
Posted: Saturday, October 23, 2010 - 08:22 PM UTC
Hello Steffen,

it's right!! Damn !
Louis
_VISITCOMMUNITY
Bas-Rhin, France
Joined: May 21, 2006
KitMaker: 472 posts
AeroScale: 471 posts
Posted: Saturday, October 23, 2010 - 08:32 PM UTC
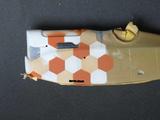
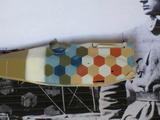
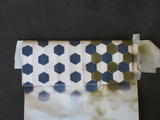
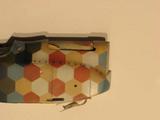
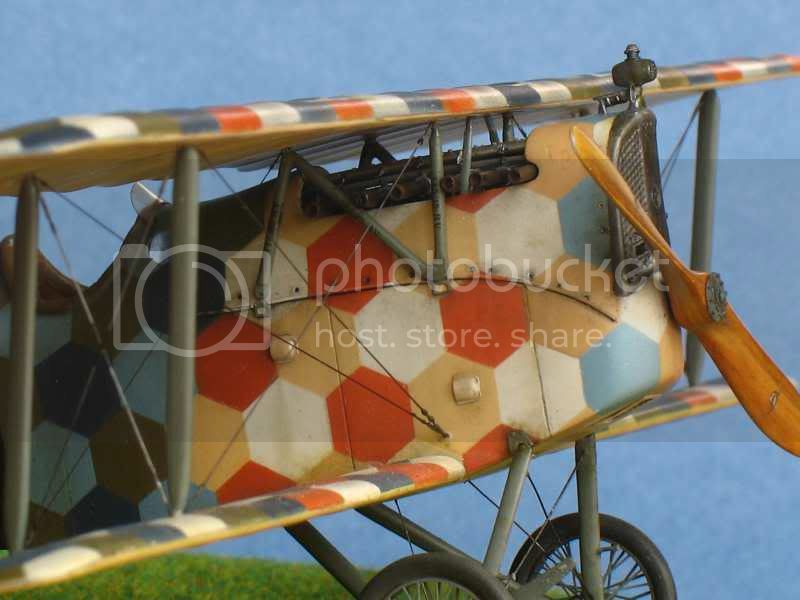
pale grey: 21B1 - FS36628; 5* humbrol 34 (white) 1*humbrol 64
terracota: 7D7 - FS32169 is an approximate match;FS:32169 Deep
Yellow
6*Hu:100 + 4*Hu:154 + 1*Hu:34 + 1*Hu:110
orange grey: 5B3 - Fs32630 is an approximate match; 2*Hu7 + 1* Hu62
+ 1* Hu64 + 3* Hu 34


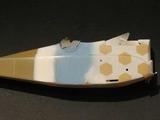
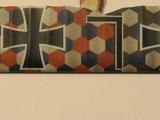
On the left (of the photo), first hexagons will be Pale Turquoise 24A3 or GreyishBlue 23B4

Next side will be pale grey first...

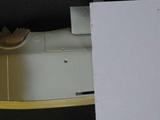
You can try to see "pale grey" with the white paper


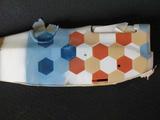
prussian blue 21F7 FS15048 or FS25053/21F6 - FS15048; Humbrol 15

GreyishBlue 23B4 8*Hu65 + 1*Hu15 + 6*64


And green...11*Hu155 + 1*Hu 159


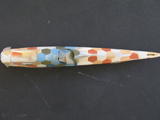
But the left and right side are not even ("symetrique")


and I do not know how to finish the top...


So I painted one side again....


The back of my plane, I don't find any photo of real back (plane with no "rectangular" fuselage and hexagons)...


Blue is now Hu 104.


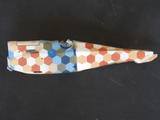
Hexagons are too small on the wing but are good on the fuselage....


I 'm using Adobe illustrator 10 (free 30days), and frisket.


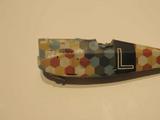
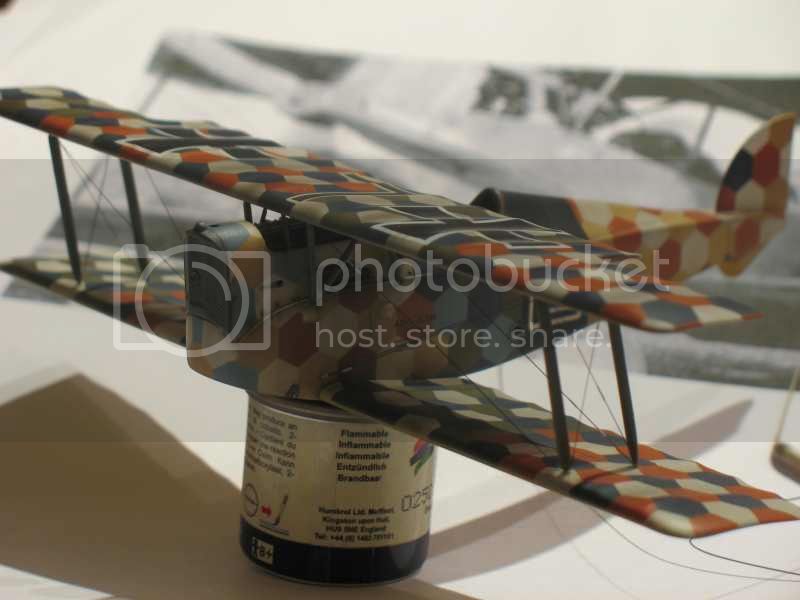
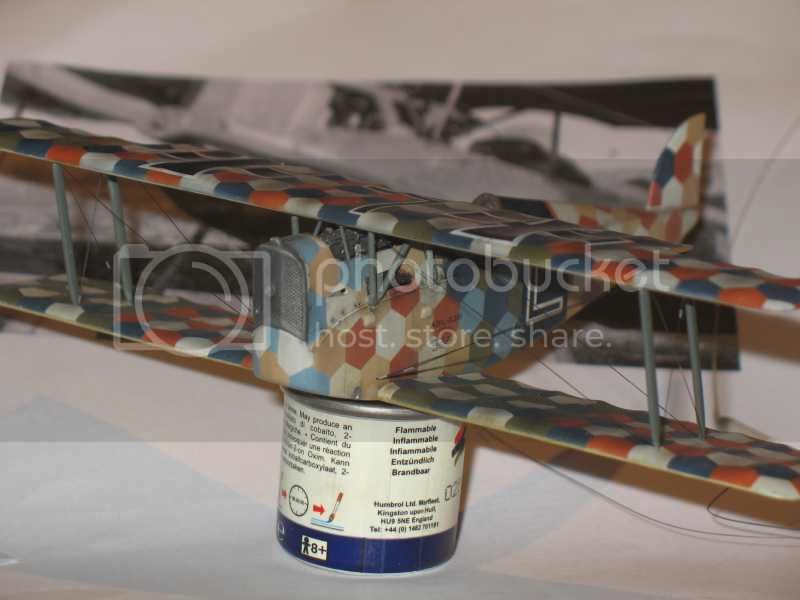
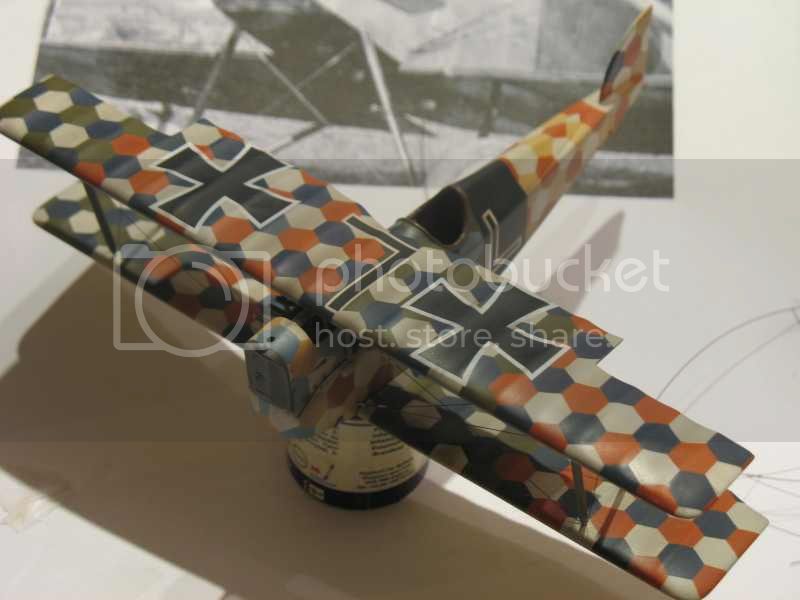
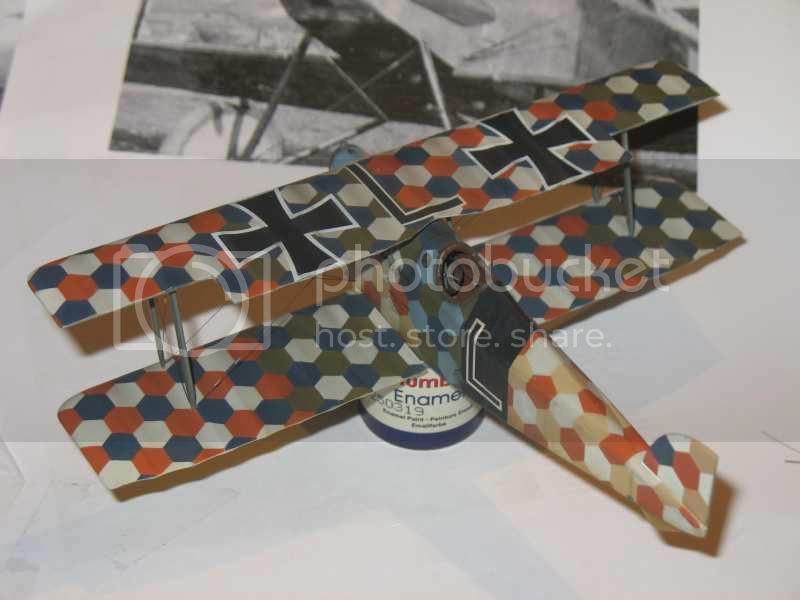
Wings and airframe are finished. I drew inspiration from a photograph on the net of the ended model. Alas the decorative was partly wrong and .... I drew inspiration from this wrong party of the wing...

I started again all the upper wing (hexagons not being in good order). Idem for one of both wings lower.


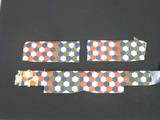
The wing is painted in grey. Two other shades are painted "by top" (?) the grey. Between every shade it is necessary to clean all wing with hot water and detergent to take away the traces of glue of paper frisket.

It is better to do again a "pochoir" (?, "frisket mask") for every shades to avoid escapes of painting under the mask. All hexagons which are not jointifs are caught in the scotch tape Tamiya.


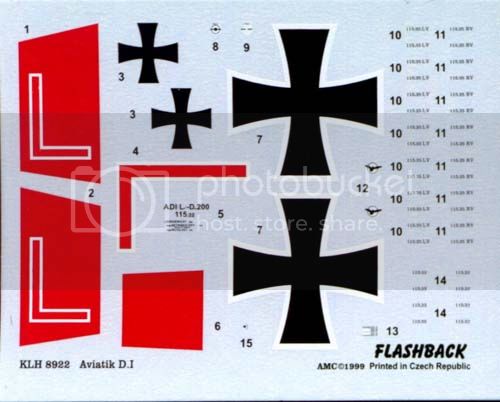
"L " are made with scotch tape Tamiya.


Weathering:

oil painting diluted in essence with "smoke" X19 tamiya.


edoardo
_VISITCOMMUNITY
Milano, Italy
Joined: November 30, 2007
KitMaker: 642 posts
AeroScale: 382 posts
Posted: Sunday, October 24, 2010 - 09:01 PM UTC
Hi Louis!
Thank you for accepteing my request!
Yuor build is quite interesting and your attention to detail is super!

My only concern is on some pics (particularely those of the painting stage) as they appear very small on my screen...

From what I understand you printed the exagon on a sheet of adhesive paper and then placed it on the fusolage. But how did you made it follow the contour of the recesses of the model? Isn't it the same proble one should meet in using the decals?

Thank you
ciao
Edo
Louis
_VISITCOMMUNITY
Bas-Rhin, France
Joined: May 21, 2006
KitMaker: 472 posts
AeroScale: 471 posts
Posted: Monday, October 25, 2010 - 06:08 AM UTC
Hello Edoardo,


the paper is self-adhesive paper ("frisquet" paper) you find it into graphic arts shop. No problem to follow the contour of the recesses of the model.
The only problem is the glue that is sometimes difficult to remove it (hot water, soap for dishes, spirits )


for exemple

Hexagon are printed on paper and not on adhesive paper. The paper is the template.

Paper is fixed with adhesive tape on the adhesive paper. You must use a new blade to cut the hexagons.
I believe you can find adhesive paper for printers.
It's a long work....

The pictures are small but you can click on them.

Regards.
Louis
_VISITCOMMUNITY
Bas-Rhin, France
Joined: May 21, 2006
KitMaker: 472 posts
AeroScale: 471 posts
Posted: Monday, October 25, 2010 - 06:17 AM UTC


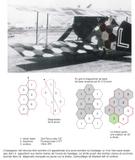
M.D. O' Connor in one of its articles explains (if I understood it and correctly interpreted photograph) The 6 red hexagons form the basic motive which is repeated in the clear party of the front of the airframe. It's not easy to see on the photograph, but considers the hazardous interpretation of black and white, I believe the schema could correspond with the photograph .
M.D. O' Connor made his « schema with its jobs » on Knoller CII. The schema below is of me (not of him,...alas).


1: light tone liht grey 21B1 (FS36628)
2: medium orange grey 5B3 (FS32630)
3: dark terracota 7D7 (FS32169)

We find this red diagram, 30° left or 30° right, or 0° on other plane.


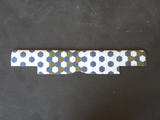
Dark area for the fuselage:


Wings:


Try this for more informations

Regards.
Louis
_VISITCOMMUNITY
Bas-Rhin, France
Joined: May 21, 2006
KitMaker: 472 posts
AeroScale: 471 posts
Posted: Monday, October 25, 2010 - 06:27 AM UTC


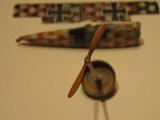
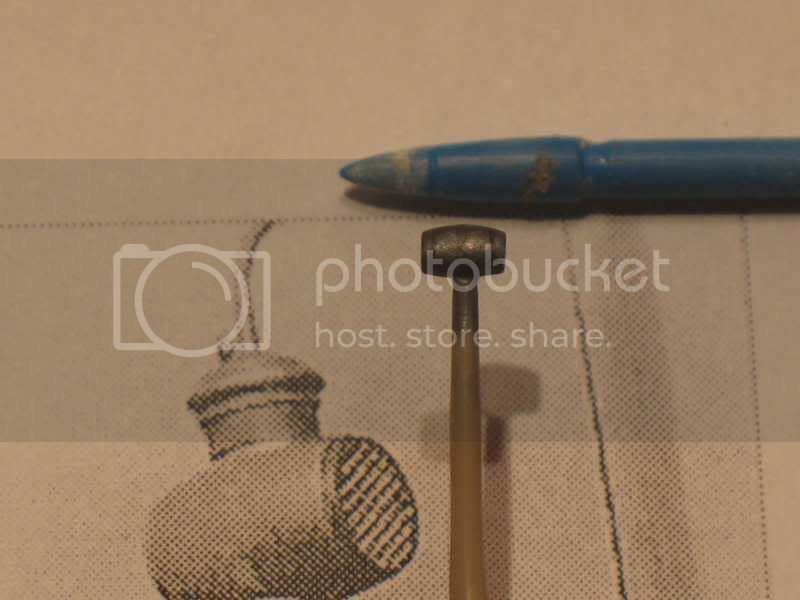
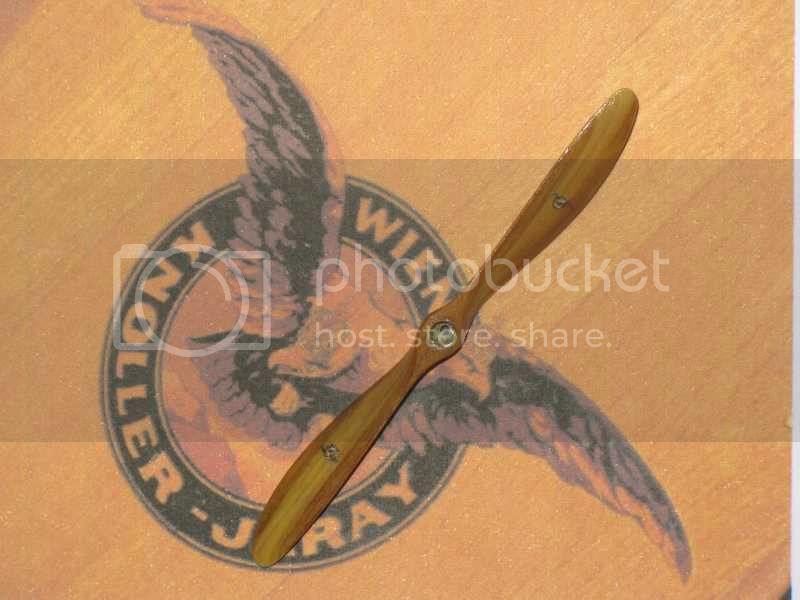
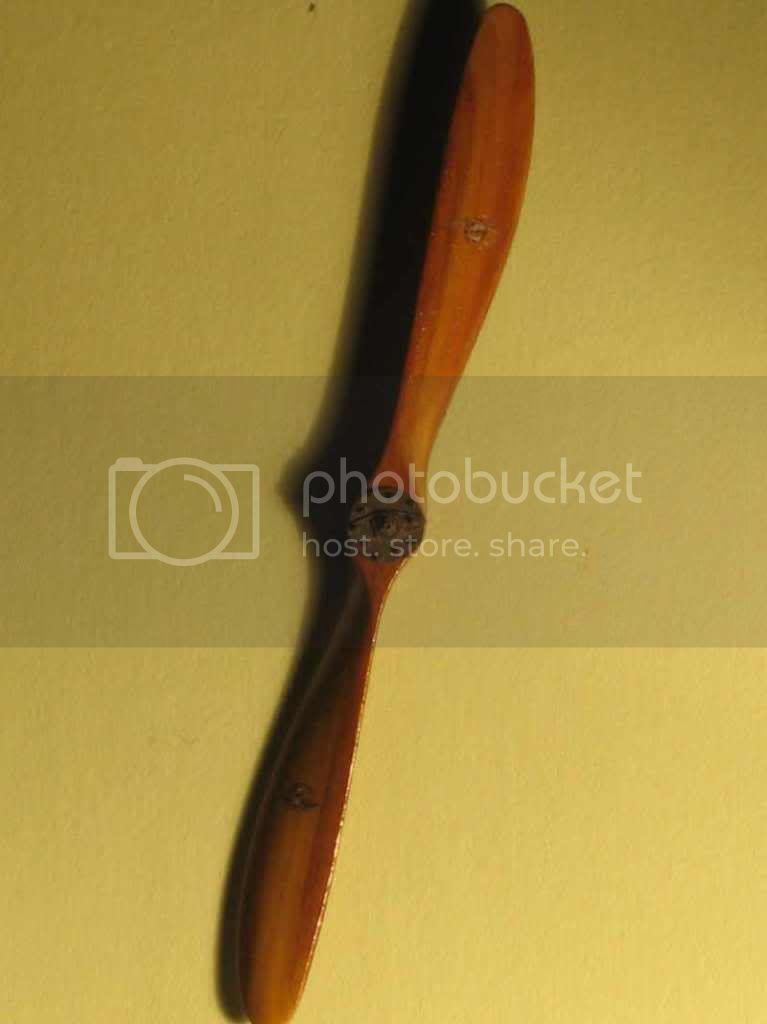
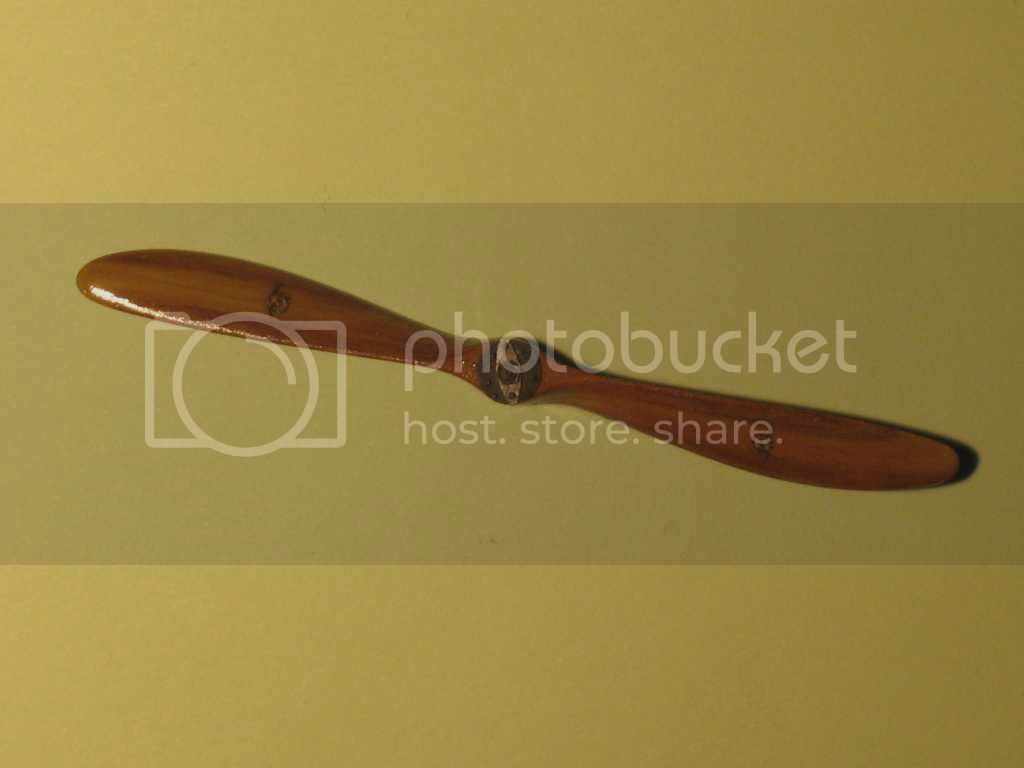
the aircraft propeller is painted with humbrol "light wood" and when it's dry with oil paint.

The pilot see this side :


but "Flashback" the opposite...
It is necessary to turn the aircraft propeller and make a new central disc.


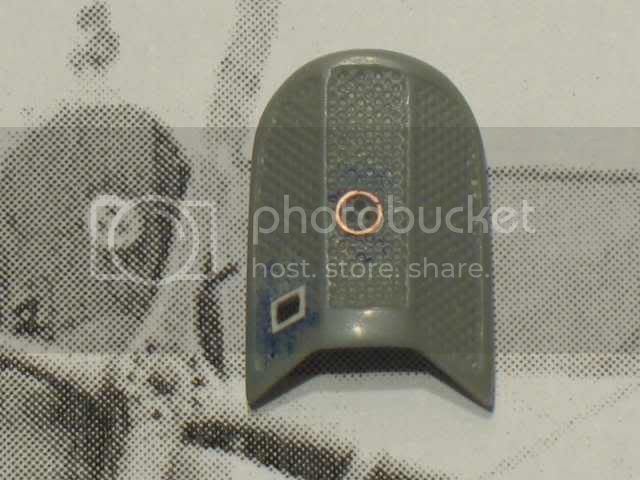
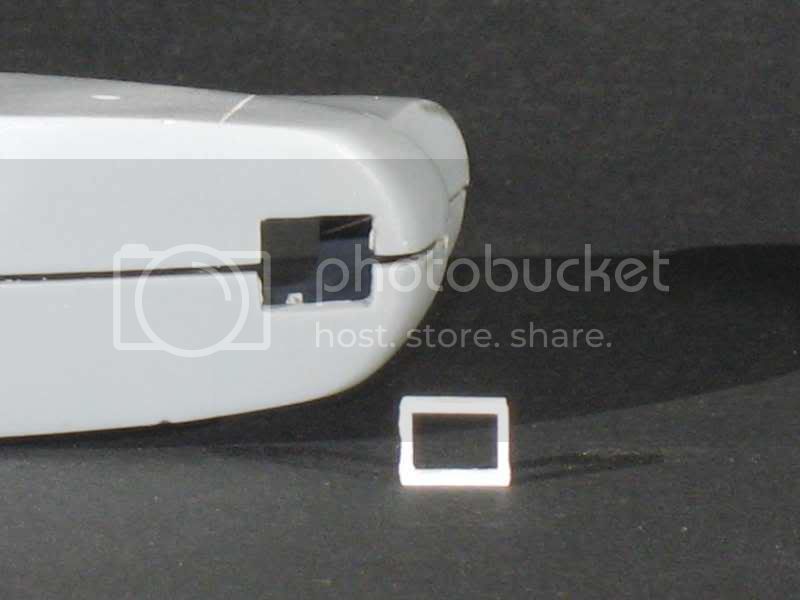
The orifice of the machine gun is displaced and is pierced. I'm piercing a square hole in a piece of plastic and cut around it to make the "border" (?)

3 holes into the ring, but to big here.

The radiator is not very beautiful but difficult too difficult to correct.


I'm using the top of 2 rockets:


and glued together the one in front of other one.


The back of the radiator must be cut (a lot) before glued, and masticate is necessary. Not easy...


Louis
_VISITCOMMUNITY
Bas-Rhin, France
Joined: May 21, 2006
KitMaker: 472 posts
AeroScale: 471 posts
Posted: Monday, October 25, 2010 - 06:31 AM UTC

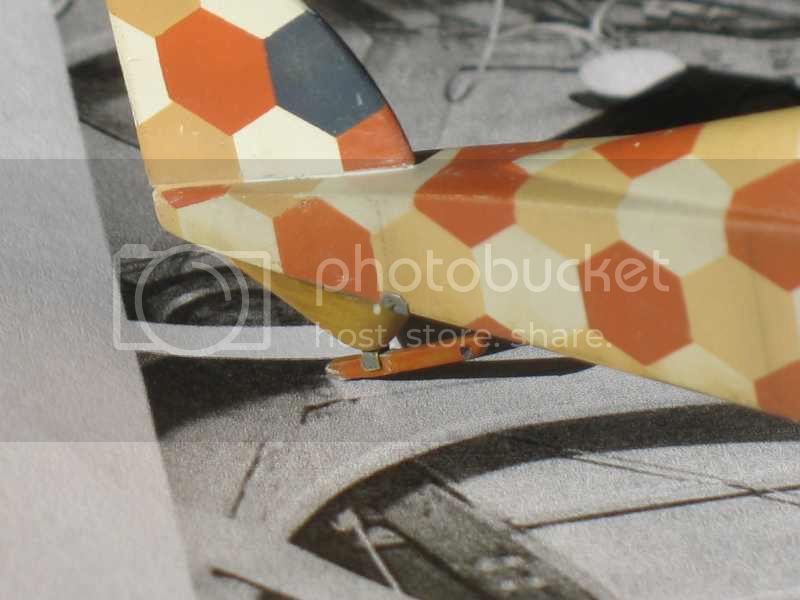
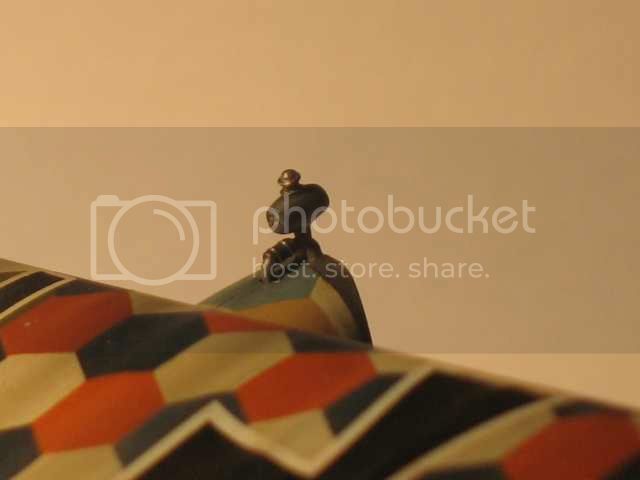
Details are made with piece of lead (bottle of wine) or plastic and glued with varnish: clamps of the legs of undercarriage and support of the contacts which hold the luggage elastic of the rear skate.


The edge of the hood is in lead thread.


and painted


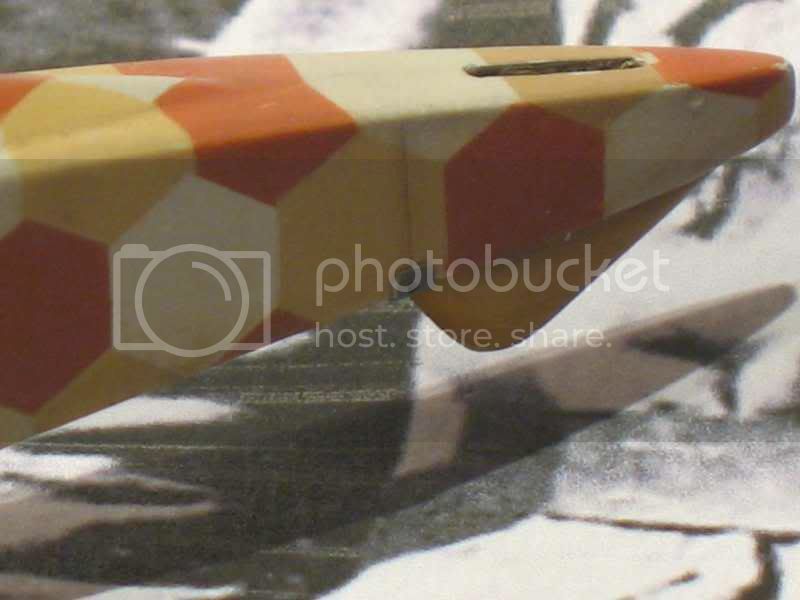
Two small hoods for the engine:


Exhaust must not be straight


Louis
_VISITCOMMUNITY
Bas-Rhin, France
Joined: May 21, 2006
KitMaker: 472 posts
AeroScale: 471 posts
Posted: Monday, October 25, 2010 - 06:34 AM UTC
I extended some masts. I'm making two new masts on the middle.


Stays are in stretched plastic, coloured in the black marker and glued together. They are tense in dry hair.

Stays must be painted.

edoardo
_VISITCOMMUNITY
Milano, Italy
Joined: November 30, 2007
KitMaker: 642 posts
AeroScale: 382 posts
Posted: Monday, October 25, 2010 - 06:38 AM UTC
Hi Louis!
You are right: it should be a really long work... It blows my mynd just to think all the time you must ave spent on it, but the results sure worth while! I really am fascinated by all the research you did on this model to get it right! I wolud like to follow your steps but I fear it is just too much for me!
Thank you for sharing!
Ciao
Edo
Louis
_VISITCOMMUNITY
Bas-Rhin, France
Joined: May 21, 2006
KitMaker: 472 posts
AeroScale: 471 posts
Posted: Monday, October 25, 2010 - 06:40 AM UTC
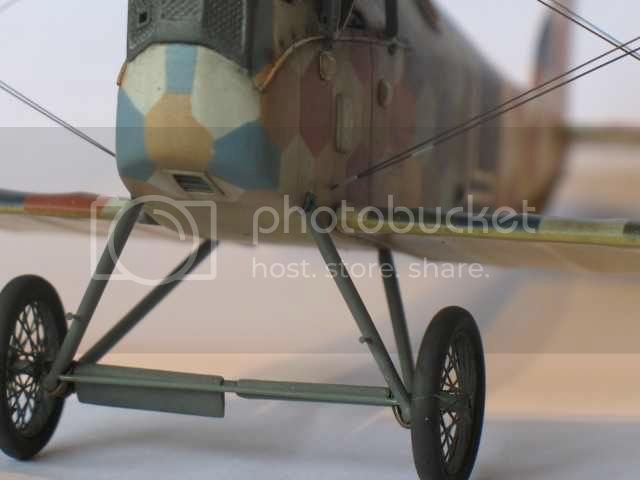
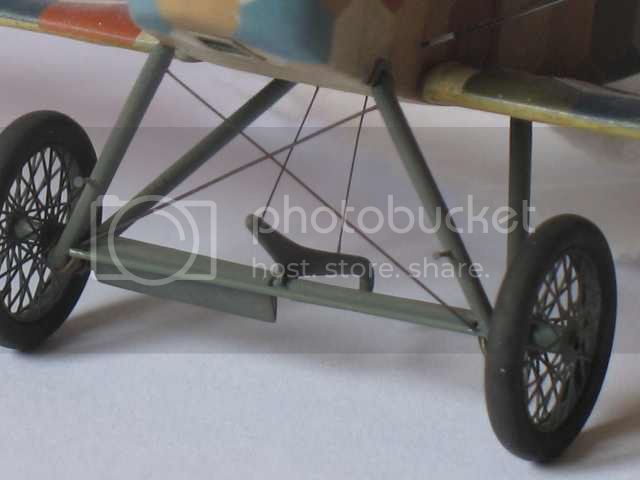
Two mm on each side are missing at least to be able to fix wheels


An new axle is made with a plate of brass


The undercarriage is glued together.


"Luggage elastics" are in thread of tin, refined by rolling it on a glass.


Remains luggage elastics to be got in the hole and to be hung on "stems" on sides.


"Luggage elastics" are in thread of tin, refined by rolling it on a glass.


Lateral hood:


Shutter:


The new plastic break:


The original break is an etched part and is not rather thick.
Louis
_VISITCOMMUNITY
Bas-Rhin, France
Joined: May 21, 2006
KitMaker: 472 posts
AeroScale: 471 posts
Posted: Monday, October 25, 2010 - 06:43 AM UTC

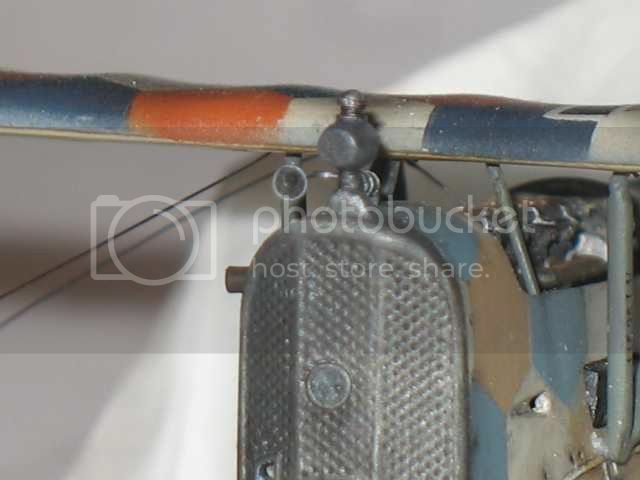
the strange thing on the radiator is put down. The conduit is made with the electrical thread, the black conduit is cotton bud stretched and clamps alu in scotch tape metal sanded to make it finer and cut in bands.


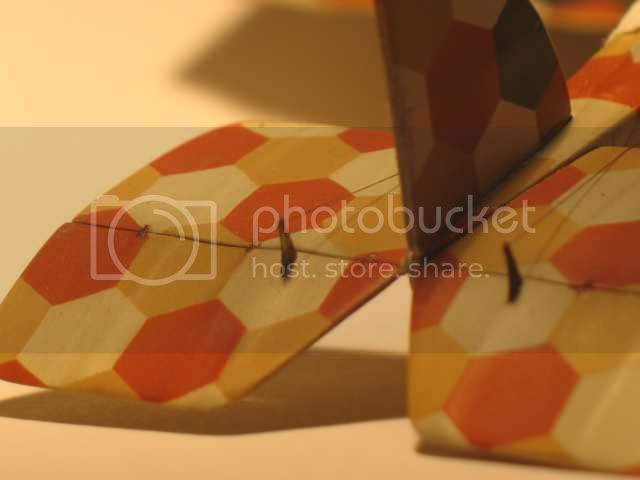
Hinges are in varnished and painted scotch tape Tamiya, cables touch the flighting a bit but I do not arrive in better..


Louis
_VISITCOMMUNITY
Bas-Rhin, France
Joined: May 21, 2006
KitMaker: 472 posts
AeroScale: 471 posts
Posted: Monday, October 25, 2010 - 06:48 AM UTC
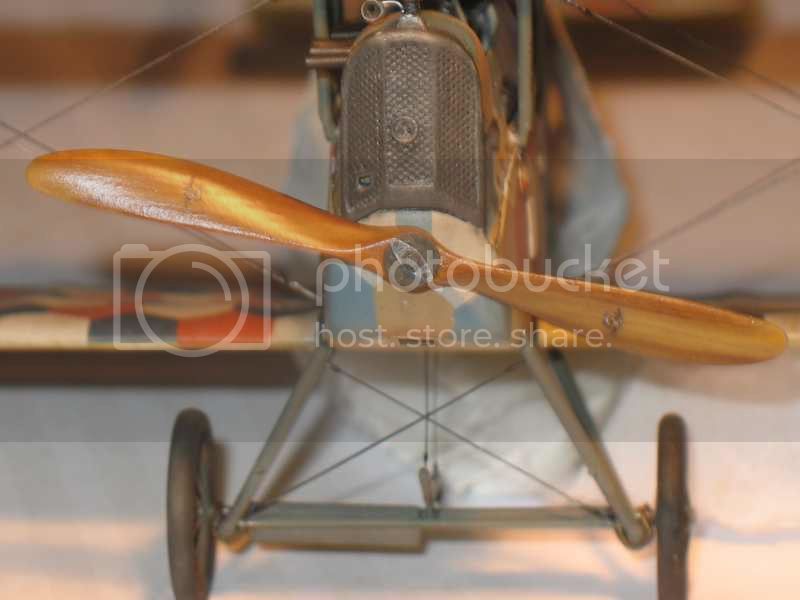
It's painted propeler,small pieces of plastic and a big "magnifier".


I'm using satin varnish on the propeller.

The cannon of the weapon is put down (2nd photograph), and seems deranged. In fact it is him, I cannot put it in another way because of the form of the hood.


The windshield is put down and is too "lumpy" (?), this does not see itself in the bare eye (??)


A+
Louis
_VISITCOMMUNITY
Bas-Rhin, France
Joined: May 21, 2006
KitMaker: 472 posts
AeroScale: 471 posts
Posted: Monday, October 25, 2010 - 06:50 AM UTC
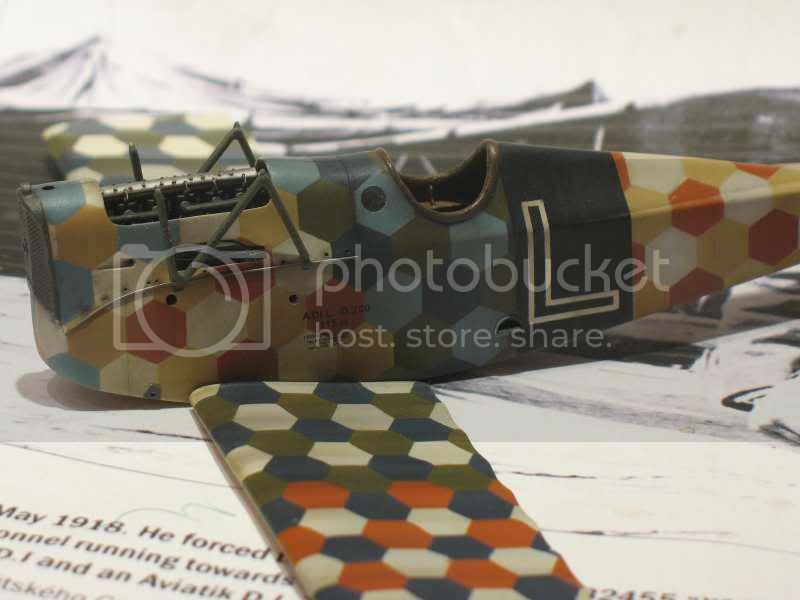
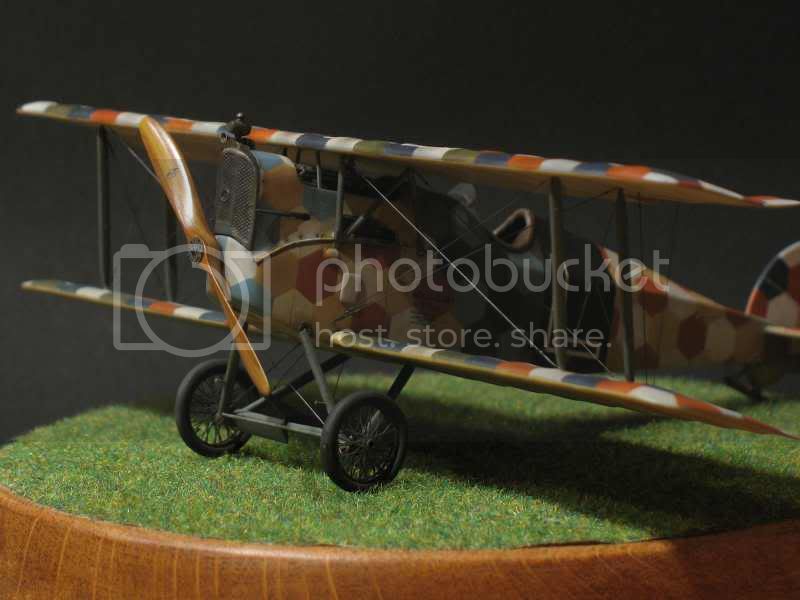
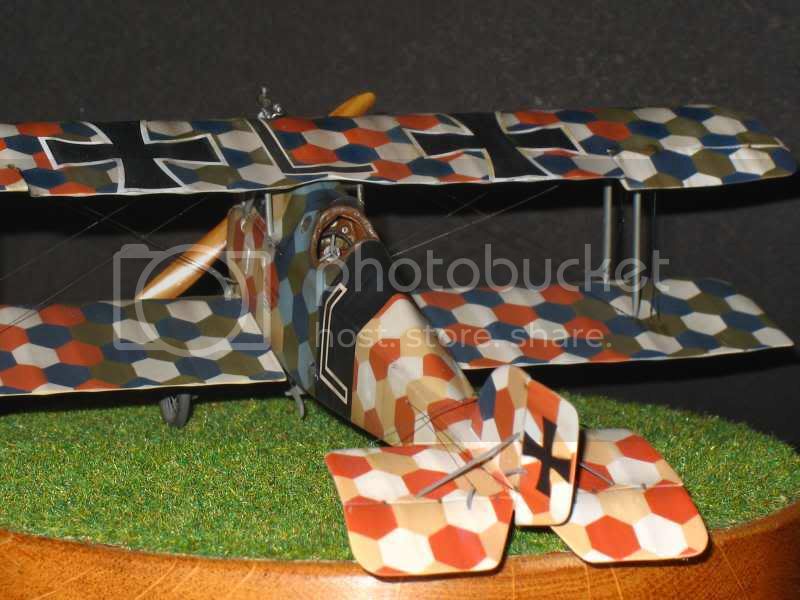
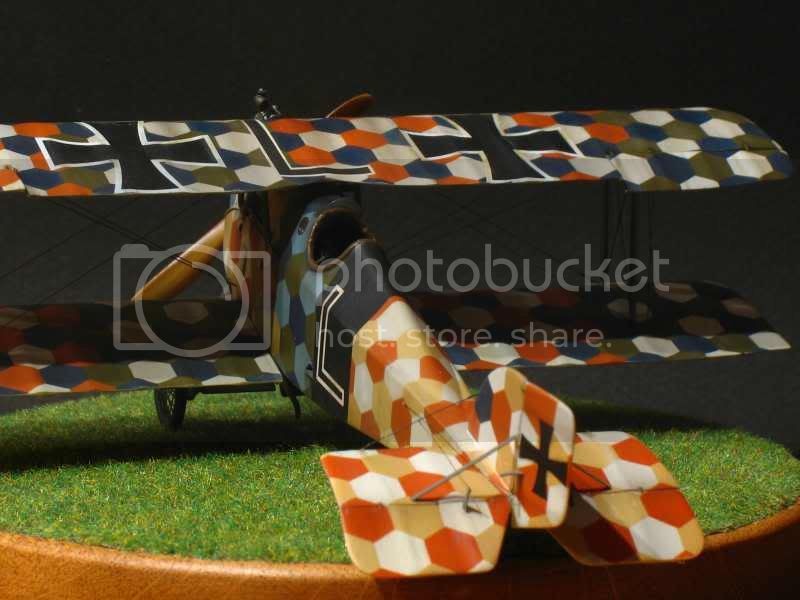
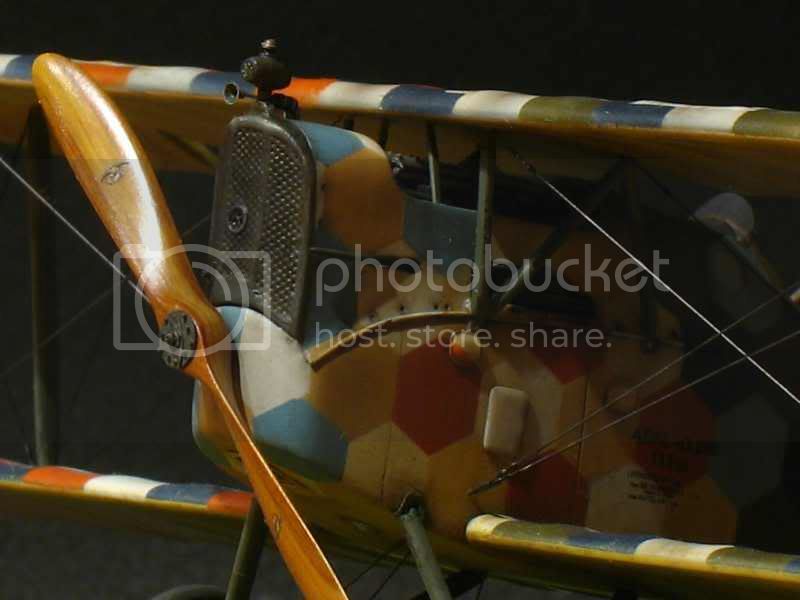
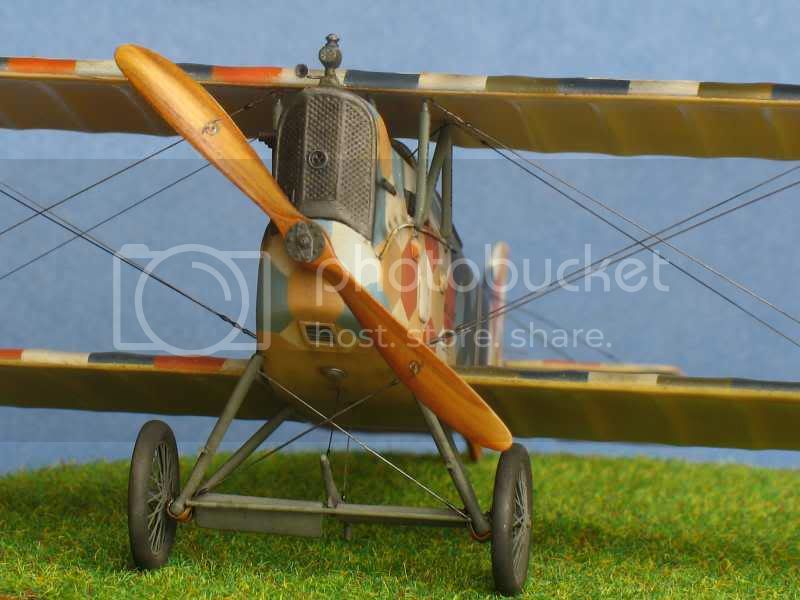
Finished!!


Both cannons , stays and small hood under the nose are in position.


Photographs are taken in artificial light and in flash. Colours are therefore a bit lively.


Regards.
Kornbeef
_VISITCOMMUNITY
England - South East, United Kingdom
Joined: November 06, 2005
KitMaker: 1,667 posts
AeroScale: 1,551 posts
Posted: Monday, October 25, 2010 - 10:09 PM UTC
Louis,

Incredible work, my hat is off to you.

I picked up some good tips too

Thank you for sharing

Keith
alpha_tango
_VISITCOMMUNITY
Germany
Joined: September 07, 2005
KitMaker: 5,609 posts
AeroScale: 5,231 posts
Posted: Monday, October 25, 2010 - 10:14 PM UTC

Quoted Text

Louis,

Incredible work, my hat is off to you.

I picked up some good tips too

Thank you for sharing

Keith


What he said: incredible!!!

Thanks a lot for sharing!

all the best

Steffen
Mgunns
_VISITCOMMUNITY
Arizona, United States
Joined: December 12, 2008
KitMaker: 1,423 posts
AeroScale: 1,319 posts
Posted: Tuesday, October 26, 2010 - 03:49 AM UTC
Hi Louis:

Thanks for sharing your build. It really does look fantastic, and your step by step comments are very helpful.
Best

Mark
Louis
_VISITCOMMUNITY
Bas-Rhin, France
Joined: May 21, 2006
KitMaker: 472 posts
AeroScale: 471 posts
Posted: Tuesday, October 26, 2010 - 06:08 AM UTC
The pleasure is all mine.

Regards.
Louis
Greenonions
_VISITCOMMUNITY
United Kingdom
Joined: February 26, 2010
KitMaker: 74 posts
AeroScale: 71 posts
Posted: Tuesday, October 26, 2010 - 07:33 AM UTC
I think that the pleasure is everybodies!
Question! Are there any other aircraft that have that wonderful lozenge colour?
Roxter
_VISITCOMMUNITY
Rigas, Latvia
Joined: July 04, 2007
KitMaker: 268 posts
AeroScale: 245 posts
Posted: Tuesday, October 26, 2010 - 07:05 PM UTC
Louis, very interesting in-progress build! One thing just wanted to find out: how did you made the intakes? Thanks in advance!
OEFFAG_153
_VISITCOMMUNITY
Västra Götaland, Sweden
Joined: February 19, 2010
KitMaker: 1,473 posts
AeroScale: 1,450 posts
Posted: Tuesday, October 26, 2010 - 07:52 PM UTC
Hi Louis

Wow – very lovely work indeed. Very impressed with your skills, absolutely gorgeous finish!

Wonder if WNW will ever do one of these?

Best Regards

Mikael
Louis
_VISITCOMMUNITY
Bas-Rhin, France
Joined: May 21, 2006
KitMaker: 472 posts
AeroScale: 471 posts
Posted: Wednesday, October 27, 2010 - 01:59 AM UTC
Thank you.


Quoted Text


One thing just wanted to find out: how did you made the intakes?


The model (in white) is glued on a support (CD box) and the piece of metal (lead) secured with tape.


The piece of metal come from a tube of paint (gouache ).

I sanded it to remove the paint and become thinner.

I put a piece of brass on the template and I pushed with a toothpick.

The metal is bent, stamped. The rounded edge is cut after (when the shape is OK).

Sorry I do not know how to explain differently ...if somebody can help me.

Regards.
 _GOTOTOP