

 More to follow soon. "Q"
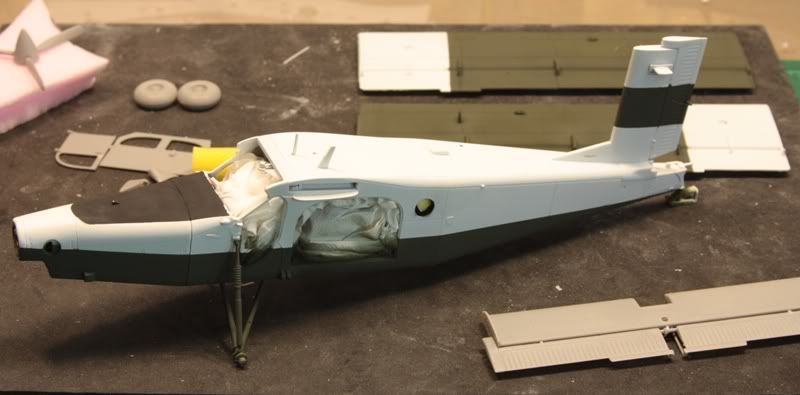

 More to follow soon. "Q"


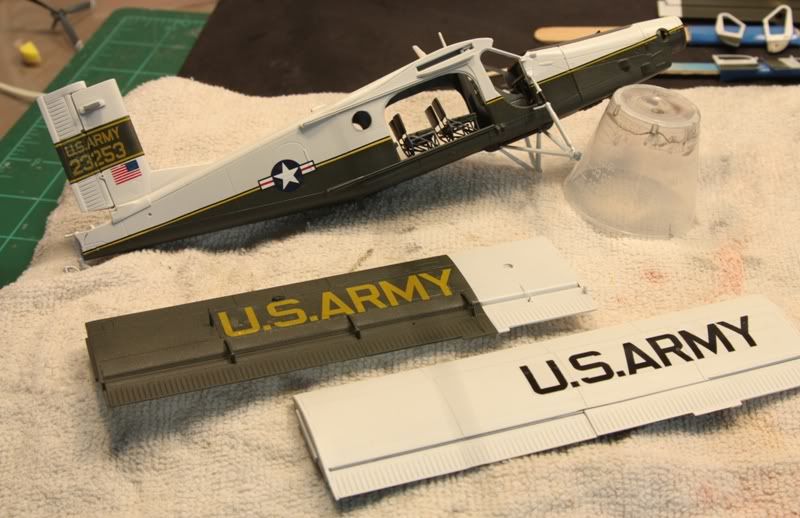
 Oh well...live and learn. I should be going into final assembly and decals in the next day or two. Keeping my fingers crossed. Thanks again for the kudos. "Q" While going over the kit trying to figure out my plan of attack for decals and finishing, I looked at the decals. Decals 46,47 & 48 run the length of the fuselage and separate the white from the dark olive green. Well, take a look at the scan I made of those particular decals. Notice anything out of place...off...out of register? with them?? Luckily I have a couple sheets of stripes on hand from Xtra-Decal that will fit the bill. Will just be a bit more labor intensive as I have to double them up. Something to keep in mind should you decided to do this particular bird. I have repainted the landing gear legs too and they came out fine. I had to do some touch up with the Humbrol #75 though. I have never brush painted with that stuff, but I was impressed. Not a brush mark to be seen. It laid down as smooth as silk.
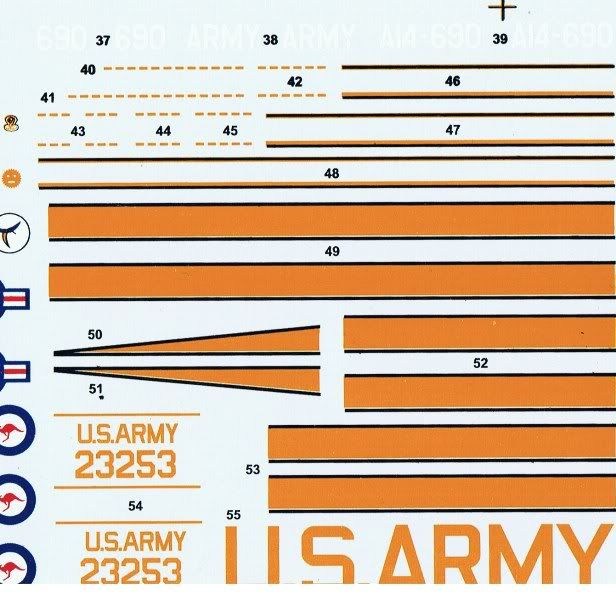


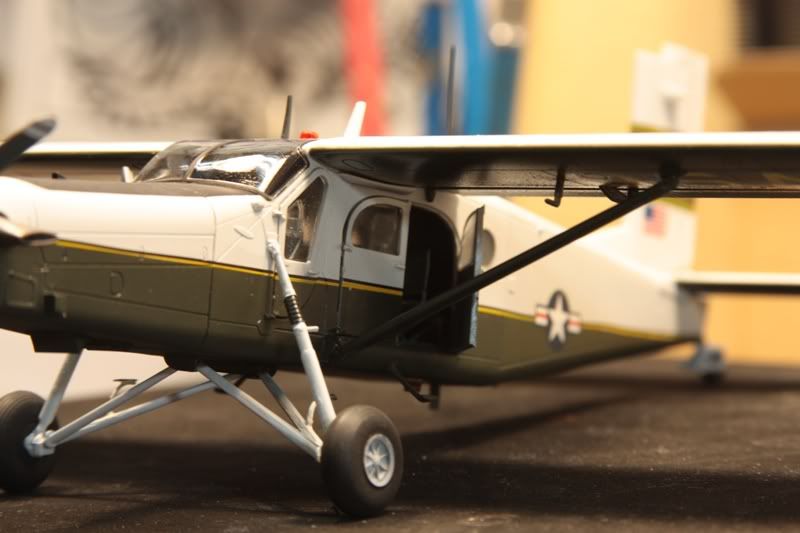
 I moved on to decaling today. As I pointed out earlier, the fuselage stripes were out of register so they were of no use. The sheets of Xtradecal striping I had on hand worked like a charm though and made short work of the job.
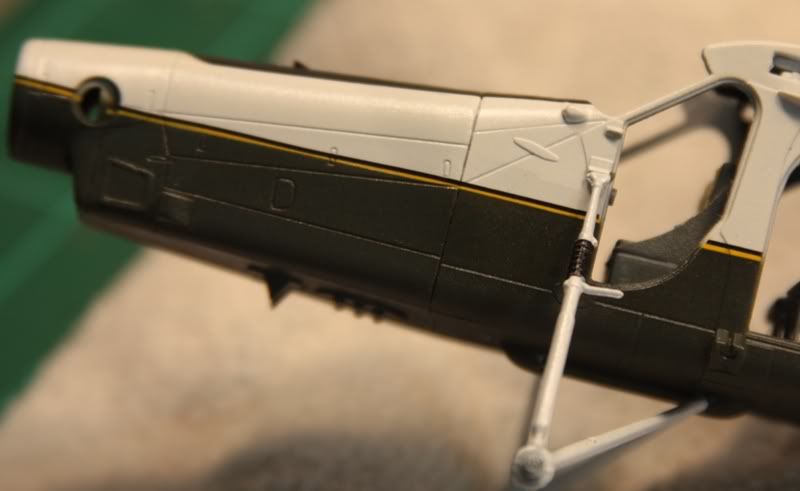


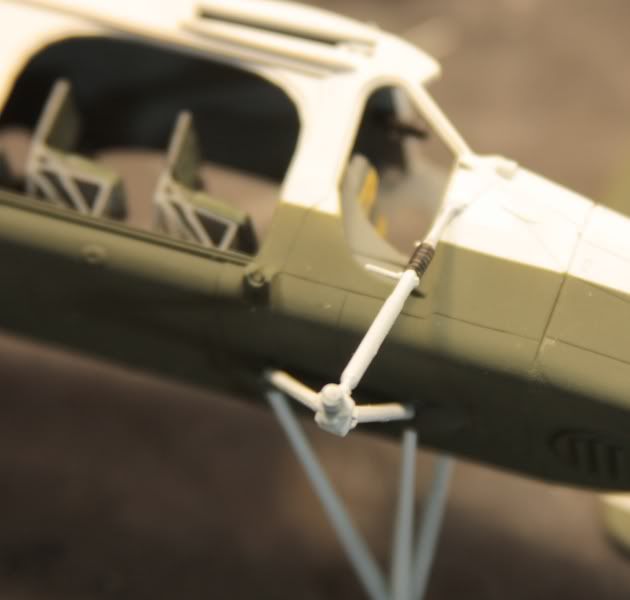
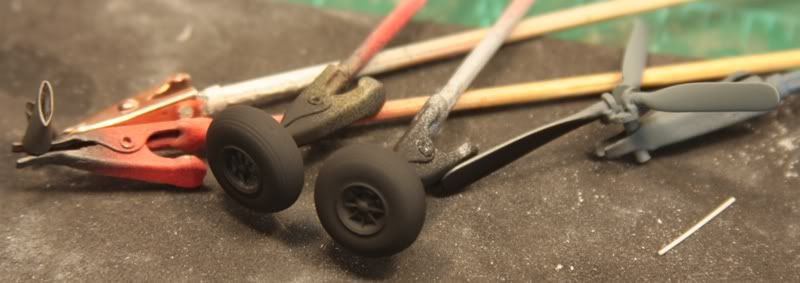
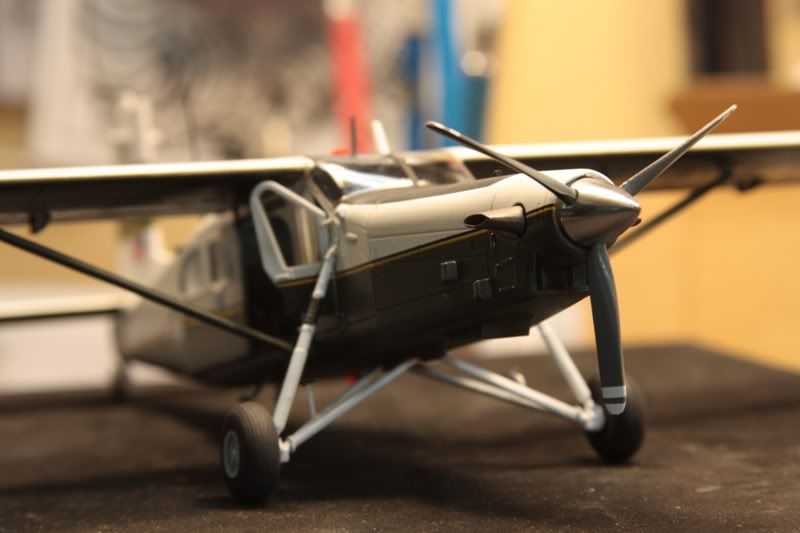
As a side note, while looking at your pic's I noticed the the replicated springs on the landing gear struts. Looks awful close in scale to the springs found in ball point pens


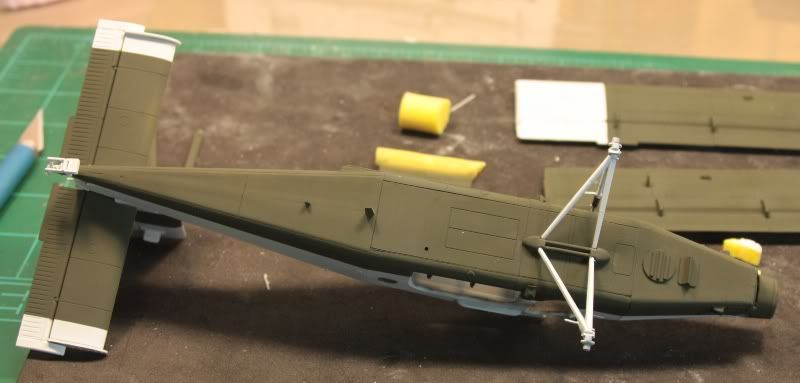
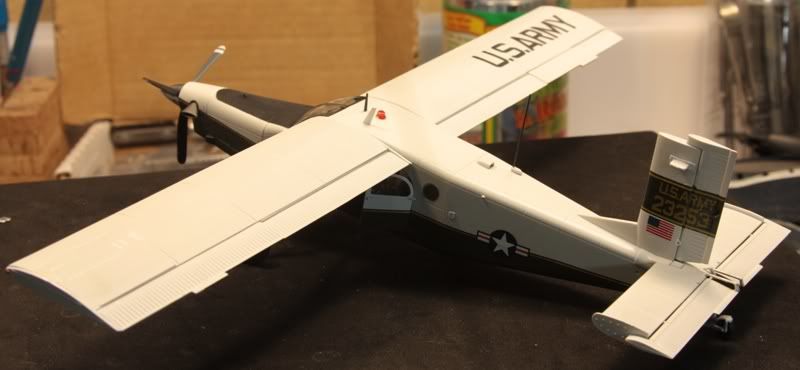
 "Q" While this isn't my best work, it did come out considerably better than I thought it would. There are some minor issues with the construction, but they can be overcome with some pre-planning. One last issue I had was attaching the right wing. The flap actuator that is closest to the fuselage fouls on the sliding door tracks. it will either have to be removed or a notch made in the tracks to accommodate it. I already had my wing in place with CA before I noticed it. I didn't want to chance screwing up the paint so I left it in place and will chalk it up to a learning experience. Therefore the wing root on the right has a slightly larger seam line than the left. The angled wing supports fit great as did just about everything else. After building this one, I'm looking forward to building my Air America version, and one of the Aussie birds. Thanks for following along with my build...Tim, it's all yours from here out buddy! "Q"


 |


