
I figure if anything can help me, the prospect of a 1/32 Ta-152H (one of my all-time favorite planes) is just the ticket. I have several days of vacation coming up, so with some trepidation, I'm starting this build log of the new Z-M kit.
I've been looking for any information I could find online going into this build (forewarned is forearmed), and it seems this kit has a penchant for stirring up passions both positive and negative (part of the reason I mentioned "trepidation" earlier). lol Any good or bad experiences that I end up having with this kit should be interpreted only as my personal opinions, and it should be borne in mind that I am a modeler of average talent, and one who frequently tends toward somewhat unorthodox and labor-intensive (can you say OCD?)

methods.
OK, "disclaimer" over, here's my preliminary "reconnaissance" test fit and initial impressions:
EDIT: Since this is an international forum, I've decided to add captions under the pictures in case non-English speakers want to use translation software to view this thread. English speakers can just read the text directly on the pictures, please forgive the redundancy.

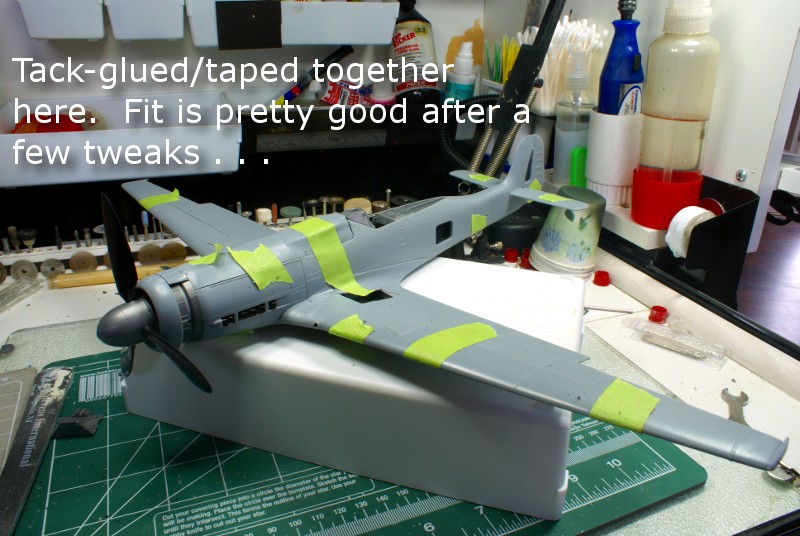
Tack glued/taped here. Fit is pretty good after a few tweaks . . .
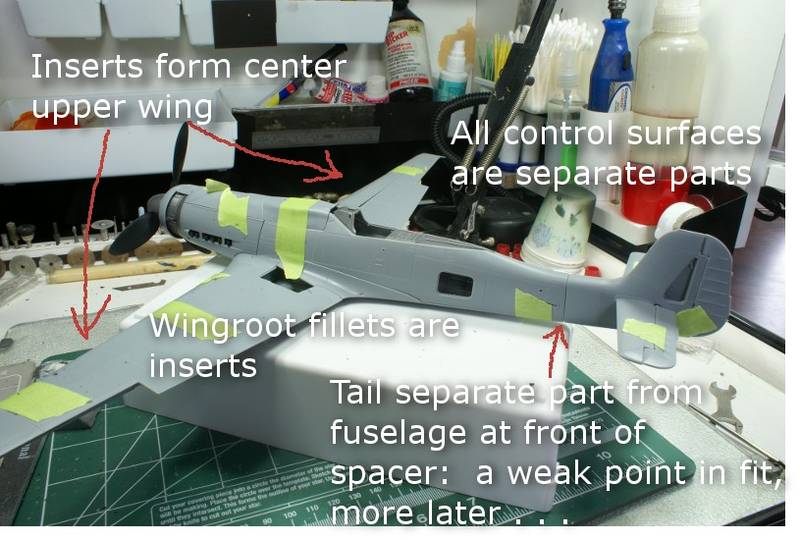
All control surfaces are separate parts. Longer red arrows point to inserts
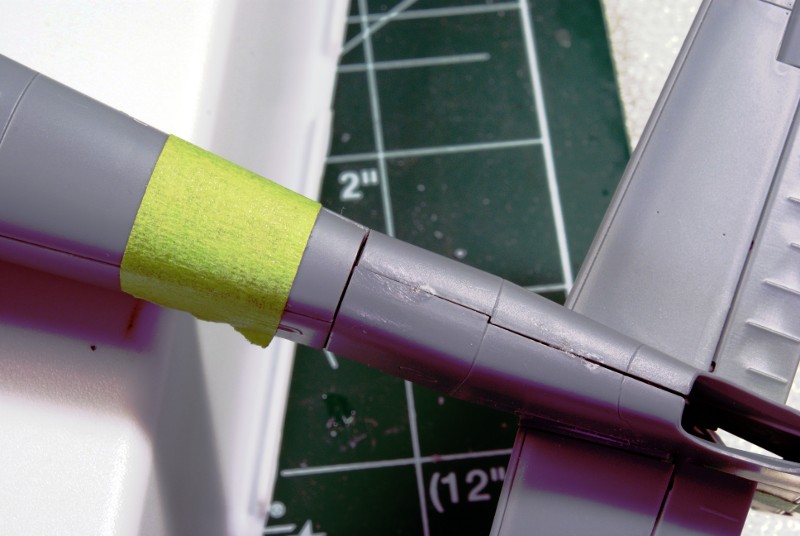
which form center front wing sections, shorter red arrow points to rather poorly fitting join between tail unit and main fuselage
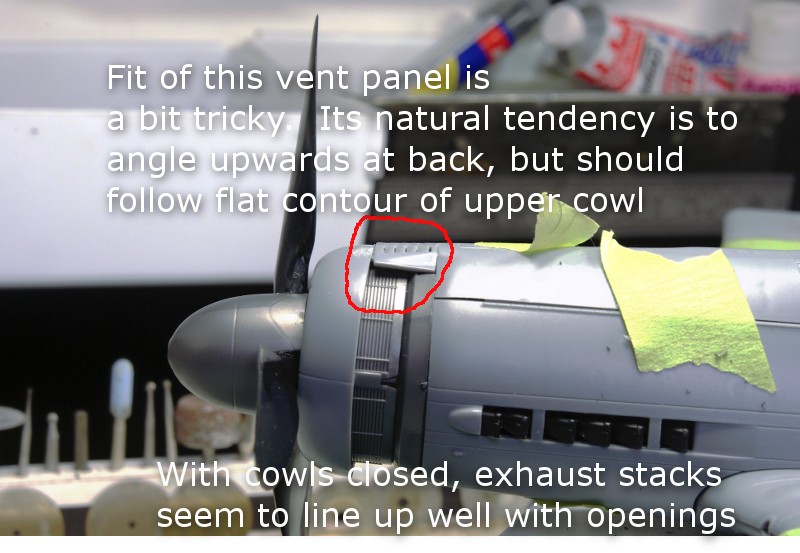
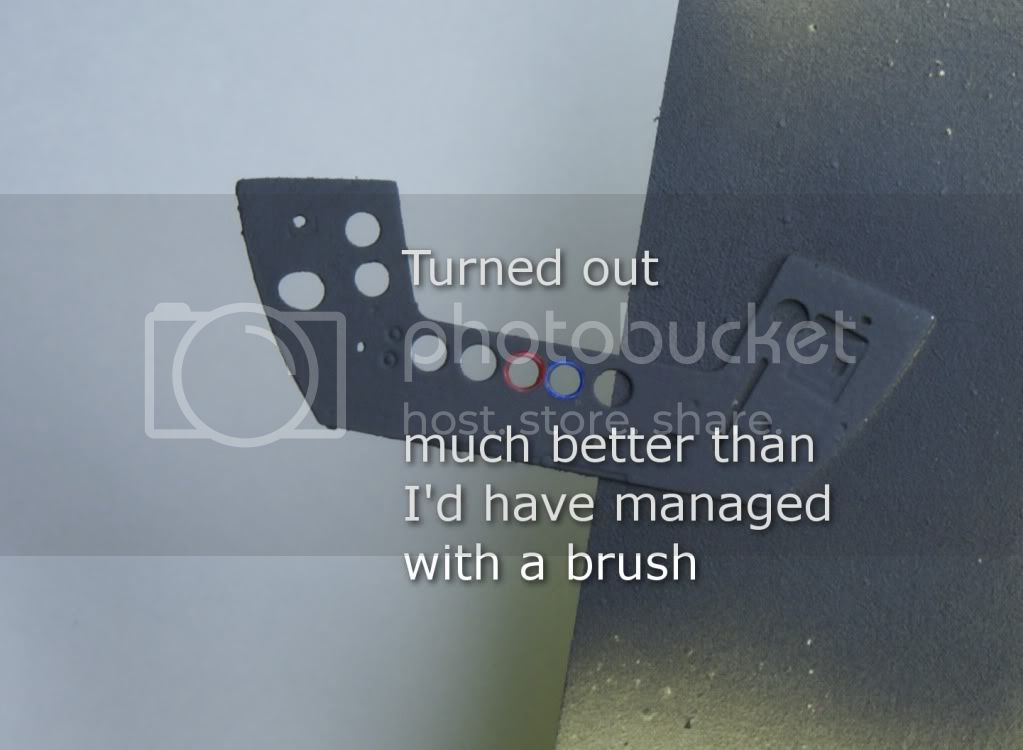
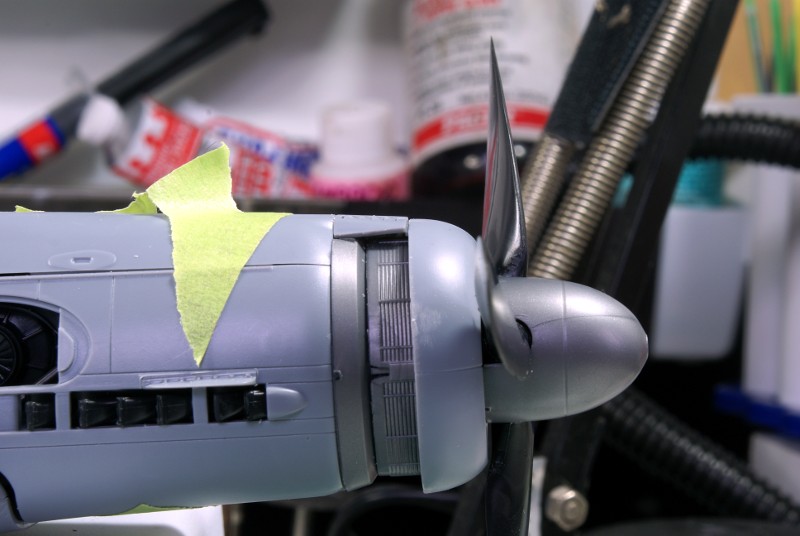
Red circle shows a vent panel where fit is tricky--should follow flat contour of upper cowling. Note that exhausts line up well in their openings
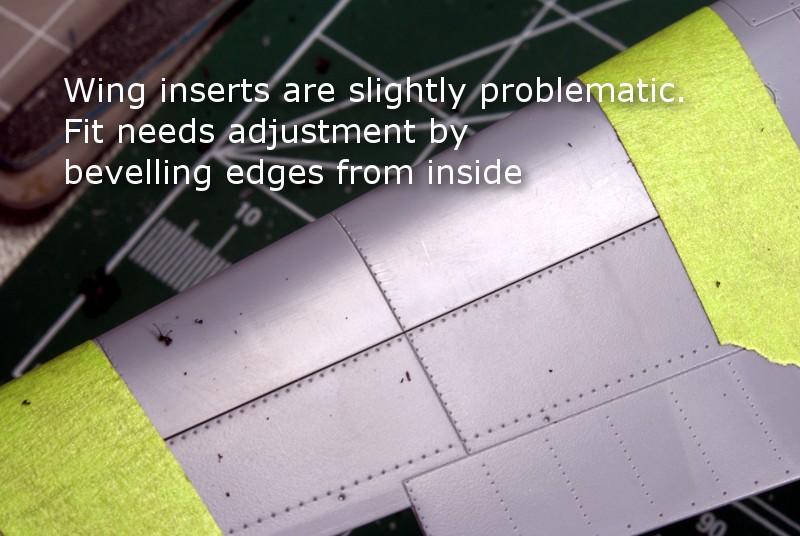
Wing inserts need inside edges bevelled to improve fit.
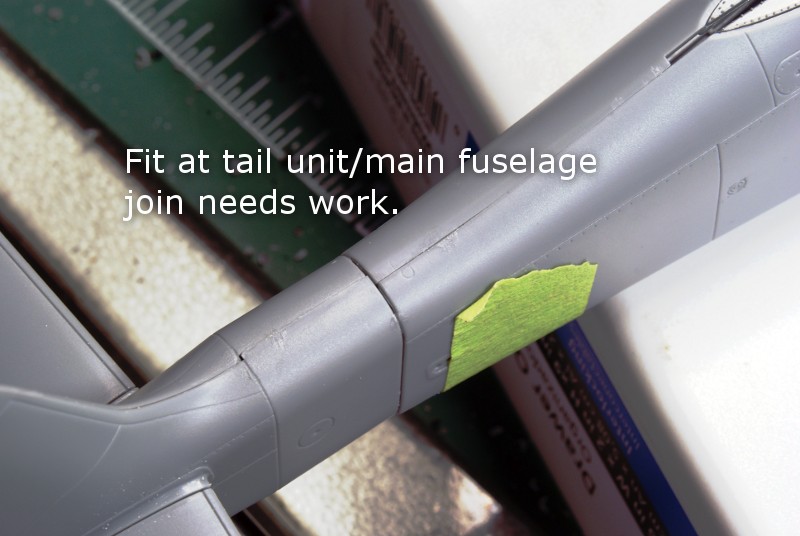
Fit at tail unit/main fuselage joint needs work
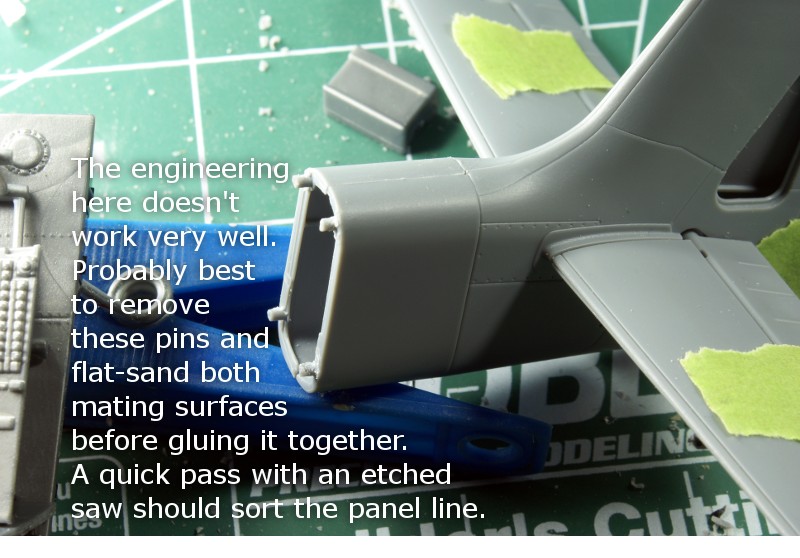
Perhaps remove these four pins and flat-sand both mating surfaces before gluing?

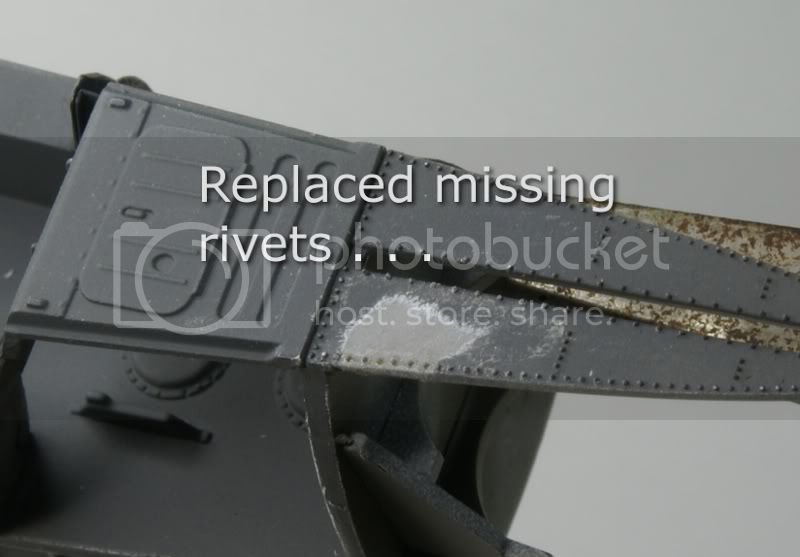
Gaps showing at top of picture aren't as bad as they look (kit was only tacked together and separated when turned on its back for this picture. Red circled area shows badly molded raised rivet detail in wheelwell.
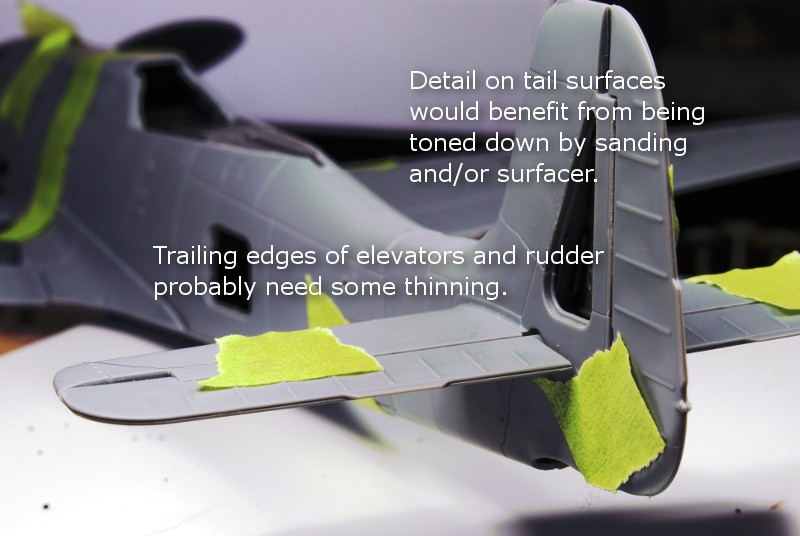
Rib tape detail would benefit from toning down. Trailing edges need a bit of thinning.
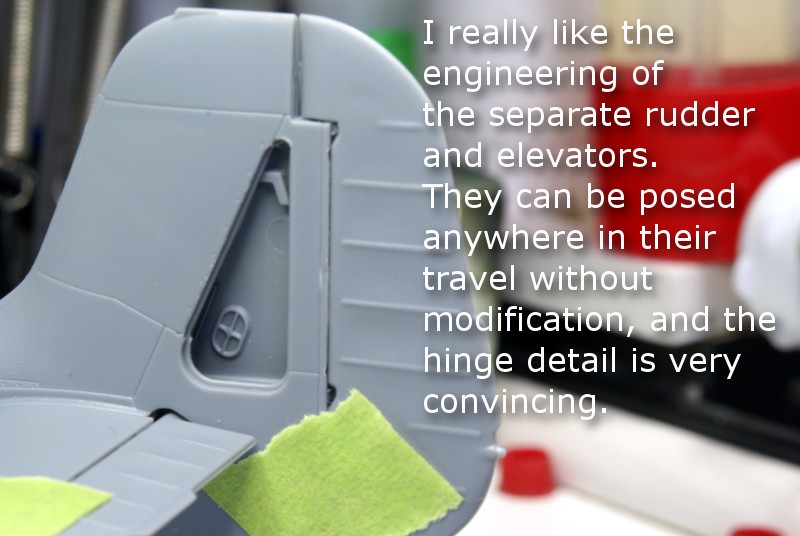
Tail surfaces are poseable and have convincing hinge detail.
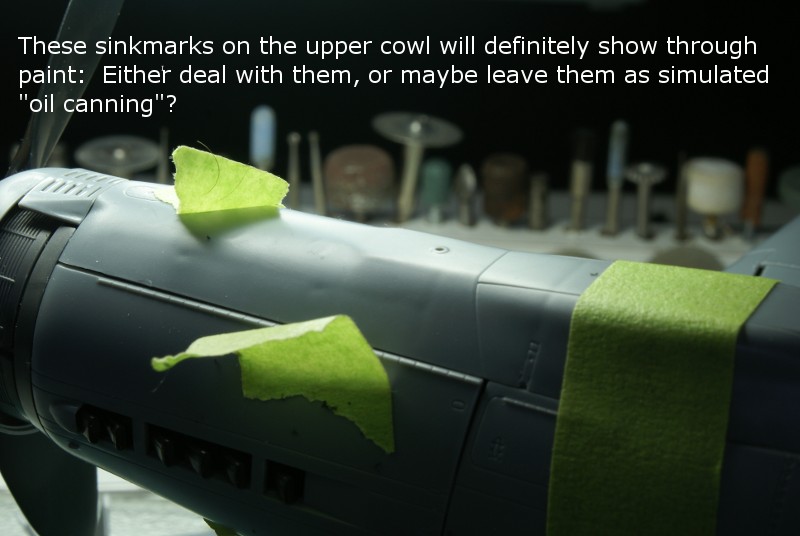
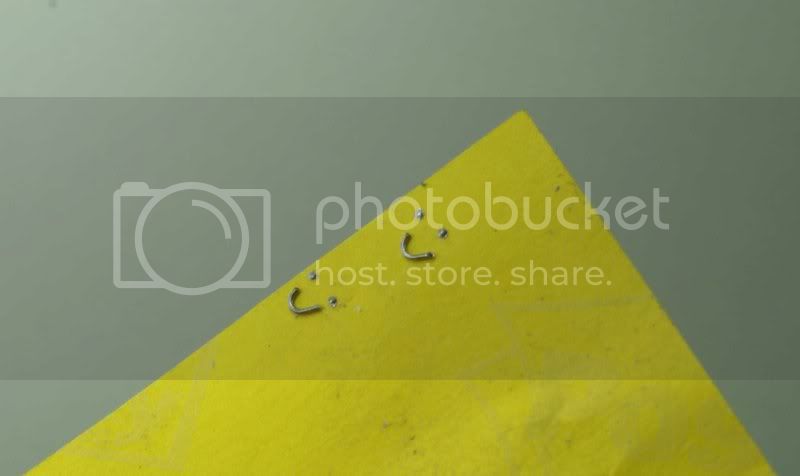
These sinkmarks will show through paint.
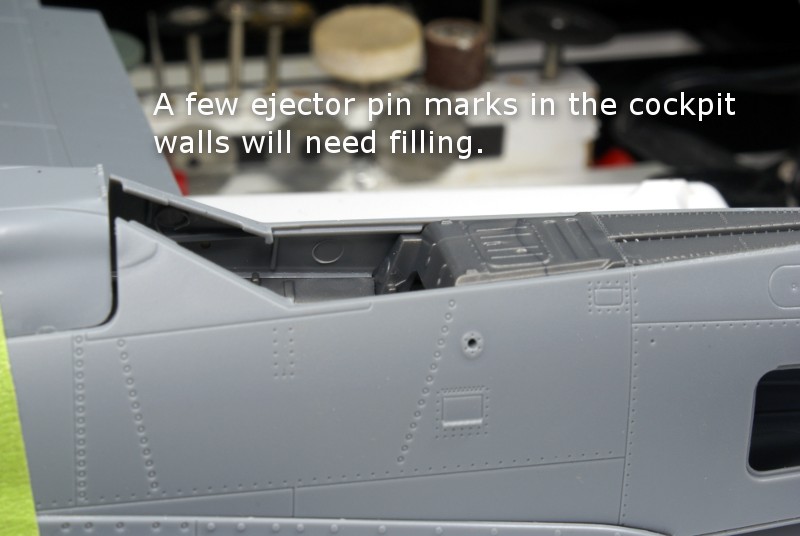
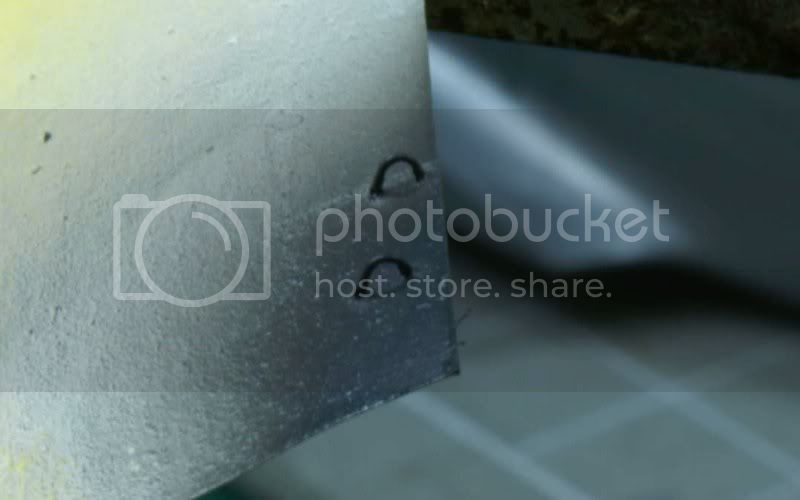
A few ejector pin marks will need filling
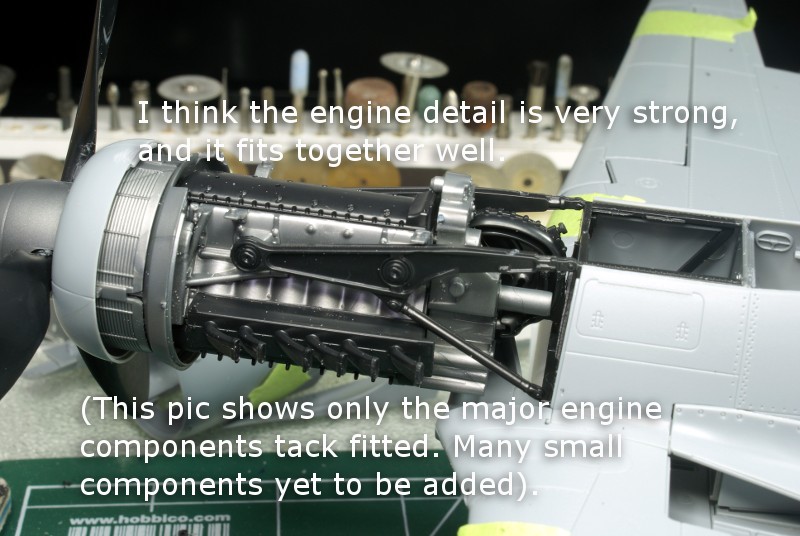
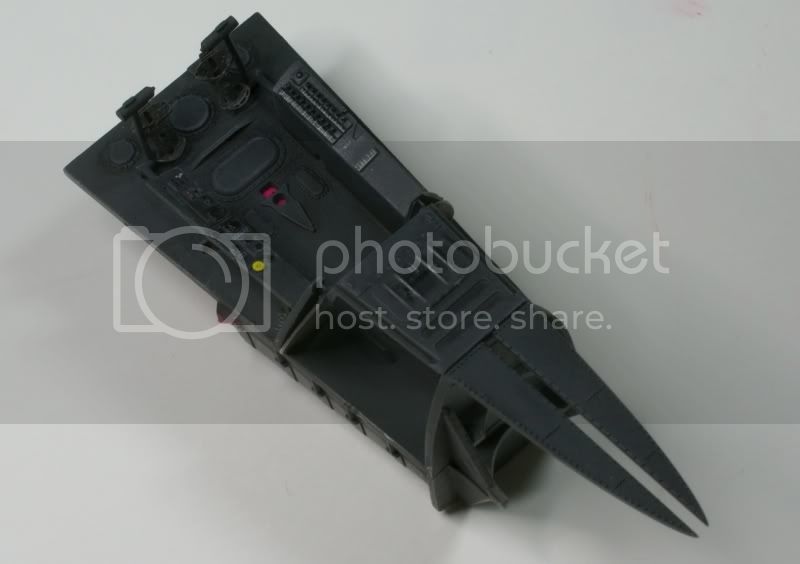
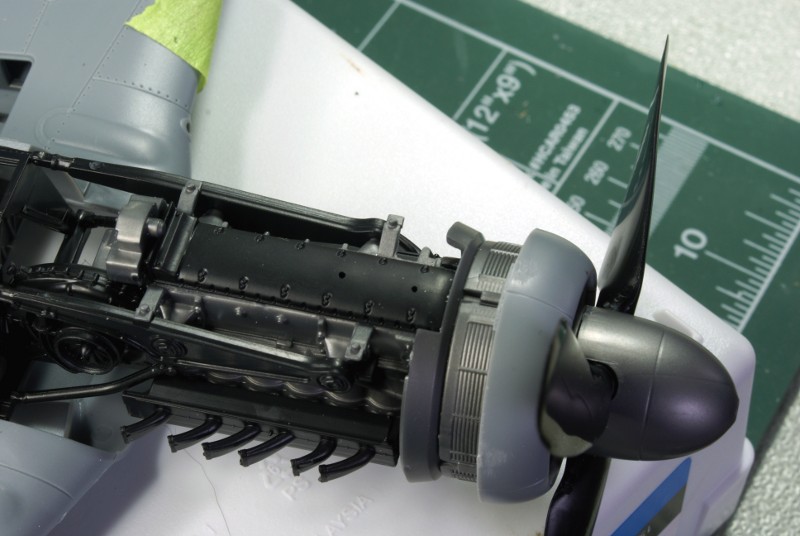
Good engine detail, only major parts test fitted in this picture.
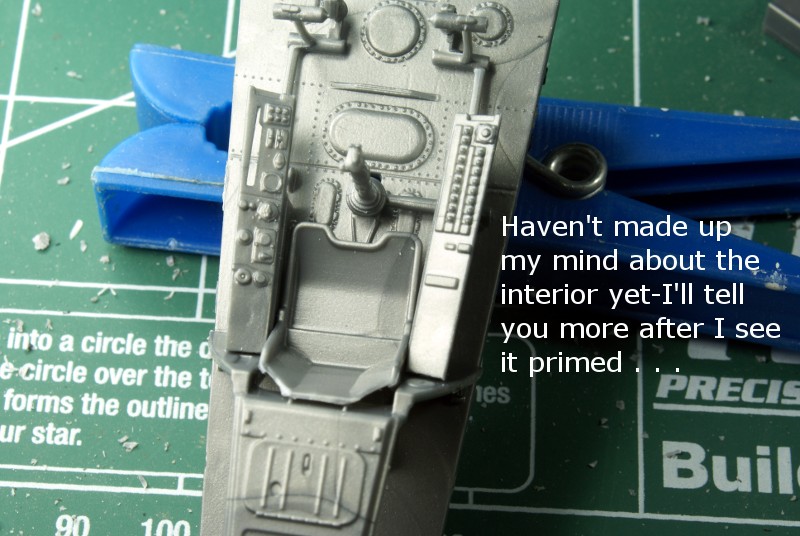
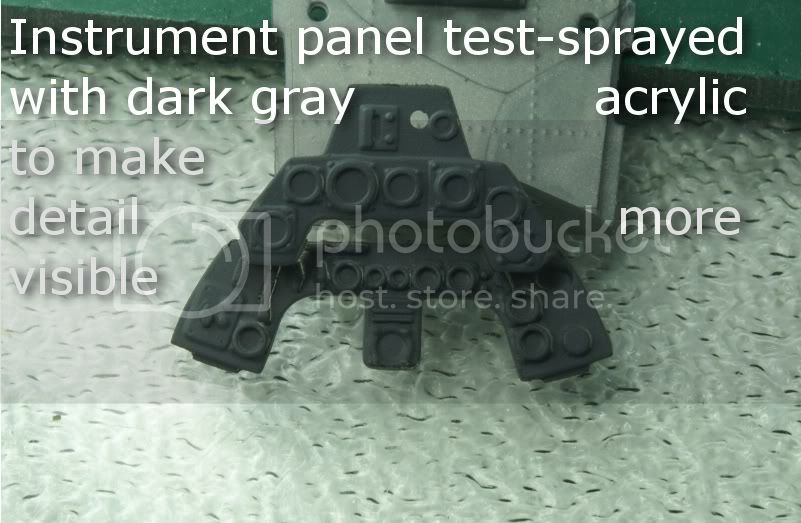
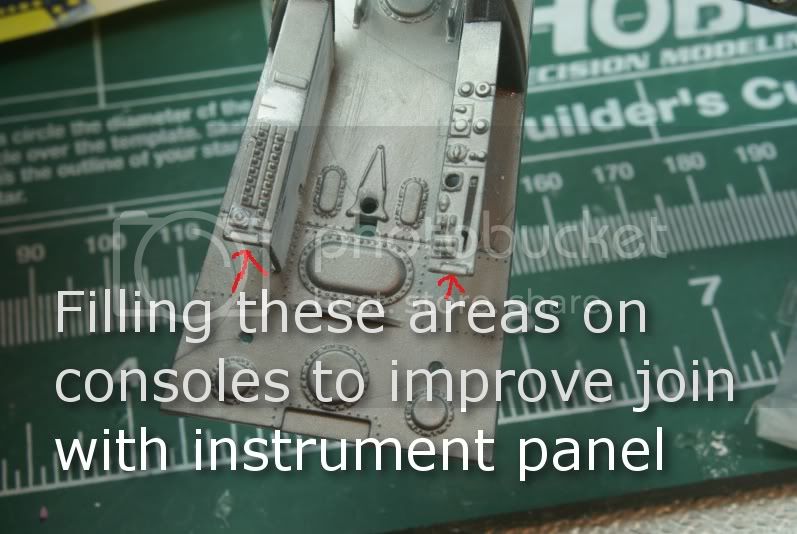
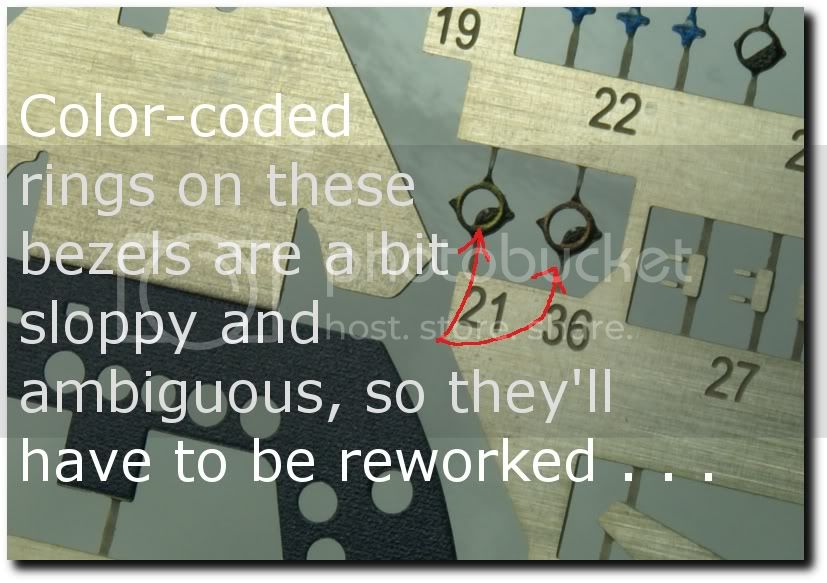
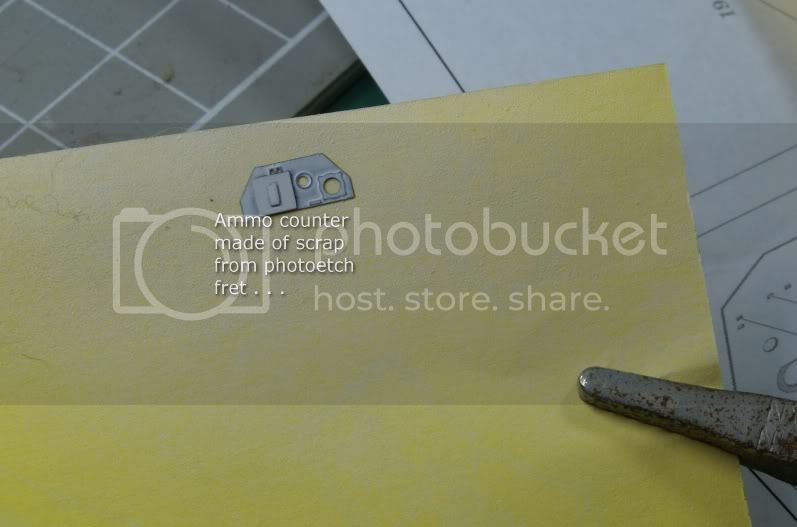
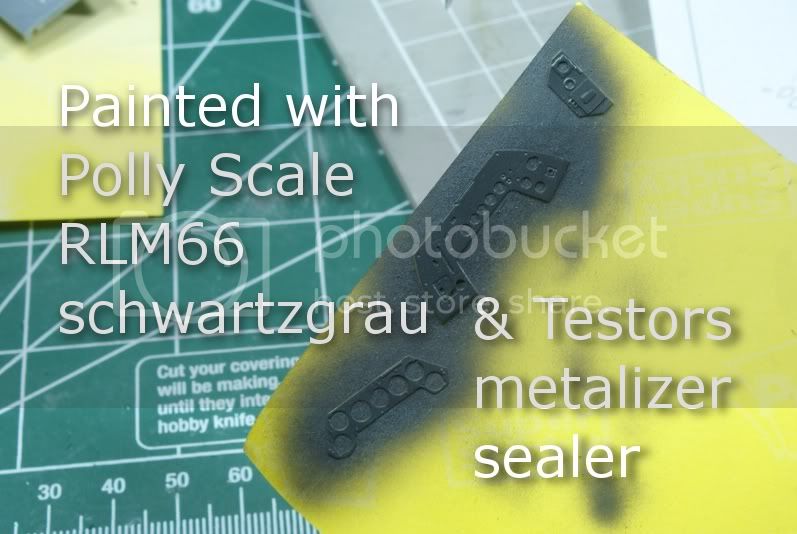
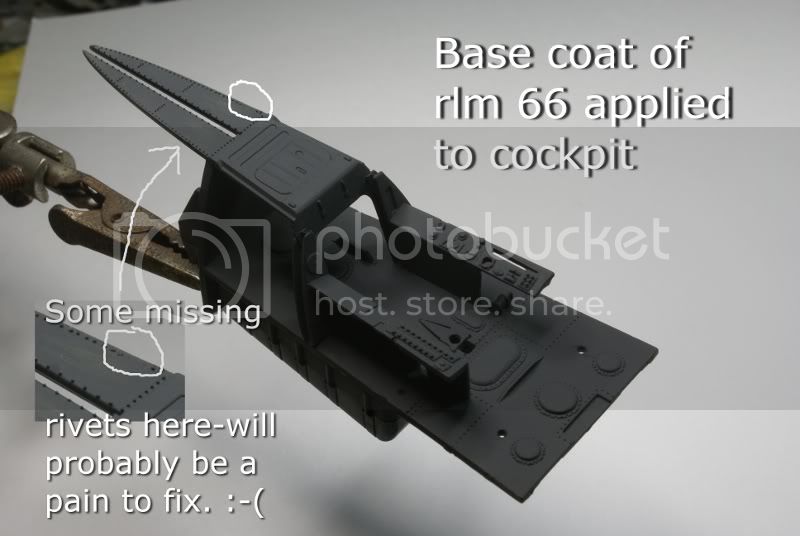
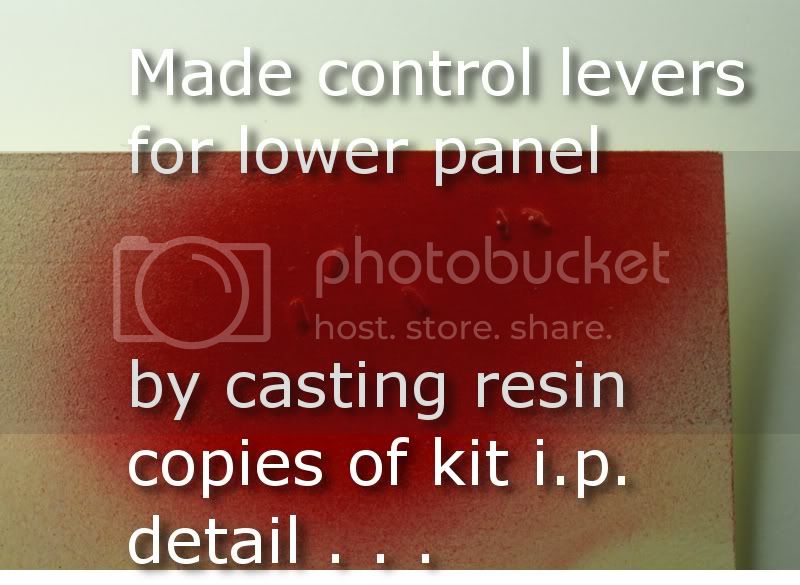
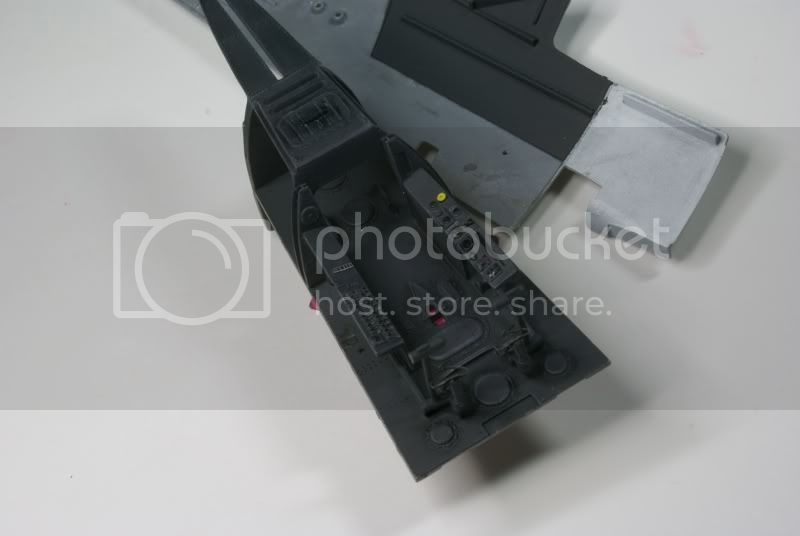
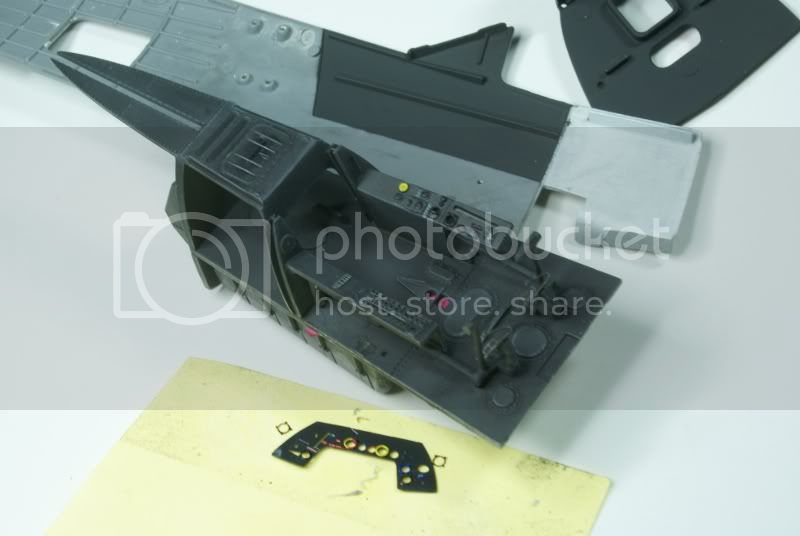
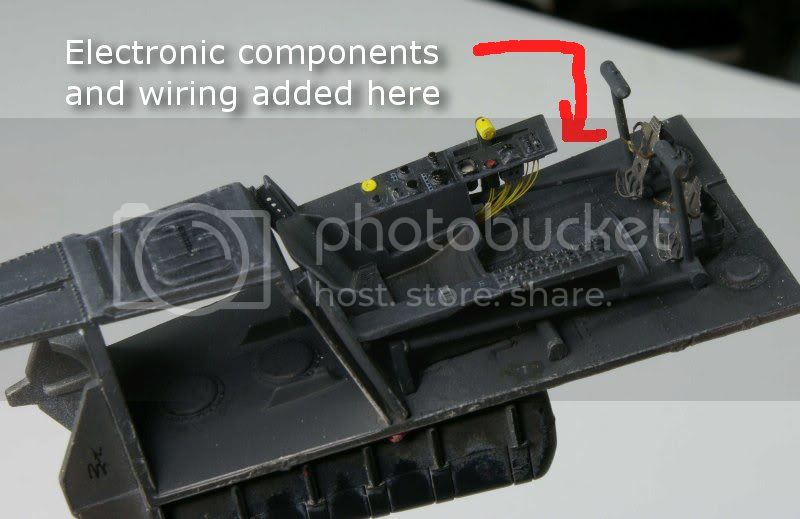
I haven't made up my mind about the interior yet, will know more after seeing it primed . . .
More when I have it . . .
Regards

Automaton