

Link to Item
If you have comments or questions please post them here.
Thanks!


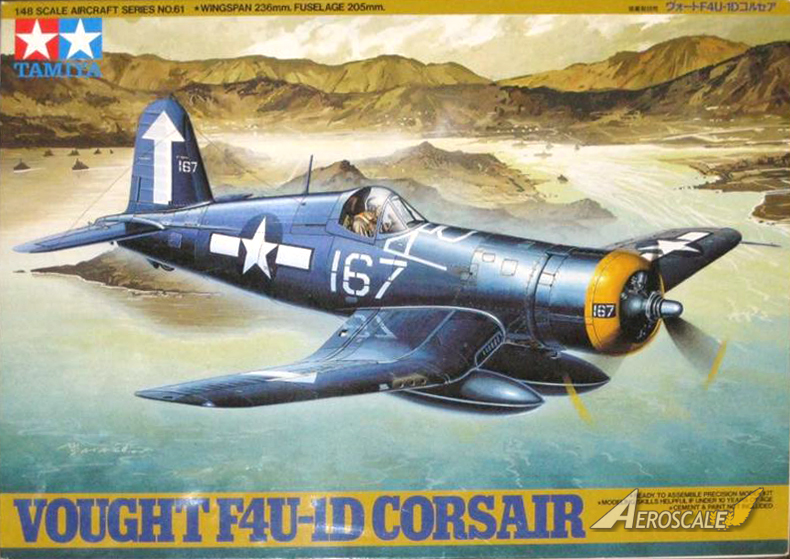
Probably still the best WWII 1/48th kit ever offered by Tamiya, 12 years later... Better still than their new 1/48th Zeroes, and way way better than their P-47s...
Wings are hard to display unfolded.
Gaston


Quoted Text
Probably still the best WWII 1/48th kit ever offered by Tamiya, 12 years later... Better still than their new 1/48th Zeroes, and way way better than their P-47s...
Wings are hard to display unfolded.
Gaston
They are? Maybe I'm doing it wrong as I've built the kit twice and havent had any trouble. The kit assembles so well it's not even a challenge.


-The upper wing join is a complex, and tight fitting, zig-zagging line that tends to squish any glue into the upper wing surface if assembled without trimming at the join in some of the smaller bends at the front (this is compounded by a very thin skin surface making for very small mating surfaces too, which gives you no room to put the glue on)... Removing the squished glue means risking erasing the neat continuous appearance of the outer wing join... No room for much glue at all at the join, and I don't like the slightest creaking in my models... The thin skin joint is an inevitable by-product of the realistic-looking folded wing option... Ideally two sets of wings should be provided...


 (buy two kits to keep the peace then one of us ends up building both)
 Nice to see your son taking an interest in the hobby too


Hi all,
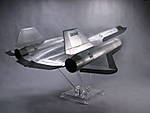
The Tamiya kit is indeed very nice and having built the model with the wings in both extended and folded positions I can't remember having had any difficulties in one or the other configuration. Below is the model I've built with the markings of the boxing reviewed by Russ...
If you like nitpicking, you should know that the leading edge wing tank refueling caps should be erased on this variant (located under the wings). The F4U-1D had external fuel tank carrying capacities which made the leading edge fuel tanks redundant. These were only present on earlier models. The circular under wing light on the left wing should be removed as well.
However, the famous cut out in the flap does not need to be filled this time, unlike on earlier models, since it was introduced during the F4U-1D production.
Jean-Luc
 |


