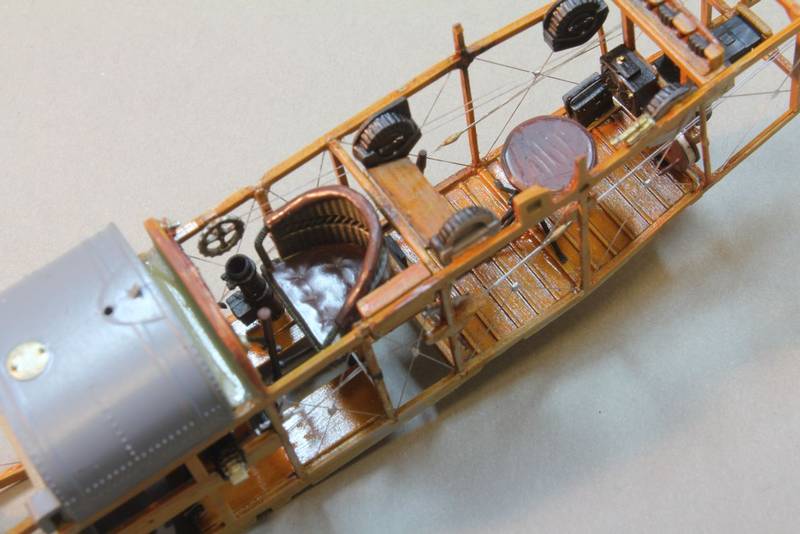
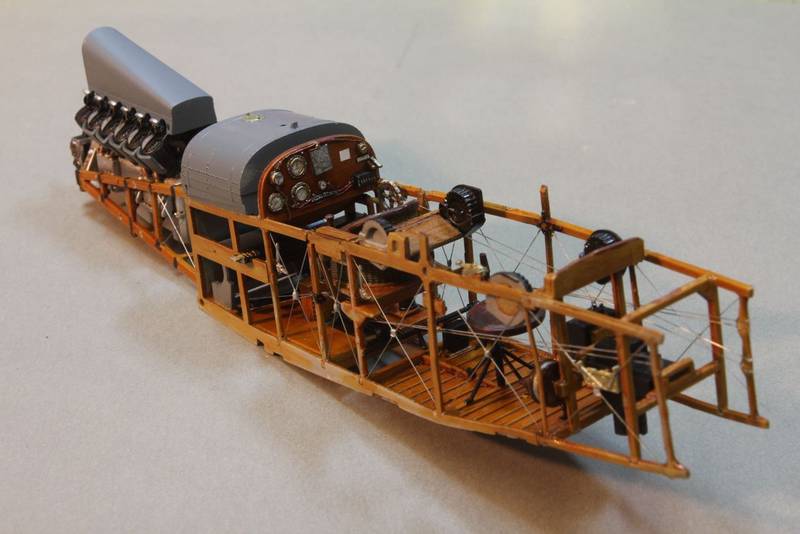
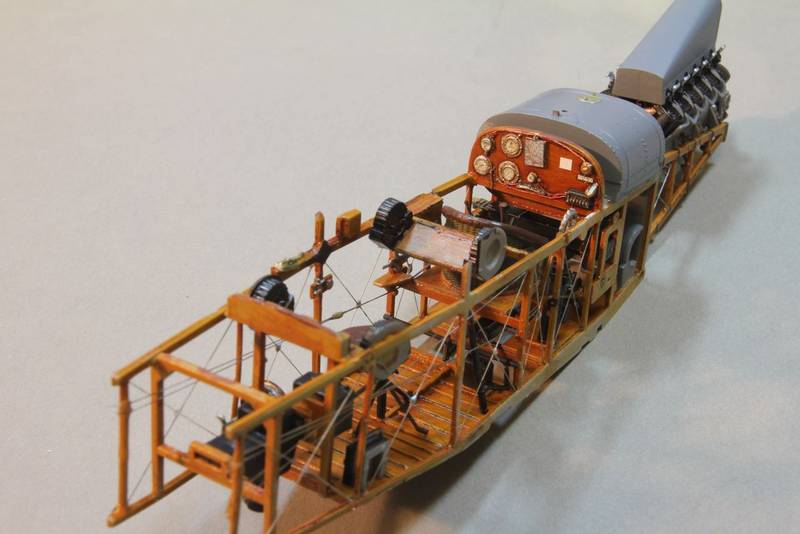
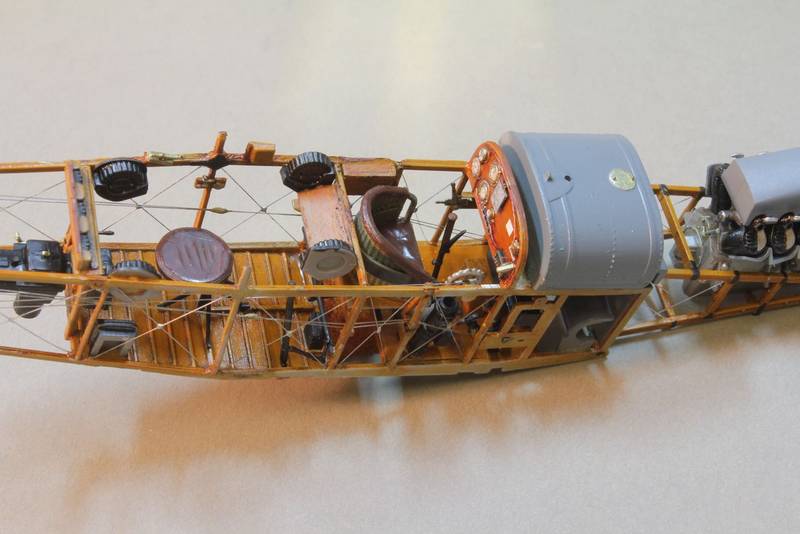
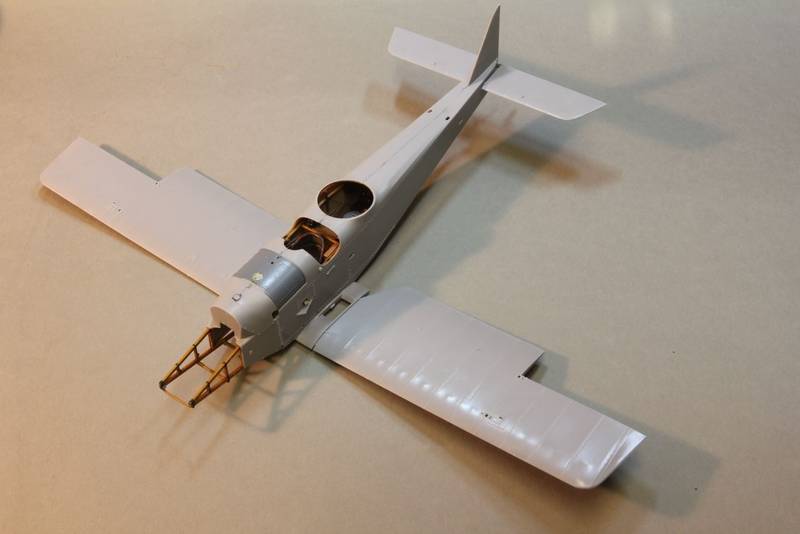
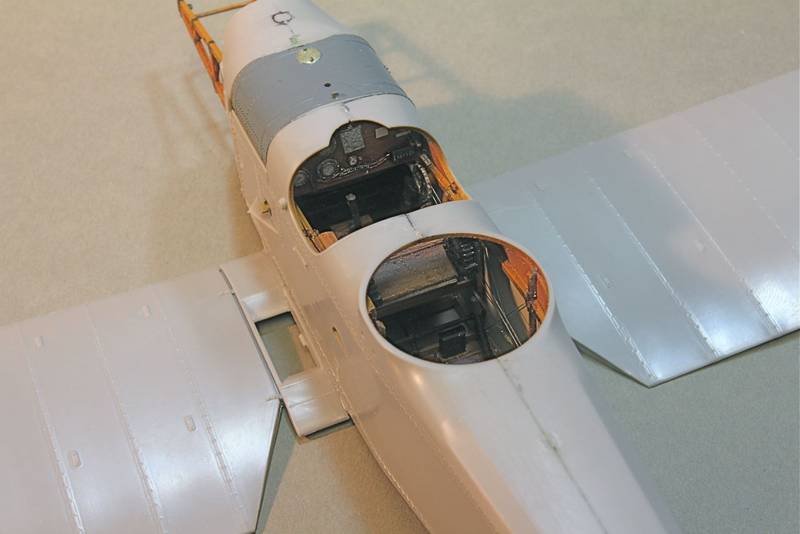
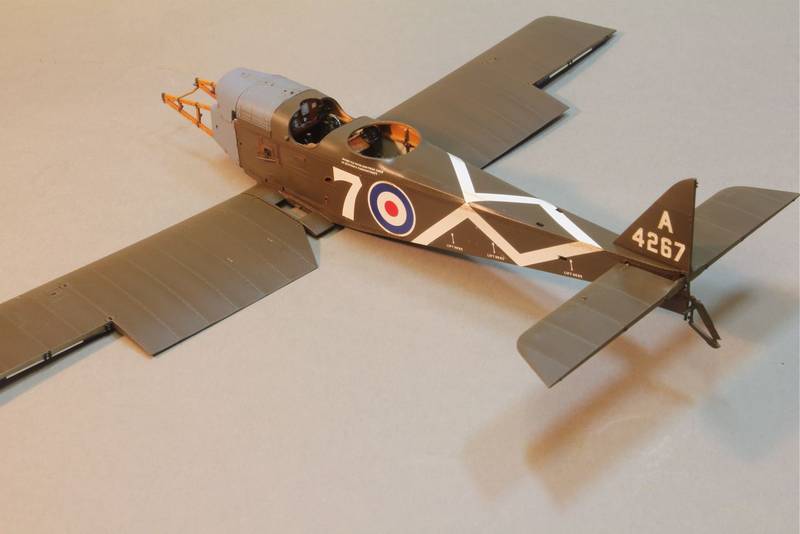
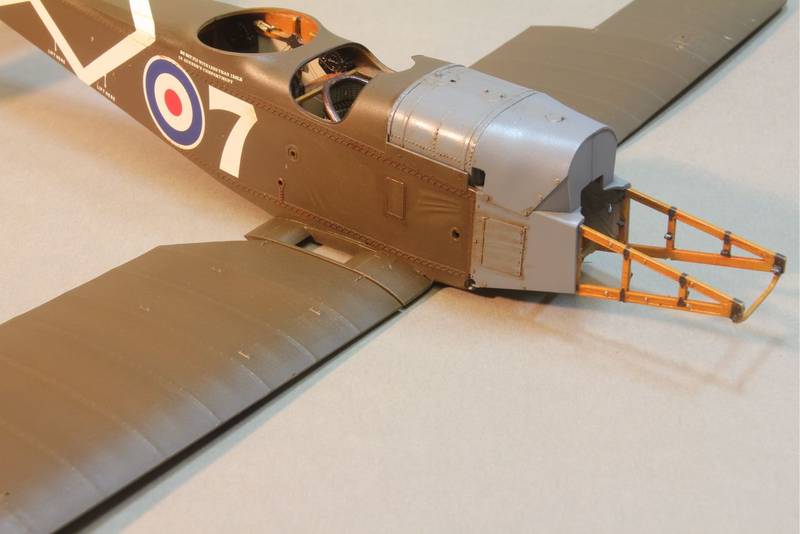
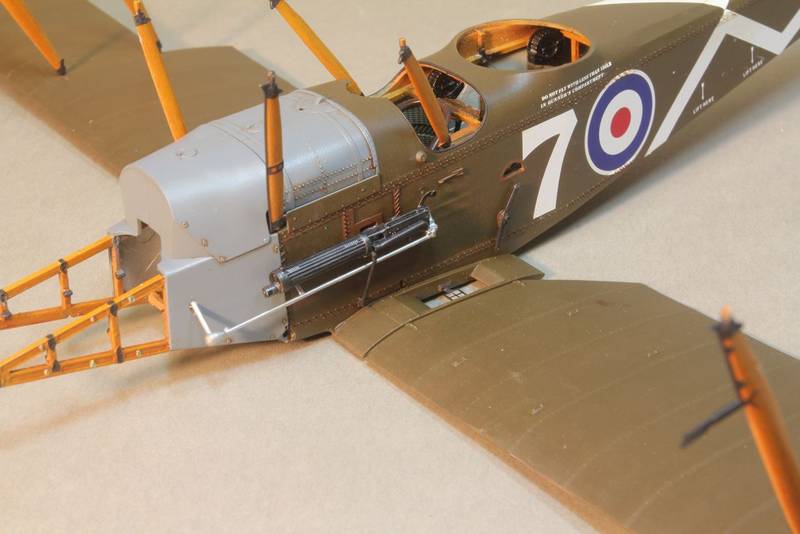
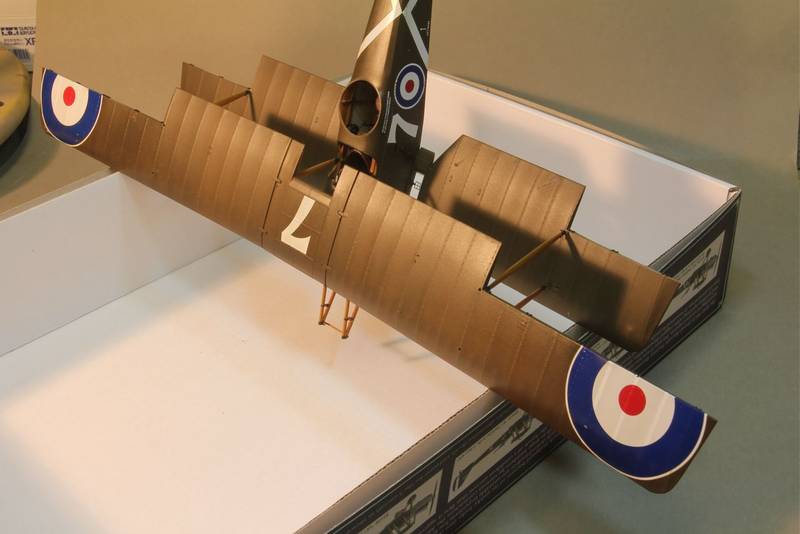
Ready? Deep breath........hold.......and relax! Now open the box and see all those lovely plastic wrapped sprues, a small etched brass sheet and nice stickers!
You all know what kits look like, so I won't bore you with pictures, suffice to say that this is arguably the best WNW kit I have seen so far - and that's saying something.... A nice big box full to the brim and their usual superbly illustrated instruction book.
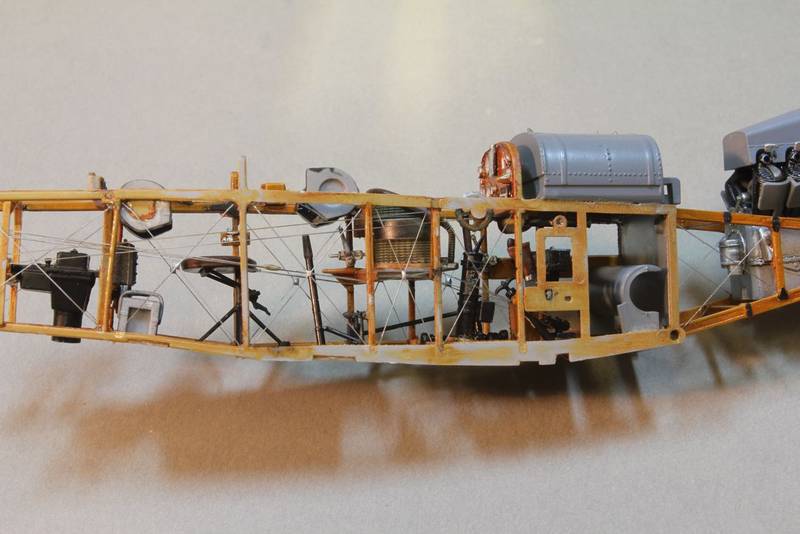
I started by spraying all the ‘wood’ parts of the plane with Tamiya XF59 Sand as the base coat to the oil based finish to be used. These were done on the sprue as it is easier to come with the small bits, but make sure you tidy up any mold lines first though., and check that you have identified all the wooden painted parts, as having to go back and redo one you have missed is a real pain.
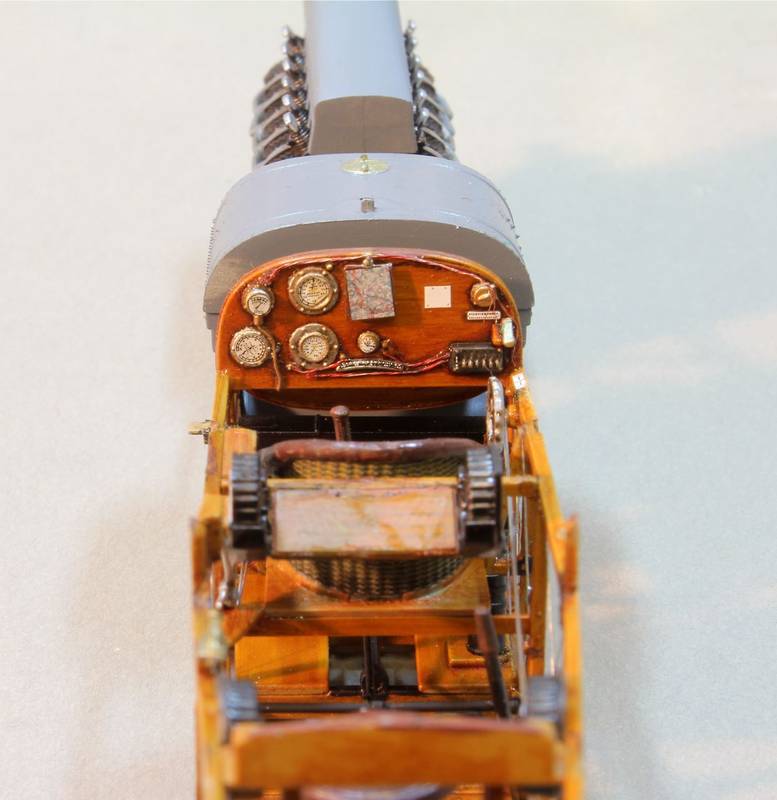
When dry, these were then coated with a layer of oil paint mixed with a little Liquin drying agent. I used a mix of yellow ochre, and raw umber with a dash of burnt sienna to get a rich brown hue. The resulting painted mess was then largely wiped off with a piece of sponge to leave a streaked wood grain effect. If you are not happy, simply repeat. The parts were then gently stroked with a fan brush for the final finer grained effect I wanted. A deceptively easy technique that allows a lot of control.
Now, even with Liquin added, the parts take a couple of days to dry properly, so I decided to tackle the engine.
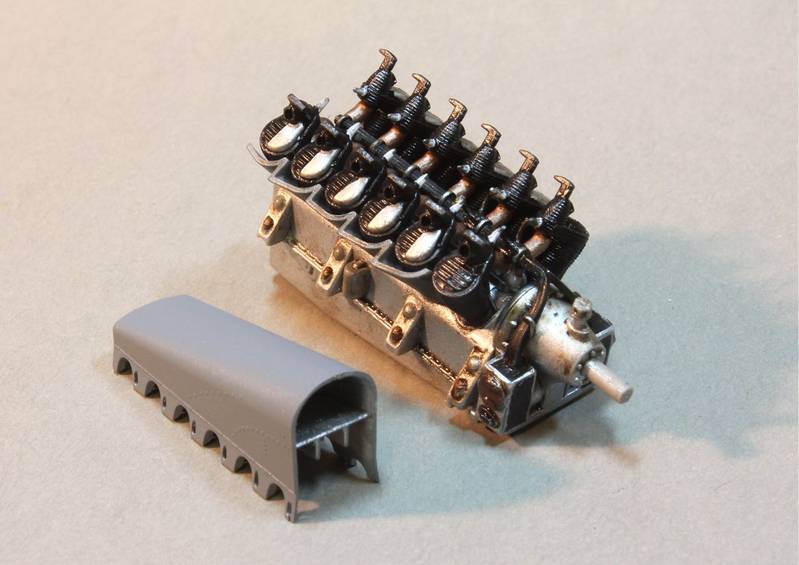
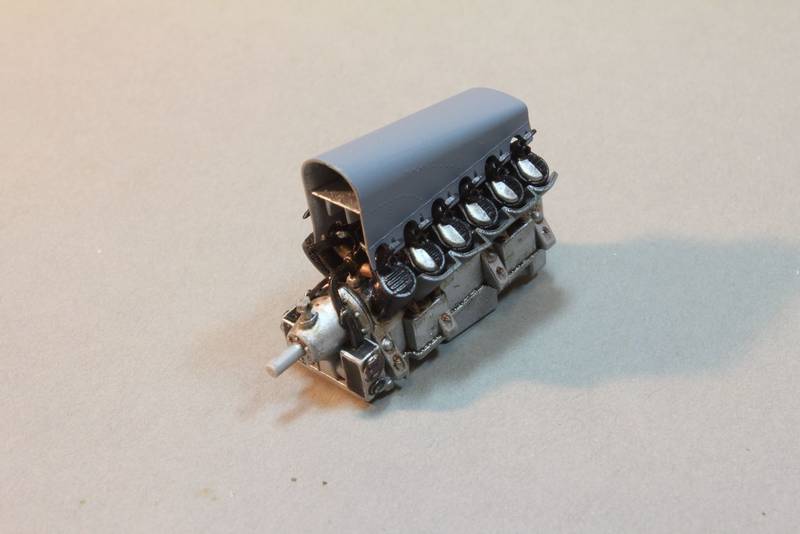
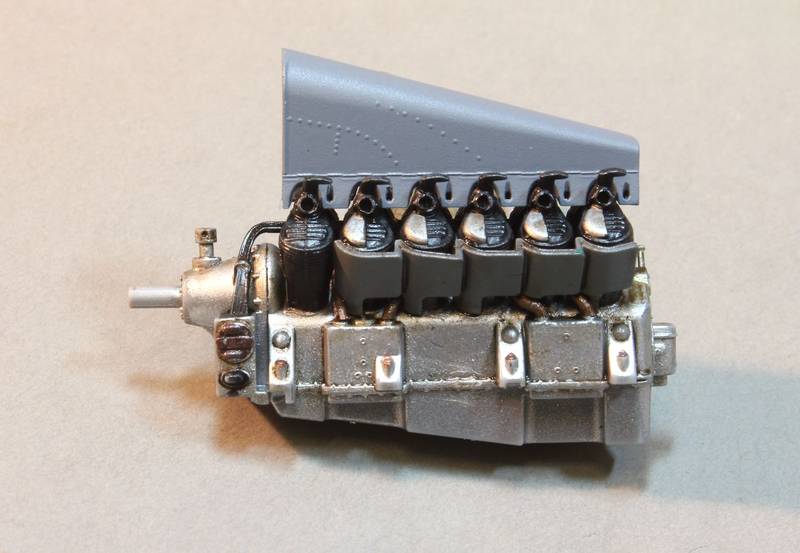
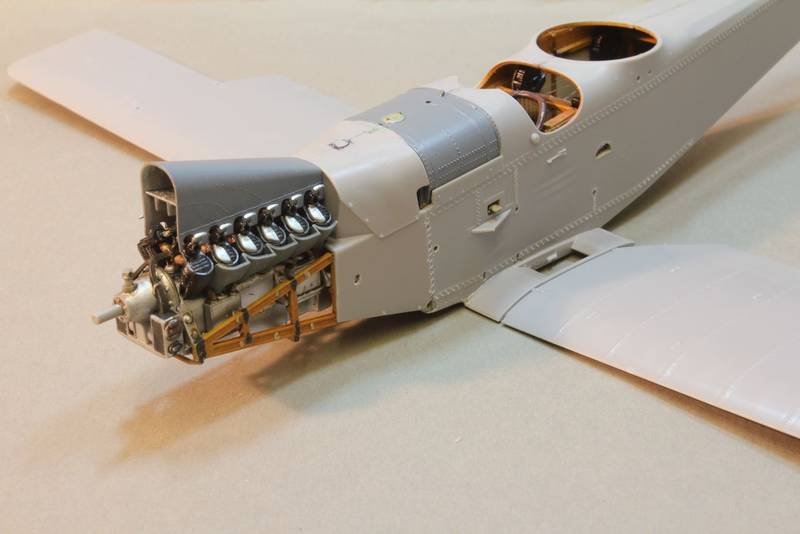
A lovely piece of work, this, with separate cylinders, intake pipes, crankcase and air duct. I assembled the key components and painted them before final assembly. Looking at reference photos, there is little to be added to this unit other than plug cables and pushrods.
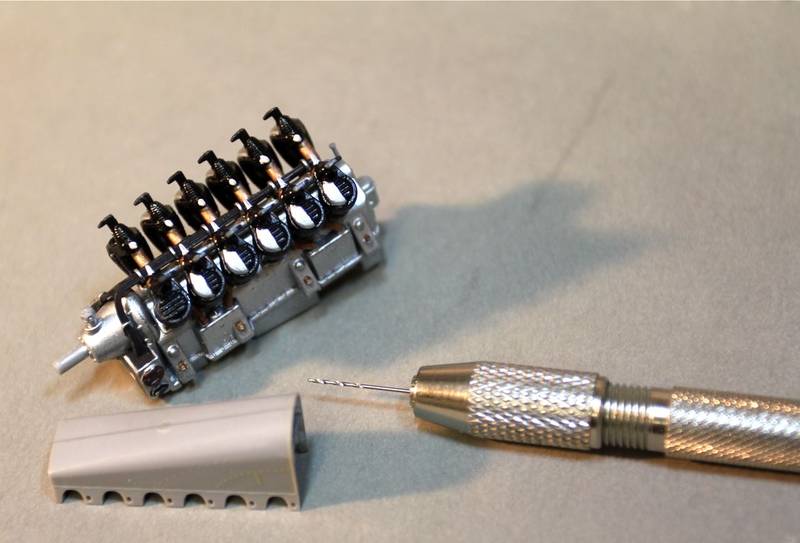
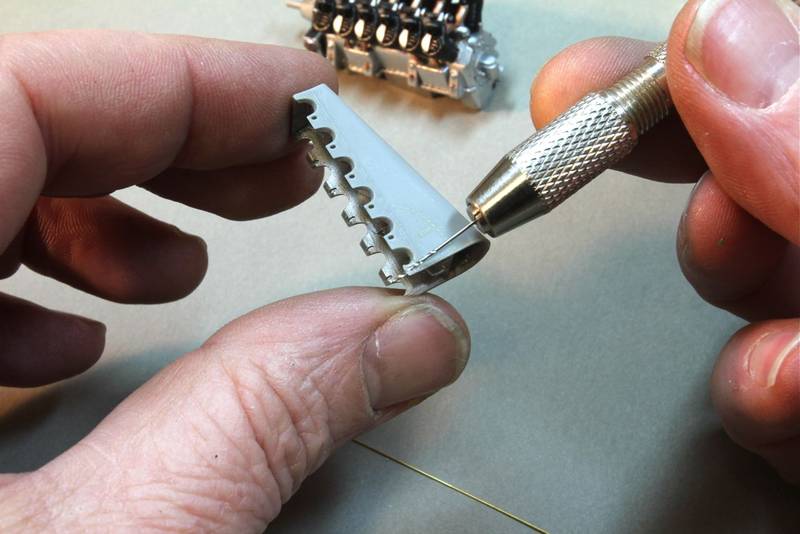
The pushrods actually run through the distinctive air intake scoop on top of the engine, so can only be added after assembly. I altered the existing holes in this scoop using a drill bit as a file and held at the angle of the pushrods when installed. These will be fitted at the end.
