_GOTOBOTTOM
Rotary Wing
Discuss helicopters and other rotary wing aircraft from any era.
Academy 1/35 AH-1W NTIS
ShawnM
_VISITCOMMUNITY
Missouri, United States
Joined: November 24, 2008
KitMaker: 564 posts
AeroScale: 510 posts
Posted: Wednesday, April 06, 2011 - 05:34 AM UTC
Hello again!
After finishing my 1/48 project, I am back into LSP time.
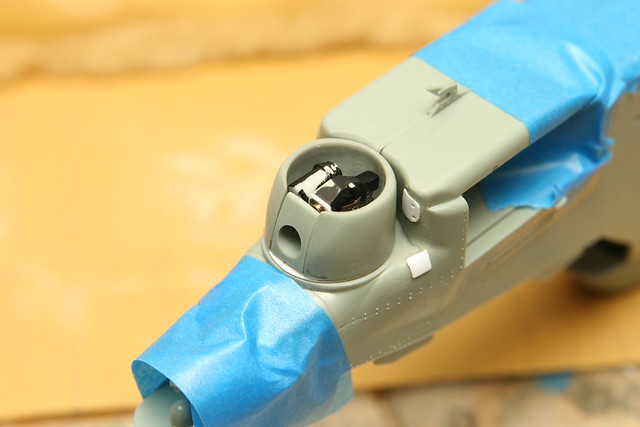
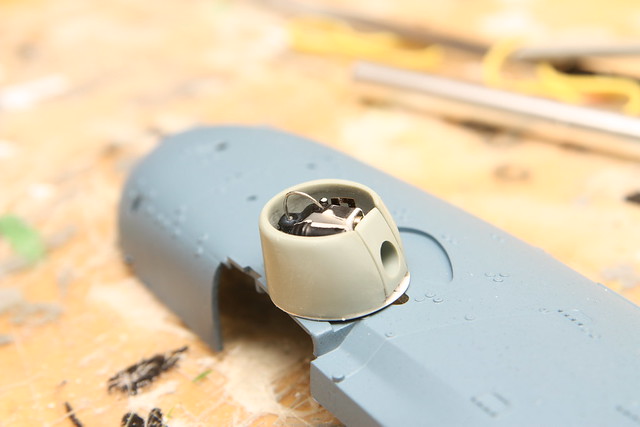
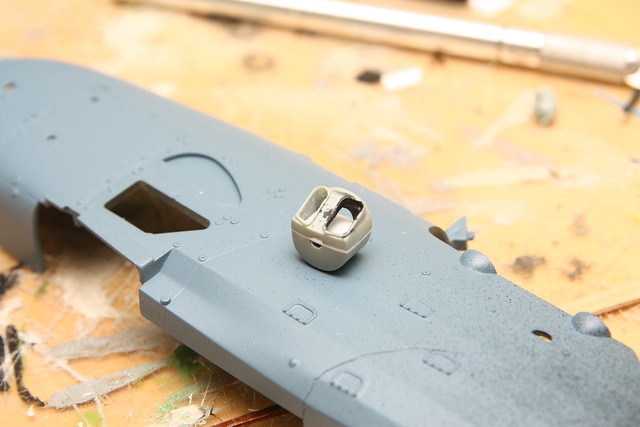
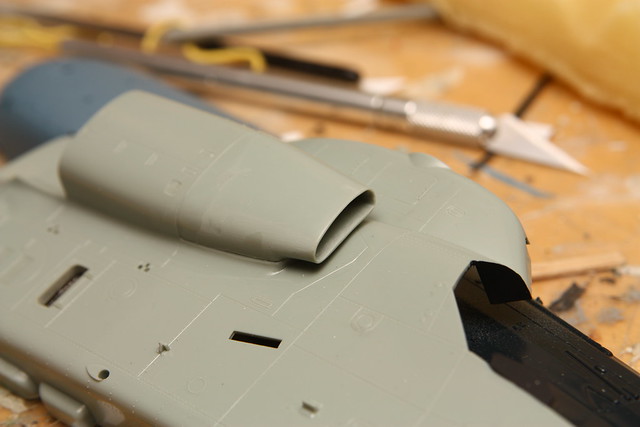
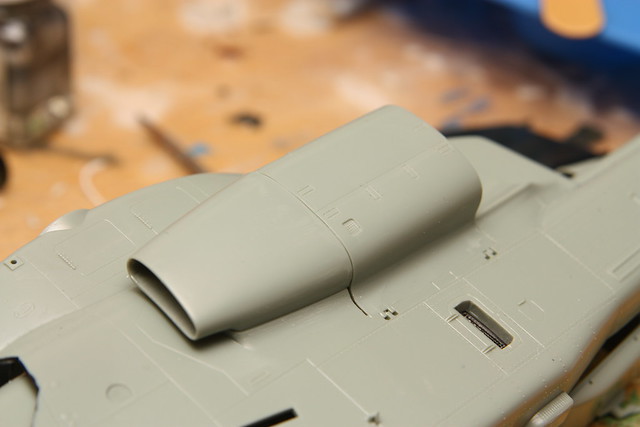
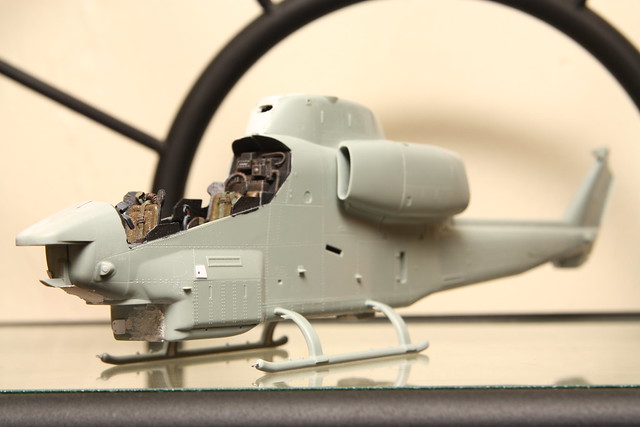
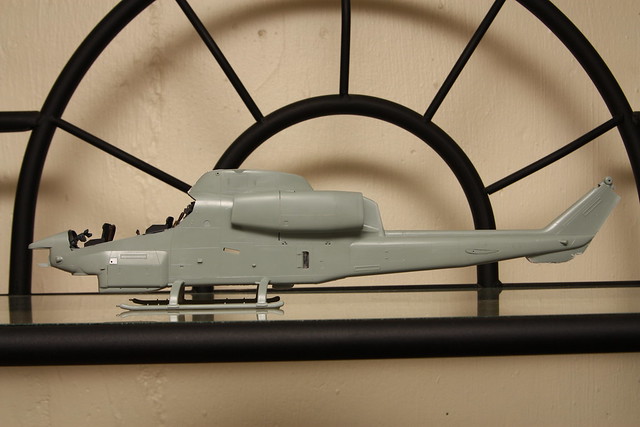
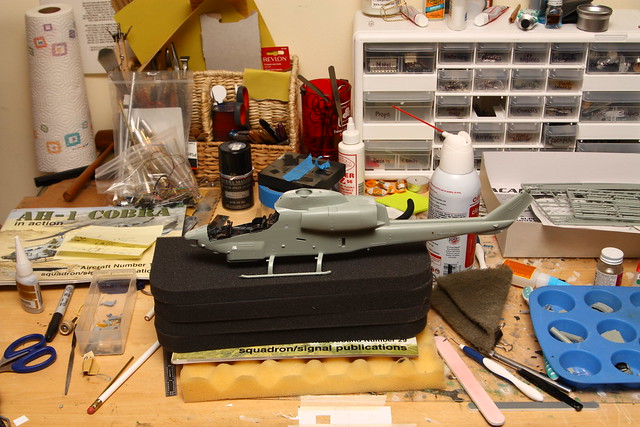
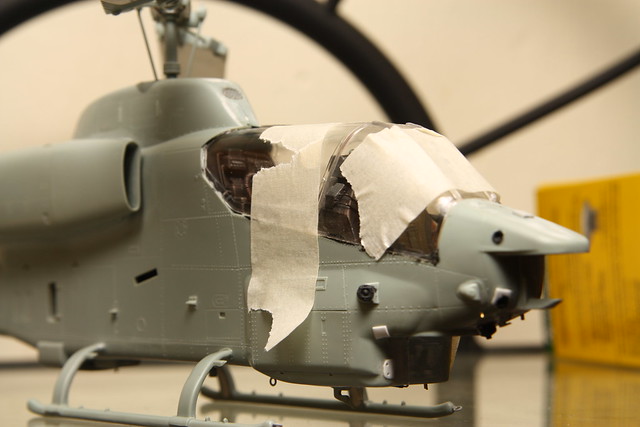
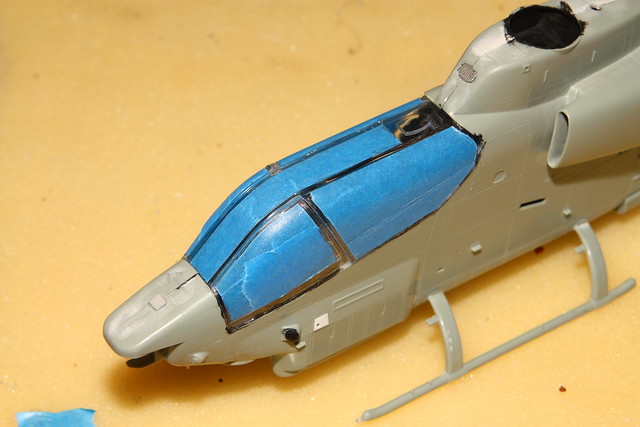
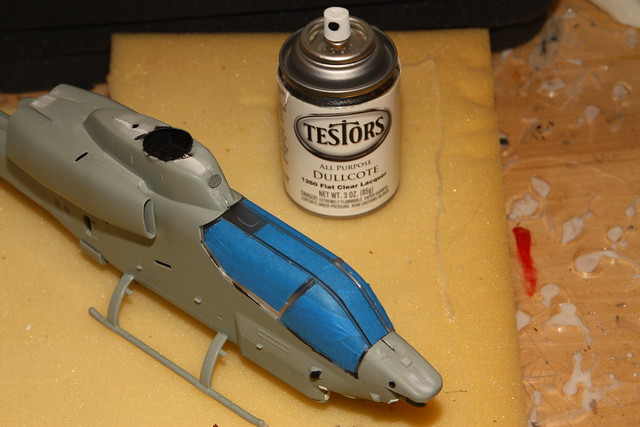
I have started working on my Academy/MRC 1/35 AH-1W Super Cobra with NTIS upgrades.
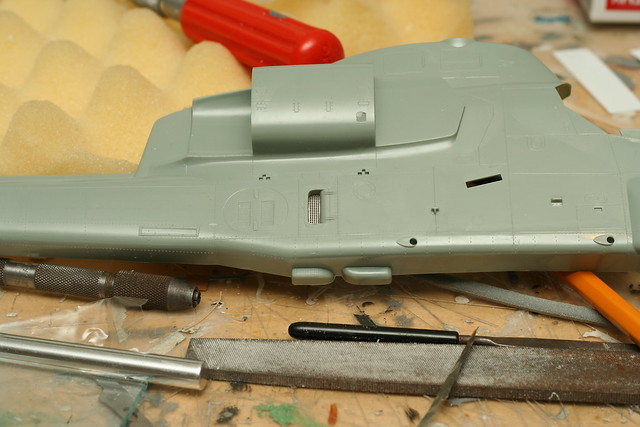
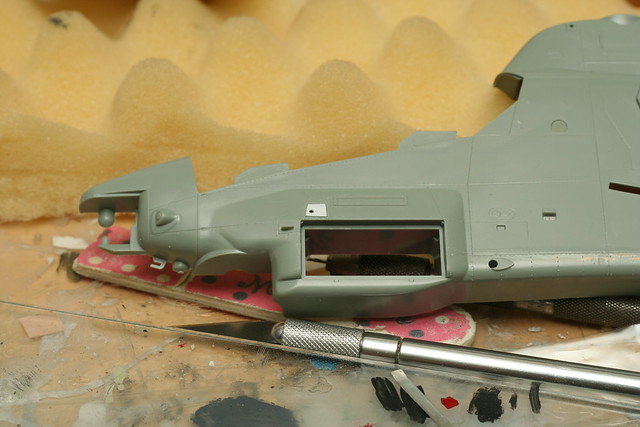
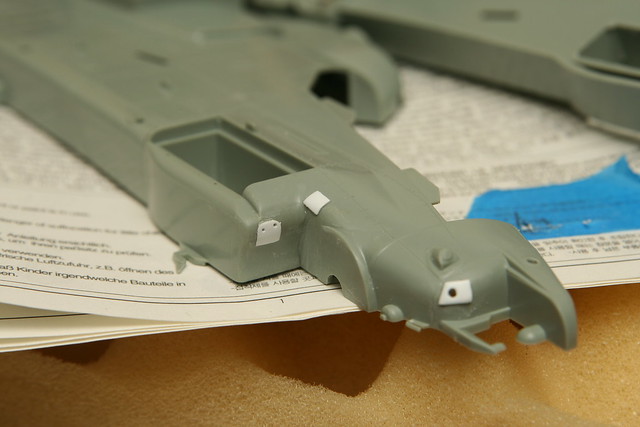
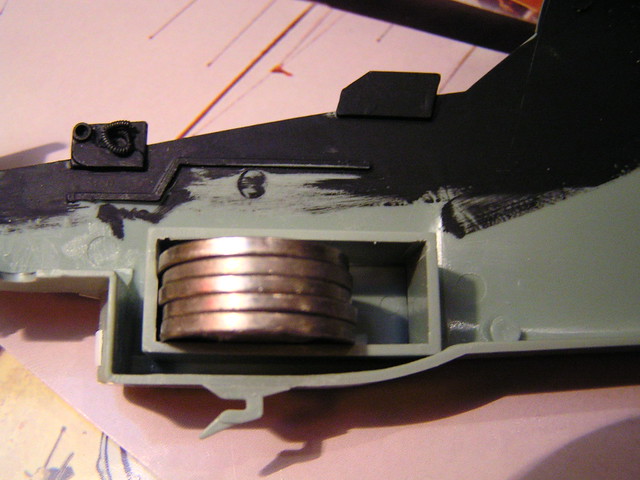
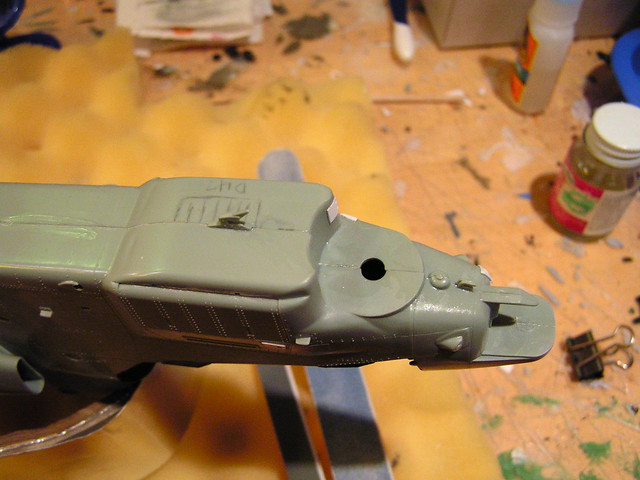
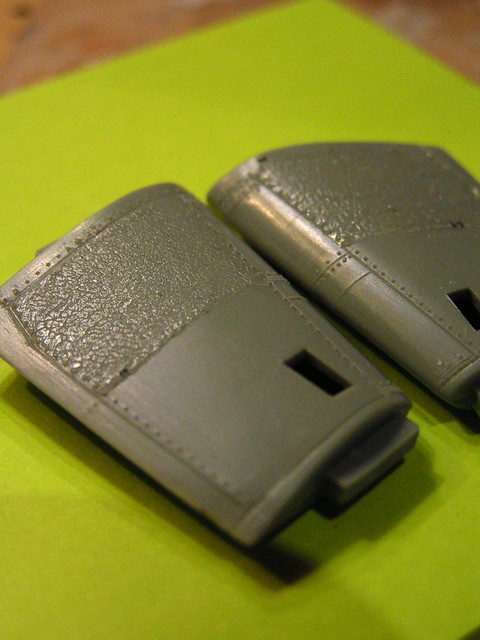
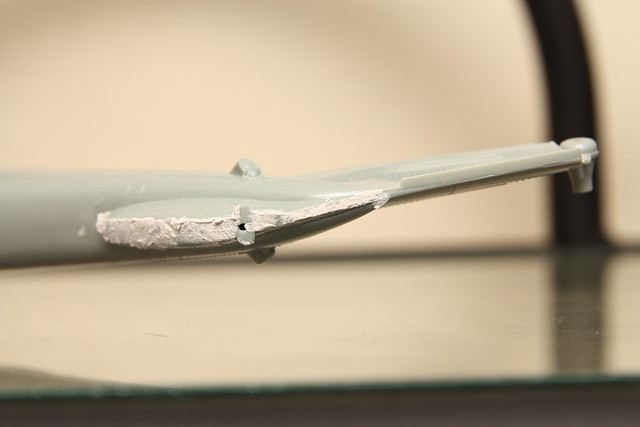
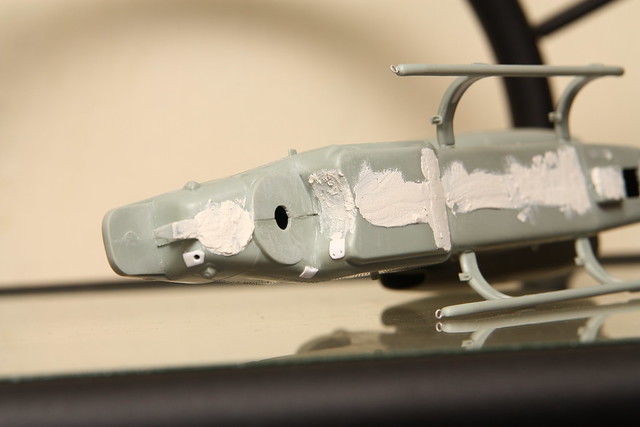
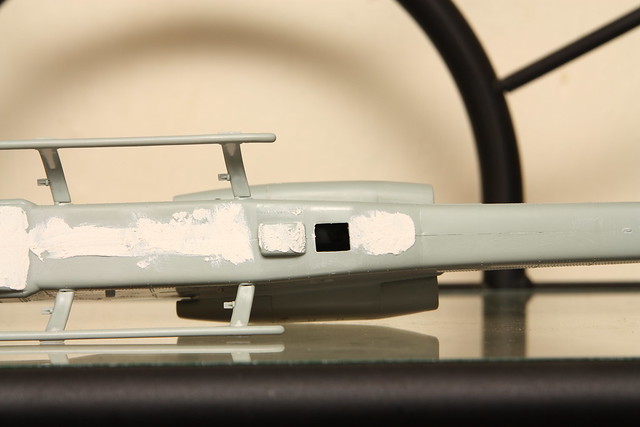
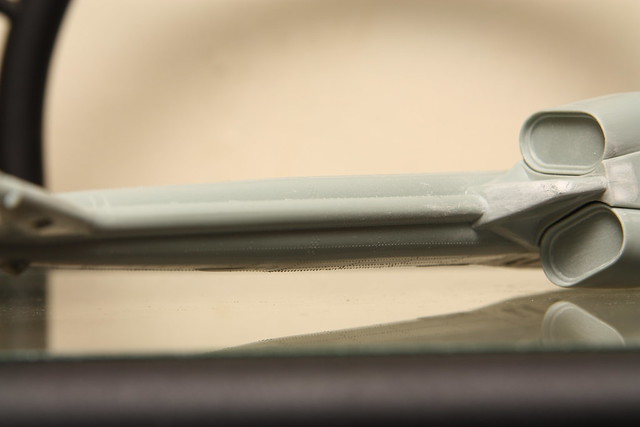
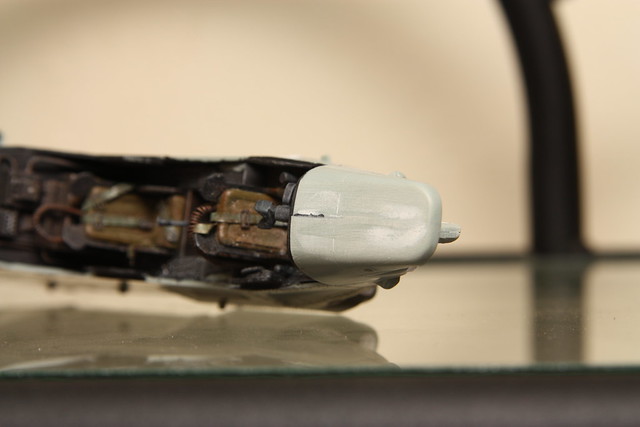
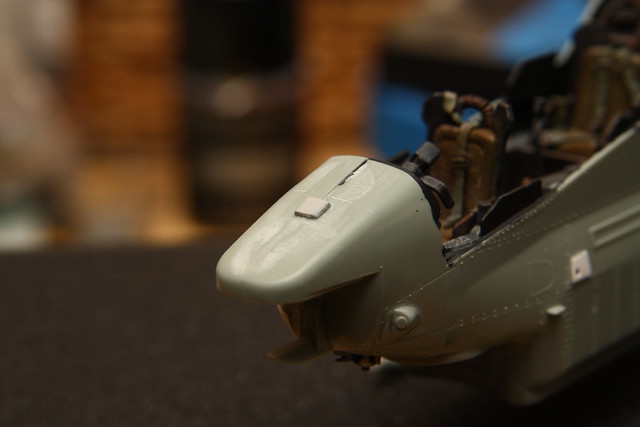
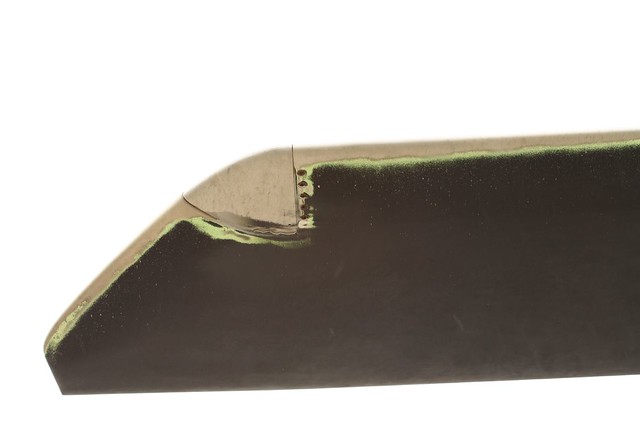
So far its been a LOT of filling and sanding, sink marks, ejector pin marks, horrific seams, etc.
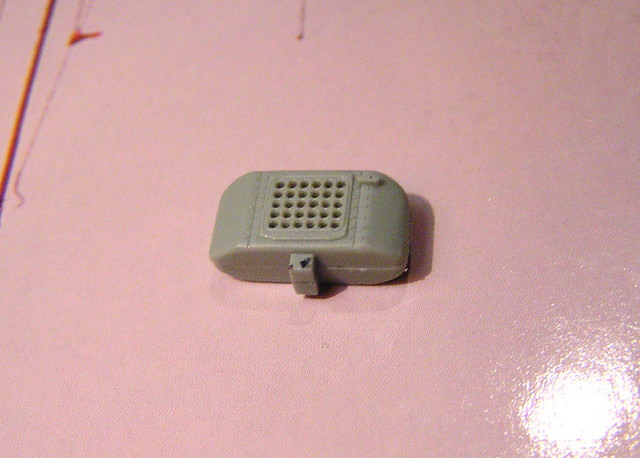
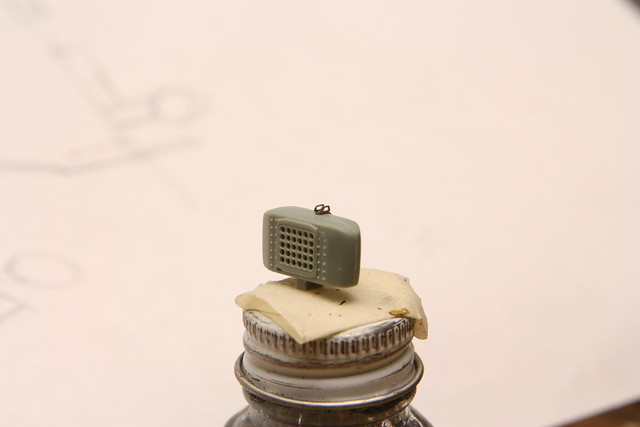
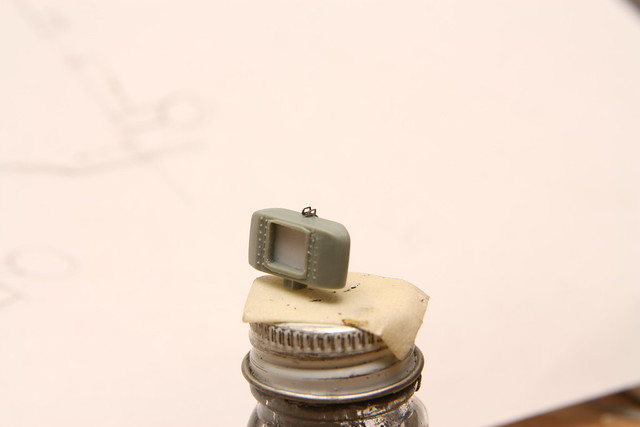
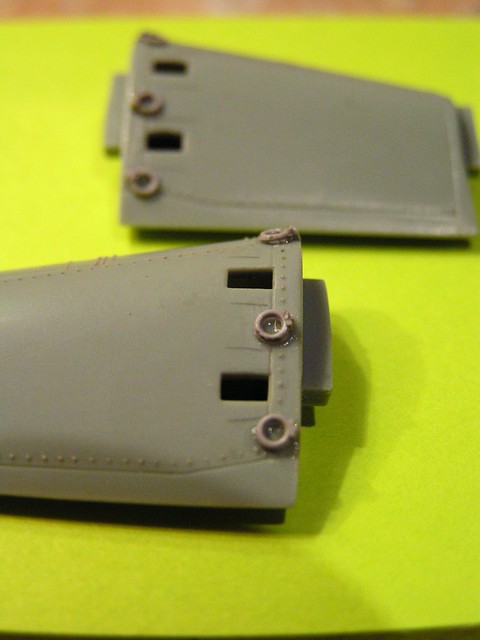
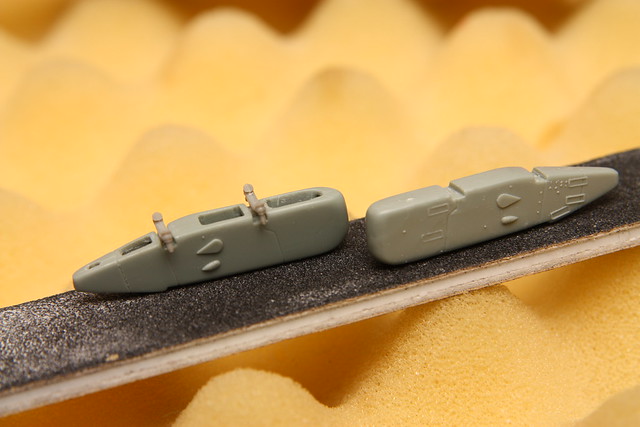
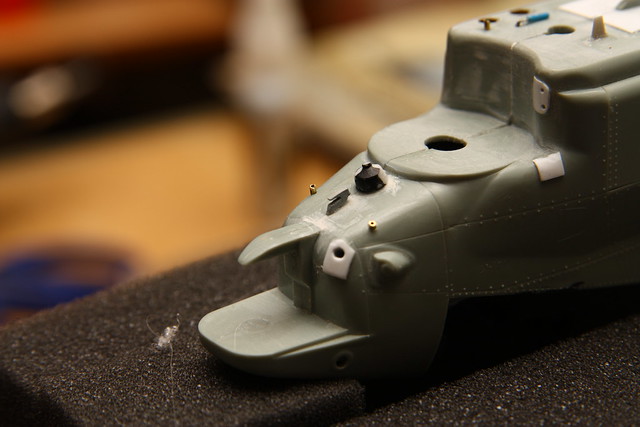
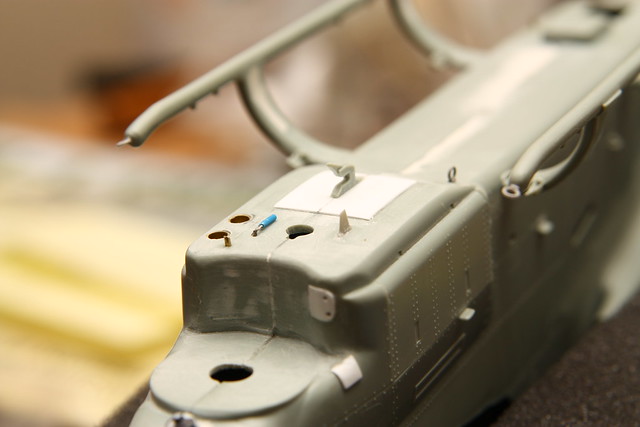
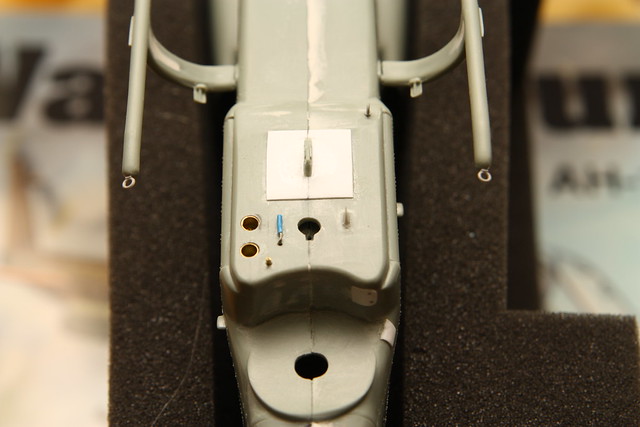
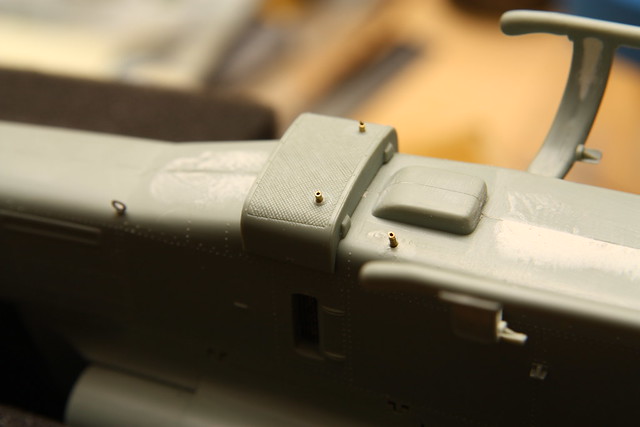
I've gone ahead and opened up vents and added PE mesh from tank and car sets I had in the spares bin.
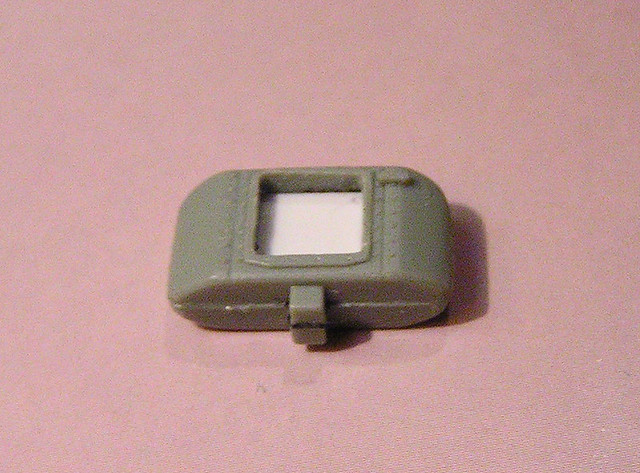
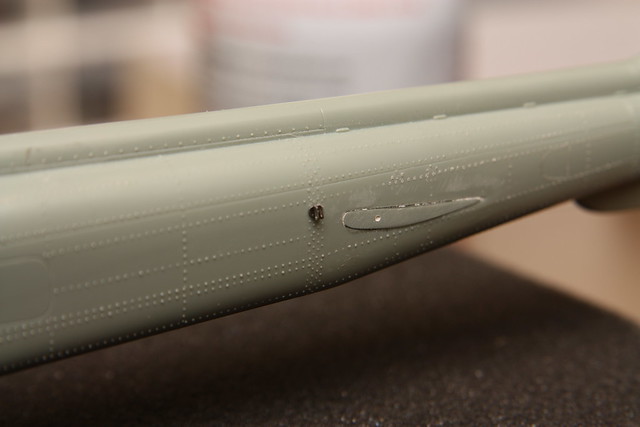
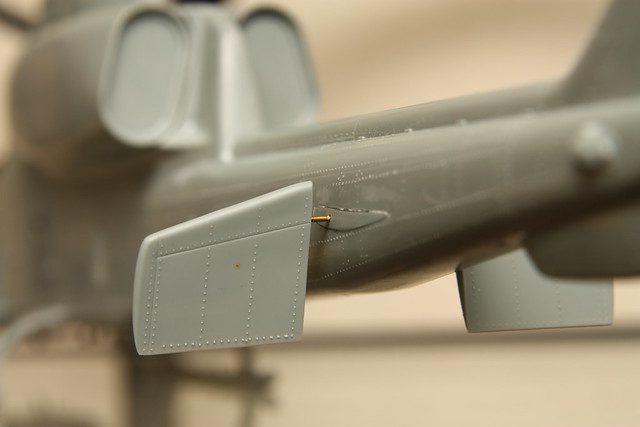
I've added 2 panels not found on the kit that to me, are rather prevalent.
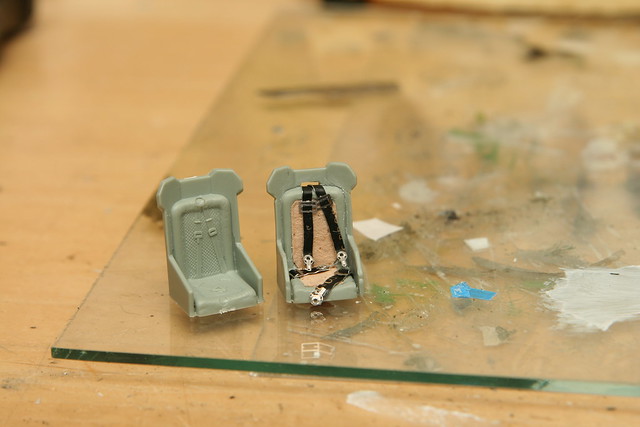
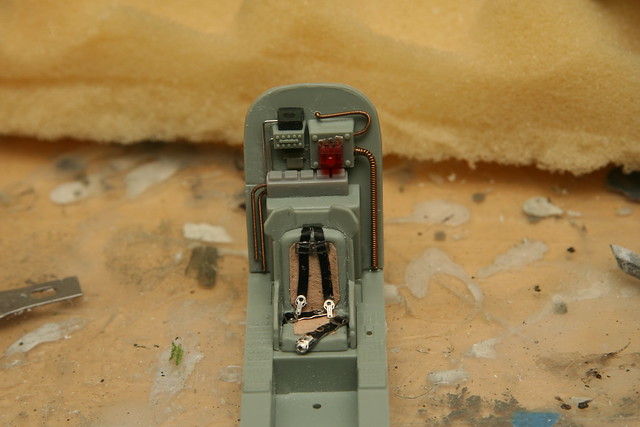
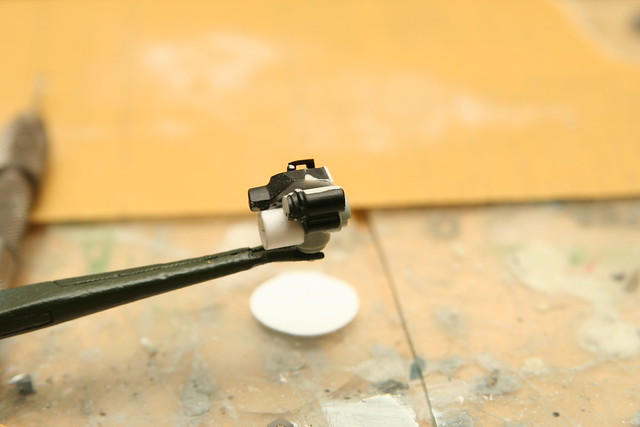
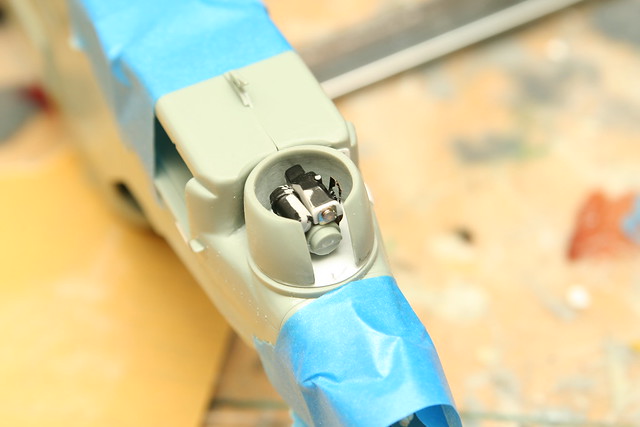
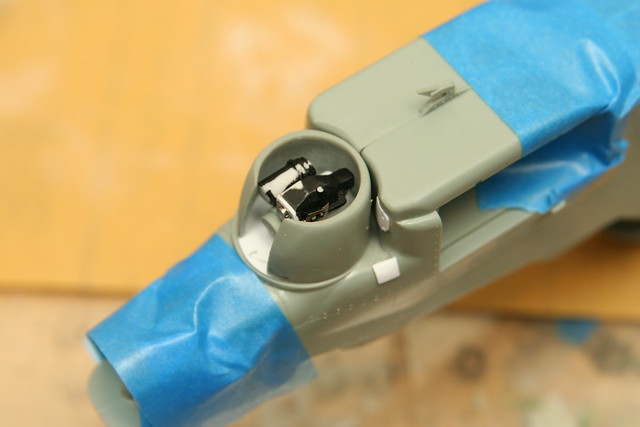
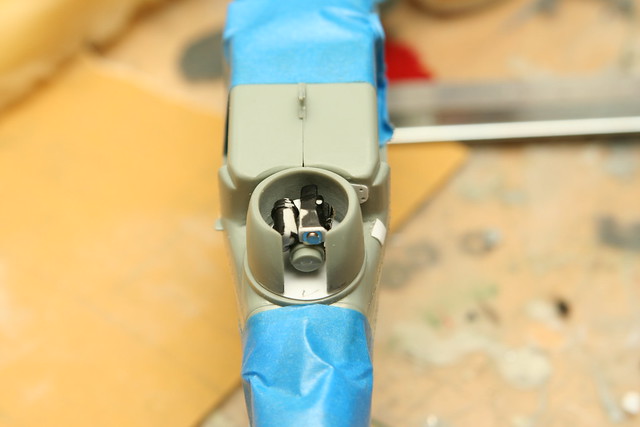
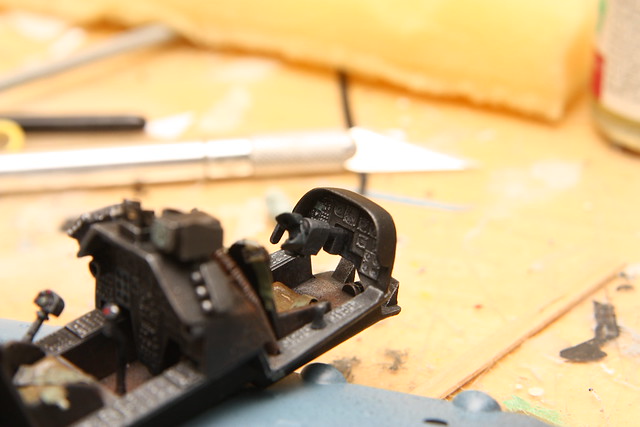
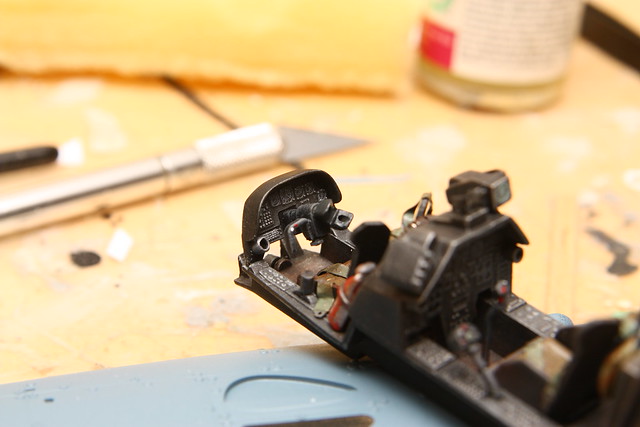
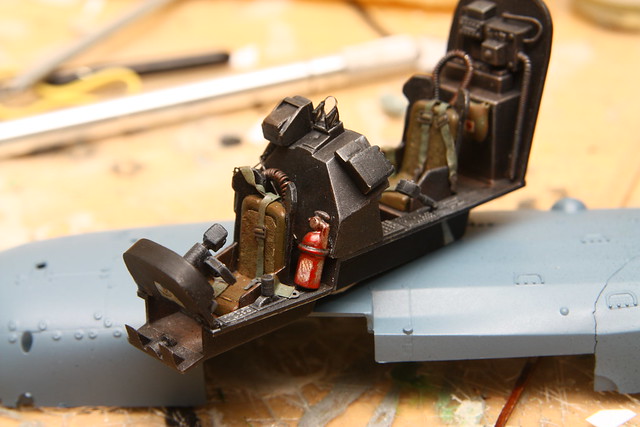
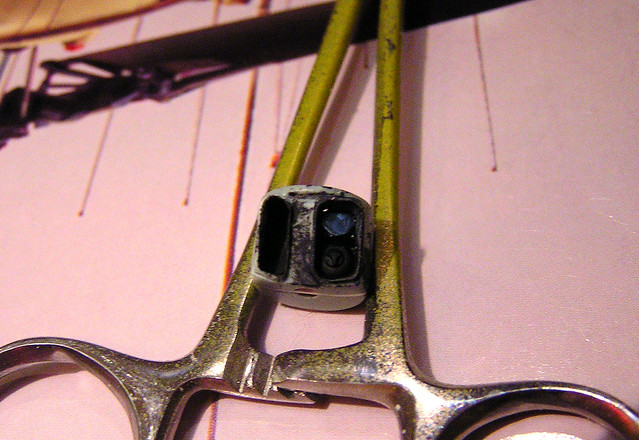
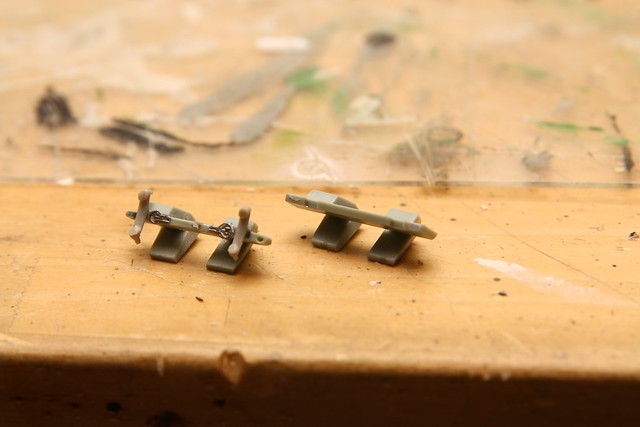
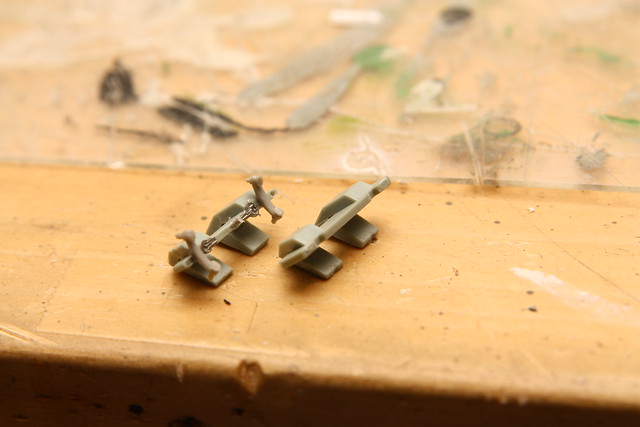
I redid the seats adding Band Aid material for cushions, lead foil for belts, opened up belt slots and used some random PE for buckles and latches.
Next up is the cockpit!
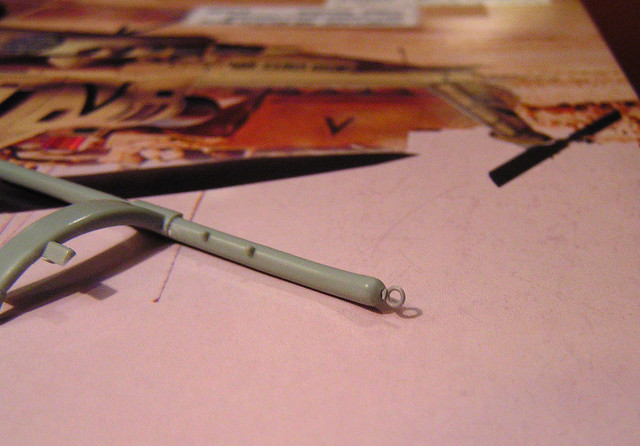
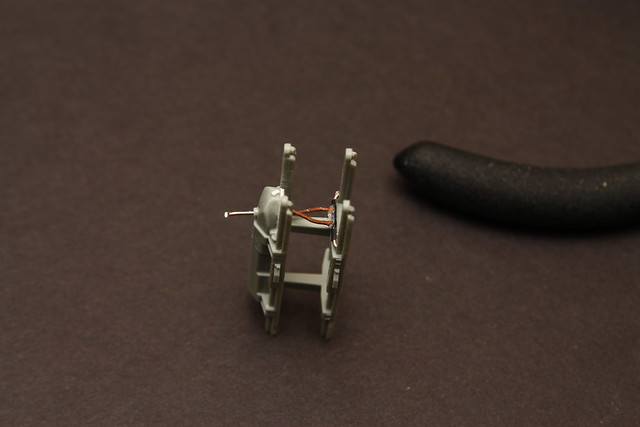
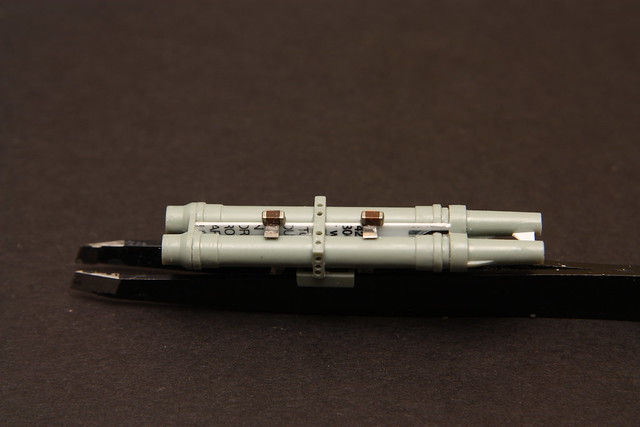
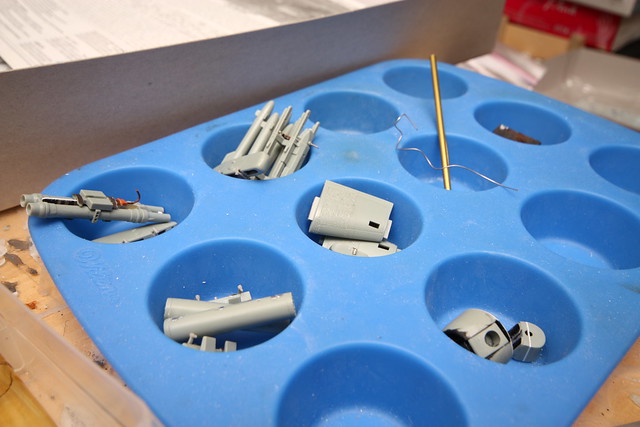
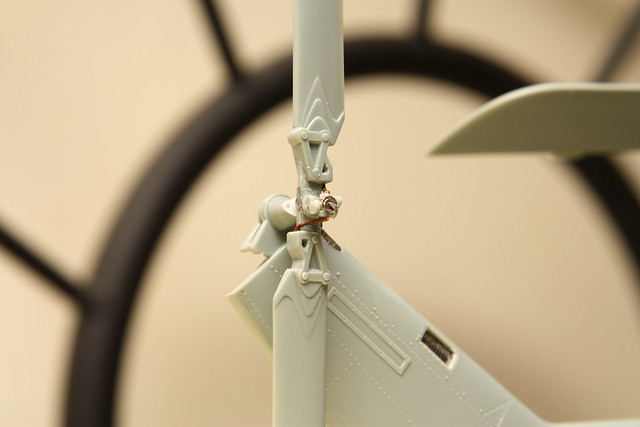
Pics of progress:


ShawnM
_VISITCOMMUNITY
Missouri, United States
Joined: November 24, 2008
KitMaker: 564 posts
AeroScale: 510 posts
Posted: Wednesday, April 06, 2011 - 05:34 AM UTC
last night I sat down and added two more missing panels to the nose:


looks like I need to work on that lower one more.

I detailed the back cockpit bulkhead:


I love using Guitar strings for this!

And then glued the bulkhead to the tub, threw the seat in the shot for fun:

ShawnM
_VISITCOMMUNITY
Missouri, United States
Joined: November 24, 2008
KitMaker: 564 posts
AeroScale: 510 posts
Posted: Wednesday, April 06, 2011 - 05:35 AM UTC
Since most of the AH-1Ws I've seen have the bottom of the turret opened up, I needed to do this to the kit part...which is molded solid.
Once I made then opening I had to make a way to mount it, then create some details.


Then I had to see if what I just made, would fit in the turret..


Now, do I use the sliding piece or no? Kinda looks sinister with it on?

Thoughts?

HeavyArty
_VISITCOMMUNITY
Florida, United States
Joined: May 16, 2002
KitMaker: 17,694 posts
AeroScale: 1,728 posts
Posted: Wednesday, April 06, 2011 - 03:03 PM UTC
Looking really good. Great job on it. Have you seen the new Turned Exhaust set from Werner's Wings for a current AH-1W NTIS? It is what I plan on using on mine.
ShawnM
_VISITCOMMUNITY
Missouri, United States
Joined: November 24, 2008
KitMaker: 564 posts
AeroScale: 510 posts
Posted: Thursday, April 07, 2011 - 01:30 AM UTC
thank you!
I have seen the turned exhausts, beautiful bits but I prefer the vertical style.
ShawnM
_VISITCOMMUNITY
Missouri, United States
Joined: November 24, 2008
KitMaker: 564 posts
AeroScale: 510 posts
Posted: Saturday, April 30, 2011 - 11:16 AM UTC
Cockpit complete!


added a wire to the gun


Started reworking the sighting turret by opening the apertures:


Attached the intakes and the engine cover, still need to sand and fill:


Maxymilian
_VISITCOMMUNITY
England - West Midlands, United Kingdom
Joined: March 21, 2009
KitMaker: 379 posts
AeroScale: 75 posts
Posted: Saturday, April 30, 2011 - 10:05 PM UTC
Hello
I am watching this project with great interest, i did one of those while ago and i always say that this kit have very big potential. WIth a bit of patience and skills can be very cool.

Keep us posted with update
grubbyfingers
_VISITCOMMUNITY
Victoria, Australia
Joined: September 07, 2007
KitMaker: 404 posts
AeroScale: 339 posts
Posted: Saturday, April 30, 2011 - 11:49 PM UTC
Hi Shawn,

Looking good. One of my favorite choppers. I have built one of these straight out-of-the-box and got a reasonable result. This is looking much better so far! I'll be watching with interest.

Grubby.
ShawnM
_VISITCOMMUNITY
Missouri, United States
Joined: November 24, 2008
KitMaker: 564 posts
AeroScale: 510 posts
Posted: Tuesday, May 03, 2011 - 01:34 AM UTC
Thanks Grubby!
I worked on the chaff flare units last night, opened up all the small chutes in one, removed the unit and boxed in another.
Added new tie down rings to the skids.
Finished off the nose turret details I wanted to add.
Glued on the ammo doors to the fuse.
Sanded the "jet pods" on the fuse.
Added my nose weight (5 nickles)
And I've modified the tail planes to be posable!
Im starting to rework the wing racks now, the inner ones are horrible.
entlim
_VISITCOMMUNITY
England - North West, United Kingdom
Joined: May 02, 2008
KitMaker: 156 posts
AeroScale: 51 posts
Posted: Tuesday, May 03, 2011 - 09:16 AM UTC
More pix please!
ShawnM
_VISITCOMMUNITY
Missouri, United States
Joined: November 24, 2008
KitMaker: 564 posts
AeroScale: 510 posts
Posted: Wednesday, May 04, 2011 - 01:38 AM UTC
they're a commin!

I went to the gun range last night so i didn't have a chance to upload.
ShawnM
_VISITCOMMUNITY
Missouri, United States
Joined: November 24, 2008
KitMaker: 564 posts
AeroScale: 510 posts
Posted: Thursday, May 05, 2011 - 02:09 AM UTC
small batch of update pics:


ShawnM
_VISITCOMMUNITY
Missouri, United States
Joined: November 24, 2008
KitMaker: 564 posts
AeroScale: 510 posts
Posted: Friday, May 06, 2011 - 01:28 AM UTC
Phase one of the inner rack detailing is complete.

Reshaped the actual support beam
added sway braces and bottom details
added stores ejector pin as well.


Added some pe to the flare/chaff units


SGTJKJ
#041
_VISITCOMMUNITY
Kobenhavn, Denmark
Joined: July 20, 2006
KitMaker: 10,069 posts
AeroScale: 3,788 posts
Posted: Friday, May 06, 2011 - 02:42 AM UTC
Great work. The details are really nice and make quite a bit of difference in the look of the Cobra.

Looking forward to see more.
ShawnM
_VISITCOMMUNITY
Missouri, United States
Joined: November 24, 2008
KitMaker: 564 posts
AeroScale: 510 posts
Posted: Friday, May 06, 2011 - 02:53 AM UTC
thank you!
I thought about redoing the whole hardpoint, but changed my mind.
The support arms "should" have machined reliefs in them, I wasted and entire part trying to get the look right.
Luckily the kit has 4 and only uses 2.
windysean
_VISITCOMMUNITY
Wisconsin, United States
Joined: September 11, 2009
KitMaker: 1,917 posts
AeroScale: 563 posts
Posted: Friday, May 06, 2011 - 02:56 AM UTC
Shawn,
Excellent work here. It's very impressive when a skilled modeler tackles a subject they seem to know very well. I'm guessing you've been up close with a Super Cobra by the details you're seeing that I never would have noticed. It makes a great difference! Keep it up. I'm really watching this build.
thanks for posting!
-Sean.
ShawnM
_VISITCOMMUNITY
Missouri, United States
Joined: November 24, 2008
KitMaker: 564 posts
AeroScale: 510 posts
Posted: Friday, May 06, 2011 - 04:14 AM UTC
Hi Sean, I got to spend some time with one at an airshow last year. Most of my detail info is from the web and a couple Squadron Signal Books.

I think it'll look the part when IM finished, or so I hope.
ShawnM
_VISITCOMMUNITY
Missouri, United States
Joined: November 24, 2008
KitMaker: 564 posts
AeroScale: 510 posts
Posted: Sunday, May 08, 2011 - 03:14 AM UTC
finished the other inner rack, started the outer pylons...these need just as much work.
Finally got the guts up to join the fuse halves, what a nightmare...shrinkage, warped halves and poor fit made it a real PITA and I have a lot of sanding and rescribing ahead.
I added tie down rings to the underside of the stub wings, walkway texture to the top of them.
Pics:


ShawnM
_VISITCOMMUNITY
Missouri, United States
Joined: November 24, 2008
KitMaker: 564 posts
AeroScale: 510 posts
Posted: Wednesday, May 11, 2011 - 02:15 AM UTC
updates are a little behind right now.
I finished sanding the fuse seams last night and started detailing the underbelly.

Here are pics from the weekend:

LOTS OF PUTTY


Here you can see the hole I made after removing a "bump" that is not present on an NTS Cobra, the cooler outlet is here.

Some spots didn't need any putty, thank god!


Started reworking the outer pylons:


Shes on her skids temporarily!


ShawnM
_VISITCOMMUNITY
Missouri, United States
Joined: November 24, 2008
KitMaker: 564 posts
AeroScale: 510 posts
Posted: Thursday, May 12, 2011 - 01:57 AM UTC
seam work completed, I started to tackle detailing. Starting with the underside of the front fuse:
i had to remove the cable cutter and sensor boob under the nose to fix the seams. Luckily I have a great spares box and was able to add the details back.
I also added two drain tubes I've seen in all my ref shots.


Under the ammo storage locker there is a lot of items missing.
Drain tubes, exhaust ports, a spot light, a reinforcement panel, air data sensor, tie down ring and antennas all needed to be added.


Added a plate (sensor?) to the top of the nose:


I added to brackets I spotted two the tail boom, 1 on ea. side:


Moving aft I detailed the inside of the transmission cooling outlet, added two drains and some inside stuff to busy it up. Also added a missing tie down:


My bench is a disaster, but shes on her now glued skids!

ShawnM
_VISITCOMMUNITY
Missouri, United States
Joined: November 24, 2008
KitMaker: 564 posts
AeroScale: 510 posts
Posted: Sunday, May 29, 2011 - 03:02 AM UTC
Hellfire Rack:


Tow Tubes:


7 Shot Zuni:


Tail Planes:

No this is not the angle they will be at.


Lots of sub-assemblies!


I've also made a lot of headway on the main rotor assembly, installed the tubes for the tail skid to give it some depth.
The hellfires received brass tubes for the rocket motor ends.
The radar warning bumps were glued on.
The Inner pylons got a LOT more detail, they just need to be wired then they are finished.

Then I got to the trail rotor....argh. Im stuck here deciding how much effort Im going to put into it.
zoomie50
_VISITCOMMUNITY
Texas, United States
Joined: March 20, 2005
KitMaker: 358 posts
AeroScale: 43 posts
Posted: Sunday, May 29, 2011 - 04:12 PM UTC
Thought I'd pass something on to you. I work for Bell Helicopter. The blades for the Cobra are fiberglass except for the leading edges and they are titanium. The leading edge extends all the way from both ends and is about 3 inchs wide on top and bottom. And if you wish to show wear on the Cobra the primer is a very bright light green. And if you wish to show any wear on the blades the main part will look a light brown under the black and the leading edge is a light titanium color. I repair, Cobra, SuperCobra, Huey, Super Huey and V-22 Osprey blades.
ShawnM
_VISITCOMMUNITY
Missouri, United States
Joined: November 24, 2008
KitMaker: 564 posts
AeroScale: 510 posts
Posted: Wednesday, June 01, 2011 - 01:32 AM UTC
Zoomie, thank you!
Please feel free to share as much info as you'd like

Pic to ref what he is talking about:


I didn't know it was Ti, thank you!
ShawnM
_VISITCOMMUNITY
Missouri, United States
Joined: November 24, 2008
KitMaker: 564 posts
AeroScale: 510 posts
Posted: Friday, June 03, 2011 - 01:40 AM UTC
Ready for painting now!

Canopy gluing:

Canopy On and Masked:

Hit with Dull Coat to seal the masking:

Stub Wings assembled:

NTS Glazing is on:

Here you can see the "pitched" main rotors:

Close up of the reworked tail rotor:

ShawnM
_VISITCOMMUNITY
Missouri, United States
Joined: November 24, 2008
KitMaker: 564 posts
AeroScale: 510 posts
Posted: Saturday, June 04, 2011 - 10:12 AM UTC
well...tragedy stuck while painting...model fell off the support onto the concrete..
still too tacky to investigate at this point.
 _GOTOTOP