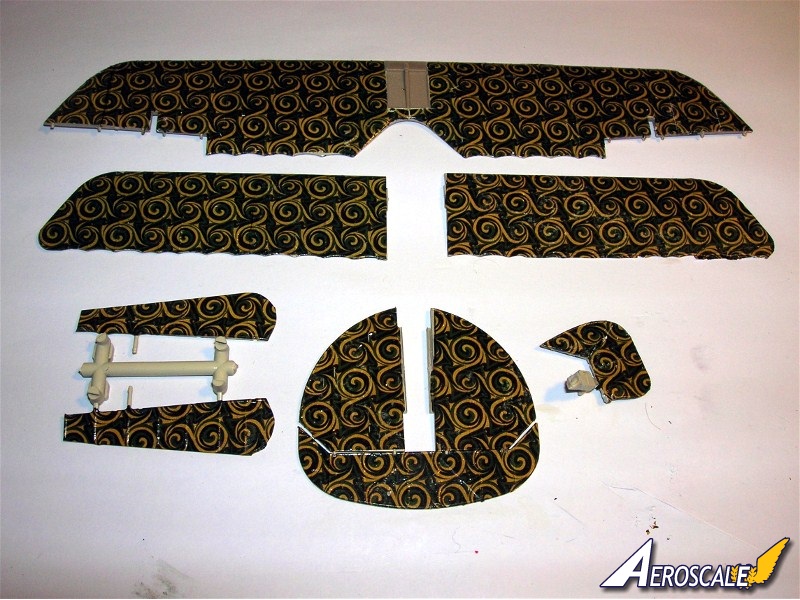
One lower wing and a start on the top wing.
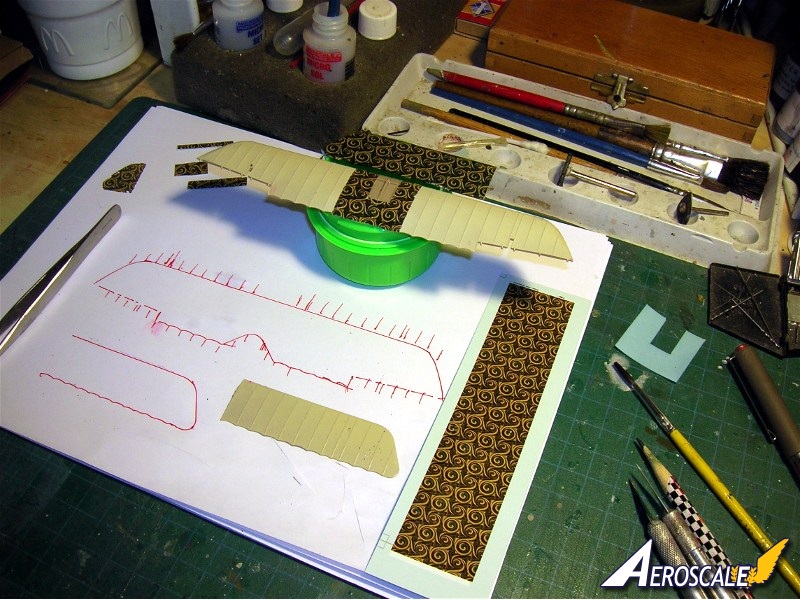
As I mentioned on the Eduard 153. series build thread
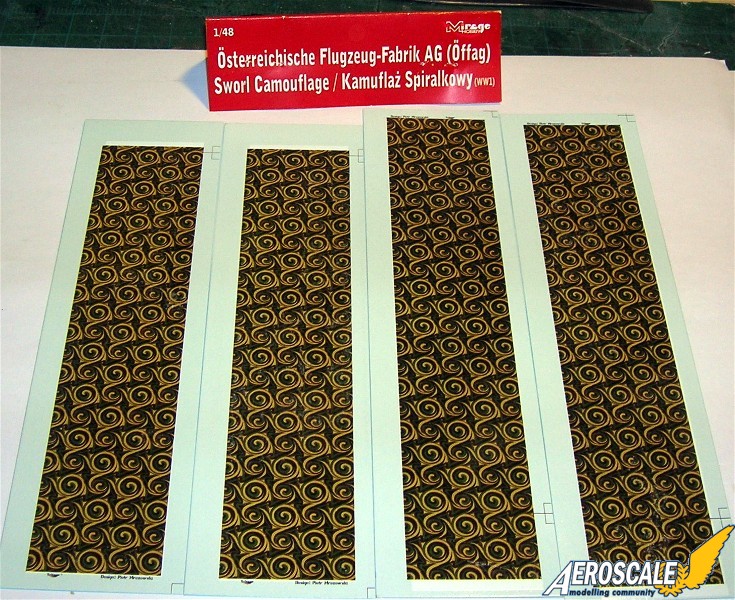
here these decals are some of the best rendered I have seen. That said lets go to the application of these decals.
They are typical in their make up of modern ink printed decals. Their worst problem can be compound curves or surfaces. But the method that you use to lay them down makes all the difference.
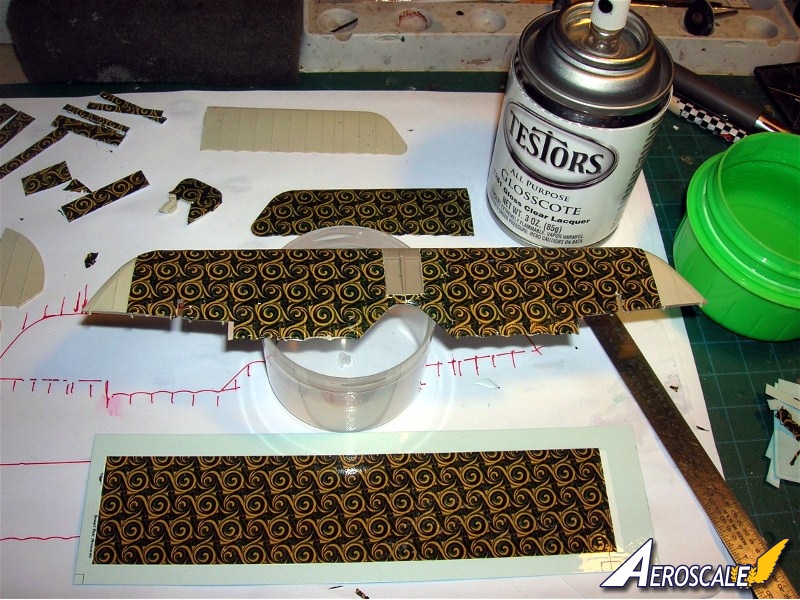
First, do yourself a favor and spray the strip your working from with a clear gloss. Once this begins to dry it bonds the surface and when dry to the touch will keep fracturing on the edges to a minimum. Also if you use clear lacquer plan on using this strip with in 12 hours of the application.
Second, remember always use a "new" blade to cut the sections of the strip. Do not use scissors on this type of decal.
Third, always use hot water to submerge the cut decal section in. Work one piece / section at a time.
Fourth, Lay down liberally a decal setting fluid (Microscale blue script on the bottle).
Fifth, Move the decal section in place and after a few minutes roll the brush you applied the setting fluid with - over the decal and smear any excess fluid out over the adjacent areas.
Sixth, add liberal amounts of decal solvent or Sol (Microscale red script on the bottle). I usually hit the decal at least twice or even three times. When the decal wrinkles its working - Don't Touch the Decal At this Point.
When you get good at this you will be able to lay down upto three decal sections at one time with very pleasing results.