Quoted Text
Hi Magnus,
Build threads are sadly quiet around here, aren't they?
I'm glad you found your way here since I felt a bit lonely

! On the other hand, I am not the most active when it comes to commenting in other's build threads so I am probably part of the problem myself
.
Quoted Text
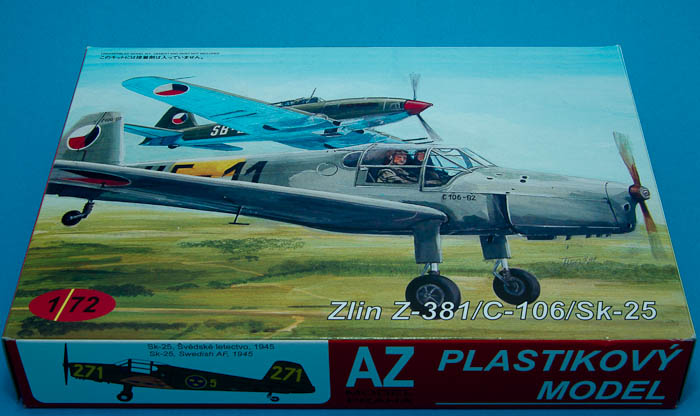
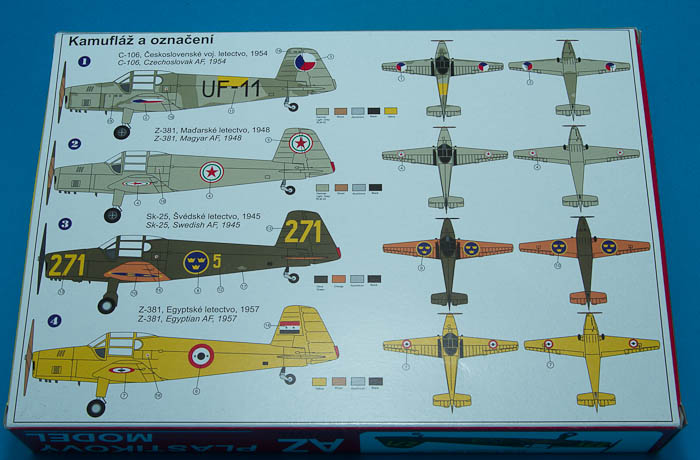
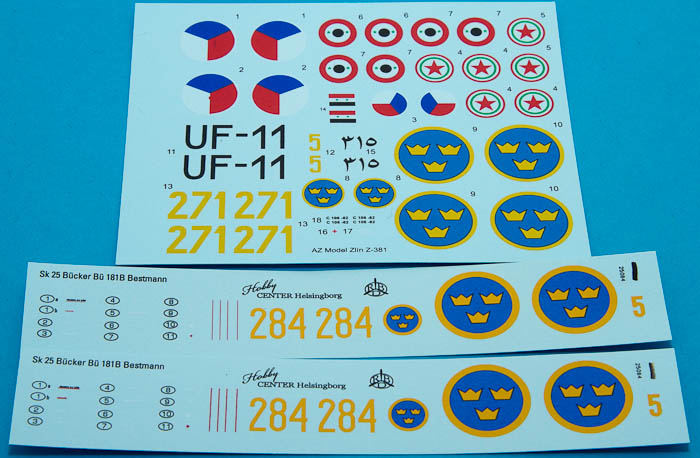
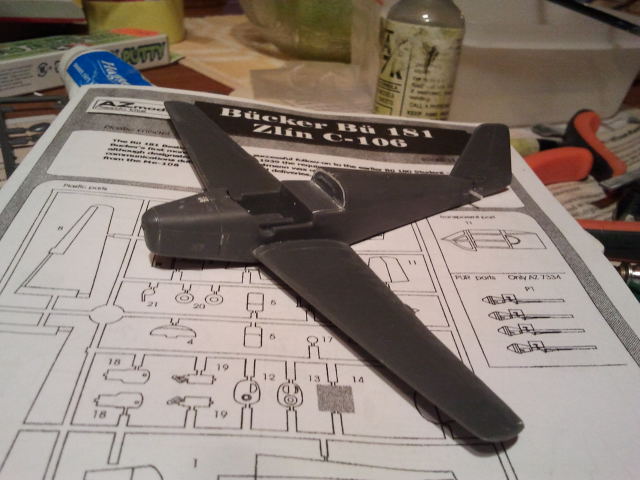
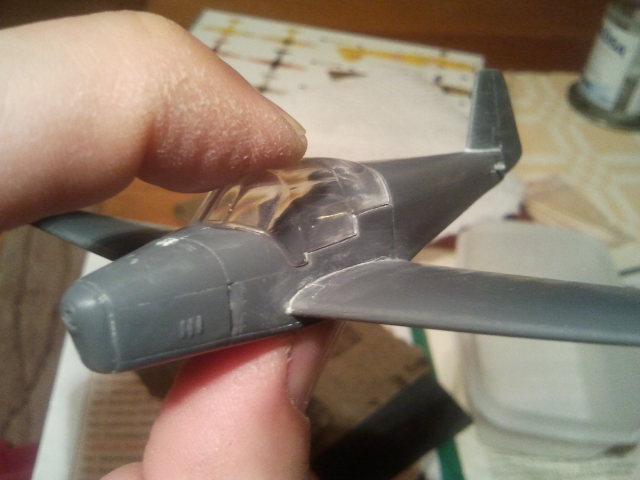
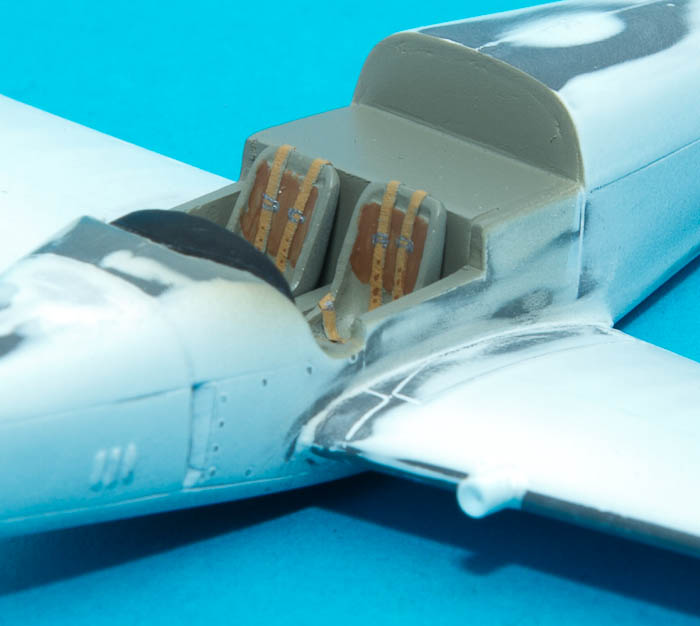
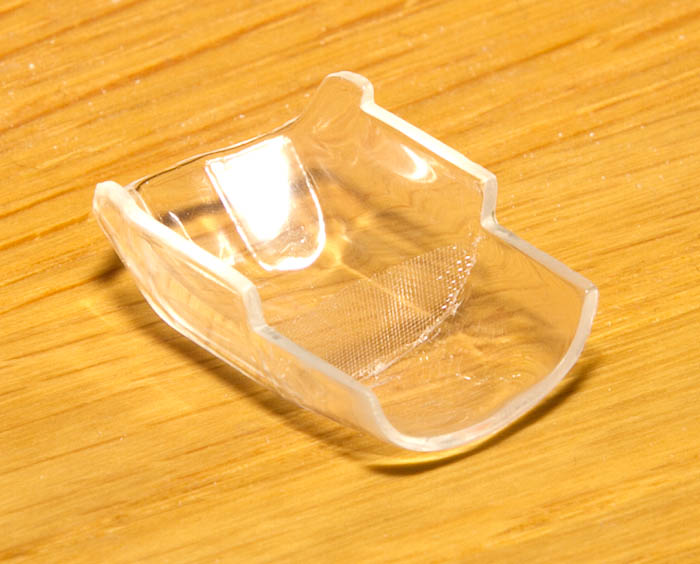
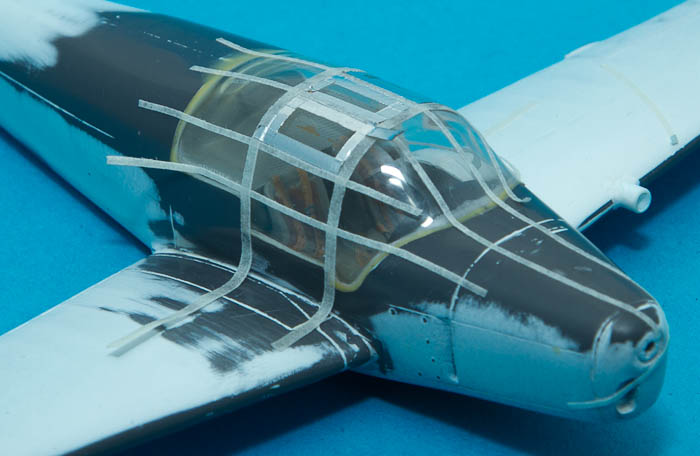
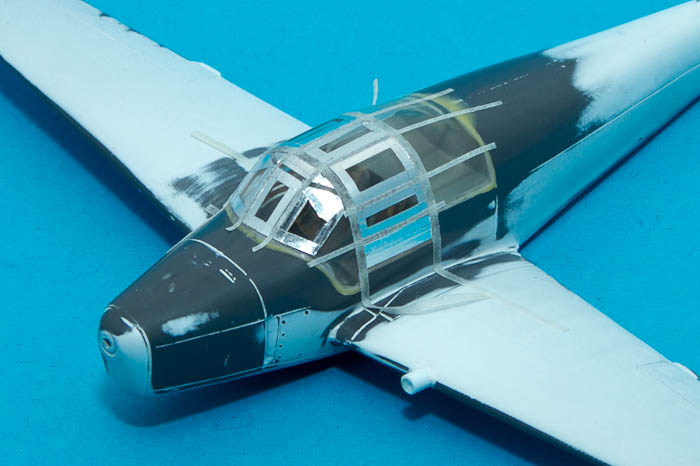
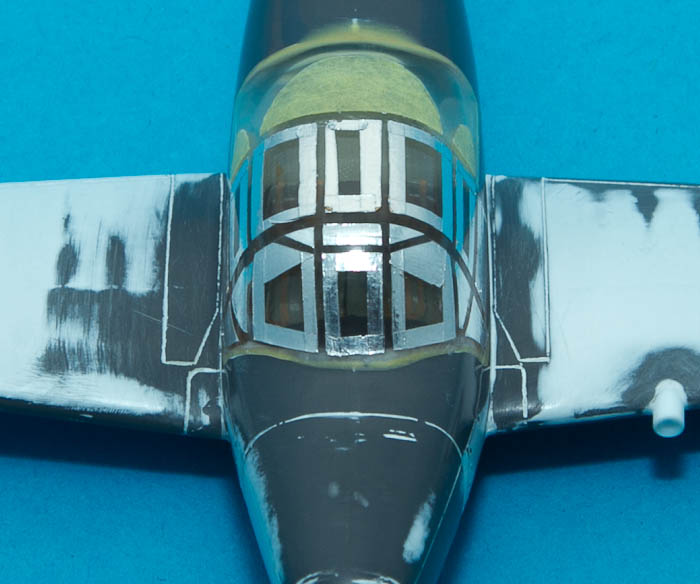
A real pity about the clear parts, as they are very prominent on this little plane. The kit's four marking options look quite good though. Very good of Hobby Center to include new markings- i can't imagine a British shop adding corrected decals to a kit. Was the price higher from Hobby Center than elsewhere?
I did an
AZ Spitfire Mk I two years ago that I finally binned because I couldn't fix the canopy. So yes, I think AZ has a canopy problem that they need to solve before I can get overly enthusiastic over their otherwise very interesting offerings!
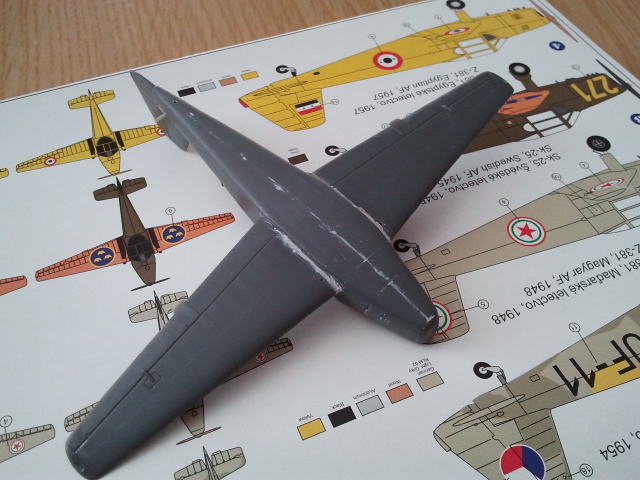
Tomas at Hobby Center is a bit special (in a positive way!). He is the guy who pestered Heller until they did a run of their Tunnan, Lansen and Safir-kits. Tomas bought them all, made a simple packaging and distributed them all over Sweden. Simply said: an enthusiast! In this case the Swedish national insignia are wrong in their proportions (size of the crowns and the thin yellow ring), he felt that this kind of product was impossible to sell to expectant Swedish modellers. And no, I don't think he charges extra for them
!
Quoted Text
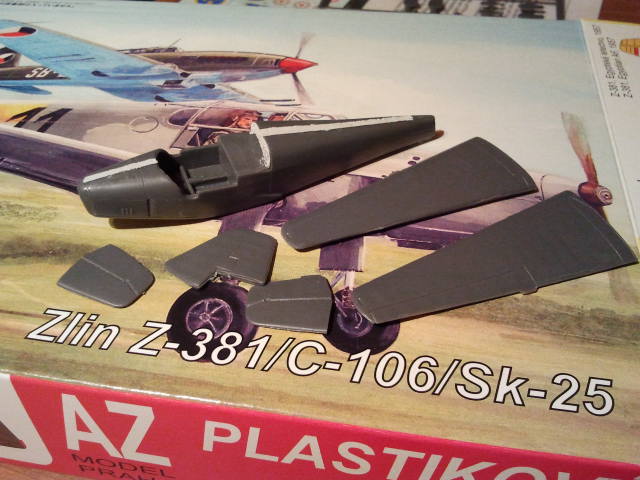
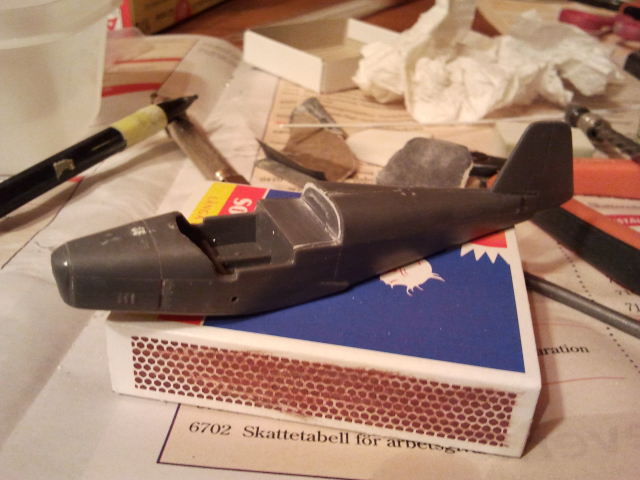
What kind of filler are you using- Tamiya white? I have only been using Squadron green, and thinning it with liquid poly (only way to get it smooth)- I find it needs a thick coat or two of primer to stop it having a porous appearance, and also it is so sticky to the plastic (i.e. it is melting the surface of the plastic), that it is hard to work with- it stays where you first put it.
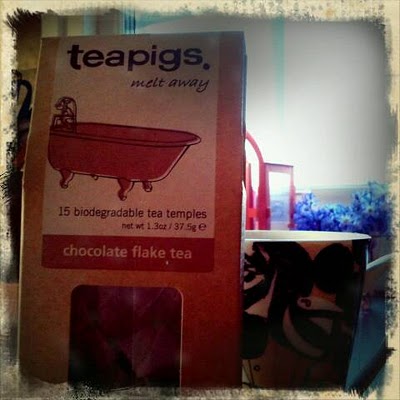
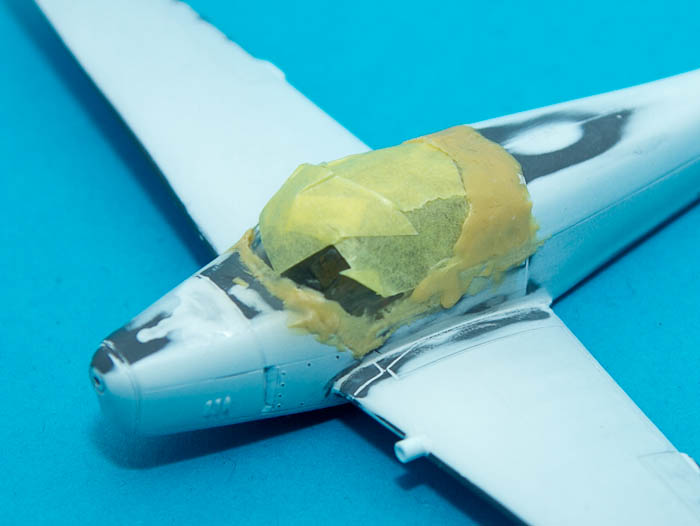
I use this:
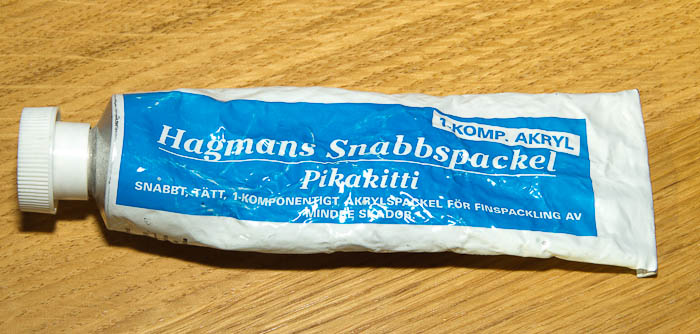
This is an acrylic body putty for automotive use. Compared to Squadron green putty it is a lot less porous and it contains less solvent being a bit less aggressive on the plastic. I also think it shrinks less, probably goes hand-in-hand with containing less solvent. I went from Squadron green, using Milliput for over a decade and then to this putty a few years ago. I still use Milliput (or Tamiya two-component epoxy putty) where large amounts are needed but for everyday-use this is the thing! For minor scratches Tamiyas liquid surface primer (or Gunze Mr Surfacer) comes in handy! I am sure that you can find something equivalent from the automotive sector in the UK (try Halfords!).
Quoted Text
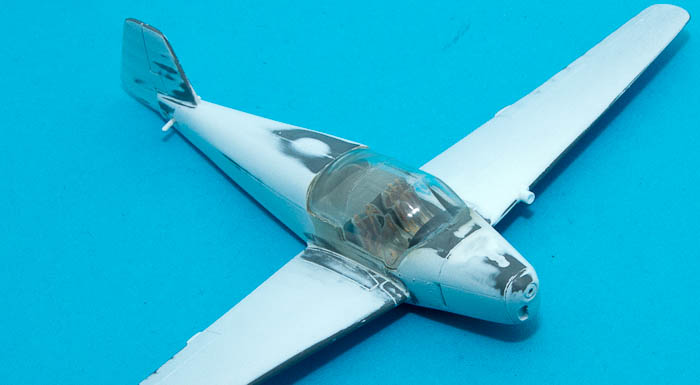
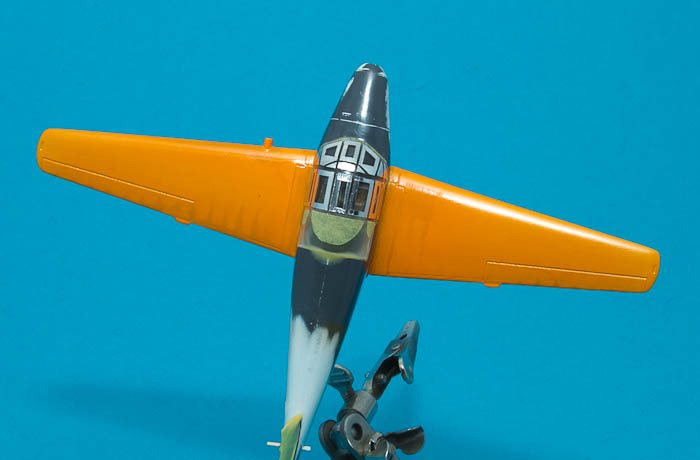
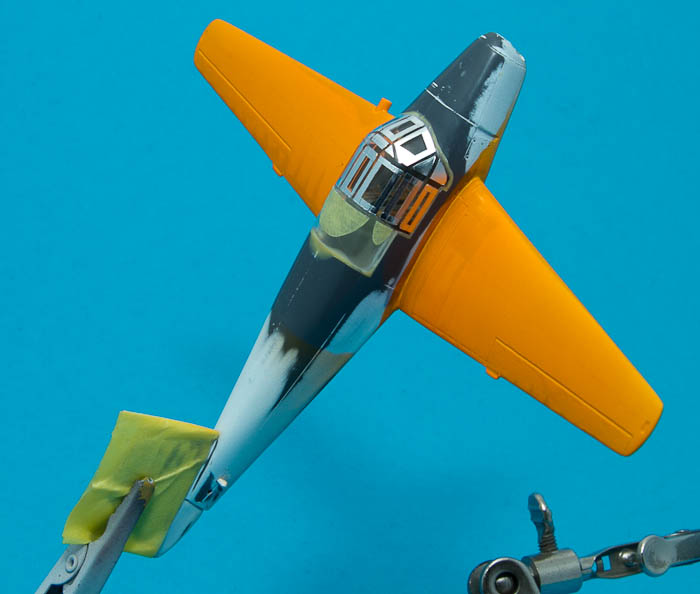
Looking forward to seeing the bright orange wings- good luck with the rest of the build.
Me too! I have bought red, orange and yellow from Tamiya, I ought to be able to mix something that looks right from them
!

Magnus