Looks like the Gods have now looked away for a while as a few things have gone badly... Ever had a piece of a model that just doesn't seem to want to be painted? White is my hoodoo colour and the tail of this model is white with a black cross..
1. Paint tail white with a brush and Tamiys X-2 paint. Covers badly and has huge brush marks. Metho bath to remove.
2. Find white ink-jet decal paper in draw and apply to one side of tail as a test. Goes well and I apply to the other side only to discover that the paper's colour is not very dense and I can see straight through. Remove decal as I need to remove all traces of paint before I apply the decals.
3. Paint the tail with Gunze Acrylic white and first side comes out beautifukky. Next side does as well and thinking the first side is dry I put it dowwn and go away for a while for the second side to dry. I get the best gloss white finish I have evr gotten on the second side, but when I gi to pick it up from its piece of paper it was drying on it is stuck,, Remove paint from both sides in Windex bath.
4. Try old Tamiya rattle can of white paint.. no go. comes out way too thick. Little pit of turps and evidence is gone.
5. Put tail aside until tomorrow when I can get some Tamiya XF-2 and hopefully have a win. I have found it is pretty good to spray normally but used the last of it in my aborted Albatross spiral scheme.
More news tomorrow... hopefully!
Early Aviation
Discuss World War I and the early years of aviation thru 1934.
Hosted by Jim Starkweather
KotS GB 2011 Fokker D.VI warreni
warreni
South Australia, Australia
Joined: August 14, 2007
KitMaker: 5,926 posts
AeroScale: 2,201 posts
Joined: August 14, 2007
KitMaker: 5,926 posts
AeroScale: 2,201 posts
Posted: Saturday, June 11, 2011 - 11:25 PM UTC
warreni
South Australia, Australia
Joined: August 14, 2007
KitMaker: 5,926 posts
AeroScale: 2,201 posts
Joined: August 14, 2007
KitMaker: 5,926 posts
AeroScale: 2,201 posts
Posted: Saturday, June 11, 2011 - 11:43 PM UTC
I was wrong.. I did have some Tamiya XF-2 left over.. I connected my airbrush to my little compressor, adjusted in about 20 psi and poured a little thinned paint into my airbrush's cup.... and proceeded to mist a few coats onto my recalcitrant rudder. Joy... it has worked fine. Now I will leave it to dry overnight and hopefully I can proceed a bit further in the morning.
warreni
South Australia, Australia
Joined: August 14, 2007
KitMaker: 5,926 posts
AeroScale: 2,201 posts
Joined: August 14, 2007
KitMaker: 5,926 posts
AeroScale: 2,201 posts
Posted: Sunday, June 12, 2011 - 08:55 PM UTC
Greetings one and all.
Just a small update but many hours have been put into the model.
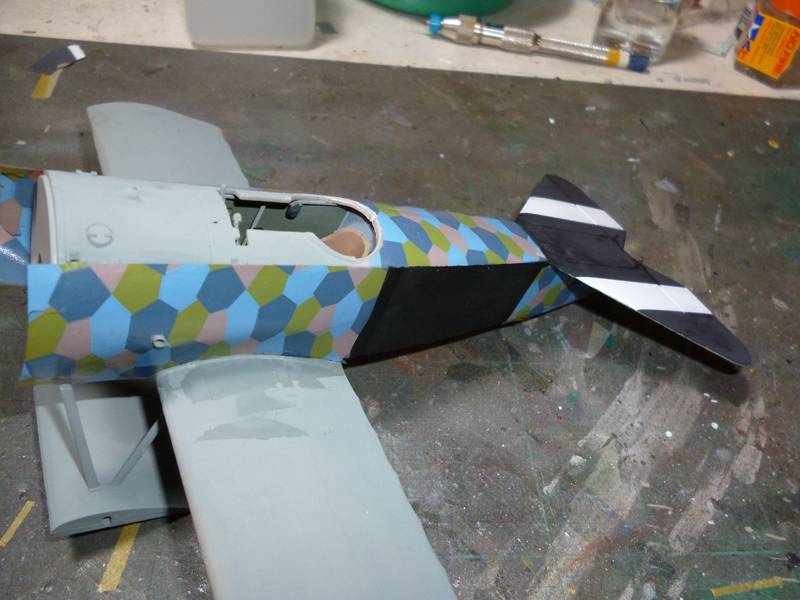
Here is the fuselage with the remainder of the lozenge applied. This turned out to be a bit of a pain as the decals are very brittle and shatter rather than cut. I had to go back and float tiny pieces of the appropriate coloured decal into place between the fuselage and lower wing joints to fill the shattered spots.
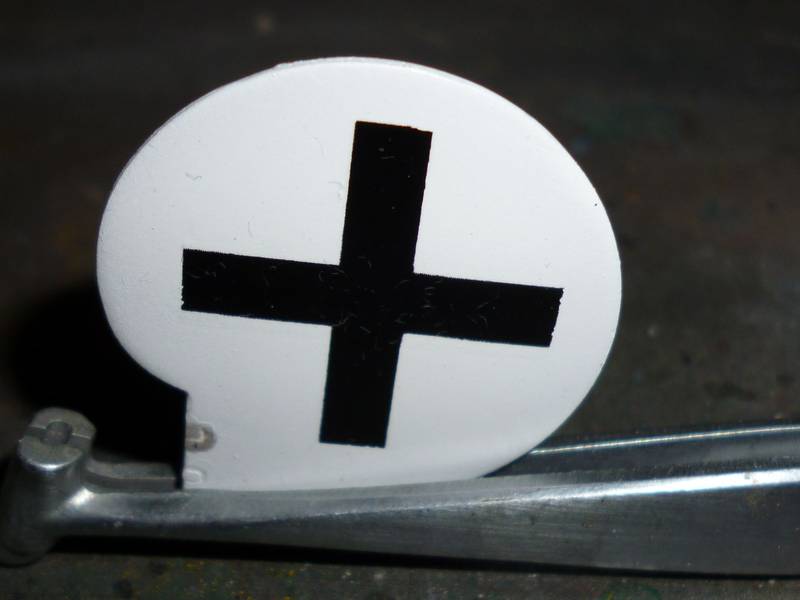
Blimey the camera can bring small things up bigly!! As you can see I finally got the rudder to take some white paint, painted on a coat of future and whacked the cross on. I couldn't see the imperfections with my naked eyes..
More progress later.
lcarroll
Alberta, Canada
Joined: July 26, 2010
KitMaker: 1,032 posts
AeroScale: 1,025 posts
Joined: July 26, 2010
KitMaker: 1,032 posts
AeroScale: 1,025 posts
Posted: Monday, June 13, 2011 - 01:41 AM UTC
Warren,
Same experience I had last week with the decals. I tried both a sharp #11 blade and some precision scissors - too brittle for both. My kit appeared to be one of the originals (DIII with center radiator Alb Built) thus the kit is probably quite old. Hopefully their newer kits have a better product.........I have a DRI and suspect I could have the same problems again.
Anyway, tried it all.hotter water, varied amounts of Microsol and Set, and pre soaking. Nothing made a difference so just had to work thru it and paint touchup once dry and overcoated.
Cheers and good luck,
Lance
warreni
South Australia, Australia
Joined: August 14, 2007
KitMaker: 5,926 posts
AeroScale: 2,201 posts
Joined: August 14, 2007
KitMaker: 5,926 posts
AeroScale: 2,201 posts
Posted: Tuesday, June 14, 2011 - 10:38 PM UTC
I feel your pain Lance...
But some good news, I emailed Roden just this morning and got a reply tonight saying they are going to send me a whole new decal sheet as the amount supplied in the kit isn't enough to cover all the wings.
I thought I had emailed them earlier, but I think that was Trumpeter, who I have heard nothing back from.
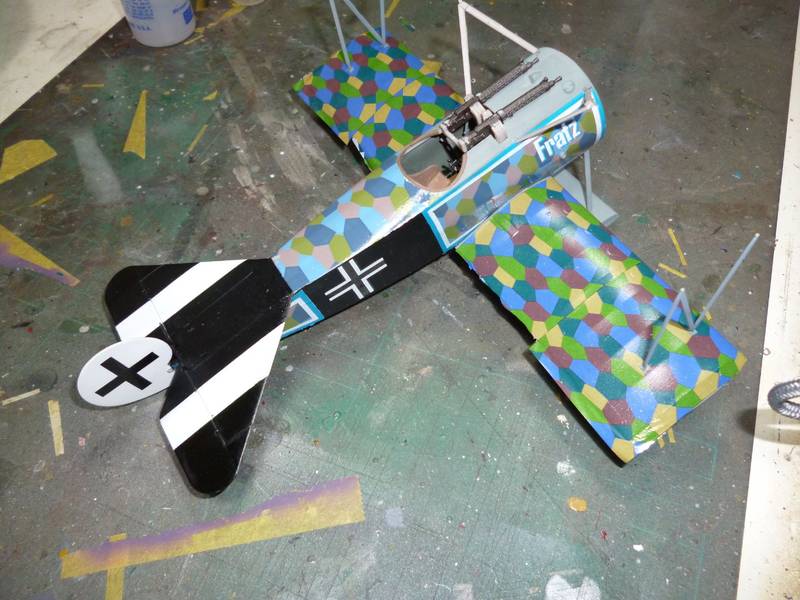
Other than the lozenge I finally got all the decals on the fuselage. They disintegrated if you looked at them the wrong way and you could hear a brittle sound if you moved the wrong way..
Some photos tomorrow.
warreni
South Australia, Australia
Joined: August 14, 2007
KitMaker: 5,926 posts
AeroScale: 2,201 posts
Joined: August 14, 2007
KitMaker: 5,926 posts
AeroScale: 2,201 posts
Posted: Thursday, June 16, 2011 - 06:36 PM UTC
The WNW lozenge decals arrived so I have made some extra progress today.
They went on without a problem and I will trim them tomorrow morning.
Then I put the outer struts on and knocked one off by accident while installing the guns. Got ornery and superglued them on this time, as I did with the inner struts.
The fun bit is going to be glueing the top wing on and its extra struts as I, stupidman, overlooked the holes you have to drill in the fuselage to let you install the struts. Plan B sees me supergluing the struts into place AFTER I put the wing on.. might be interesting....
thegirl
Alberta, Canada
Joined: January 19, 2008
KitMaker: 6,743 posts
AeroScale: 6,151 posts
Joined: January 19, 2008
KitMaker: 6,743 posts
AeroScale: 6,151 posts
Posted: Saturday, June 18, 2011 - 02:49 AM UTC
Go Warren Go !
warreni
South Australia, Australia
Joined: August 14, 2007
KitMaker: 5,926 posts
AeroScale: 2,201 posts
Joined: August 14, 2007
KitMaker: 5,926 posts
AeroScale: 2,201 posts
Posted: Saturday, June 18, 2011 - 10:10 AM UTC
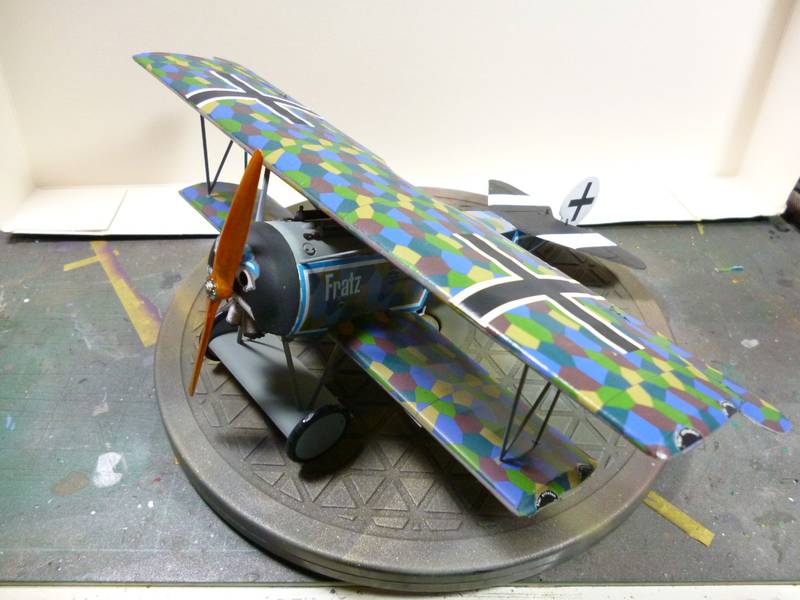
Well, it is finished but I am not happy with it at all. I have already got another on order to have a fresh go at when the new decals etc arrive from Roden.
Nothing seemed to go right with this model. I should of realised when I found the short shot fuselage that nothing would go right..
Decals decided to silver well after I applied them and soaked them in Micro-set or Sol etc. Oh well. Put it down to experience. It can sit in the back of one of the display cabinets..
warreni
South Australia, Australia
Joined: August 14, 2007
KitMaker: 5,926 posts
AeroScale: 2,201 posts
Joined: August 14, 2007
KitMaker: 5,926 posts
AeroScale: 2,201 posts
Posted: Tuesday, July 05, 2011 - 09:54 PM UTC
Now this is what I call great customer service...
Remember how I had some troubles with this D.VI with a faulty fuselage and so-so decals? Well, I got a small parcel in the mail from Roden today with a complete fuselage sprue, a set of decals and a new instruction sheet in it!!
You can't get any better than that especially when I did not even mention the fuselage to them. Someone there must read Aeroscale...
Many many thanks Mr Roden... (now if I could just get the other sprues.. )