Quoted Text
Warren,
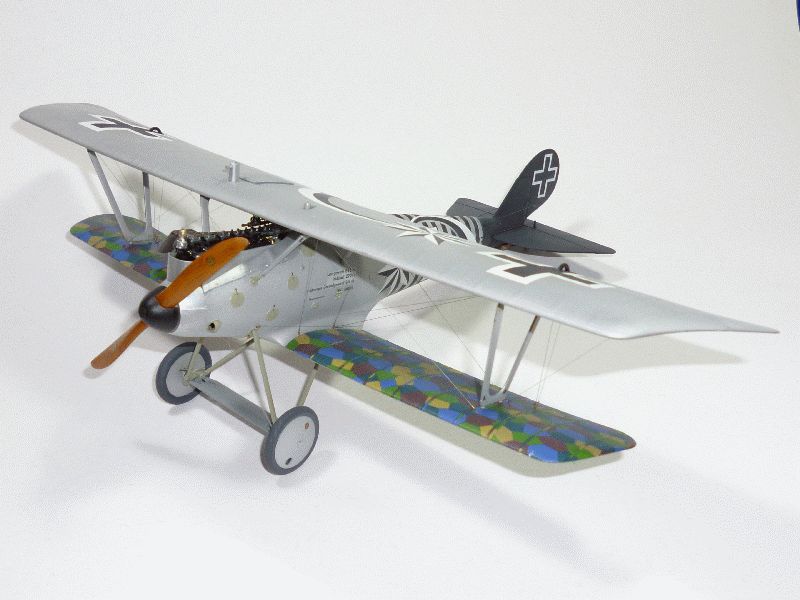
Beautiful clean build..............and one of my favorite schemes. The close up of the prop with it's woodgrain really caught my eye. How did you do it; oils, acrylics, or pigments?? I'm still experimenting with acrylics and thinking of doing a (pardon the pun) "dry' run with pigments, all advice welcomed.
Cheers,
Lance
Hi there Lance.
Thanks for the praise.

I use nothing but acrylics for my woodgrain effects. First I spray the base colour which varies according to the colour of the wood you are trying to simulate. But for the nice honey coloured wood on that prop I started with Tamiya XF-59. After it is totally dry I get el cheapo vinyl paint I got at the $2 shop, Burnt Umber in this case, and I mix it with just a tiny amount of water. Then using a stiff brush with only a little paint on it I lightly run it in the direction I want the grain to go. As a bit of a differentiator you can run your finger along it as well to smudge the lines a bit.
After that dries, almost immediately, you then spray it with Tamiya CLear Orange, X-26 I think, and keep coating it until you get the colour you want. You can also use Clear Yellow and even just plain Clear depending on the colour you want.
I sometimes do the graining with MIG Pigments as well. That comes out really well as well. That is what I did 'Stropp's' fuselage with. I did an article on the Pigment method a while ago and it is on this site somewhere..
Hope that helps.