_GOTOBOTTOM
World War II
Discuss WWII and the era directly before and after the war from 1935-1949.
Hosted by Rowan Baylis
Dragon Messerschmitt Bf110C-7 1/32
wespe66
_VISITCOMMUNITY
Frederiksborg, Denmark
Joined: June 27, 2011
KitMaker: 122 posts
AeroScale: 121 posts
Posted: Saturday, July 02, 2011 - 10:27 PM UTC
Hi,

I'm currently building the Dragon Bf110 1/32 for the Zerstörer campaign.
I will be using the Eduard Big-Ed photo-etch set (interior, exterior and seat belts), Airwaves resin wheels and Quickboost resin exhausts. The crosses and markings will be painted on using a Montex paint mask. I will also use the LPS stencils.
Unfortunately the upper wing crosses are wrong on the paint mask as well as on the original decals, so I will have to create masks for these myself.
I have started building the cockpit, and most parts are ready for painting.

Kenneth


wespe66
_VISITCOMMUNITY
Frederiksborg, Denmark
Joined: June 27, 2011
KitMaker: 122 posts
AeroScale: 121 posts
Posted: Saturday, July 02, 2011 - 10:32 PM UTC
I have some questions about some PE parts in the rear end of the cockpit

Eduard suggests that there should be a frame (part #52) containing a radio (or something) below the spare ammo magazines, and also a plate or deck (#53) with a box (#72) on top of the side walls (ie above the ammo mags). Please see attached images.

I have not been able to verify anywhere, that these parts were actually fitted on bf110C, either on other models or original photos (I have checked the instructions for Eduard bf110 1/48 - they are not there). Does anyone have a picture that shows these parts mounted on a real bf110 or a model?

Also, I am sure that the position of the plate #53 is wrong, because it will be completely hidden by plastic part A4 (part of the fuselage). And also because plastic part E15 (a big frame) would not fit at all. Maybe the correct position would be right above #52, ie. below the spare ammo magazines.

Eduard mentions that they used the following 2 books for references: "Walk Around #24 Messerschmitt Bf 110" and "Aero Detail Messerschmitt bf 110". I have checked both of those books, and I cannot find any picture of the items in question.

Any suggestions?


Kenneth
Removed by original poster on 08/01/11 - 08:39:19 (GMT).
wespe66
_VISITCOMMUNITY
Frederiksborg, Denmark
Joined: June 27, 2011
KitMaker: 122 posts
AeroScale: 121 posts
Posted: Sunday, August 07, 2011 - 01:24 AM UTC
Ok, 3 weeks of family business is over, and I'm back on the work bench.
Finally got the cockpit parts painted, dry brushed, washed and assembled. Also got the seat belts installed. The machine gun is only temporarily fitted for the photographer.
I decided to use the Eduard radio(?) and rack, because I think it looks cool. Don't know if it is correct for this version of the Bf110 though. I decided not to use the deck and box, because it will not be visible after final assembly.
Also, as others have noted, the Eduard seat belt PE-sheet lacks some parts to assemble all 3 sets of belts. Luckily I had a spare set from which I borrowed the missing parts.

If all goes well I should be able to close the fuselage very soon...


doubtingthomas
_VISITCOMMUNITY
Wisconsin, United States
Joined: March 17, 2009
KitMaker: 156 posts
AeroScale: 153 posts
Posted: Sunday, August 07, 2011 - 02:51 AM UTC
That looks fantastic, Kenneth....like someone could jump in and start flying! Keep up the great work!

Regards-
Tom
AussieReg
Staff MemberAssociate Editor
AUTOMODELER
#007
_VISITCOMMUNITY
Victoria, Australia
Joined: June 09, 2009
KitMaker: 8,156 posts
AeroScale: 3,756 posts
Posted: Sunday, August 07, 2011 - 12:17 PM UTC
I'm with Tom, that's a stunning job on the cockpit Kenneth. I can't wait to see how this one turns out !

Cheers, D
wespe66
_VISITCOMMUNITY
Frederiksborg, Denmark
Joined: June 27, 2011
KitMaker: 122 posts
AeroScale: 121 posts
Posted: Tuesday, August 09, 2011 - 08:10 AM UTC
Thank you for your nice comments.

A little update:
The fuselage is closed and wings are mounted. Still needs a little putty and sanding before primer.
One wing fitted almost perfectly, while the other had a 0.5mm gap. That is likely my own fault.

One engine is painted, because I think of displaying it with the cowlings off. It still needs weathering though. I kind of regret that I did not put some additional wiring on it before painting it, but maybe I will do that anyway, and then repaint. We will see.

Does anyone have a good photo reference showing the cabling of a DB601 engine? (could fx. be a superb model build by someone else...)

Thanks for watching!


ShawnM
_VISITCOMMUNITY
Missouri, United States
Joined: November 24, 2008
KitMaker: 564 posts
AeroScale: 510 posts
Posted: Wednesday, August 10, 2011 - 05:46 AM UTC
keep us posted!
I just binned my Revell 1/32 project and will start fresh with this kit.
Holdfast
Staff MemberPresident
IPMS-UK KITMAKER BRANCH
#056
_VISITCOMMUNITY
England - South West, United Kingdom
Joined: September 30, 2002
KitMaker: 8,581 posts
AeroScale: 4,913 posts
Posted: Wednesday, August 10, 2011 - 07:23 AM UTC

Quoted Text

Unfortunately the upper wing crosses are wrong on the paint mask as well as on the original decals, so I will have to create masks for these myself.


If you have the dimensions I will create the masks for you (No charge). PM me
spaarndammer
_VISITCOMMUNITY
Noord-Holland, Netherlands
Joined: January 28, 2007
KitMaker: 1,945 posts
AeroScale: 388 posts
Posted: Wednesday, August 10, 2011 - 10:14 AM UTC
Wow, what a huge model! How big is it actually? Nice to see this kit being build here.


Jelger
wespe66
_VISITCOMMUNITY
Frederiksborg, Denmark
Joined: June 27, 2011
KitMaker: 122 posts
AeroScale: 121 posts
Posted: Thursday, August 11, 2011 - 06:53 PM UTC
Shawn: You can look for forward to this kit, it is great! The only week point is the instructions.

Mal: Thank you for your offer! But I have already bought a paint mask from montex to solve the problem.

Jelger: It is huge indeed, length is 37cm, wingspan is 50.5cm. It's the biggest model I have build to date!
Holdfast
Staff MemberPresident
IPMS-UK KITMAKER BRANCH
#056
_VISITCOMMUNITY
England - South West, United Kingdom
Joined: September 30, 2002
KitMaker: 8,581 posts
AeroScale: 4,913 posts
Posted: Friday, August 12, 2011 - 07:51 AM UTC

Quoted Text

Mal: Thank you for your offer! But I have already bought a paint mask from montex to solve the problem.


If you have any "problems" with them my offer still stands
JPTRR
Staff MemberManaging Editor
RAILROAD MODELING
#051
_VISITCOMMUNITY
Tennessee, United States
Joined: December 21, 2002
KitMaker: 7,772 posts
AeroScale: 3,175 posts
Posted: Friday, August 12, 2011 - 06:17 PM UTC
What a great start!
SGTJKJ
#041
_VISITCOMMUNITY
Kobenhavn, Denmark
Joined: July 20, 2006
KitMaker: 10,069 posts
AeroScale: 3,788 posts
Posted: Saturday, August 13, 2011 - 09:54 AM UTC
Nice start, Kenneth. The cockpit looks great.

Looking forward to see more
wespe66
_VISITCOMMUNITY
Frederiksborg, Denmark
Joined: June 27, 2011
KitMaker: 122 posts
AeroScale: 121 posts
Posted: Monday, August 15, 2011 - 06:24 AM UTC
Thanks guys, you keep up my spirit!

A small update, just to proof that I'm still on the work bench.
A few parts ready for primer:


And finally got some paint on:


Question: When the basic painting is done, should I make this bird clean, really REALLY dirty, or something in between - what do you think??

More will follow soon - thanks for watching.
spaarndammer
_VISITCOMMUNITY
Noord-Holland, Netherlands
Joined: January 28, 2007
KitMaker: 1,945 posts
AeroScale: 388 posts
Posted: Monday, August 15, 2011 - 10:12 AM UTC
Nice update! Impressive armament, especially those two big bombs. I would go for moderate weathering.


Jelger
chukw1
_VISITCOMMUNITY
California, United States
Joined: November 28, 2007
KitMaker: 817 posts
AeroScale: 729 posts
Posted: Tuesday, August 16, 2011 - 04:01 AM UTC
Coming along splendidly! I too would go for moderate wear, but with the characteristic heavy exhaust stains. German fuel was not the best, and only got worse as the noose tightened.
ShawnM
_VISITCOMMUNITY
Missouri, United States
Joined: November 24, 2008
KitMaker: 564 posts
AeroScale: 510 posts
Posted: Saturday, August 20, 2011 - 03:09 AM UTC
Chuk is correct.
Sooty grimey exhaust stains, some light scuffing and chipping on the wing upper surfaces and some mud splatter from the wheels would be perfect.

Im on the hunt for one of these kits, your build is very clean.
wespe66
_VISITCOMMUNITY
Frederiksborg, Denmark
Joined: June 27, 2011
KitMaker: 122 posts
AeroScale: 121 posts
Posted: Saturday, August 20, 2011 - 05:27 AM UTC
Thank you!

I read somewhere that - as a rule of thumb - allied exhaust stains were brownish, whereas german were black/grey. Can you confirm that?
chukw1
_VISITCOMMUNITY
California, United States
Joined: November 28, 2007
KitMaker: 817 posts
AeroScale: 729 posts
Posted: Sunday, August 21, 2011 - 01:52 PM UTC
That's how I understand it- you 110 would have black soot on the wings and stabilisers, wit a bit of gray at the centers.

Can't wait to see more- I have two of these waiting the- er- wings.

Cheers1
chuk
MrMtnMauler
_VISITCOMMUNITY
Washington, United States
Joined: January 15, 2011
KitMaker: 224 posts
AeroScale: 223 posts
Posted: Sunday, August 21, 2011 - 05:20 PM UTC

Quoted Text

Thank you!

I read somewhere that - as a rule of thumb - allied exhaust stains were brownish, whereas german were black/grey. Can you confirm that?


Yup, you guys are on the right track. The Allies had access to 100 octane fuel, similar or the same as modern Avgas. It contained more lead than German 87 Octane fuels which therefore produced sootey black. If you notice on German Bf 109 undercarriage, red stripes on the undercarriage indicates the plane uses 100 octane fuel. Hope that helps. Jim
wespe66
_VISITCOMMUNITY
Frederiksborg, Denmark
Joined: June 27, 2011
KitMaker: 122 posts
AeroScale: 121 posts
Posted: Sunday, September 04, 2011 - 05:04 AM UTC
Update:
Basic camouflage is done. All paints are Vallejo Model-Air.
As you can see I dropped the idea about an exposed engine. Maybe another time...

Preshading: I didn't care to preshade the top, as I don't think it would be visible below the dark paint anyway. Next time I think I will use a bit less black paint for preshading.


Bottom camouflage RLM65 light blue, faded for a "used" look:


Top painted RLM71 dark green and masked with Tamiya tape (for some reason the colors are wrong on this picture):


RLM70 black green is painted and masking tape removed. Both RLM70 and RLM71 is faded for a worn look, but this is not very visible on the picture.


On the next three pictures the dark greens are lightened with RLM02 as suggested in the Eduard instructions. The RLM02 is painted (more or less) free hand, as opposed to the RLM70/71, which has a very sharp demarcation.


Next up is yellow lower wing tips and fuselage band and then the crosses and markings.

Thanks for watching

Kenneth
wespe66
_VISITCOMMUNITY
Frederiksborg, Denmark
Joined: June 27, 2011
KitMaker: 122 posts
AeroScale: 121 posts
Posted: Friday, September 23, 2011 - 06:37 AM UTC
Time for an update.

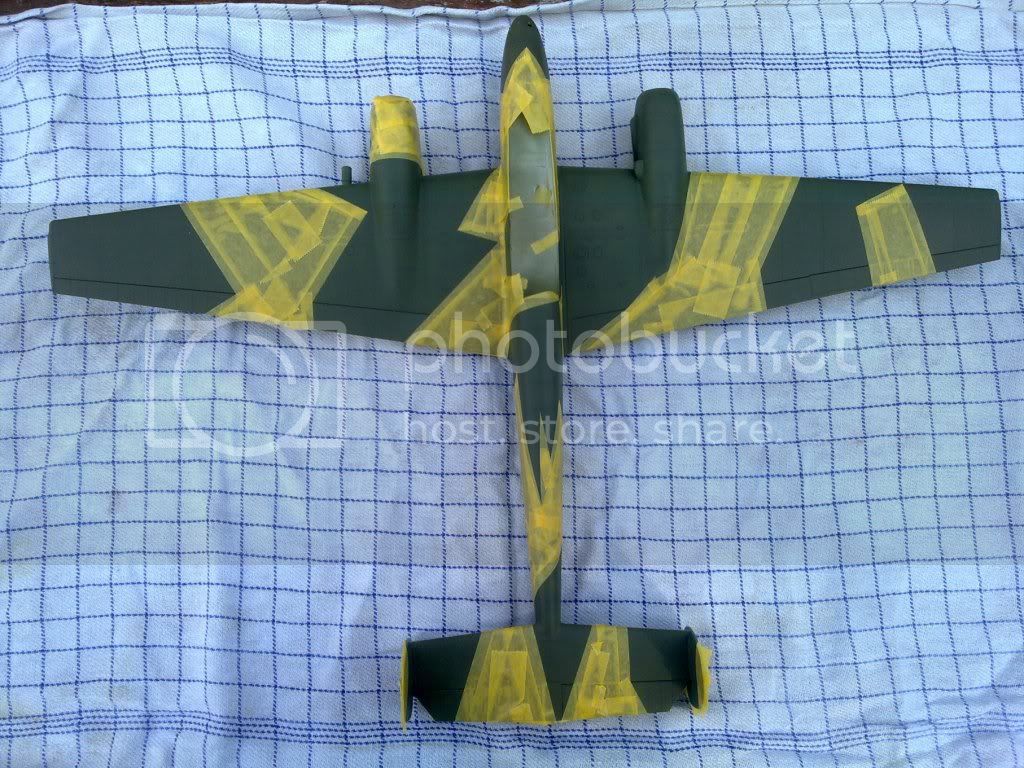
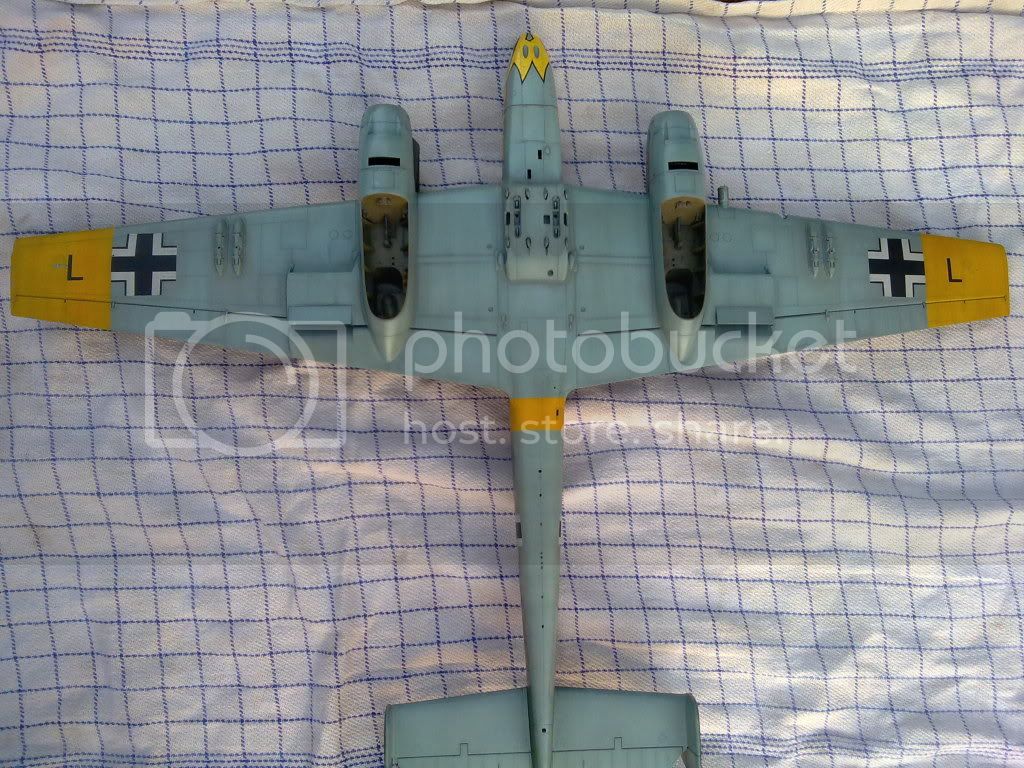
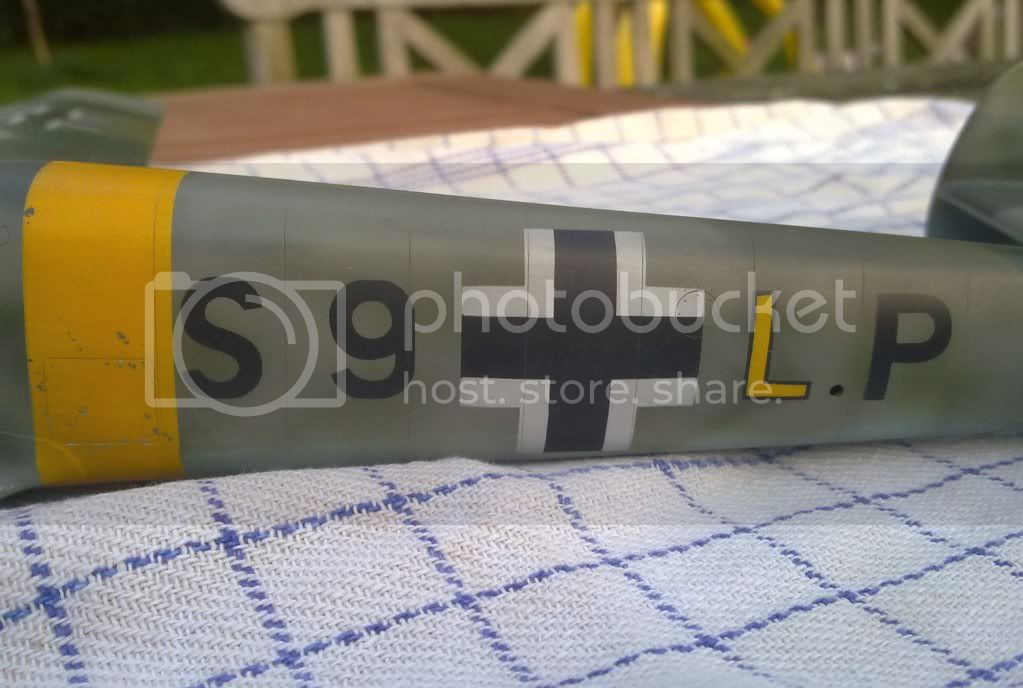
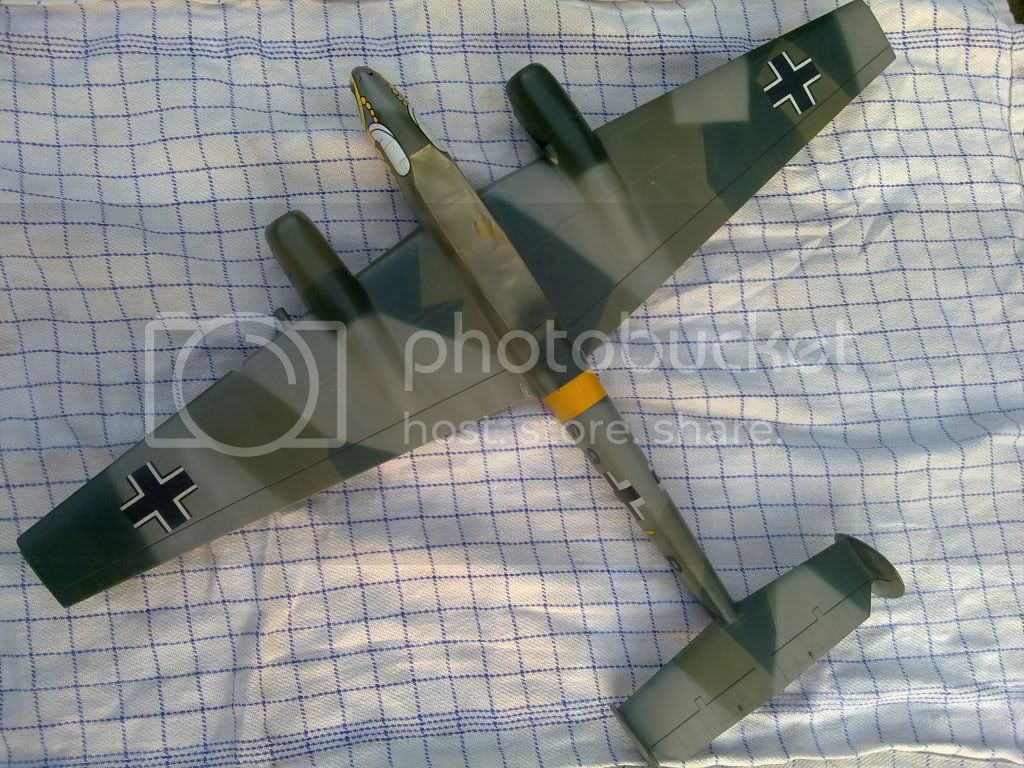
Painting the markings and crosses:


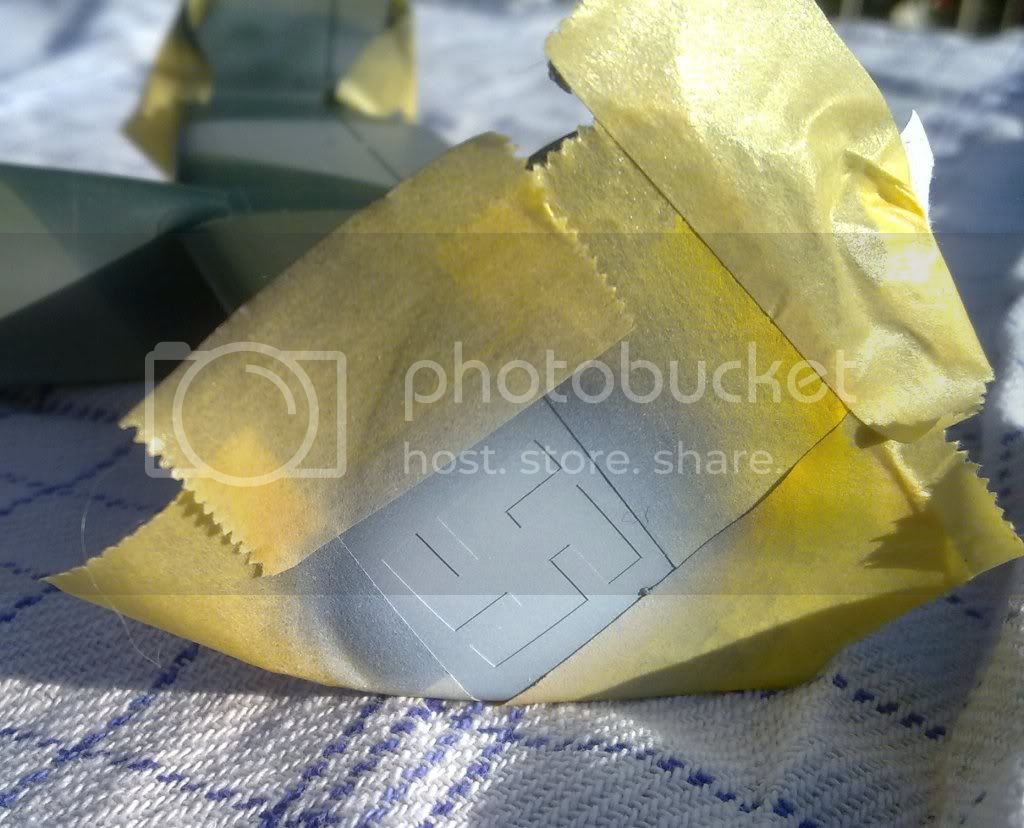
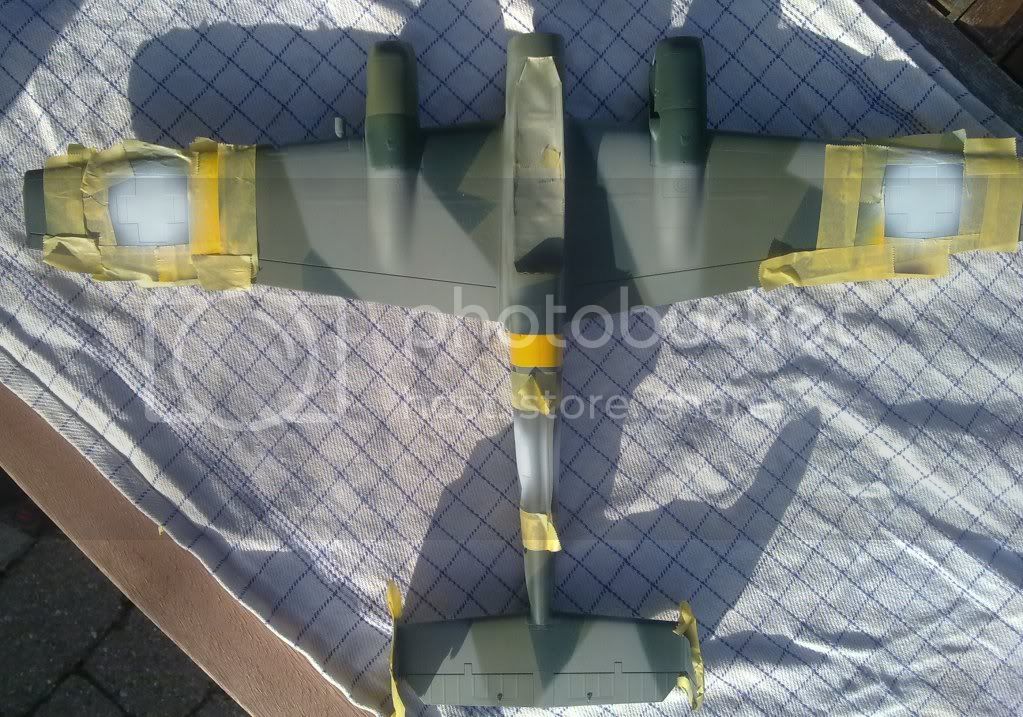
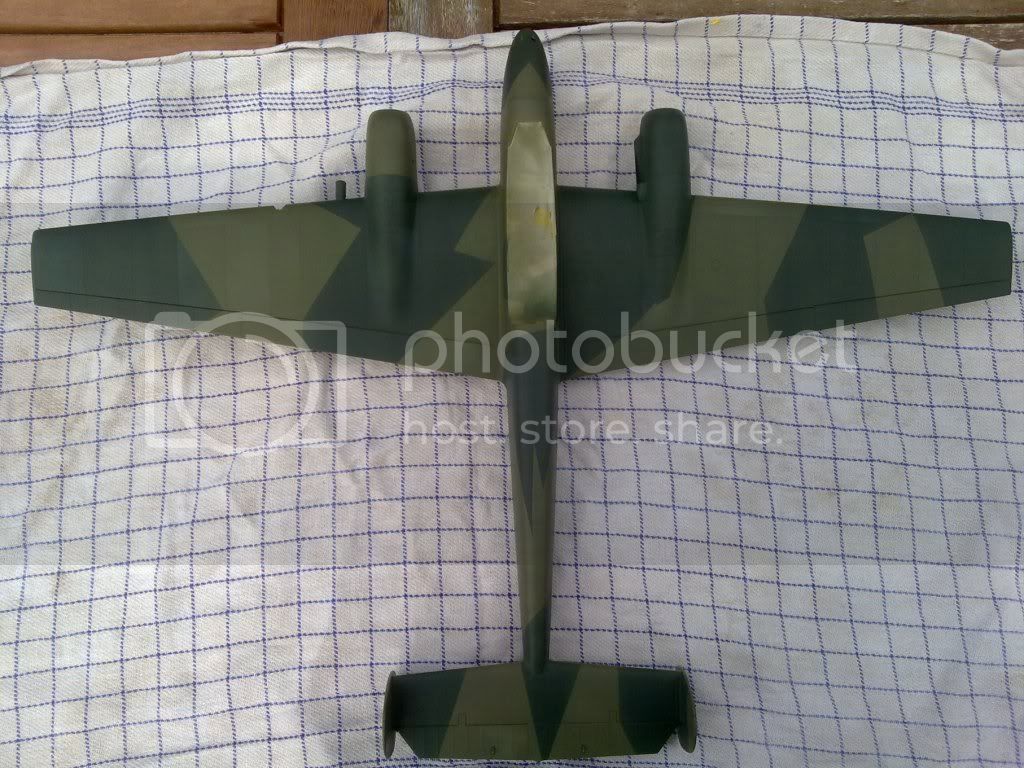
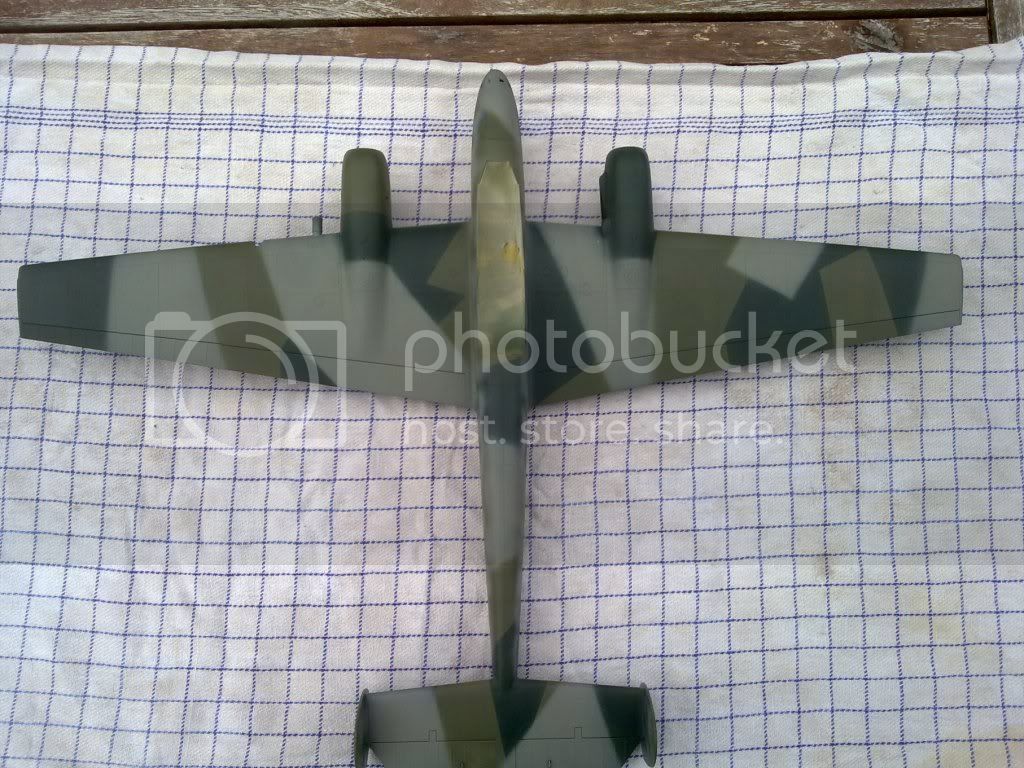
I am not completely satisfied with the result, but it is not too bad either - at least not from a normal watching distance
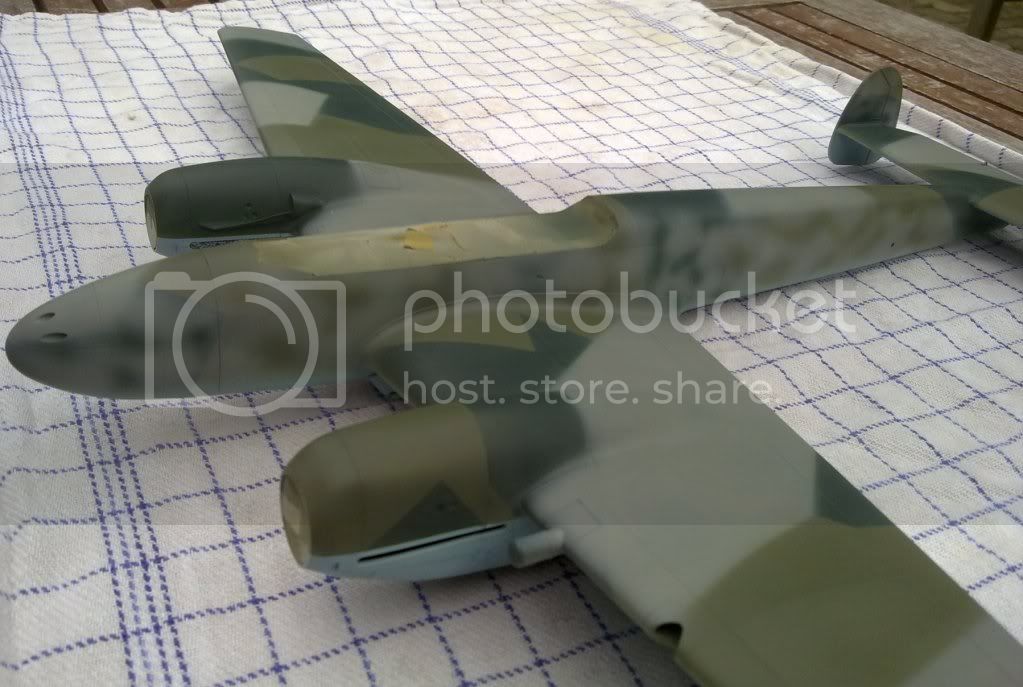
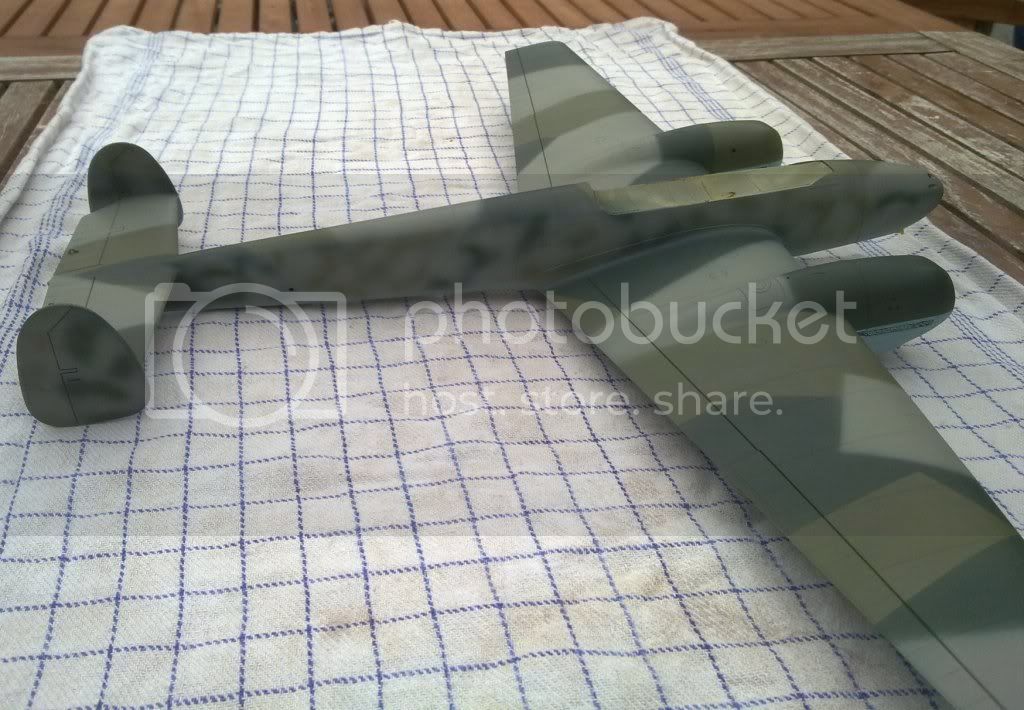
On the next pictures the model has received the first layer of weathering with promodellers light and dark wash.
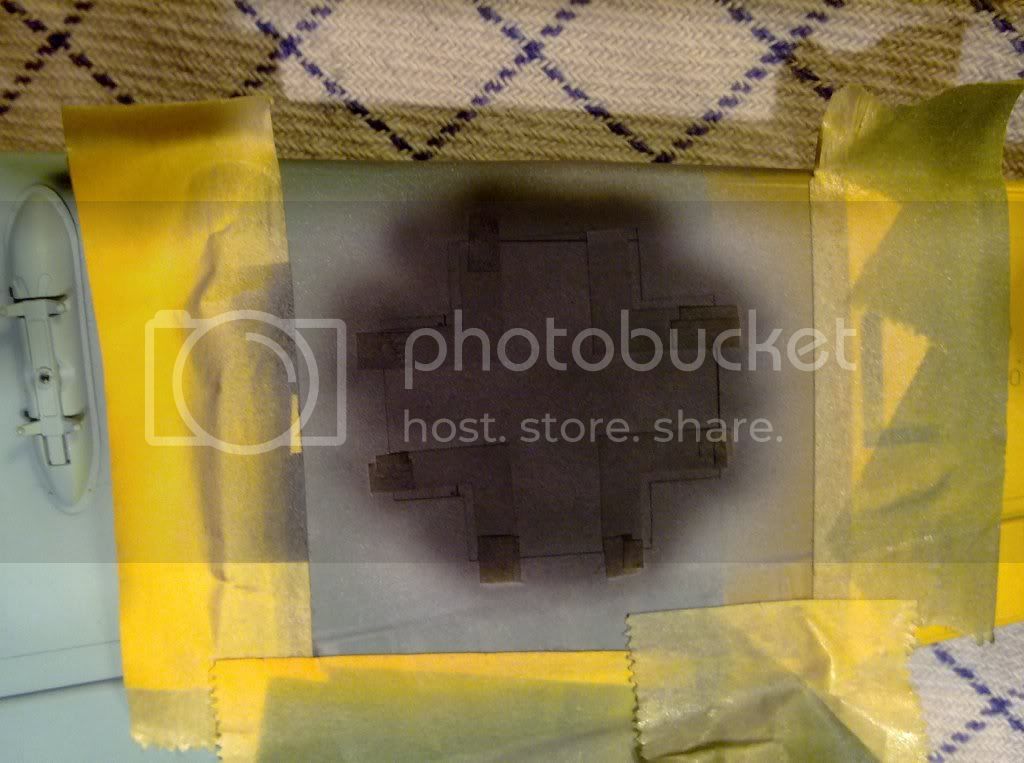
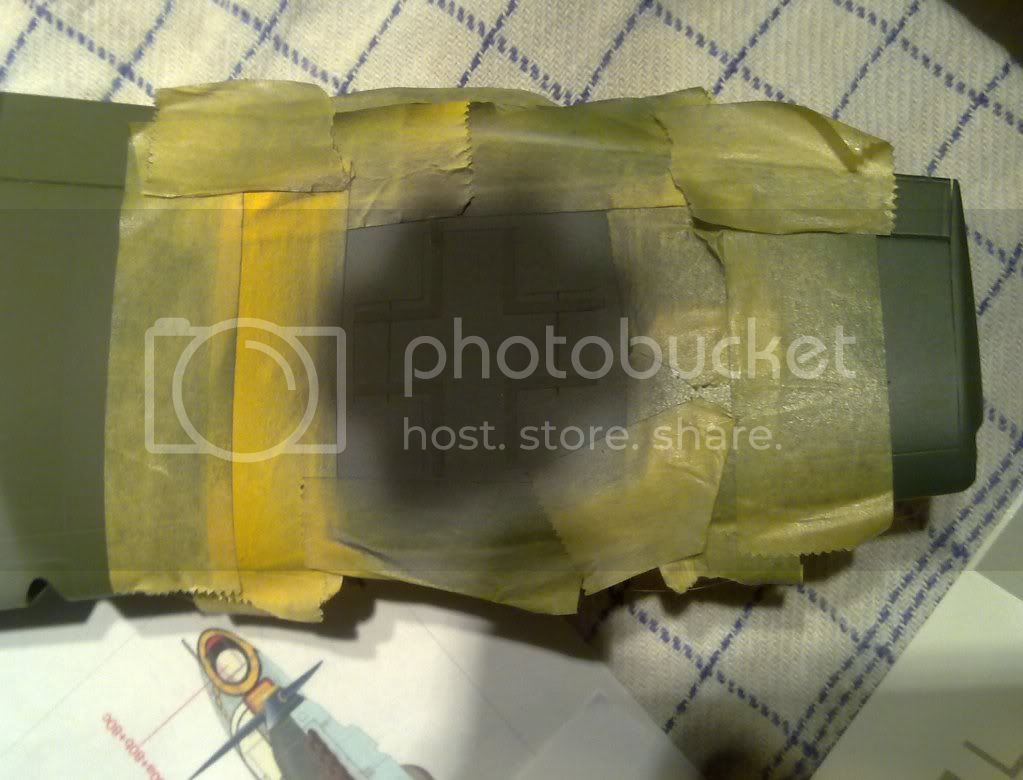
The biggest problem with the montex masks is that the surrounding mask affects the following wash, no matter how much I wash and clean the area. Not even a coat of varnish helps this. Next time I will paint the color for the crosses first, place the mask over it and then paint the camo. On the pictures I have tried to repair the problem - with limited success.
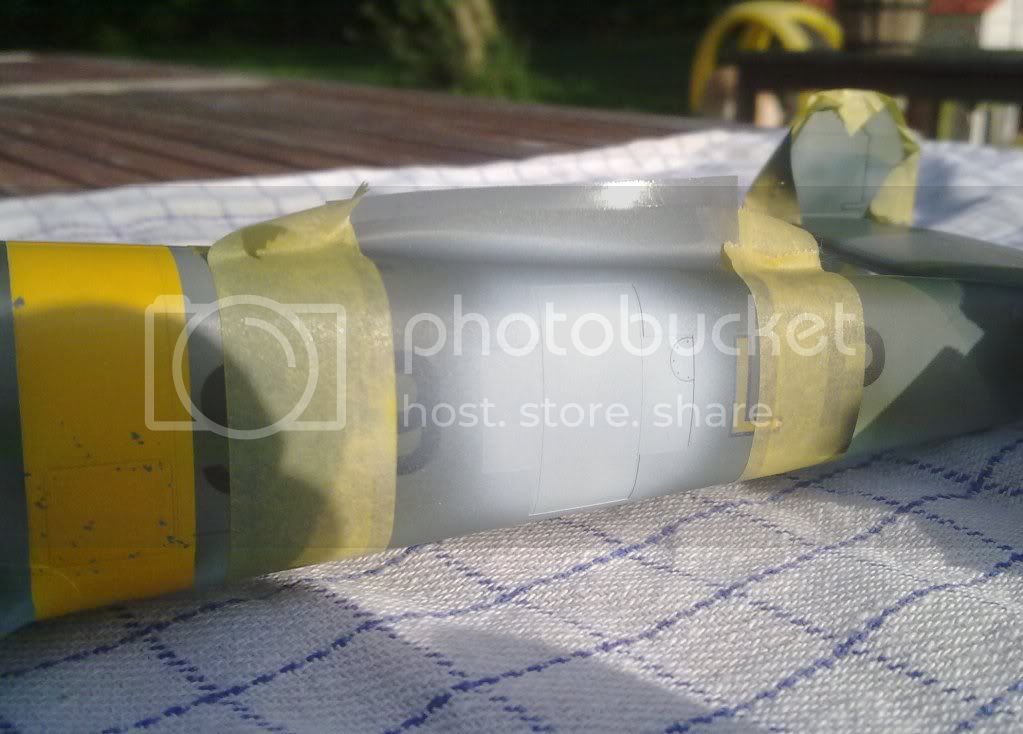
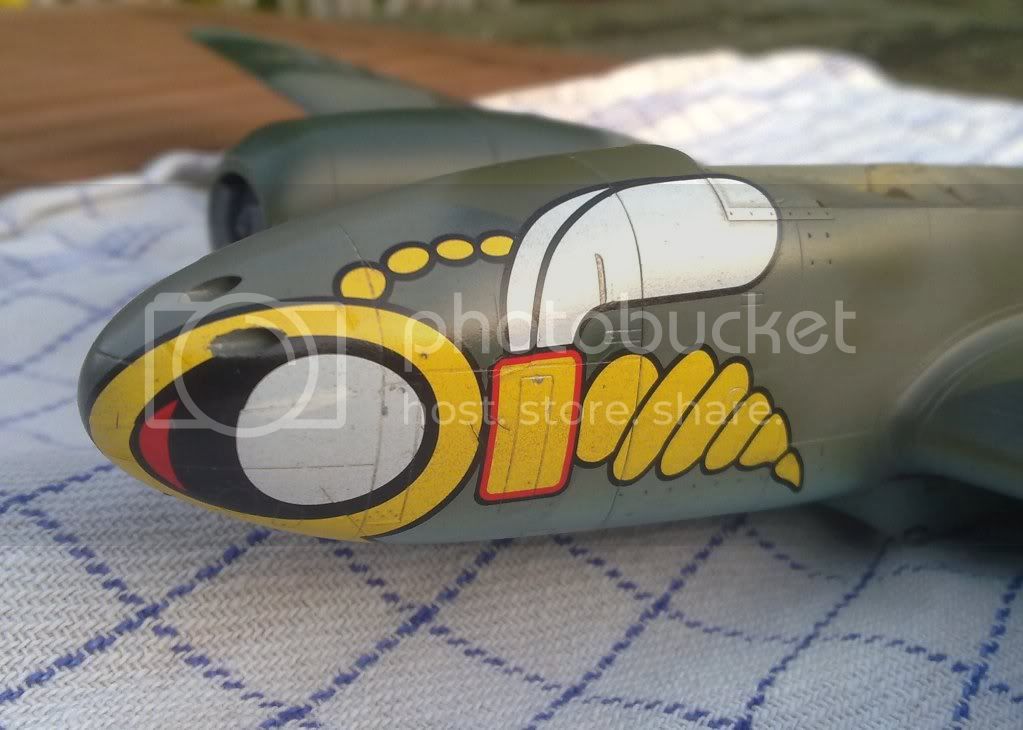
As can be seen I made the yellow markings somewhat worn.


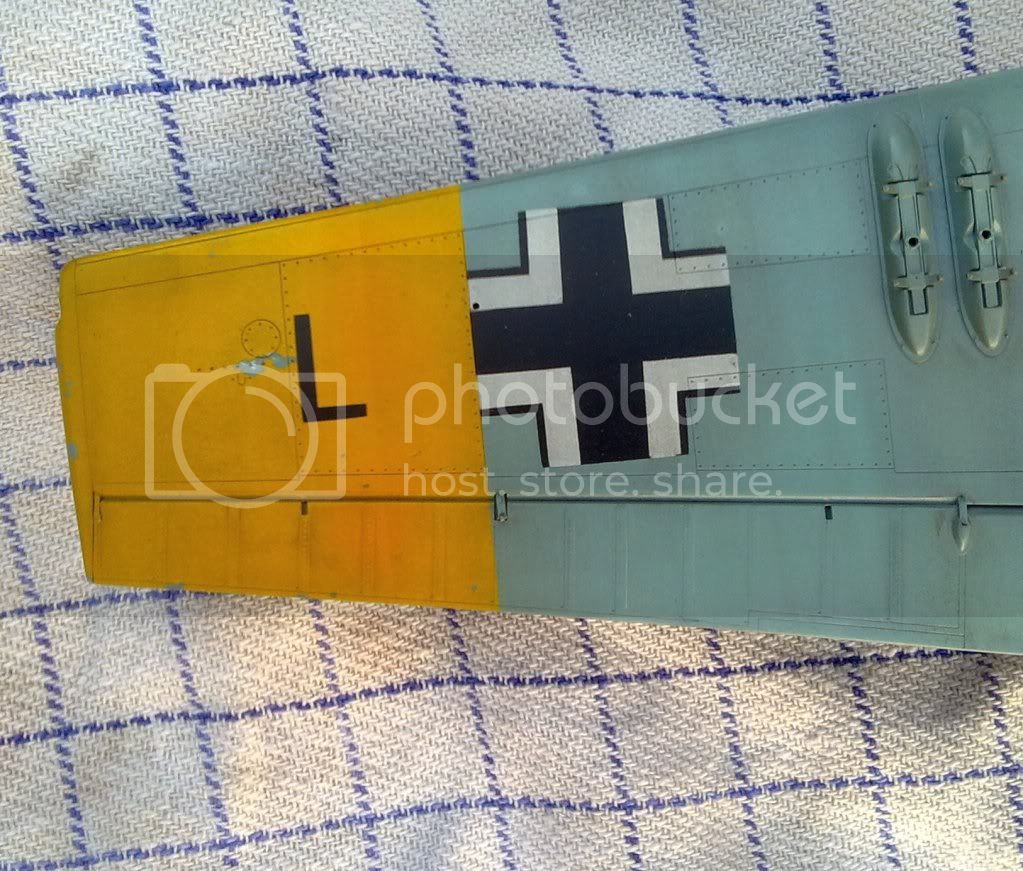
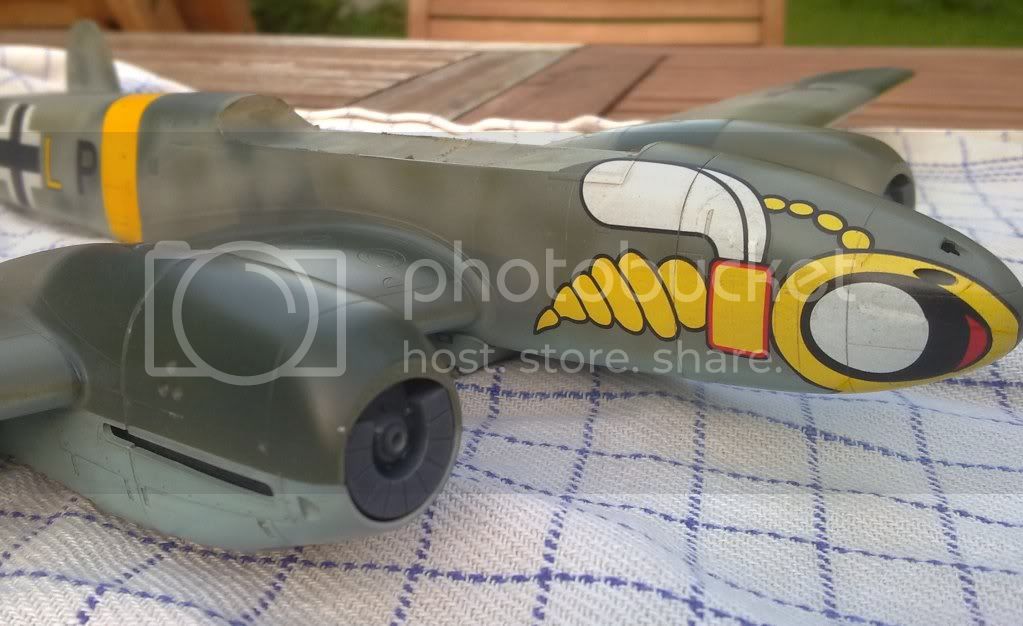
I also applied the big wasp decal. This one caused me some trouble, and I had to touch up some areas with paint, but I think I can live with the result (I wish my little children had not heard my language when working with it - all those new words might give them some trouble in school and kindergarten I have now learned that I should have cut the decal in 3 parts before applying it. That way it would have been much easier to control.


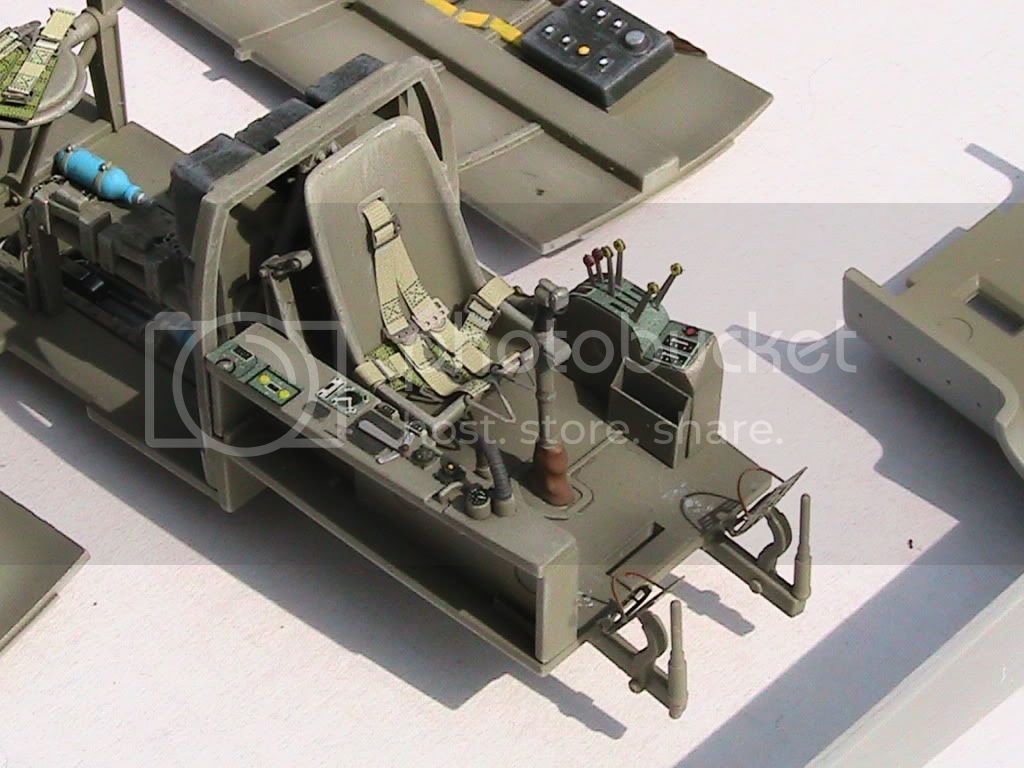
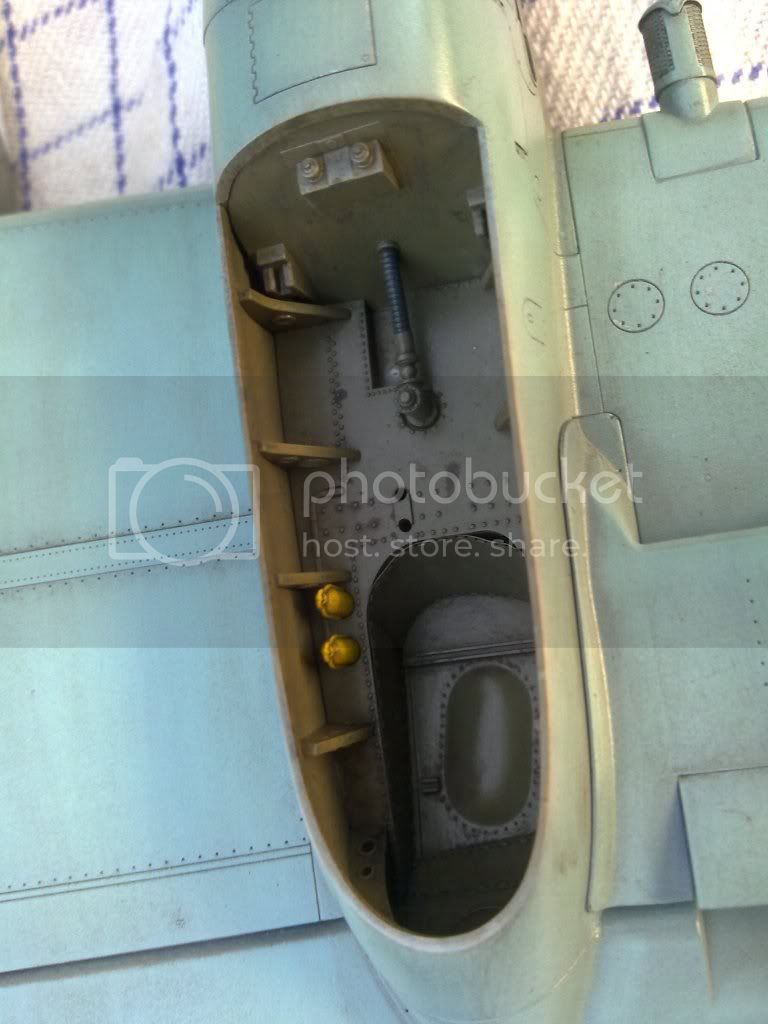
And finally a picture of one of the weathered wheel wells:


I decided to apply stencils after the promodeller wash, because this process seems to accentuate the carrier film. Unfortunately my LPS stencils did not work for me. They are too thick and does not respond to microsol/set. I have therefore ordered a new set of decals with stencils from my favorite plastic pusher - I hope they will arrive in time to finish the model for the campaign!

Now only remains painting of the canopy, and then of course stenciling, weathering and final assembly.
Man, I am really looking forward to finishing this bird now!

Cheers and thanks for watching!
liberator
_VISITCOMMUNITY
Luzon, Philippines
Joined: May 15, 2004
KitMaker: 1,086 posts
AeroScale: 38 posts
Posted: Friday, September 23, 2011 - 02:13 PM UTC
WOW..i call that TLC....! lots of work there..impressive build.
Holdfast
Staff MemberPresident
IPMS-UK KITMAKER BRANCH
#056
_VISITCOMMUNITY
England - South West, United Kingdom
Joined: September 30, 2002
KitMaker: 8,581 posts
AeroScale: 4,913 posts
Posted: Friday, September 23, 2011 - 09:53 PM UTC
Very impressive, I just love the painted on markings but I'm surprised that Montex do not supply masks for the Wespe nose art?
 _GOTOTOP