


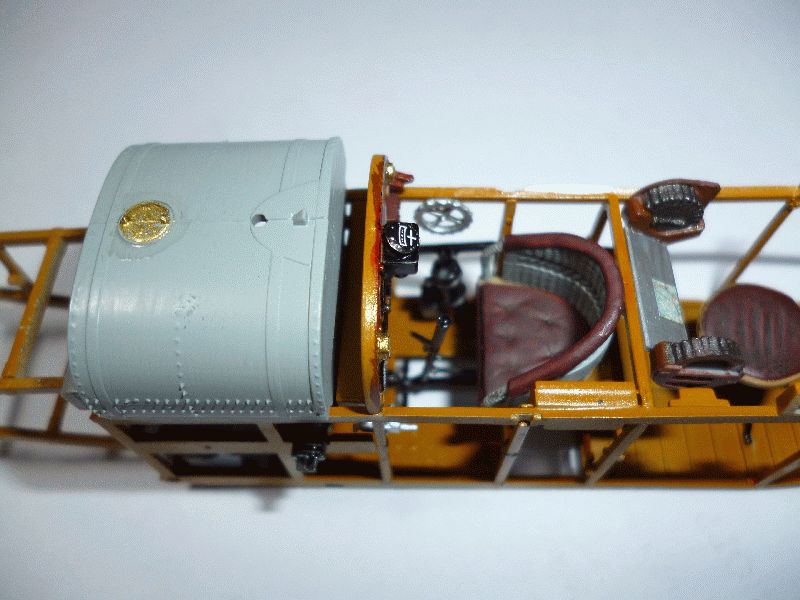
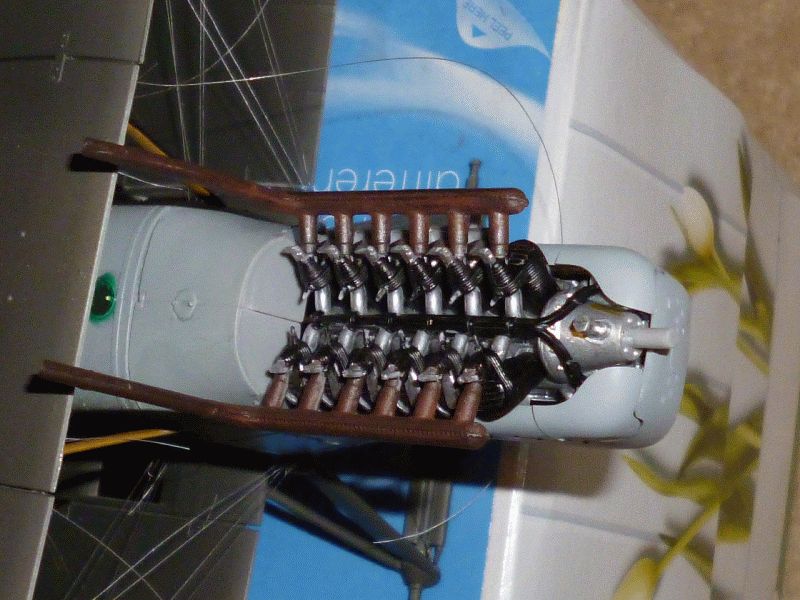
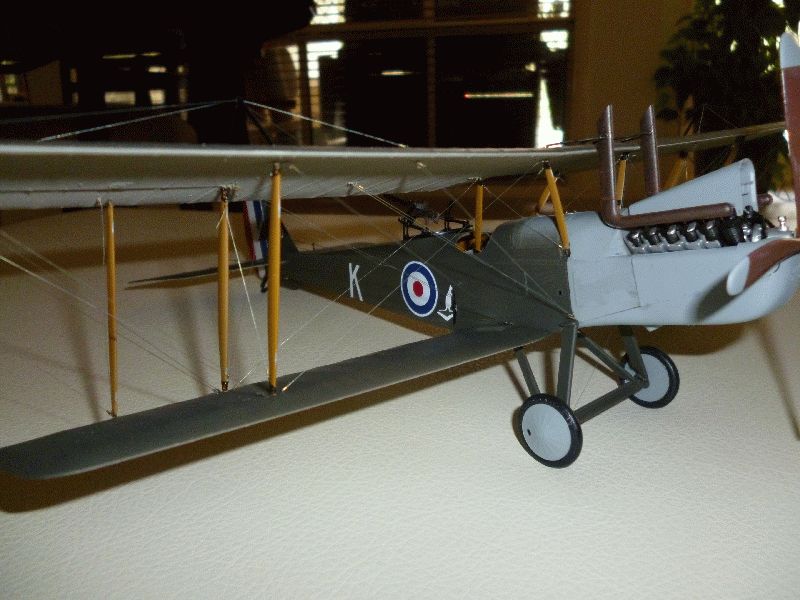
I thought a little spilled fluid stain may be appropriate on the tank as I have seen how they used to put fuel in planes etc.. Not very safe!!
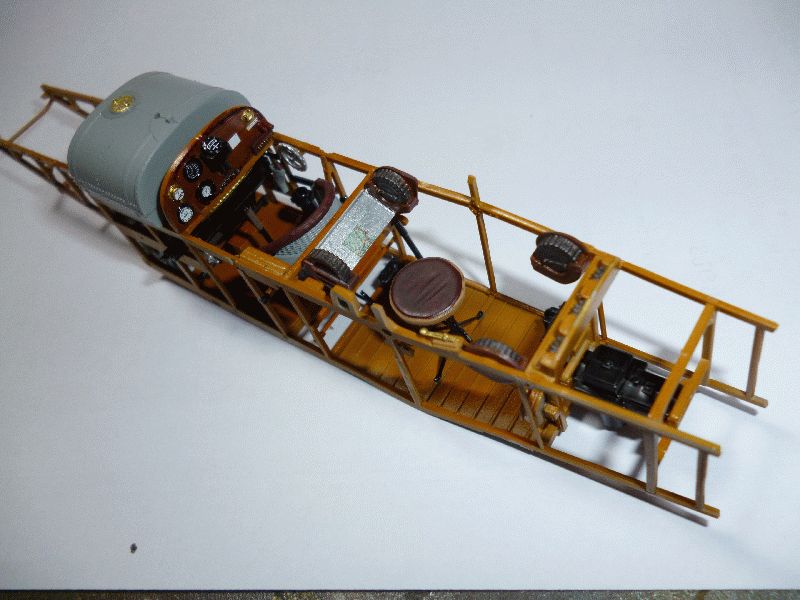
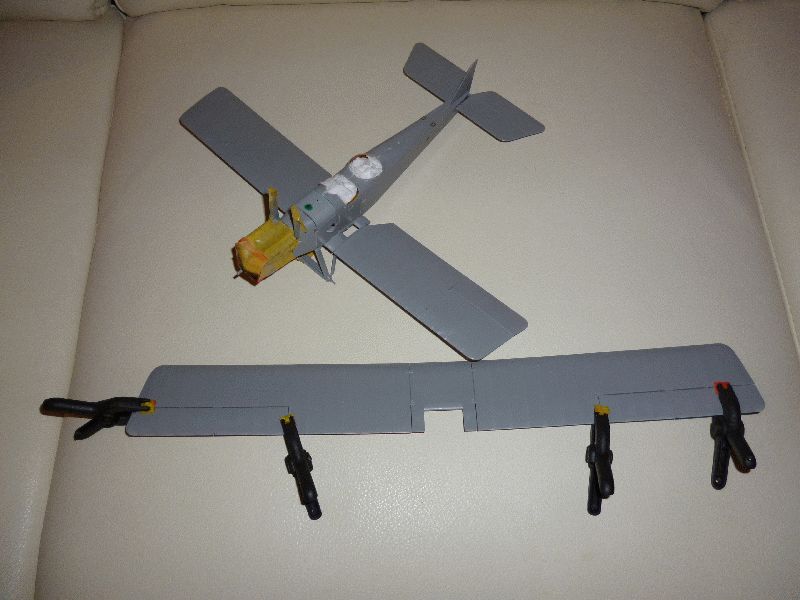
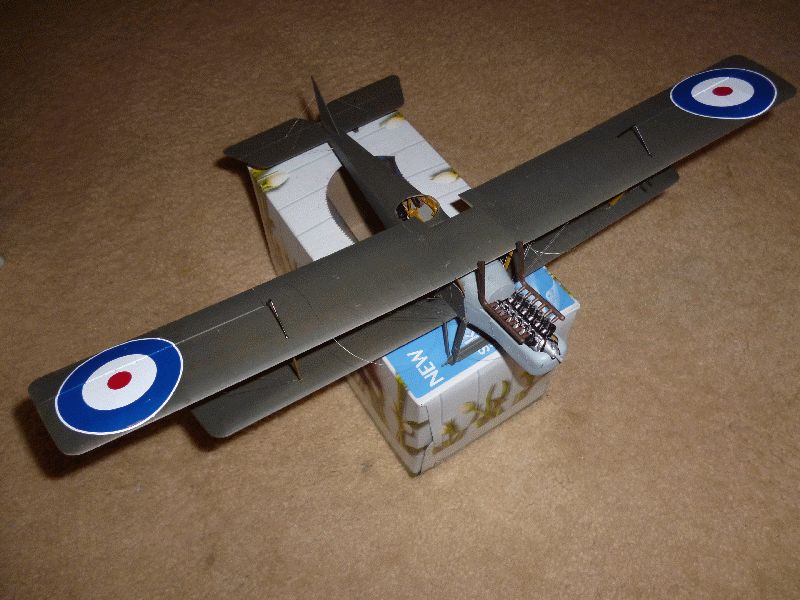
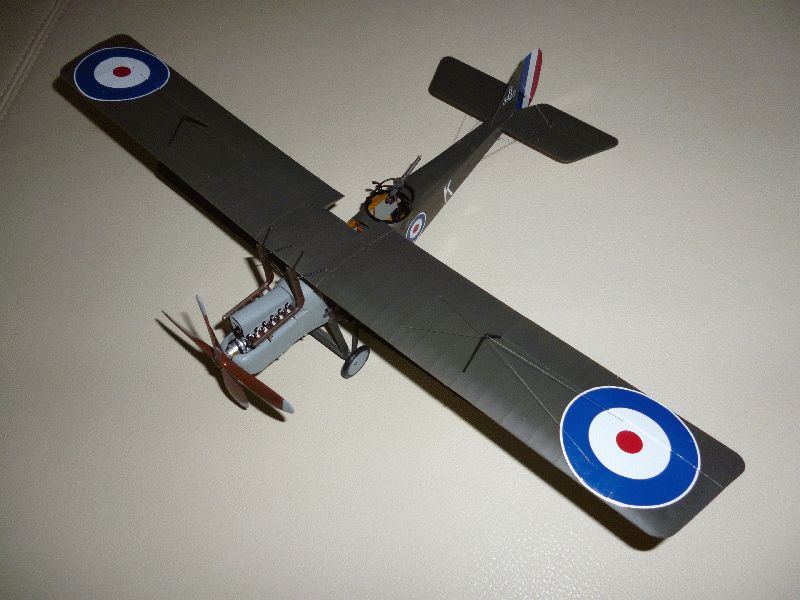
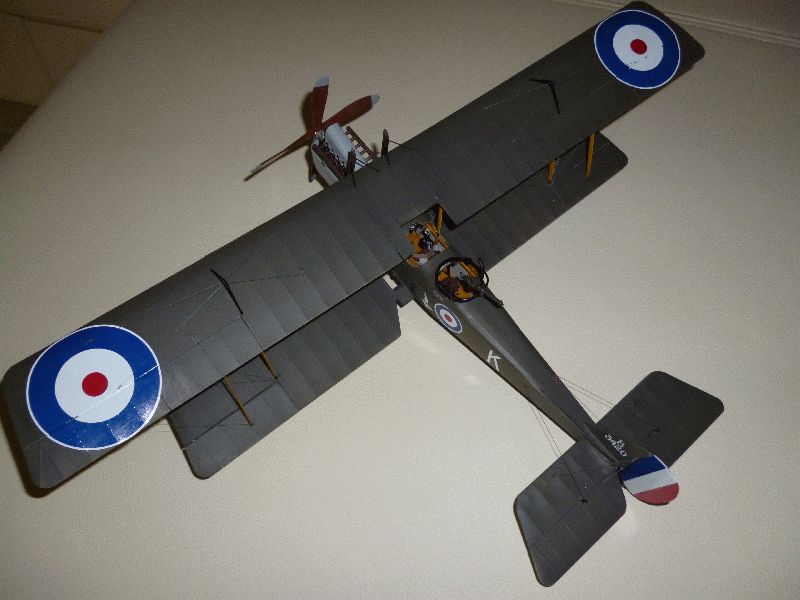
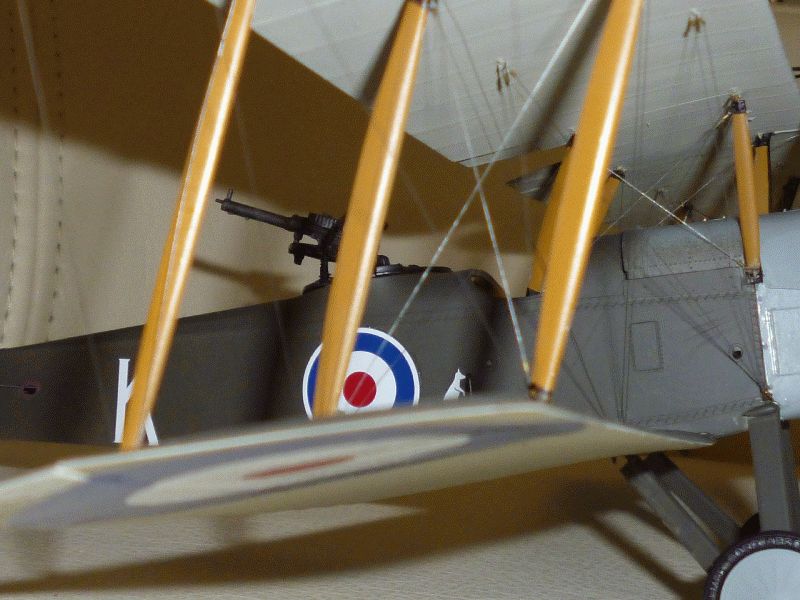
Basically that is the office done bar the rigging.
Thanks for looking.
Cheers
Warren


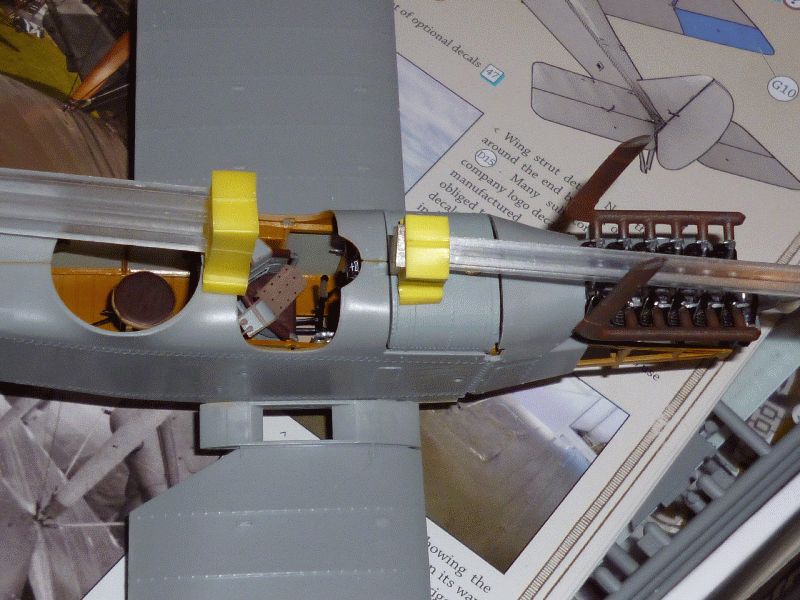
It is easy to miss stuff I think. They need more steps or more views, one or the other.
 There are no real shortcuts with this one either as the engine is out there on display no mtter how many panels you put on it.
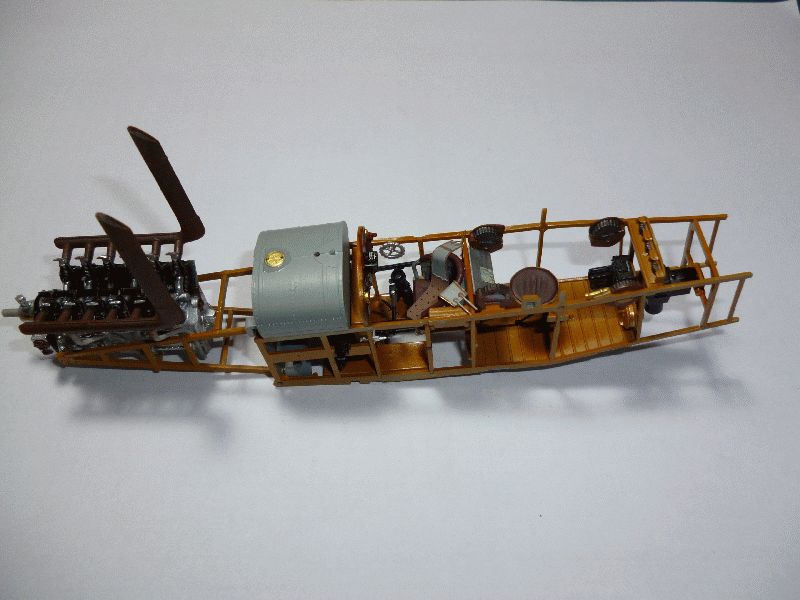


. This will have a few weeks to dry as I am off to Bathurst for the annual pilgrimage next weekend. Until I return..

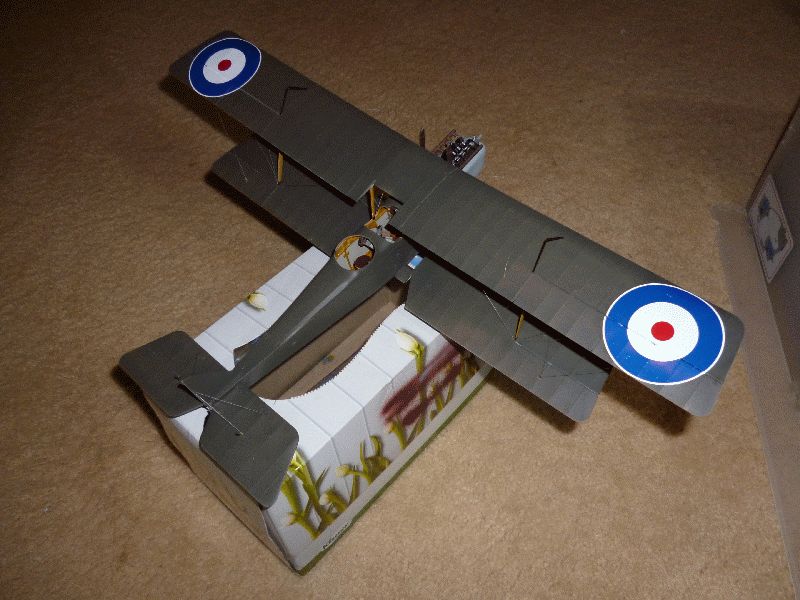

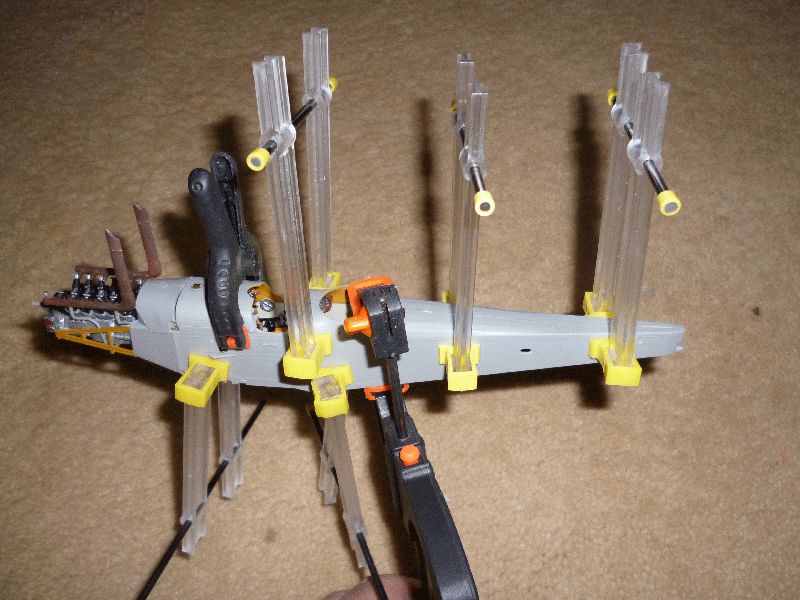
 Still finding it a bit fiddley and its fighting me more than I was prepared for.
 |


