The kit on the table here is the not so modestly sized Hawk LZ-127 Graf Zeppelin...this is not the old vacuum formed kit, but rather the newer injected styrene bodied version. The decals supplied are the regularly seen version without the german flag and othersided swastikas that were shown on the left and right hand sides of the verticle tails...I will be making the later version with said flag on the RH tailside and swastikas on the LH tail side....I do hope this doesn't offend anyone{and yes, I'm part german}...this is just a model, not a way of life so to speak.
If you haven't ever seen this kit, it's huge - coming in at 38 1/2" inches long @ 1/245 scale, so clear a space for it if you get one. The kit comes with a small base with which to sit the model on or two small tabs on the top to hang it from. I will look into either using the supplied base stand or making my own stand with clear rods and a wooden base.
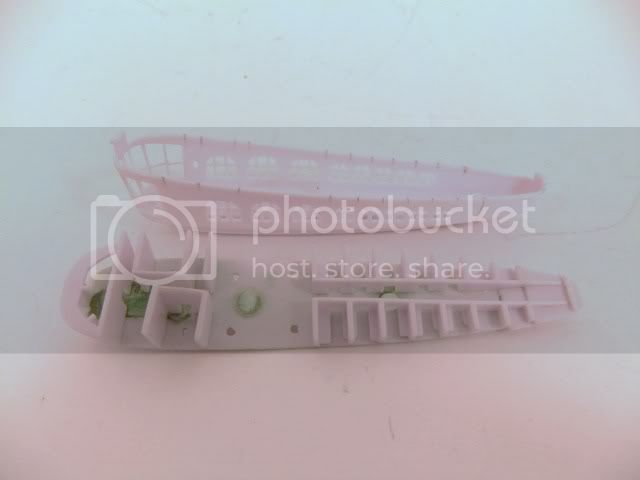
Let's start with the gondola assembly...the kit gives you 3 LEDs to light up the inner gonola but the execution is lacking in my opinion so I'll be modifying this for a cleaner/better build.
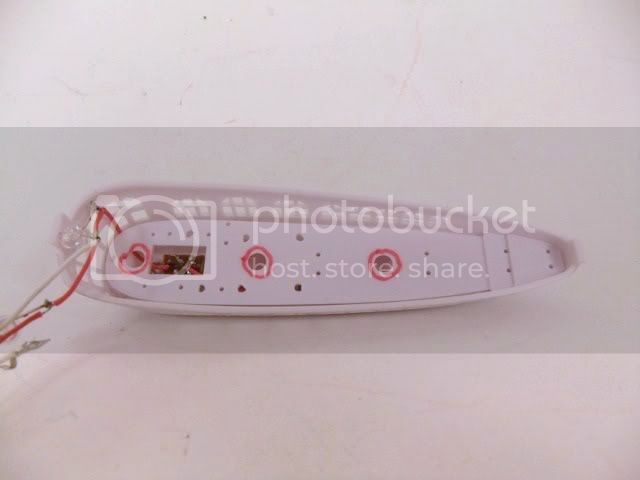
Here you see the inner floor pan - the 3 red circles are where the LEDs are supposed to go...they stick up thru the floor.
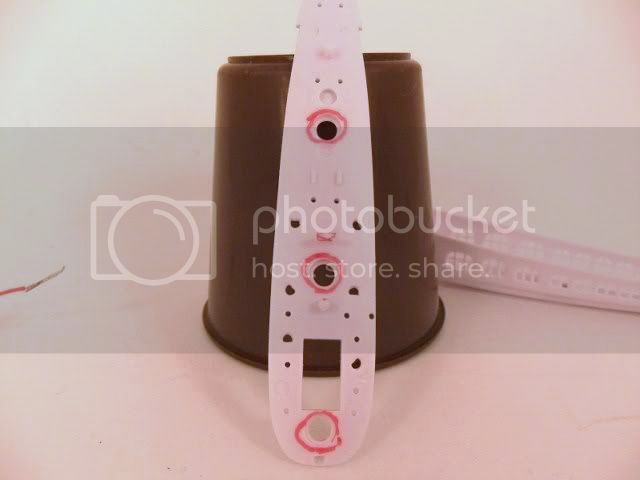
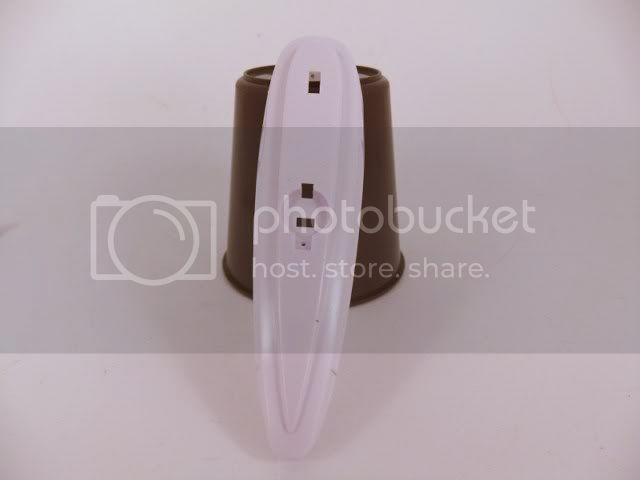
Note the rectangle that is over the light's on/off switch...the switch leads "just" come into the floor area so they left it open...not good.{imho}...so I'll look for a micro switch or something smaller to toggle the lights on and off. I will also fill in the 3 holes for the LEDs and use fiber optic strands from "above" to light the whole area and rooms - I will still use the supplied LEDs but just make it cleaner.
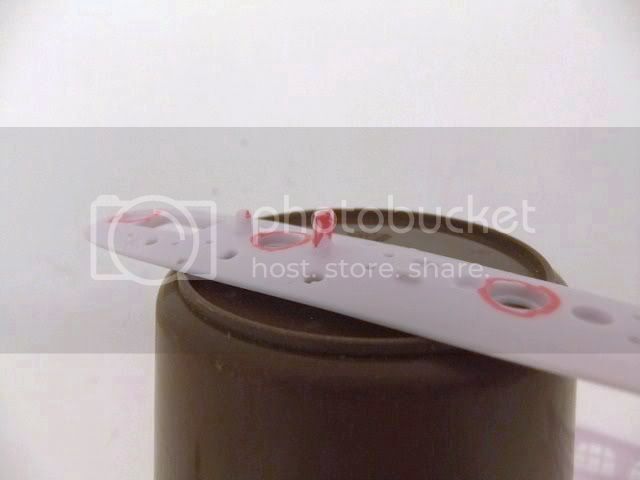
Right off the bat there's a fit issue with the floor to the gondola and the red marked tab that holds the battery lead in{watch cell-gotta love LEDs} is too long and will need to either be trimmed or just removed for a better fit.
I can honestly say that this is really more of a snap kit the way she sits...the tail fins and main body have a rather big "pin to hole" indexing system. I do see the need for filler in some places but I won't be able to say for sure till I can button up the whole thing after the fiber optics are ran...and she's not exactly lite since there's alot of plastic here.
I just popped a quickie pic of the main kit for your refereces-
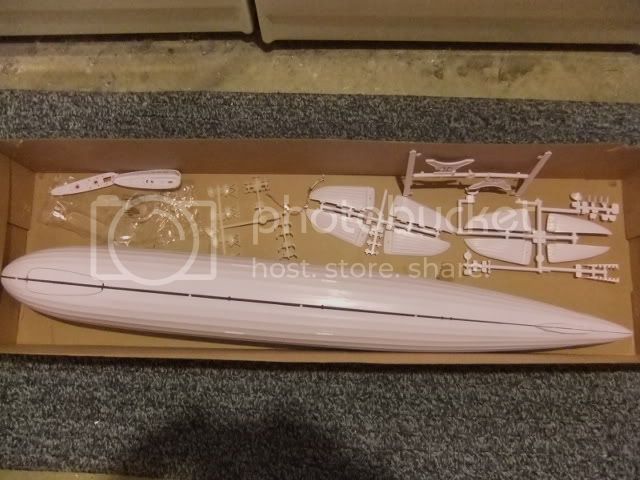
..not a whole lot to her.
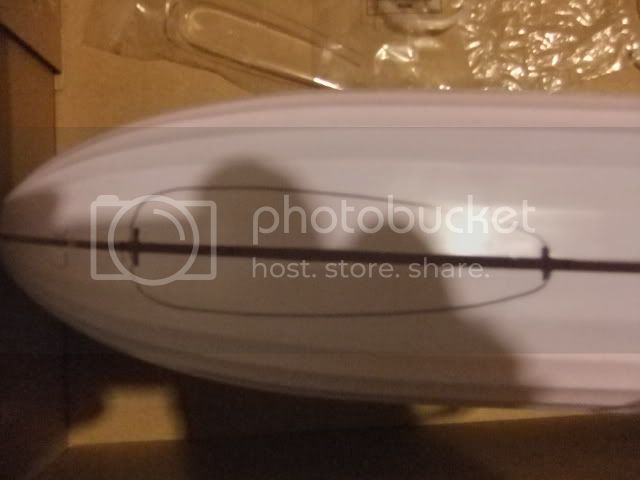
Here you see the area marked off where the gondola sits and this will be the area where I mark off and install the fiber optic strands uniformily over the floor and room areas.
This puppy was just too big for my usual photo booth...sorry.
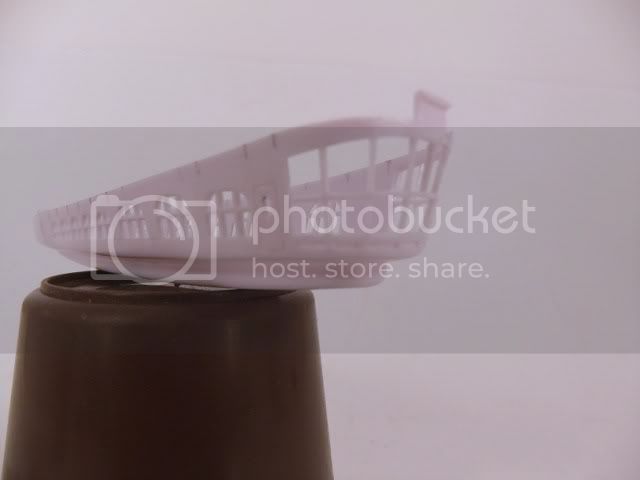
The gondola windows are wrong, but I will stick to simple mods to get them better...anyone wanting a correct version will be making a new gondola for the most part. Too bad no one ever made a gondola PE kit for the control room!
More to follow as it happens - ask any questions as we go along.