Anyway, on with the blog!
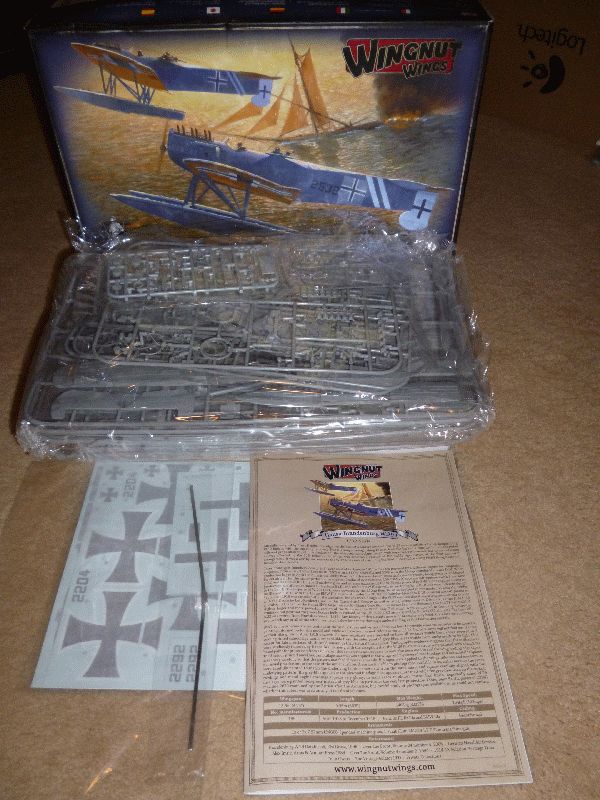
The kit in its untouched glory. That piece of flat metal will prove to be a bit of a hinfrance while building the interior, just seems to get in the way no matter what!

The longest journey starts with one step, but I hope this isn;t the start of a long journey!

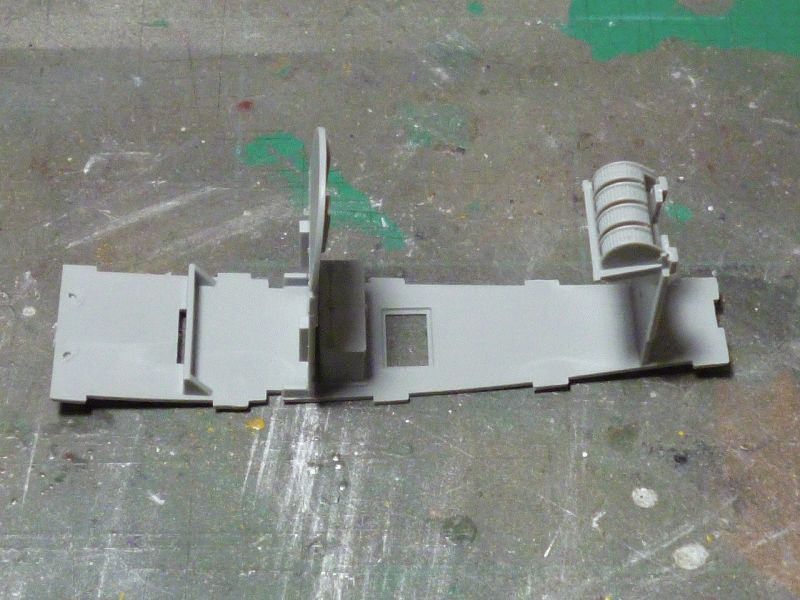
These are the control wire guides that sit behind the pilots seat's bulkhead. I drilled them out with a fine drill I thought was about the right size. The one on the right hasn't been drilled yet. The other thing is that the holes in the guides do not line up with the entry holes on the other side of the bulkhead..
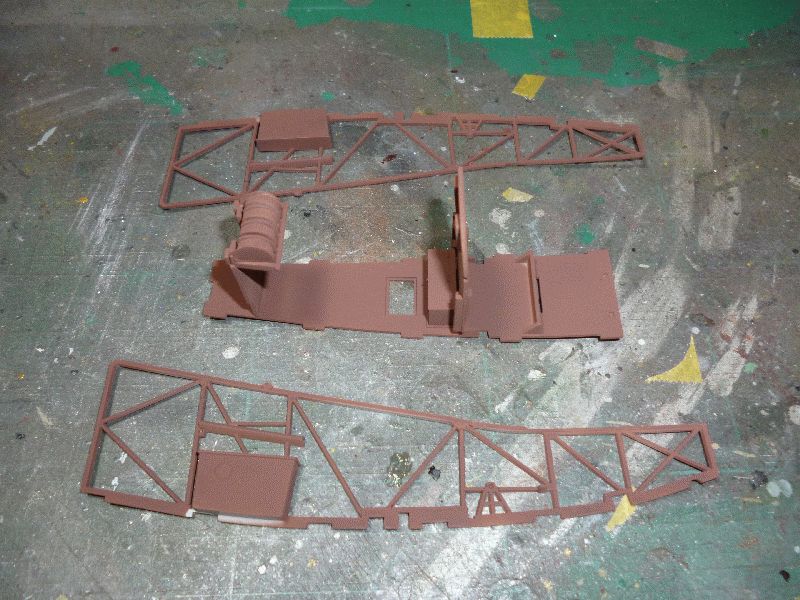
I like to put together as much stuff before I paint them with the airbrush. As well as this small assembly I painted the inside of the fuselage, including the four cockpit fairing pieces.
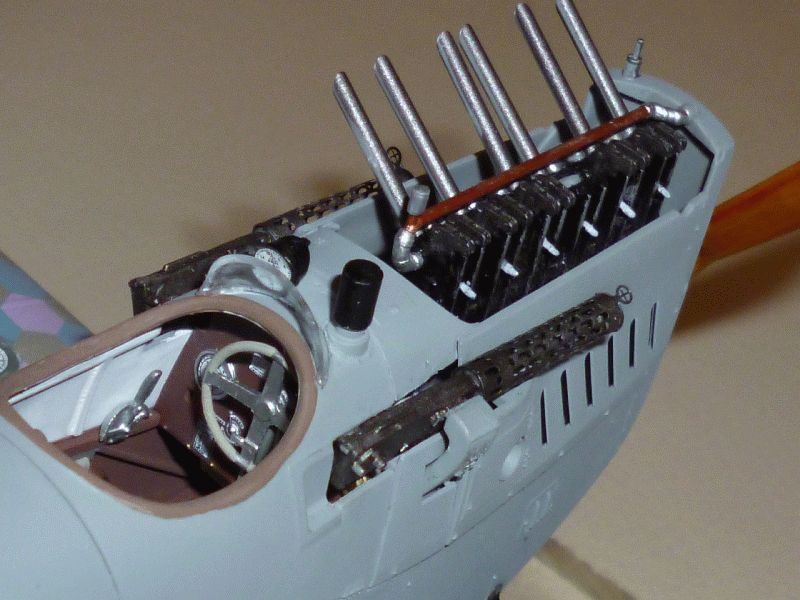
No radio in this one as I want to have the two forward firing MGs instead. Much more satisfying than a dial and a box in the cockpit.
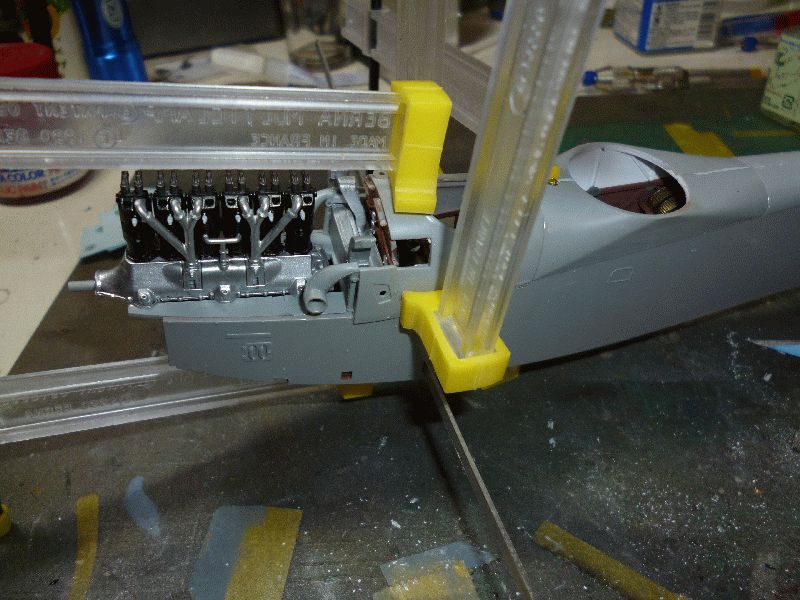
Some more parts added and the fuselage framing attached to the floor of the cockpit. That metal wing spar has got in the way a few times. Although I am sure it will strengthen the wing to fuselage joint no end.
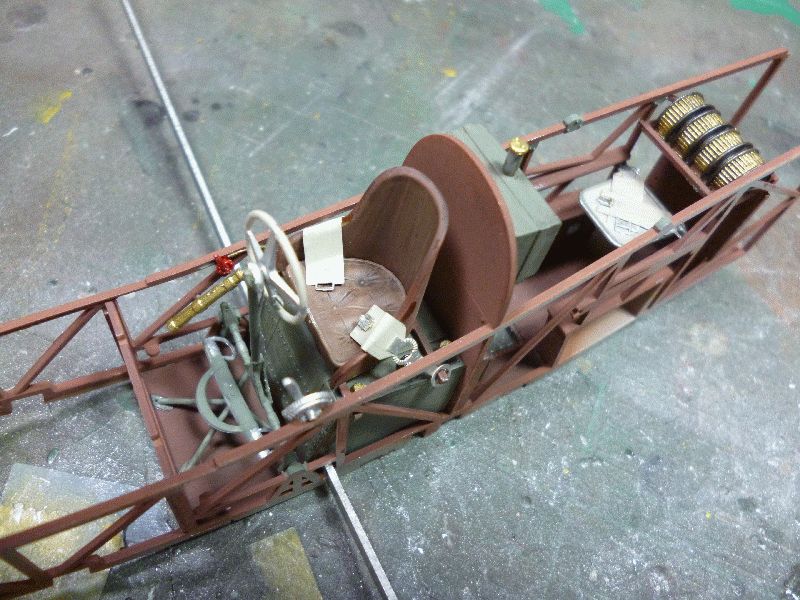
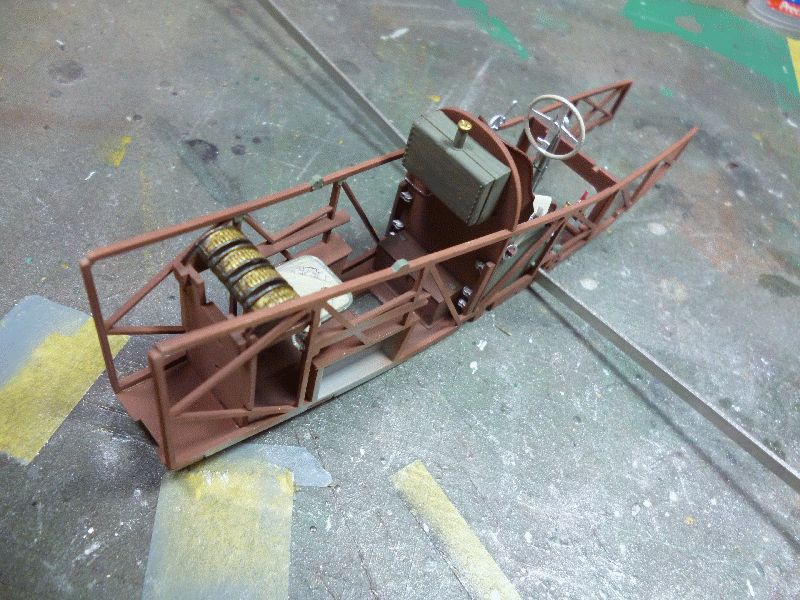
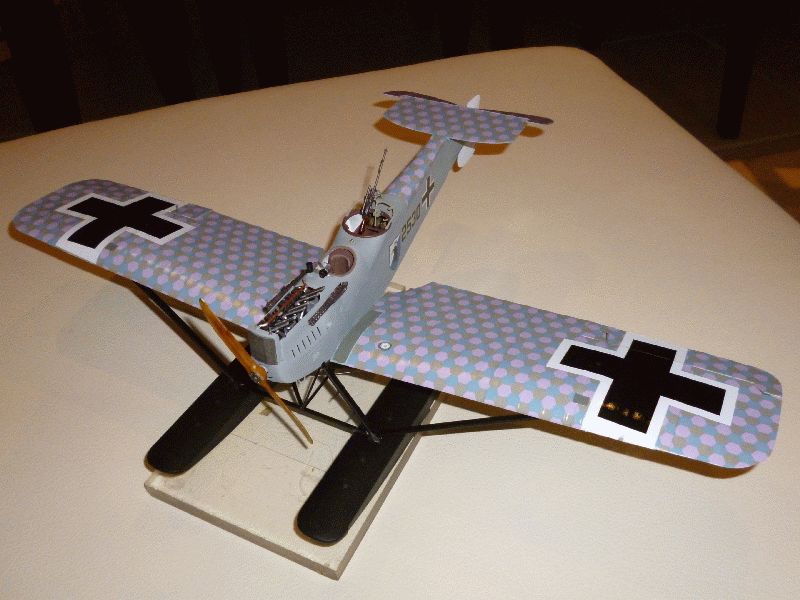
This is basically the end of a few hours work and the end of the first two pages of construction. All is going to plane so far. The wood in this interior is much darker than in other WNW planes I have built, I did not wrap the control wheel to simulate the rope padding but didn't have anything the right diameter... so I just painted it the padding colour instead.. Slack eh!!
That's all for the first post. Might get some more done during the week if I am lucky.
Thanks for looking.
Warren