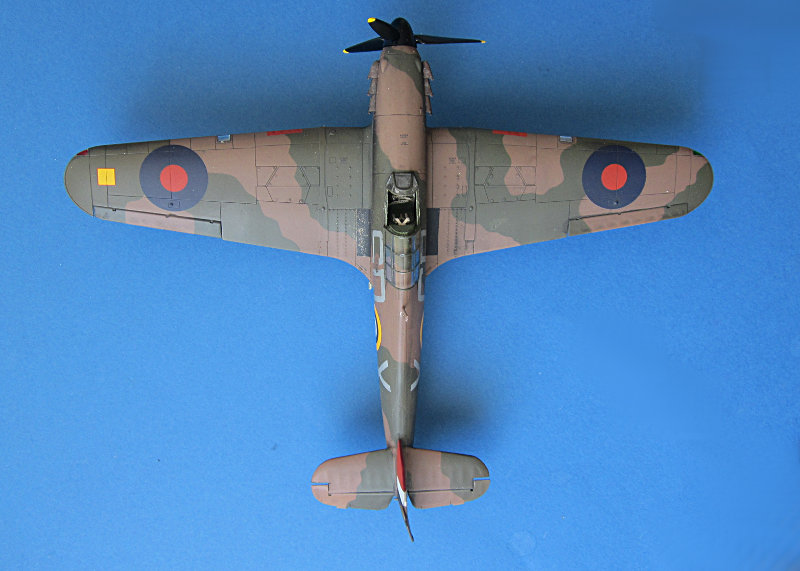
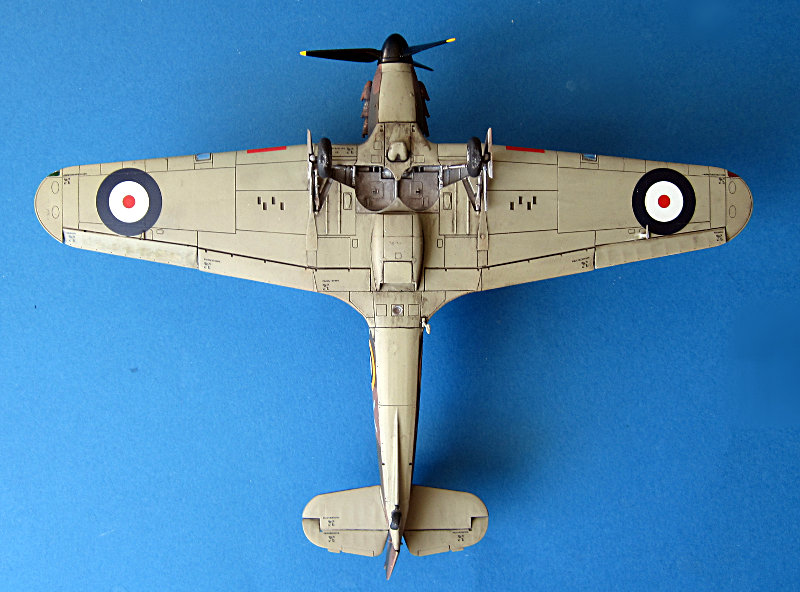
There's a storm front coming
Germany
Joined: September 07, 2005
KitMaker: 5,609 posts
AeroScale: 5,231 posts
Posted: Saturday, September 12, 2015 - 07:43 PM UTC
When I built the pit together I thought the circular impression on the side panel was intentional .. well looking on some pictures I rather think it is a ejector pinmark. So it had to go.
Perfect Plastic Putty to the rescue... some paint and wash and:
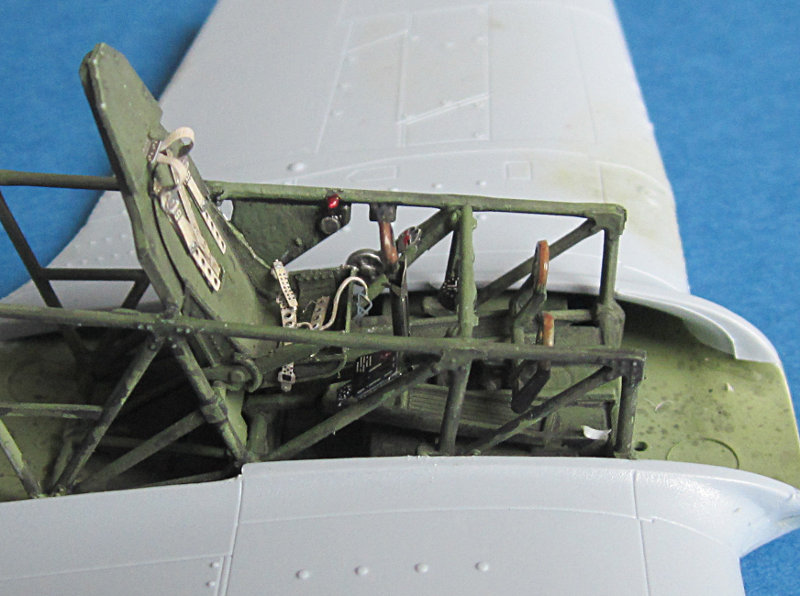
all the best
Steffe
DULCE ET DECORUM EST PRO HOBBY MORI
Germany
Joined: September 07, 2005
KitMaker: 5,609 posts
AeroScale: 5,231 posts
Posted: Saturday, September 12, 2015 - 09:19 PM UTC
As you can see in the last pic above I have already attached the wings. Fit is not stellar and I will need to clean up the slight offset on the leading edge. The sidewalls recieve very little additional detail. I did not replace the map cases, but just painted them brown, which is probably wrong but a spot of color in a mainly green and black cockpit.
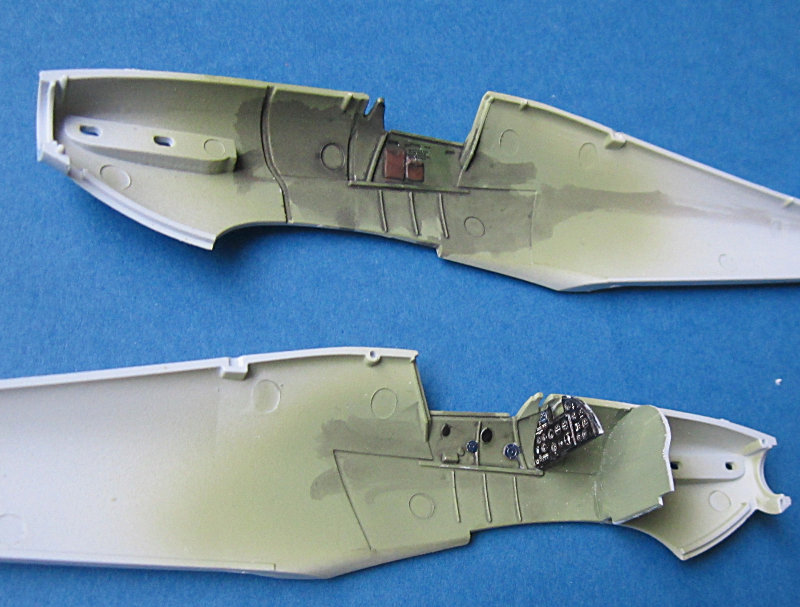
BTW the framing should be aluminium as per Airfix instructions, but I also found photos of green examples on restauration aircraft.. not sure what is correct.
As my small vacation is over now I am really happy that I could close the fuselage. This is speed of light for me as I started the kit just yesterday.
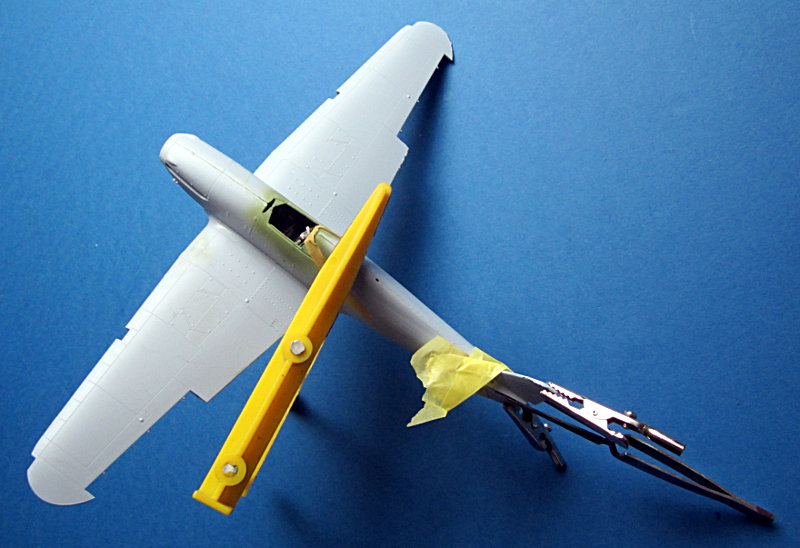
We'll see if I can clean up the airframe til next weekend to get on some paint. If so I might really get it done by the end of the month. Imagine that, Rowan


all the best
Steffen
DULCE ET DECORUM EST PRO HOBBY MORI
Merlin
 Senior Editor
#017
United Kingdom
Joined: June 11, 2003
KitMaker: 17,582 posts
AeroScale: 12,795 posts
Posted: Saturday, September 12, 2015 - 09:35 PM UTC
Nice going Steffen!

I can see your reasoning in extending an existing thread (it chimes in perfectly with what I've been thinking about covering current books we're reading), but maybe you'd get get maximum hits with a fresh one dedicated to Airfix's Hurricane.
All the best
Rowan

BEWARE OF THE FEW...
As I grow older, I regret to say that a detestable habit of thinking seems to be getting a hold of me. - H. Rider Haggard
Germany
Joined: September 07, 2005
KitMaker: 5,609 posts
AeroScale: 5,231 posts
Posted: Saturday, September 12, 2015 - 10:03 PM UTC
Cheers Rowan!
Well, you are probably right, but I want it this way. I also thought about adding Typhoons and Tempest here.... thus the windy name of the thread

all the best
Steffen
DULCE ET DECORUM EST PRO HOBBY MORI
Germany
Joined: September 07, 2005
KitMaker: 5,609 posts
AeroScale: 5,231 posts
Posted: Tuesday, September 15, 2015 - 08:46 PM UTC
Meanwhile back at the ranch...
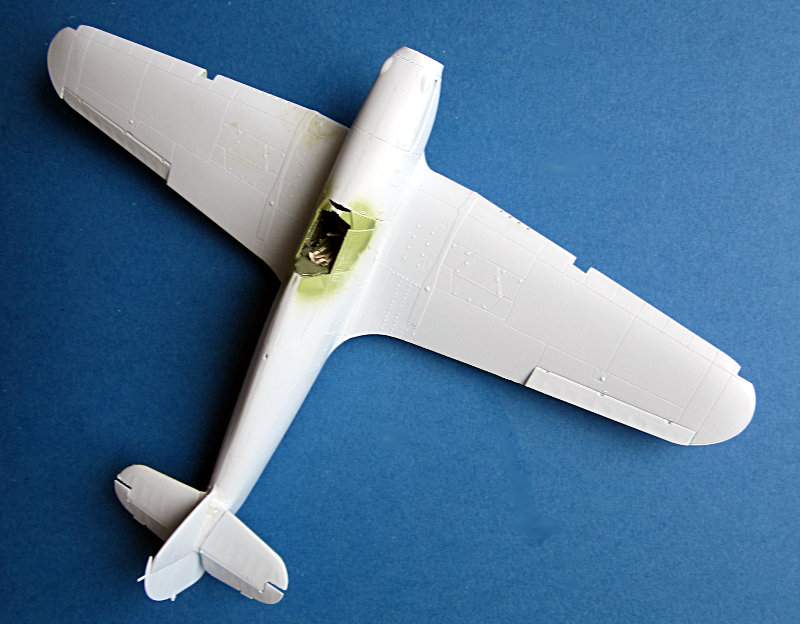
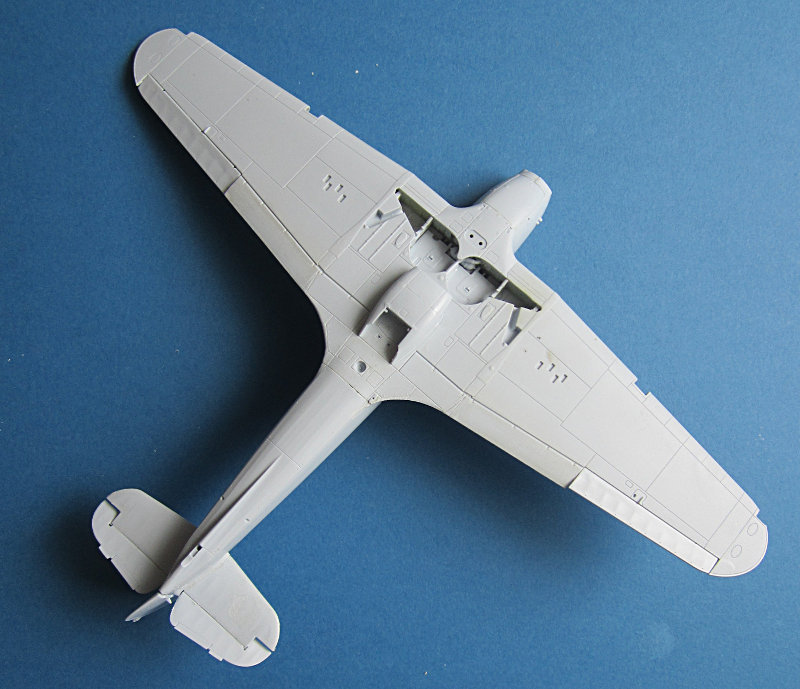
I have cleaned up the glue seams and thinned down the rear edge of teh wing (which is pretty thick). Then I have added ailerons, elevators an the rudder. The belly oil cooler was also glued on. Next will be the wing lights and masking. Not sure if I will add the u/c before painting...
all the best
Steffen
DULCE ET DECORUM EST PRO HOBBY MORI
Joel_W
 Associate Editor
New York, United States
Joined: December 04, 2010
KitMaker: 11,666 posts
AeroScale: 7,410 posts
Posted: Tuesday, September 15, 2015 - 09:58 PM UTC
Steffen,
You're flying through this build. So far it really looks quite good.
Over the last few years, I've become some what leery about the accuracy of restoration aircraft. Wrong colors, wrong parts & equipment isn't that unusual. Whose doing the restoration is very important in terms of accuracy to the original aircraft. A few times I've been shall we say burned by following a less then top flight restoration.
Joel
On my Workbench:
Monogram 1/24 scale 427 Shelby Cobra
Just Completed:
Beemax 1/24 scale BMW M3 E30 1992 Evolution II
Germany
Joined: September 07, 2005
KitMaker: 5,609 posts
AeroScale: 5,231 posts
Posted: Tuesday, September 15, 2015 - 11:11 PM UTC
Hi Joel,
yes this is progressing pretty well so far. Next weekend will be crucial for the project. If I get the camo on chances are high to get it done til the end of the month.
As for restaurations: I fully agree, still I was not sure what to make of it. The green framing was e.g. here
http://hawkerrestorations.co.uk/_images/_articles/aerofeb06.htmlwhich looks pretty professional to me...
all the best
Steffen
DULCE ET DECORUM EST PRO HOBBY MORI
Germany
Joined: September 07, 2005
KitMaker: 5,609 posts
AeroScale: 5,231 posts
Posted: Friday, September 18, 2015 - 02:45 PM UTC
During the small time slots over the week I was busy with small stuff. Adding carburator intake, gun sight landing lights and so forth. Of course there is not much to see, but here are 2 pix.
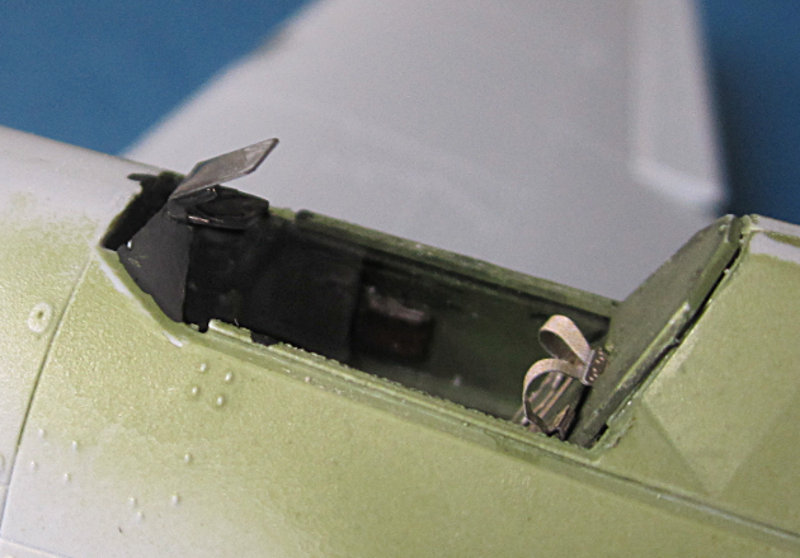
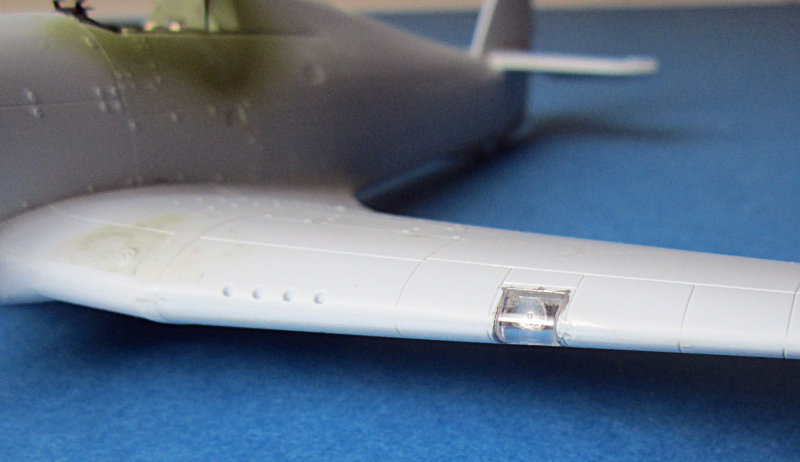
I have added the wind shield and started masking today. The sliding hoods look pretty strange,.. but thats the way it is and up to this point this is the best kit of the Hurricane I have built. (including a Hasegawa Mk.II and a Classic Airframes Mk. I not in this thread)
all the best
Steffen
DULCE ET DECORUM EST PRO HOBBY MORI
Germany
Joined: September 07, 2005
KitMaker: 5,609 posts
AeroScale: 5,231 posts
Posted: Saturday, September 19, 2015 - 12:24 PM UTC
After masking the canopy it was time for some paint.
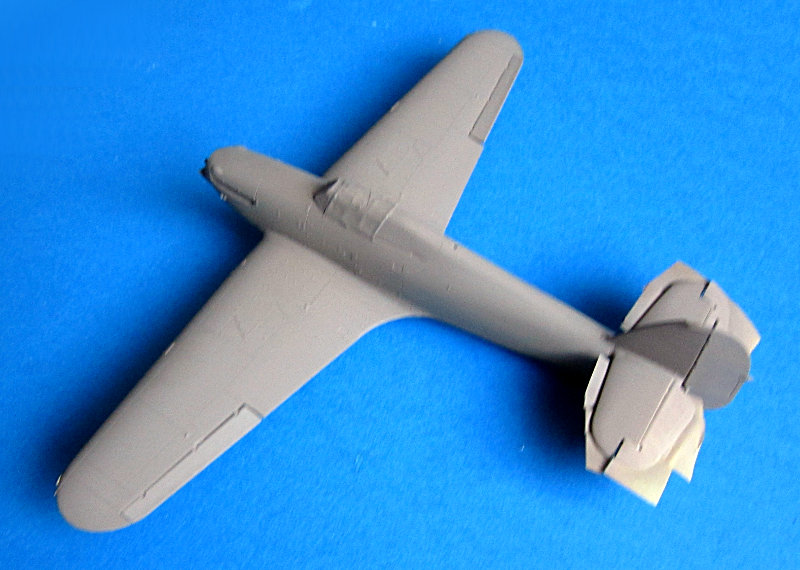
Schock and awe, I did not have XF 21 Sky at hand and no Lifecolour equivalent ... so I furiously dug through my paint stash to find an appropriate color. Well I decided XF 76 IJN greygreen was close enough so I used it for thelower side. Then i masked some areas and airbrushed the upper side earth:
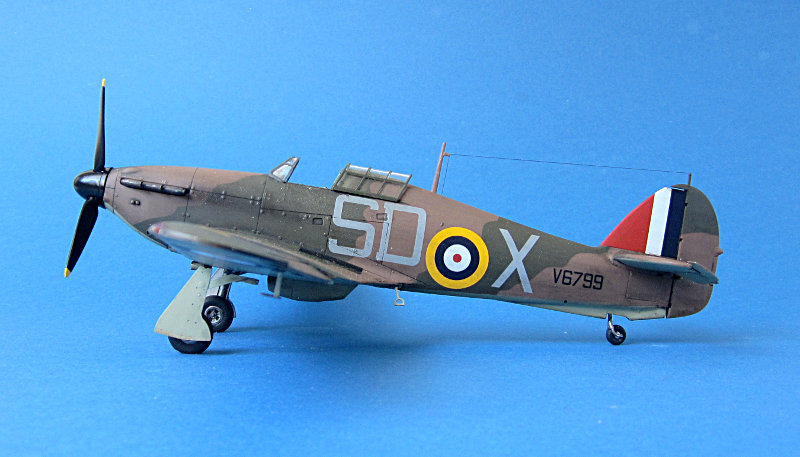
But then the next problem arised. Airfix have shown a B-Scheme Camo on the colour plate for Mackenzies Hurricane. Sometimes half knowledge IS better than nothing. My rule of thumb was Hurricane even numbers B-Scheme/ uneven A-Scheme (this is V6799). So I asked here and at Hyperscale for some advise. I got some helpful hints ruining my impression of this kit (see e.g.
here for further reading)... the proof which it should be came not. Luckily I found the picture of the belly landed aircraft online and IMHO this can only be A-Scheme ... (I won't post it here as it is surely copyrighted).
So back to the A-Scheme Masks (sorry Mal I got Eduards for review so I have to try them)....
all the best
Steffen
DULCE ET DECORUM EST PRO HOBBY MORI
Netherlands
Joined: May 20, 2015
KitMaker: 335 posts
AeroScale: 20 posts
Posted: Saturday, September 19, 2015 - 01:19 PM UTC
Great work on your Hurricanes. Some grass matting plus the Airfix vehicles and crew will make them come to life nicely.
Germany
Joined: September 07, 2005
KitMaker: 5,609 posts
AeroScale: 5,231 posts
Posted: Saturday, September 19, 2015 - 01:55 PM UTC
Thanks Willem,
probably true .. if only I was able to paint figures. I have the Airfix vehicles in the stash and I also have the BoB action set...
So masking is done now. It worked out very good and I am not sure how I should rate them compared to Mals Miracle Masks. They conform better than the vinyl masks. Reworking is probably as much as with Mals masks as Eduards masks have little surplus and the other need to be worked over all bumps. IMHO you only can use them twice once with the brown first the other time when painting the green first.
I prefer brown first so I had to be very focussed as the instructions show usage with green colour painted first:
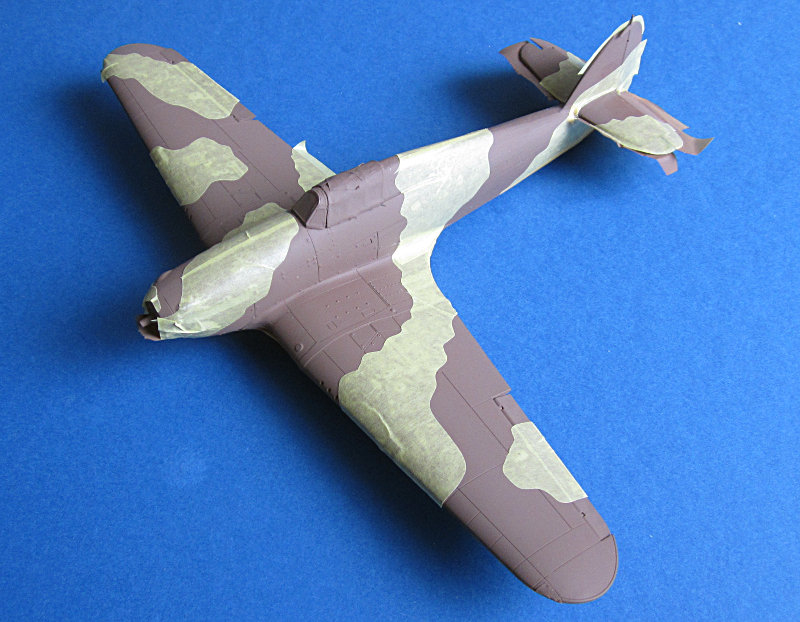
all the best
Steffen
DULCE ET DECORUM EST PRO HOBBY MORI
Germany
Joined: September 07, 2005
KitMaker: 5,609 posts
AeroScale: 5,231 posts
Posted: Saturday, September 19, 2015 - 03:22 PM UTC
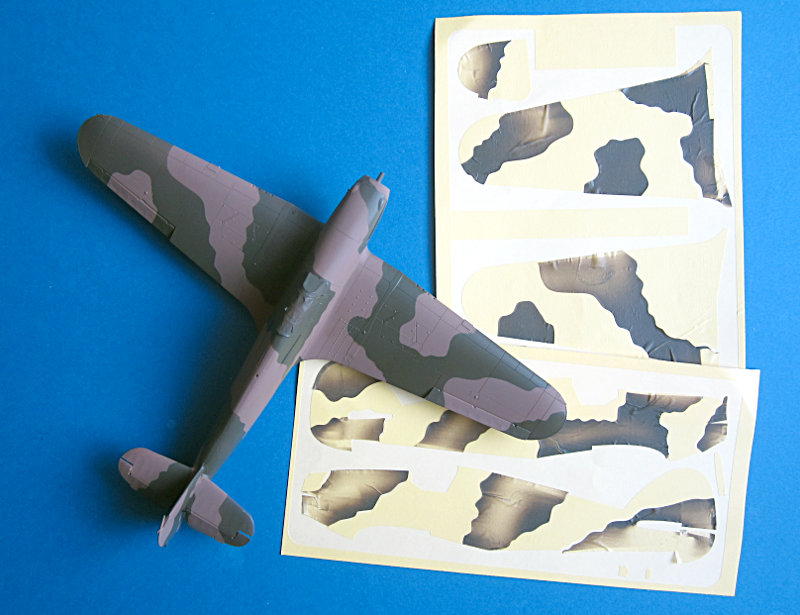
And now the masks removed.
all the best
Steffen
DULCE ET DECORUM EST PRO HOBBY MORI
Germany
Joined: September 07, 2005
KitMaker: 5,609 posts
AeroScale: 5,231 posts
Posted: Sunday, September 20, 2015 - 04:30 PM UTC
Next step is a layer of Klear. I also added the under carriage just for the Klear coat. Normally this will bite me when I apply/remove the wash so we will see what happens.
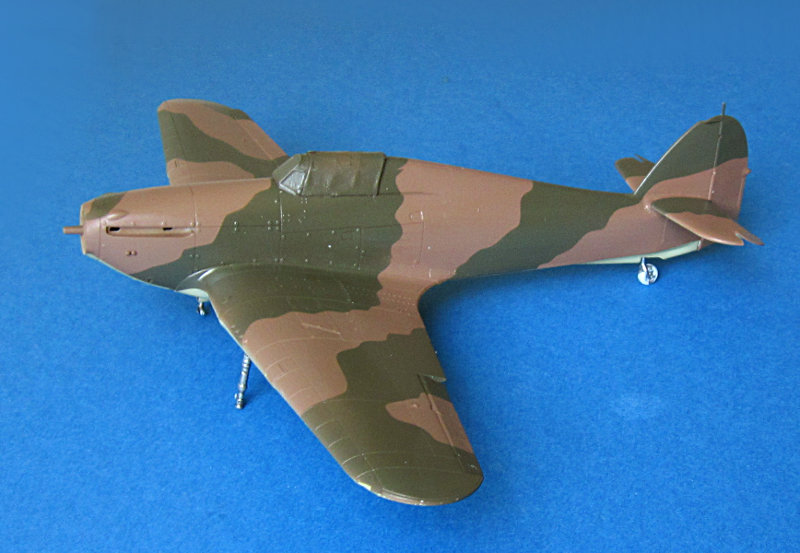
so I am ready for decals .. but i have little time this week. Fingers crossed that I'll make the campaign deadline.
all the best
Steffen
DULCE ET DECORUM EST PRO HOBBY MORI
Germany
Joined: September 07, 2005
KitMaker: 5,609 posts
AeroScale: 5,231 posts
Posted: Wednesday, September 23, 2015 - 09:52 PM UTC
Hi again,
I got the larger decals on and still hope to make it until next week...
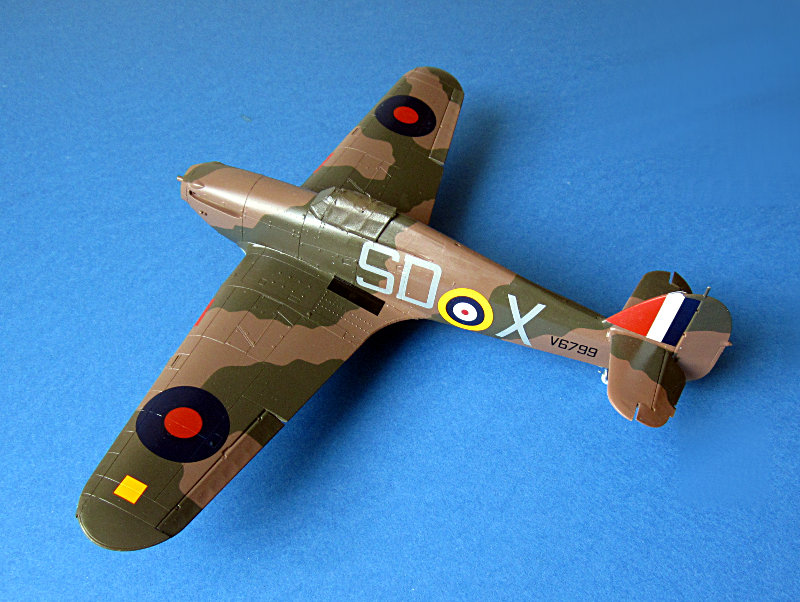
all the best
Steffen
DULCE ET DECORUM EST PRO HOBBY MORI
Joel_W
 Associate Editor
New York, United States
Joined: December 04, 2010
KitMaker: 11,666 posts
AeroScale: 7,410 posts
Posted: Wednesday, September 23, 2015 - 10:54 PM UTC
Steffen,
Decaling really looks quite good.
Joel
On my Workbench:
Monogram 1/24 scale 427 Shelby Cobra
Just Completed:
Beemax 1/24 scale BMW M3 E30 1992 Evolution II
Germany
Joined: September 07, 2005
KitMaker: 5,609 posts
AeroScale: 5,231 posts
Posted: Thursday, September 24, 2015 - 07:48 PM UTC
Thanks Joel!!
actually I am not totally happy with the performance of the decals. They are pretty stiff and my usual method with a "Klear sandwich" did not work very well so I used some Daco red on the top, which gave the Klear underneath a chance to suck the decal into the panel lines.
Luckily there are not that much stencils in this kit so I got that job done this afternoon
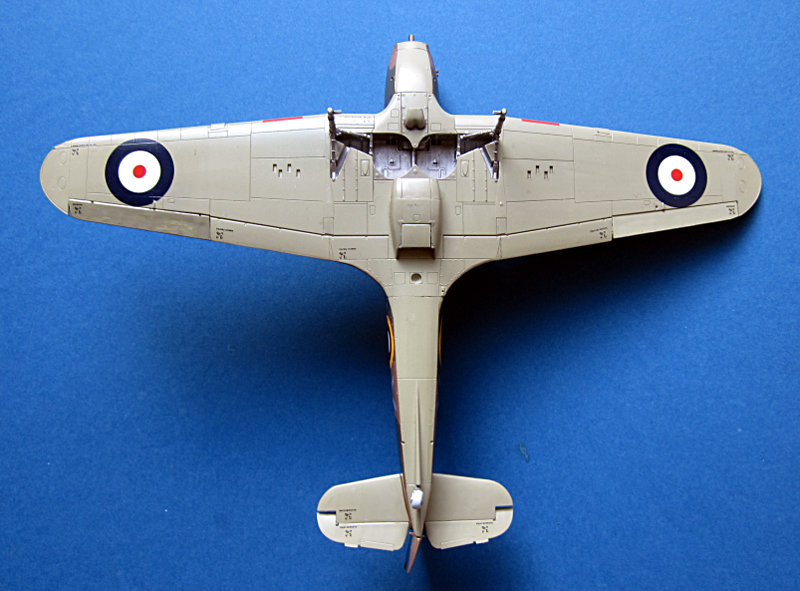
I sat the kit aside to dry and will airbrush another layer of Klear in the evening as prepartation for the wash.
all the best
Steffen
DULCE ET DECORUM EST PRO HOBBY MORI
Germany
Joined: September 07, 2005
KitMaker: 5,609 posts
AeroScale: 5,231 posts
Posted: Friday, September 25, 2015 - 04:42 PM UTC
Now it is time for my wash. Again I used water colours as there cannot go much wrong with them.
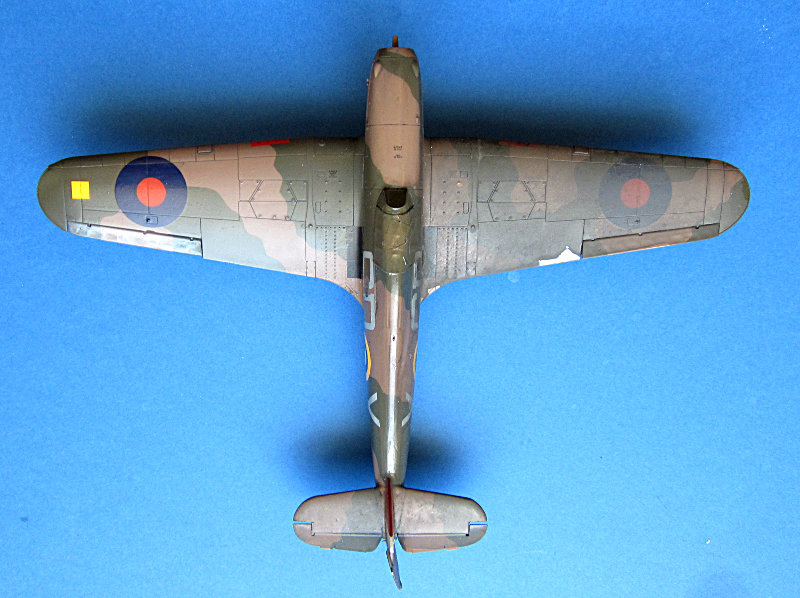
left wing is already cleaned again....
all the best
Steffen
DULCE ET DECORUM EST PRO HOBBY MORI
Ontario, Canada
Joined: February 04, 2008
KitMaker: 2,507 posts
AeroScale: 1,814 posts
Posted: Friday, September 25, 2015 - 10:10 PM UTC
Steffen who made your masks?
They appear to be reversed to my 1/72 Airfix version painting detail sheet?
Nice build!

" The Die Hards"
43rd MIDDLESEX REGIMENT
MACHINE GUN CORPS
XXX CORP
The most effective way to do it, is to do it.
- Amelia Earhart
Germany
Joined: September 07, 2005
KitMaker: 5,609 posts
AeroScale: 5,231 posts
Posted: Friday, September 25, 2015 - 10:38 PM UTC
Hi Richard,
the masks are new from Eduard.
The instructions are wrong ... IMHO ... from the published picture of this machine I think it has the A-Scheme (not B as per instructions). Airfix just doubled the instruction picture (in the 48 scale kit at least)
all the best
Steffen
DULCE ET DECORUM EST PRO HOBBY MORI
Ontario, Canada
Joined: February 04, 2008
KitMaker: 2,507 posts
AeroScale: 1,814 posts
Posted: Friday, September 25, 2015 - 11:09 PM UTC
Hi Steffen!
Thanks for posting.
I just followed the Airfix sheet with out checking


" The Die Hards"
43rd MIDDLESEX REGIMENT
MACHINE GUN CORPS
XXX CORP
The most effective way to do it, is to do it.
- Amelia Earhart
Joel_W
 Associate Editor
New York, United States
Joined: December 04, 2010
KitMaker: 11,666 posts
AeroScale: 7,410 posts
Posted: Saturday, September 26, 2015 - 06:28 AM UTC
Steffen,
That water color wash does look rather nice. I think I'll by a basic few colors and see just how well they preform for me. The nice thing is that they should wash right off with water, so any base will work nicely to protect the paint and decals.
Joel
On my Workbench:
Monogram 1/24 scale 427 Shelby Cobra
Just Completed:
Beemax 1/24 scale BMW M3 E30 1992 Evolution II
Germany
Joined: September 07, 2005
KitMaker: 5,609 posts
AeroScale: 5,231 posts
Posted: Saturday, September 26, 2015 - 04:03 PM UTC
Thanks Joel,
well, thats just my way of doing this. Ther are many others and one must just find out what suits best.
Slowly getting there
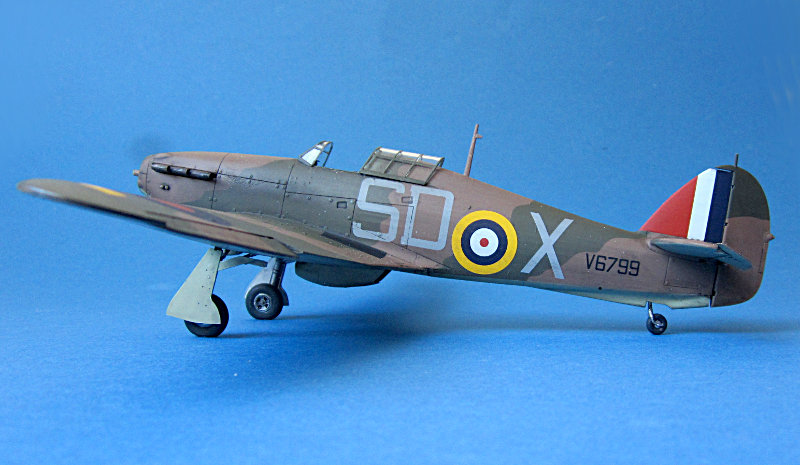
all the best
Steffen
DULCE ET DECORUM EST PRO HOBBY MORI
Germany
Joined: September 07, 2005
KitMaker: 5,609 posts
AeroScale: 5,231 posts
Posted: Saturday, September 26, 2015 - 06:29 PM UTC
DULCE ET DECORUM EST PRO HOBBY MORI

#424
Queensland, Australia
Joined: April 23, 2015
KitMaker: 4,648 posts
AeroScale: 1,938 posts
Posted: Saturday, September 26, 2015 - 11:11 PM UTC
"Artillery adds dignity, to what would otherwise be an ugly brawl."
Frederick The Great
Germany
Joined: September 07, 2005
KitMaker: 5,609 posts
AeroScale: 5,231 posts
Posted: Sunday, September 27, 2015 - 04:29 PM UTC
Thank you, Gary!
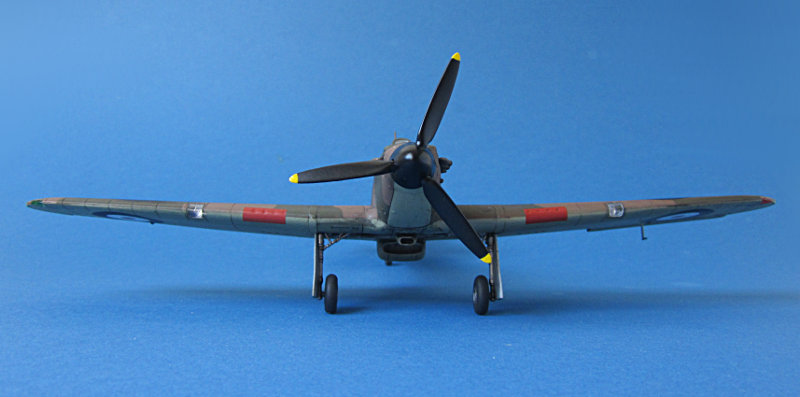
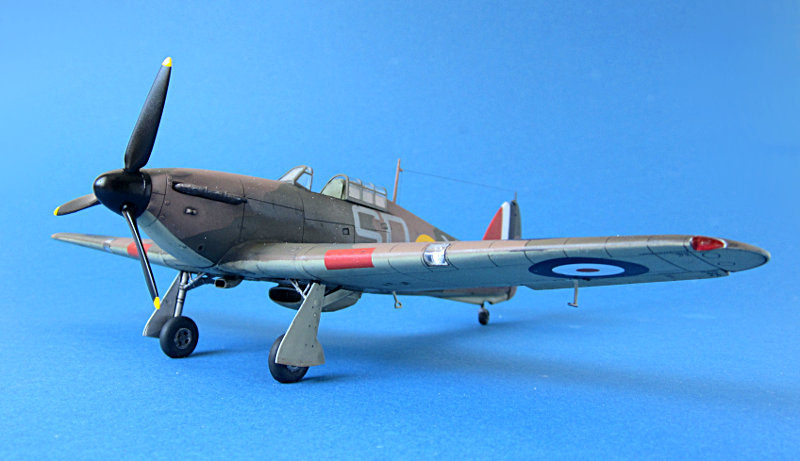
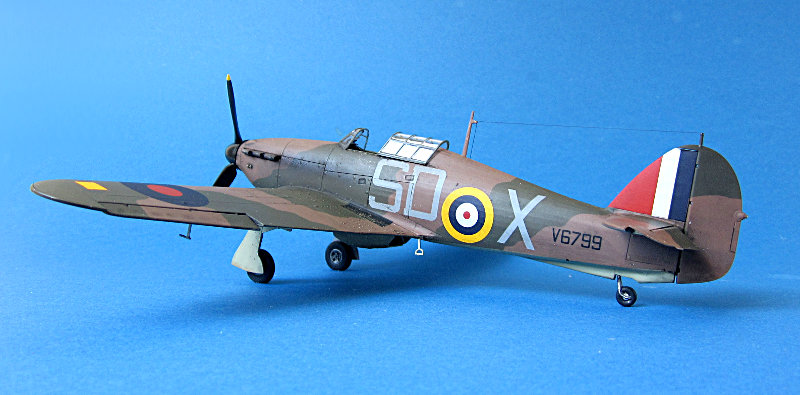
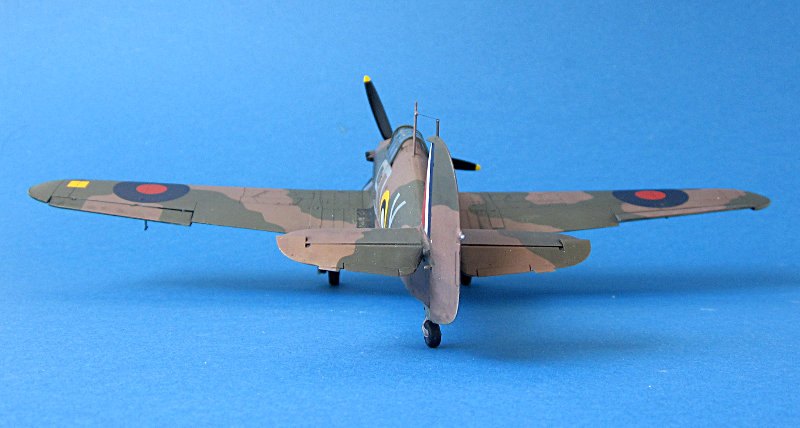
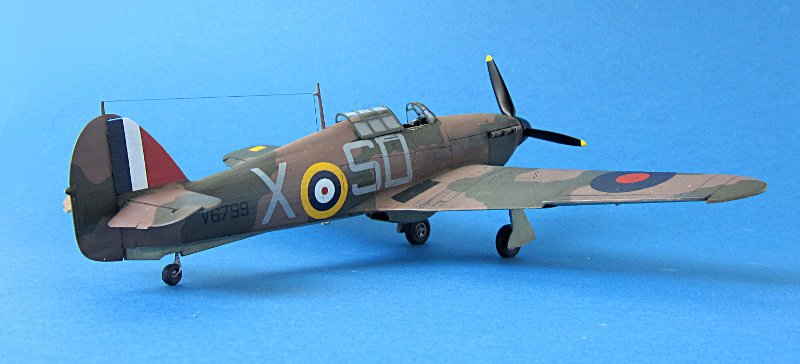
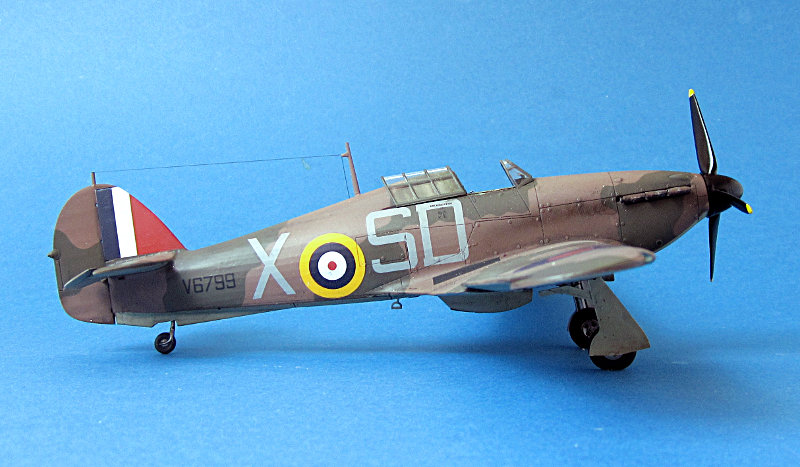
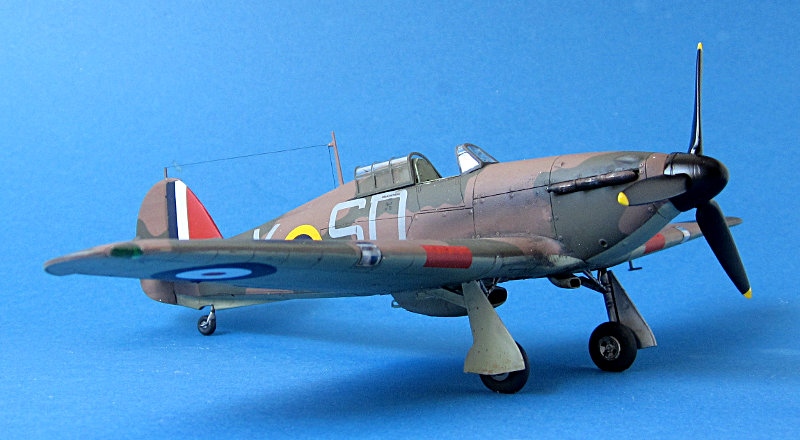
I like how it turned out, especially for a quick build!
all the best
Steffen
DULCE ET DECORUM EST PRO HOBBY MORI


