_GOTOBOTTOM
Pre-Flight Check
Constructive critique of your finished or in-progress photos.
New Guy here with some Firsts
Thundergrunt
_VISITCOMMUNITY
California, United States
Joined: November 01, 2009
KitMaker: 657 posts
AeroScale: 35 posts
Posted: Saturday, December 31, 2011 - 06:44 PM UTC
Well this is my first kit to build of 2011:woot:, my first mustang and first attempt at a metal finish. so we'll see. The kit is a revell P-51D I got for 5 bucks. Being a jet and ship guy I drew my intrest from my great uncle who was a Tuskgeee Airman, and also getting to see 2 of them up close this year at Wings over Gillespe here in San Diego with John B and Harv. and now I have 10 stangs 7 D's and 3 B's. This kit will be ou of box except decals which I will do by hand as a 354th FG bird or decals of a 359th FG bird. Im not a great builder but this plastic is really soft and warped a little so I got my work cut out for me, but i guess it is good for a kit that is from 1977. I hope it comes out ok. these pics are over 3 days.


Cockpit pre weather


Post Weather


Thundergrunt
_VISITCOMMUNITY
California, United States
Joined: November 01, 2009
KitMaker: 657 posts
AeroScale: 35 posts
Posted: Saturday, December 31, 2011 - 06:45 PM UTC
OK Following on, I got a wild hair, and decided to test my skills a little, and wanted to do up the exhaust stacks so I got a micro drill from micro mark awhile ago and drilled out the holes then tried to season them with Tamiya weather kits o look like my exhaust on my Dirt Bike. I also wanted to try and do some weathering to the wheel wells. they came out good, then when I put the wings toghether and set them down to dry, I heard a snap and look over and had a crack right by the guns on the right wing, which I am going to try and fix. Any way happy new year and critiques are welcomed.

Wheel well Weathering is. Base color Green Zinc chromate, with dry brushed tamiya Metallic Grey, then washed with a mix of Black,Brown and Dark Grey from promodellr, then touched again with the Metallic Grey.


Stacks are Jet Exhaust then washed with mix above then brushed with Burnt blue,Gunmetal and Burnt Orange. Drilled out with .021 Drill


Thundergrunt
_VISITCOMMUNITY
California, United States
Joined: November 01, 2009
KitMaker: 657 posts
AeroScale: 35 posts
Posted: Saturday, December 31, 2011 - 06:45 PM UTC
And now the crack, I wish I knwe how that happend, I really do not like the plastic in this kit.


Thundergrunt
_VISITCOMMUNITY
California, United States
Joined: November 01, 2009
KitMaker: 657 posts
AeroScale: 35 posts
Posted: Sunday, January 01, 2012 - 07:50 AM UTC
Critiques are welcomed..
Automaton
_VISITCOMMUNITY
United States
Joined: August 12, 2007
KitMaker: 153 posts
AeroScale: 139 posts
Posted: Sunday, January 01, 2012 - 03:59 PM UTC
Hi Eugene. I have a theory regarding the wing crack: I'm assuming you used cyano to glue the wing together, as I saw a bottle of it in the background of one of your pics. Did you use accelerator on it? That looks like an accelerator-induced crack to me.

Regards;

Automaton
Thundergrunt
_VISITCOMMUNITY
California, United States
Joined: November 01, 2009
KitMaker: 657 posts
AeroScale: 35 posts
Posted: Sunday, January 01, 2012 - 05:13 PM UTC
Auto

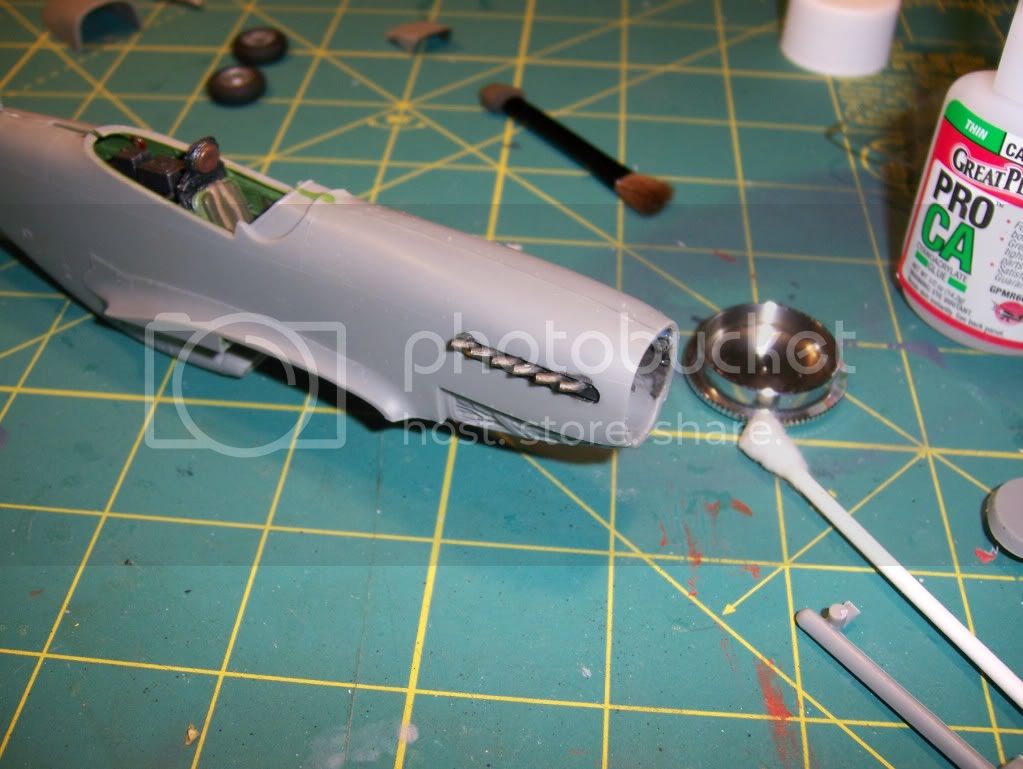
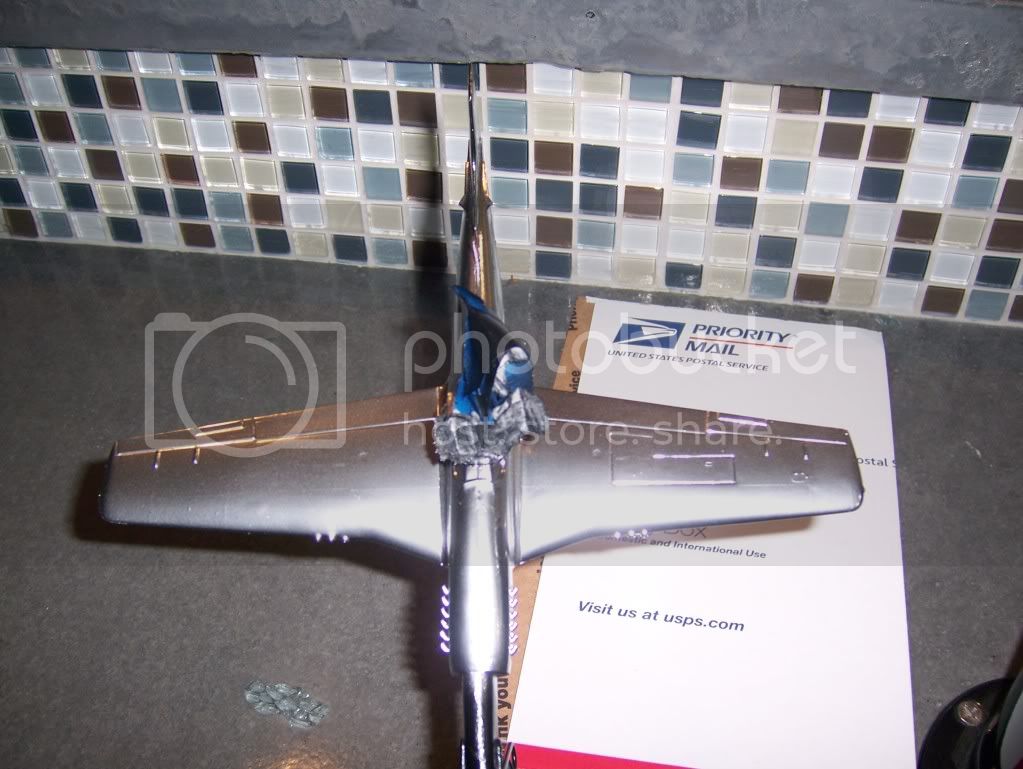
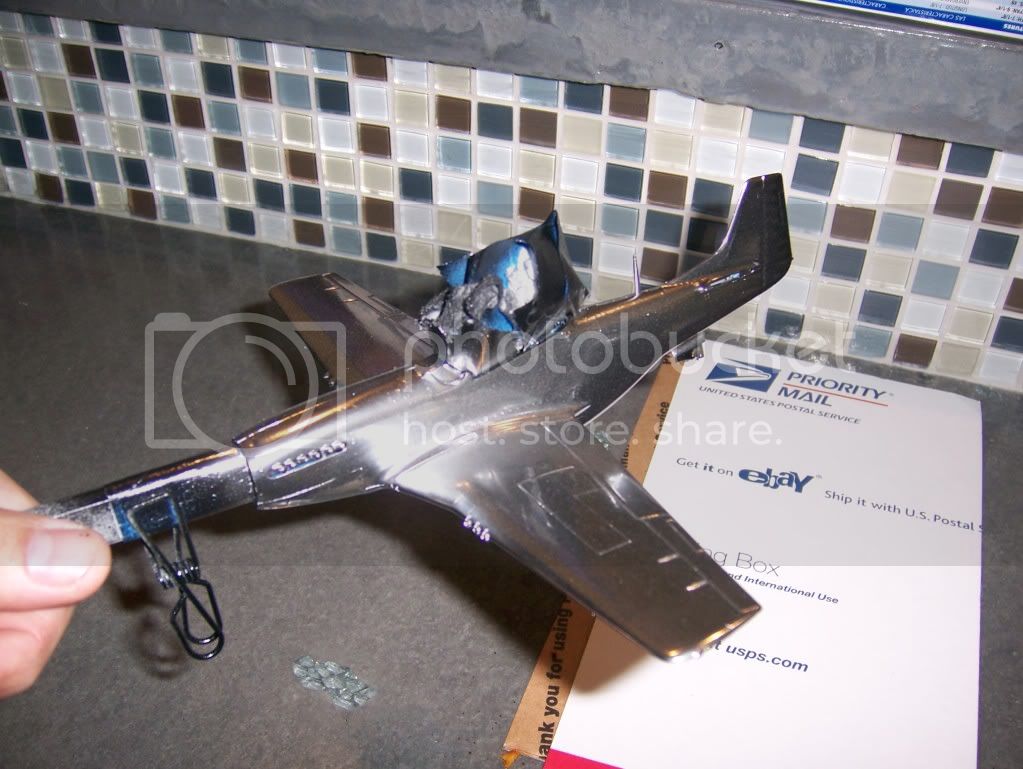
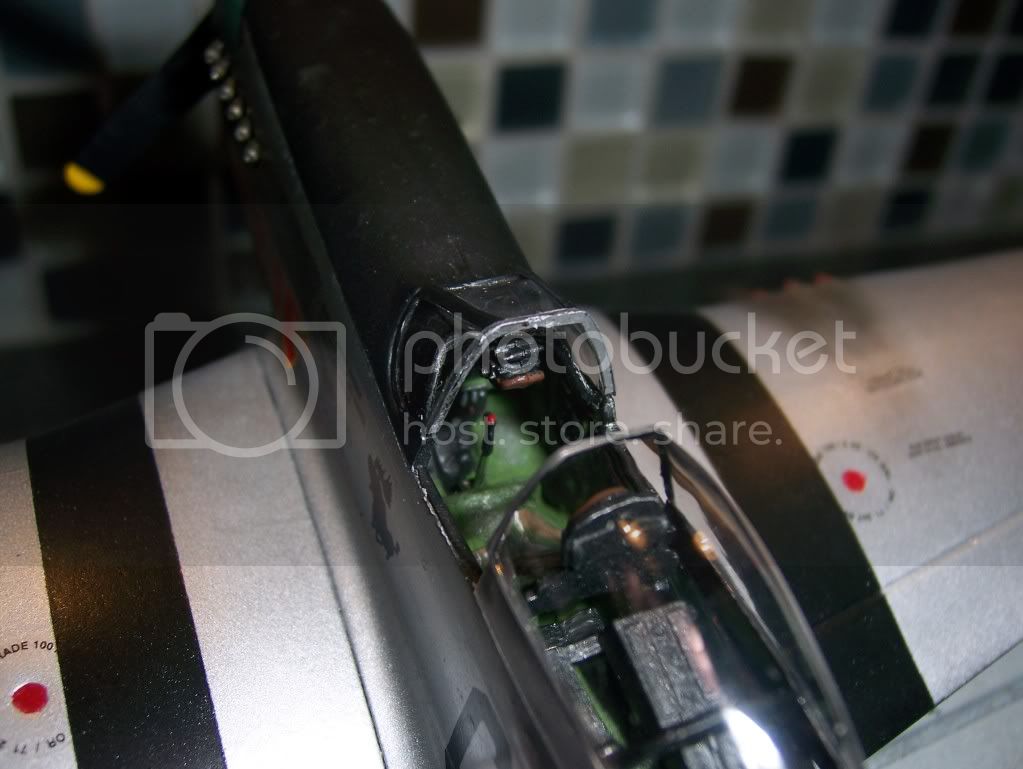
No Accelerator, I have a hard enough time with the Great Plains CA, I think I should use Zap or go back to tube cement. I hope I fixed the crack today. I had to re hydrate my tamiya grey putty and the bondo stuf I read about awhile ago was like liqud, don know what happend there.

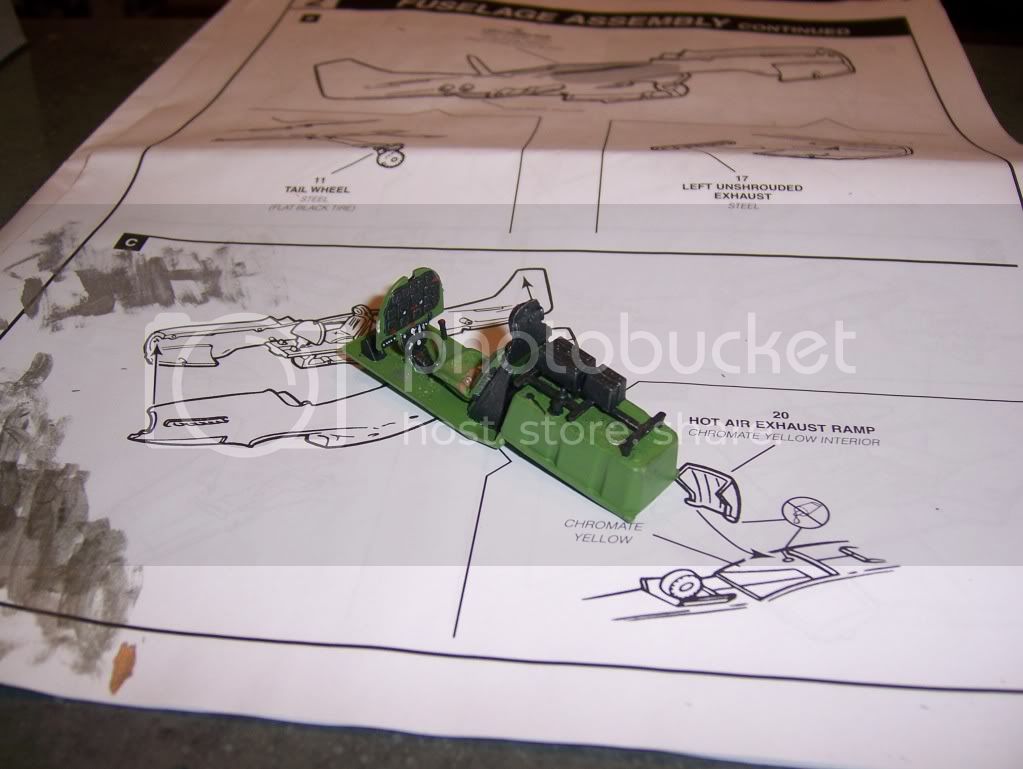
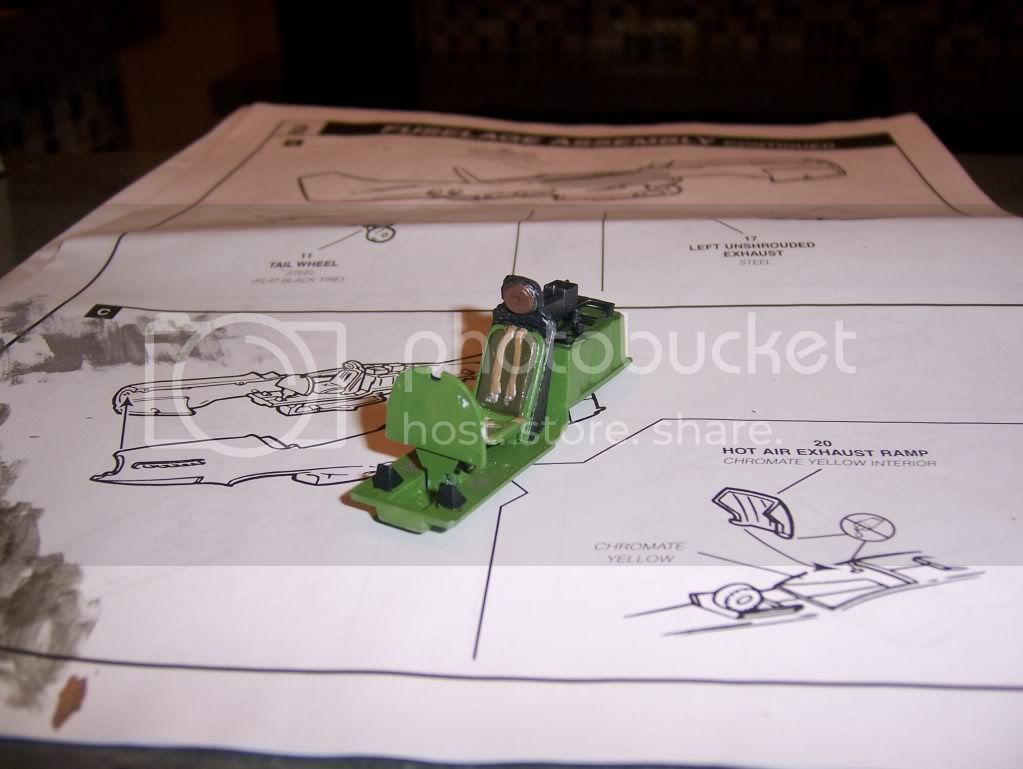
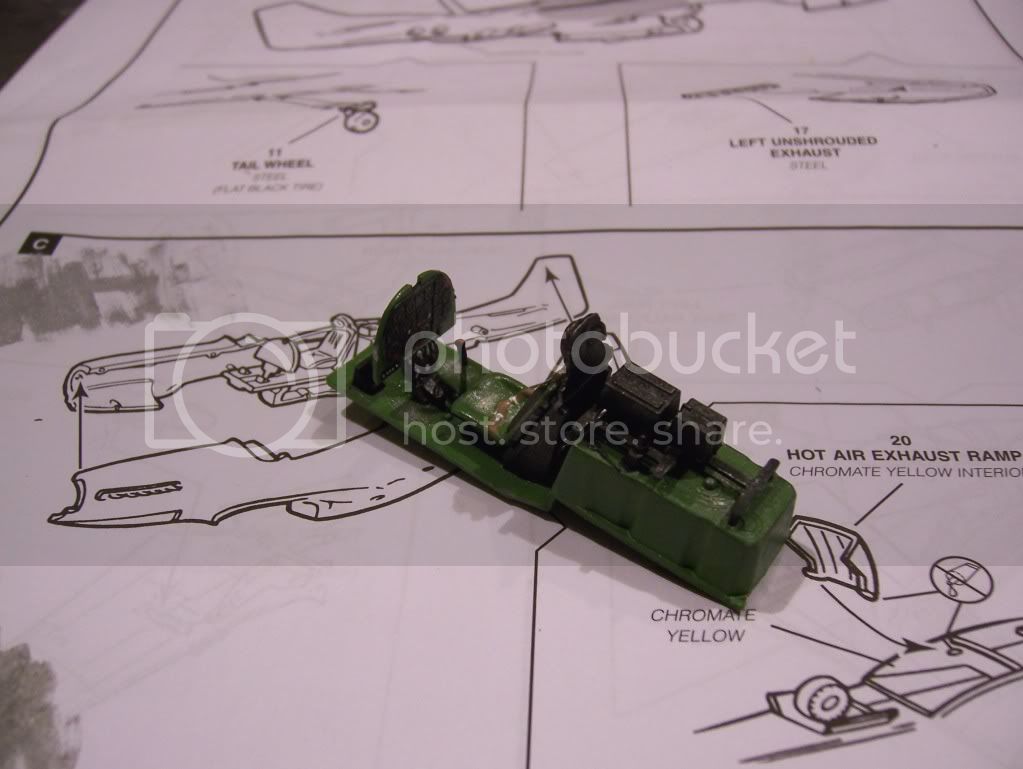
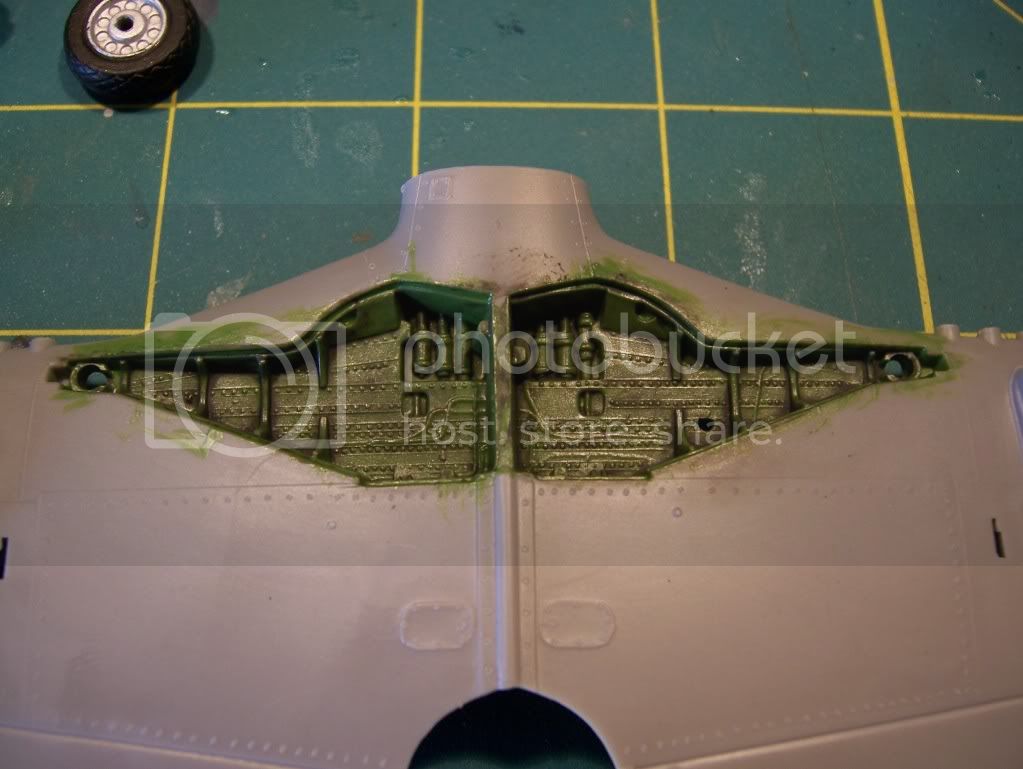
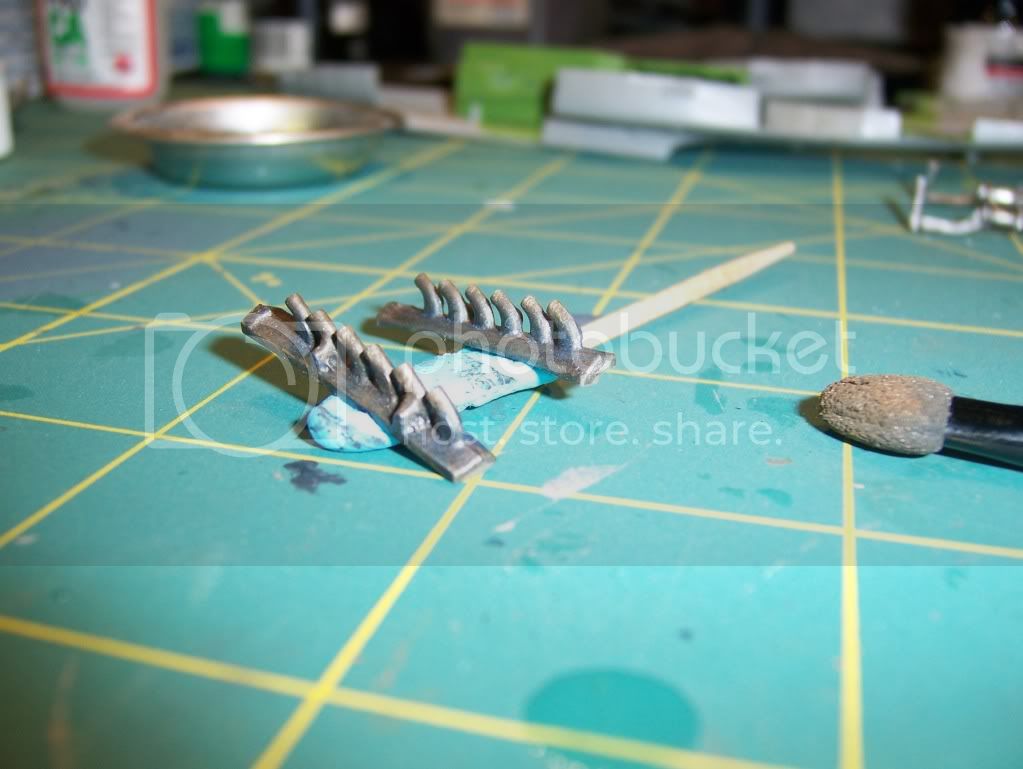
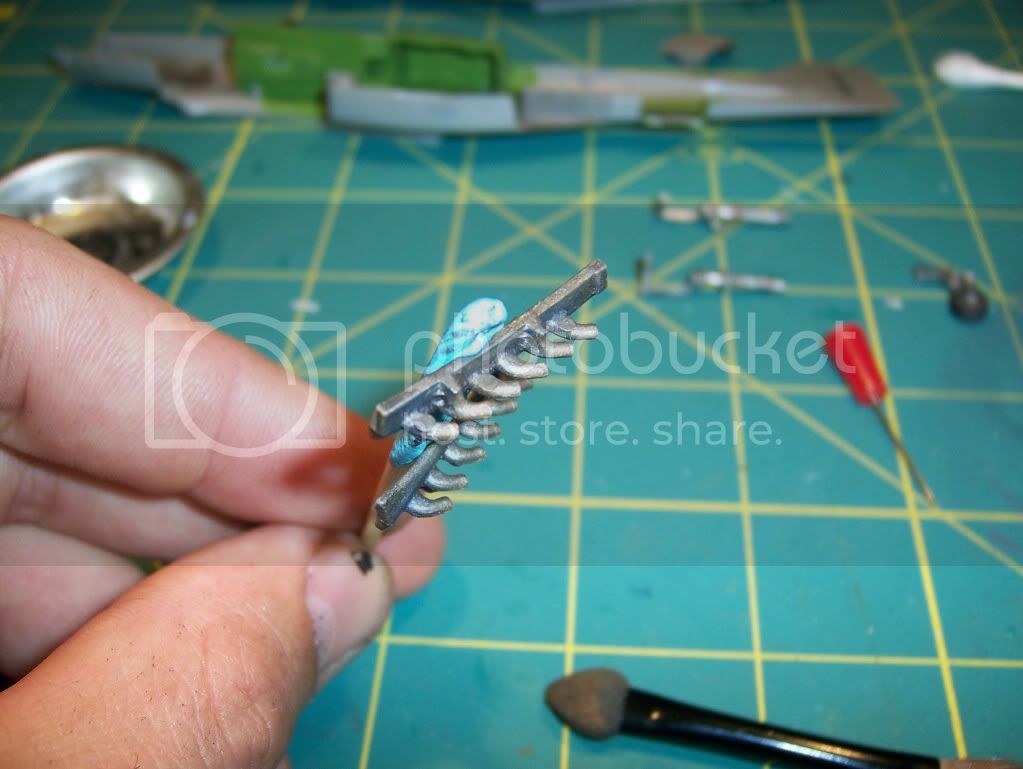
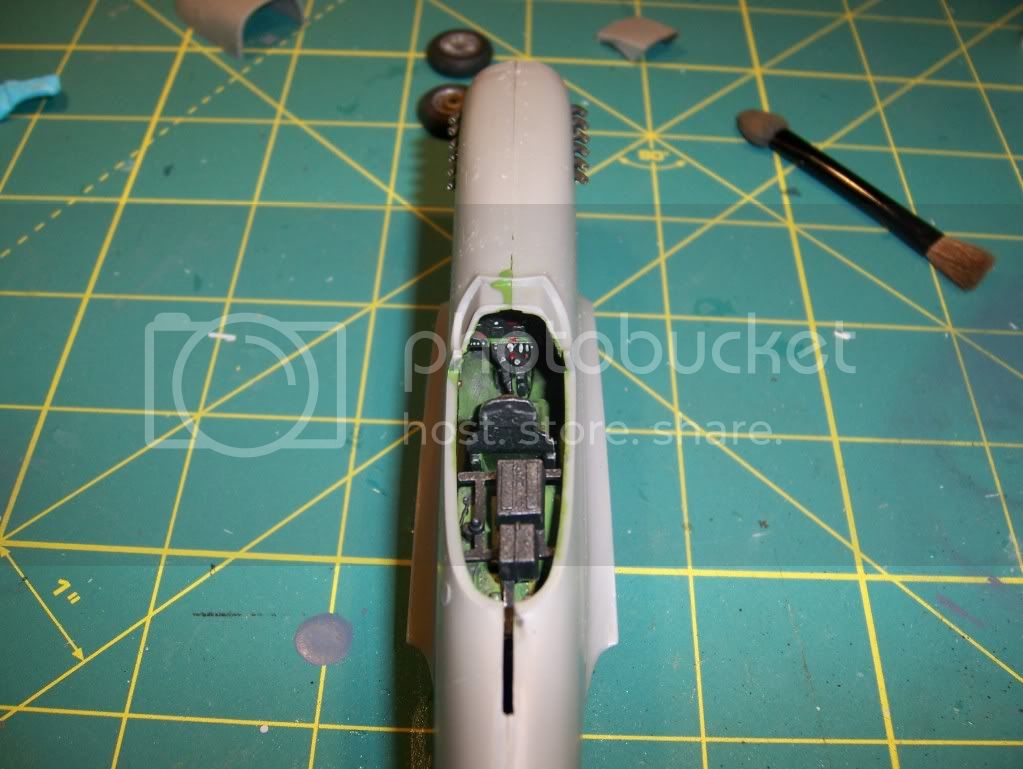
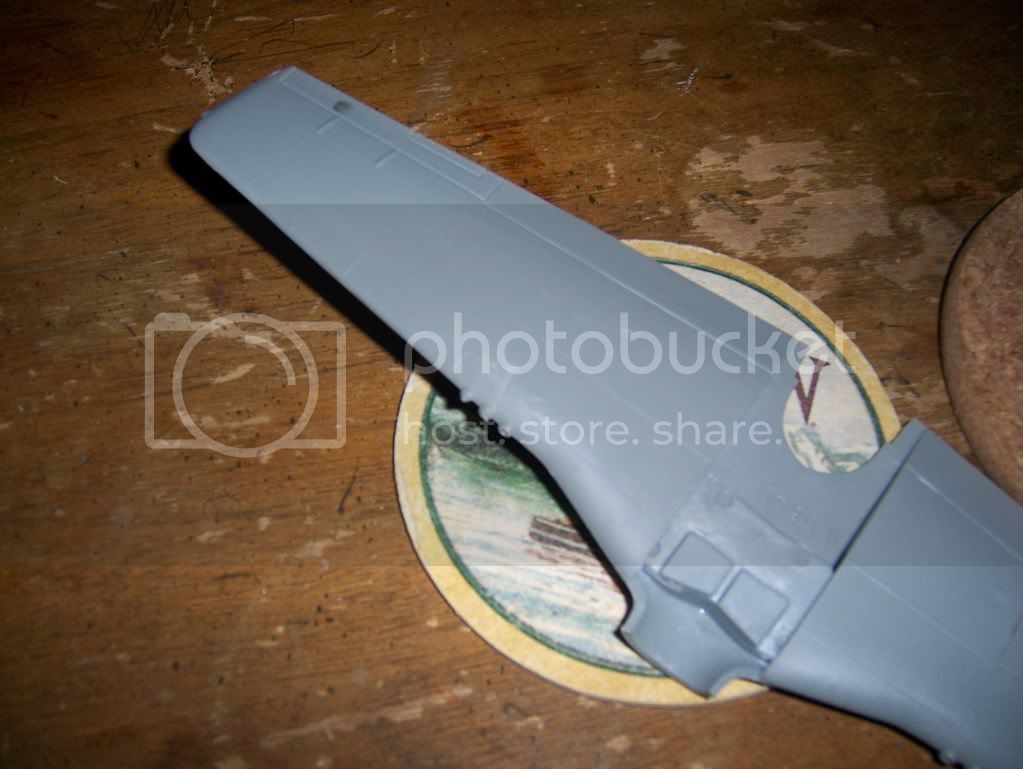
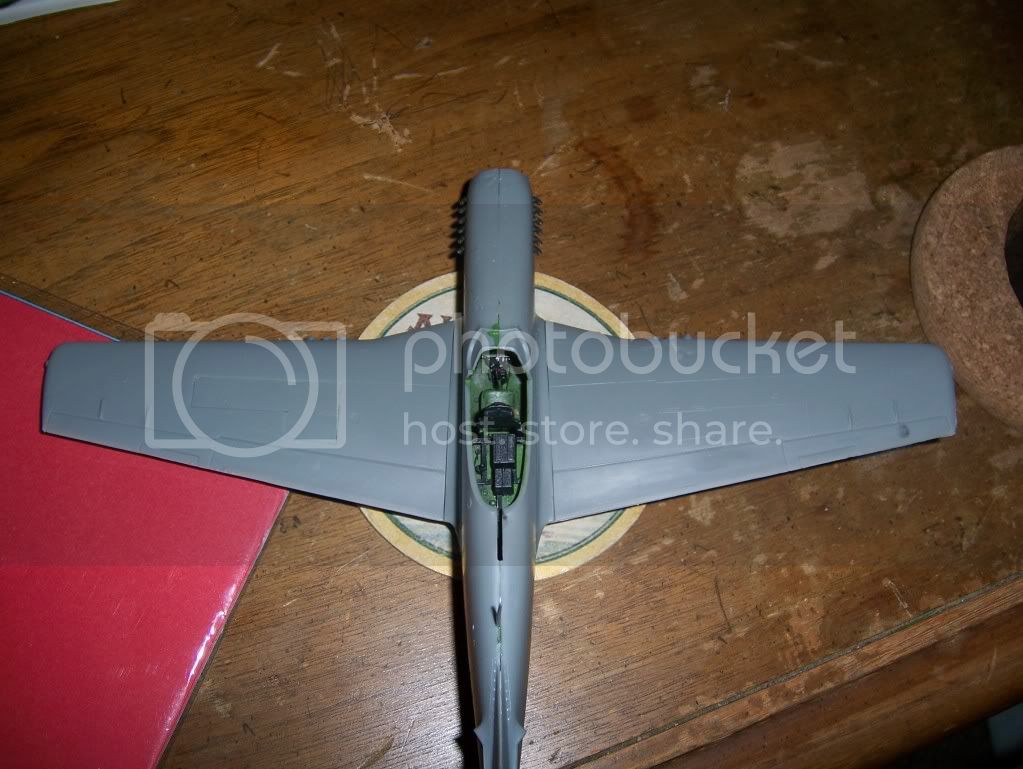
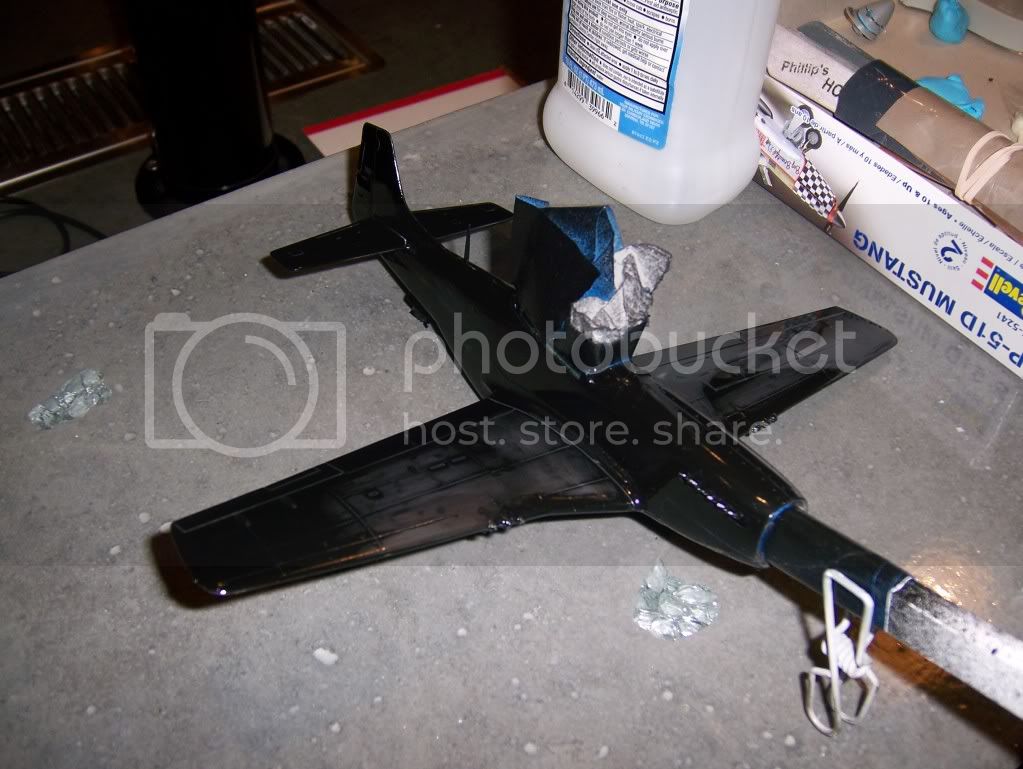
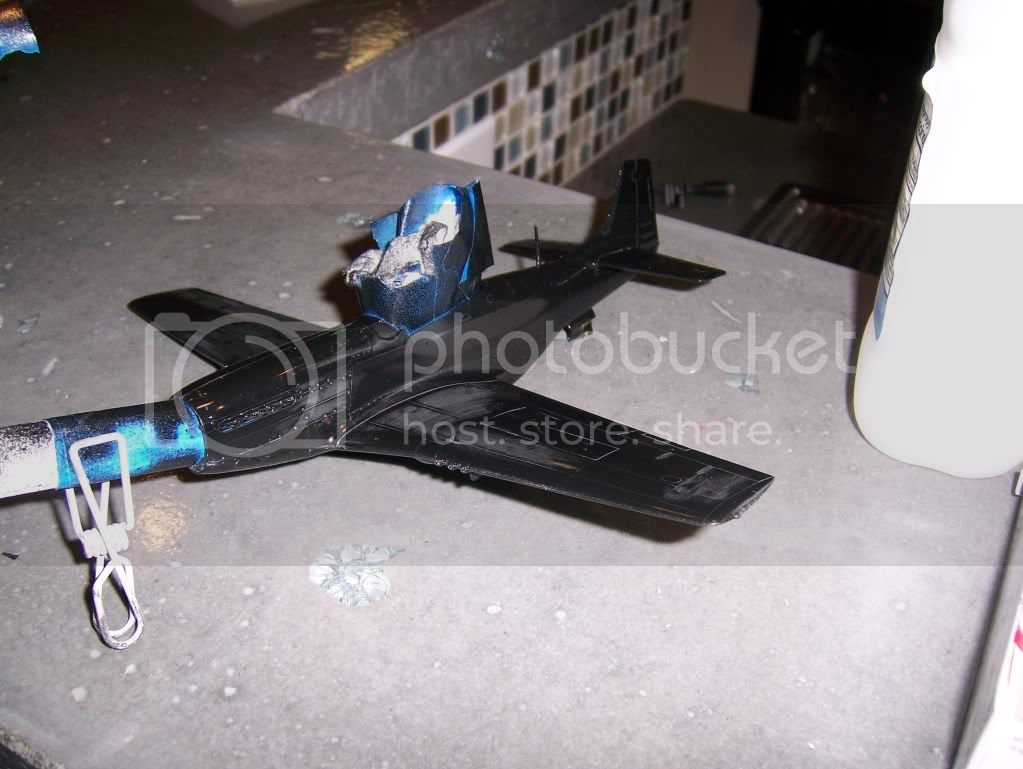
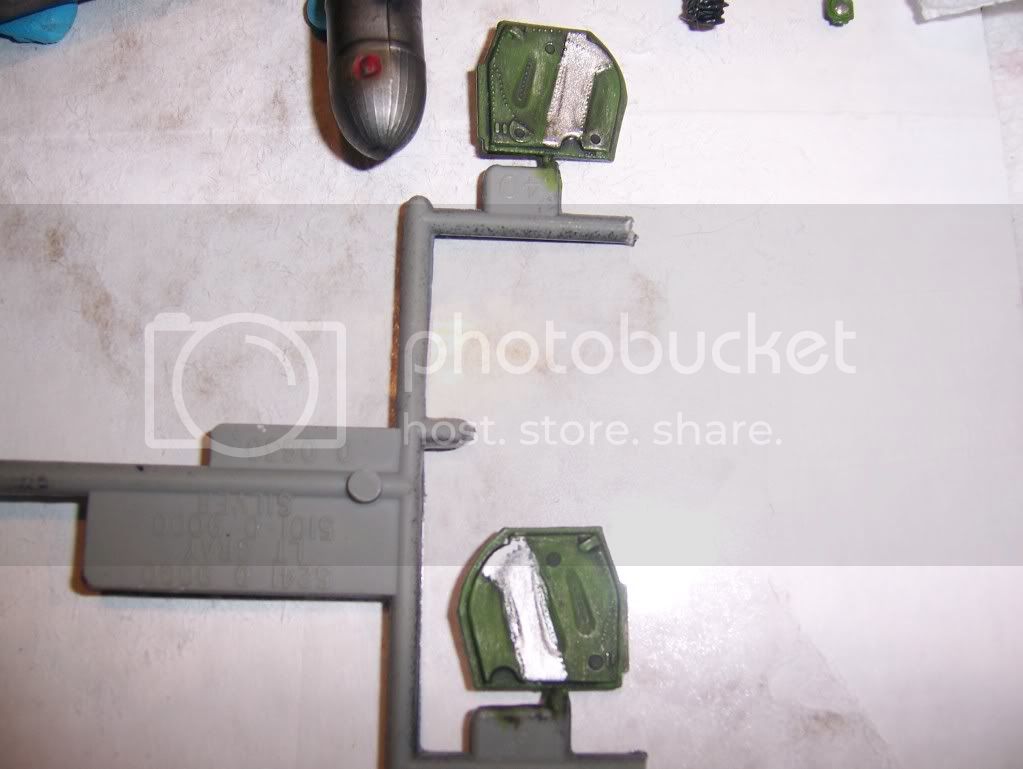
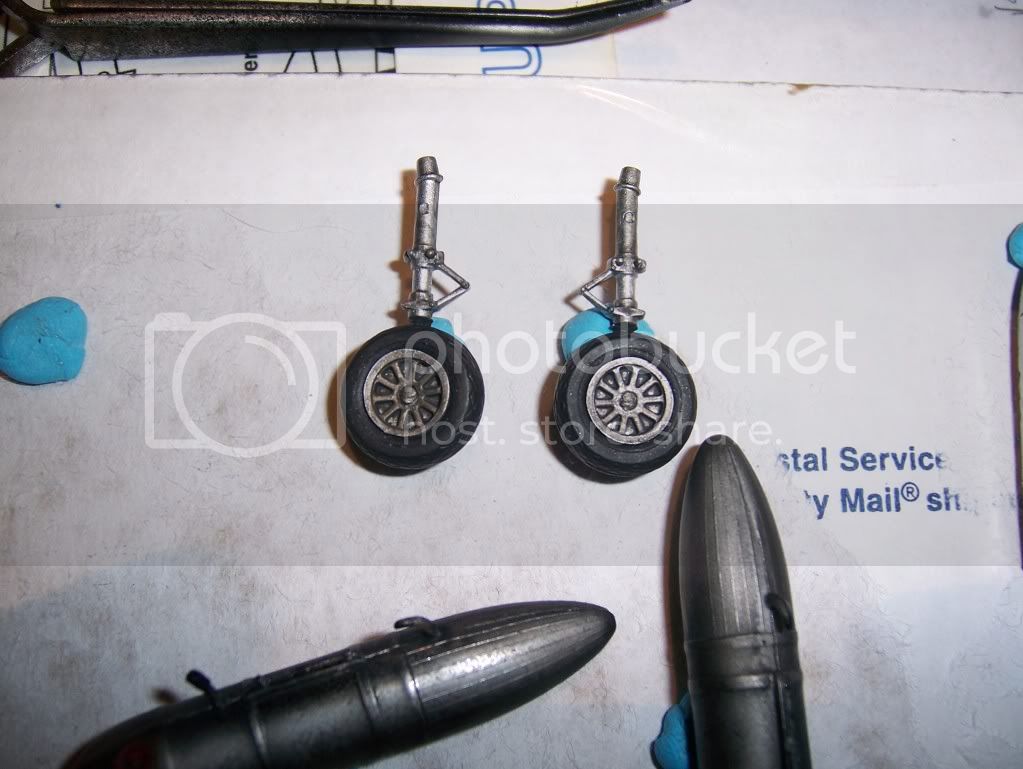
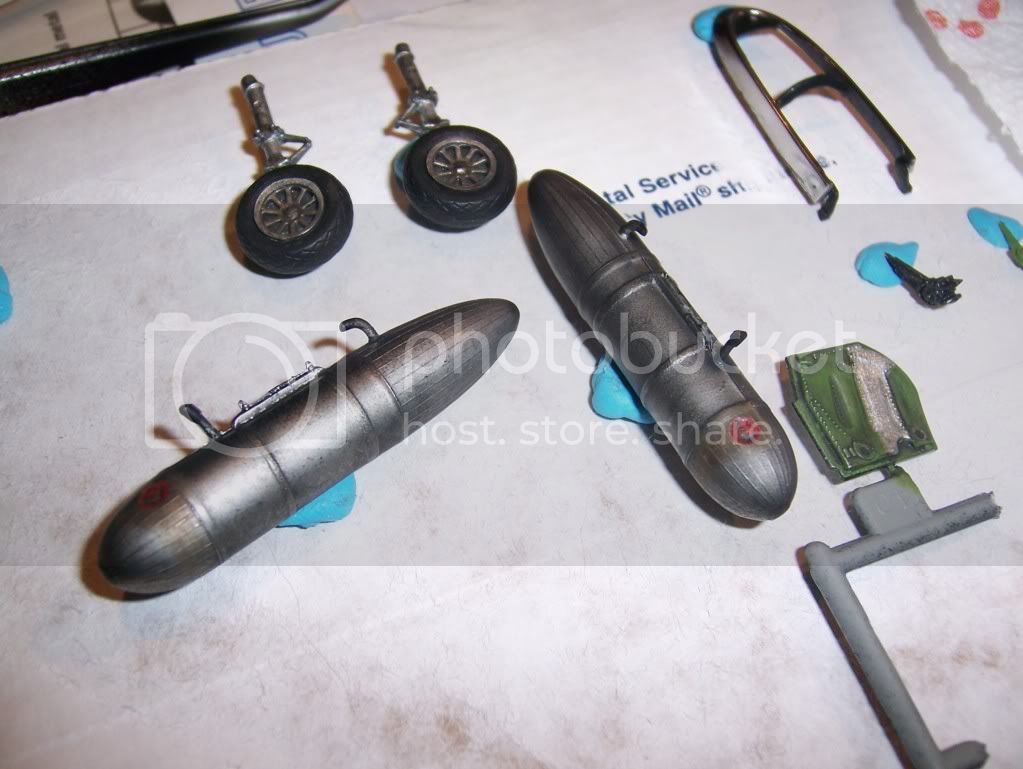
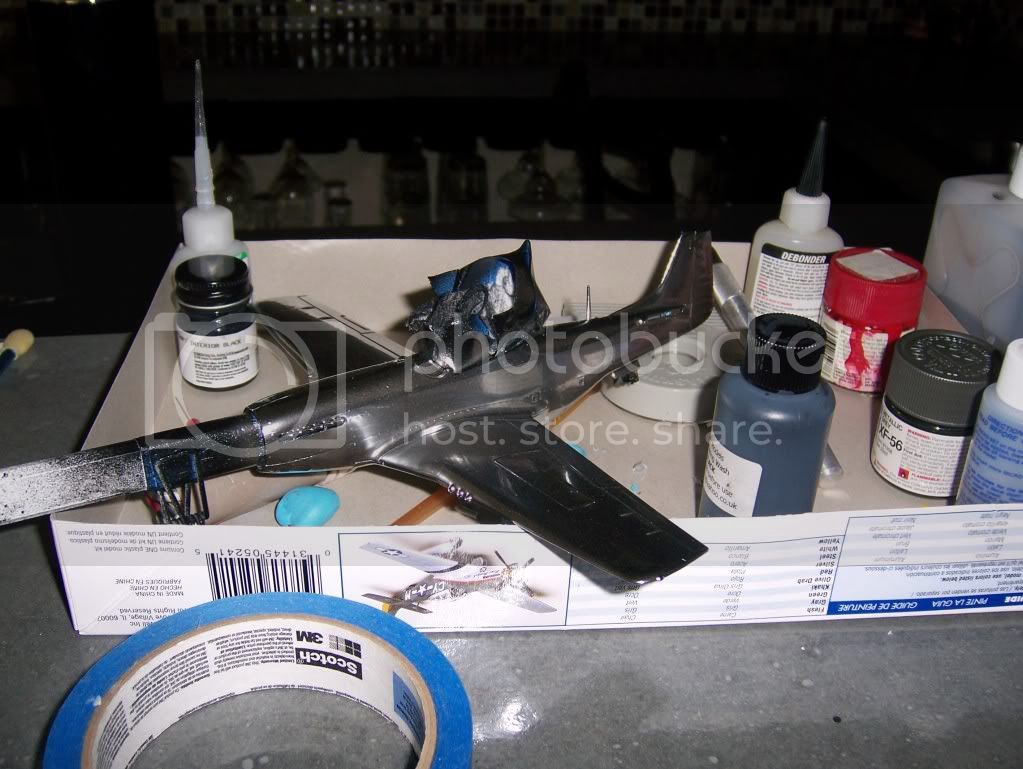
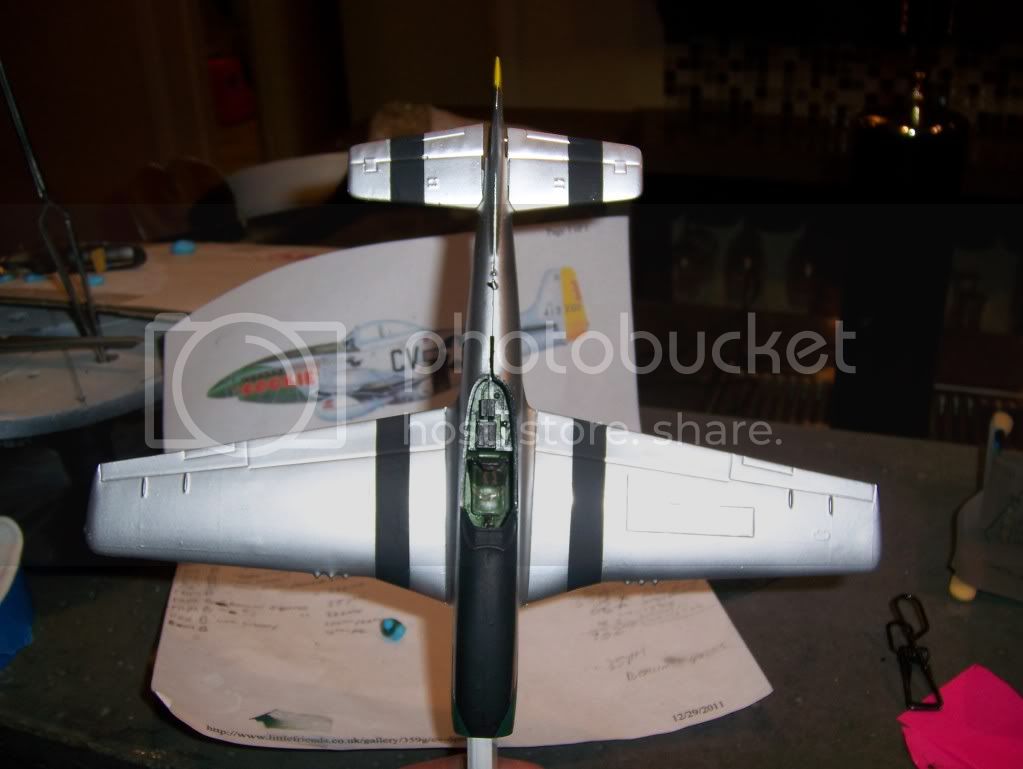
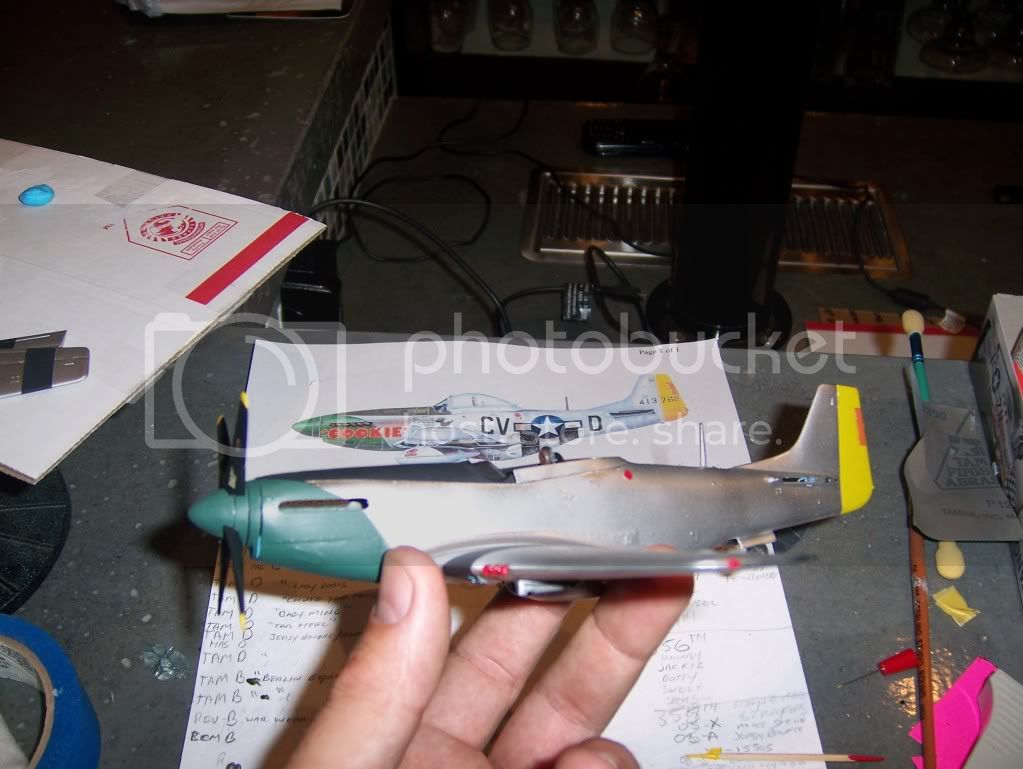
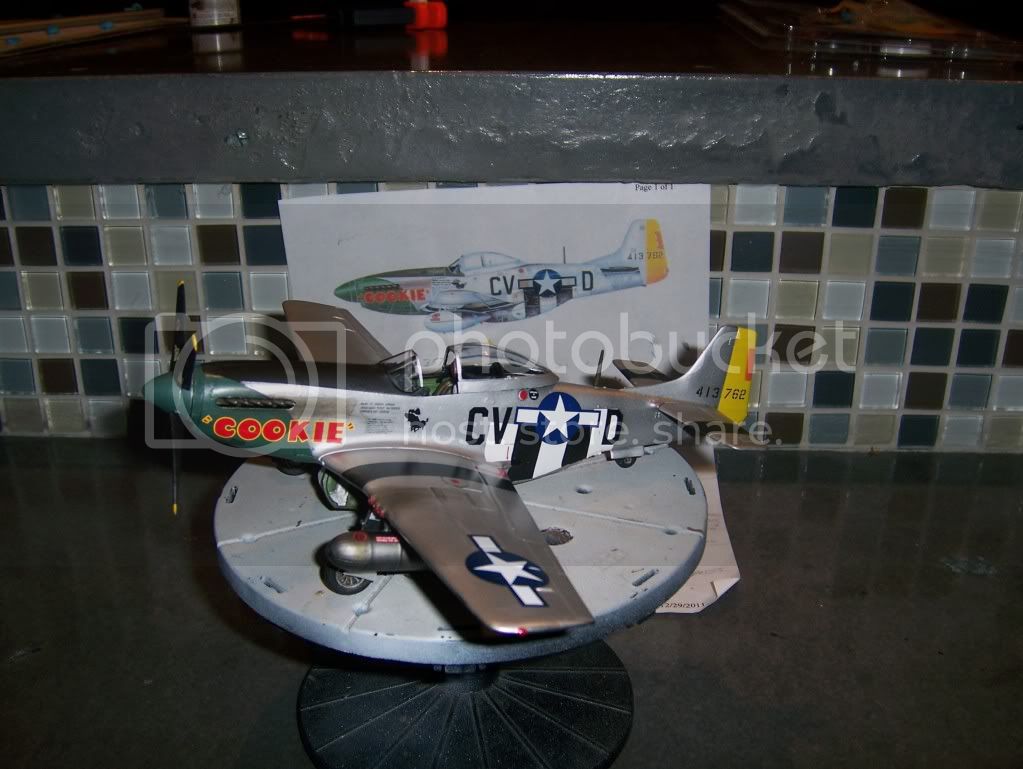
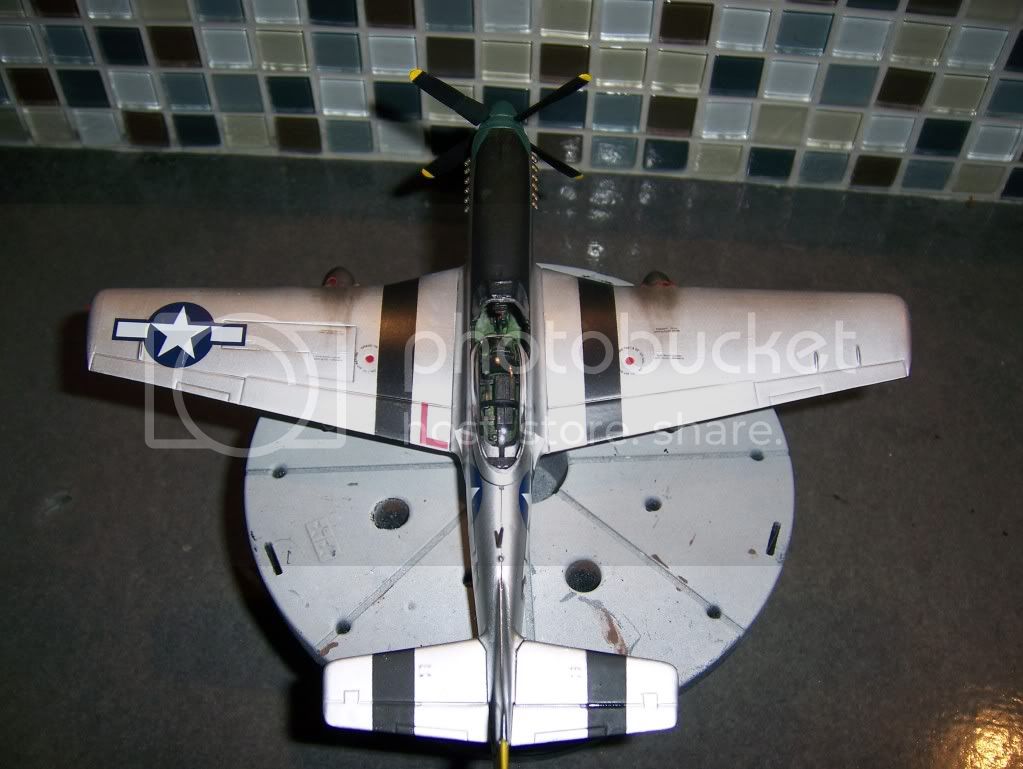
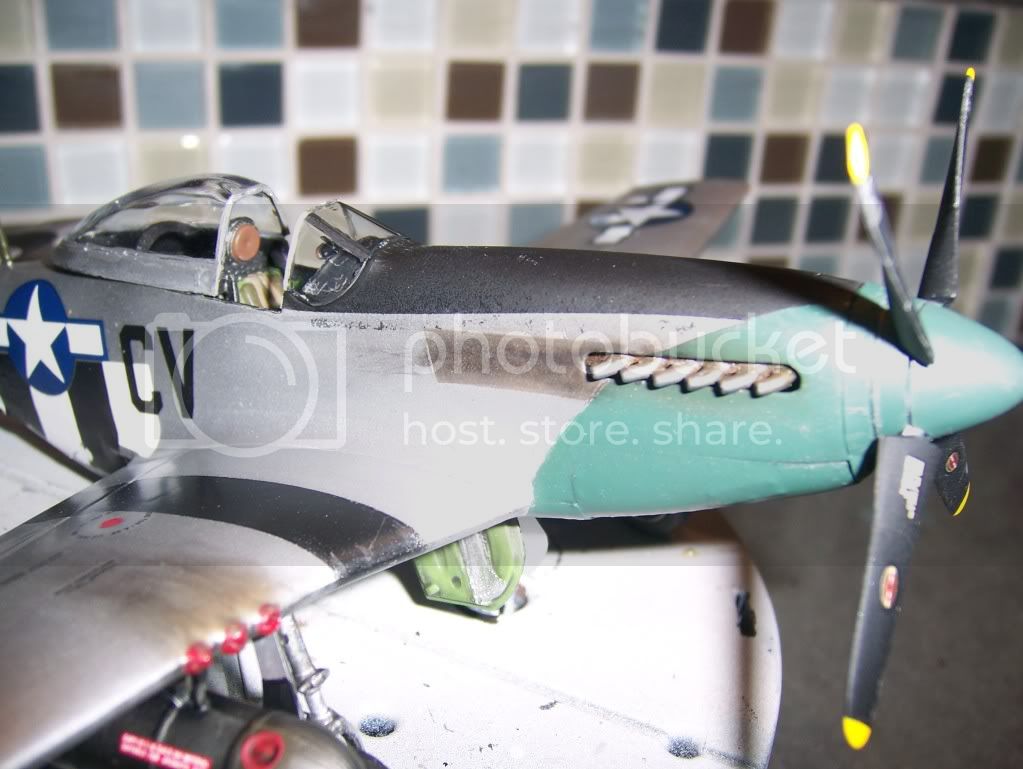
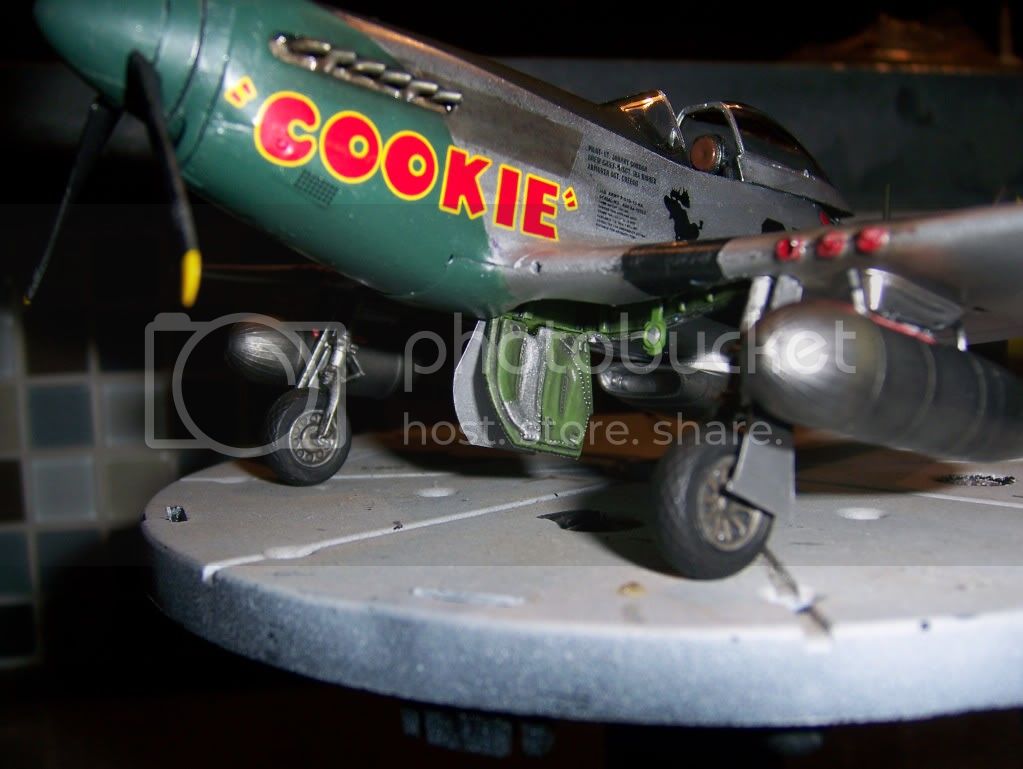
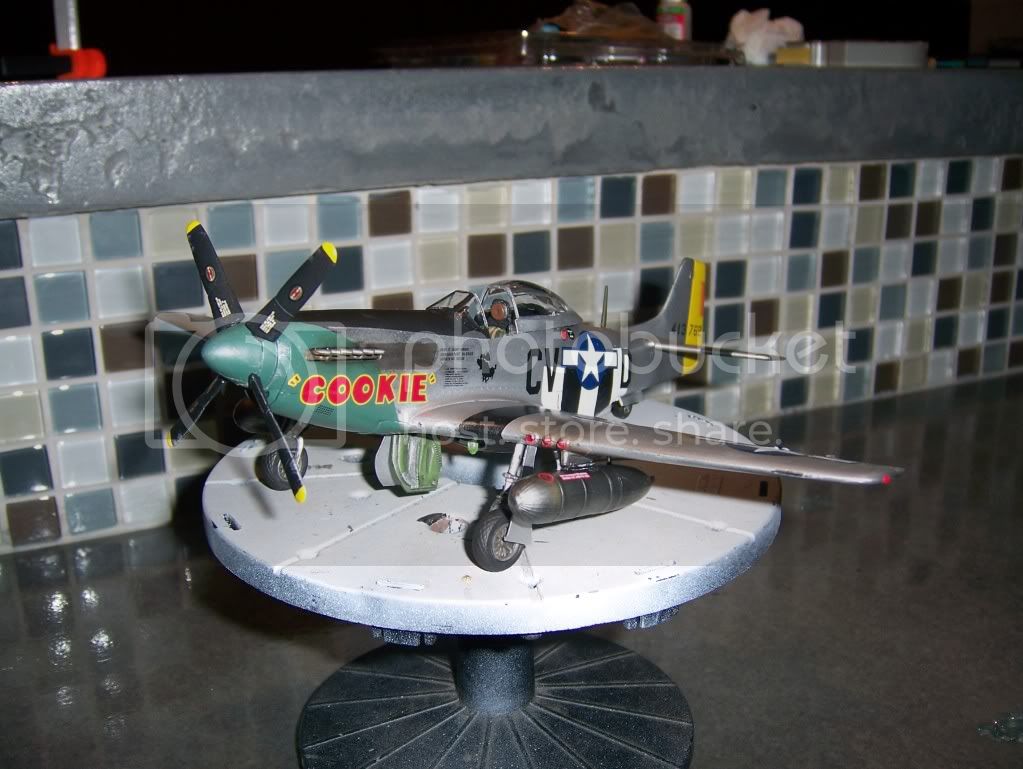
Now I fixed the crack and the gun port, the only thing is filling that gaps between the guns. Since this is my first attempt at a natural metal finish I have searched all over for tips. So this was my plan after I assembled, I masked it all off minus the exhausts which ill have to redo. then I washed the kit. let it thoroughly dry, then scrubbed with ISo Alcohol o get rid of finger prints and stuff. Primered the model with Model Master Gloss Black, and my Paints were either MM Metalizer Aluminum Plate or Alclad II Airframe Aluminum, I chose the Alcad. Now I am at a stumbling block, because I did the tanks and gear doors and they came out great, but really really shiny, almost too shiny.

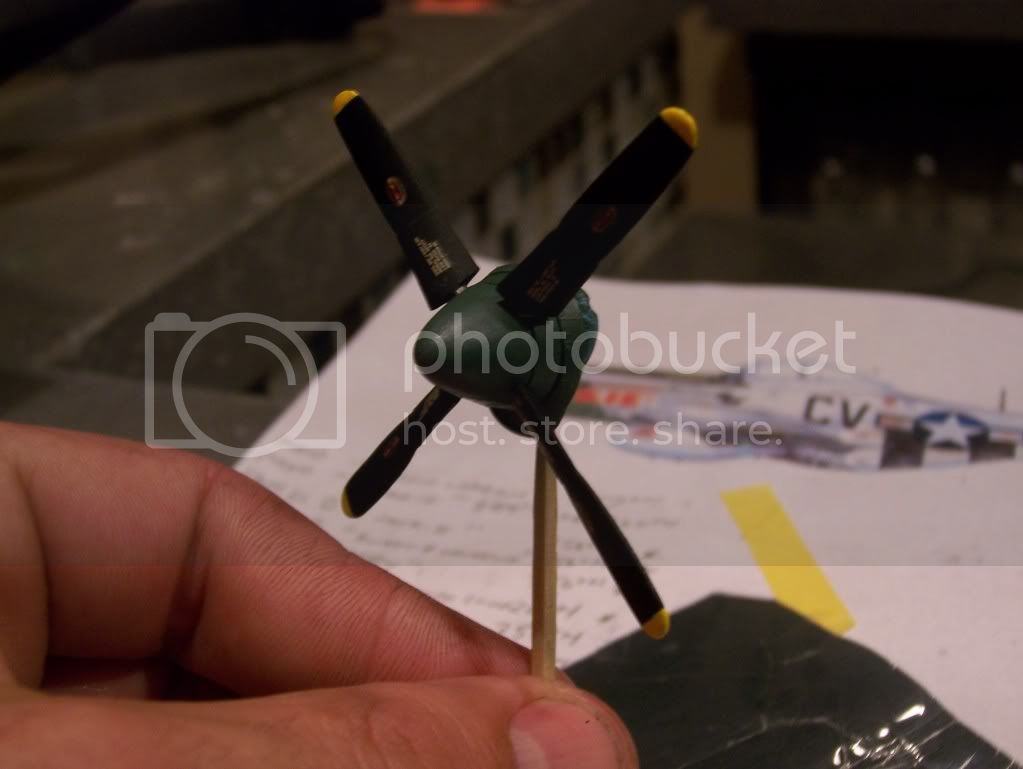
Also the Gloss Has a few what looks like dust particles o maybe r tiny tissue particles from the cleaning with alcohol. Any Ideas how to get that of of the gloss?? anyway here are some pics.


Thundergrunt
_VISITCOMMUNITY
California, United States
Joined: November 01, 2009
KitMaker: 657 posts
AeroScale: 35 posts
Posted: Tuesday, January 03, 2012 - 06:28 PM UTC
Ok here is an Update I got the dust and pebbly stuff all sanded down, and re sprayed. I finished the Tanks, the Ldg Gear, Prop and gear doors. Next up is first coats of Alclad. :woot.gif: Critiques welcomed.

Eugene


Thundergrunt
_VISITCOMMUNITY
California, United States
Joined: November 01, 2009
KitMaker: 657 posts
AeroScale: 35 posts
Posted: Thursday, January 05, 2012 - 03:55 PM UTC
Here is an update the Alclad Airframe Aluminum is sprayed, Im masking off the Anti glare and Tail, and Debating about the invasion stripes to use decal or paint. And I still think she is too shinny. Im wondering how to scale the shine down.


jjasmine
_VISITCOMMUNITY
Connecticut, United States
Joined: January 16, 2011
KitMaker: 112 posts
AeroScale: 29 posts
Posted: Thursday, January 05, 2012 - 05:09 PM UTC
I have this same kit in my stash. I have been watching this build with keen interest. I think your work is excellent and I plan on using this thread as a reference when I build the kit.

Great Work !!!
Jessie_C
_VISITCOMMUNITY
British Columbia, Canada
Joined: September 03, 2009
KitMaker: 6,965 posts
AeroScale: 6,247 posts
Posted: Thursday, January 05, 2012 - 05:14 PM UTC
A thin misting of dullcote or other clear flat would probably knock the shine down to something more realistic. Perhaps practise on a scrap model first to get the hang of it.
Thundergrunt
_VISITCOMMUNITY
California, United States
Joined: November 01, 2009
KitMaker: 657 posts
AeroScale: 35 posts
Posted: Sunday, January 08, 2012 - 04:55 PM UTC
Ok getting there my first mustang is almost done, here are some pics, I couldnt dull done the previous Alclad so I bought some Vallejo Model Air Alumminun paint, which I love the color but it jacked up my airbrush some how, I had to spray at like 25-30 psi just to get the finish i have now, I even cleaned, a full tear down twice. but anyway here are some pics let me know what you guys think.


Thundergrunt
_VISITCOMMUNITY
California, United States
Joined: November 01, 2009
KitMaker: 657 posts
AeroScale: 35 posts
Posted: Monday, January 09, 2012 - 09:41 AM UTC
Critiques and tips I do appreciate..
amegan
#243
_VISITCOMMUNITY
England - North East, United Kingdom
Joined: March 21, 2008
KitMaker: 996 posts
AeroScale: 915 posts
Posted: Tuesday, January 10, 2012 - 08:44 AM UTC
I've just read through your thread and I was very impressed by the alclad finish. Natural finish aircraft kept polished do look very bright but corrosion and dirt affect them quickly. I liked the bright look. Iuse a liquid solvent adhesive called Plas-Weld, by far the best I have ever used, espescially with a Touch-n-Flo tool. Like the model so far, keep going

Thundergrunt
_VISITCOMMUNITY
California, United States
Joined: November 01, 2009
KitMaker: 657 posts
AeroScale: 35 posts
Posted: Tuesday, January 10, 2012 - 07:11 PM UTC
Greeting everyone

Here is my First P-51 Mustang. I chose the revell 1/48 P-51D as my skills are no that good so I did not want to wreck a tamiya. The build for me was tough, the plastic was very soft in spots and very thick in others. This is also my first attempt at a metal finish, which was a chore in itself I dont know how many times i had to re spray because of the paint coat peeling up, the green is my own mix of sea blue, medium green,euro I green and a ouch of white. The invasion stripes a absoultey horrible they cracked and disinegrated this morning when I found them after drying over night I tried to re hydrate them but the finish was coming of so I basically said screw it. so I know to use paint next time.I painted with alclad airframe aluminum, model air aluminum, Anyway I Hope you all like this kit from 1977. oh yeah Decals are from aeromaster.

Lt. John Gordon
P-51D 368th Fighter Squadron
359th Fighter Group
East Wretham, England 1944


Jessie_C
_VISITCOMMUNITY
British Columbia, Canada
Joined: September 03, 2009
KitMaker: 6,965 posts
AeroScale: 6,247 posts
Posted: Wednesday, January 11, 2012 - 04:21 AM UTC
Nice triumph over a less than co-operative kit. Now when you do a Tamiya kit you'll be thrilled at the fact that you won't be fighting it every step of the way
 _GOTOTOP