


Doug


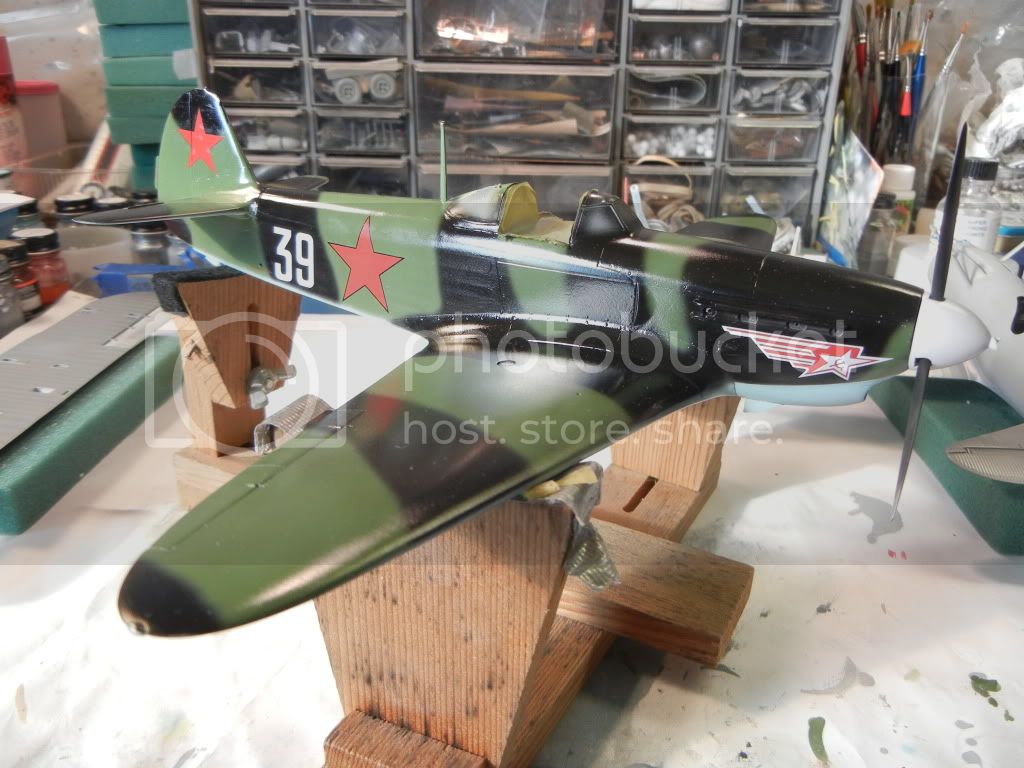
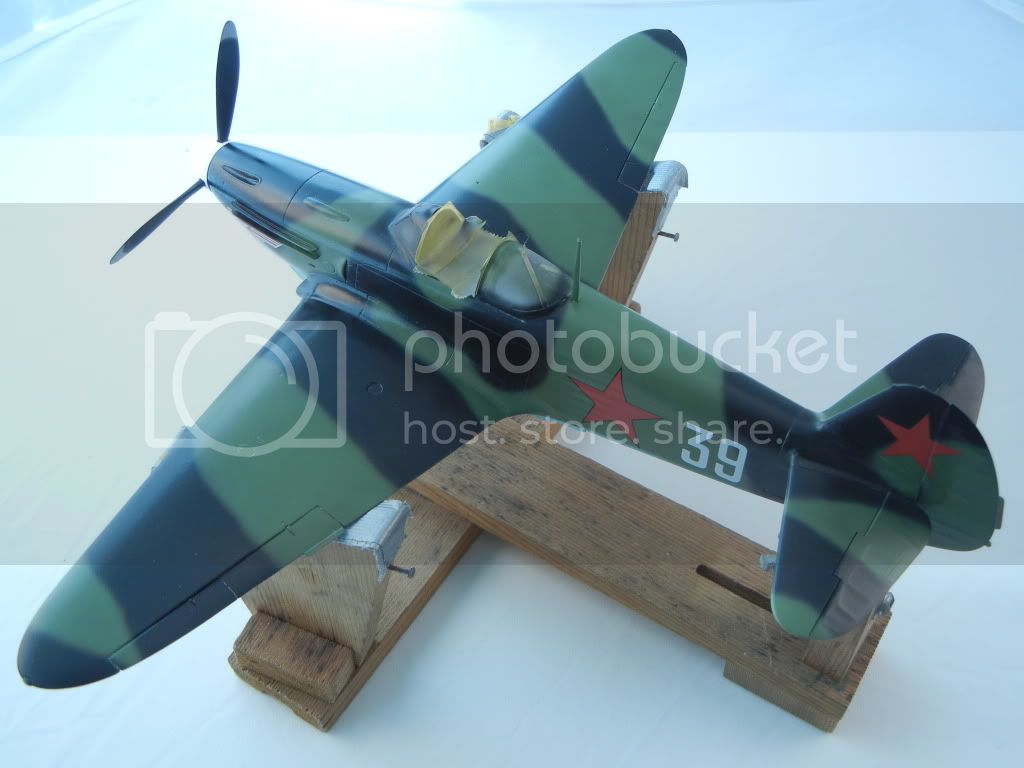
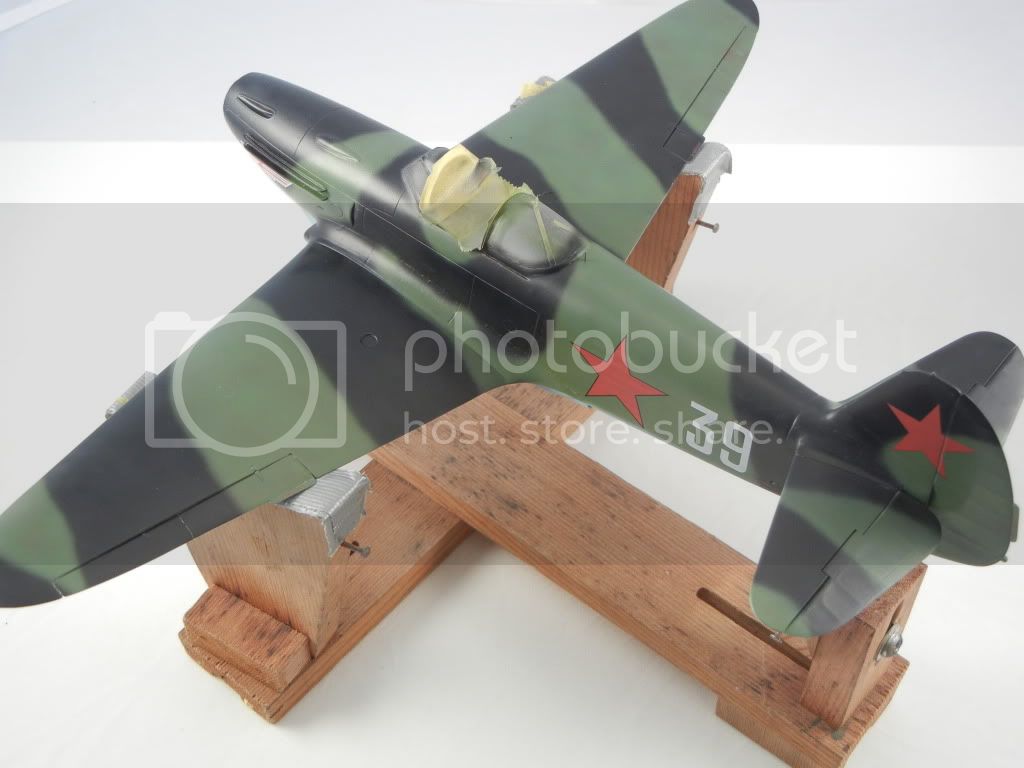
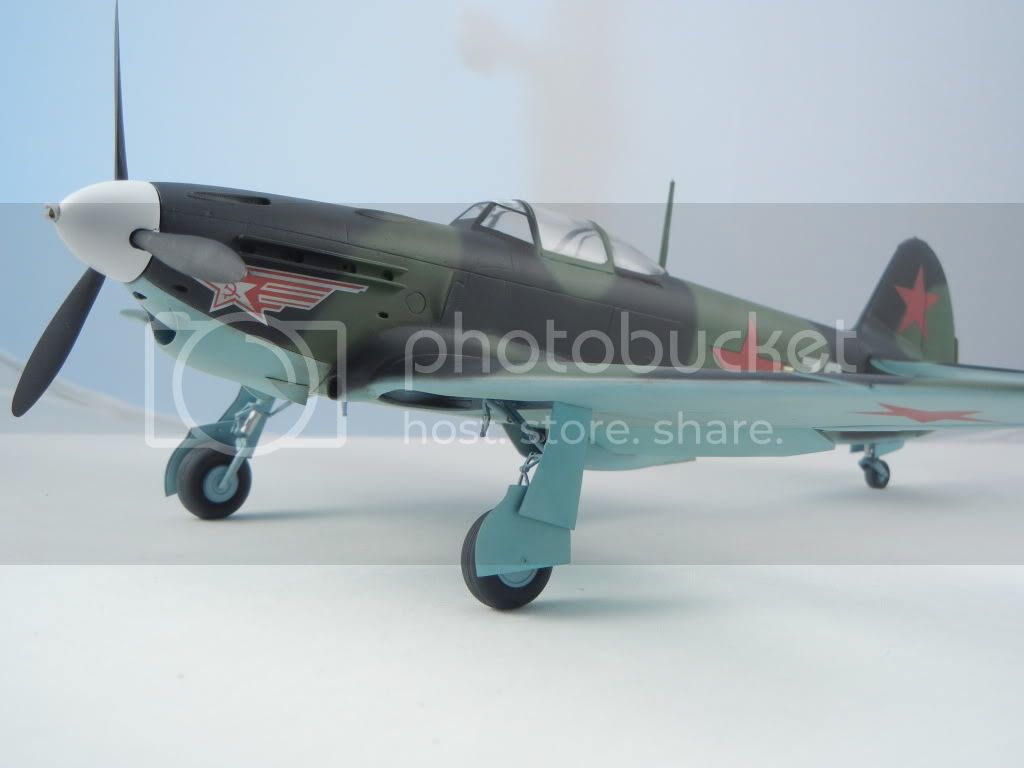
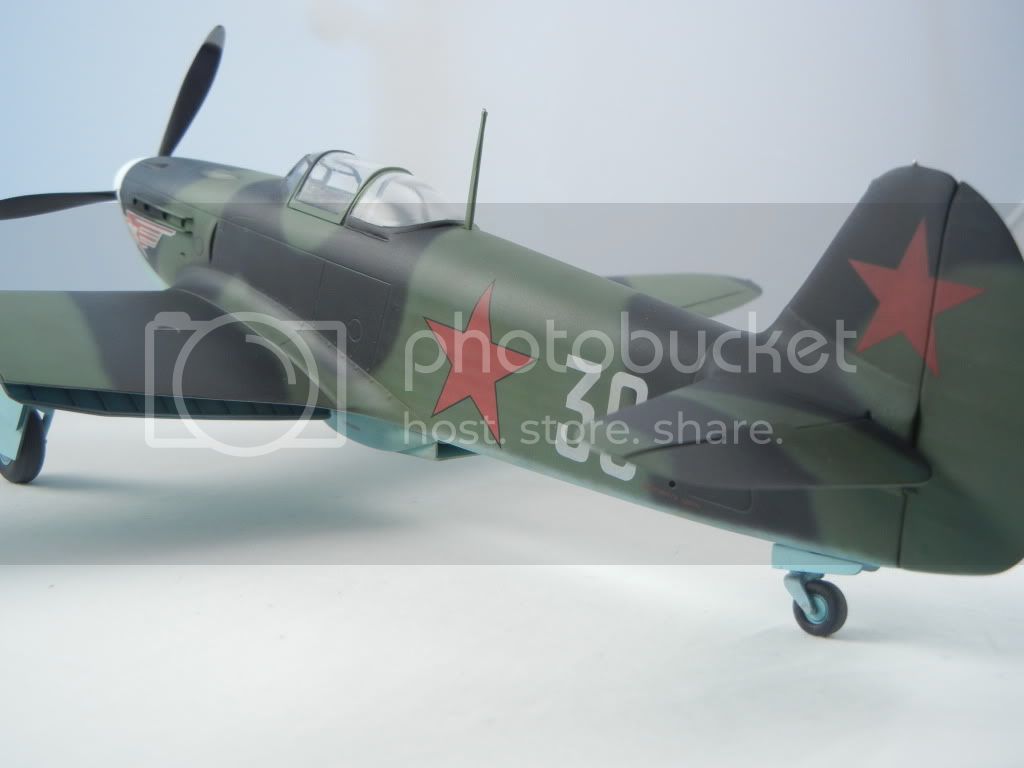
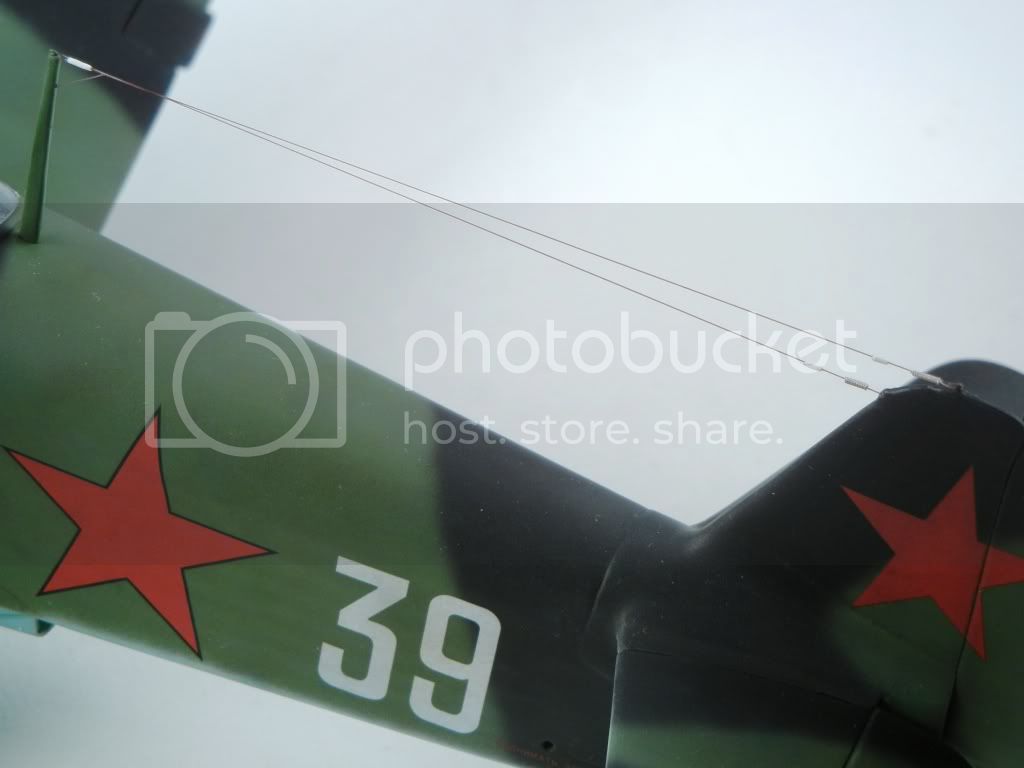
 Lots of things I can be used for! Not too exciting, but at least I can get moving again on this build! Here is how she looks with her markings on:
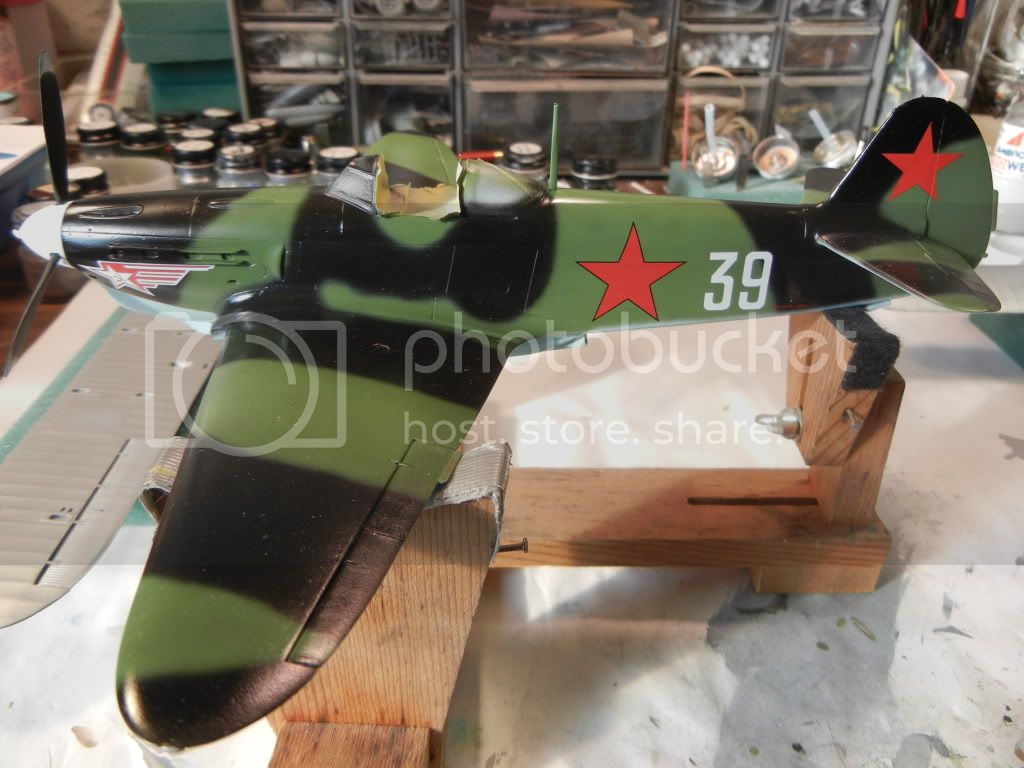
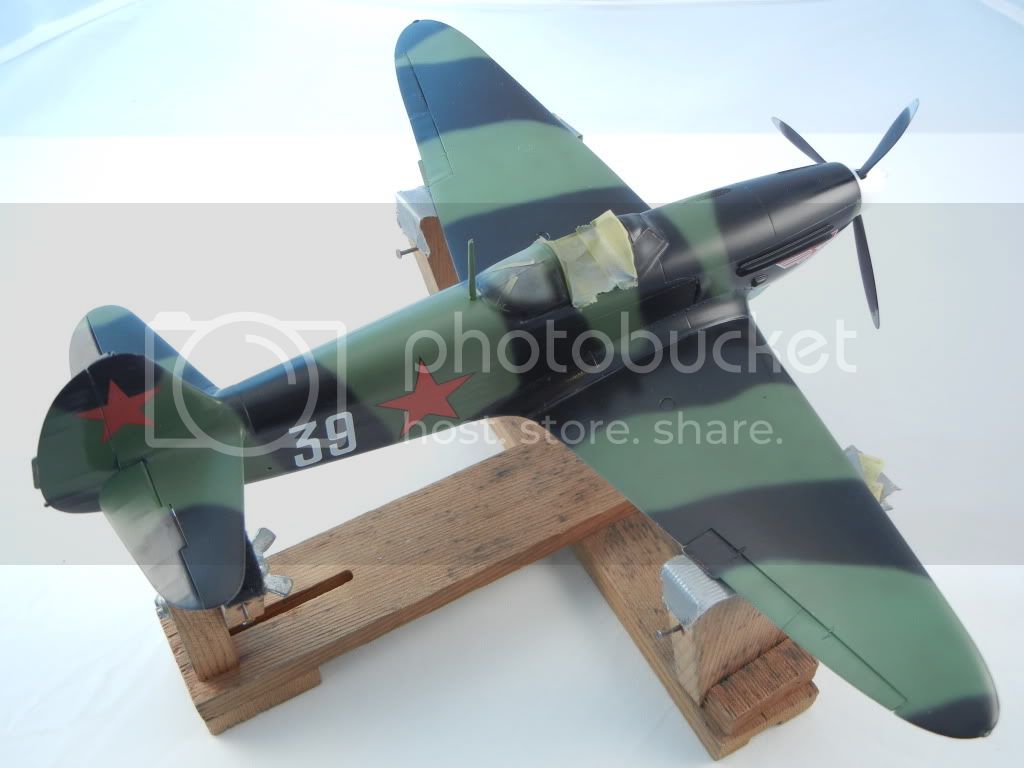
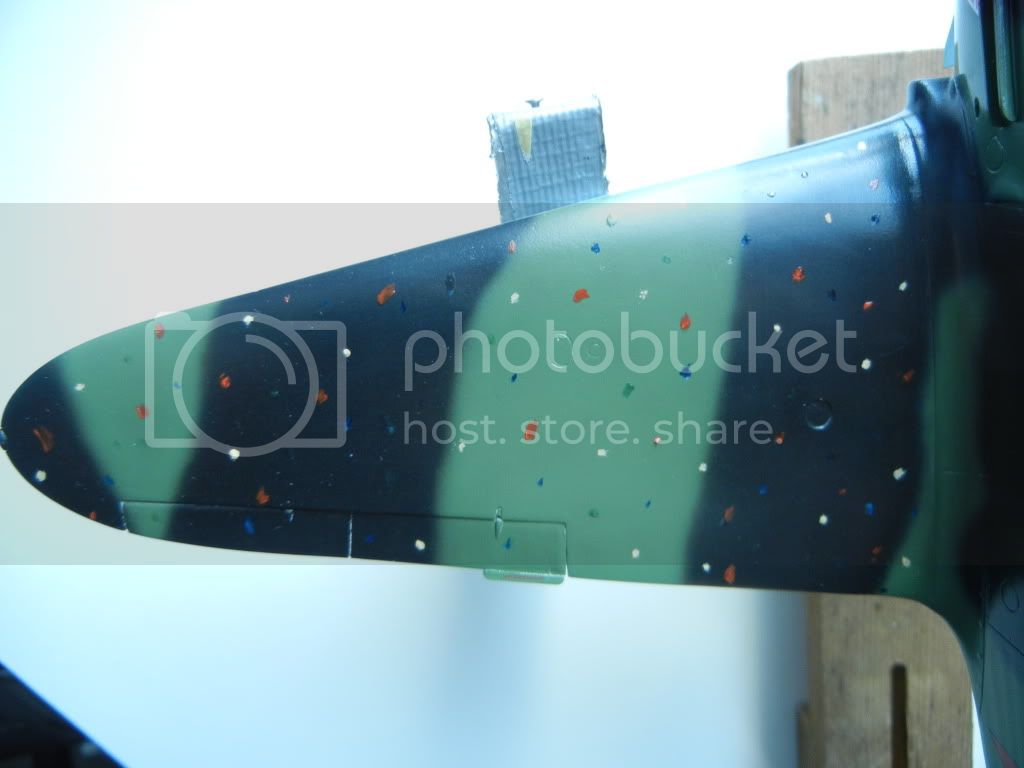
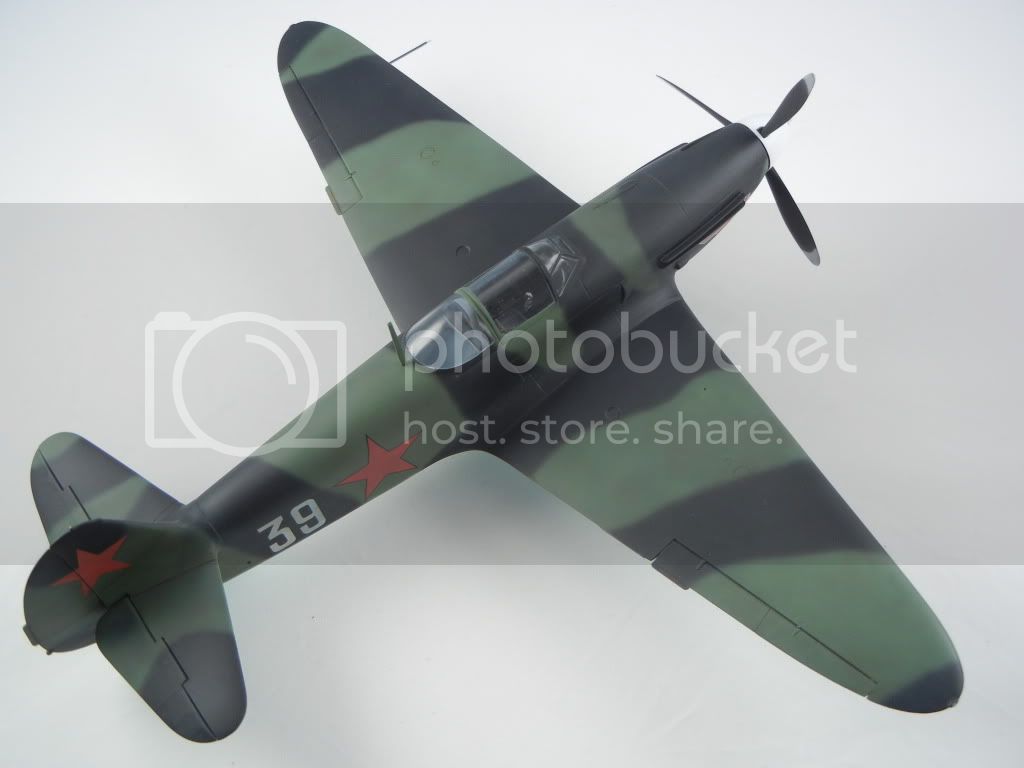
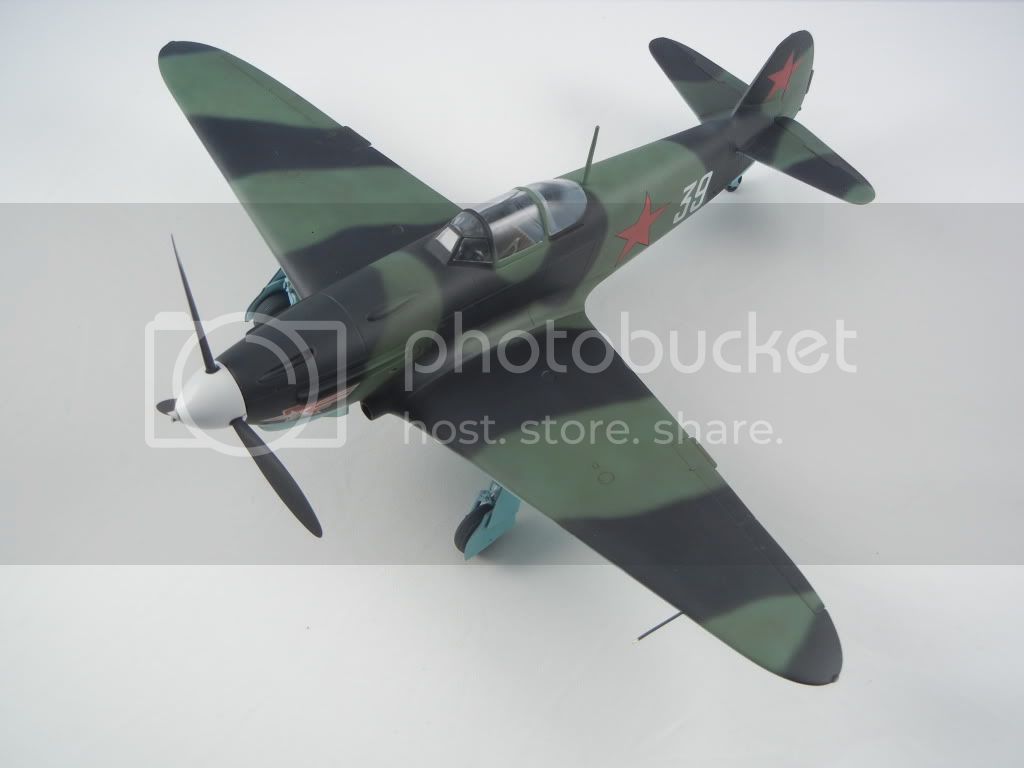
 Next up clearcoat, and then on to a little weathering using the dot filter method.

and then on to a little weathering using the dot filter method.
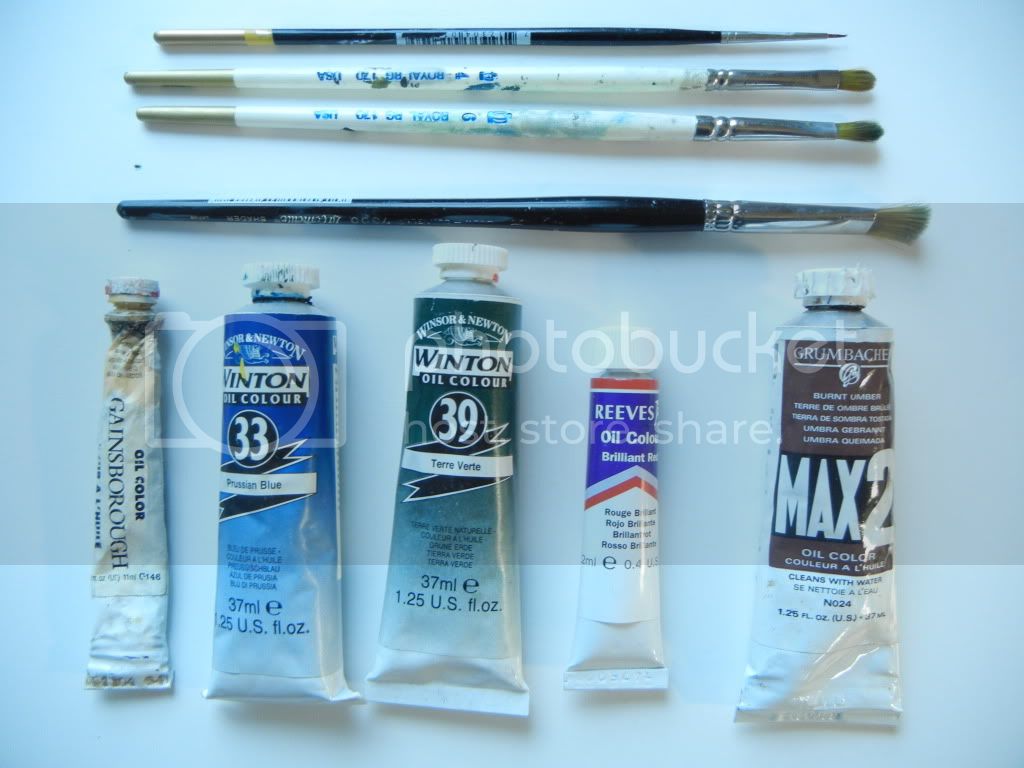
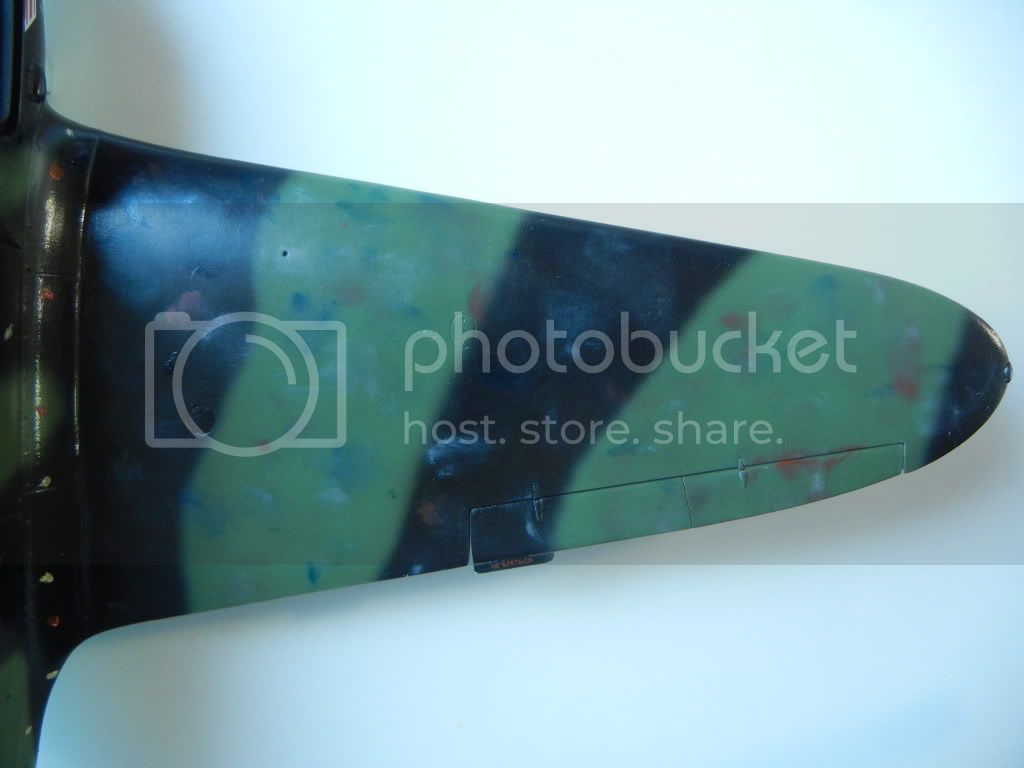
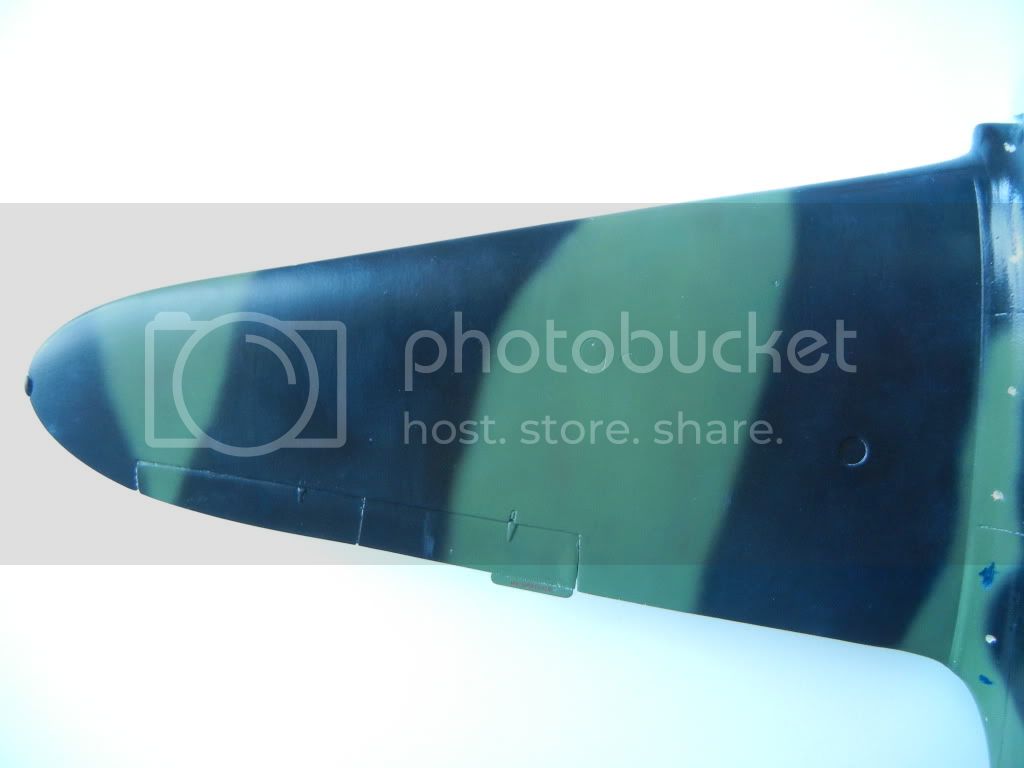
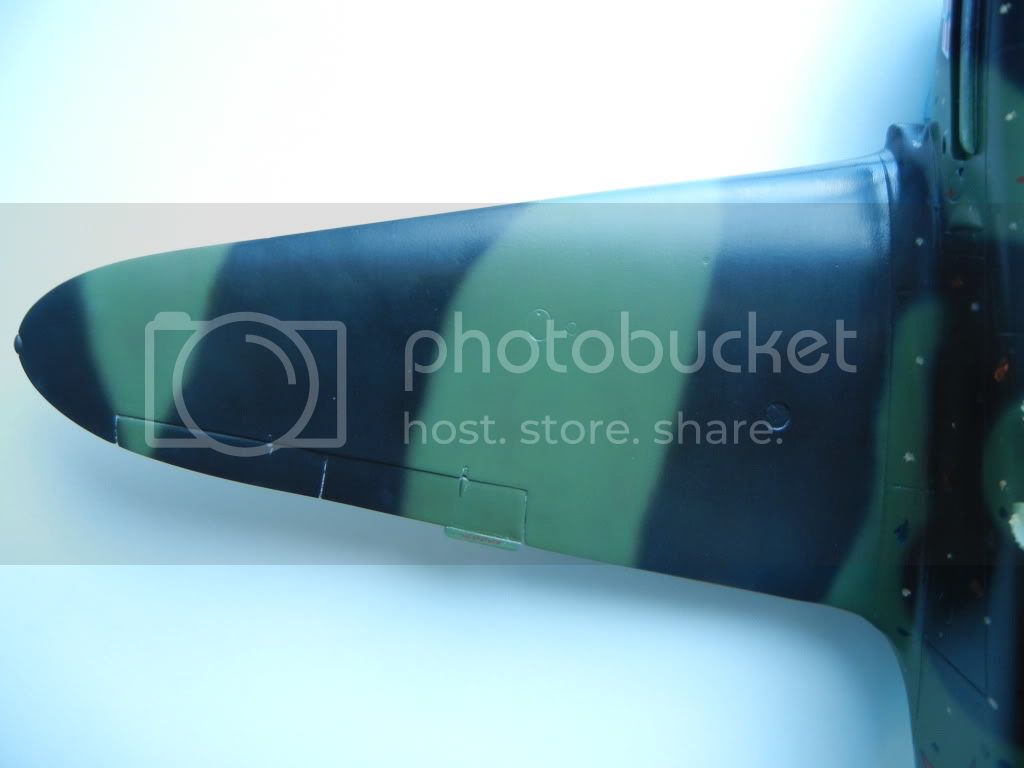
as requested by Damian, I will attempt to share the process in case anyone is interested


Quoted Textas requested by Damian, I will attempt to share the process in case anyone is interested
Thank you sir, I love the effect this technique produces and your tutorial here is very clear. Now I just have to work up the courage to give it a try.
Cheers, D
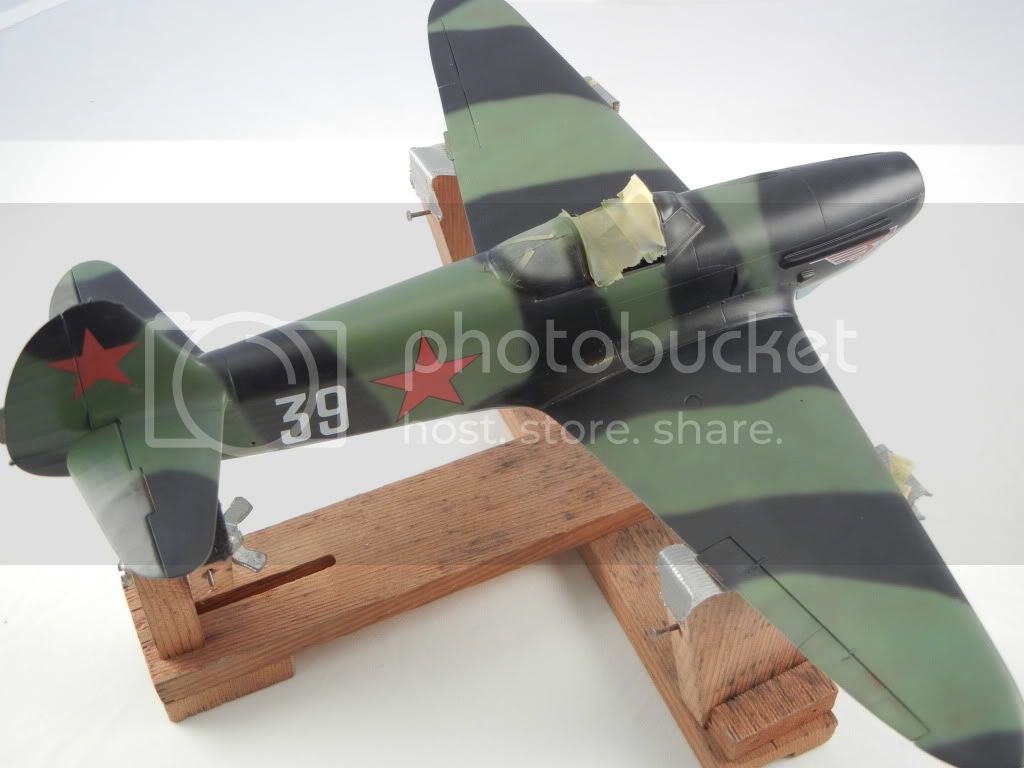
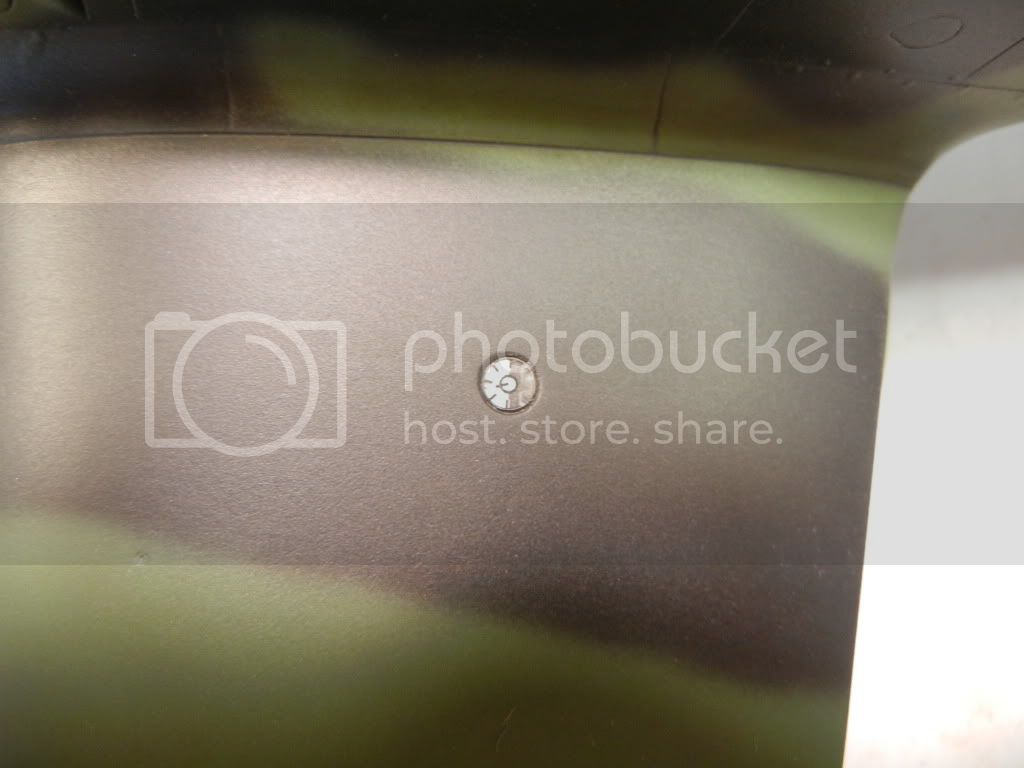
I suggest you have at it sir! The good thing is that if you put oils over an acrylic clear coat, you can just wipe them off if you don't like it I finished up the oil dot weathering, as seen above, and then let it dry for a few days. I decided to use a different flat coat (Mr. Color instead of my usual Testor's Dullcoat). I mixed some up, and then tried it on a test piece, which looked good - so I grabbed the model since I had the airbrush all set up and started spraying! All was well until I ended up putting a gouge in the wet flatcoat on the uppersurface of one of the wings 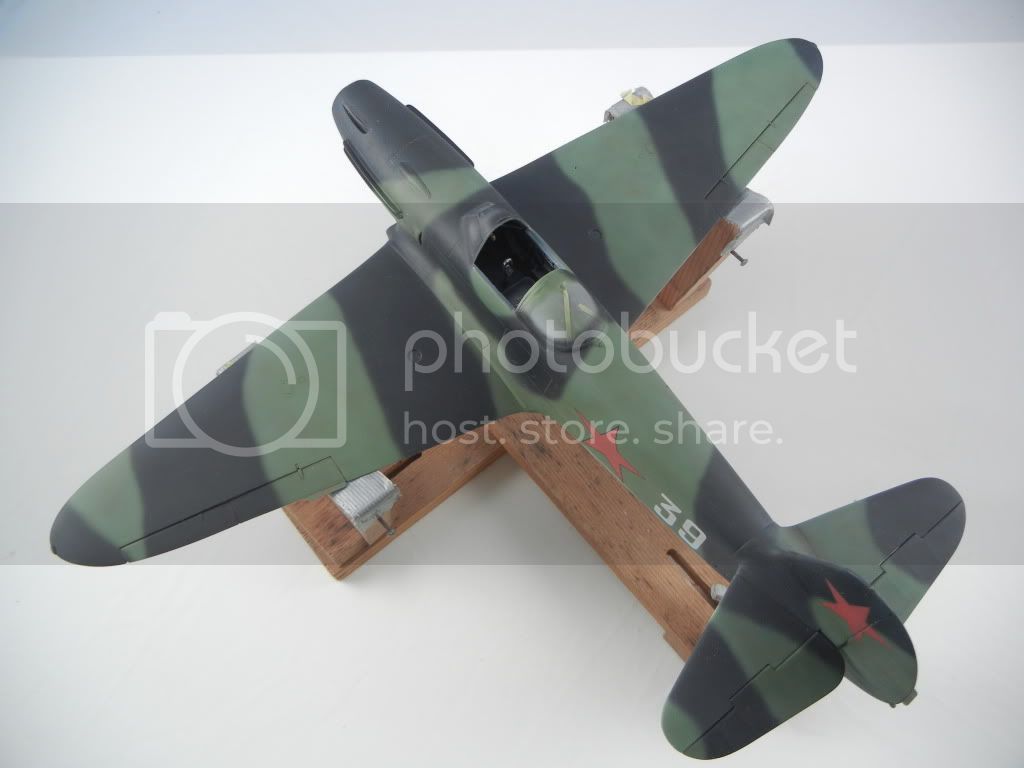
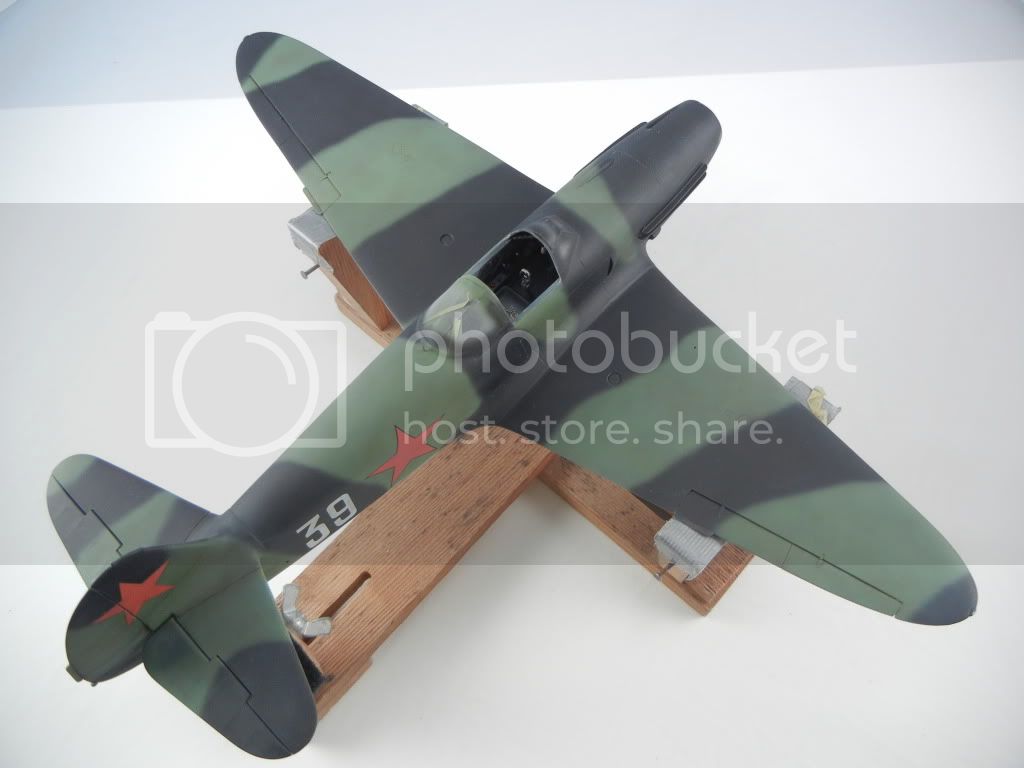

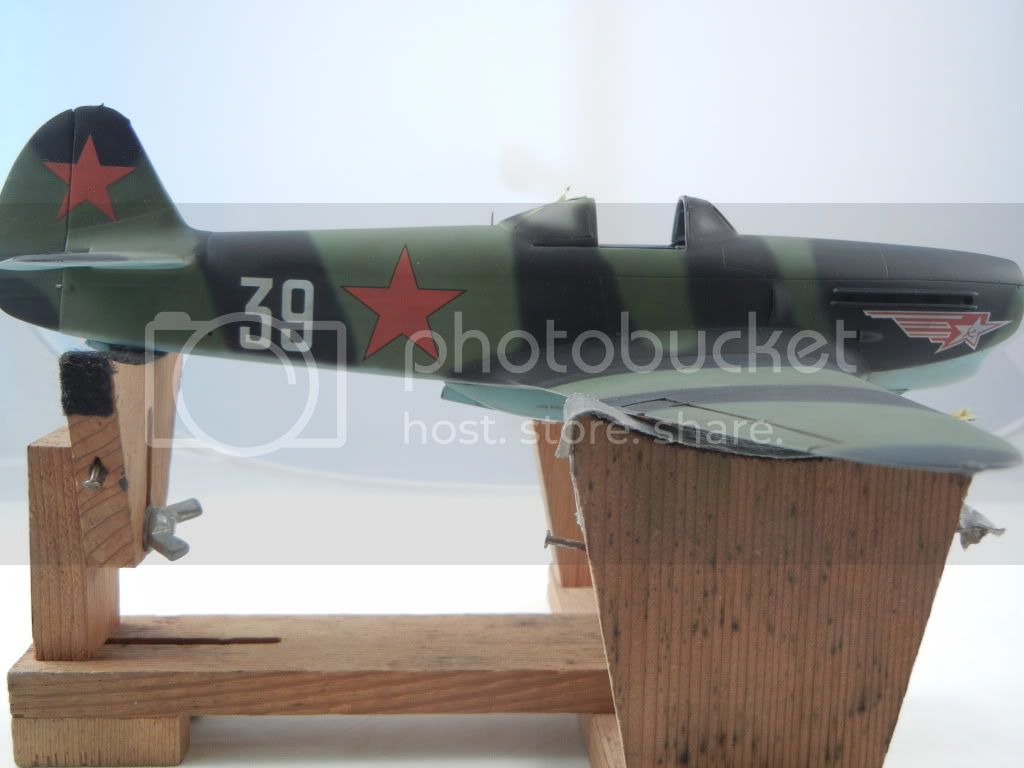

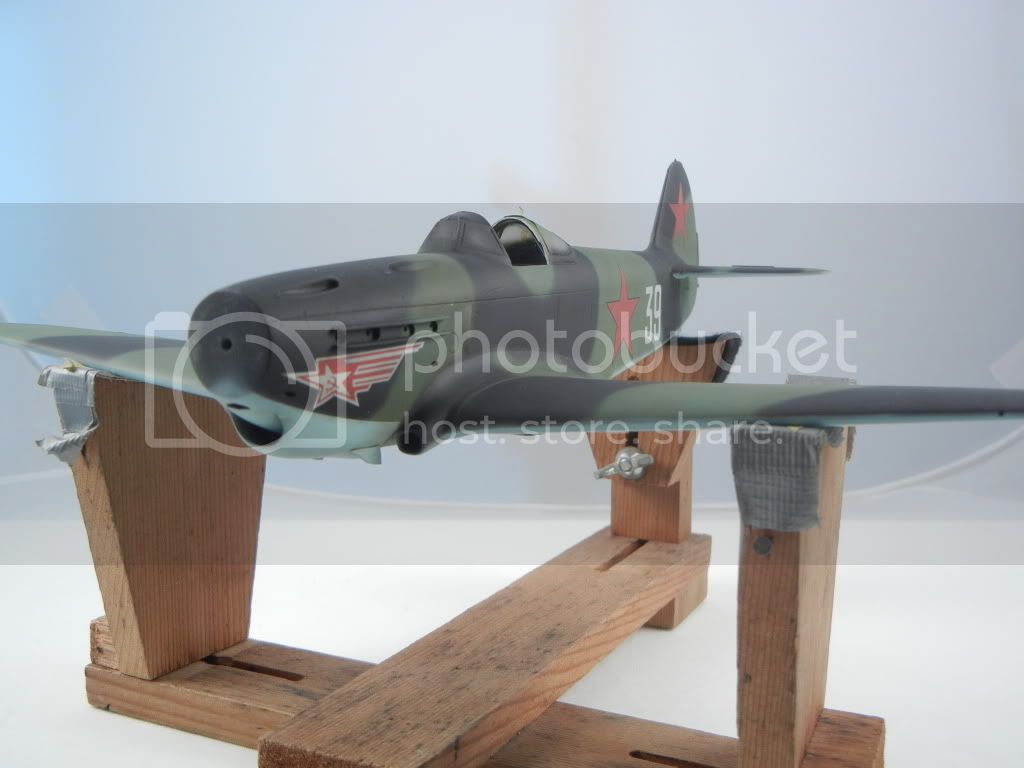
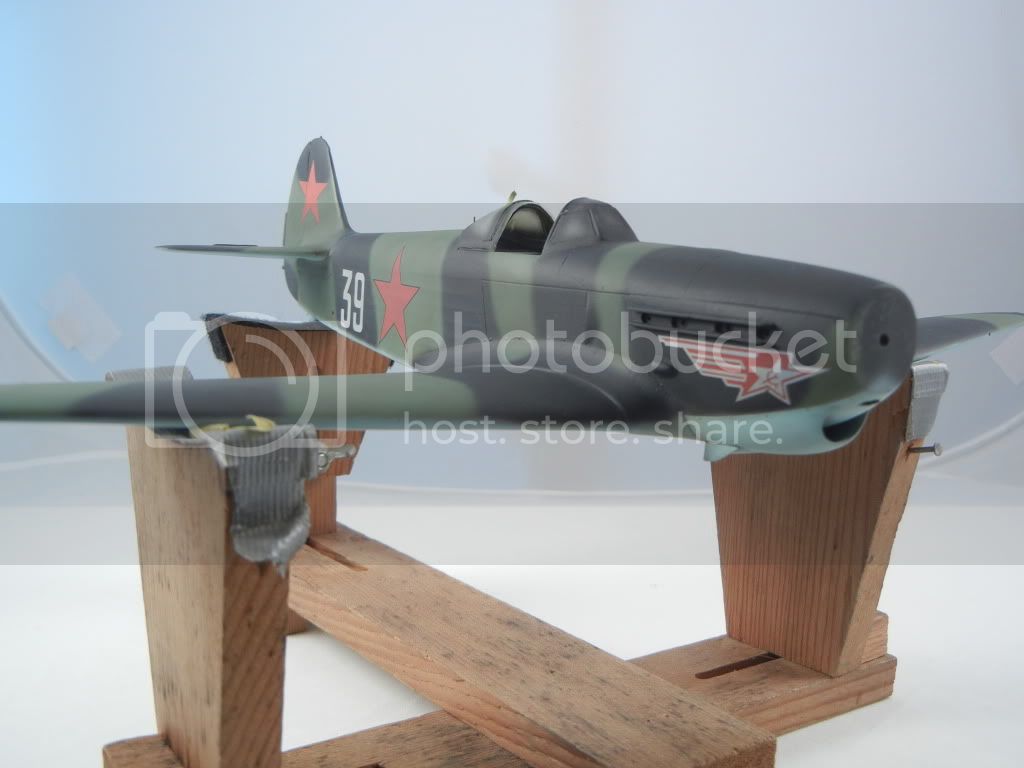 But, it's very handy to keep models on while working on them, so you can move it around without touching it.
 Very tasty! It's certainly coming together with the markings on and some weathering. I don't think I've ever come across the dot-filtering before - it looks a very interesting technique and definitely worth trying.


 |


