I don't post much, so in order to get in the habit and to put even more pressure on myself to finish something for the Wurger campaign, I decided to try my hand at a build log.
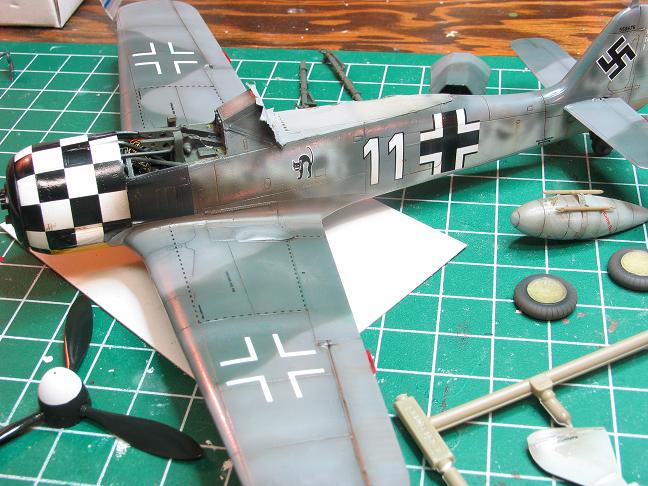
I'm doing the Eduard 1:48 Fw 190A-6 as shown below, and I've read about a lot of different problems with and solutions for building the kit. I figured I'd better go ahead and figure out how and if I can make something of it, since I have a few of the Eduard variants in my stash (and if this one goes badly...hellloooooo Ebay!
 ) If I can help someone else in the process, so much the better - I know I learn a lot from watching other folks on Aeroscale.
Don't expect me to worry about every little detail and accuracy (I've got 2 young kids...time is short!), but don't be afraid to point out issues for other readers (and my next time).
So, here's the kit:

I'll be doing the box art a/c, Georg Schott's "White 11," because the black cat on the side reminds me of my feline!
Sorting the unused bits for my version (in the box) still leaves a daunting pile.

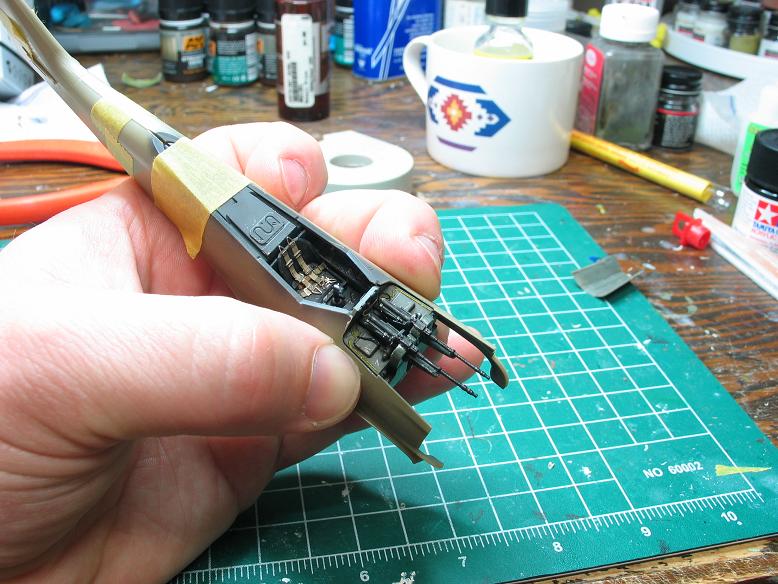
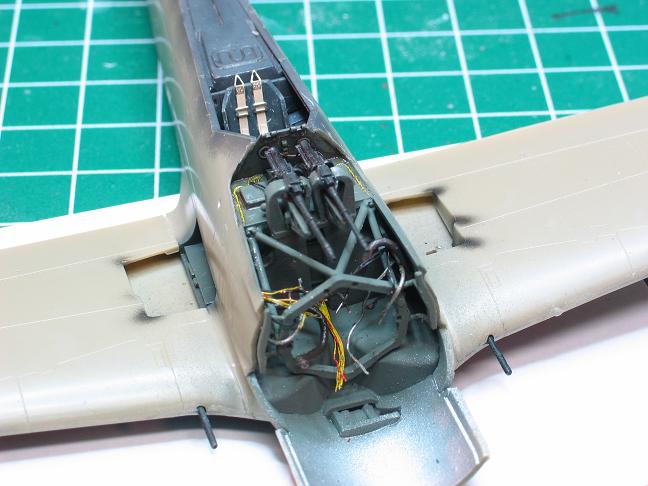
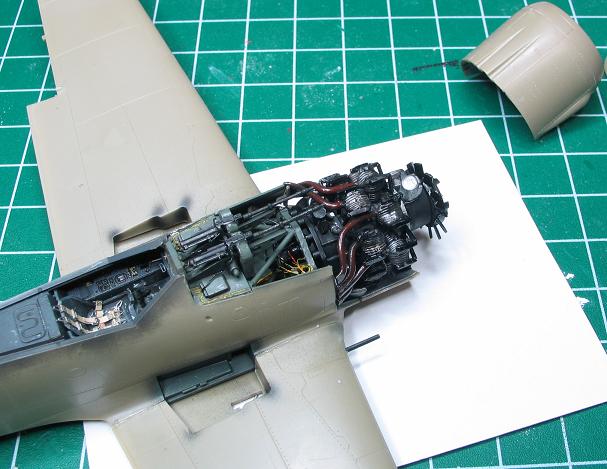
The cockpit went smoothly. The Eduard pre-painted photo etch looks great to me. Everything was sprayed with black, then Tamiya RLM 66 (equivalent), then an oil wash. I still need to add some silver pencil weathering.
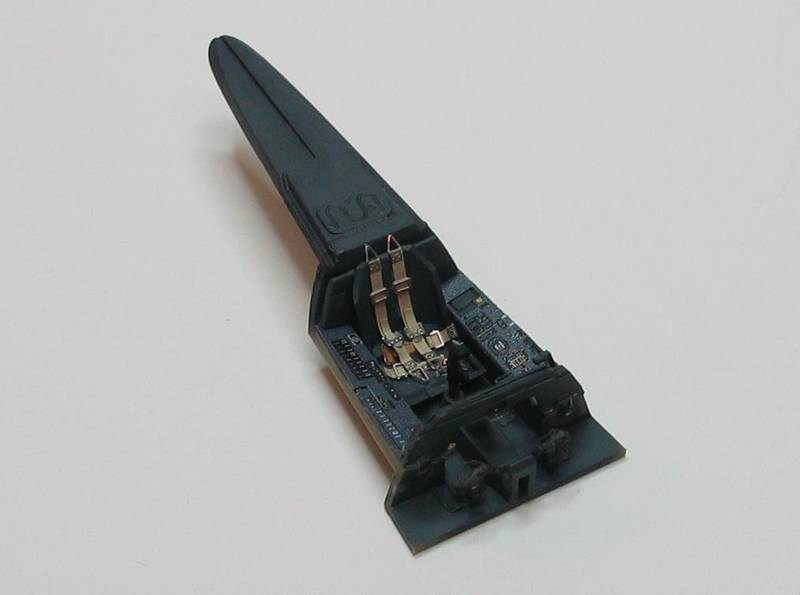
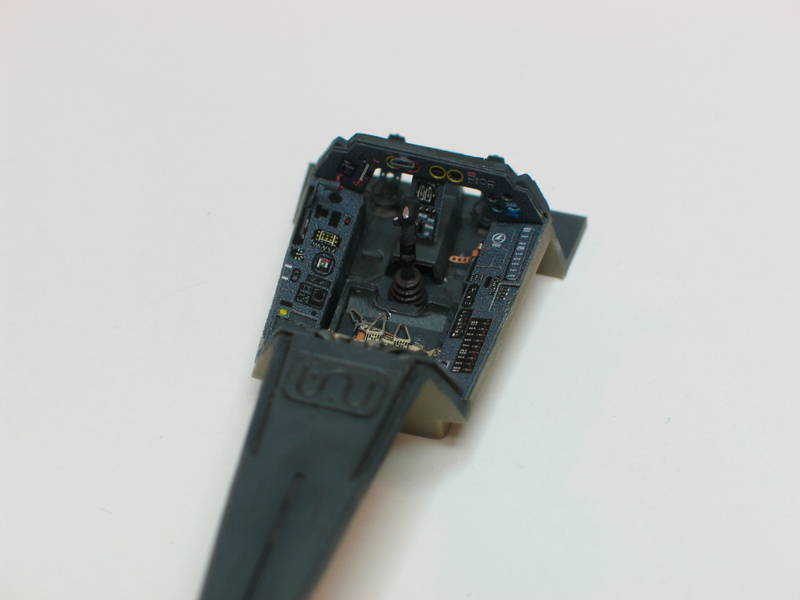
That color PE is much better than I could ever do (but it does make me feel a tiny bit like I'm cheating
 ).
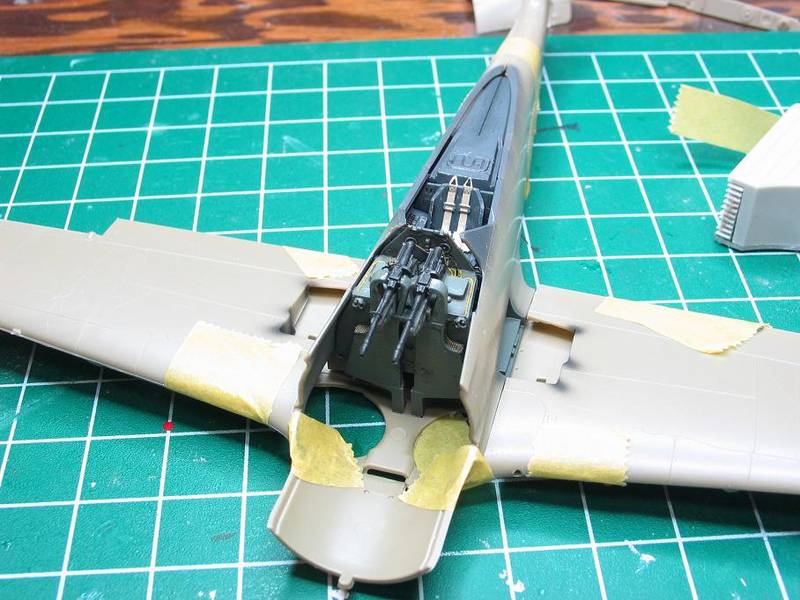
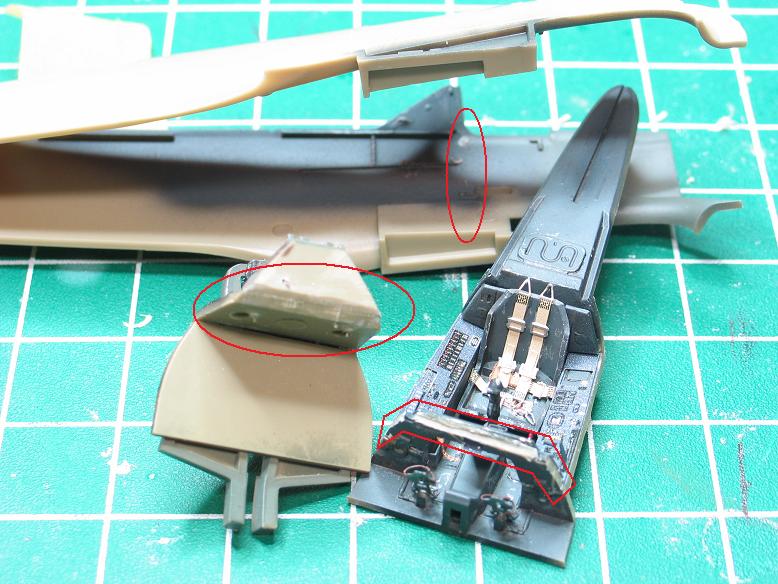
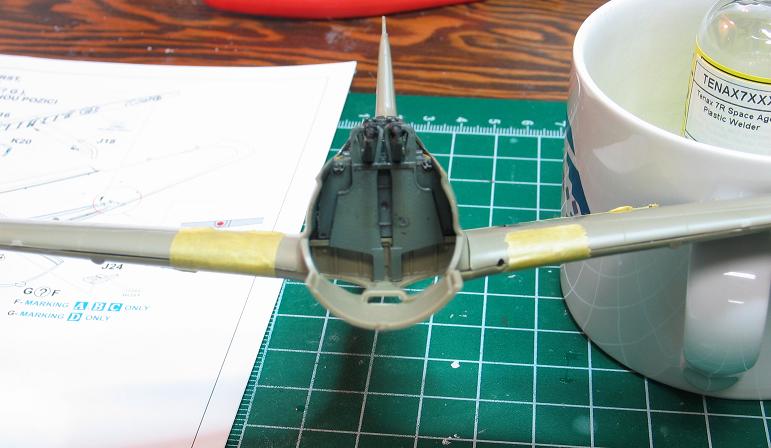
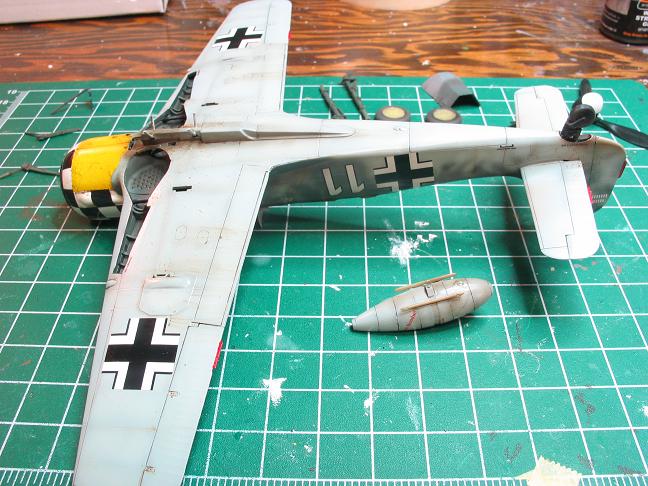
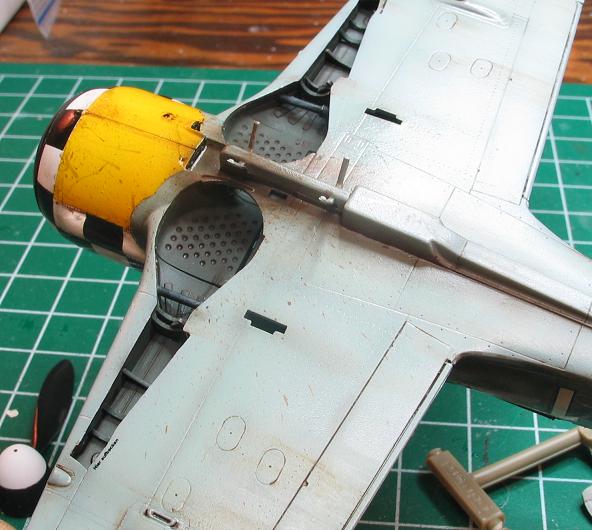
).With that done, next step was a dry fit. The cockpit fits good, but the front lower cowl is floppy (but should be easy easy to coax into flush position with the lower wing). Everything fits without the firewall and wheel bay wall/spar. But that's where most other builds seem to run into trouble...

More to come, but keep in mind I'm a modeling snail!
Regards,
Tom