_GOTOBOTTOM
World War II
Discuss WWII and the era directly before and after the war from 1935-1949.
Hosted by Rowan Baylis
Avenger in progress
HermannWMLi
_VISITCOMMUNITY
Hong Kong S.A.R. / 繁體
Joined: August 12, 2010
KitMaker: 92 posts
AeroScale: 10 posts
Posted: Tuesday, April 03, 2012 - 12:19 AM UTC
Hi all,

This is my first post in Aeroscale and I'd like to share with you my progress in building the Trumpeter Avenger in 1/32 scale, hope you like it !

The interior or the heart of the beast is being done up here with minimal weathering applied.


Cheers,

Hermann
HermannWMLi
_VISITCOMMUNITY
Hong Kong S.A.R. / 繁體
Joined: August 12, 2010
KitMaker: 92 posts
AeroScale: 10 posts
Posted: Wednesday, April 04, 2012 - 11:37 PM UTC
Hi all,

and now ,a closer look at the office,


comments and recommendation are welcome,

thanks,

Hermann
Merlin
Staff MemberSenior Editor
AEROSCALE
#017
_VISITCOMMUNITY
United Kingdom
Joined: June 11, 2003
KitMaker: 17,582 posts
AeroScale: 12,795 posts
Posted: Thursday, April 05, 2012 - 08:21 AM UTC
Hi Hermann

Welcome to Aeroscale - and nice work! I haven't come across the Trumpeter Avenger for a long time, so it's great to see it again.

All the best

Rowan
airborne1
_VISITCOMMUNITY
Queensland, Australia
Joined: April 15, 2006
KitMaker: 915 posts
AeroScale: 9 posts
Posted: Thursday, April 05, 2012 - 04:45 PM UTC
Hi Hermann,

This is a nice kit to build for the size.
Its's a lovely kit straight out of the box.
As an armour modeller this was a great kit to build.

Look forward to the progress images.
Great effort so far .

Cheers
Michael
HermannWMLi
_VISITCOMMUNITY
Hong Kong S.A.R. / 繁體
Joined: August 12, 2010
KitMaker: 92 posts
AeroScale: 10 posts
Posted: Thursday, April 05, 2012 - 11:14 PM UTC
Thank you Rowan and Michael for the kind words,

As a long time AFV modeler, size of big scale like 1/35 or 1/32 are not much of a problem, my only concern about building a/c is the fragility of the landing strut and antennas, it seems that they are always the first to go (break!)

BTW, the avenger is huge!

I'll post more pictue as it progress along,

Thanks,

Hermann
HermannWMLi
_VISITCOMMUNITY
Hong Kong S.A.R. / 繁體
Joined: August 12, 2010
KitMaker: 92 posts
AeroScale: 10 posts
Posted: Friday, April 06, 2012 - 02:55 AM UTC
Hi all,

And now dry fitting onto the port fuslage halves, you can see how nearly all will be hidden and never see the light of day again.


And the turret birdcage is painted and ready,

Hope you enjoy the built so far,

Cheers,

Hermann
HermannWMLi
_VISITCOMMUNITY
Hong Kong S.A.R. / 繁體
Joined: August 12, 2010
KitMaker: 92 posts
AeroScale: 10 posts
Posted: Monday, May 28, 2012 - 08:38 PM UTC
Hi all,

Its been a while since I last posted, and here is a little update on the progress on the Trumpy Avenger,


the fuselarge halves are closed now and painted, decals been applied and the star and bar insignia supplied with the kit seems oversized. From archive photos the star and roundel should come up just under the fin fillet and not over it, would I be wrong? This is the time for corrections before moving on, right?

Comments and suggestions are most welcome,

Cheers

Hermann
KrisMax
_VISITCOMMUNITY
Queensland, Australia
Joined: January 23, 2010
KitMaker: 156 posts
AeroScale: 139 posts
Posted: Monday, May 28, 2012 - 11:41 PM UTC
Sorry Hermann I can't shed any light on your query over the insignia, but I can see you've done a great job so far. The paint finish looks first class. I can't wait to see some close up shots of the finished model.

Cheers

Simon
drabslab
_VISITCOMMUNITY
European Union
Joined: September 28, 2004
KitMaker: 2,186 posts
AeroScale: 1,587 posts
Posted: Monday, May 28, 2012 - 11:46 PM UTC

Quoted Text

Hi all,

And now dry fitting onto the port fuslage halves, you can see how nearly all will be hidden and never see the light of day again.


Yep, this is all to often the case

But very nice work, I am concetnrating on jets and choppers myself, but these WW II things are very nice as well
dioman13
_VISITCOMMUNITY
Indiana, United States
Joined: August 19, 2007
KitMaker: 2,184 posts
AeroScale: 54 posts
Posted: Tuesday, May 29, 2012 - 03:02 AM UTC
Hey Hermann, nice job so far. Have this in the stash along with a F-4-F for a future build so I'll be keeping an eye on your build. Big model with plenty of detail and the optional payload is a nice factor. As far as the national insignia goes, it looks pretty much the right size. In the book (George Bush, his w.w.2 years) there are a lot of photo's of his and other planes. If you can get a copy it might give you some help with this bird. On page 17 there is a photo of one crash landed, I think your insignia is just a tad bit high. The photo shows the top of the insignia (round part) even with the area where it goes into the reduced body area of the rudder where it gets smaller. The position of it horizontaly looks right. On page 98, it looks like it's in the same position. There is one color photo on page 190 (the rest are b/w) that shows it also in the same position. I am not sure if this is S.O.P. throughout the navy or if it was just the way they marked them up on the U.S.S. San Jacinto or even just task force 58. But anyway, I don't think it will matter that much being off just a bit. I also worry about the landing struts being weak as this is one big model. I would look around and see if an A.M. co. makes them from white metal. If not, when traveling with it, maybe 2 sections of foam would help support the weight under the wings. Hope this helps. Looking forward to seeing more of your build.
MichaelSatin
Staff MemberCampaigns Administrator
AEROSCALE
_VISITCOMMUNITY
Colorado, United States
Joined: January 19, 2008
KitMaker: 3,909 posts
AeroScale: 2,904 posts
Posted: Tuesday, May 29, 2012 - 03:34 AM UTC

Quoted Text

... the star and bar insignia supplied with the kit seems oversized. From archive photos the star and roundel should come up just under the fin fillet and not over it, would I be wrong? This is the time for corrections before moving on, right?

Comments and suggestions are most welcome,

Cheers

Hermann


Hermann,

I don't think the problem is the size so much as the orientation. It looks like you, naturally, have applied it horizontally. The Navy did not seem to see it that way:


Kinda screwy, but there it is. Hope this helps!

Michael
Littorio
_VISITCOMMUNITY
England - South East, United Kingdom
Joined: September 15, 2004
KitMaker: 4,728 posts
AeroScale: 1,351 posts
Posted: Tuesday, May 29, 2012 - 10:18 AM UTC
Hermann you may want to look at Scale Aircraft Conversions for your undercarriage click here I've got a couple of their sets and I'm very pleased with the quality and strength.

Your TBM is looking good, keep up the good work.
HermannWMLi
_VISITCOMMUNITY
Hong Kong S.A.R. / 繁體
Joined: August 12, 2010
KitMaker: 92 posts
AeroScale: 10 posts
Posted: Wednesday, May 30, 2012 - 12:35 AM UTC
Hi All,

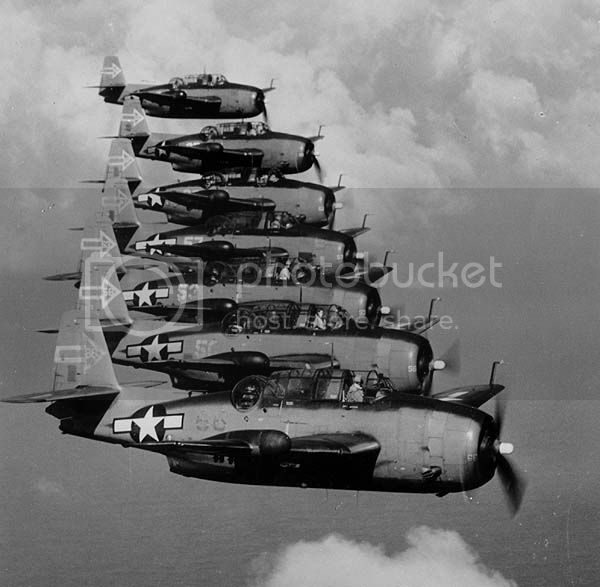
Thank you for all your suggestions and encouragement, as for the size and placement of the fuselage insignia there are all sorts of variation from available archive photos, whether its based on air groups, periods, theathers and rebuilt vintage airframes.

To be more precise and build to look more like the original I think I'll have to look up a particular aircraft and obtain it's photographs as the sole reference, then nothing can go wrong with that, I think !

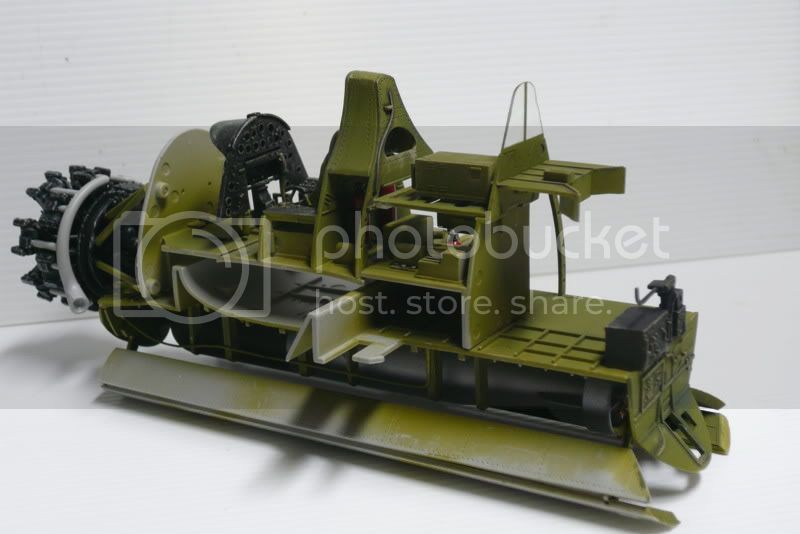
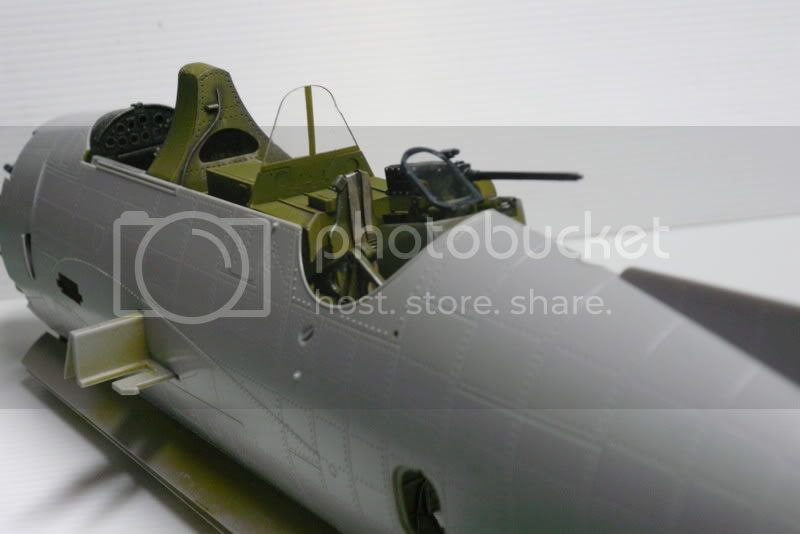
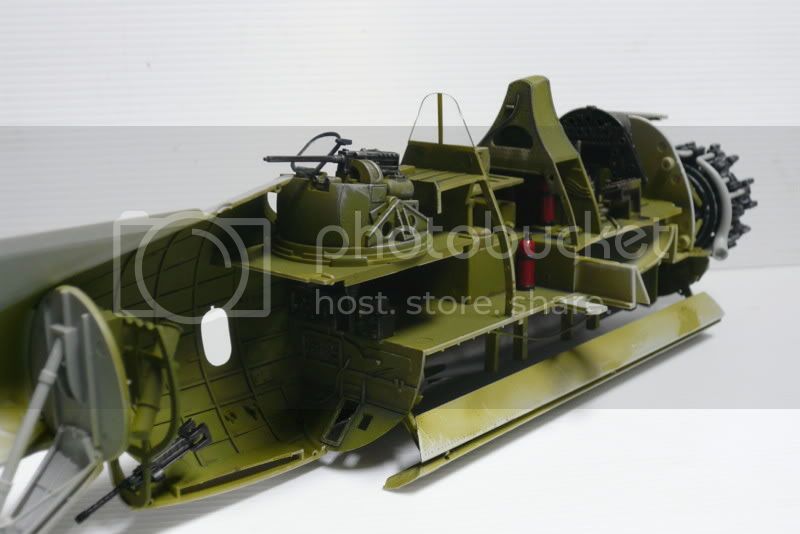
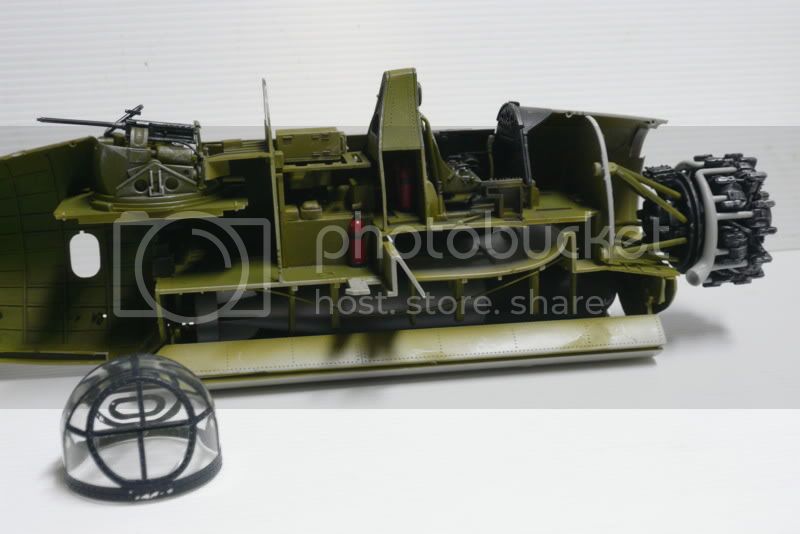
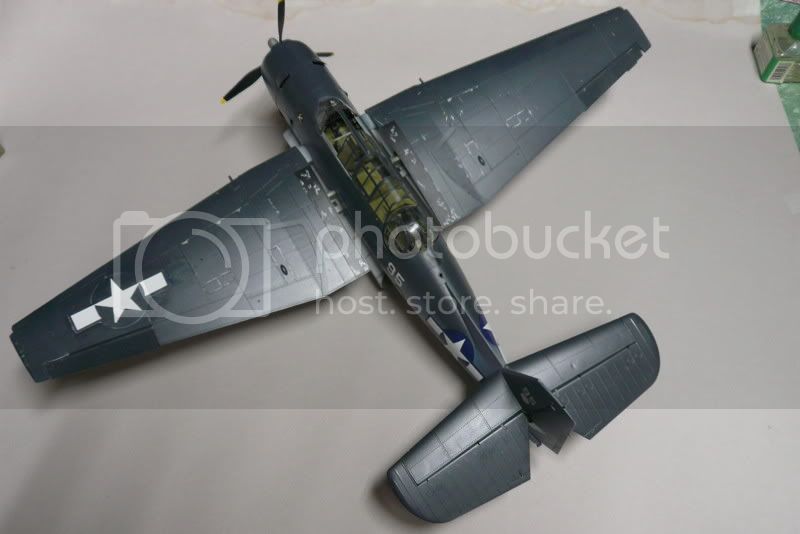
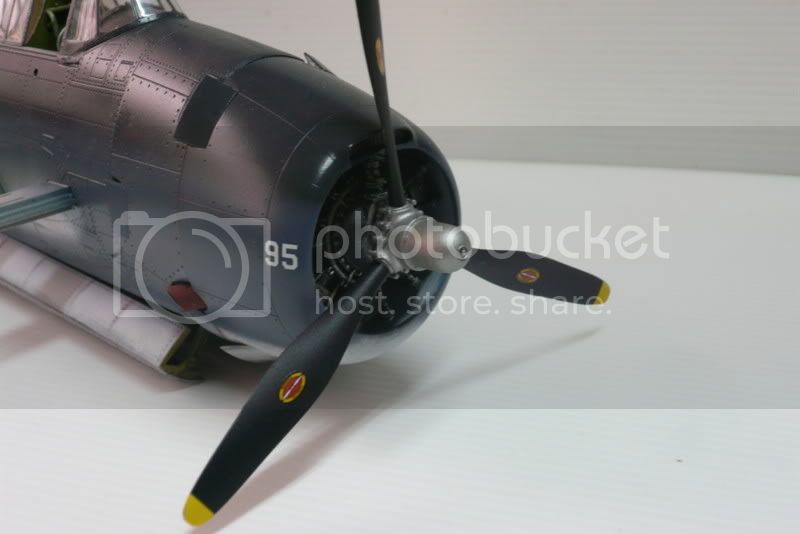
In the meantime, here's another close-up of the TBF, this time the engine cowling, hope you enjoy the built so far,


Cheers,

Hermann
OEFFAG_153
_VISITCOMMUNITY
Västra Götaland, Sweden
Joined: February 19, 2010
KitMaker: 1,473 posts
AeroScale: 1,450 posts
Posted: Wednesday, May 30, 2012 - 01:01 AM UTC
Lovely work Hermann – The avenger is one of my favourite WWII planes.

Mikael
GastonMarty
_VISITCOMMUNITY
Quebec, Canada
Joined: April 19, 2008
KitMaker: 595 posts
AeroScale: 507 posts
Posted: Wednesday, May 30, 2012 - 07:44 AM UTC
Lovely build Hermann!

This 1:32 kit is said to be the basis of the Hobby Boss kit in 1:48th. I am glad to see it here, as they are both far better models than the "Accurate" Min. series of kits (huge canopy width and cowling issues on the AM kit, although it does have better tail surface hinges than HB). I have a few more years to go yet to fully recover from my failed AM build, so it's nice to see something similar or better to the HB kit so well built in the meantime...

I seem to remember that there were wartime exceptions to the star and bar fuselage location being "slanted", but I am not sure... Post-war Warbird repaints often make those kind of mistakes, so you could always display it as if it was in a "modern" setting if all else fails (make sure to keep weathering to a minimum then )...

Gaston

HermannWMLi
_VISITCOMMUNITY
Hong Kong S.A.R. / 繁體
Joined: August 12, 2010
KitMaker: 92 posts
AeroScale: 10 posts
Posted: Sunday, June 03, 2012 - 01:34 PM UTC
Hi all,

More updates coming,

This time I'm dry fitting the wings to the fuslage, the wings are not snap tight into position yet, hence the gap between,

enjoy,

BTW, this thing is huge,


Cheers,

Hermann
HermannWMLi
_VISITCOMMUNITY
Hong Kong S.A.R. / 繁體
Joined: August 12, 2010
KitMaker: 92 posts
AeroScale: 10 posts
Posted: Sunday, June 03, 2012 - 01:41 PM UTC
More updates,

this time a closer look around the cockpit area,

meantime is still trying to improve on the insignia,

enjoy,


Cheers,

Hermann
 _GOTOTOP