_GOTOBOTTOM
World War II
Discuss WWII and the era directly before and after the war from 1935-1949.
Hosted by Rowan Baylis
Cactus Cobra
Naseby
_VISITCOMMUNITY
Slovakia
Joined: October 15, 2010
KitMaker: 825 posts
AeroScale: 476 posts
Posted: Tuesday, April 10, 2012 - 12:04 AM UTC
Hello Friends,

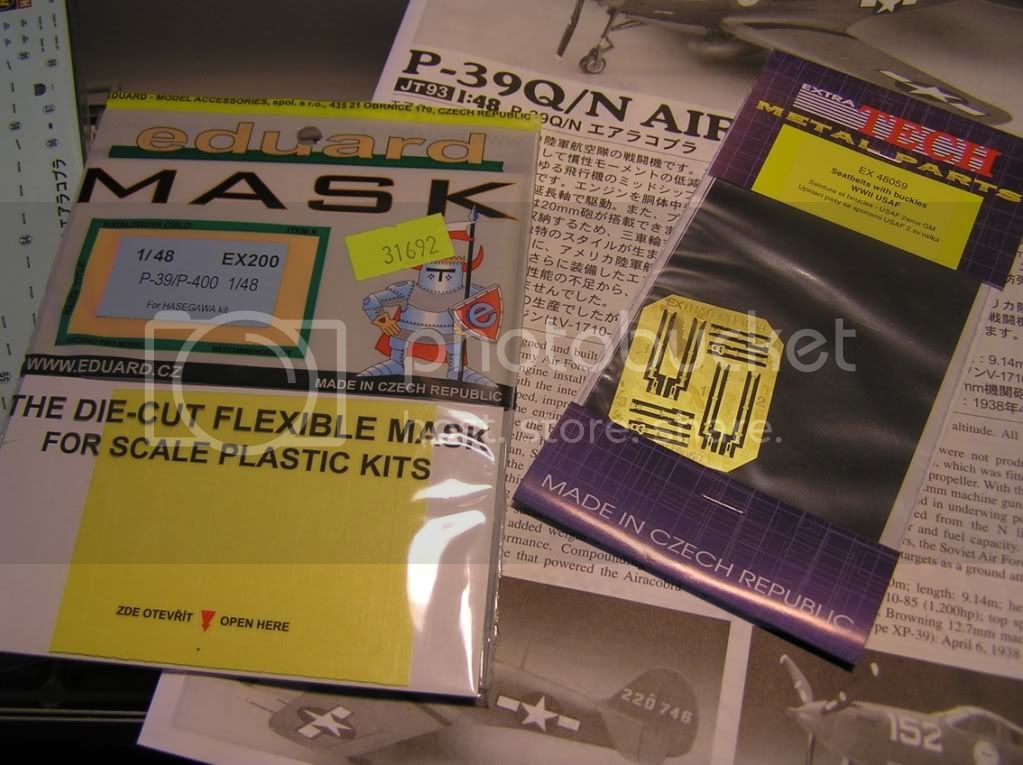
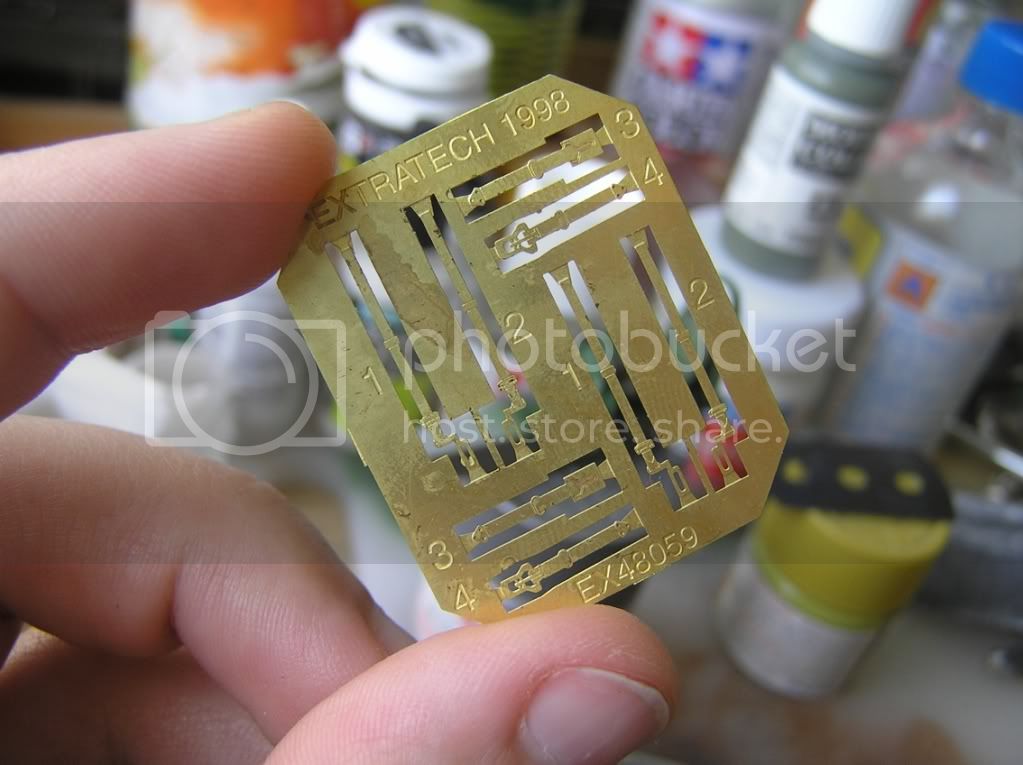
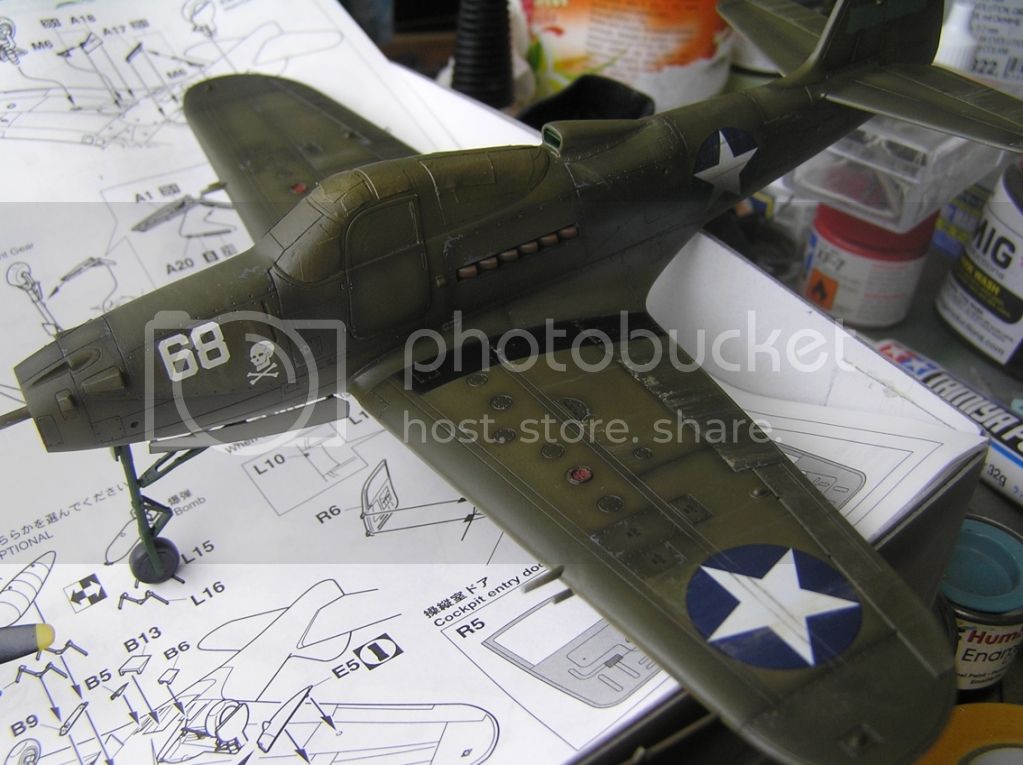
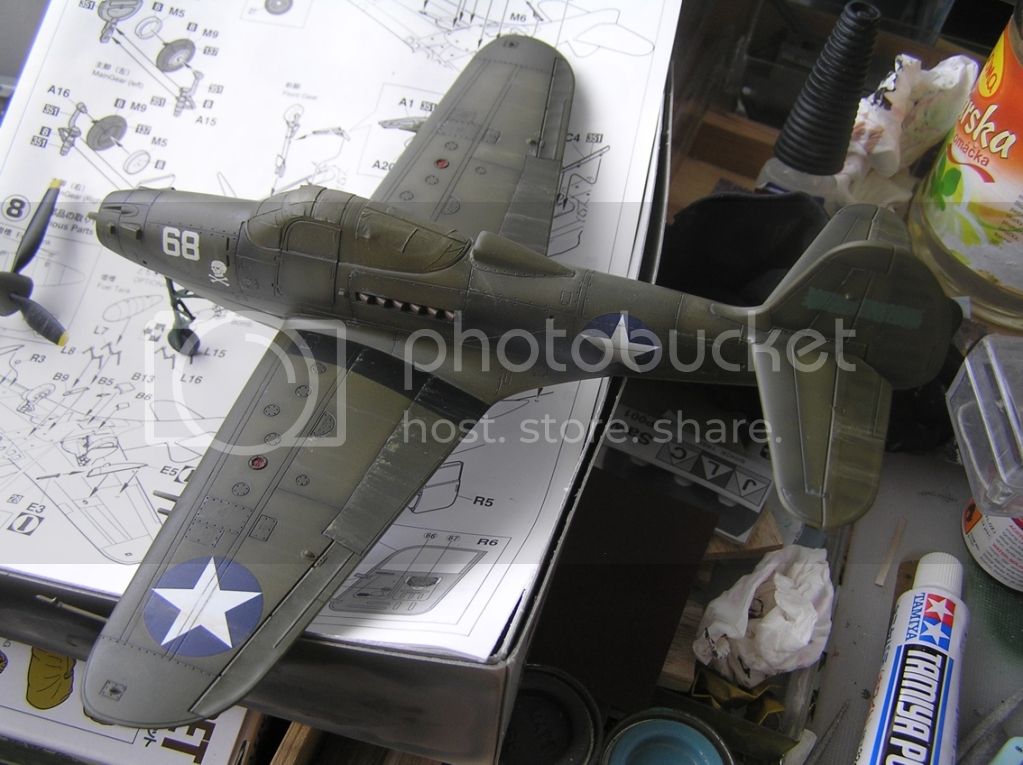
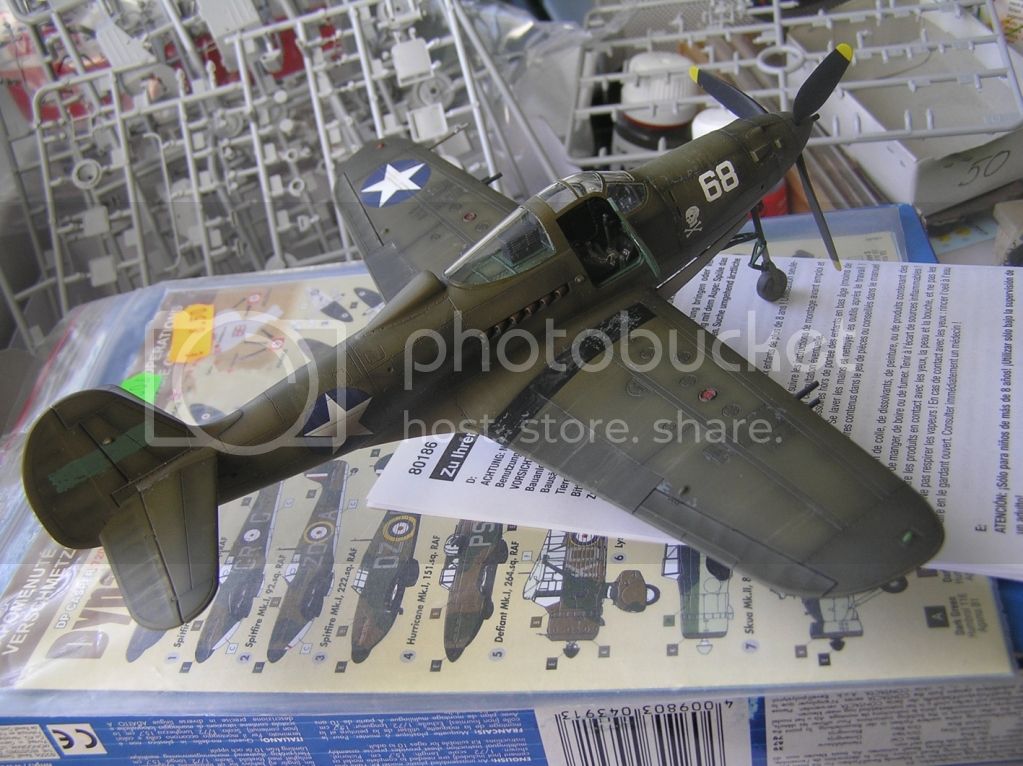
Not long ago I decided I wanted to build a P-39 from Pacific Theatre of Operations. First I wanted to buy Eduards offering since it already had photo etched parts and canopy mask. The decals were of high quality and depicted planes from New Guinea, so it was a natural match. Then I saw the newer Hasegawa kit in my LHS and decided to buy it on impulse. What sold it were in my oppinion better details and nice wheel bays. Upon examination of the content at home I realised that the stock decals include a machine of the "Cactus Air Force" operating from Henderson Field at Guadalcanal. The machine was flown by the ace Lt. Bill Fiedler. The theme of the build was thus decided. The onlz aftermarket stuff I will use are Eduard canopy masks and an old set of USAF harness from Extratech, produced back in 1998. Despite its age it is quite nice and sufficient for me.
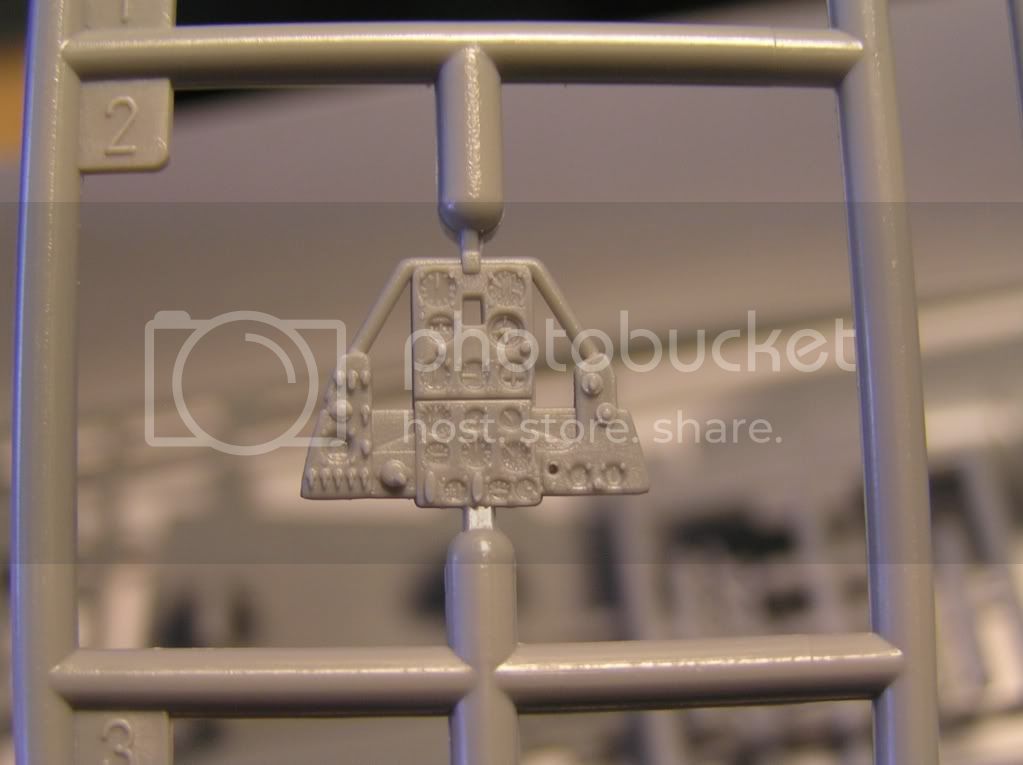
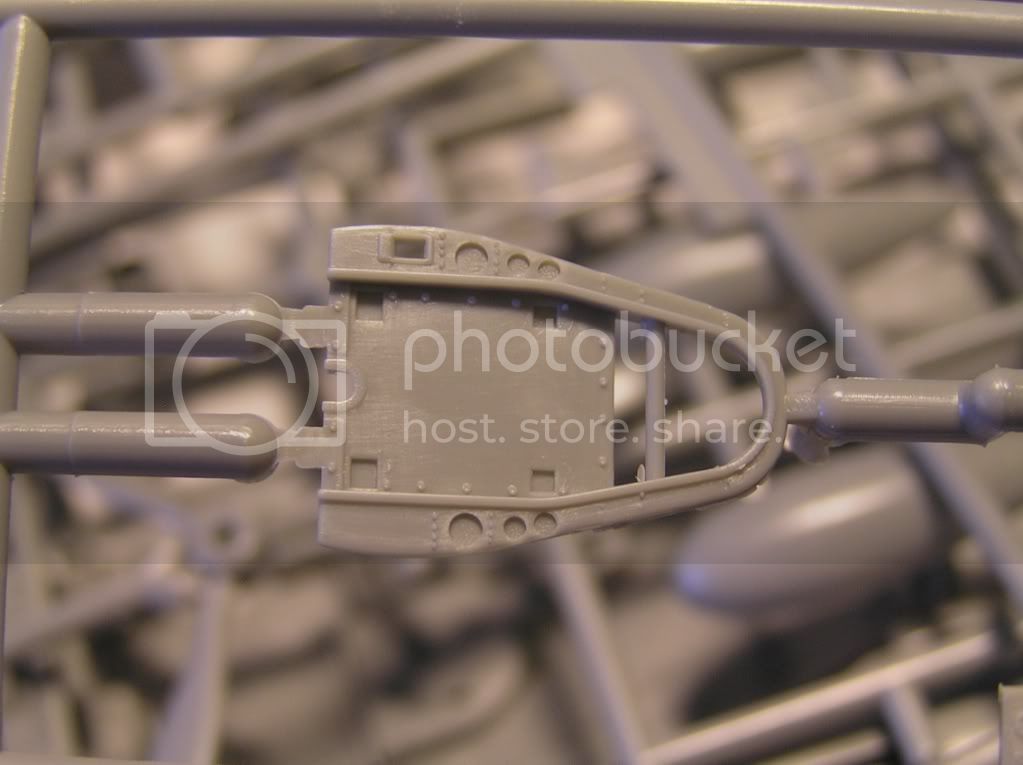
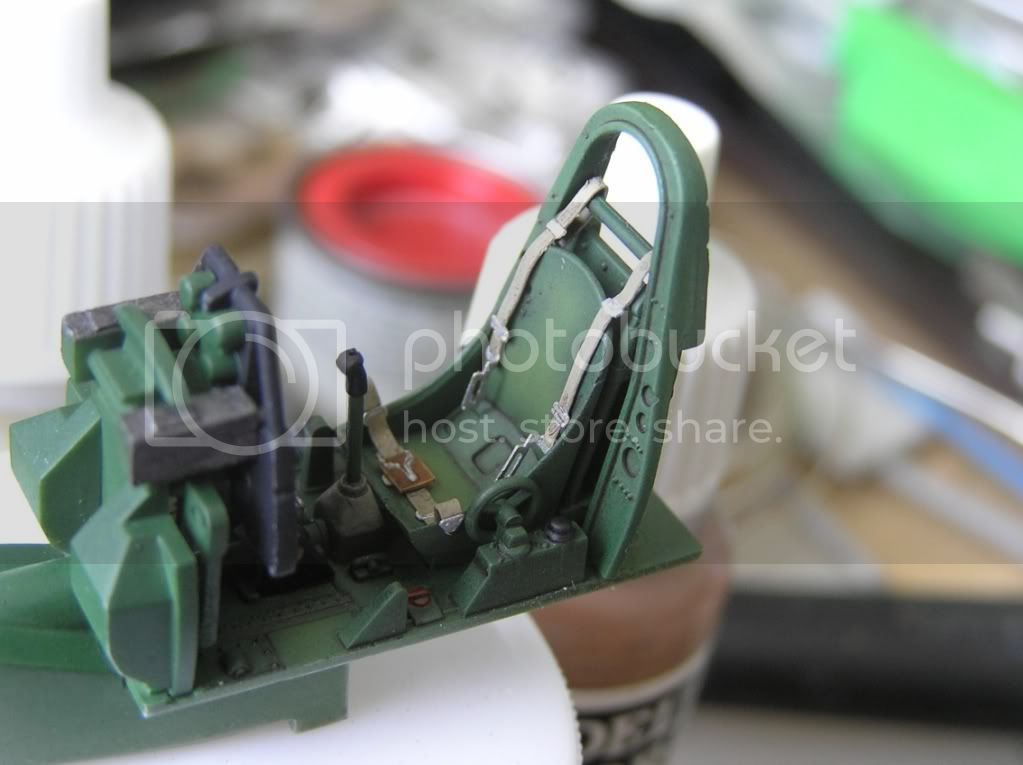
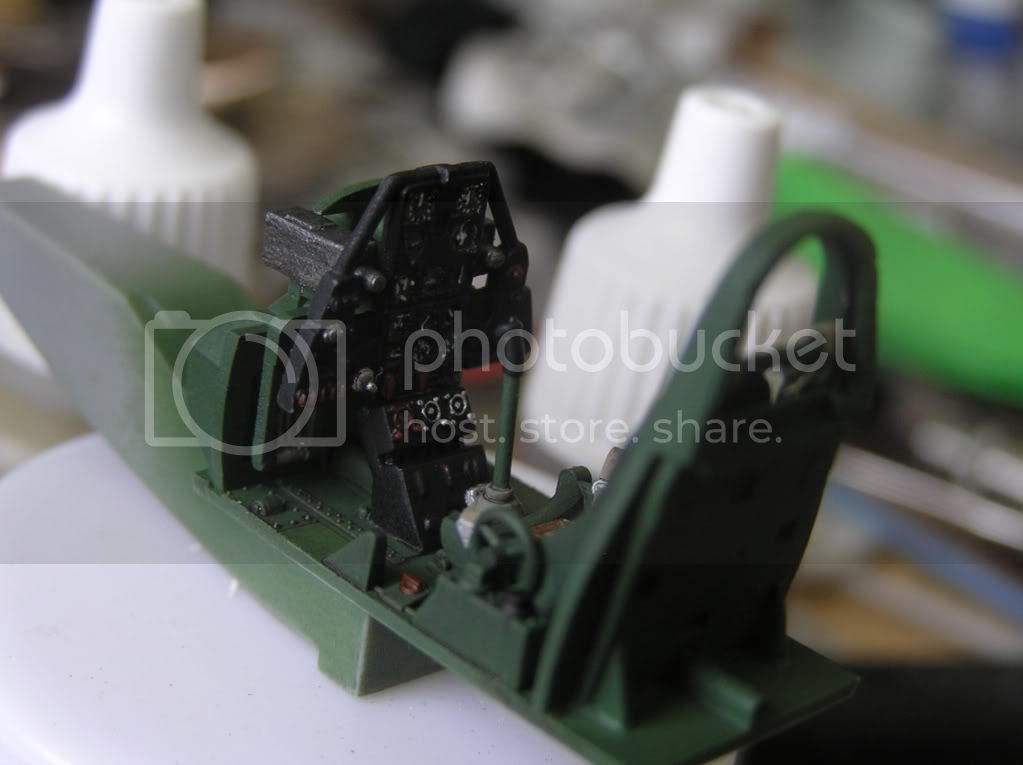
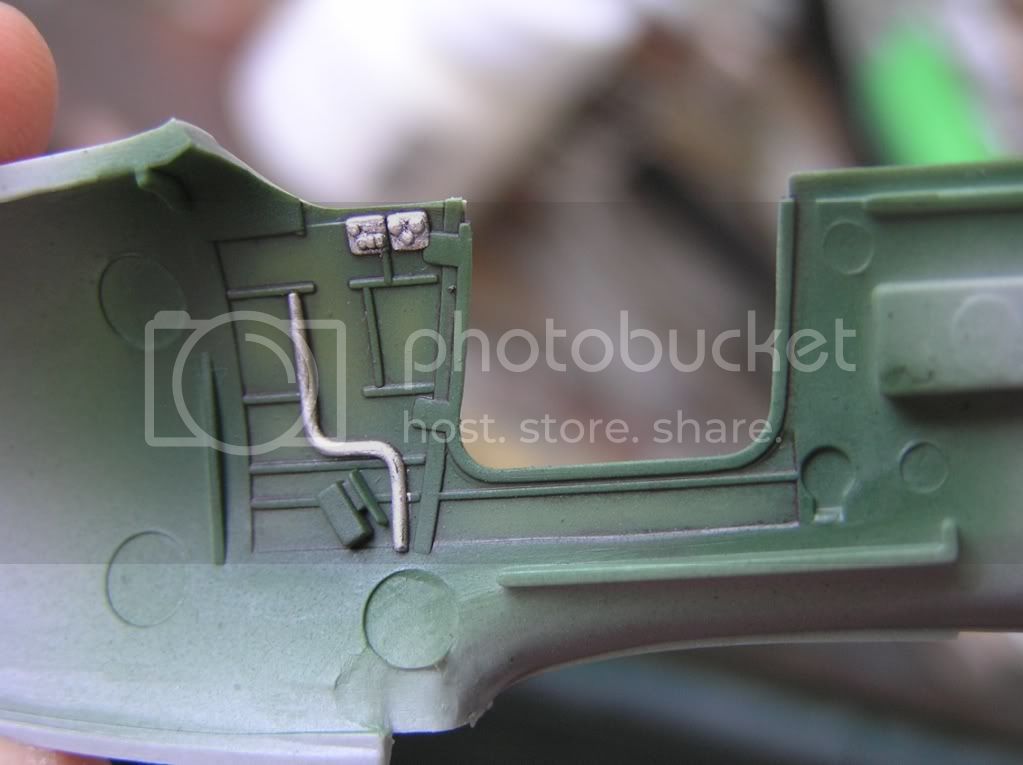
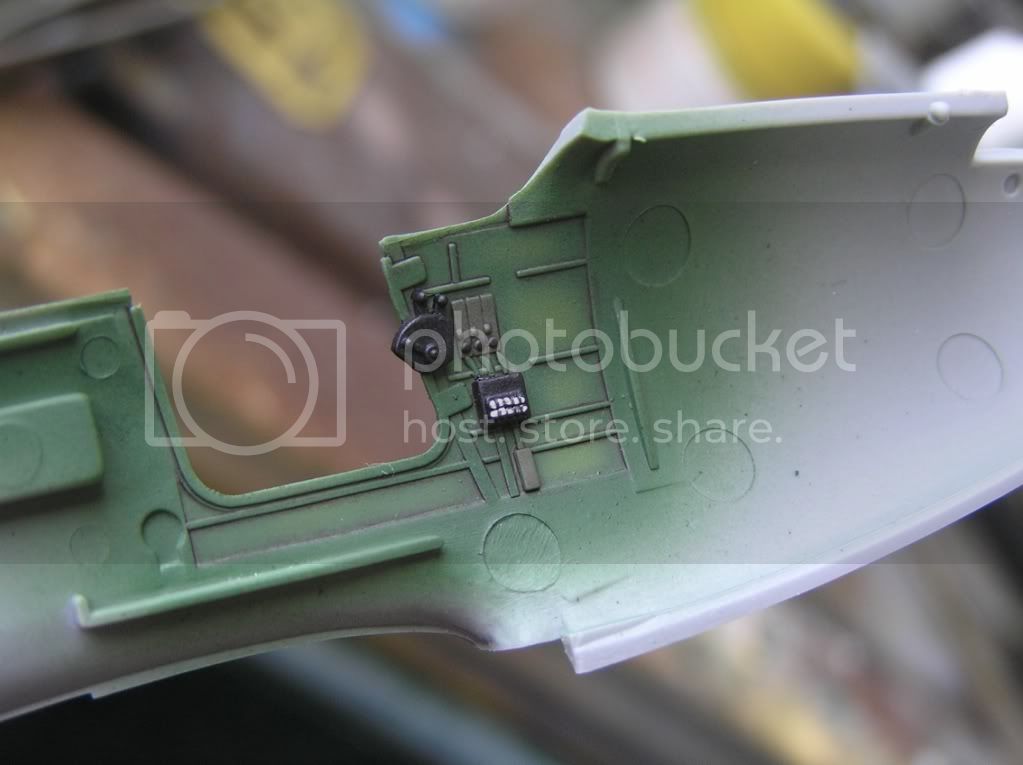
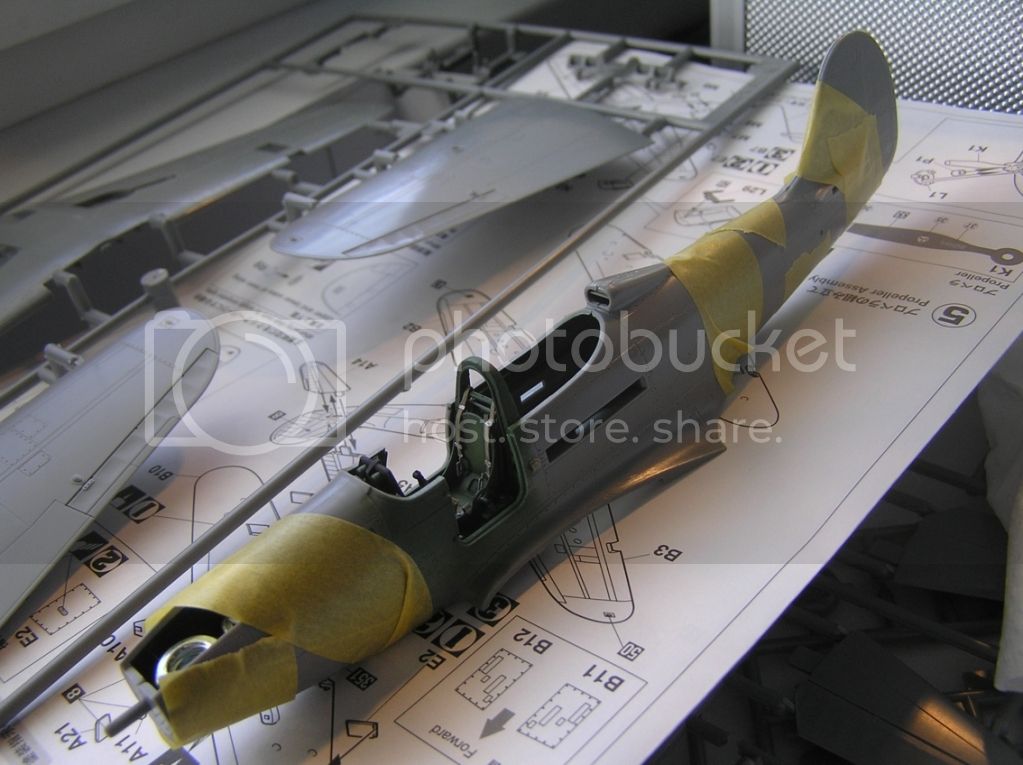
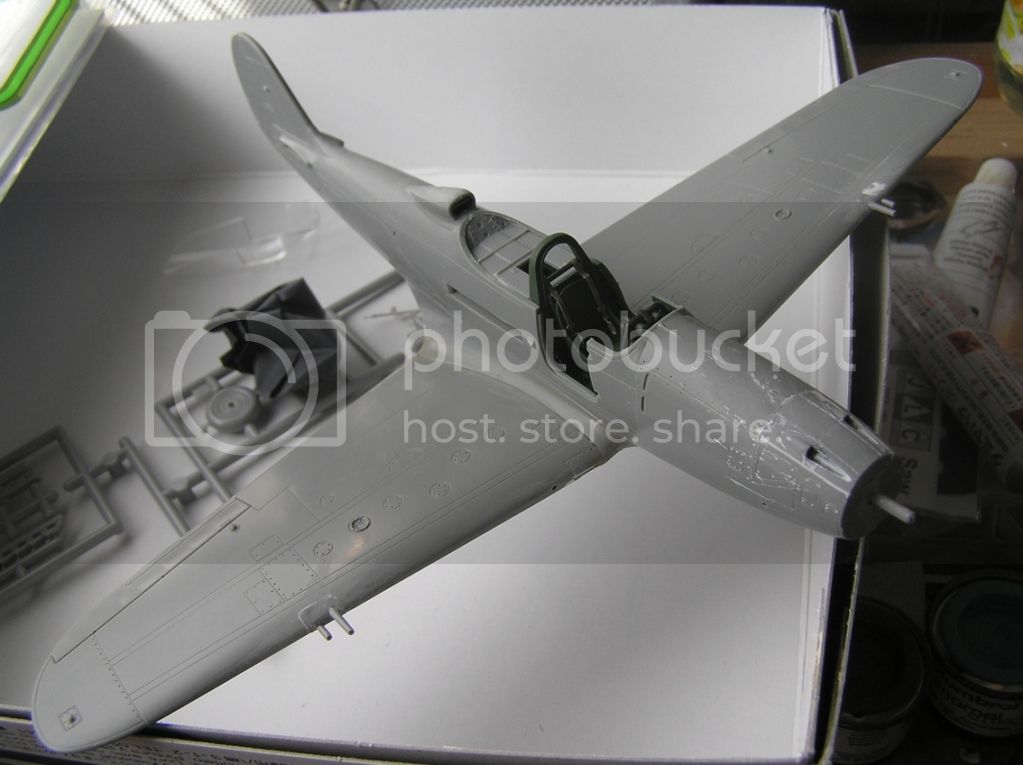
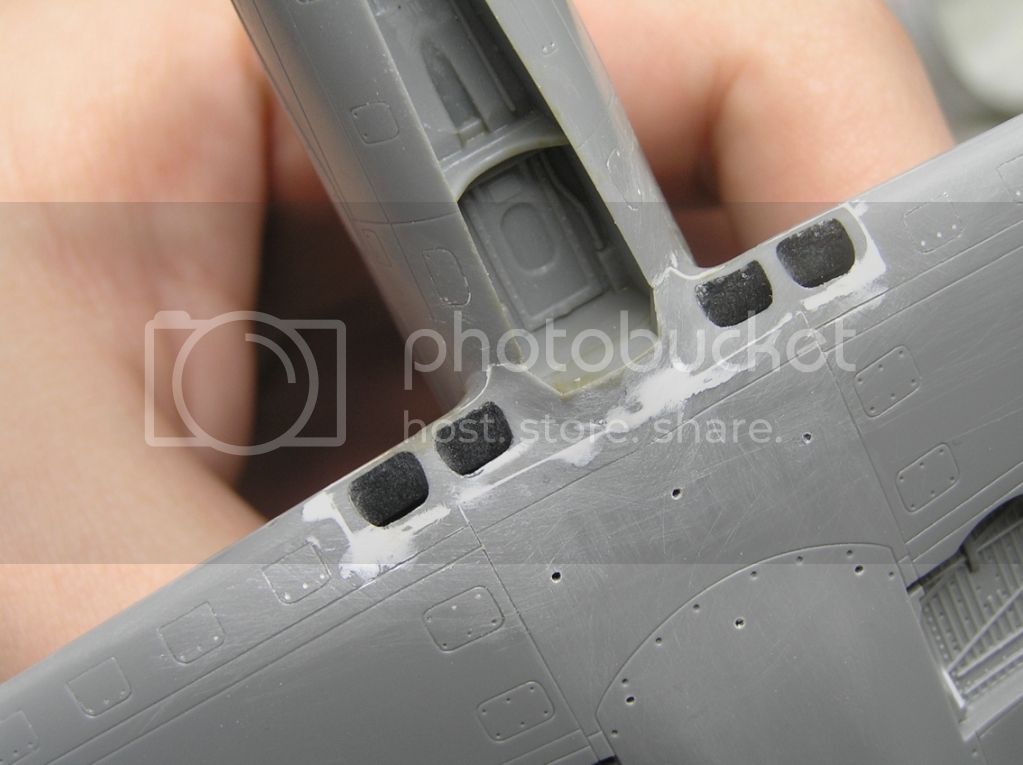
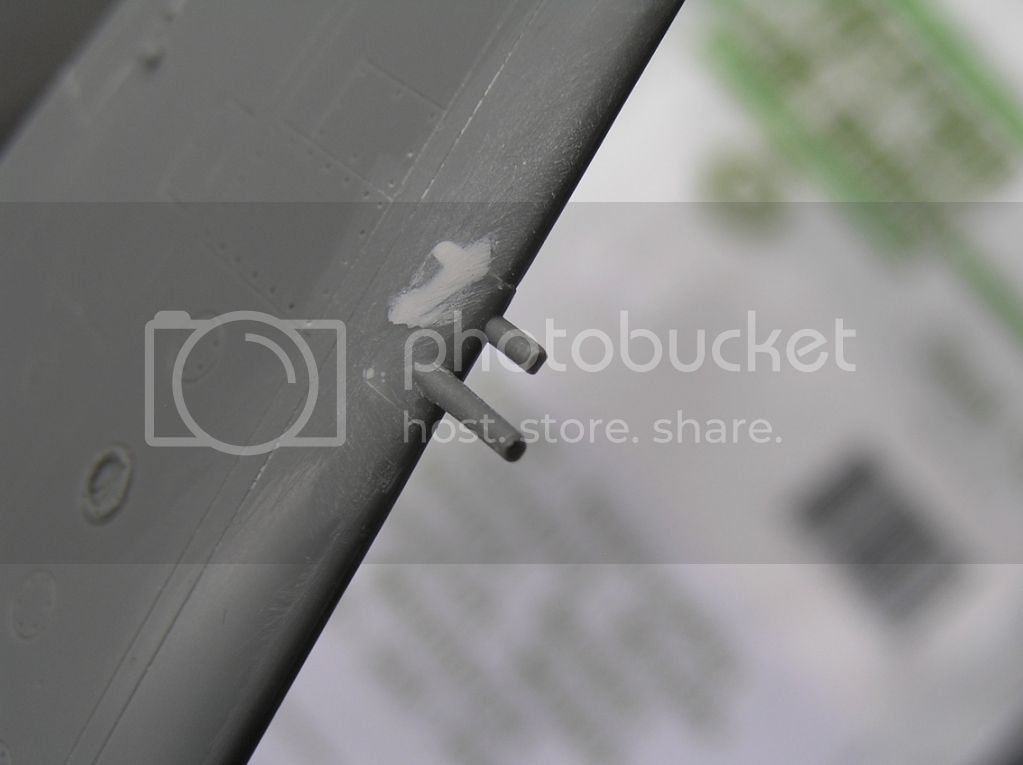
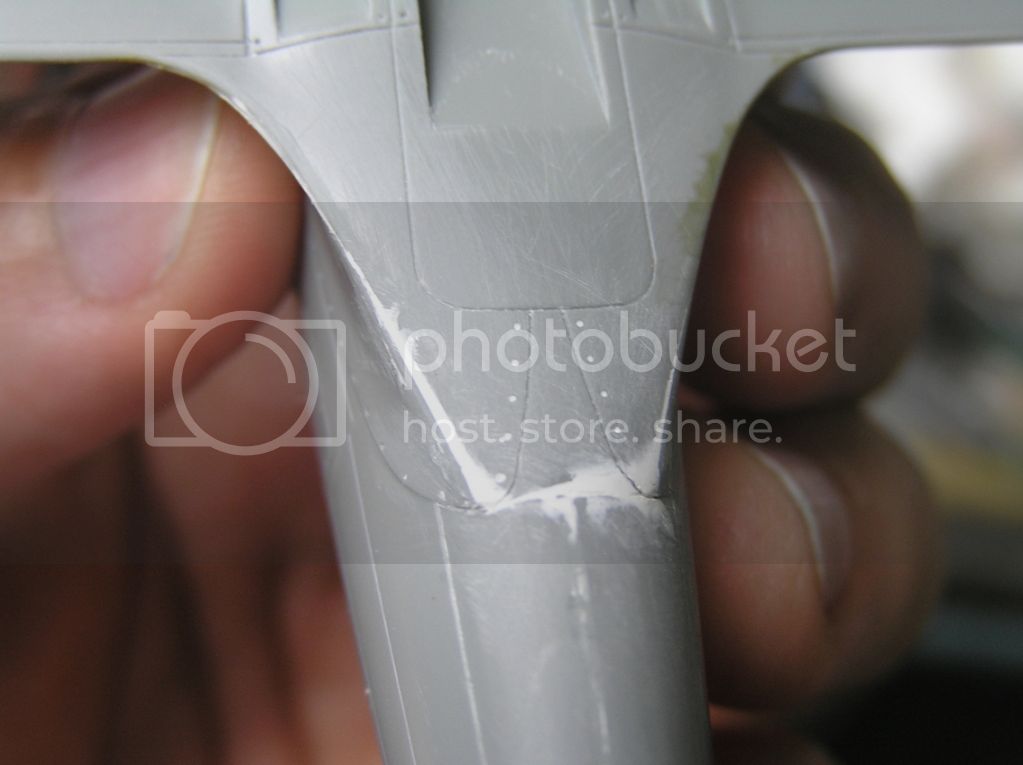
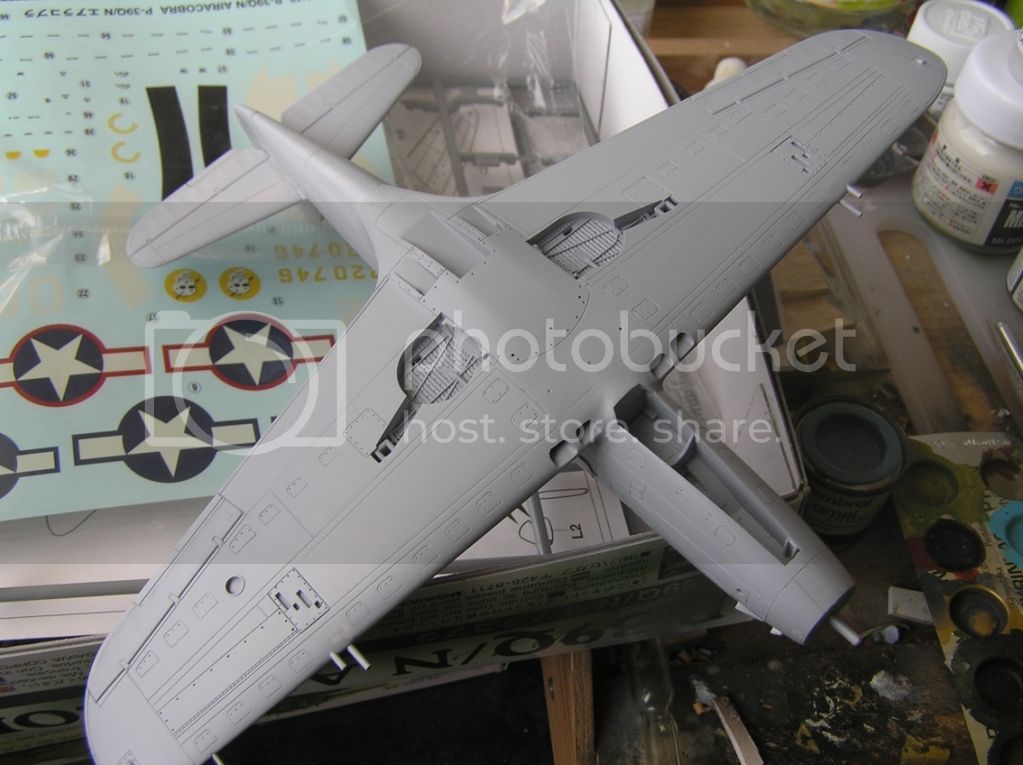
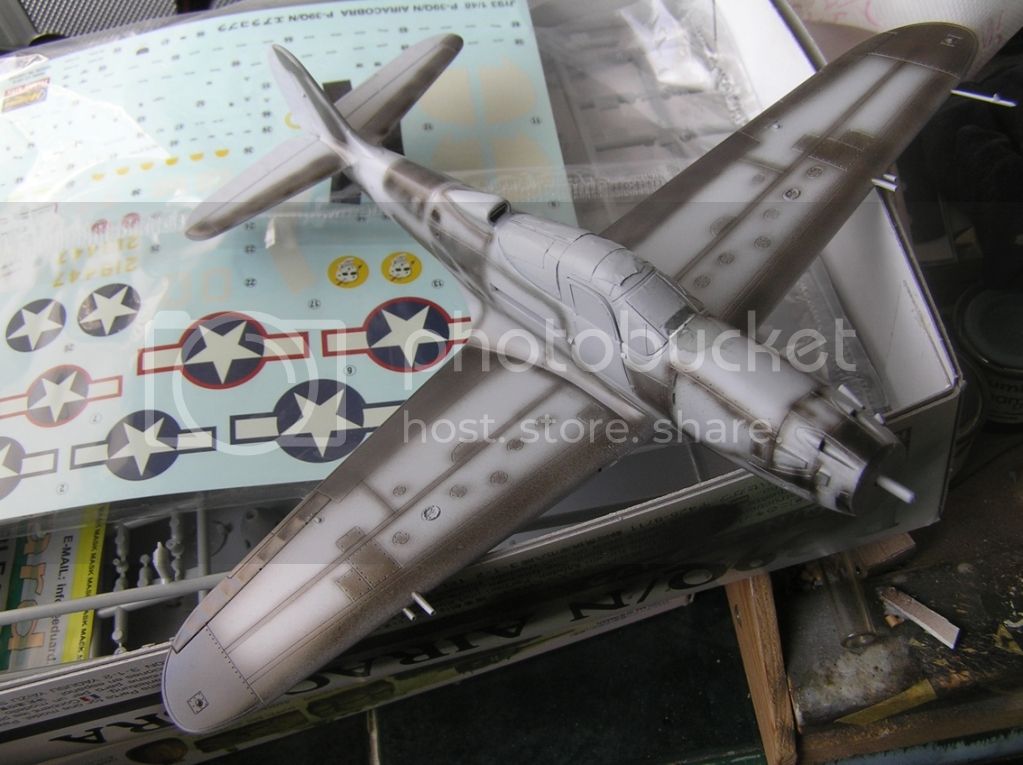
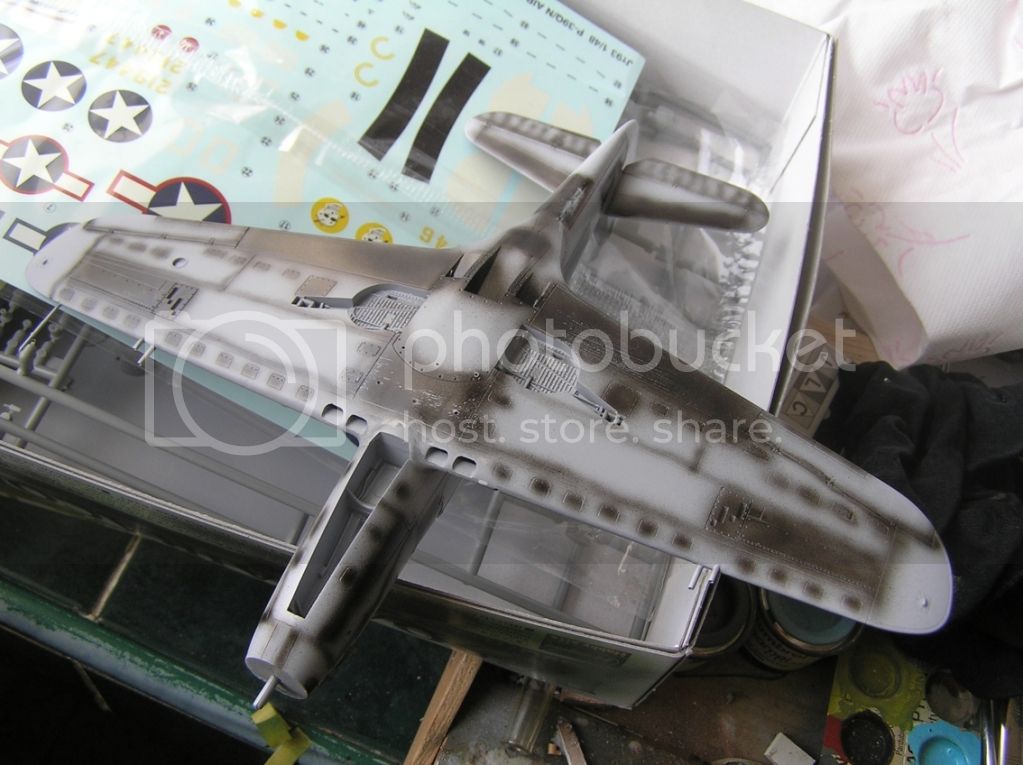
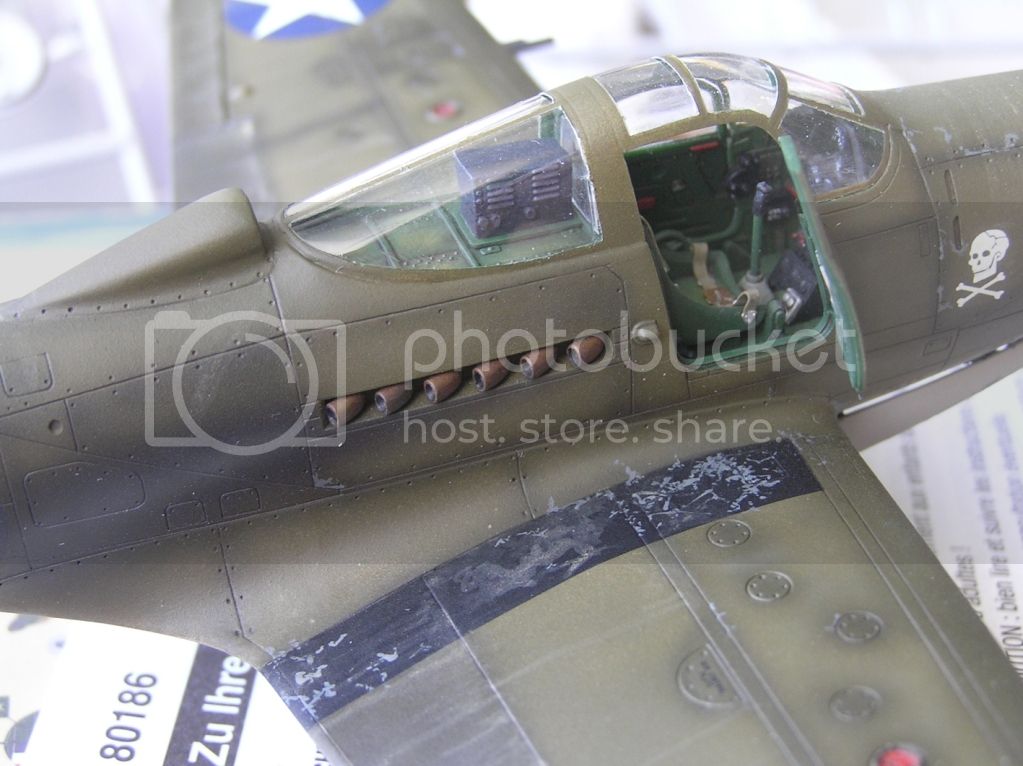
What You see on the pictures was done on Sunday and Monday. Not much so far, only the cockpit is nearly finished.


Naseby
_VISITCOMMUNITY
Slovakia
Joined: October 15, 2010
KitMaker: 825 posts
AeroScale: 476 posts
Posted: Saturday, May 12, 2012 - 09:41 PM UTC
I have a lot of going on at work, so progress is worse than slow. The Walrus for the Mtachbox campaign is on the halt and the Cobra is coming along only very slowly. It took me a whileto figure out how many weight I need so theplane would stand upright and not fall on its tail. In the end I used as many screws as I was able to stuff into the fuselage. I hope the wheels will not breat under the weight.

BlackWidow
_VISITCOMMUNITY
European Union
Joined: August 09, 2009
KitMaker: 1,732 posts
AeroScale: 1,336 posts
Posted: Sunday, May 13, 2012 - 06:44 AM UTC
Hey Naseby,
I've built Hasegawa's P-400 last year. This is a thankfull kit, believe me. Just add glue and shake, it falls together easily ....
Just watch out for the canopy as it's a bit too small to fit to the fuselage. You have to widen it a bit. If you like, check out my Assembly Line thread for some information. You will like this "easy kit".

Happy modelling!
Torsten
wespe66
_VISITCOMMUNITY
Frederiksborg, Denmark
Joined: June 27, 2011
KitMaker: 122 posts
AeroScale: 121 posts
Posted: Sunday, May 13, 2012 - 06:06 PM UTC
Good work so far - looking foreward to see more!
I will soon be entering the pin-up campaign with this kit, so I will follow this thread.

Regards
Naseby
_VISITCOMMUNITY
Slovakia
Joined: October 15, 2010
KitMaker: 825 posts
AeroScale: 476 posts
Posted: Saturday, May 26, 2012 - 09:15 PM UTC
Thank You for the comments, I will try to make as many pictures as possible to comment on all issue during the build.

I had three days off so I was able to make some headway. The fuselage and wing are together. The fit isnt as good as I hoped. The cockpit is pushing the fuselage halves apart and this means that the canopy will not fit properly. I had to adjust the inserts, which are traditionaly the weak spot of Hasegawa kits. There is definitely some putty needed here and there.


¨
Naseby
_VISITCOMMUNITY
Slovakia
Joined: October 15, 2010
KitMaker: 825 posts
AeroScale: 476 posts
Posted: Sunday, June 17, 2012 - 08:14 AM UTC
Well as expected the canopy didnt fitt properly. The fuselage was too wide and I had to sand down a good portion of it to get an acceptable look. This meant that also the doors were not aligned properly and I had to alter the right one, which will be closed. The left will be left open so no need here for any adjustment. The canopy masks are from Eduard and they are a huge dissapointment. The fit is below average and the front part of canopy is all wrong. The bollom frame of the front windshield is molded as a part of the fuselage and Eduard missed this fact completely. I was at leas able to smooth out all the fitt issues and all the inserts for which Hasegawa is notorious. After the surfacer coat I started to pre shade with black colour and thats how far I got.


Naseby
_VISITCOMMUNITY
Slovakia
Joined: October 15, 2010
KitMaker: 825 posts
AeroScale: 476 posts
Posted: Friday, June 22, 2012 - 09:28 AM UTC
First paint is on and now we come to the most interesting part of this build. As already mentiond Im going o portraite the P-39N flown by ace Lt. Bill Fiedler of the 68th FS of the Cactus Air Force. What makes it special is the fact that Cactus Air Force operated from Guadalcanal s Henderson Field on Lunga Point. This is considered to be one of the most demanding airfields ever used. While the airstrip of Henderson was at least covered with gravel and Matting, a second strip constructed later and called Fighter 1, was only plain soil. Planes were usually parked in the open, covered with dust or mudd - depending on how much it rained - and bombarder regularly by Japanese warships sailing by. I never portraited a plane used in such harsh conditions so this will be an expriment in weathering. There is only one good picture of Fiedlers plane I know of, the link is listed below.

http://www.warbirdinformationexchange.org/phpBB3/viewtopic.php?p=147465


Naseby
_VISITCOMMUNITY
Slovakia
Joined: October 15, 2010
KitMaker: 825 posts
AeroScale: 476 posts
Posted: Saturday, June 30, 2012 - 04:57 AM UTC
Here is the last update. I painted the propeller old school style with brush and Valejo Air colors. I also drilled the exhauste and painted them with Valejo and a added a bit of pigments.


Naseby
_VISITCOMMUNITY
Slovakia
Joined: October 15, 2010
KitMaker: 825 posts
AeroScale: 476 posts
Posted: Friday, July 06, 2012 - 04:57 AM UTC
The decals and weathering are mostly done. The aim was to show the misserable conditions in which the Cactus Airforce had to operate.


Siderius
_VISITCOMMUNITY
Tennessee, United States
Joined: September 20, 2005
KitMaker: 1,747 posts
AeroScale: 1,673 posts
Posted: Friday, July 06, 2012 - 10:44 AM UTC
Hey, hey Naseby, looking good there. Russell
doubtingthomas
_VISITCOMMUNITY
Wisconsin, United States
Joined: March 17, 2009
KitMaker: 156 posts
AeroScale: 153 posts
Posted: Tuesday, July 10, 2012 - 08:00 AM UTC
I'll echo Russell - that looks really nice. It's always a challenge to break up a plain O.D. finish, and yours looks great. I also like the painting and pigments on the exhausts. I haven't used pigments for such yet...will ahve to try it.

Regards-
Tom
Naseby
_VISITCOMMUNITY
Slovakia
Joined: October 15, 2010
KitMaker: 825 posts
AeroScale: 476 posts
Posted: Wednesday, July 11, 2012 - 04:31 AM UTC
Thank You guys for the comments. I can only recommend the usage of pigments for exhausts. When somethings goes wrong, You can always wash them away.
I have already finished the Cobra during the last days but Im not able to take new pictures at the moment. I will post them in a few days.
Naseby
_VISITCOMMUNITY
Slovakia
Joined: October 15, 2010
KitMaker: 825 posts
AeroScale: 476 posts
Posted: Tuesday, August 21, 2012 - 04:42 AM UTC
Unbelievable, it took me more then a month to take and upload a few good pictures, but here they are.
After the built was finished, I took one last look on the only existing photo of the plane and realised that I didnt paint the white strip on the fuselage. But I guess I will have to live with that now.
The pictures show how I imagine Lt. Fieldlers P-39N from 68th FS/347th FG would look on its last day of existance. On the 30th of June 1943, Lt. Fielder was standing on the wing of the plane, while waiting for takeoff clearance. The row of P-39 on the ground was suddenly hit by a crashing P-38, that lost speed during takeoff. Both the Lightning and the Airacobra exploded on the spot. Lt. Fiedler died hours in hospital.


 _GOTOTOP