Hi all,
Back with some progress. Times been limited, distractions have been many so she isnt as advanced as I'd hoped. That and a few mishaps have not helped.
You know when you do something stupid.... afterwards it just seem so obvious. I was attaching the interplane struts, fixing the bottoms I set up the upper wing in place dry fitted and left it to set.... now where would be safe I thought. In the kitchen out the way... Oh a nice clear spot on the coffeemaker top.... after all it never gets used. So Kornbeef sticks the kit upside down safely out the way. Next day the washing machine was spinning. Even in a different room you just know what the clunk ad clatter is as it hits your ears and the air turns blue even before you see whats happened. So several points and parts now pinned with brass rod later and wayward parts recovered from under kitchen appliances. A lesson learnt? Of course....ummmm

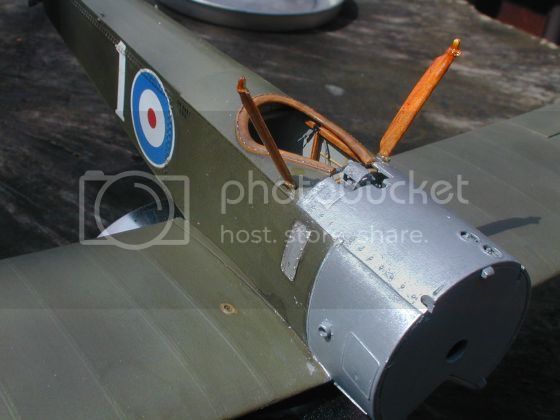
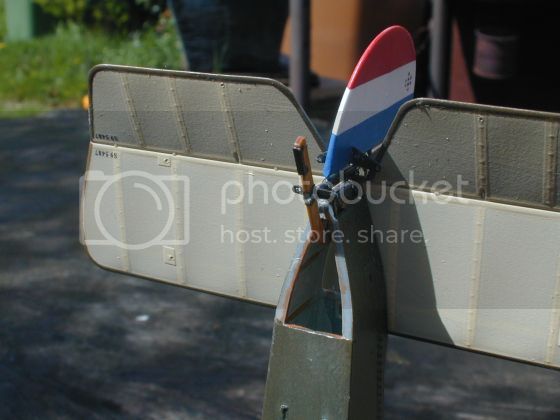
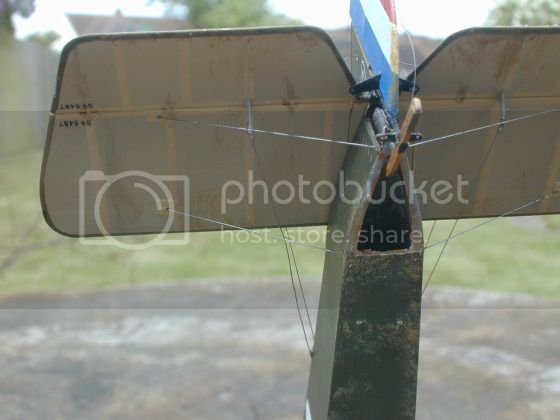
Anyway pics for your comments. Part rigged. I'm not over happy how its turnied out in places (rigging) a little movement before setting off of CYano and using the plastic points to rig the strut bracing... ummmm not strong nd me forgets.

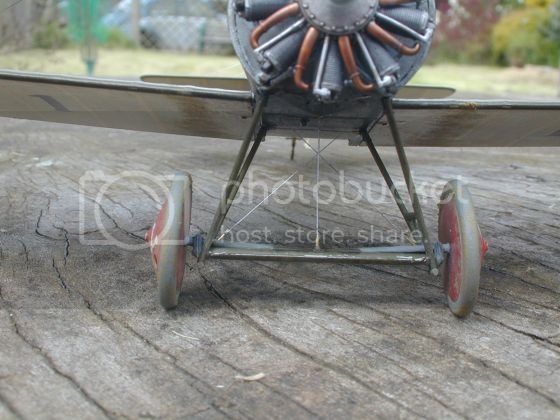
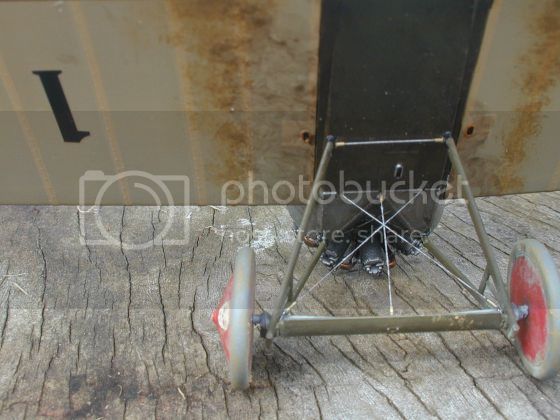
I'm using invisithread smoke for rigging, shying away from even attempting flying wire. First stage is the bracing wires between struts, The rest will be rigged in my new found preassembl style of making up the wire assembly and fixing it as one piece then tensioning it, that worked well o the Rumpler. Of course the attachment is simpler just an eyelet and single piece of brass tube at each end.
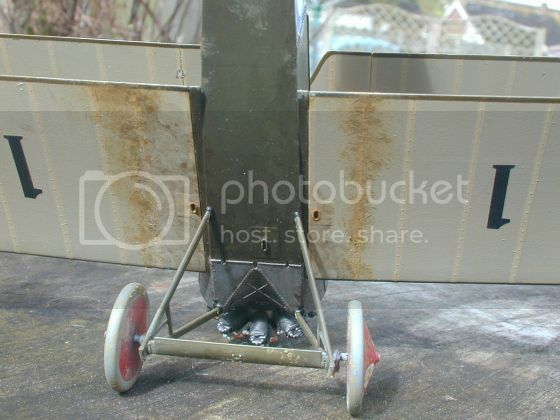

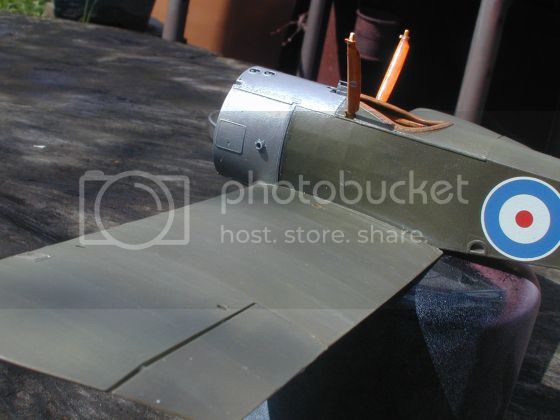
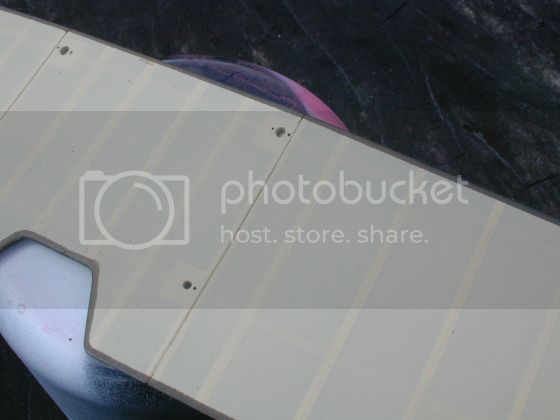
Underside, weathering and dirtying up is started...this is just the beginning.... "Dirty puppie!"
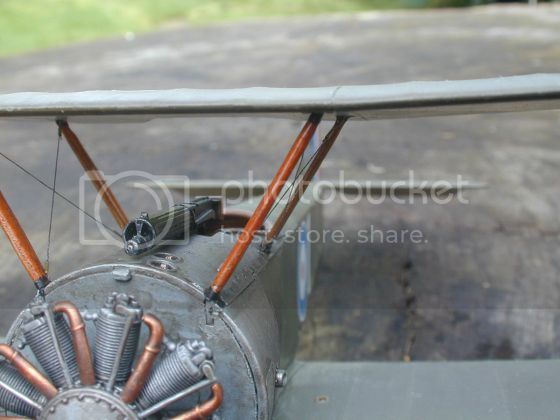
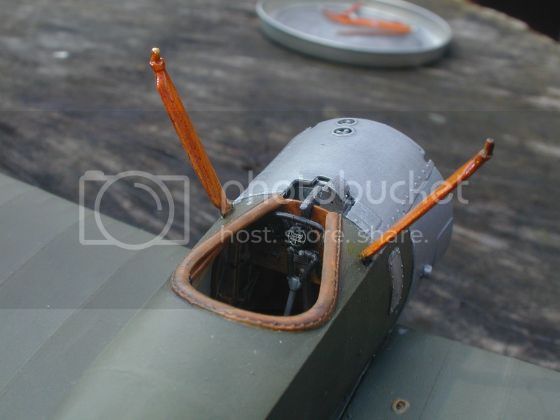
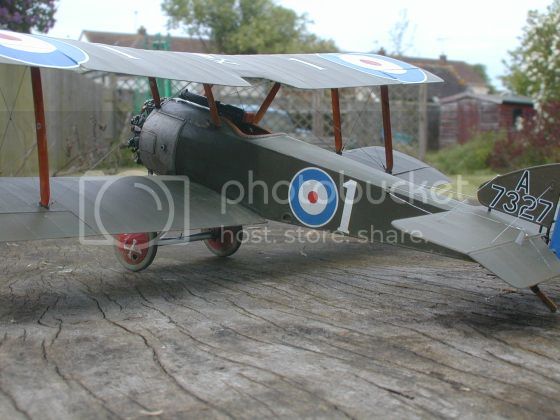
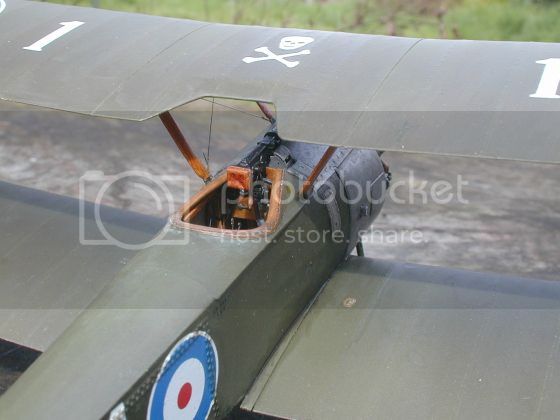
final shot, the Vickers muzzle reworked a brass barrel and the cooling jacket was hollowed out. Below you can just see the oil and fuel filler apertures I opened out and added scratched caps.
Lots to do still. wearing her in.
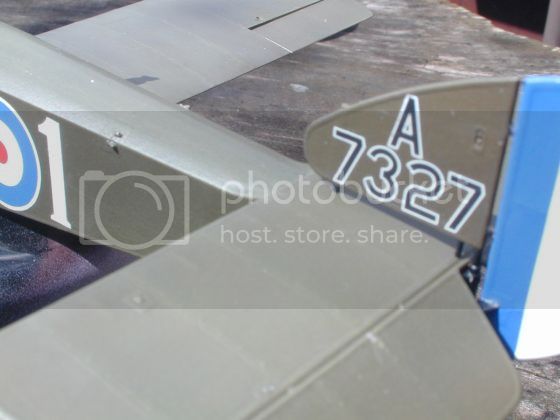
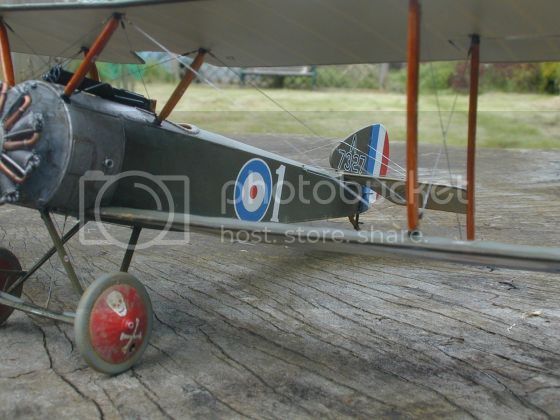
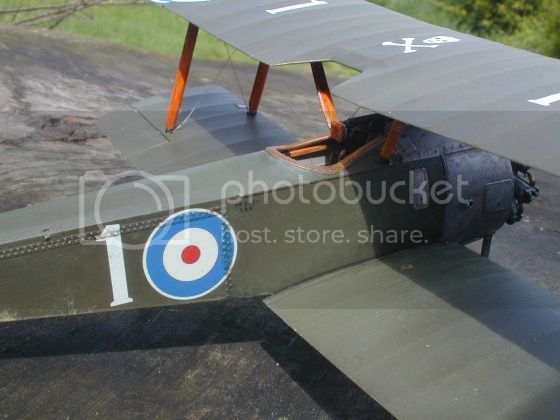
Oh and incidentally I used different fuselage roundels that spec'd in the instructions as they just loked better sized against Ronnie Barr's profile. though in comparison WNWs skull and Xbones are bigger too. still look the part when on though

TY for looking all commnts appreciated.
Keith
Apologies for the dreadfull diction and spelling. New PC and keyboard, old head andfingers.