_GOTOBOTTOM
Cold War (1950-1974)
Discuss the aircraft modeling subjects during the Cold War period.
Hosted by Tim Hatton
C-130 at Bucholz Field, c.1968
JClapp
#259
_VISITCOMMUNITY
Massachusetts, United States
Joined: October 23, 2011
KitMaker: 2,265 posts
AeroScale: 1,715 posts
Posted: Saturday, July 07, 2012 - 04:33 AM UTC
As part of my larger project modelling Bucholz Army Airfield on Kwajalein during the Viet Nam era, several different C-130's come to mind. C-130's of all branches of the service in various configurations stopped at Kwajalain.
To begin with, I am keen on Navy planes, and VP-21 out of Barber's Point Hawaii called regularly.

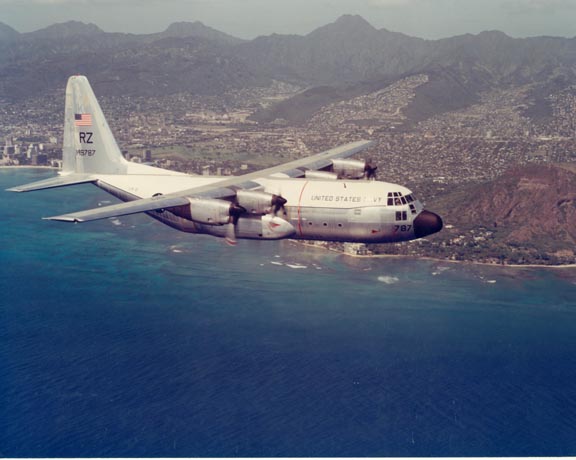
This image of RZ787 over Oahu is in the collection of the Hawaii Aviation Preservation Society. hiavps.com is a fascinating web site, well worth a visit. Thanks to HIAVPS Director Colin Perry for permission to use images from the collection here.

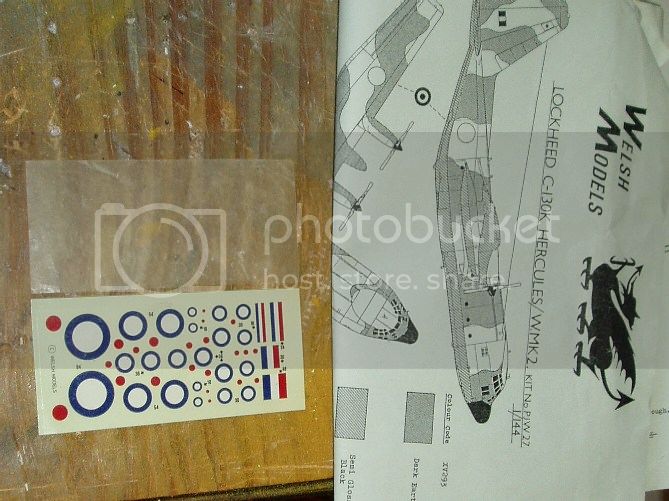
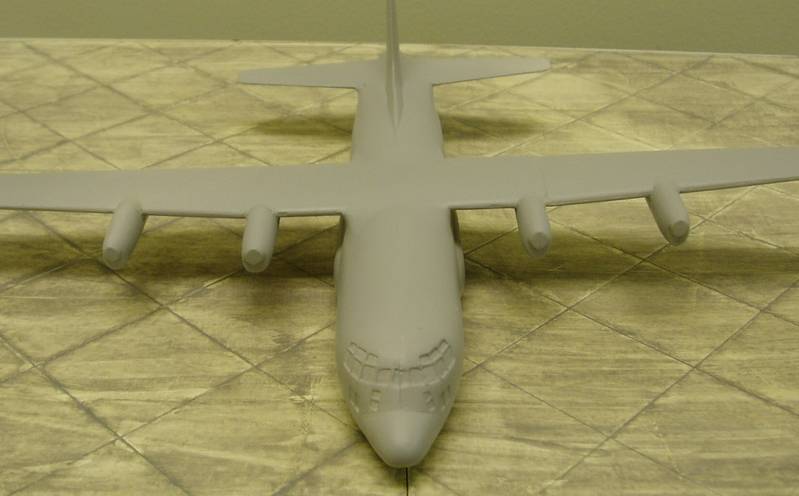
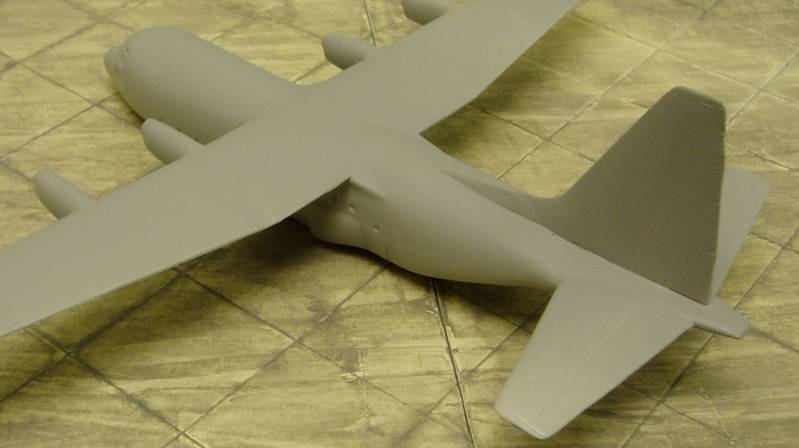
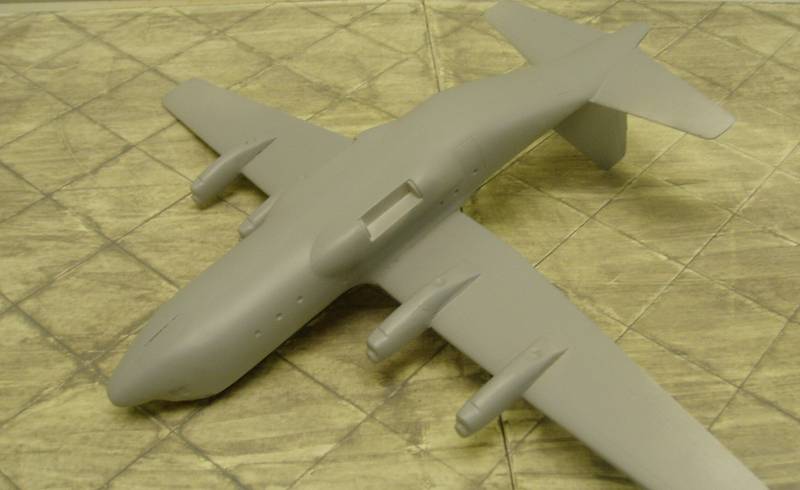
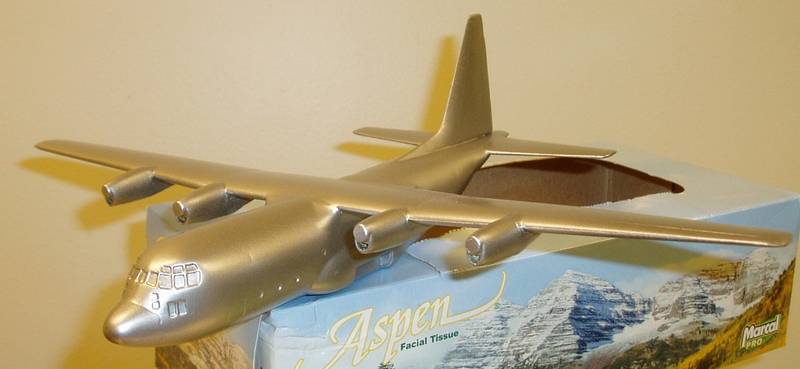
there are several C-130 model kits available in 1:144, but my recent excellent experience with Welsh Models vacuform kits brings their offering to the top of the list.


I am going to post my progress here on this my second ever vacuform kit, but Im not an expert by any means, so I am
not attempting to instruct. Anyone interested the history of vacuform modelling should
read the story here, and part 2 here.
Anyone interested in learning how-to-do-it should learn from the masters in this thread , as I did.

So, onward.
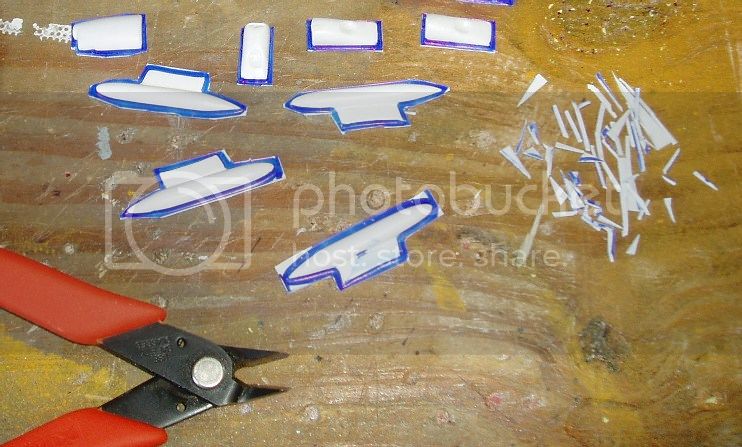
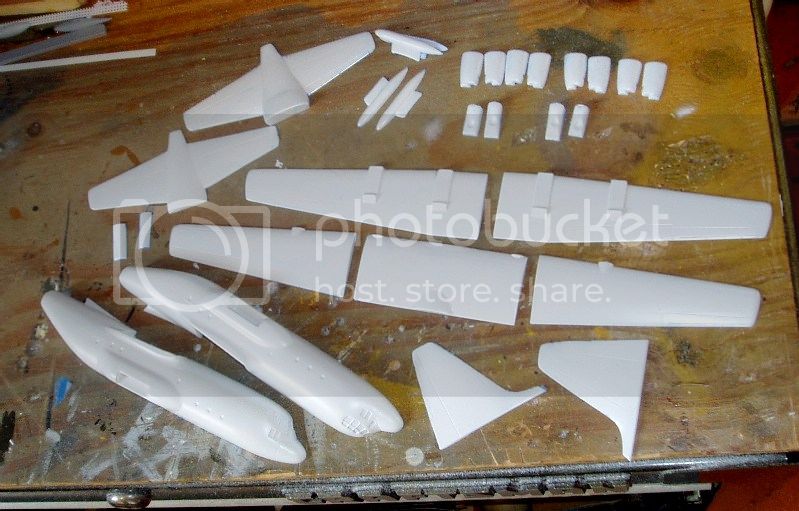
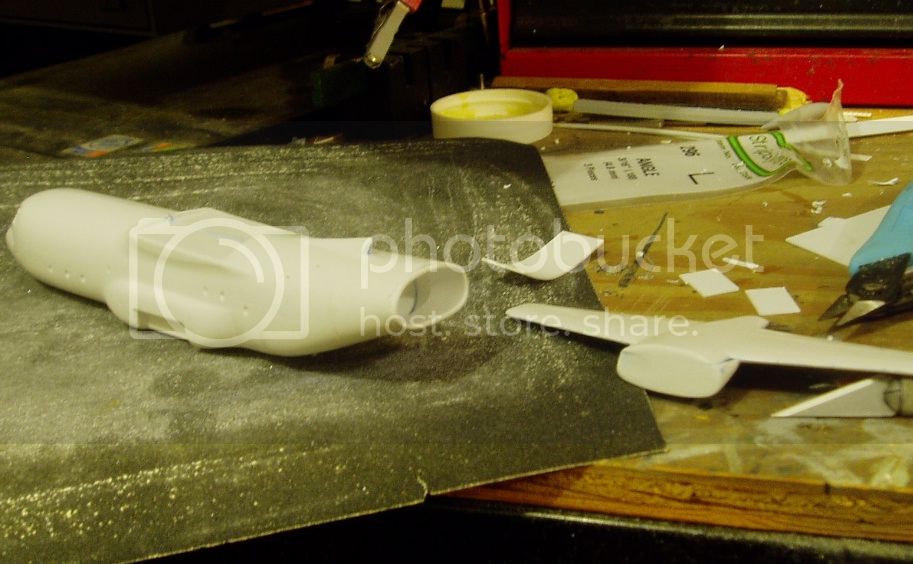
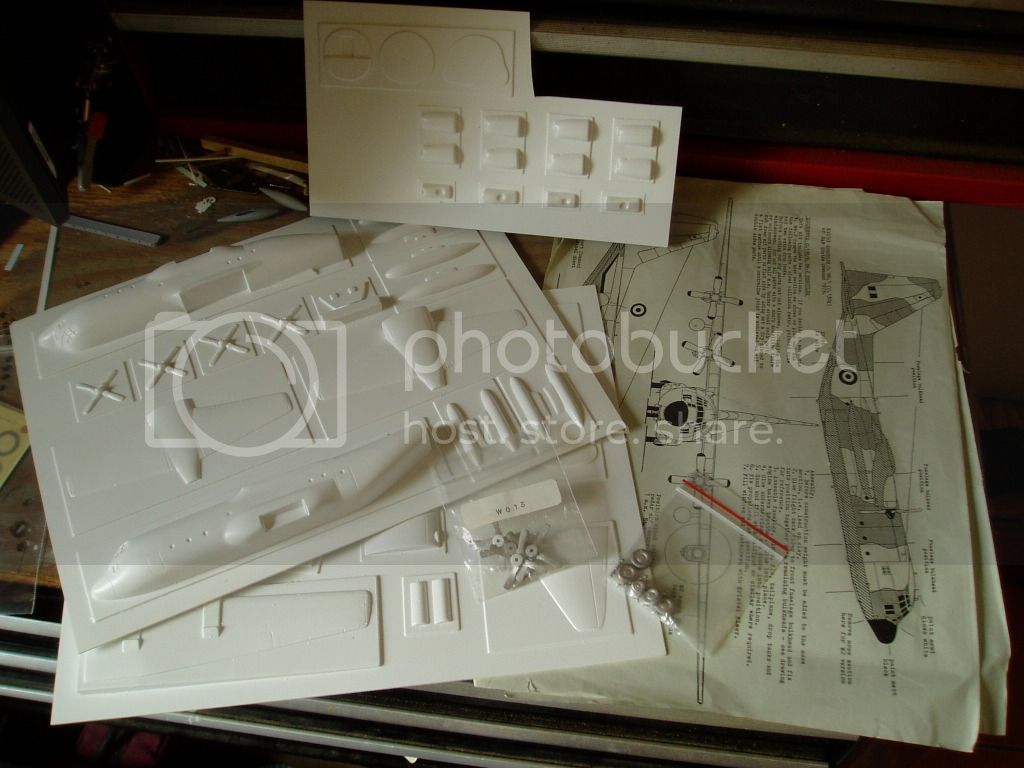
day 1 (actually few days ago now) parts snapped out of the sheets

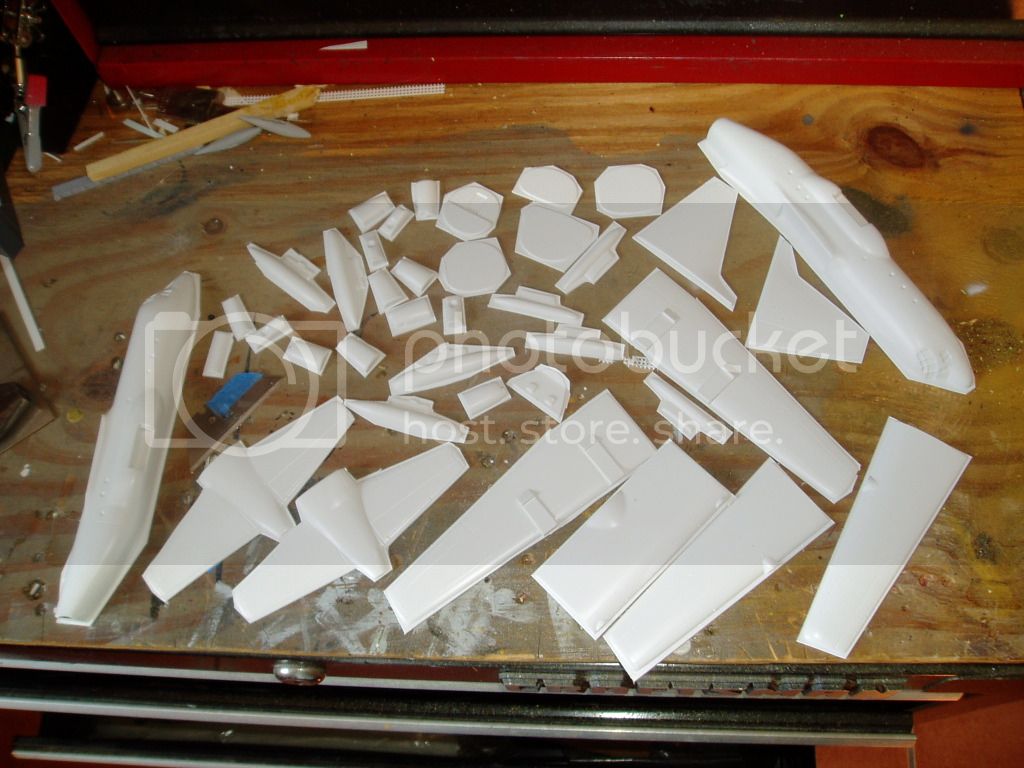
inked ready for sanding


JClapp
#259
_VISITCOMMUNITY
Massachusetts, United States
Joined: October 23, 2011
KitMaker: 2,265 posts
AeroScale: 1,715 posts
Posted: Saturday, July 07, 2012 - 04:49 AM UTC
day 2, sanding.
the first parts done already look like a C-130


As said, I am no expert, but I approach things from a process analytical stand point and I will add this suggestion. carefull trim the excess plastic around each part with a nibbler. the less plastic to pulverize, the less energy required, the faster it will go - and try to get the margin really even, this will minimize risk of over sanding certain areas.


All the parts complete, ink washed off with alcohol, ready to start building.


I am not using these large underwing pods. they resemble the refueling pods found on KC-130s, which I many attempt in future, but VP-21 had none like these.

I'm also not using the RAF decals. These are up for grabs, if anyone wants them.

JClapp
#259
_VISITCOMMUNITY
Massachusetts, United States
Joined: October 23, 2011
KitMaker: 2,265 posts
AeroScale: 1,715 posts
Posted: Saturday, July 07, 2012 - 10:16 AM UTC
Day 3, today, got most of the component assemblies started, wings, tail, engines, and a pair of small underwing tanks. I havent seen any VP-21 C-130's with these small tanks, but I like them so they are going on.


Also, a special treat: a period photo of RZ806, taken on Kwajalein taken by a passenger, a Navy serviceman, Mr. John Wright, on his way to a tour in Viet Nam in 1968, with Inshore Undersea Warfare Group One, Westpac Detachment.

Mr. Wright is today a professional photographer, You can see more of his pictures from that time here. thanks to Mr. Wright for permission to include this remarkable image here.
stugiiif
_VISITCOMMUNITY
Virginia, United States
Joined: December 13, 2002
KitMaker: 1,434 posts
AeroScale: 403 posts
Posted: Saturday, July 07, 2012 - 06:09 PM UTC
I think your squadron is VR-21. Which is a transport squadron out of Barber's Pt. VP-21 flew P2V-7 Neptunes and were deployed to Souda Bay, Crete and Sigonalla, Sicily during that time frame in fact they left Norfolk (homeport)in '67 and decommisoned in Sigonella in '69. I noticed the squadron mark in the last photo you posted. As a C-130 in Patrol squdron seemed odd. VP's kill subs and shoot ships. So for the 60's they would have used the Neptune and transitioned to the beloved P-3A in the '70's. HTH, it should you beter source your decals.
JClapp
#259
_VISITCOMMUNITY
Massachusetts, United States
Joined: October 23, 2011
KitMaker: 2,265 posts
AeroScale: 1,715 posts
Posted: Sunday, July 08, 2012 - 01:32 AM UTC
VR-21 is of course correct, thanks for pointing that out.

I will be designing and printing the decals myself.
JClapp
#259
_VISITCOMMUNITY
Massachusetts, United States
Joined: October 23, 2011
KitMaker: 2,265 posts
AeroScale: 1,715 posts
Posted: Sunday, July 08, 2012 - 11:19 AM UTC
Today I got the airframe mostly together.
the kit includes stiffening partitions and cockpit floor, but nothing else in the way of interior. In this scale in hardly matters. I will be cutting out all those windows and filling them with clear stuff, to let light through, but you wont be able to make out anything inside.


there's about 20 grams of lead closed up in there, I'm sure that will be enough.

Well, there it is, Ive made my bed, as they say, now its time to get to work with the Miliput, This will be my first adventure with that product. Ive been experimenting a bit and I already like it better than the green putty.
Jessie_C
_VISITCOMMUNITY
British Columbia, Canada
Joined: September 03, 2009
KitMaker: 6,965 posts
AeroScale: 6,247 posts
Posted: Sunday, July 08, 2012 - 04:50 PM UTC
That's a great start. Those Welsh kits are so nice to work with, aren't they? Did you remember to slop around some black paint inside so it wouldn't look like a white hole?
JClapp
#259
_VISITCOMMUNITY
Massachusetts, United States
Joined: October 23, 2011
KitMaker: 2,265 posts
AeroScale: 1,715 posts
Posted: Sunday, July 08, 2012 - 08:24 PM UTC
The inside is painted medium grey.
I am pretty happy with Welsh models, I have several more queued up.
This kit has gone together really well so far, but the tail to body joint will require some extra material.
JClapp
#259
_VISITCOMMUNITY
Massachusetts, United States
Joined: October 23, 2011
KitMaker: 2,265 posts
AeroScale: 1,715 posts
Posted: Monday, July 09, 2012 - 10:05 PM UTC
The plastic got very thin at the aft end of the fuselage, I did not think attaching the tail section by a butt joint would be very sturdy. I cut away the flange and inserted a coiled up strip of .020 styrene card, which when sprung open conformed admirably to the shape of the fuselage. now I have something to weld to.

JClapp
#259
_VISITCOMMUNITY
Massachusetts, United States
Joined: October 23, 2011
KitMaker: 2,265 posts
AeroScale: 1,715 posts
Posted: Sunday, July 29, 2012 - 08:27 AM UTC
Assembly complete and in primer. The shape is excellent.

I did not document the podging - twice around with Miliput followed by many applications of Liquid paper and much sanding. filling and fairing is a big part of vacuform kits, theres no denying it. the engine nacelles were particularly challenging and still need work.

The tail join worked out pretty well.

I'm going to do another round of fairing, then comes painting. I think Ill try my hand with Alclad on this model,
litespeed
Staff MemberNews Reporter
AEROSCALE
_VISITCOMMUNITY
England - North West, United Kingdom
Joined: October 15, 2009
KitMaker: 1,976 posts
AeroScale: 1,789 posts
Posted: Thursday, August 02, 2012 - 08:26 PM UTC
Looking very good, excellent work. looking forward to seeing your decals Jonathan
All the best.
tim
JClapp
#259
_VISITCOMMUNITY
Massachusetts, United States
Joined: October 23, 2011
KitMaker: 2,265 posts
AeroScale: 1,715 posts
Posted: Sunday, August 19, 2012 - 08:44 PM UTC
Thanks Tim, I'm getting closer to decaling time on this. thankfully filling and fairing is complete.
I have to get a few campaigns projects nailed down in the immediate future before I can devote time to creating the decals, but today sprayed both this and the C-124 gloss black enamel in preparation for Alclad.

JClapp
#259
_VISITCOMMUNITY
Massachusetts, United States
Joined: October 23, 2011
KitMaker: 2,265 posts
AeroScale: 1,715 posts
Posted: Monday, August 20, 2012 - 03:20 PM UTC
and here it is in Alclad.


JClapp
#259
_VISITCOMMUNITY
Massachusetts, United States
Joined: October 23, 2011
KitMaker: 2,265 posts
AeroScale: 1,715 posts
Posted: Wednesday, July 30, 2014 - 06:44 PM UTC
I was masking and painting white tops, so I got this project out again after just about two years!

Joel_W
Staff MemberAssociate Editor
AUTOMODELER
_VISITCOMMUNITY
New York, United States
Joined: December 04, 2010
KitMaker: 11,666 posts
AeroScale: 7,410 posts
Posted: Thursday, July 31, 2014 - 09:55 AM UTC
Jonahan,
After posting on old threads, I've just got use to checking an unfamiliar threads start date, so 7/7/12 so I figured it was resurrected by someone. Glad it was you, so that it's going to be completed.

Just an outstanding effort assembling a vacuform kit. I've always stayed clear of them out of fear of a total failure.

Once I saw the Gloss Black on, I knew that you were home free. The Alcad and Gloss White looks really good.

Looking forward to your next update. I'm just hoping that it's much sooner then another 2 years.

Joel
JClapp
#259
_VISITCOMMUNITY
Massachusetts, United States
Joined: October 23, 2011
KitMaker: 2,265 posts
AeroScale: 1,715 posts
Posted: Thursday, July 31, 2014 - 08:59 PM UTC
Hey Joel, thanks for stopping in.
I am very fond of Welsh models. I havent tried any other make of vacuforms, though I have a few in the stash.

They arent super detailed, like modern IM kits, and they do require a certain amount of field engineering, those are the challenges left to the builder.

I built a nose LG wheel well, and Ive just cut open the doors to reveal it.

I made up a cockpit interior too. I am going to cut out all the windows eventually and fill them with window maker.
 _GOTOTOP