Thanks guys, I hope this will be an interesting build

Kenneth, can you post a link to your build blog? I'd love to see how you built your kit.
These days, when I build a model, I tend to do a lot of research on colors for the particular aircraft I plan to model. Sometimes it's easy to confirm what the decal sheet or kit instructions tell you, other times it's not.
When this kit arrived, I decided to build it in the scheme shown on the box-art, as it looked good with the yellow cowls and wide white fuselage band. The kit instructions show the aircraft 3U+NT assigned to 9./ZG26 which was based Sicily during 1941. The instructions call for an RLM 66 Black-Gray cockpit and an exterior scheme of RLM 74/75/76.
Now, having studied Luftwaffe colors for many years, this seemed that it might not be correct, as "official" orders for this scheme were issued in late 1941, and this aircraft would have likely been built in late 1940. I then dug out all my 110 references, and searched the internet for information on this aircraft.
Surprisingly, there is not a lot of good information out there on 110 colors. The Vasco book on the 110 C/D/E is great for technical details (which show that just about anything could go, as 110's seem to have been constantly being upgraded in the field or at repair depots), but his book on 110 color profiles was no help, as it only added to the confusion with it's ambiguous paint schemes on the profiles, many of which do not even state what color they are supposed to represent. I believe this is because there is not any definitive info on the schemes the aircraft carried, so rather than publish incorrect info, they chose to leave it to the readers interpretation (personally, I would prefer an expert's best guess compared to nothing).
So, in the end, after consulting the above references as well as Merrick's latest Luftwaffe Colors series, I was able to come up with the following:
1) Bf110 C/D aircraft could have an RLM 66 cockpit rather than RLM 02 (Gray Green). An order existed which stated that 110's in for repainting/repair should have their cockpits painted RLM 66 when possible (my interpretation of the info - remove easily accessible equipment and spray everything else RLM 66). Photos exist of 110's where the pilots cockpit was repainted 66, and the rear is still 02, and others where the top half of the rear was 66, and the bottom 02. (We also see this in 109E's where some of them have RLM66 interiors, or just the canopy frames in RLM66, etc.) It could also be that the sub-contractors building these Messerschmitts could have used RLM 66 as that may have been what they had on hand having previously (or concurrently) been building non-fighter aircraft which had RLM 66 interiors prior to the order for fighters).
2) I found photos of some 9./ZG26 aircraft operating in the Med (same as my model) that have a RLM 74/75/76 scheme, rather than the earlier RLM 71/02/65. It may have been these were repainted in the field (perhaps when having damage repaired), rather then being a factory-scheme.
3) The fine folks at Dragon had engaged Jerry Crandall and Mark Proulx (both well-respected in the area of Luftwaffe colors), which would imply that the color callouts in the instructions are accurate (at least based on their expertise).
Not wanting to over-think it too much (I can see you shaking your head at that if you've read this far), I decided to just go with the kit instructions for this build, as it certainly appears to be a good possibility that it is correct, and I cannot find anything to disprove it, in fact the evidence would seem to be tilted in support of the kit instructions.
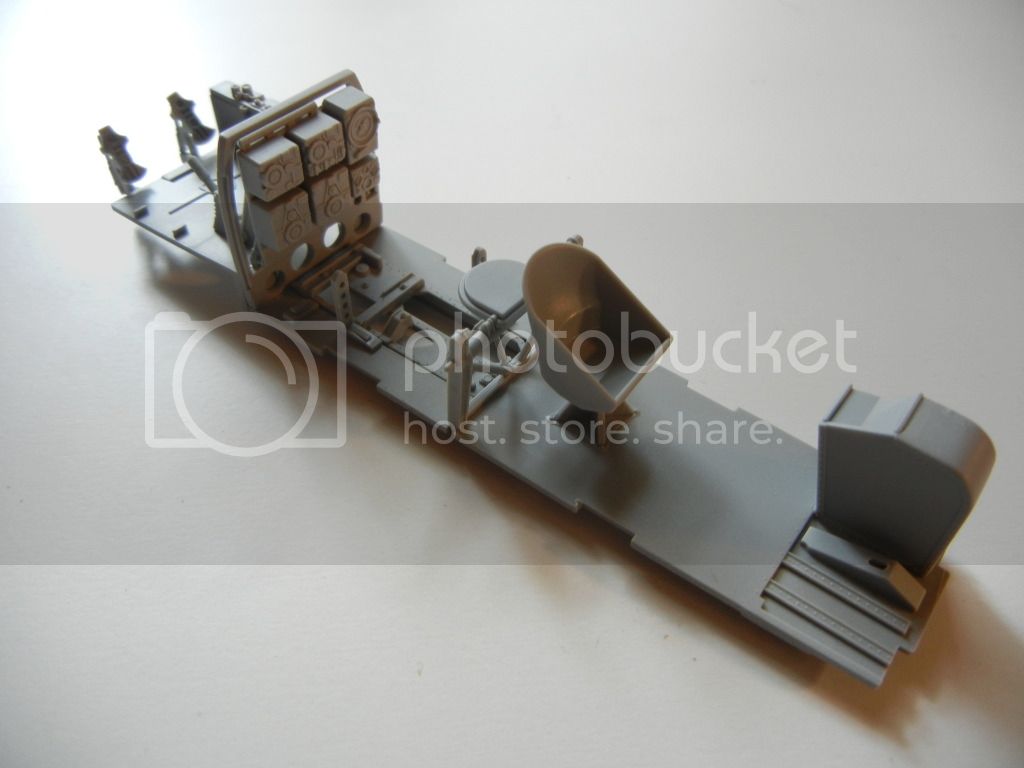
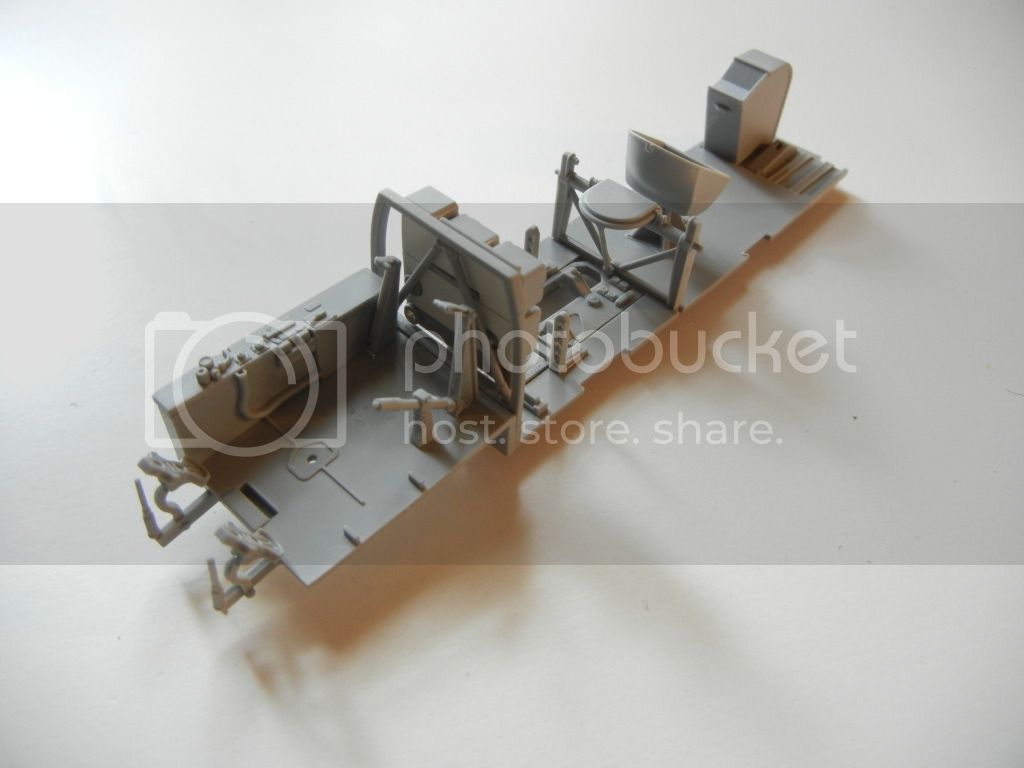
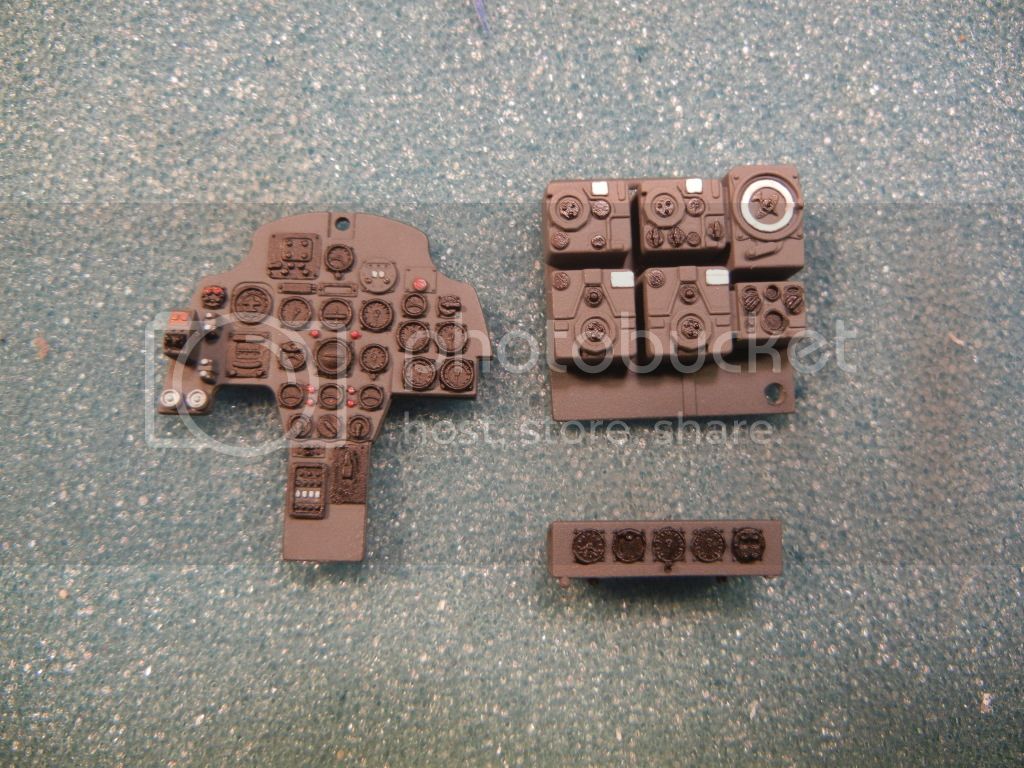
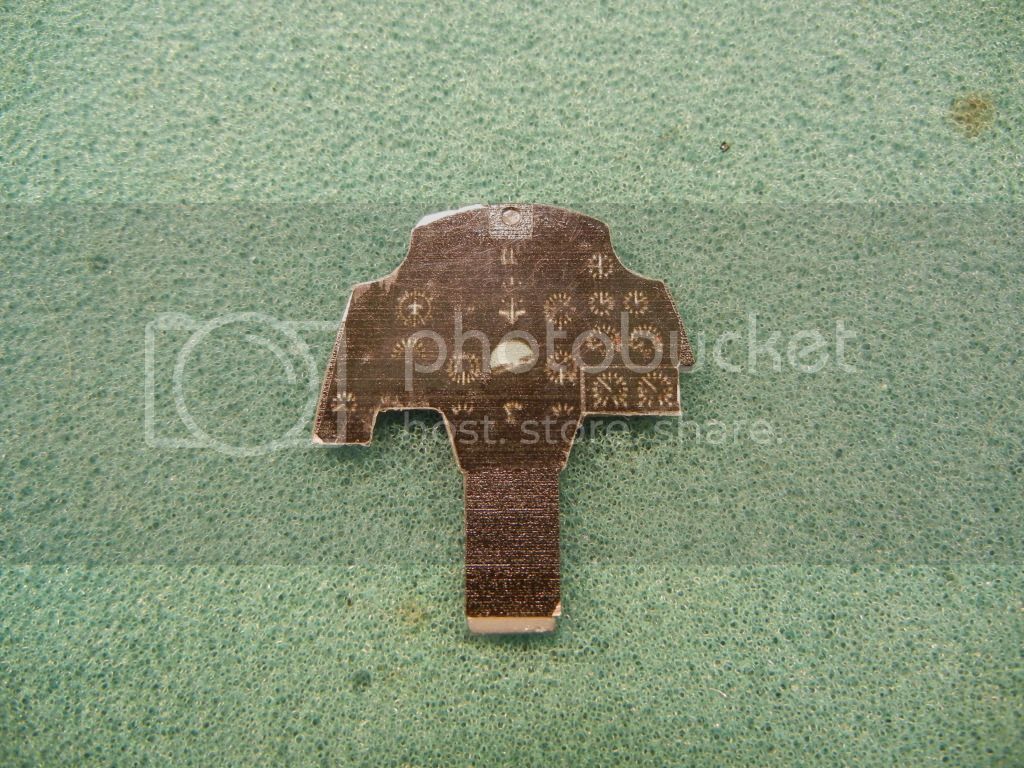
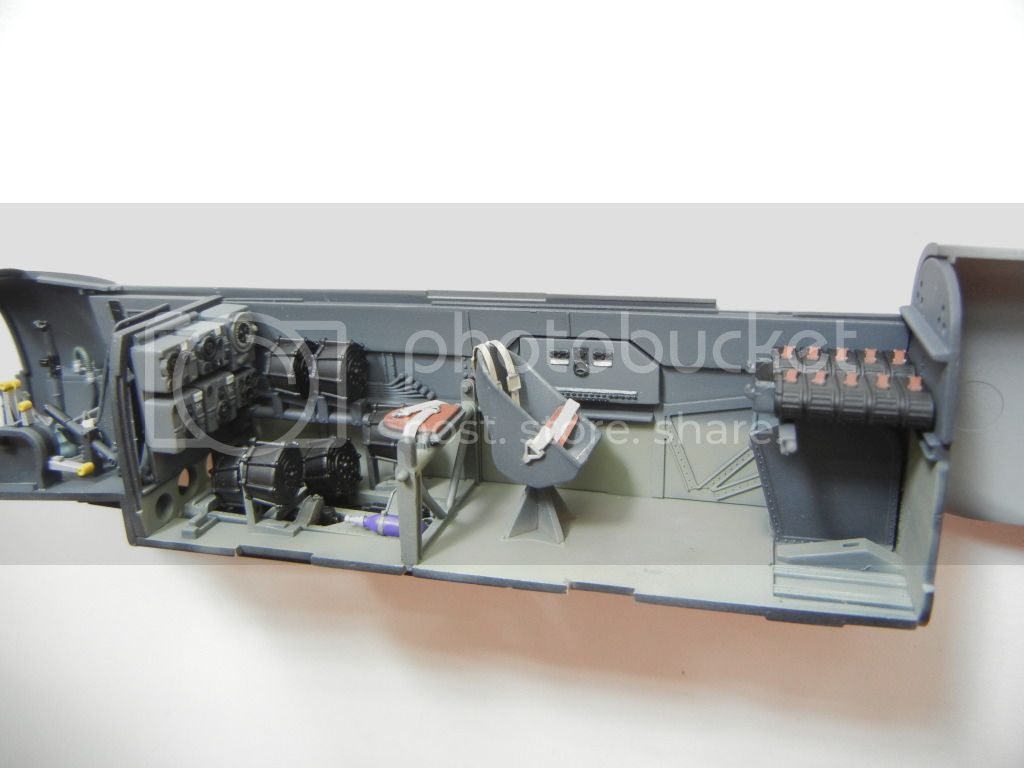
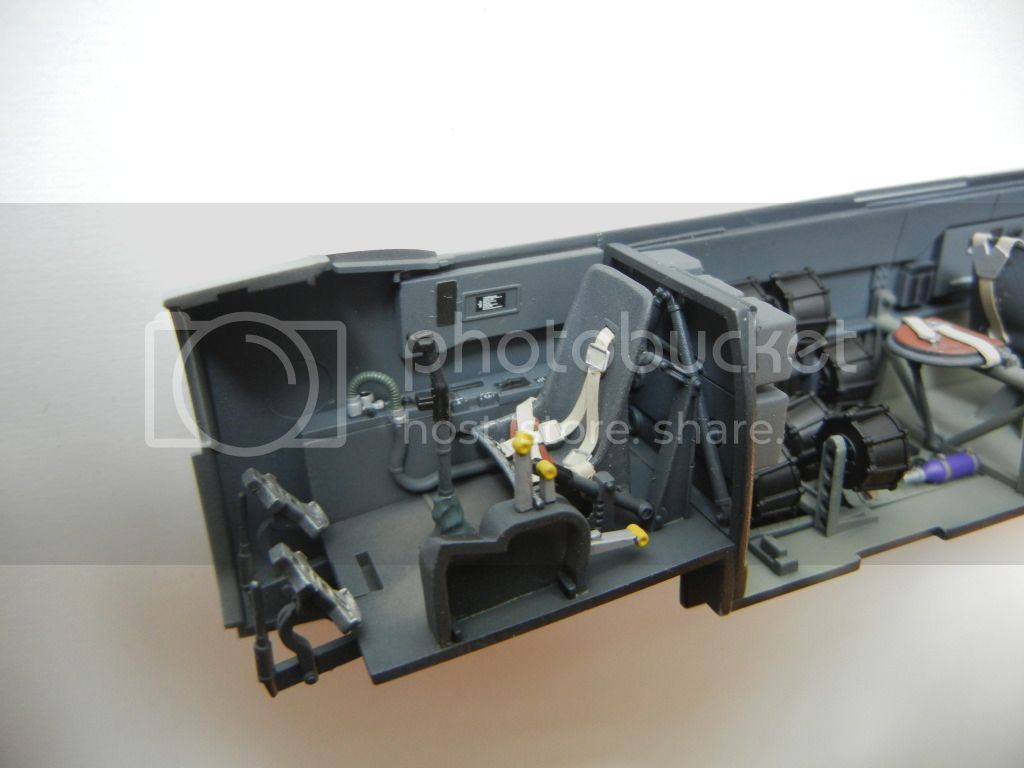
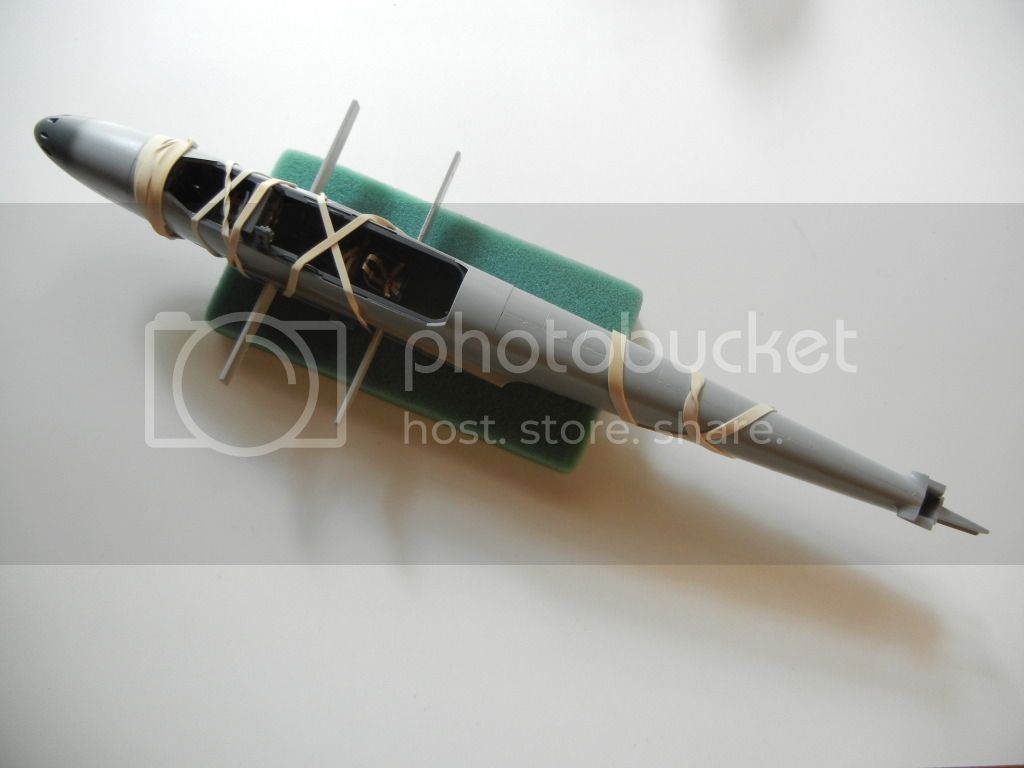
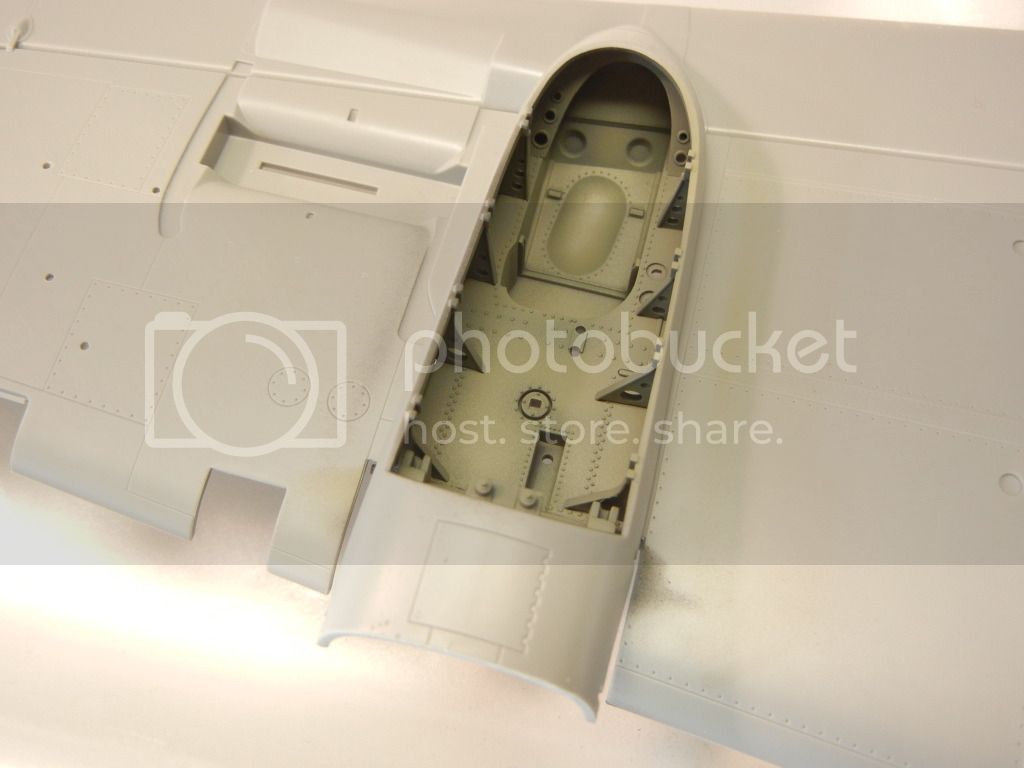
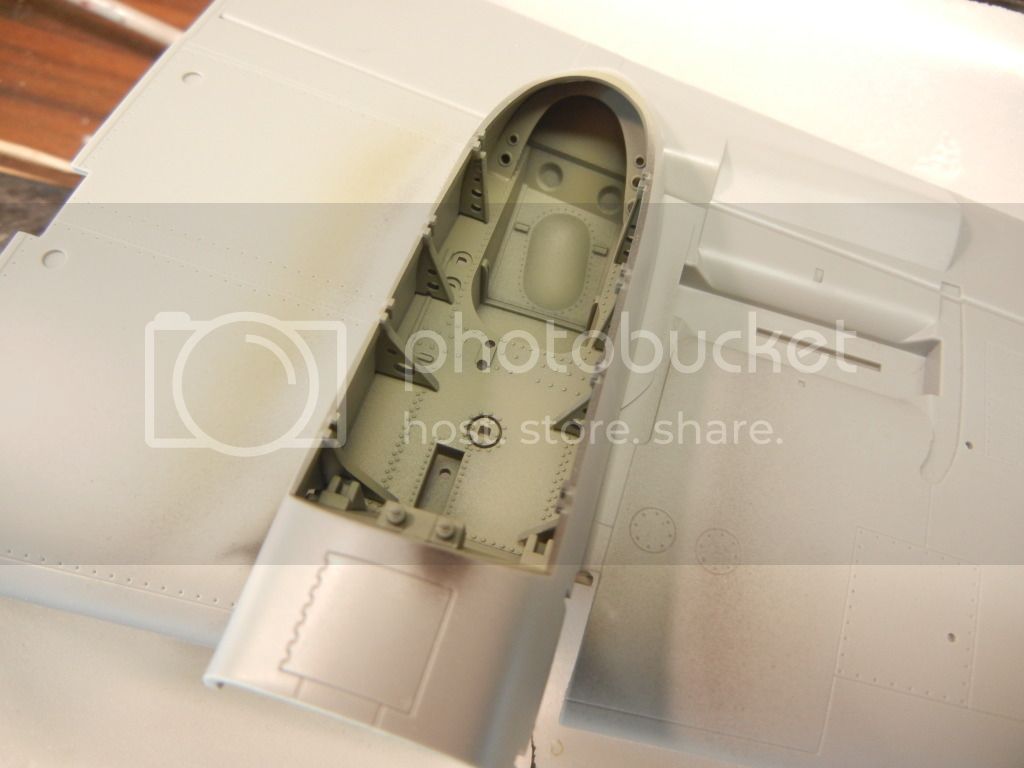
That decision being made, I've pressed on with painting the interior sub-assemblies. I started by painting everything flat black:
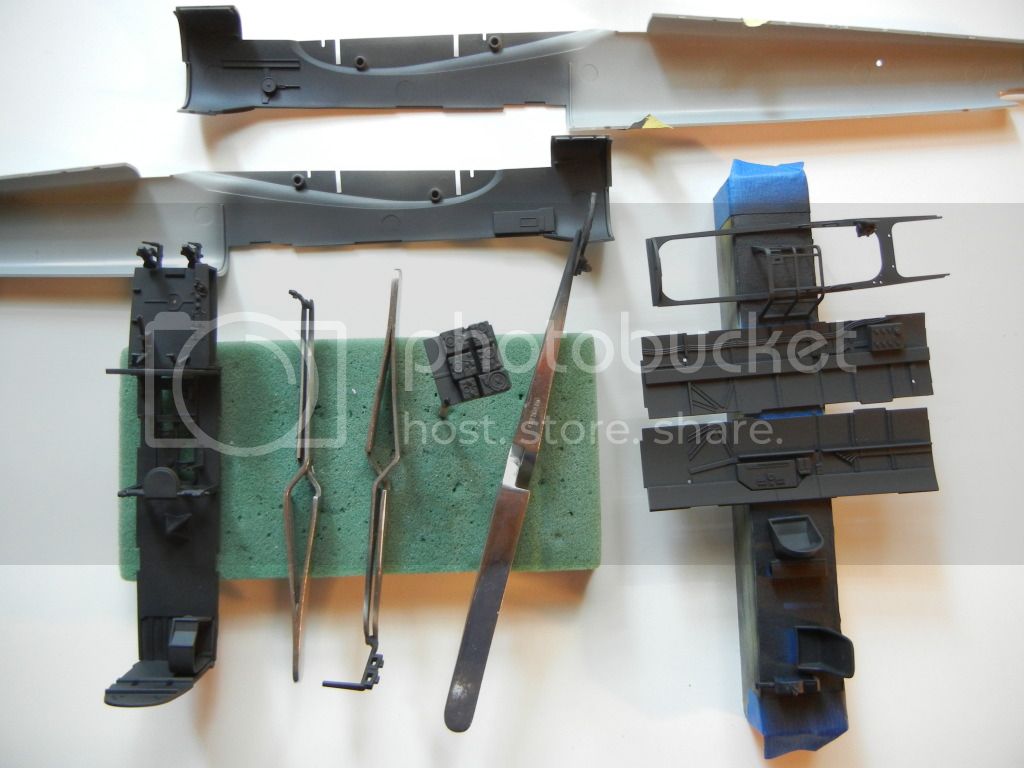
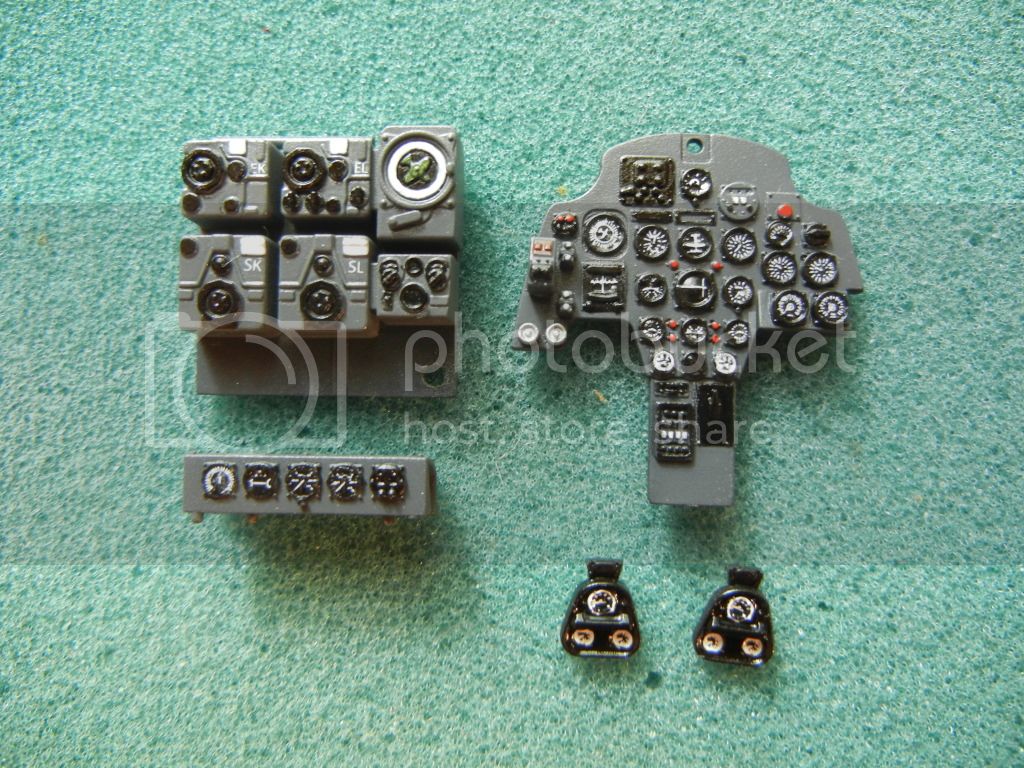
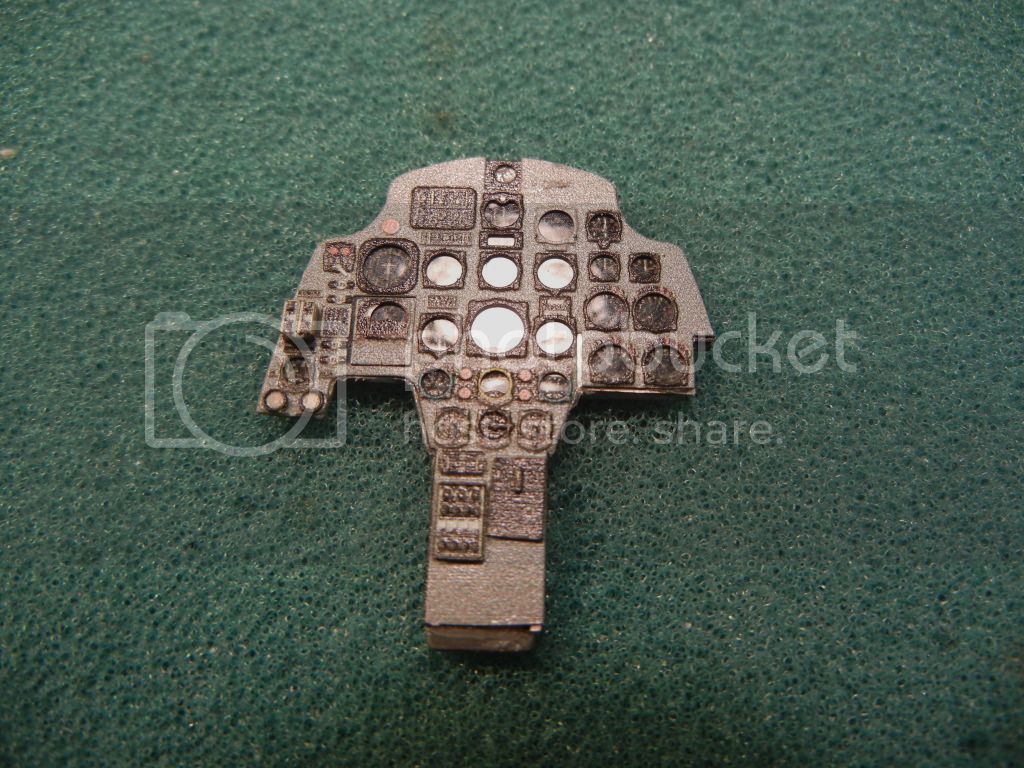
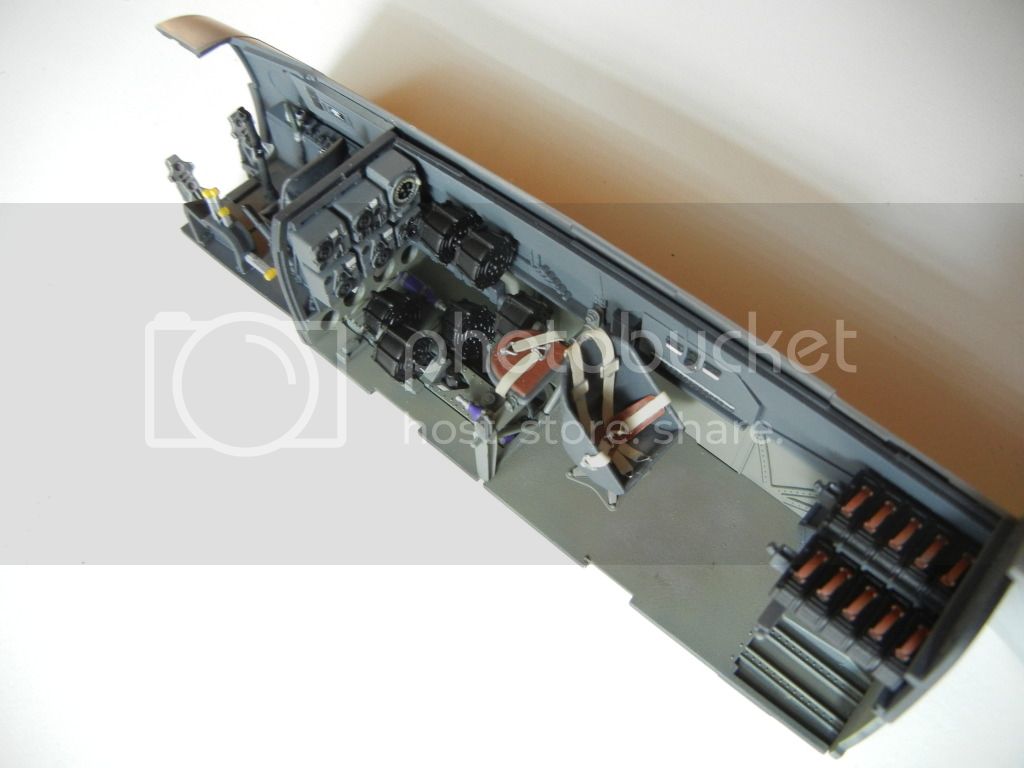
I then painted RLM 66 over the black, starting by spraying 66 in the areas between details, then spraying thin coats over the entire part until I got the look I wanted, which left low-lights in the right places (hard to see in the photos):
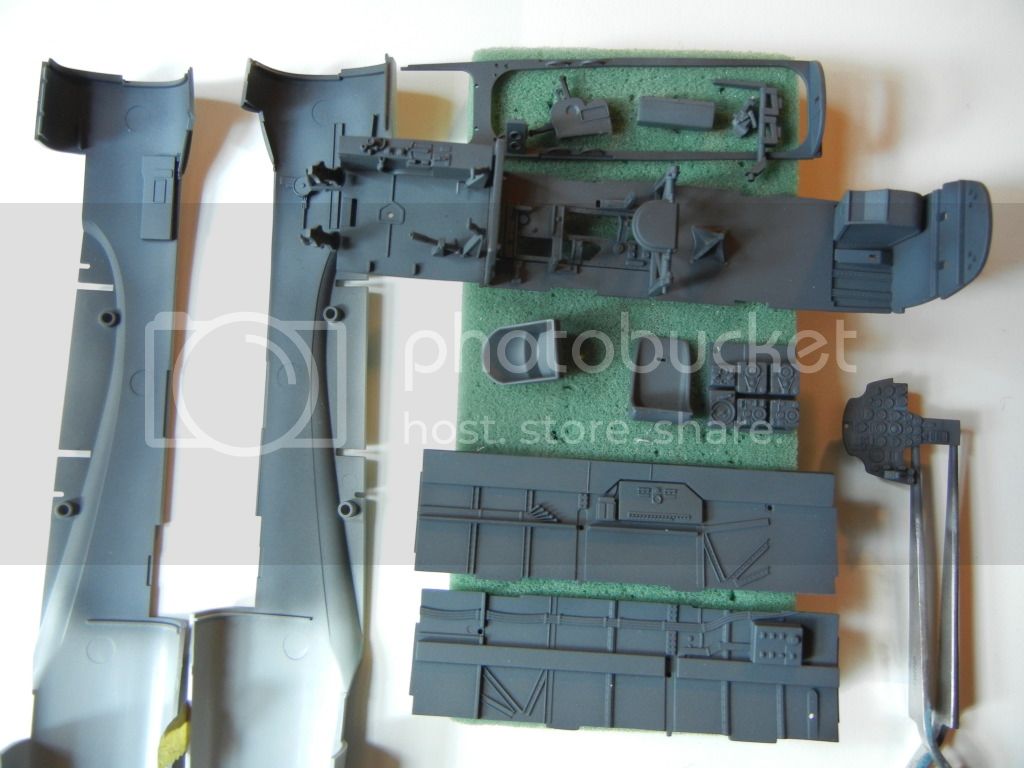
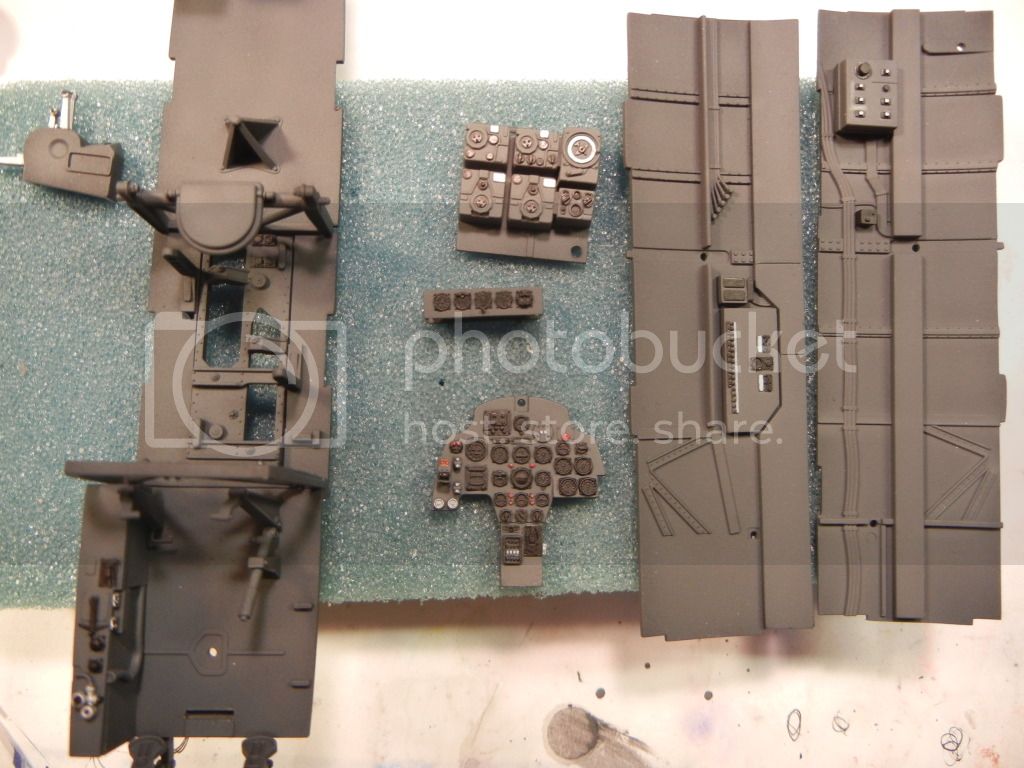
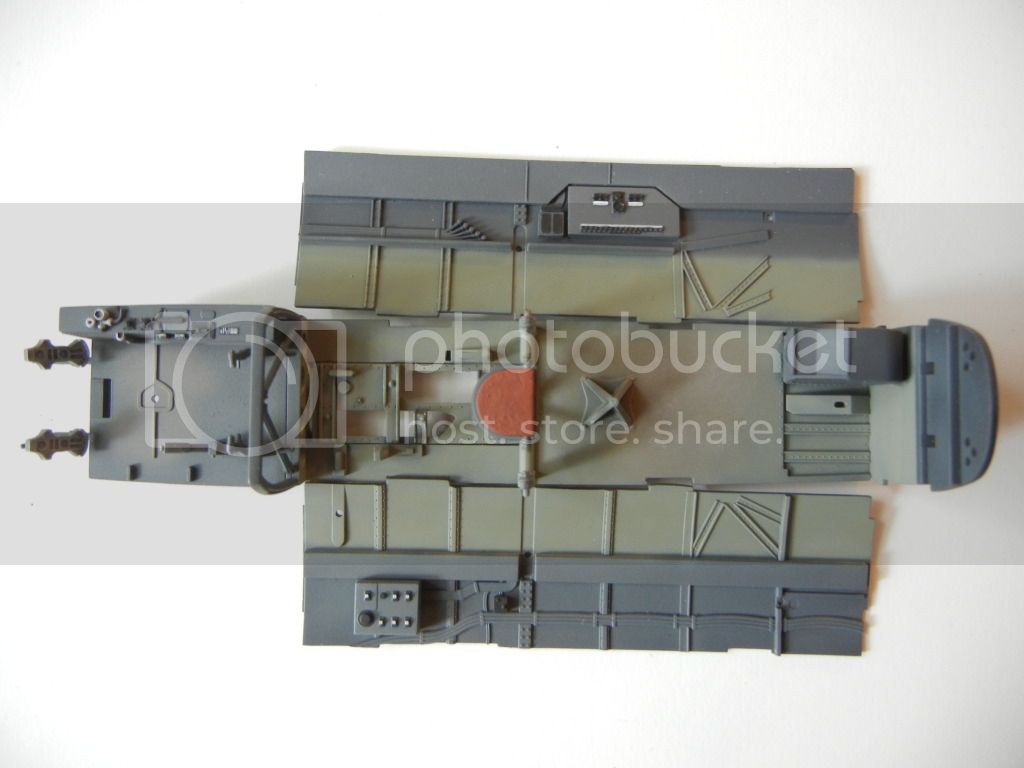
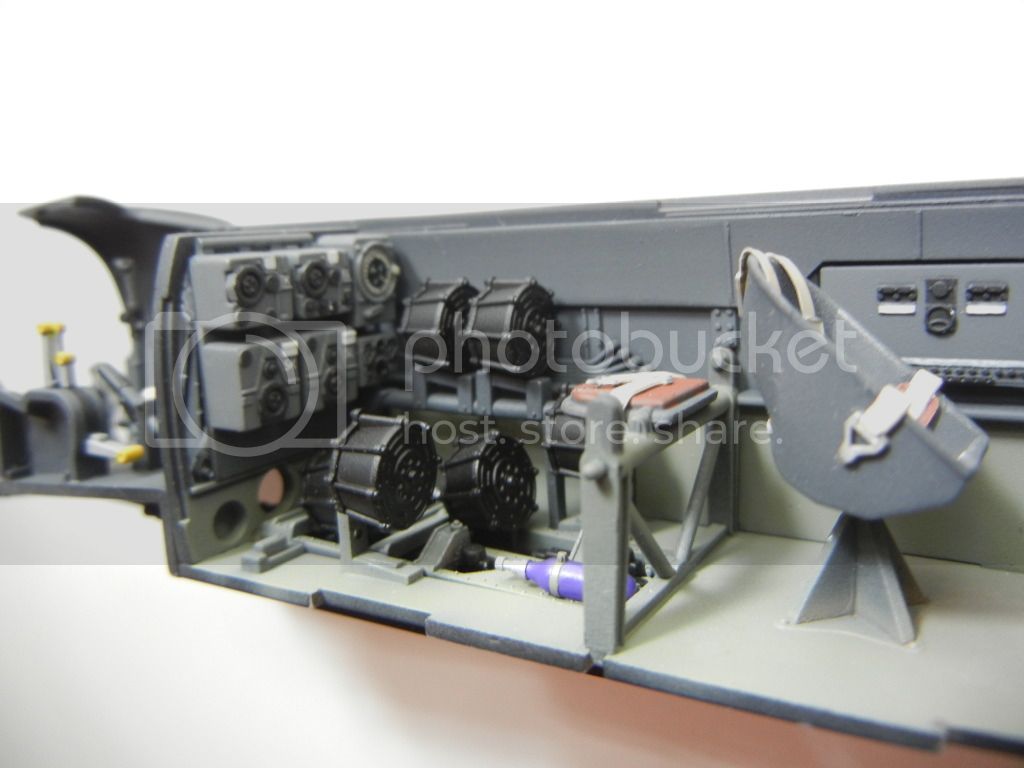
I also assembled the engines and nose gun sub-assembly, as well as the wheel hubs and other misc parts and painted them with semi-gloss black:

Since I don't plan to have the cowls open, I just assembled the basic engine blocks, and left off any small bits. After thinking about it more, and studying the instructions, I may try to built the model without the engines installed. If feasible, I will go that way, otherwise I'll stick these in later.
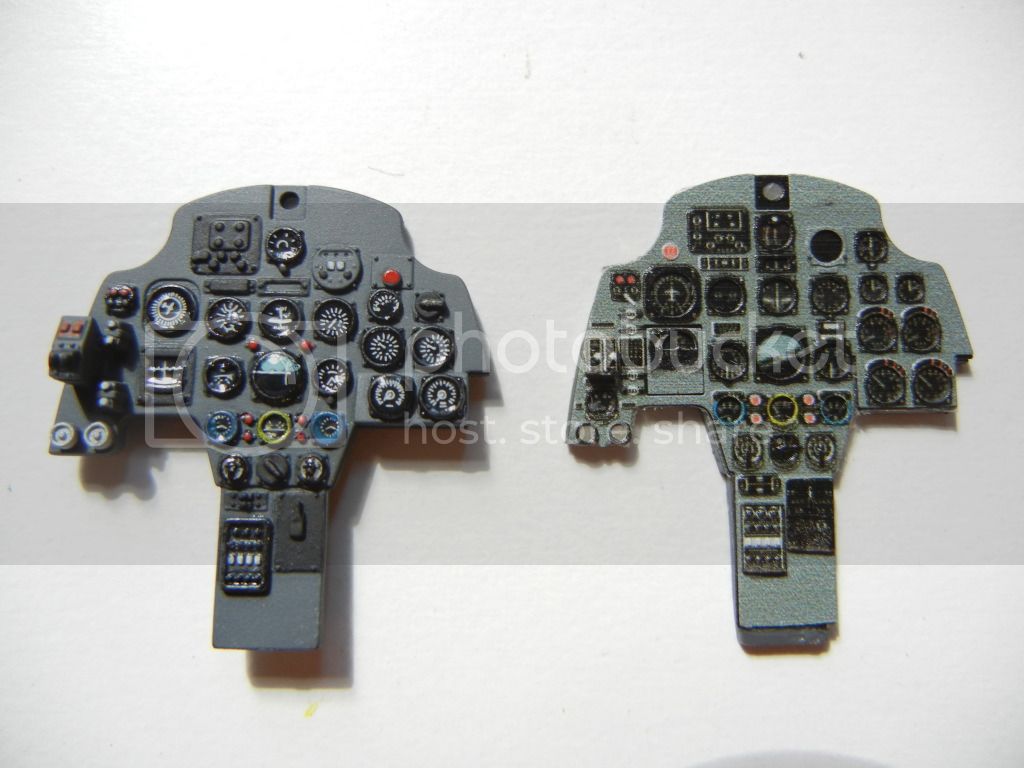
Next up I'll need to start the detail painting on the interior parts.
Thanks for looking, comments/questions welcome!
Doug