I just so happened to to have started building this kit last weekend after finding it and another, 1/72 hasegawa bf109G-6 at a flea market last saturday. I just thought Id build these for some fun and between paint sessions on some other projects. I also would like to practice improving detail, assembly and painting, since I have little money invested in these.
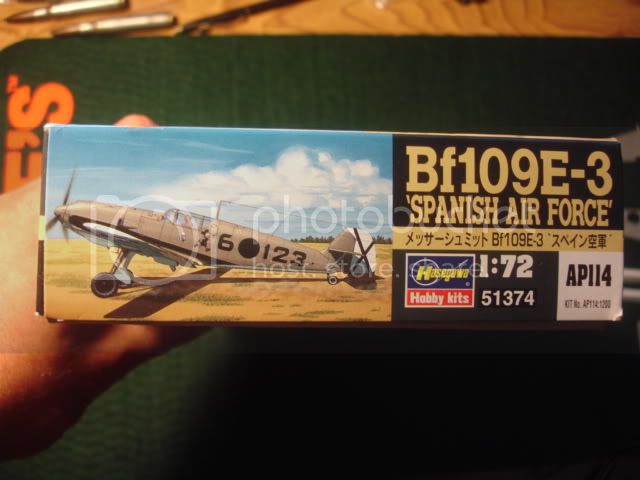
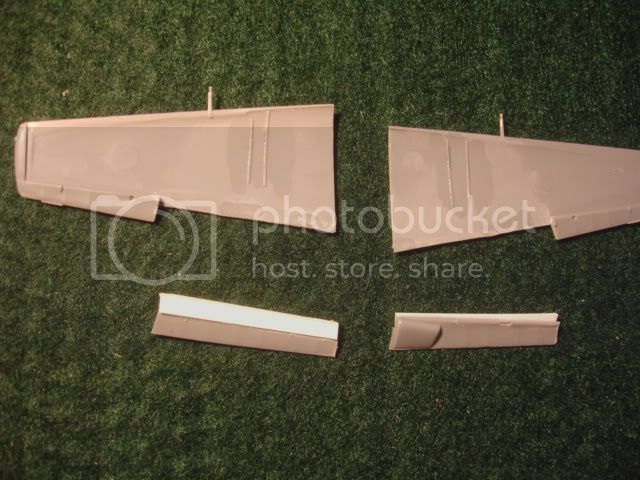
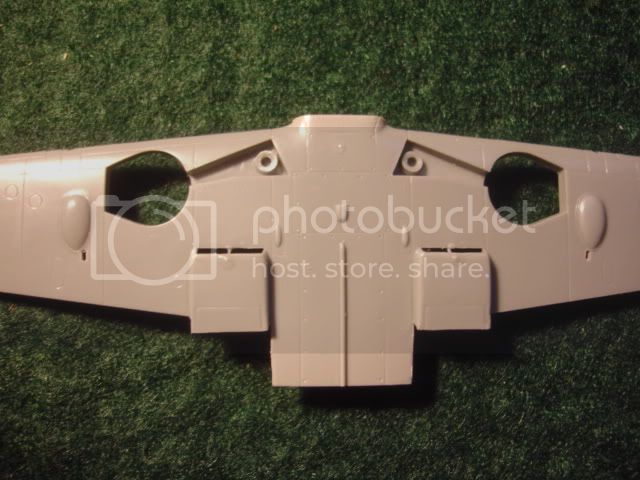
Ive entertained using the kit markings for the legion condor but think ill save that theme for a 1/48 kit of an earlier model. What I wanted was something more colorful and that would include some mottling. I bought a set of techmod decals that include markings for Josef Priller, which is likely what Ill use since its what im looking for marking wise . I probably wouldnt have bought the set if it wasnt for the included canopy masks. My first move was to separate the flaps from the upper wing which came off nicely with some thought and careful cutting. These will be fleshed out with some styrene strip and sanded to shape and fit. Stretched sprue was added to the ceiling of the wheel wells to simulate the panel joins.
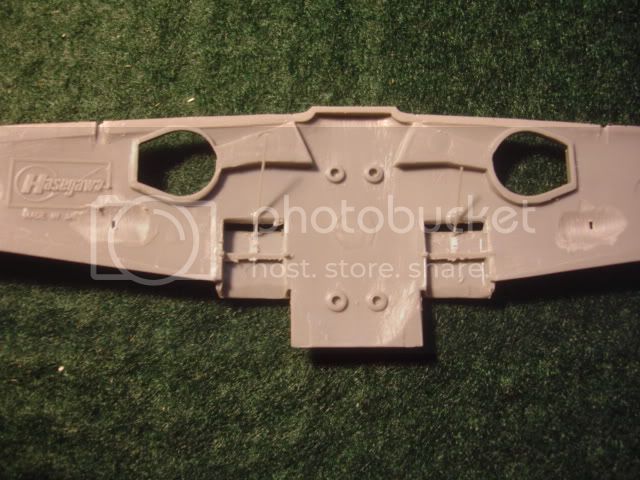
The thick gaudy support struts in the radiator intake were chopped out and replaced with stretched sprue. There was no hint of the ejector chute for the wing cannon, so each had the wing thinned and holes opened with a pin vise with #70 or so bit and a fresh xacto #11. The radiator exits where sanded to a more realistic thickness to help when the flaps are lowered. The gigantic raised seam on the 109s belly was knocked down a bit as it was about same height as 1/48 scale.
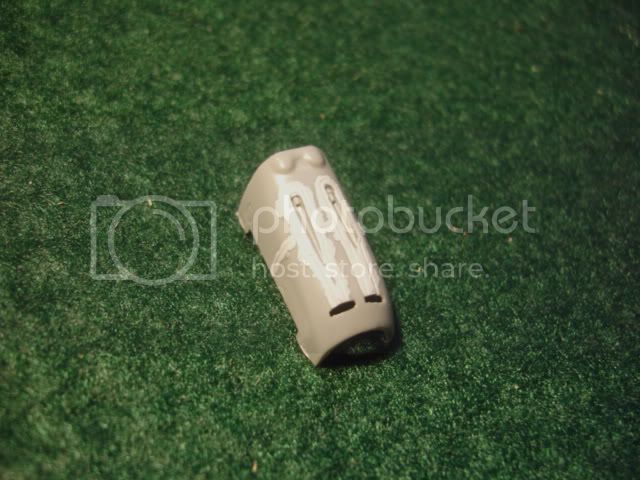
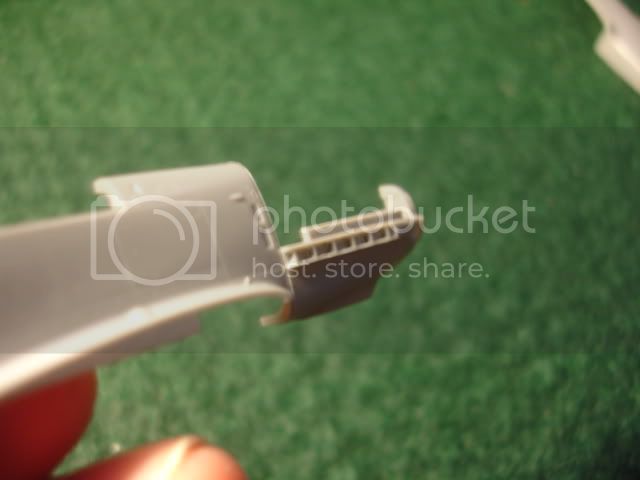
Up in the nose I slathered mr surfacer 500 on the upper cowl to help fill most of its very heavy features up. When this dried it was scrubbed with rubbing alcohol so it was left in the much shallower panel lines. The exhausts were tediously hollowed out, again using both the pin vise and xacto. They may not properly represent the E series exhausts but will look much better then before.
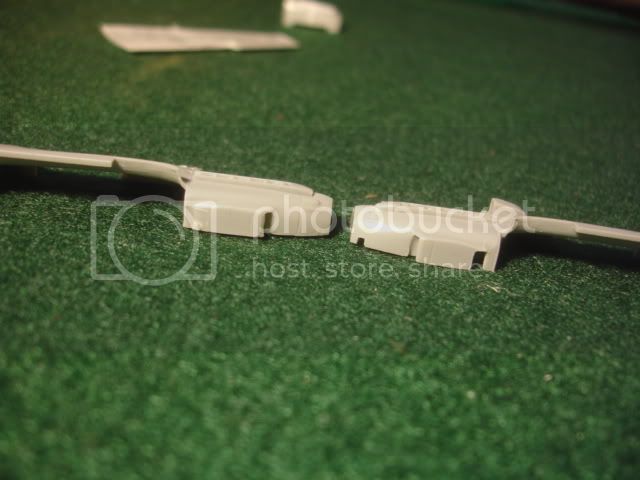
The underside of the nose I opened up the air inlet, previously just engraved. And I did the same at the back of the oil cooler. I have to make a new outlet door from styrene.
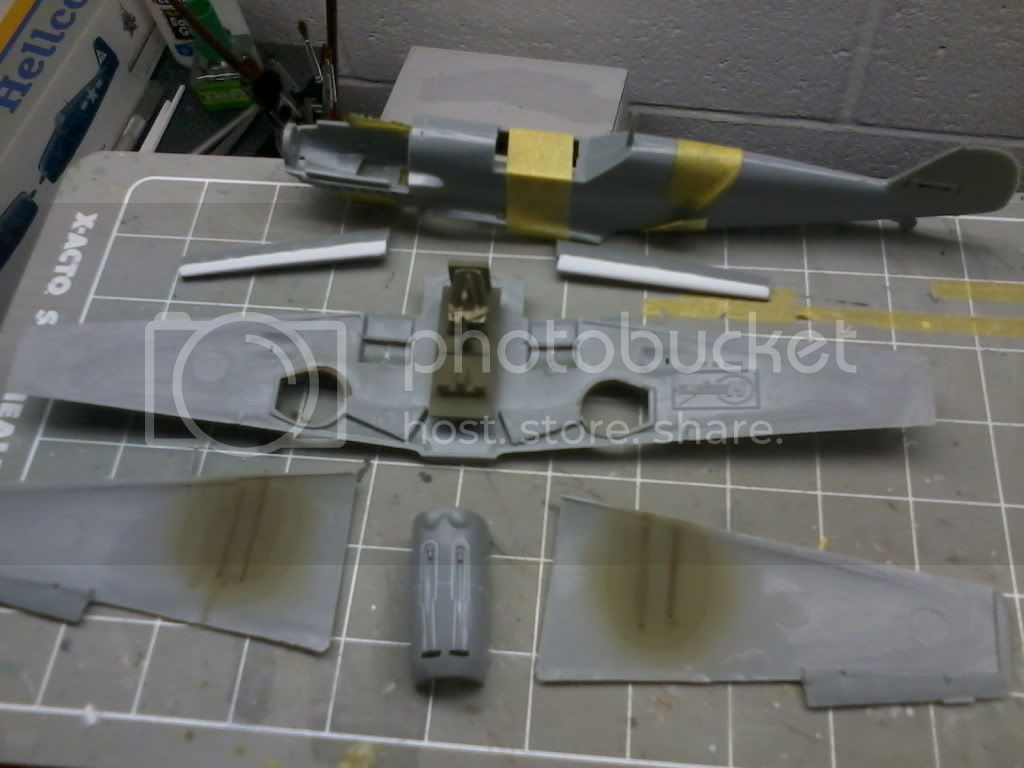
And this afternoon I zapped the interior bits and landing gear and wells wit a tamiya 02 gray mix, some raised details picked out with red, yellow, german grey and Black. Some simple belts made from tamiya tape draped over the seat and painted deck tan or buff, I dont recall. Then all was washed with burnt umber oil paint. I forgot to take pic before I glued the fuselage halves together. Dash was painted 66 black grey and will just get the incomplete kit decal, maybe Ill add another gauge or two if I feel up for trying. Here the project as it sits now