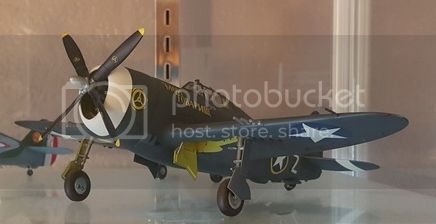
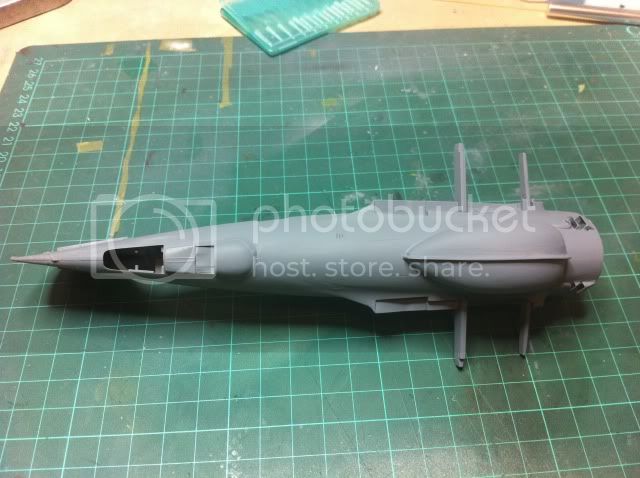
This is the Tamiya Razorback being backdated to a P-47C using the Loon Models cowling. Further modification is the fitting of an early style flat keel and the first droptanks the P-47s were equipped with as the battle to extend the range of the fighter escorts in 1943 began in ernest.
Until last years release of a resin replacement there was no flat keel available and the inclusion of the 200 ferry tank has made it possible to depict this short period of the Thunderbolts service in the ETO for the first time using AM parts.
A review of the Lone Star flat keel can be found HERE
First job is to take that fabulously moulded expensive Tamiya Razorback and chop the bottom off the fusalage!
I did this by gradually scribing along the panel lines until the kit keel comes away.
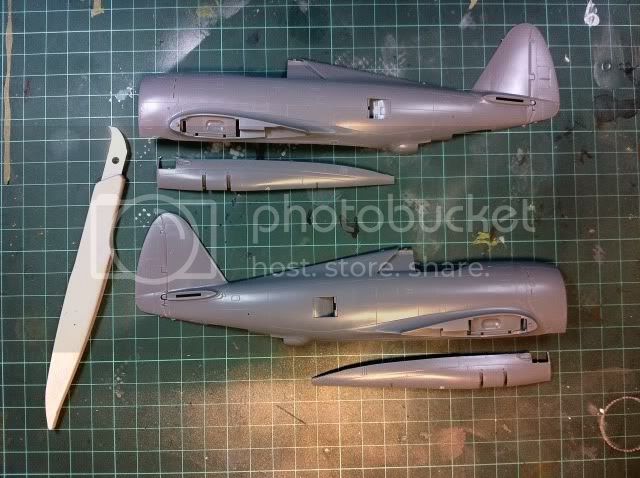
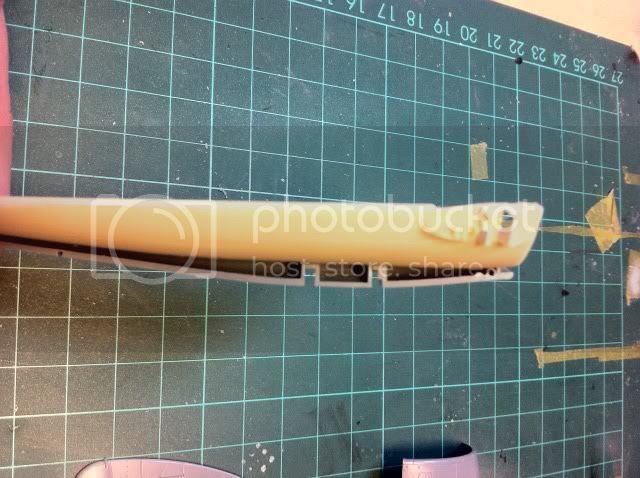
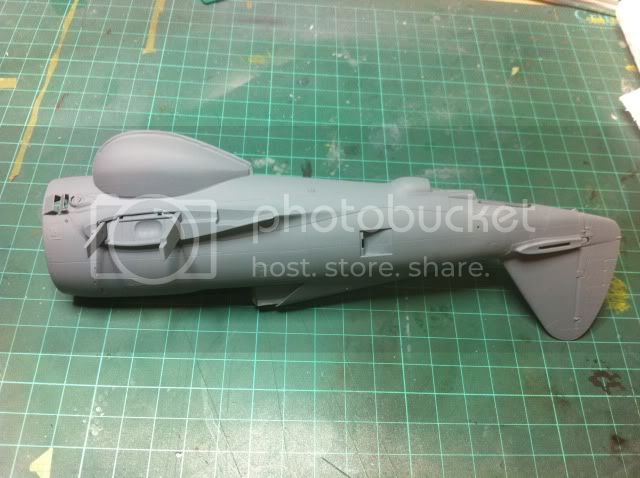
It's evident in this photo just how much shallower the early keel is compared to the later "bulged keel"
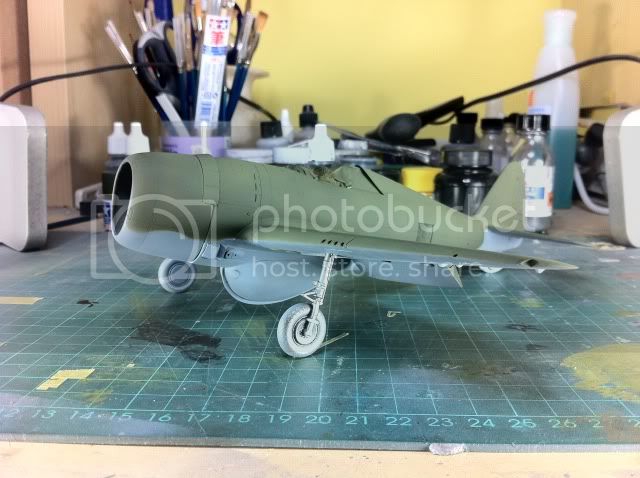
Once the kit had been suitably "modified" I did a quick dry run of the major parts to check how everything went together and if there would actually be enough ground clearance with that "bathtub" tank in place!


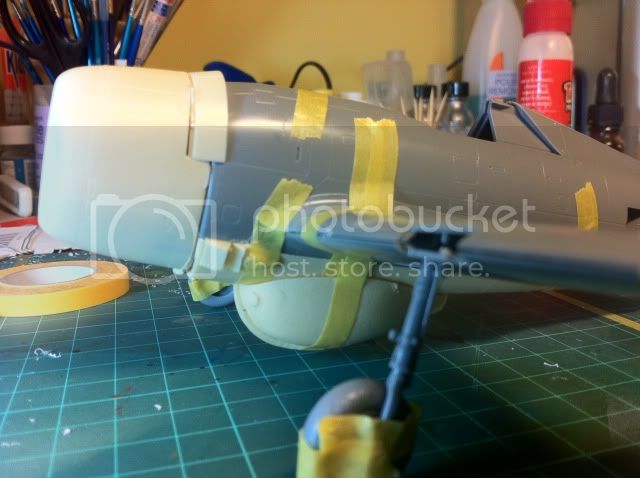
Once I had acertained that the thing would actually sit on it's undercarriage and not wallow like a beached whale I was able to start putting it together as I would any other kit.
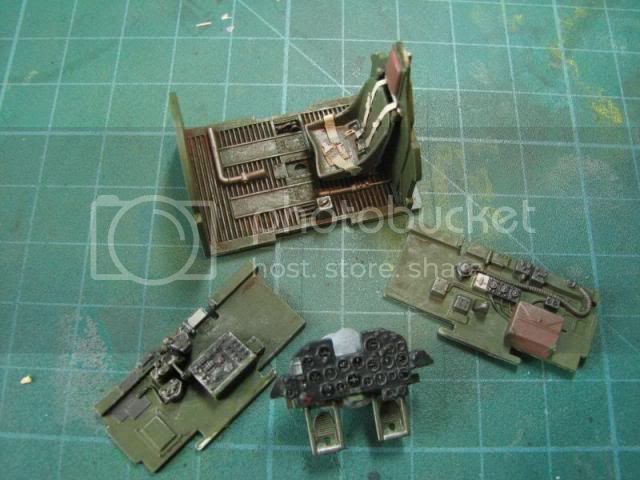
The cockpit was the first area to be done and I forgot to take a photo fo it before joining the fusalage halves but it looks pretty much like this one.
The main wing spar section needs the bottom part trimming to allow the resin keel to fit. This isn't structural, as it's designed to house the battery for the motorised version of the Tamiya P-47 so just chop it away.
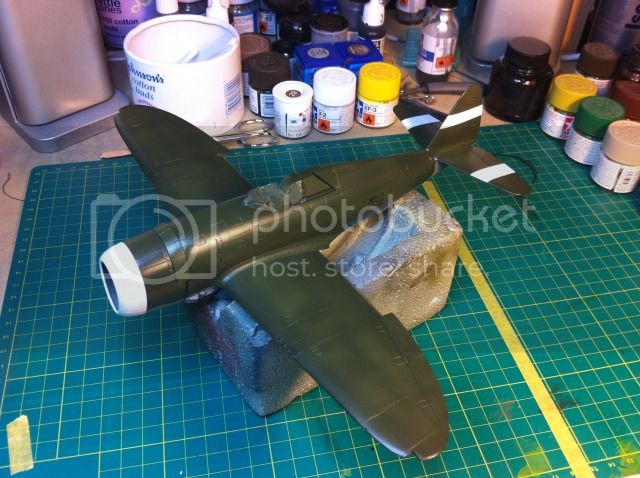
Once the fusalage was together and cured I attached the resin keel.
The initial fit was very good and it didn't require much filling. For this I used a combination of CA glue and Talcum powder. Lost detail was rescribed and then the ferry tank attached. The seams around this were blended in with Mr Surfacer and smoothed with isporopyl alcohol on a cotton bud.


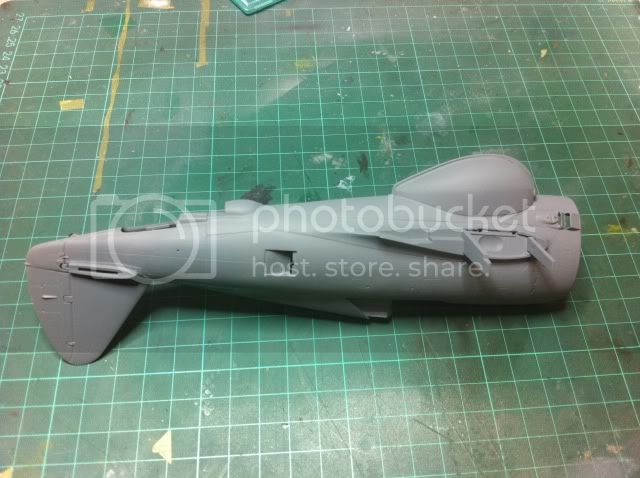
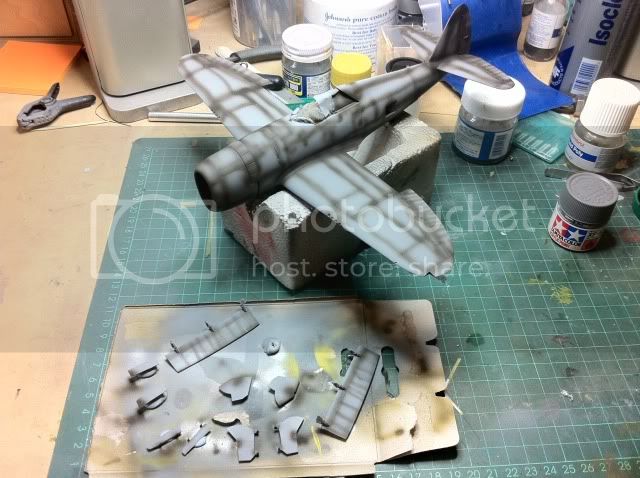
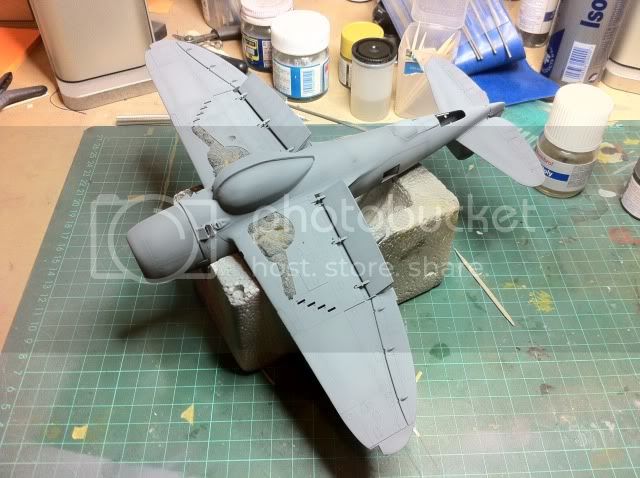
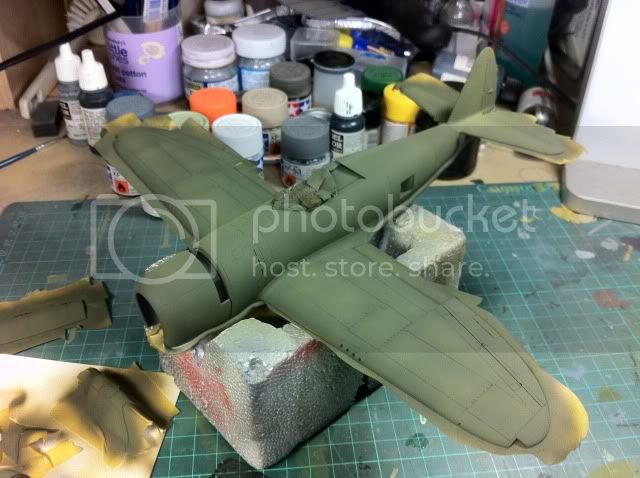
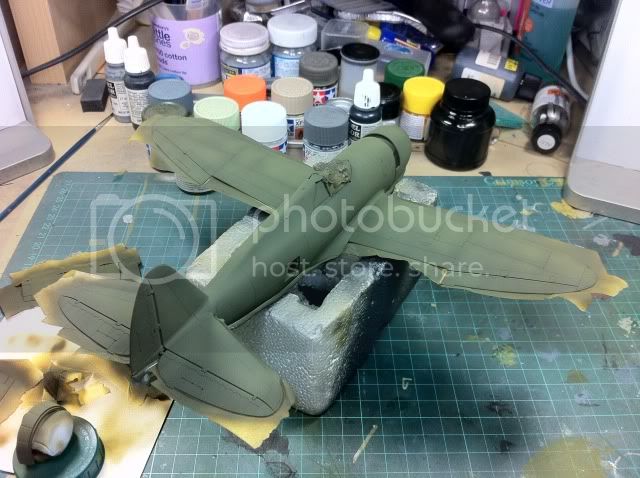
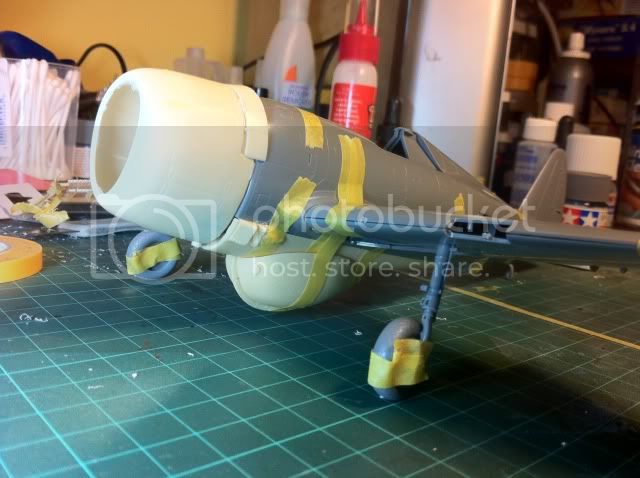
Once the wings and horizontal stabilisers were attached it's time to start throwing some paint at her

Nige