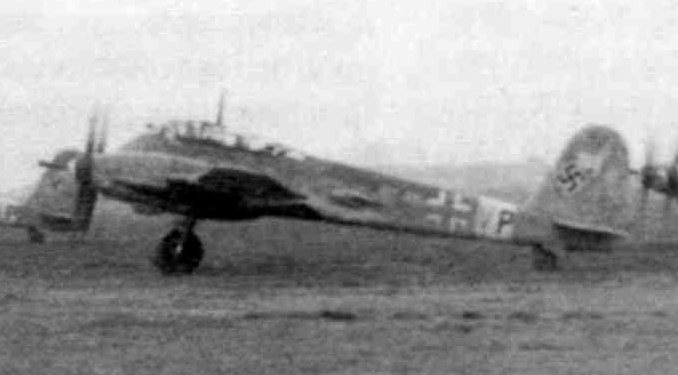
However I like the plane, after seeing the original in Cosford some years ago so I ordered the new one, too.
 Once I had a little geographical advantage and received mine quite quickly . I decided to do the Meng first, quite OOB as I assume it is a bit easier to assemble.
I do not want to add to any previous in box reviews, just so much: very nicely packed, expecially the clear parts, instruction book very nice, clear and large enough to be read without magnifiers. The plastic parts have really nice details, just the panel lines and rivets are for my taste a bit wide, but I do not regard this as a serious problem.
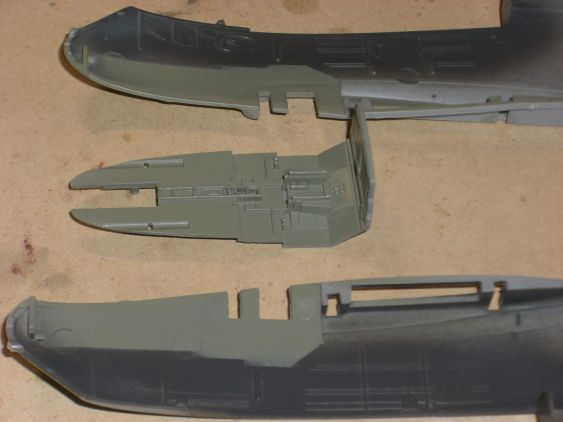
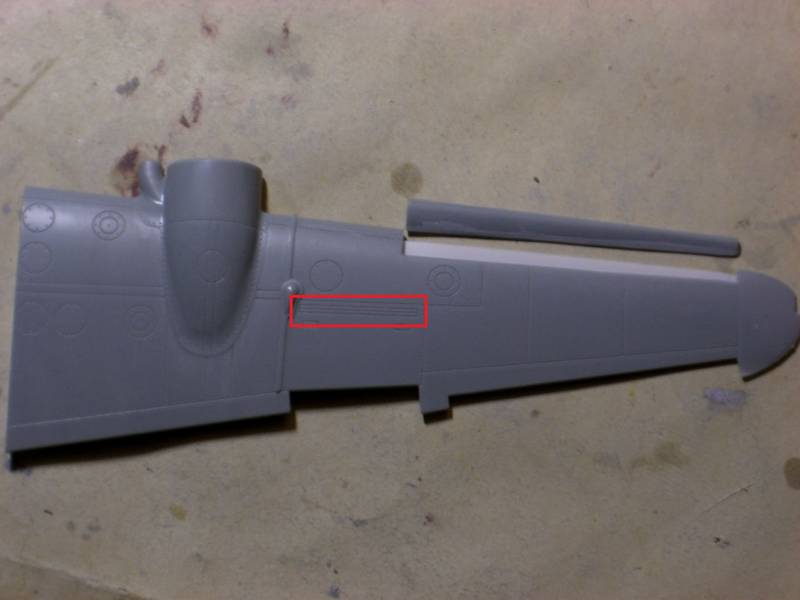
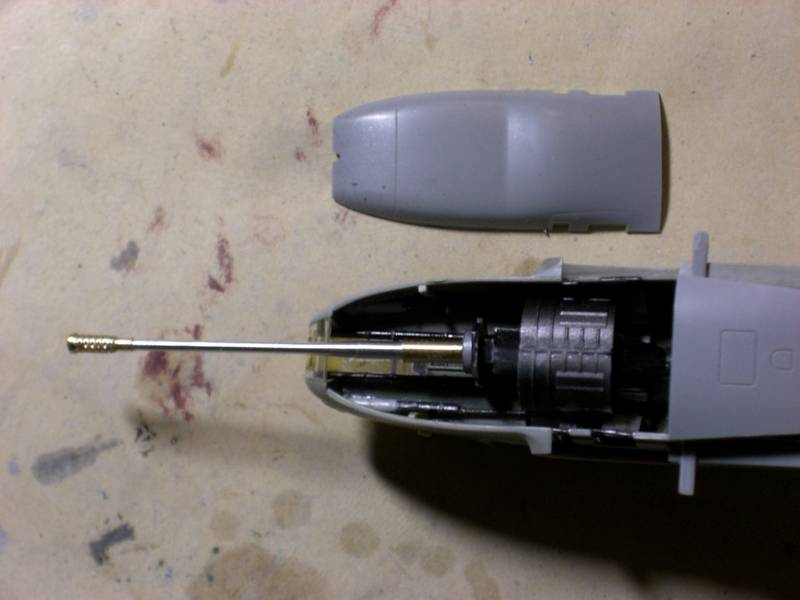
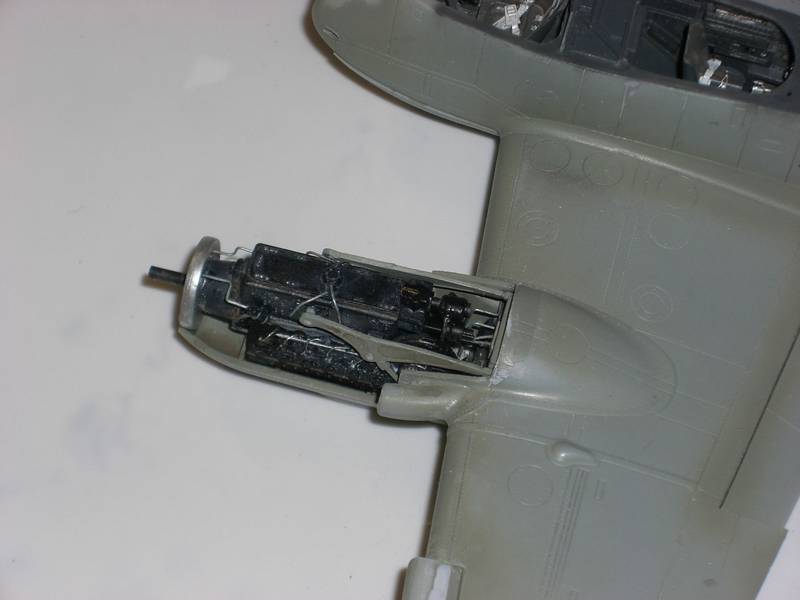
I followed the instructions and started not with the cockpit, but with the gun bay. Fits quite nicely and but I would not install the cartridge chutes at this stage again as they easily fall off and can be installed easily after the fuselage is put together.
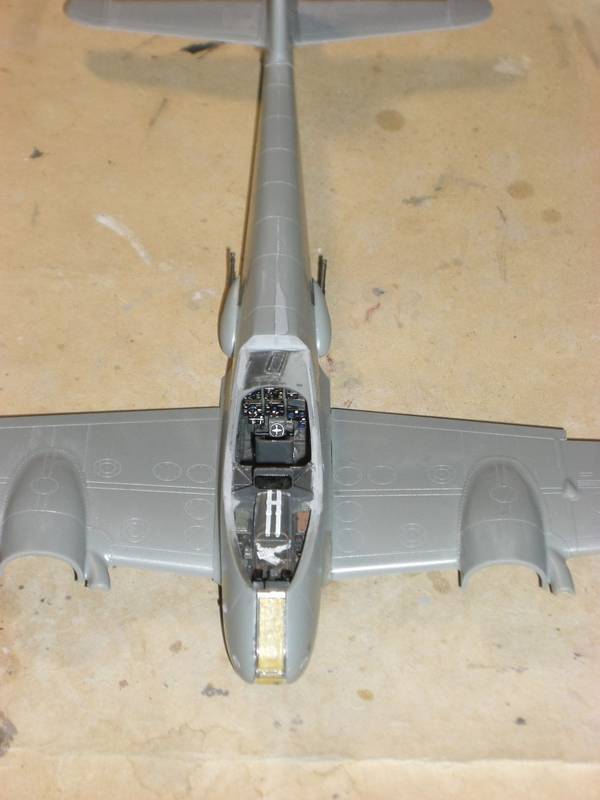
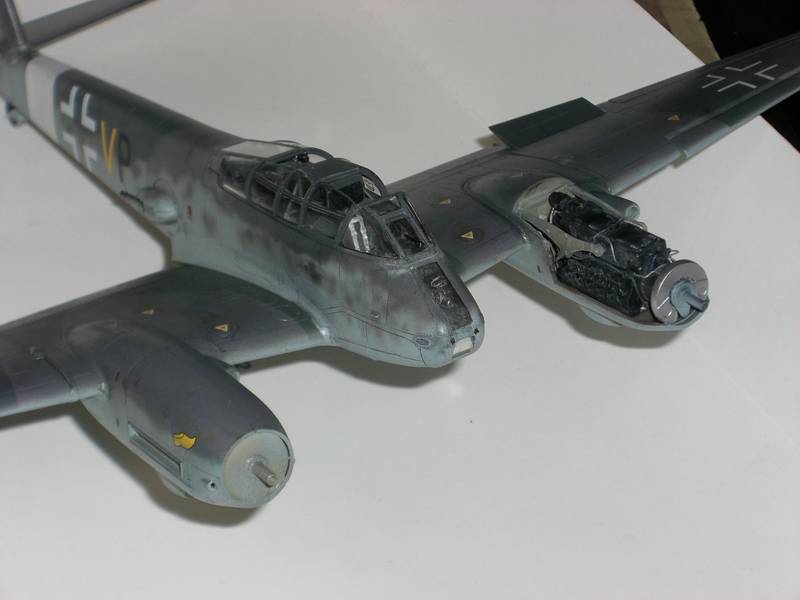
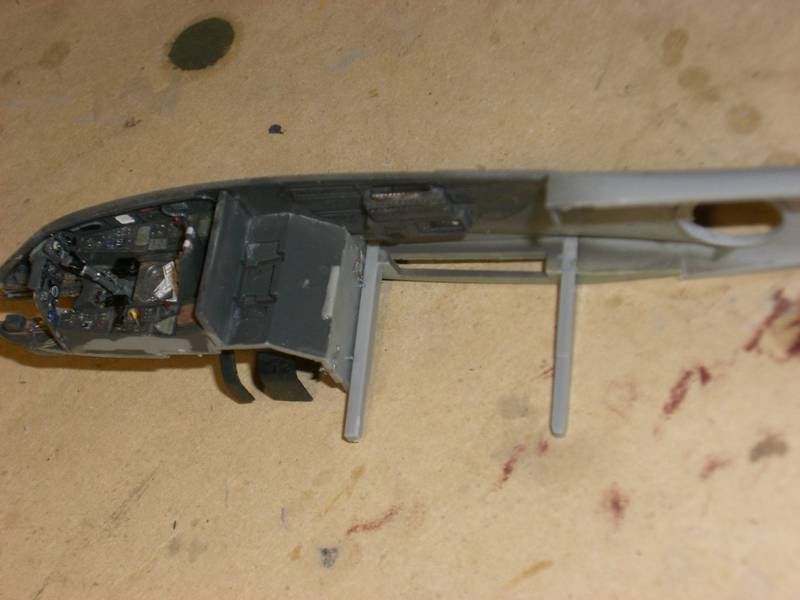
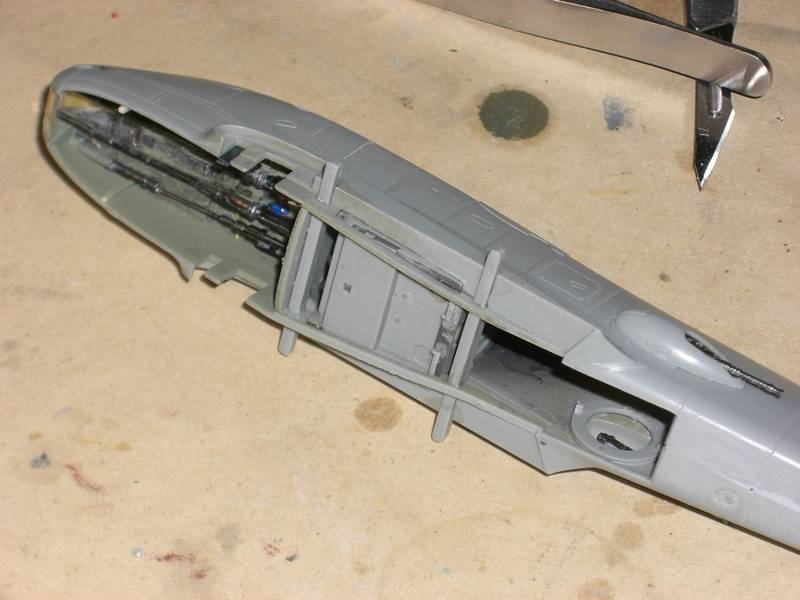
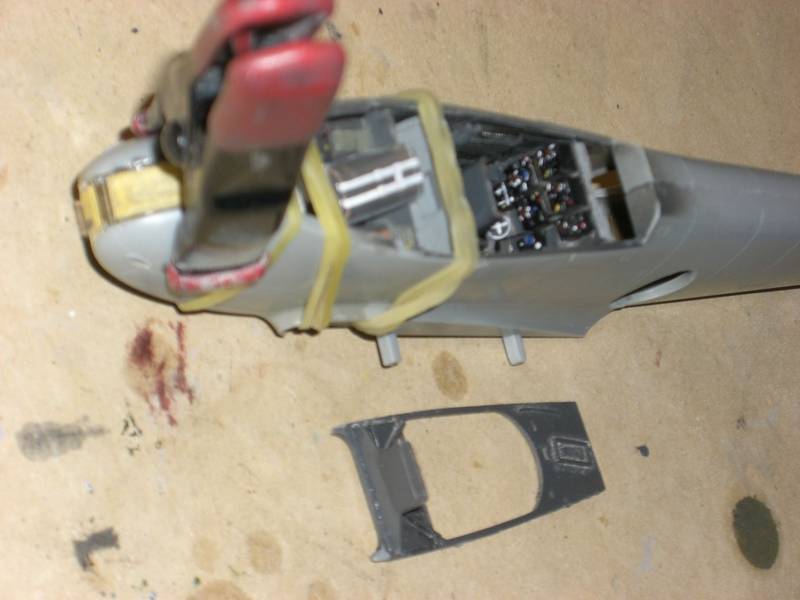
Gun bay and cockpit are very nicely molded and I added just a few wires and made the levers myself. The pedals are PE from my spares box, the seatbelts are the kits. The cockpit looks very nice, not 100% as crisp as resin, but nearly. My only complaint are missing decals for the instruments. I seriously depleted my spares box, not able to get new ones in time.
In the instruction it is not very clear that the instrument panels are divided roughly in the middle and of course I got it wrong first time.

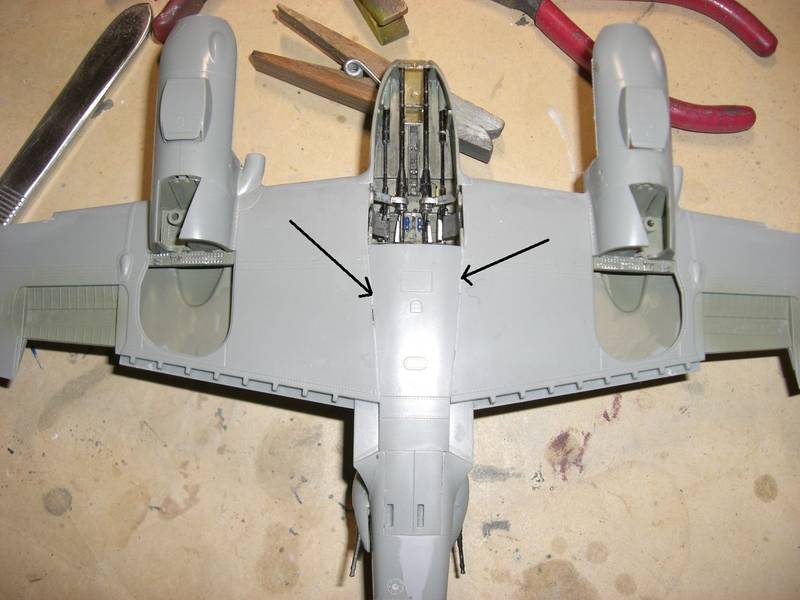
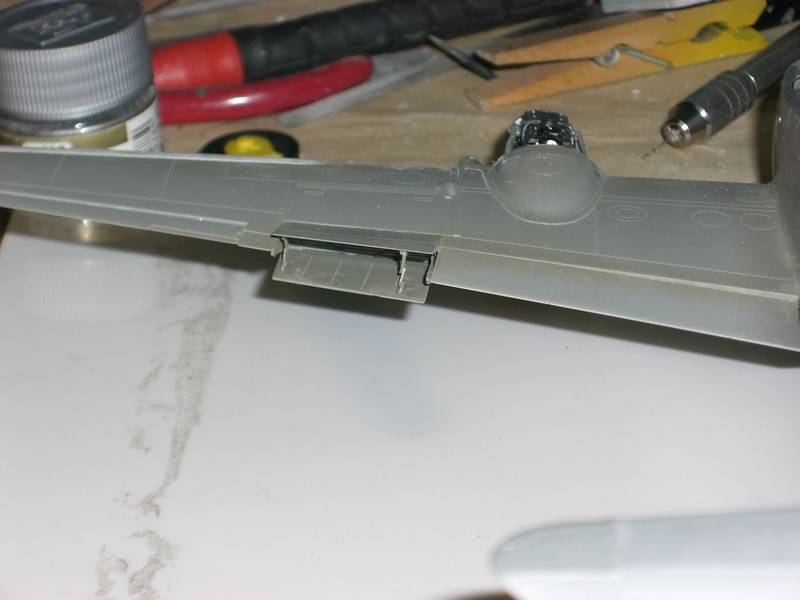
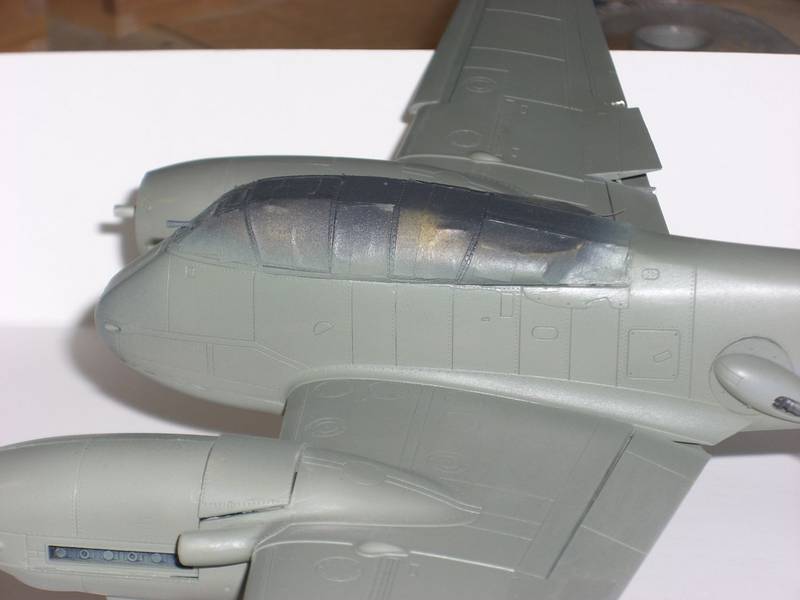
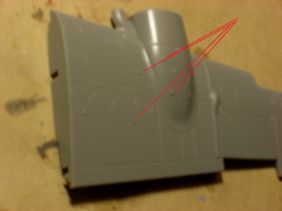
The parts fit very well and seem to fit in the fuselage to in very clear defined recesses. There are even 2 spreaders to keep the fuselage the correct width
The wings are separate and should be added as last step. Curious, if the they fit well and in the correct dihedral.


 .
.