Like Kornbeef, I got this for Christmas and have made considerable progress, albeit I took a different route than Keith.
The obligatory box:

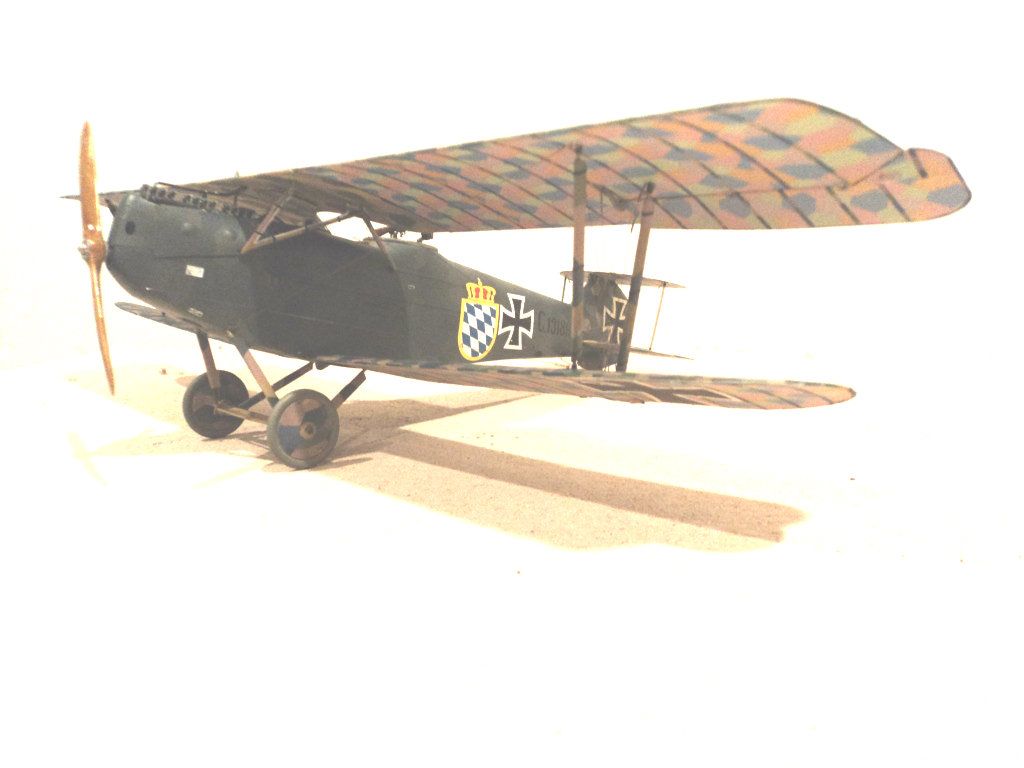
This is the version I decided on doing.

Now, to get to that version one needs to lozenge the fuselage. For me, the solution lie in the old Aurora Releases of the 1970's. I had a couple and used the Lozenge pattern that Aurora included for tracing purposes, enlarged it by about 180% due to the large size on the fuselage and traced it.
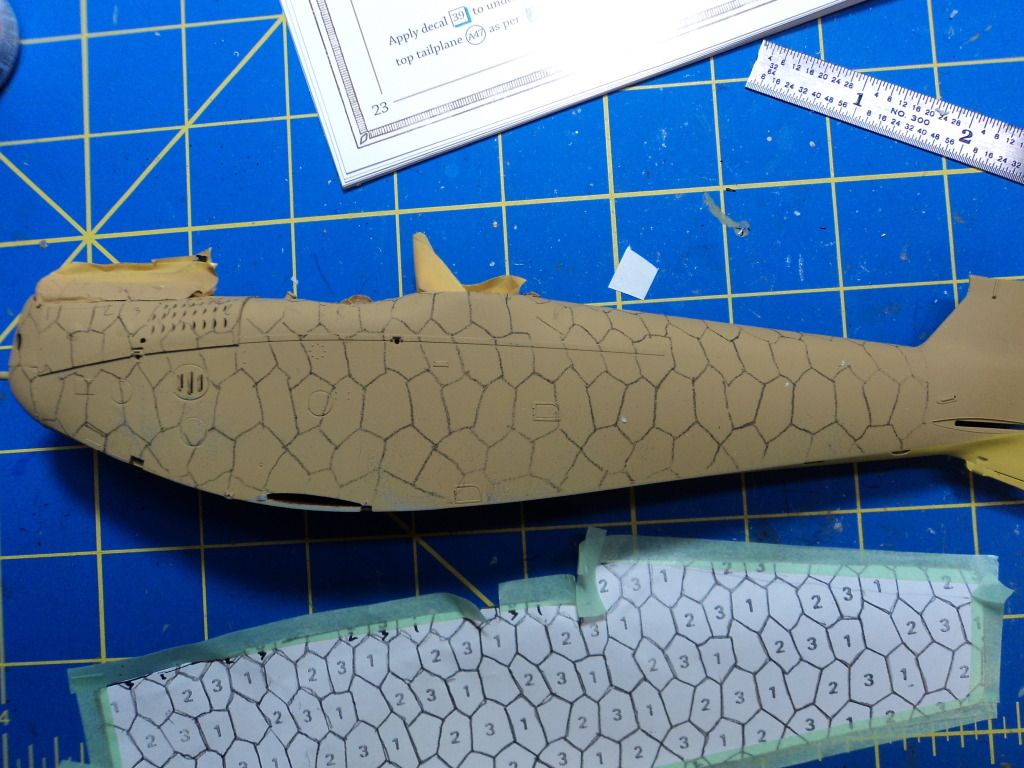
I then adjusted the color to try and match the Ronnie Barr painting and painted the lozenge hexagons by hand; with this being the end result.

It is a little rough, but; I figured that the original was hand painted and had to be a little rough as well, as evidenced by the photo of the actual aircraft that WNW provides.
I proceeded with the interior apace and found no real issues there. I wasn't happy with the results of my wood grain, it is too heavy, I need to adjust my methods and thinking.


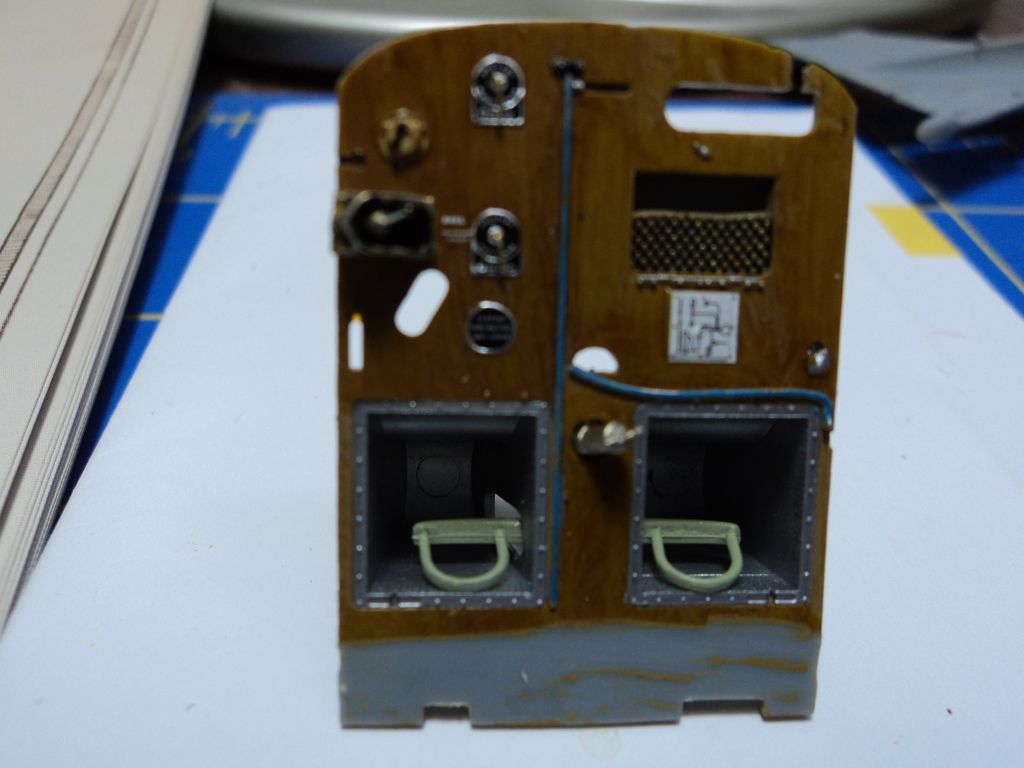
The interior goes together well. I rigged the control lines per the instructions but once buttoned up, they are almost invisible.
The engine is pretty straightforward as well. I didn't spend any time weathering it as it is pretty much covered by the cowlings. I did make push rods out of wire, and I did wire the Spark plugs. I dry brushed Tesotrs Silver PLA enamel to bring out the valve spring and rocker arm detail, which is very nice.
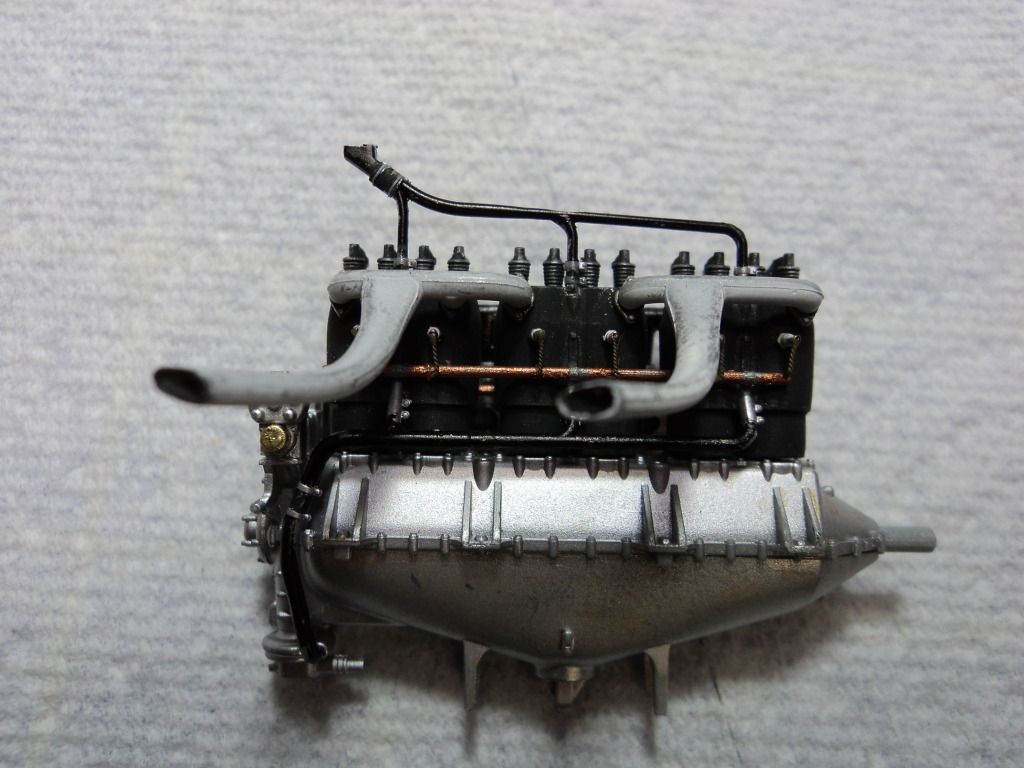
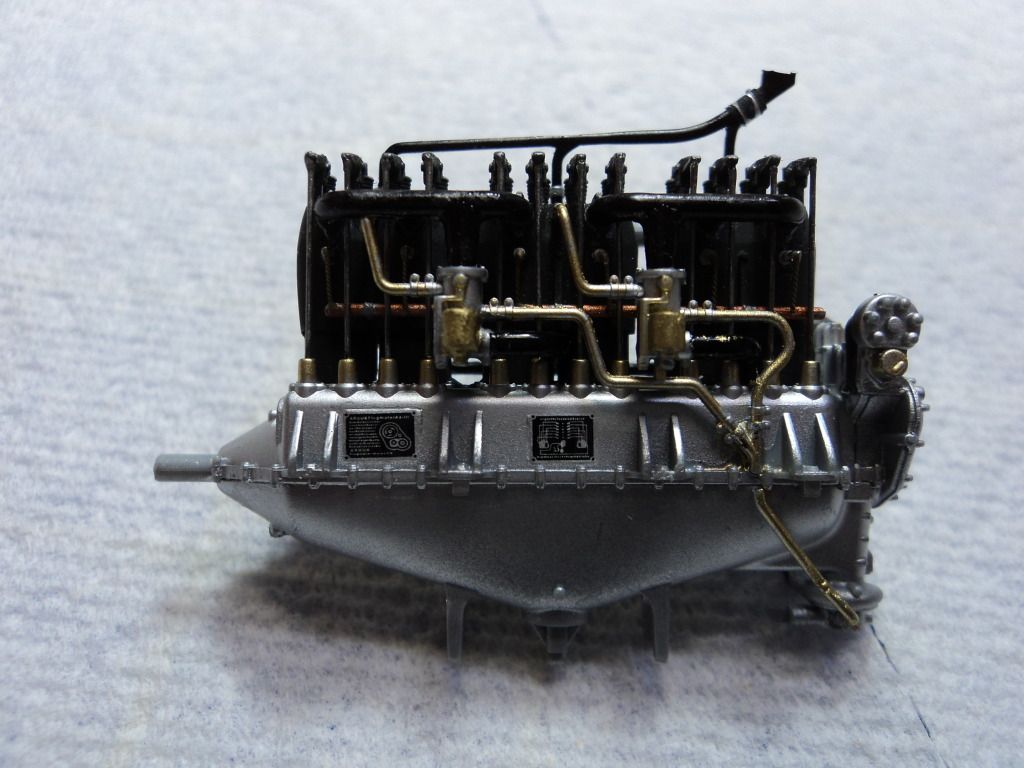
I hollowed out the ends of the exhaust stacks, painted them white and dry brushed with Testors Silver to give it a bit of used a look to it.
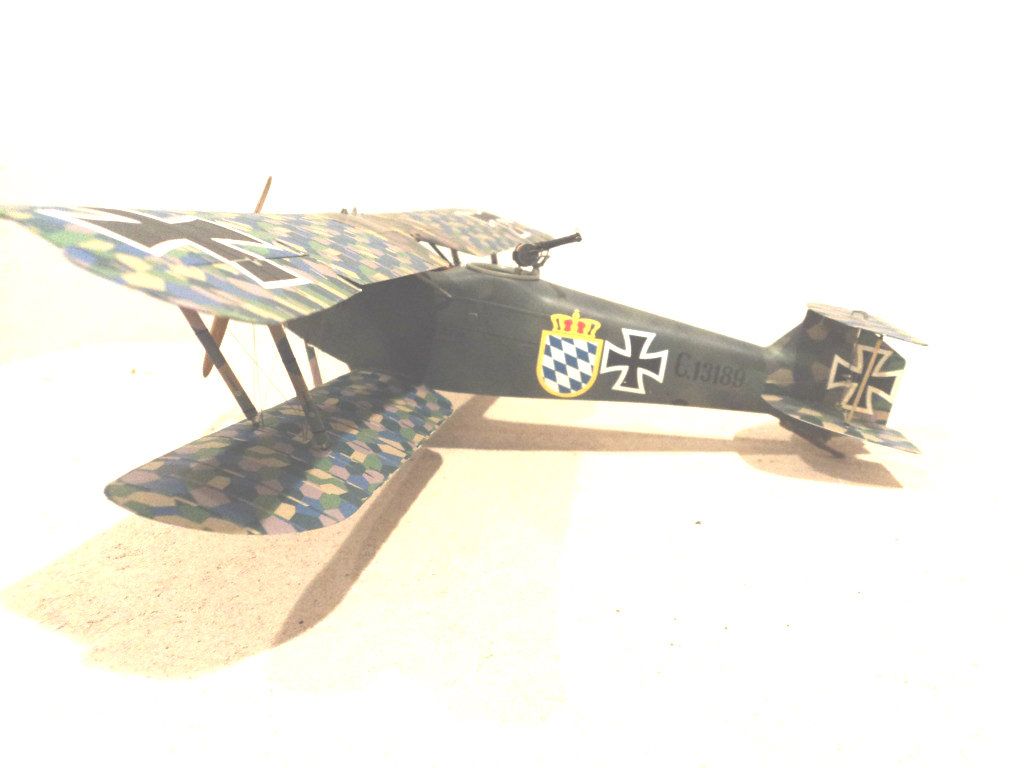
I then buttoned up the fuselage, fixed the cowlings, which requred some care and trimming, masked, painted and decaled.

The lozenge is faintly visible which is the look I wanted.
I painted the underside of the fuselage a different shade.

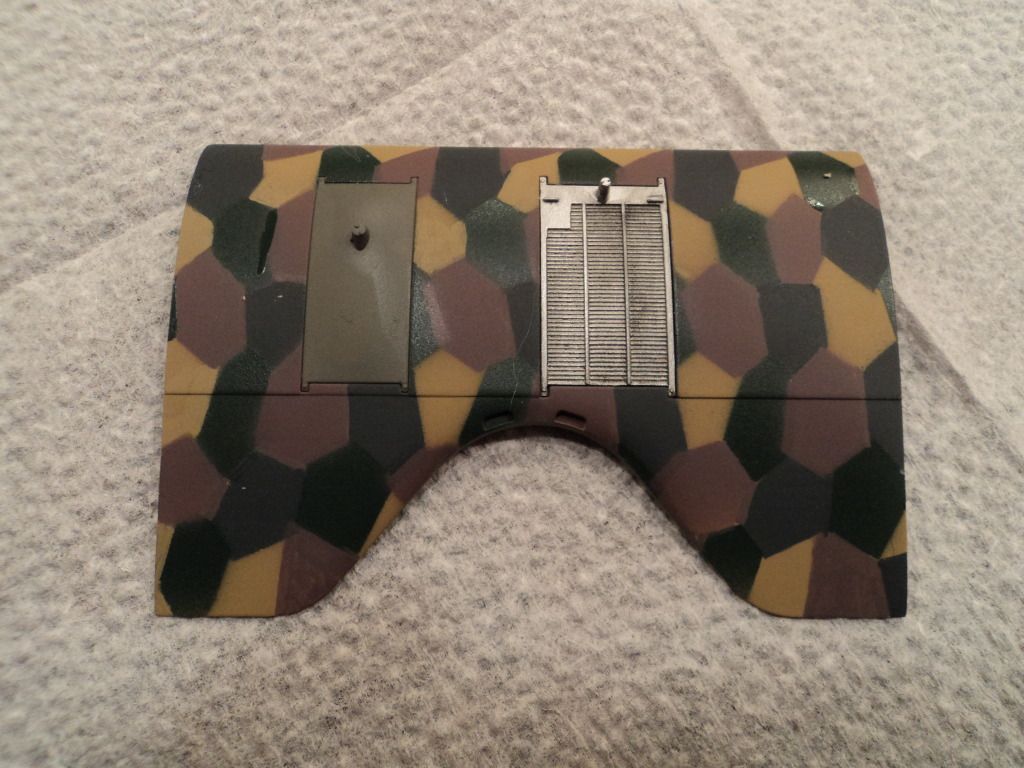
The upper wing center section recieved a different treatment. As it was not going to be oversprayed, I used the patterns as a template for each color to good effect.
The upper portion:
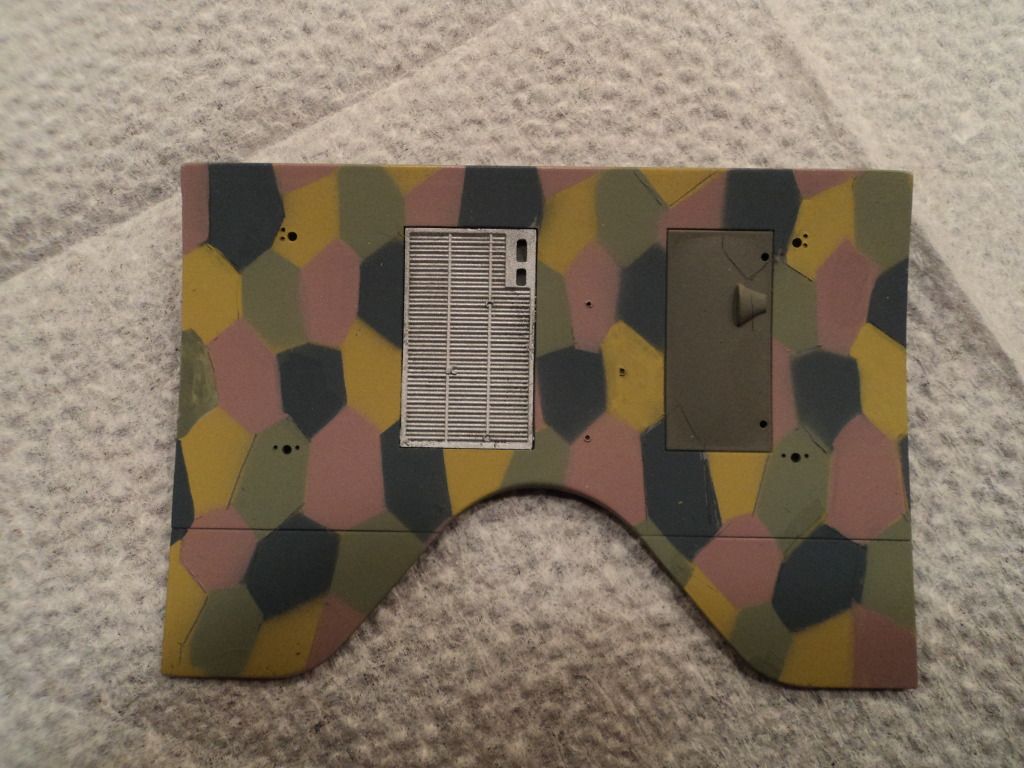
And the underside:
I am now in the process of finishing this up. I painted lozenge on the Interplane and cabane struts. I painted the landing gear struts lozenge as well and it is quite an impressive looking thing. Not being afflicted with AMS, it is pretty much an OOB build. I am using Bob's Buckles eyelets and turnbuckles with "invisible thread" for rigging.
Stay tuned for more.
Best
Mark