I started this topic to show progress of a build on which I am working on and off for about one and a half a year.
The kit is supplied in an impressive big box with a flying RAF PR9 as the box art.

The box contains several sprues with rather big attachment points for the parts, which makes removing parts sometimes a bit difficult.
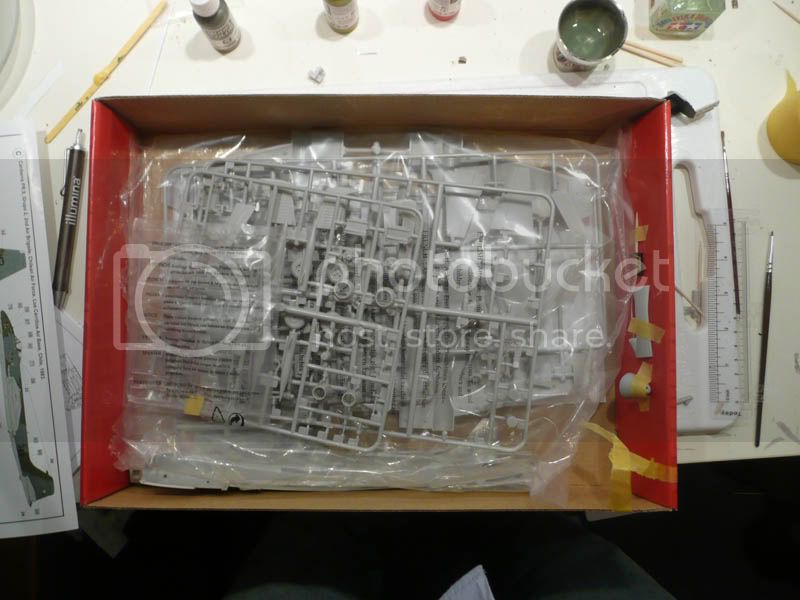
A big decal sheet for 4 variants is supplied as well:

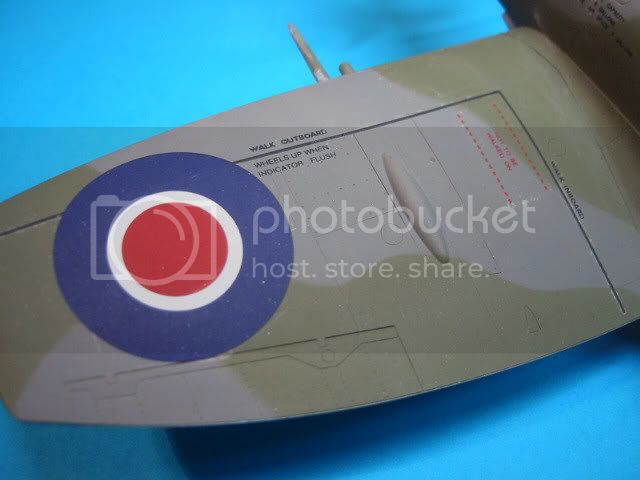
I like the big RAF roundels very much and they will decorate my build.
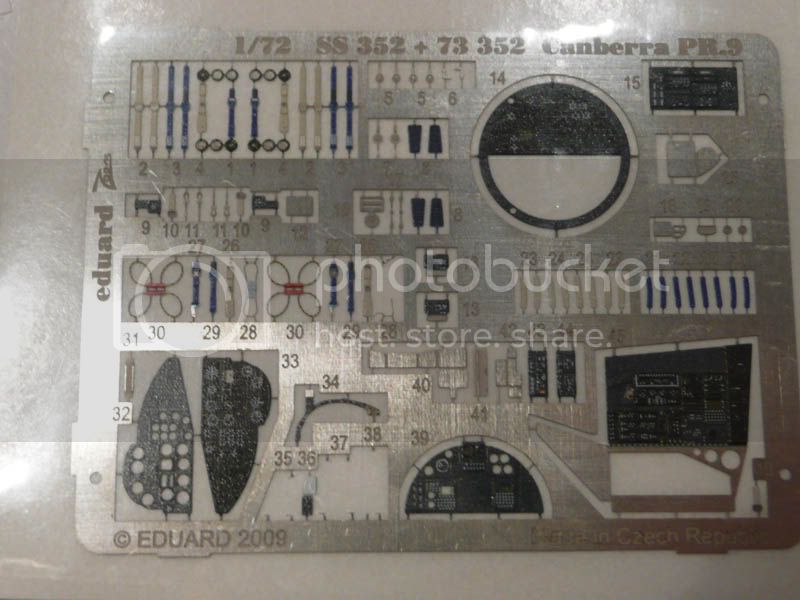
Given that the navigator position in the nose can be openend, I bought Eduards PE set for extra detailing.
Unfortunately, Airfix supplies a cockpit part that belongs to the B(I) 8 bomber version (which is also produced by Airfix). With the B(I)8 the navigator is positioned right and below the pilot, but with the PR9, the navigator is located in front of the pilot. Therefore, some changes had to be made:
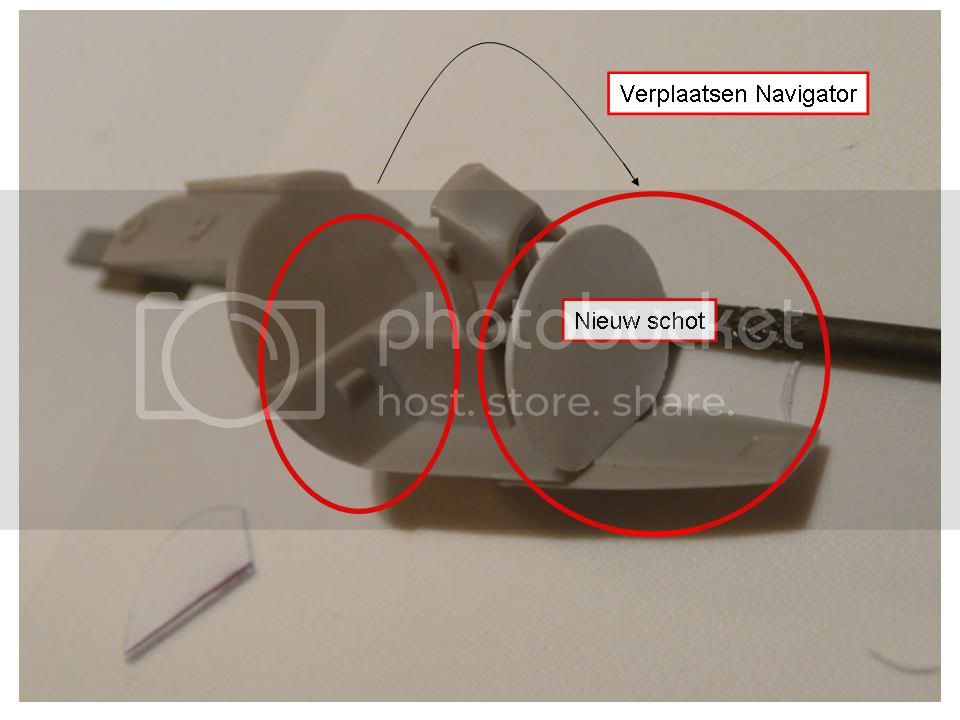
Verplaatsen: to move
Nieuw Schot: new Bulkhead
When this was done, it was time to add details to the cockpit and navigator position using Eduards set, styrene and some wire. Not everything is correct, but it gives the idea.
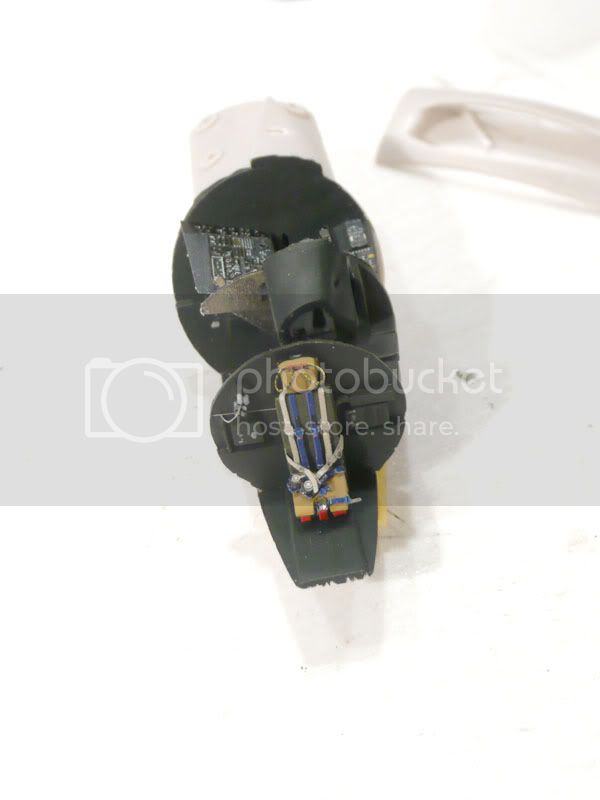
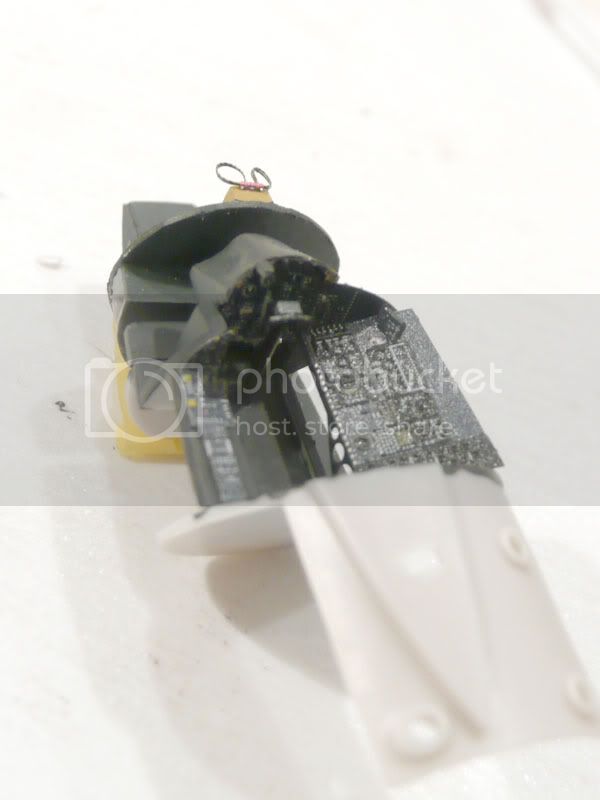
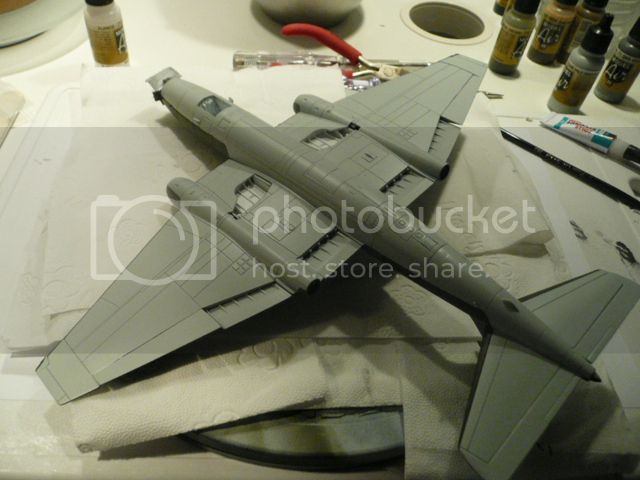
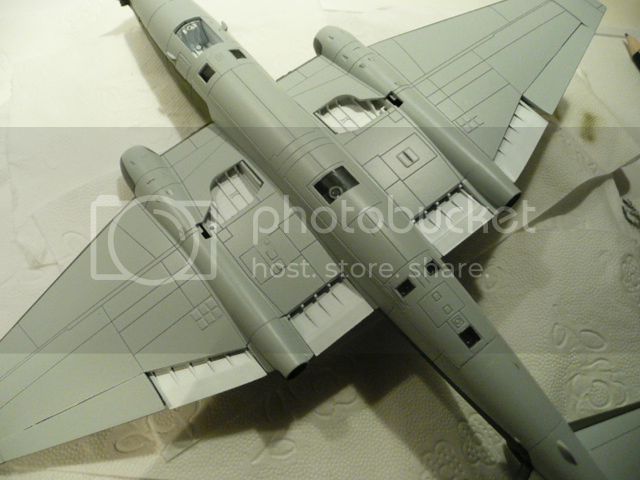
After this, it was time to add the hull together. Everything fitted quite well.
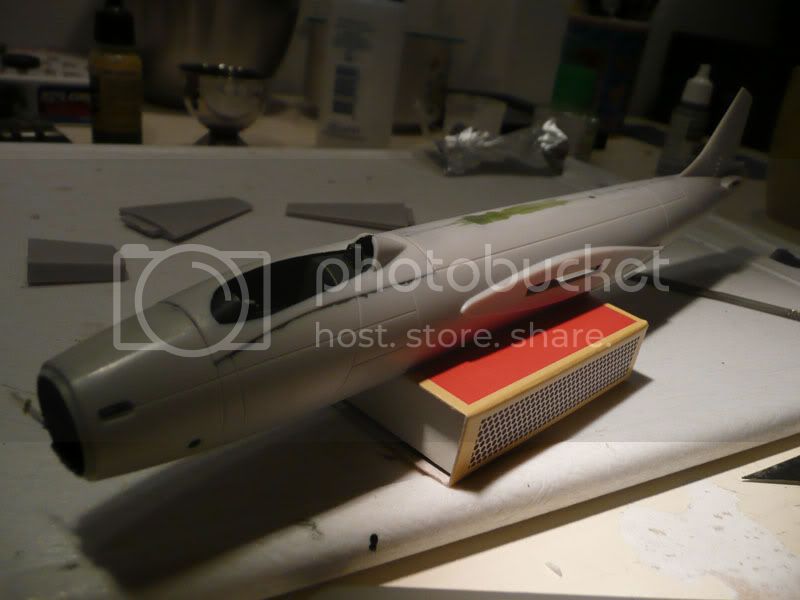
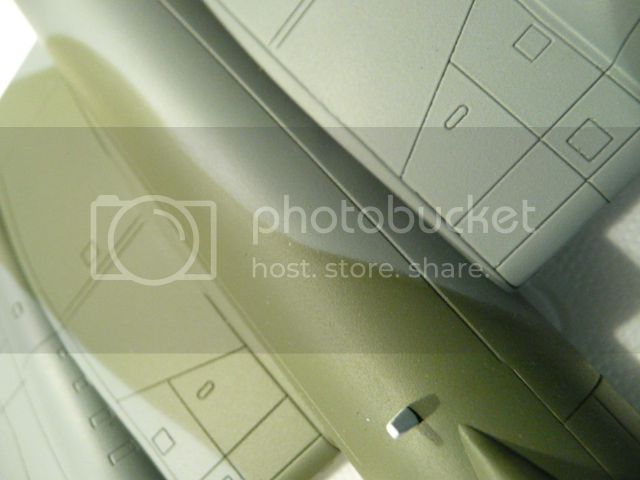
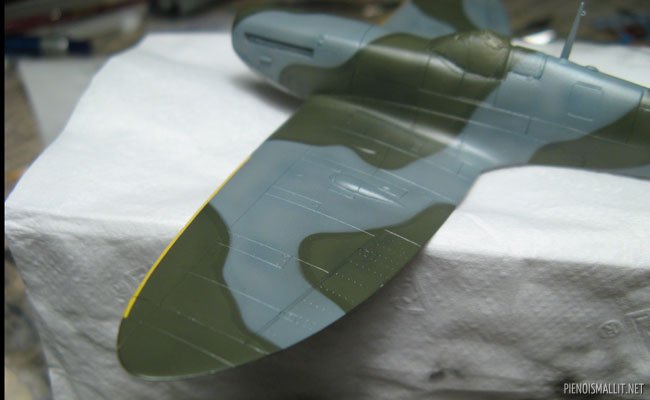
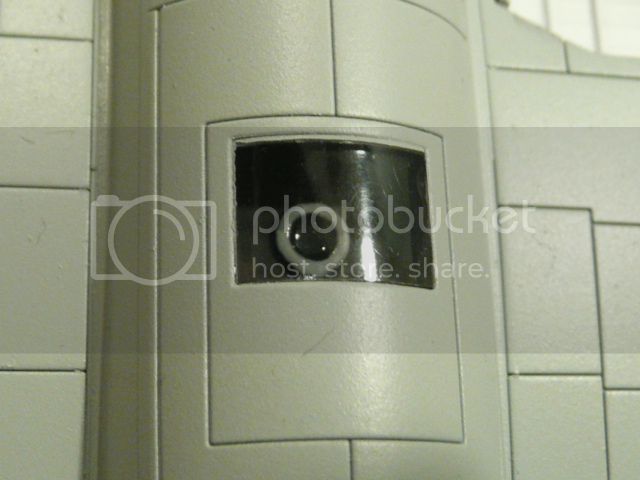
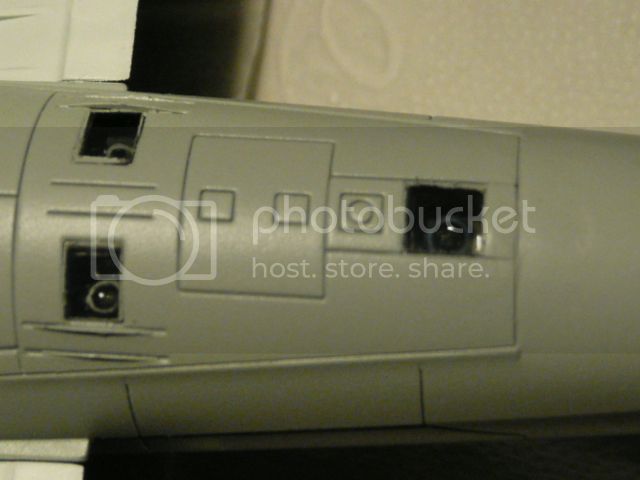
A drawback of this kit are the deep panel lines which easily can do for a typical Dutch canal. Some modellers fill these trenches, but I decided to leave it as it is.
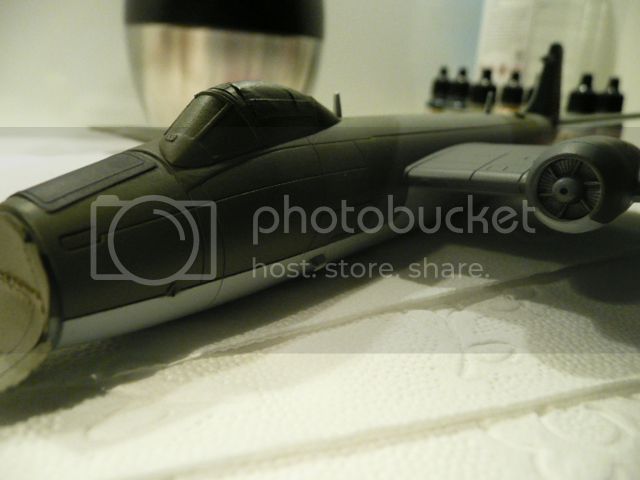
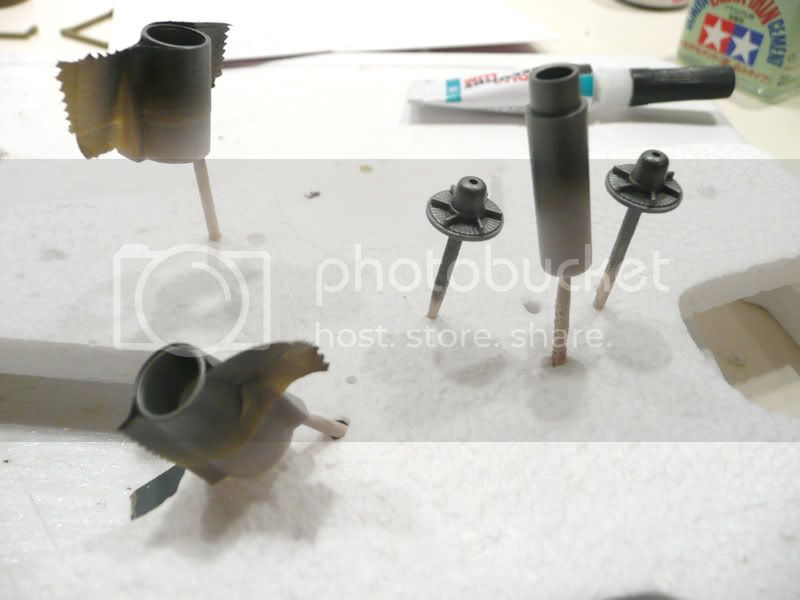
Some Alclad on the intake and exhaust:
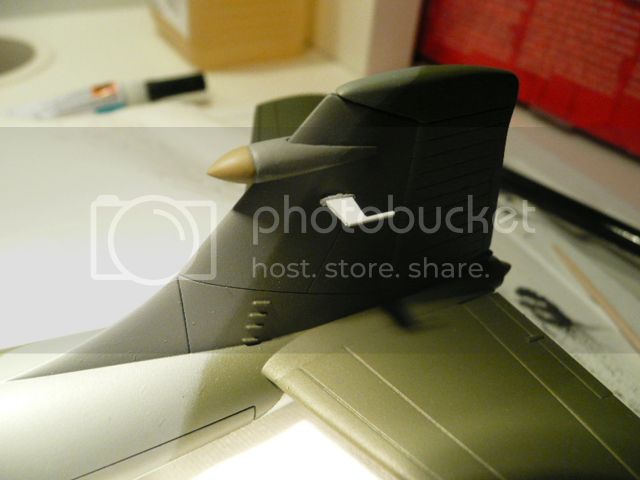
And tail:
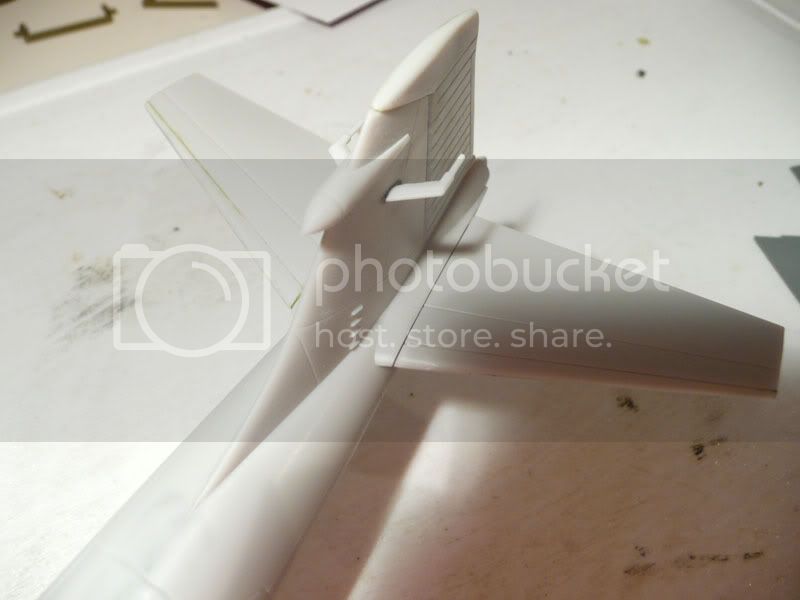
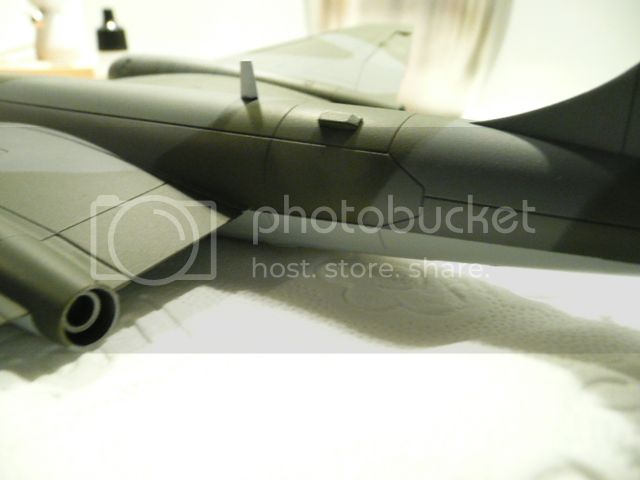
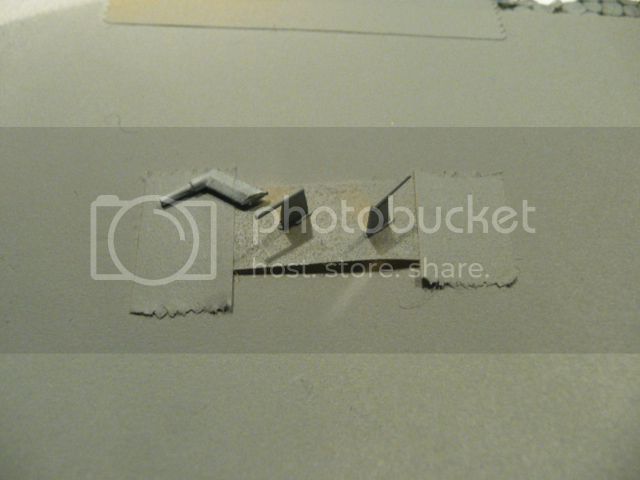
The two parts adjecent on the antenna are with hindsight too big and I will replace these with smaller scratchbuild ones.
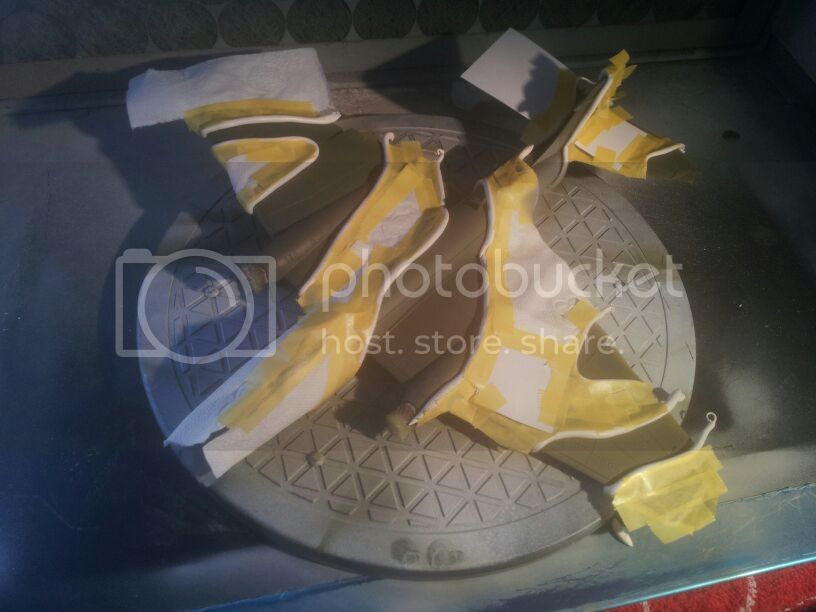
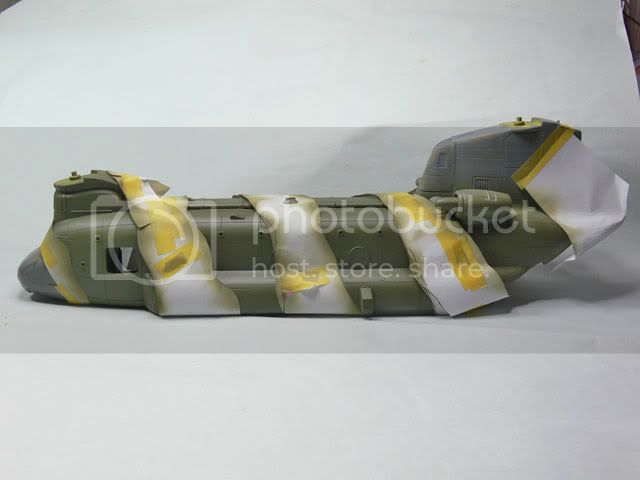
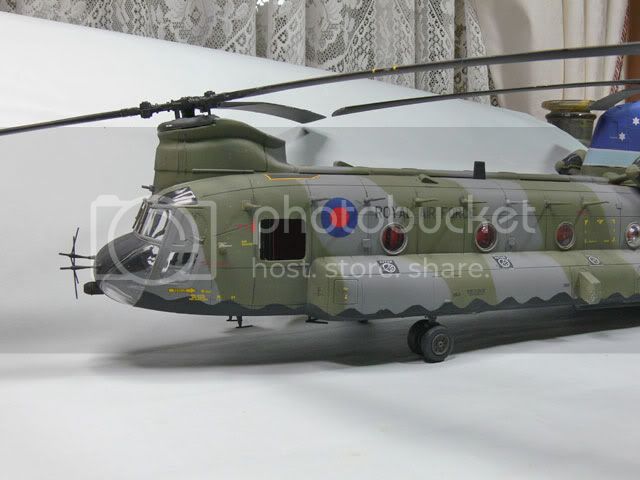
This was my progress until about a year ago. Meanwhile I have made quite some progress as the kit received late december its camoflage and I am currently doing the small bits and pieces. More pictures soon to follow.

Jelger


