Cyber Hobby 1/72 SB2C-3 Helldiver
Ontario, Canada
Joined: October 11, 2012
KitMaker: 141 posts
AeroScale: 139 posts
Posted: Wednesday, March 27, 2013 - 02:30 PM UTC
Made a start today on the build review of Cyber Hobbies SB2C-3. This follows hot on the heels of the SB2C-4 as reviewed by Sven Harjacek
here This release contains the same plastic in the box as the SB2C-4, so check out Svens review for a detailed look at the contents. First impressions are good. Surface detail and fit seems to be OK and it has to be said that the level of interior detail would put to shame that found in many 1/48 kits.

Surprisingly though, the instructions contain no colour call outs to enable this detail to be accurately painted. it's definitely a case of 'check your references' here. I consider this to be a major omission which would put off many casual builders and I can't understand why Cyber Hobby have done this. Luckily we have Chuck Wojtkiewicz excellent build of the Accurate Miniatures 1/48 kit to reference
here. This is an object lesson in model building and detailing and contains many colour photos.
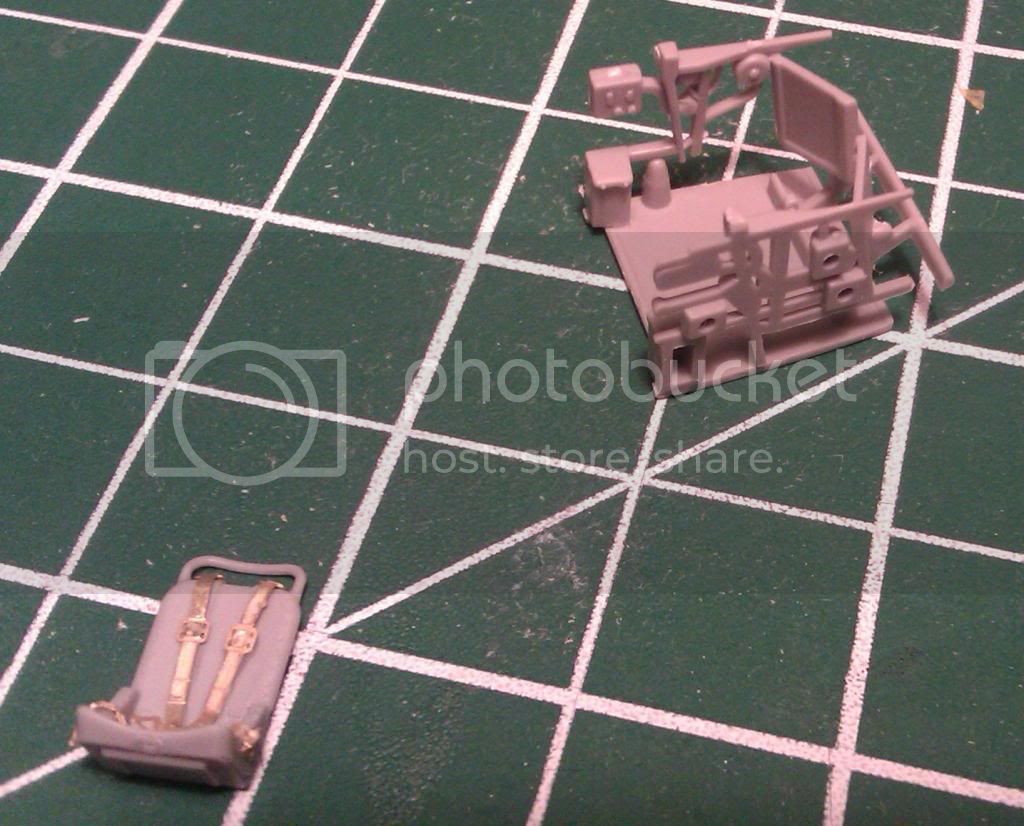
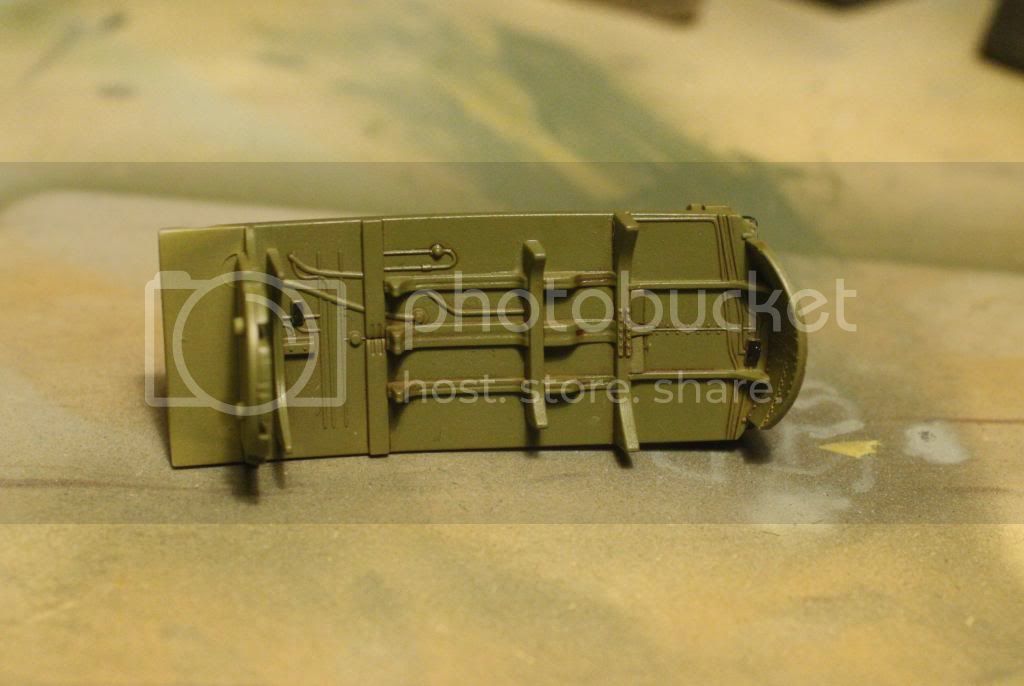
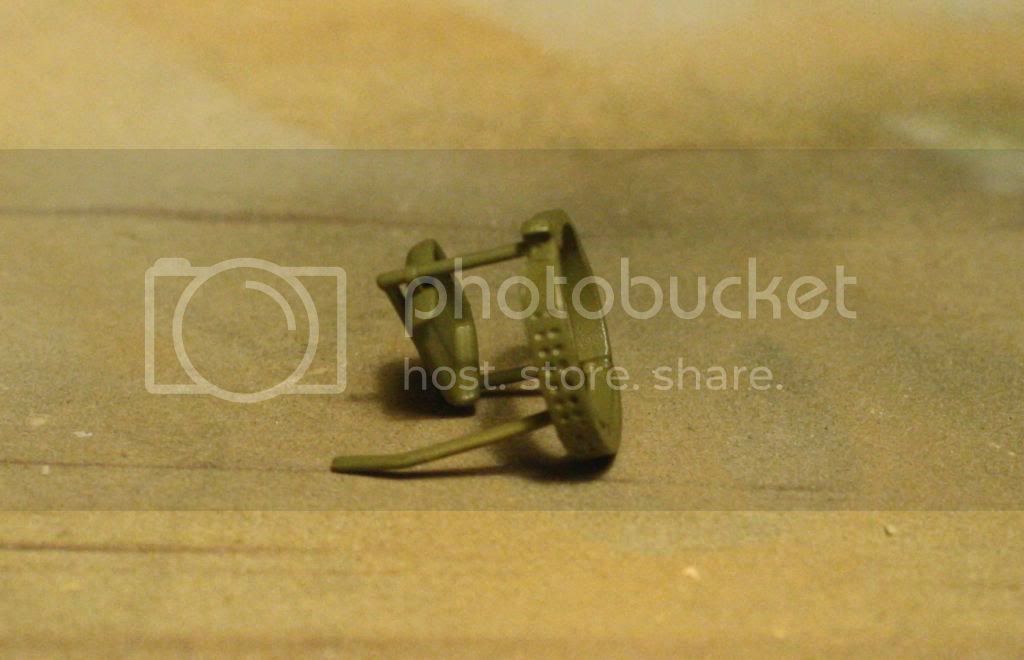
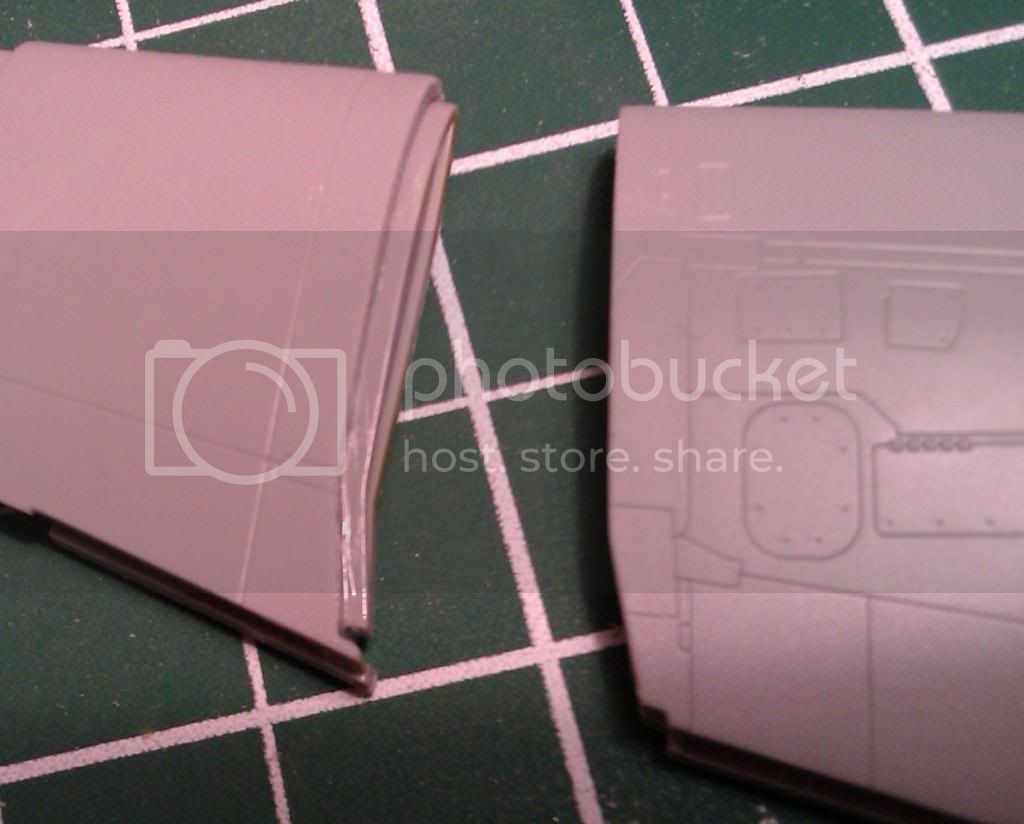
I have started by putting together some of the sub-assemblies which make up the interior.
Some of these parts are extremely delicate so care must be taken in removing them from the sprues.
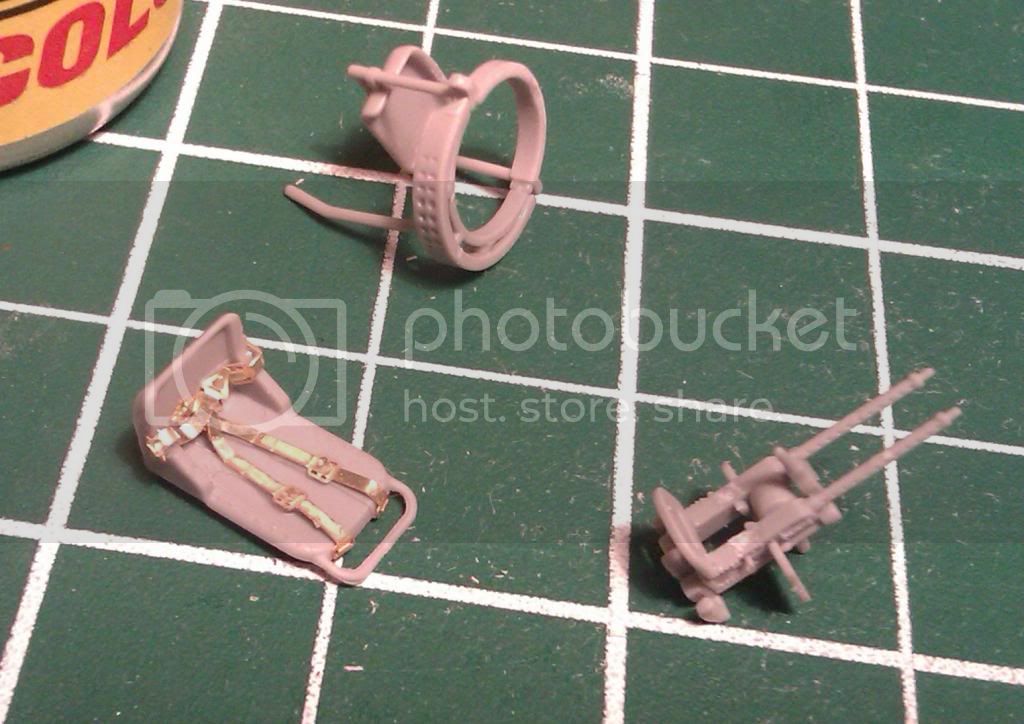
The pilots seat is augmented by photo etch belts but the ones on the gunner /radio operators seat will have to be scratched.
Hope to get some interior green on next, so watch this space.
"The music business is a cruel and shallow money trench,
a long plastic hallway where thieves run free,
and good men die like dogs. There's also a negative side."
Hunter S Thompson
Croatia Hrvatska
Joined: January 29, 2011
KitMaker: 977 posts
AeroScale: 263 posts
Posted: Wednesday, March 27, 2013 - 11:43 PM UTC
Very nice work Mike, can't wait to see more !
Mine is still on the shelf waiting for better days

.
Kind regards, Sven.

http://svenharjacekmodels.blogspot.com/
Ontario, Canada
Joined: October 11, 2012
KitMaker: 141 posts
AeroScale: 139 posts
Posted: Saturday, April 13, 2013 - 02:44 AM UTC
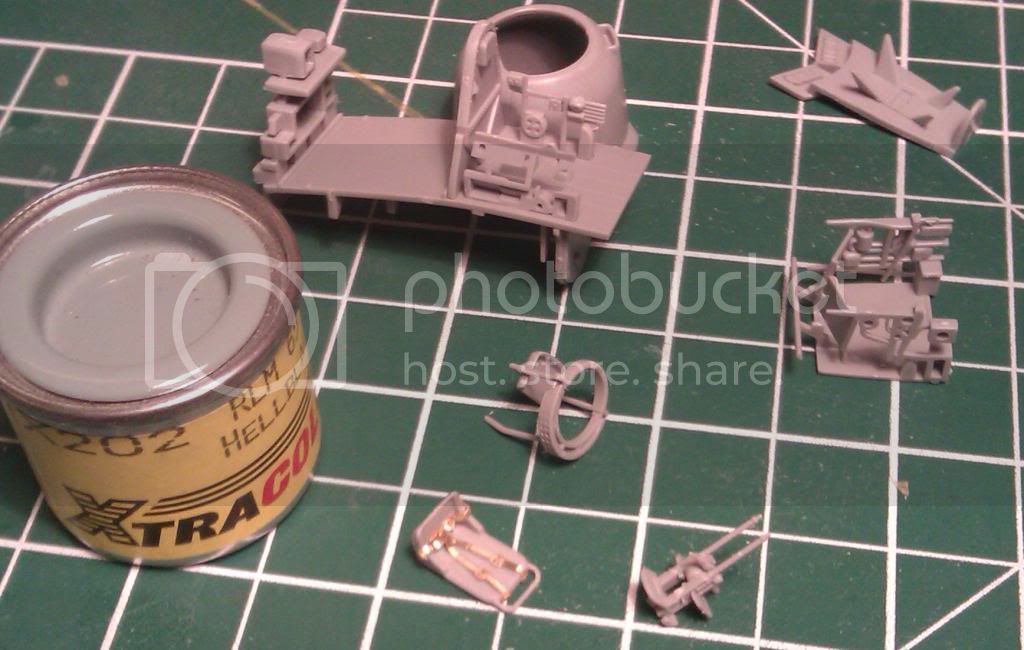
Got some paint on the interior bits. As I said before, the detail is excellent and shows well with a bit of drybrushing.
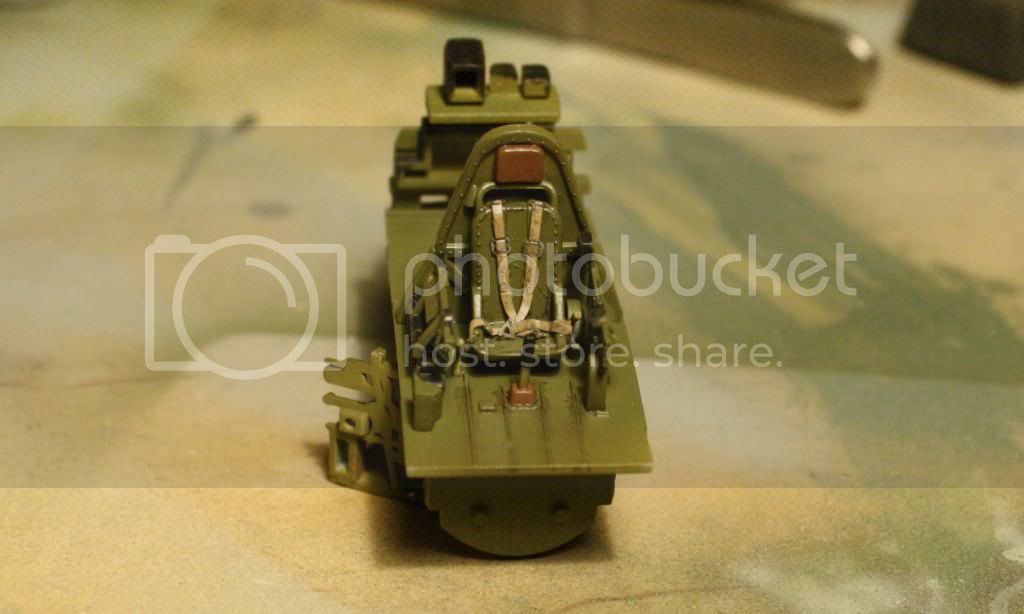
I used Mr Color interior green lacquer from their interior colour set, thinned with lacquer thinner and brush painted the details with Tamiya acrylic mixed with a drop of their retarder. Dry brushing was done with grey Humbrol enamel.
I applied a wash of Mig productions dark and brown washes.
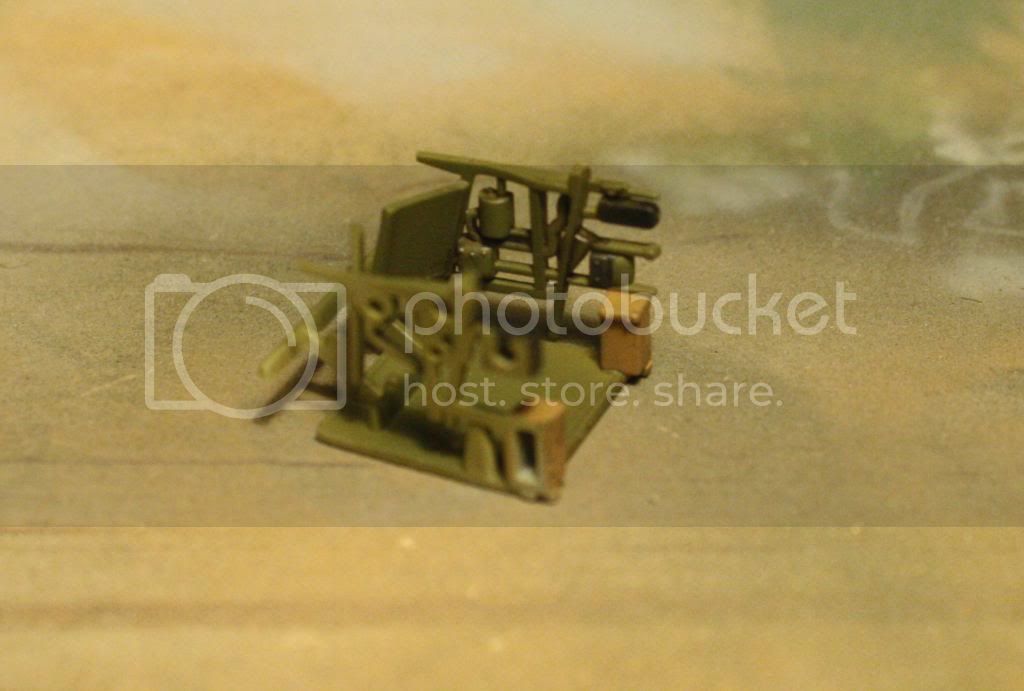
I will be adding a harness to the gunners seat.
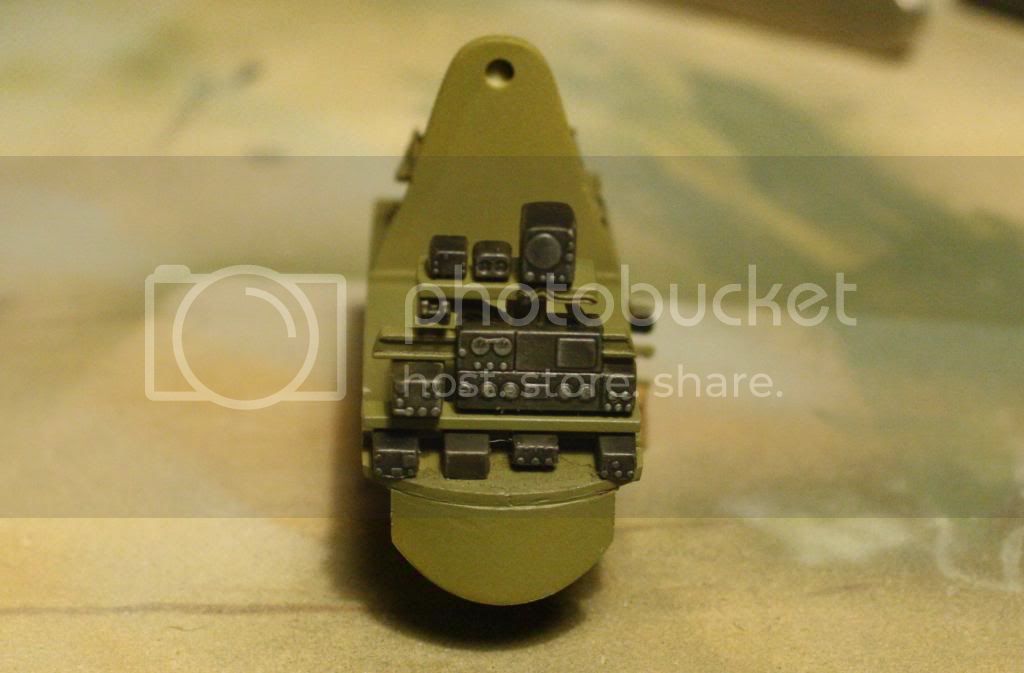
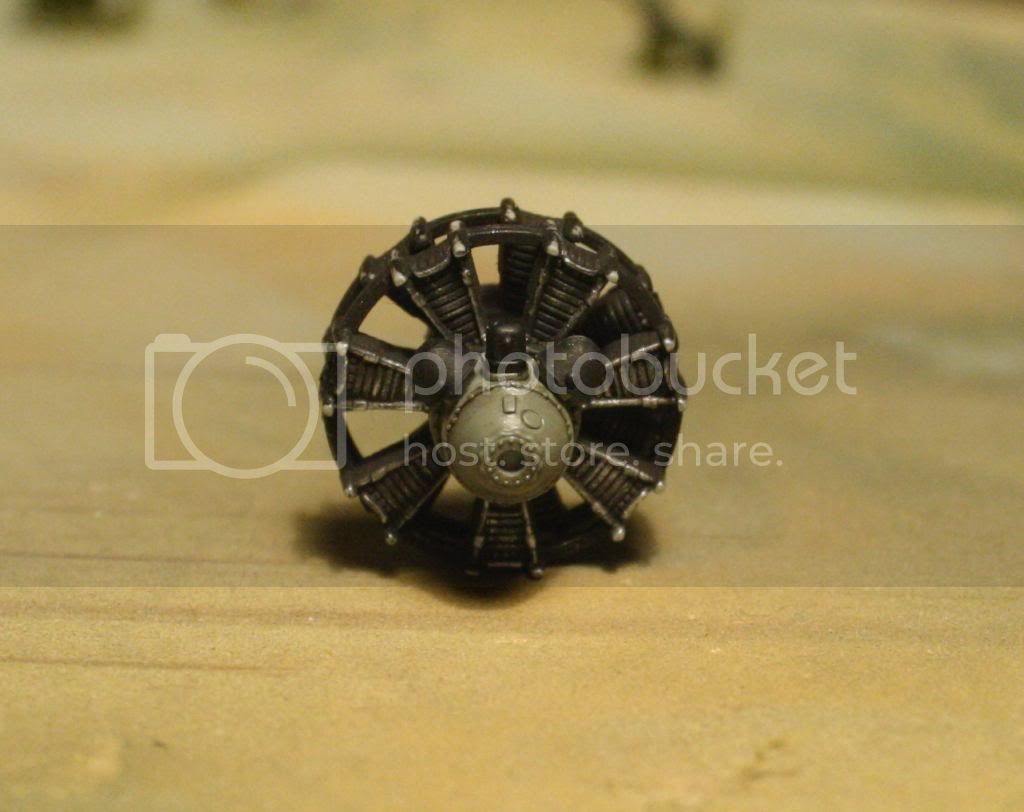
The engine was painted with Tamiya acrylics, dry brushed with humbrol silver and washed with Mig dark wash. Some mig soot black pigment was applied to tone down the effect of the dry brushing a bit.
Next episode: Putting the airframe together.
"The music business is a cruel and shallow money trench,
a long plastic hallway where thieves run free,
and good men die like dogs. There's also a negative side."
Hunter S Thompson
Croatia Hrvatska
Joined: January 29, 2011
KitMaker: 977 posts
AeroScale: 263 posts
Posted: Saturday, April 13, 2013 - 02:48 AM UTC
Nice work so far Mike!
Sven.
http://svenharjacekmodels.blogspot.com/
California, United States
Joined: November 28, 2007
KitMaker: 817 posts
AeroScale: 729 posts
Posted: Saturday, April 13, 2013 - 04:53 AM UTC
Very nice!

[url]http://chukw.blogspot.com/[/url]
Ontario, Canada
Joined: October 11, 2012
KitMaker: 141 posts
AeroScale: 139 posts
Posted: Monday, April 15, 2013 - 12:47 AM UTC
Thanks Sven and Chuk. @ Chuk, I read through your 1/48 Helldiver build and have pinched your idea of making the life raft out of foil. Cheers! I'm also following your Me509 build with interest. Hope you get good news regarding the dog.
"The music business is a cruel and shallow money trench,
a long plastic hallway where thieves run free,
and good men die like dogs. There's also a negative side."
Hunter S Thompson
Maryland, United States
Joined: March 01, 2013
KitMaker: 152 posts
AeroScale: 98 posts
Posted: Tuesday, April 16, 2013 - 01:34 AM UTC
Really nice Mike!. I have a hereditary tremor in my left hand so I am not that steady complicated with some nerve issues. Fine, detailed painting is a challenge. This hobby is so great because it helps with developing skillsets to compensate.

Dan
Current Build: Italeri P-40E/K 1:48
Noord-Holland, Netherlands
Joined: January 28, 2007
KitMaker: 1,945 posts
AeroScale: 388 posts
Posted: Tuesday, April 16, 2013 - 05:02 AM UTC
Nice work Mike, I like how the details are being highlighted. So simple, but so effective.
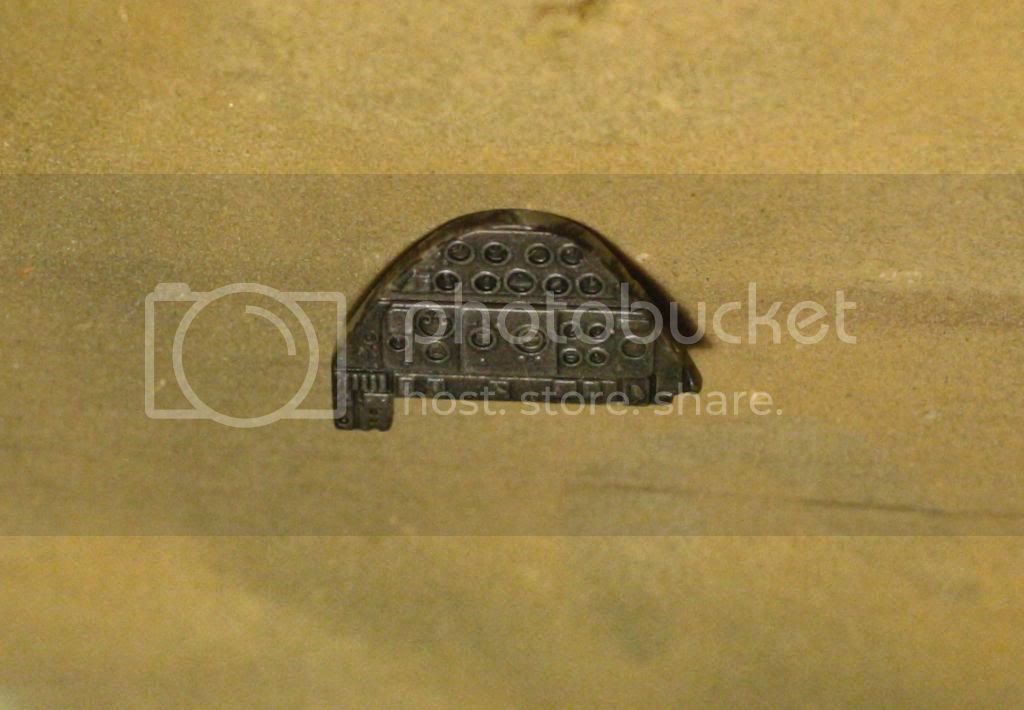
What colour are you using for the instruments and instrument panel? Looks like a dark grey.
Jelger
On the workbench:
- Tamiya P-47D 1/48
- Eduard Mig21 1/144
Ontario, Canada
Joined: October 11, 2012
KitMaker: 141 posts
AeroScale: 139 posts
Posted: Tuesday, April 16, 2013 - 02:29 PM UTC
Quoted Text
Fine, detailed painting is a challenge. This hobby is so great because it helps with developing skillsets to compensate.
It gives me the time to unwind from the stress of work and family life, when I can cram it in. Time slows down a small amount when I am at the bench. I find detail painting challenging / rewarding in equal measure.
"The music business is a cruel and shallow money trench,
a long plastic hallway where thieves run free,
and good men die like dogs. There's also a negative side."
Hunter S Thompson
Ontario, Canada
Joined: October 11, 2012
KitMaker: 141 posts
AeroScale: 139 posts
Posted: Tuesday, April 16, 2013 - 02:41 PM UTC
Quoted Text
What colour are you using for the instruments and instrument panel? Looks like a dark grey.
Thanks Jelger. I painted the panel and radio eqpt with tyre black which is actually a dark grey (going for the fabled 'scale effect'), then drybrushed with a medium grey enamel.
"The music business is a cruel and shallow money trench,
a long plastic hallway where thieves run free,
and good men die like dogs. There's also a negative side."
Hunter S Thompson
Ontario, Canada
Joined: October 11, 2012
KitMaker: 141 posts
AeroScale: 139 posts
Posted: Tuesday, April 16, 2013 - 02:57 PM UTC
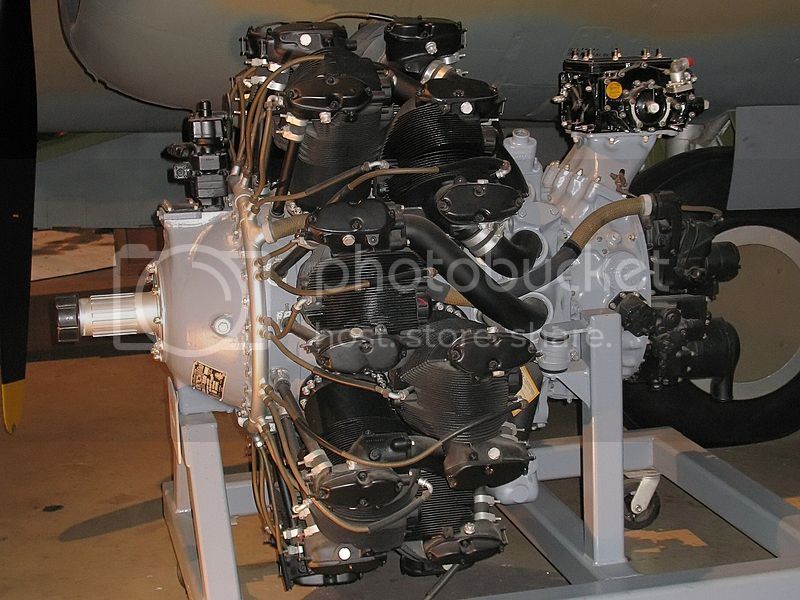
After having a chat with some on-line modelling comrades, an error has come to light in the construction of the R-2600 engine. The rear bank of cylinders is shown as being slightly offset in relation to the front row, and the kit is engineered to ensure this layout.
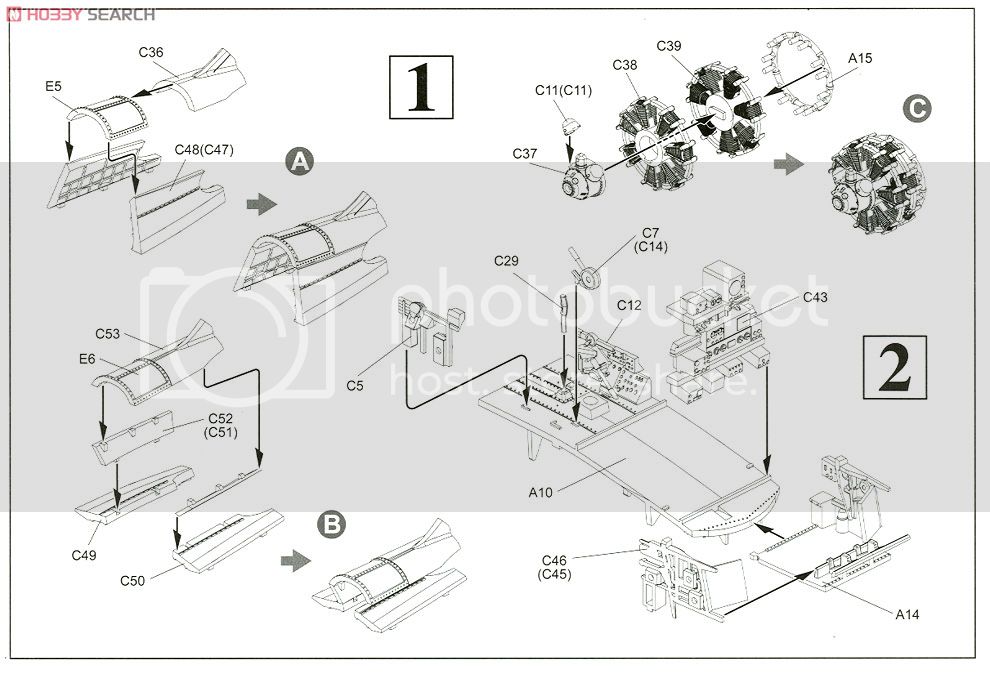
Having seen some photos it would appear that the rear cylinders sit directly behind the gaps between the front ones, so the cyber hobby instructions are wrong.
It would be no great task to remove the locating tab and align the parts by eye but too late for this build as the parts are firmly stuck together and won't be pried apart. Oh well, not much will be seen inside the cowling so I wont lose (much) sleep about it.
"The music business is a cruel and shallow money trench,
a long plastic hallway where thieves run free,
and good men die like dogs. There's also a negative side."
Hunter S Thompson
Ontario, Canada
Joined: October 11, 2012
KitMaker: 141 posts
AeroScale: 139 posts
Posted: Thursday, April 18, 2013 - 06:22 AM UTC
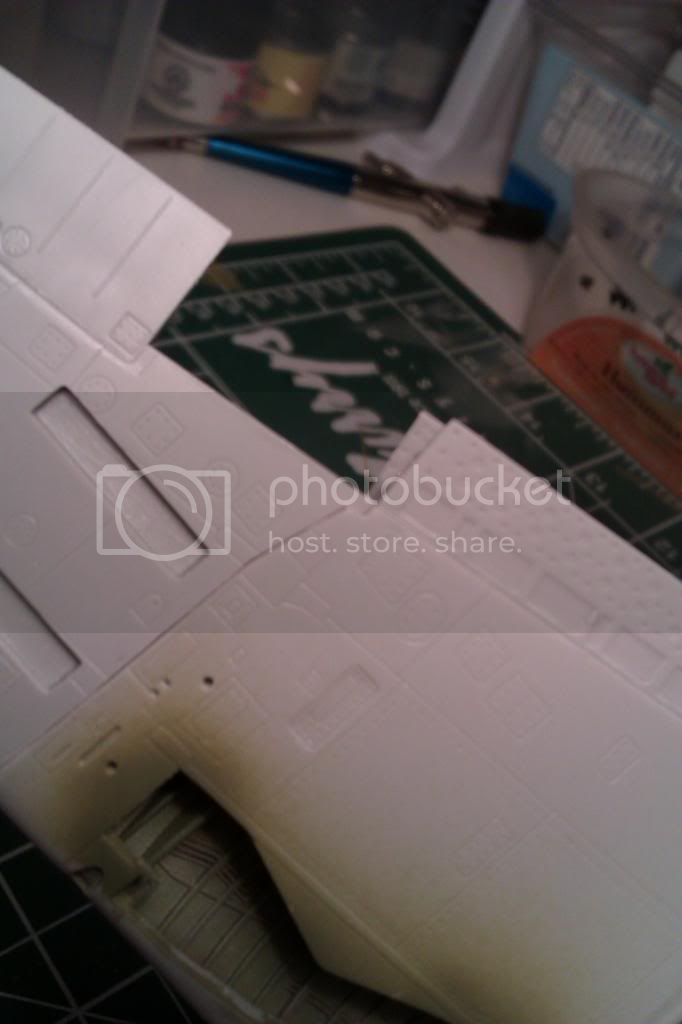
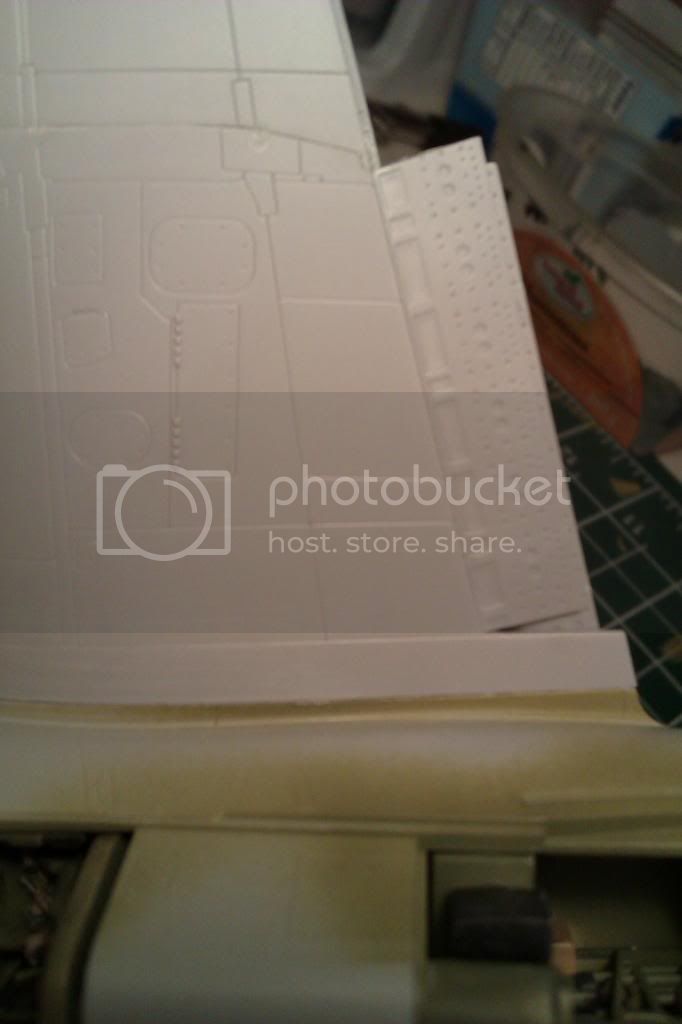
This is just a quick update but contains, I think, some important information for those wishing to build the model with the wings extended. I was going to build this with the wings folded but having seen how flimsy the wing fold parts are, I decided to construct mine with the wings deployed. The instructions would have you glue parts D16/D17 and D6/D7 into the open ends of each wing half (the instructions have these two sets of parts reversed by the way). OK, I thought, I guess that these give some structure to the wing before you glue the halves together. So away I went and glued them in. What the instructions don't show is that on the D sprue (marked as 'not for use') are parts D28 and D29. These are inserts which bridge both wing halves and help to form a good joint when wings are deployed.
I quickly popped the, now wrong, parts out as luckily the glue had not fully set and replaced them with the correct parts. Why the instructions completely leave this bit out is beyond me. I am informed that incorrect instructions are part and parcel of Dragon / Cyber Hobby kits and this, added to the mistake regarding the engine assembly, only serves to confirm this. Suffice to say, I will be taking greater care throughout the rest of the build
"The music business is a cruel and shallow money trench,
a long plastic hallway where thieves run free,
and good men die like dogs. There's also a negative side."
Hunter S Thompson
Ontario, Canada
Joined: October 11, 2012
KitMaker: 141 posts
AeroScale: 139 posts
Posted: Friday, April 19, 2013 - 04:05 PM UTC
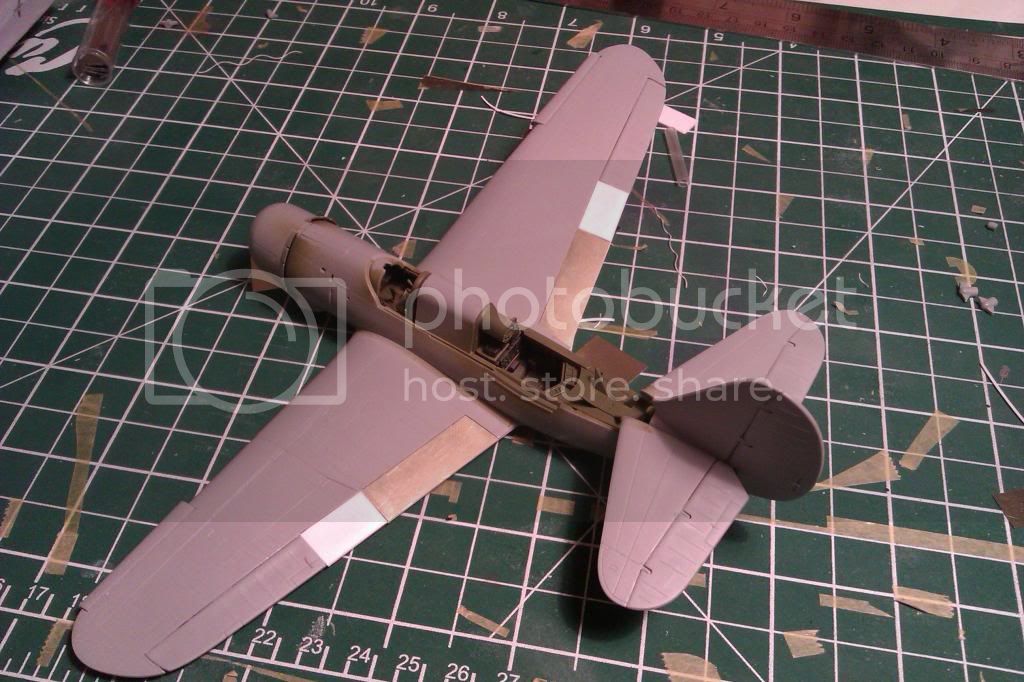
It's beginning to look like a Helldiver
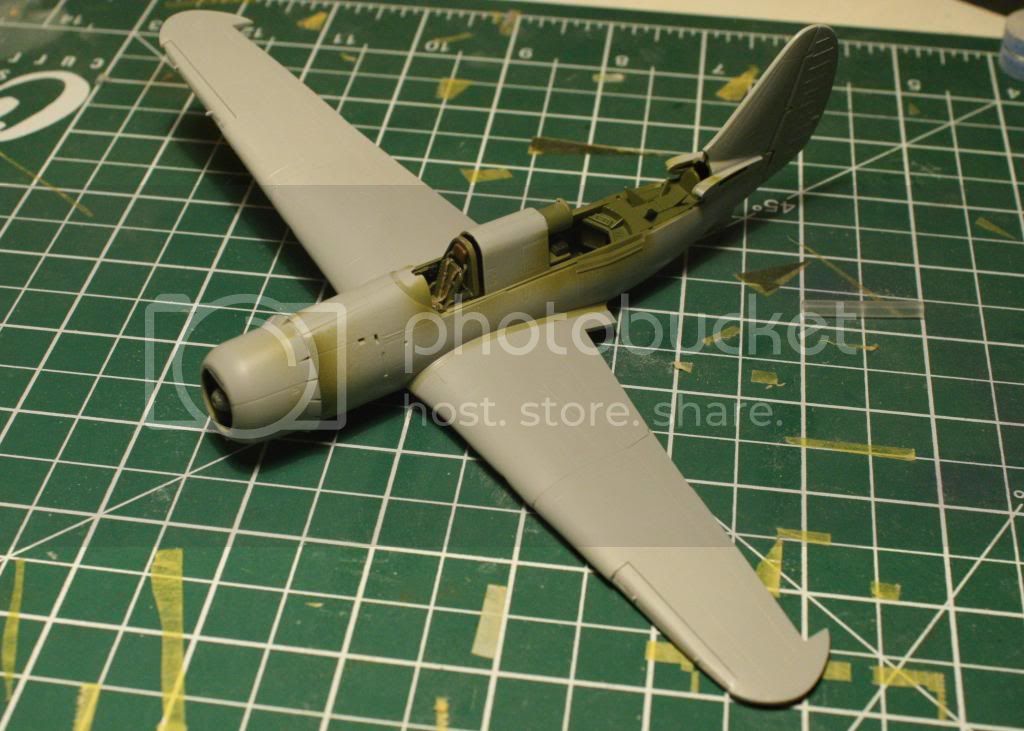
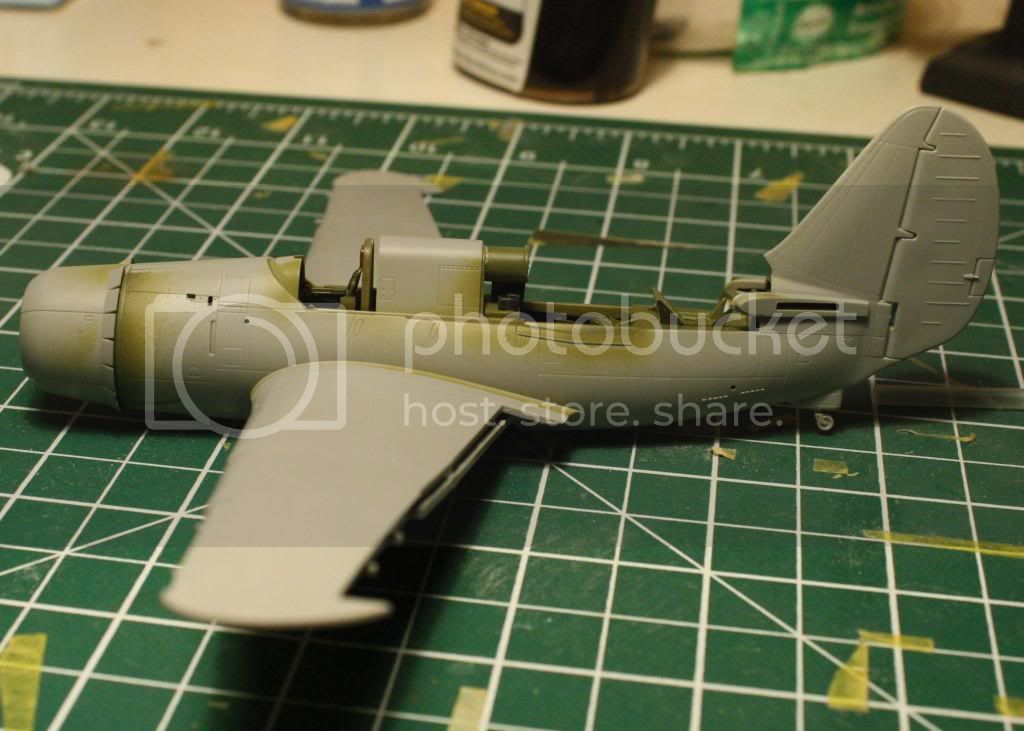
Fuselage and wings went together easily, seams were cleaned up with Mr Surfacer.
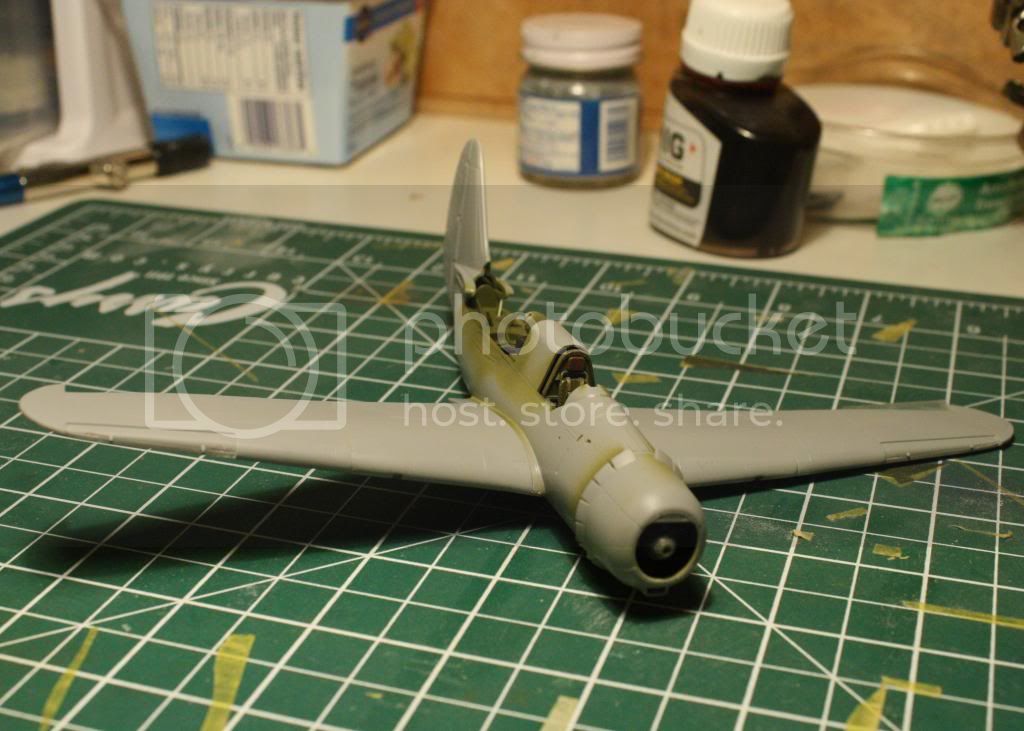
Fit of wings is good with minimal cleanup required.
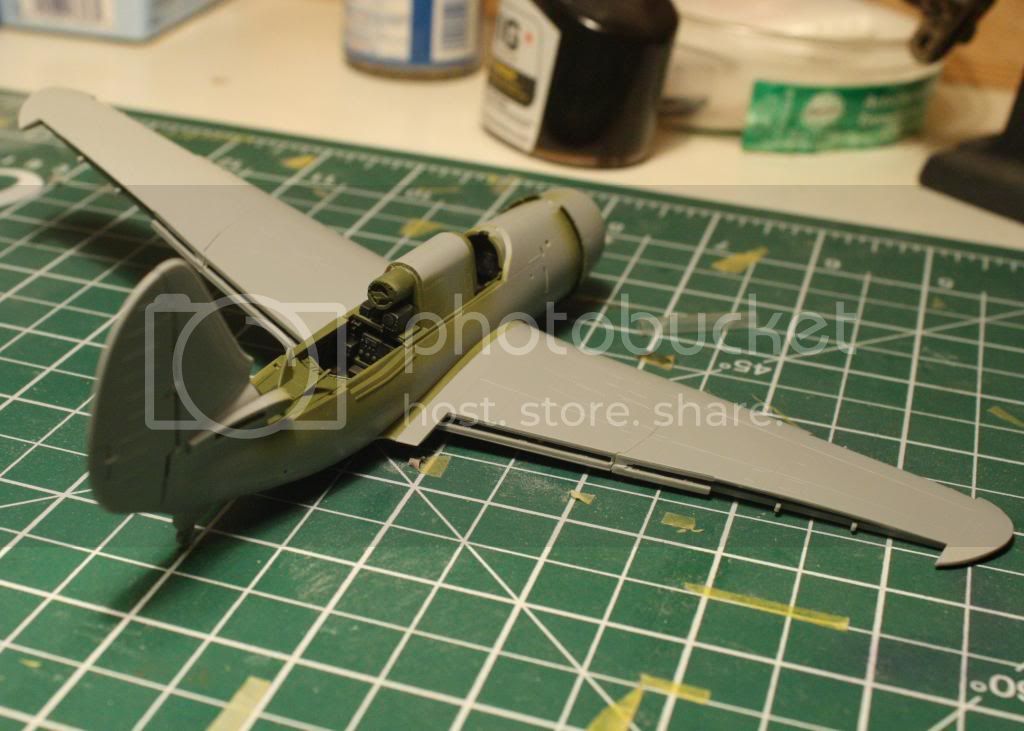
Should be able to get some camo on this soon.
"The music business is a cruel and shallow money trench,
a long plastic hallway where thieves run free,
and good men die like dogs. There's also a negative side."
Hunter S Thompson
Ontario, Canada
Joined: October 11, 2012
KitMaker: 141 posts
AeroScale: 139 posts
Posted: Thursday, April 25, 2013 - 08:53 AM UTC
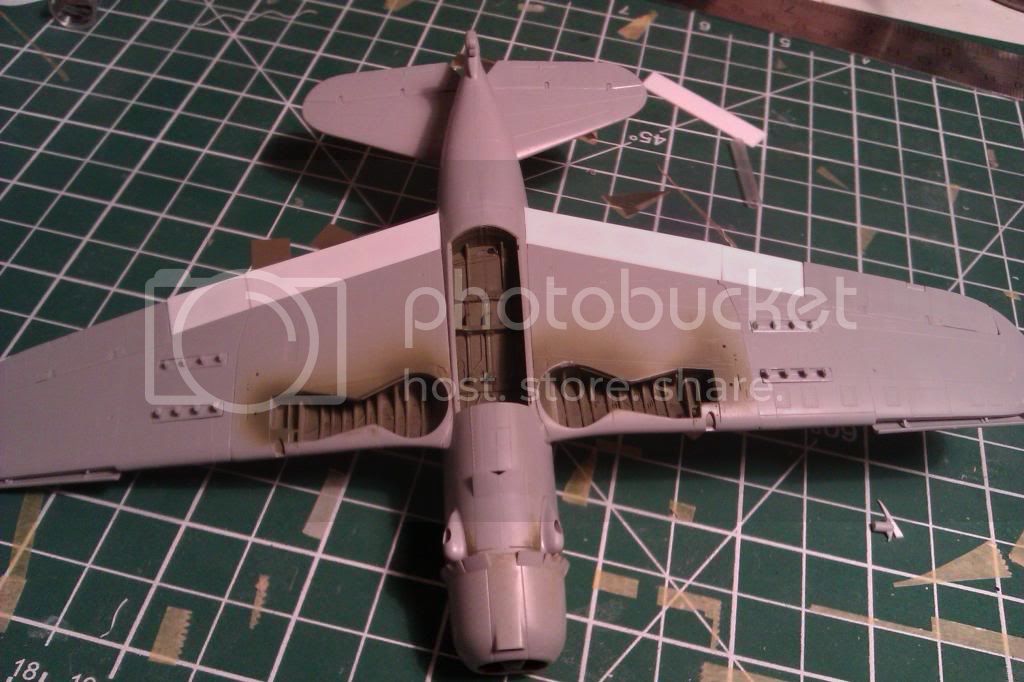
I am discovering that dry fitting is the order of the day as this build progresses. After a trouble free start, more and more errors are coming to light. For example, before installing the dive brakes last night, I offered up the parts to check for fit. The lower part of the in-board dive brake fitted fine but, no matter how I tried, I could not get the upper section to fit. The part looks like it is from another kit and not intended for use here
I tried this part every which way around I could, swapped it with the corresponding part for the opposite wing, all to no avail. The kit comes with photo-etched parts which cover the surface of the brakes and these fit fine. These will cover over the plastic part so little if anything will be seen once I have trimmed the plastic to get the outboard section of the dive brake to fit, but I wasted a considerable amount of time messing around with this, thinking I was going mad in the process. The instructions were less than useless in this area. If anyone can shed any light on this then please let me know what I am doing wrong (if anything). Next time I hope to post something positive about the kit, which despite the errors, is actually shaping up quite nicely.
"The music business is a cruel and shallow money trench,
a long plastic hallway where thieves run free,
and good men die like dogs. There's also a negative side."
Hunter S Thompson
Croatia Hrvatska
Joined: January 29, 2011
KitMaker: 977 posts
AeroScale: 263 posts
Posted: Thursday, April 25, 2013 - 09:18 AM UTC
Wonderful work Mike, I've had problems with fitting the thing on root of the tail (parts C47,C48 and E5).
Kind regards,Sven.
http://svenharjacekmodels.blogspot.com/
Ontario, Canada
Joined: October 11, 2012
KitMaker: 141 posts
AeroScale: 139 posts
Posted: Thursday, April 25, 2013 - 10:22 AM UTC
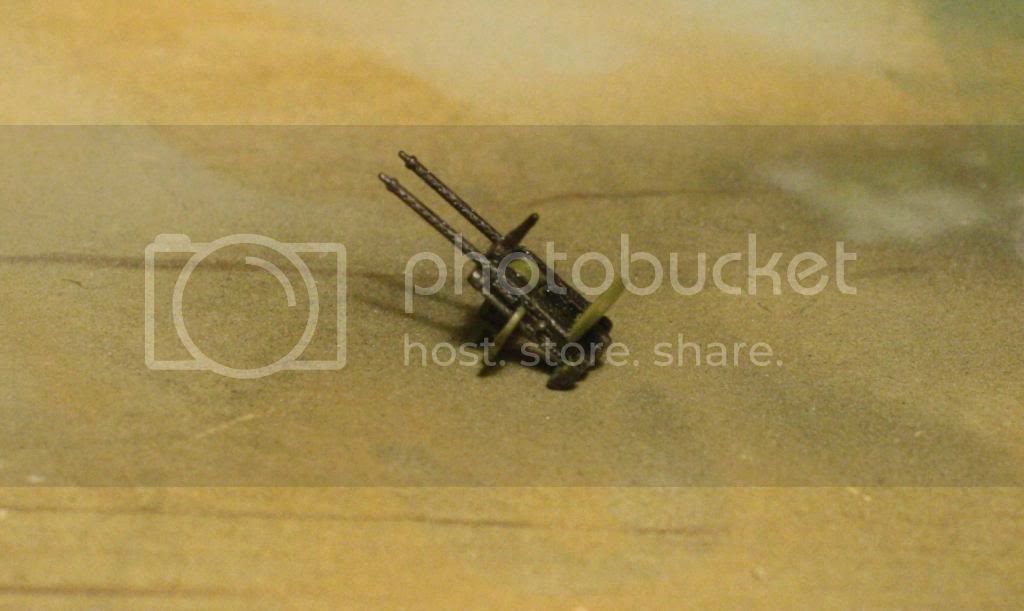
Thanks Sven. I would like to build mine with that rear section collapsed and the guns deployed. It's certainly looking to be one of the more fiddly stages of the build. You should post your build on here. It would be good to compare notes. I'd like to know how you got on with fitting those

air brakes!
"The music business is a cruel and shallow money trench,
a long plastic hallway where thieves run free,
and good men die like dogs. There's also a negative side."
Hunter S Thompson
Croatia Hrvatska
Joined: January 29, 2011
KitMaker: 977 posts
AeroScale: 263 posts
Posted: Thursday, April 25, 2013 - 10:51 AM UTC
Quoted Text
Thanks Sven. I would like to build mine with that rear section collapsed and the guns deployed. It's certainly looking to be one of the more fiddly stages of the build. You should post your build on here. It would be good to compare notes. I'd like to know how you got on with fitting those air brakes!
I didn't really build it, I just dry-fitted the fiddly bits to see how they fit.
Hope you wont have adittional fit issues.
Kind regards,Sven
http://svenharjacekmodels.blogspot.com/
Ontario, Canada
Joined: October 11, 2012
KitMaker: 141 posts
AeroScale: 139 posts
Posted: Tuesday, April 30, 2013 - 02:04 PM UTC
So continuing with construction of the dive brakes, I found, after dry fitting, that the photo etch parts which I thought would fit, actually did not. Those below the wing stuck out proud of the trailing edge by about 1.5mm and the set above the wing just would not fit properly. I decided to replace all but 2 of the brass parts with new parts cut from thin plastic sheet.
This area has been the worst fitting part of the kit so far and I am now hoping that I can continue with a problem free build. Looking forward now to getting some paint on.
"The music business is a cruel and shallow money trench,
a long plastic hallway where thieves run free,
and good men die like dogs. There's also a negative side."
Hunter S Thompson
Joel_W
 Associate Editor
New York, United States
Joined: December 04, 2010
KitMaker: 11,666 posts
AeroScale: 7,410 posts
Posted: Wednesday, May 01, 2013 - 03:49 AM UTC
Mike, following your build with much interest, as I just came back from the armor side of the hobby. Looking for tips every where I can find them.
Sheet plastic dive flaps look great.
Looking forward to seeing some camo paint soon.
Joel
On my Workbench:
Monogram 1/24 scale 427 Shelby Cobra
Just Completed:
Beemax 1/24 scale BMW M3 E30 1992 Evolution II
Ontario, Canada
Joined: October 11, 2012
KitMaker: 141 posts
AeroScale: 139 posts
Posted: Sunday, July 07, 2013 - 07:26 AM UTC
First of all, apologies to anyone following this build for the dearth of updates recently. Life and work have a habit of getting in the way of fun. Having masked the wheel-wells, bomb-bay and cockpit using a variety of materials ranging from blu-tack, packing foam and Tamiya tape, I painted the tri-colour scheme.
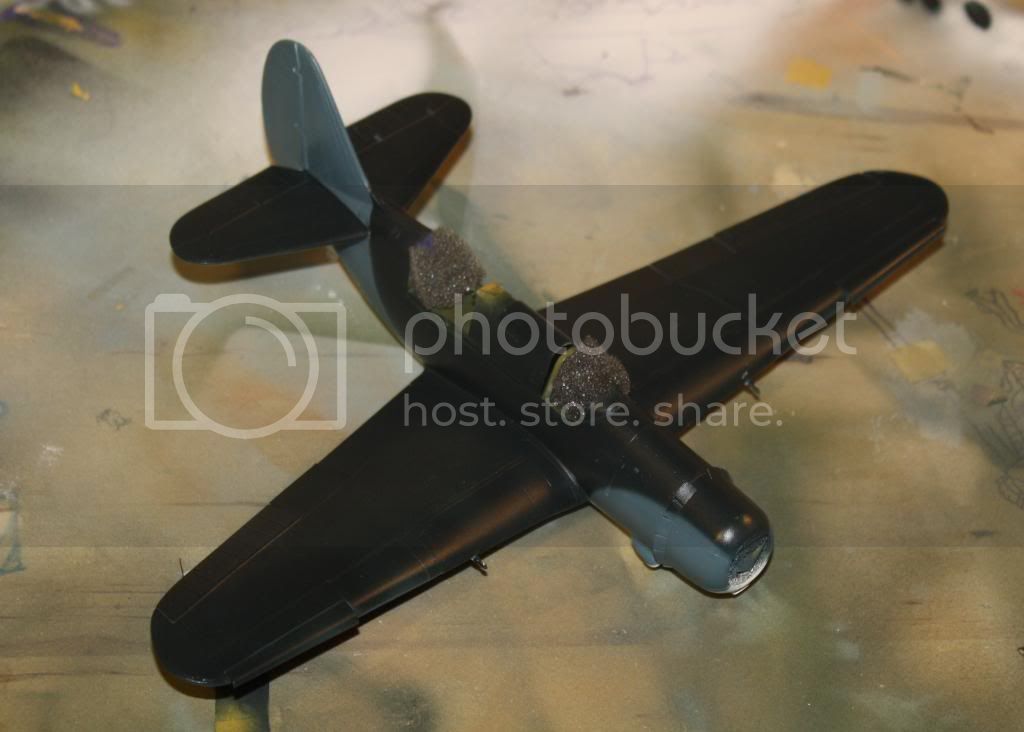
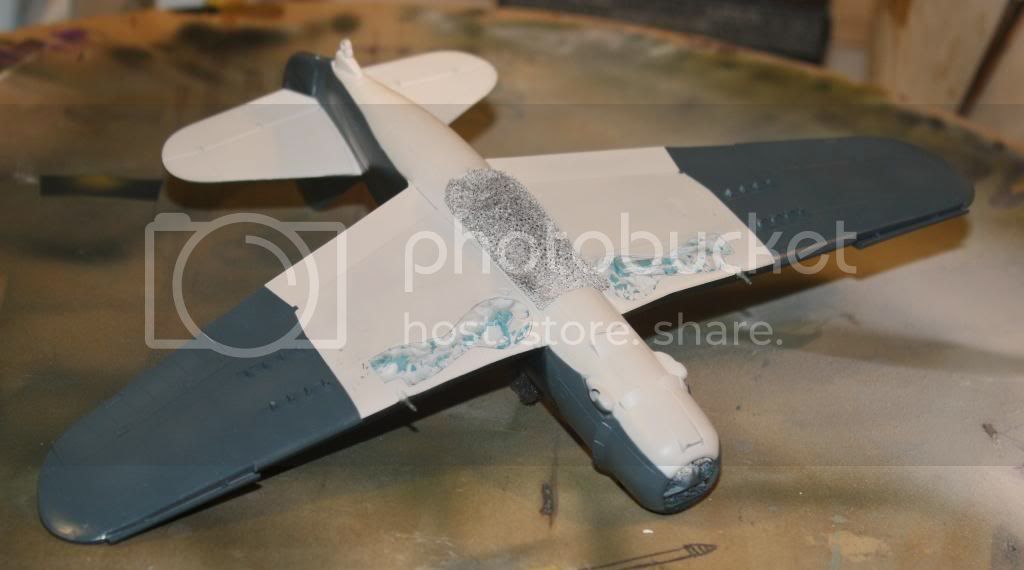
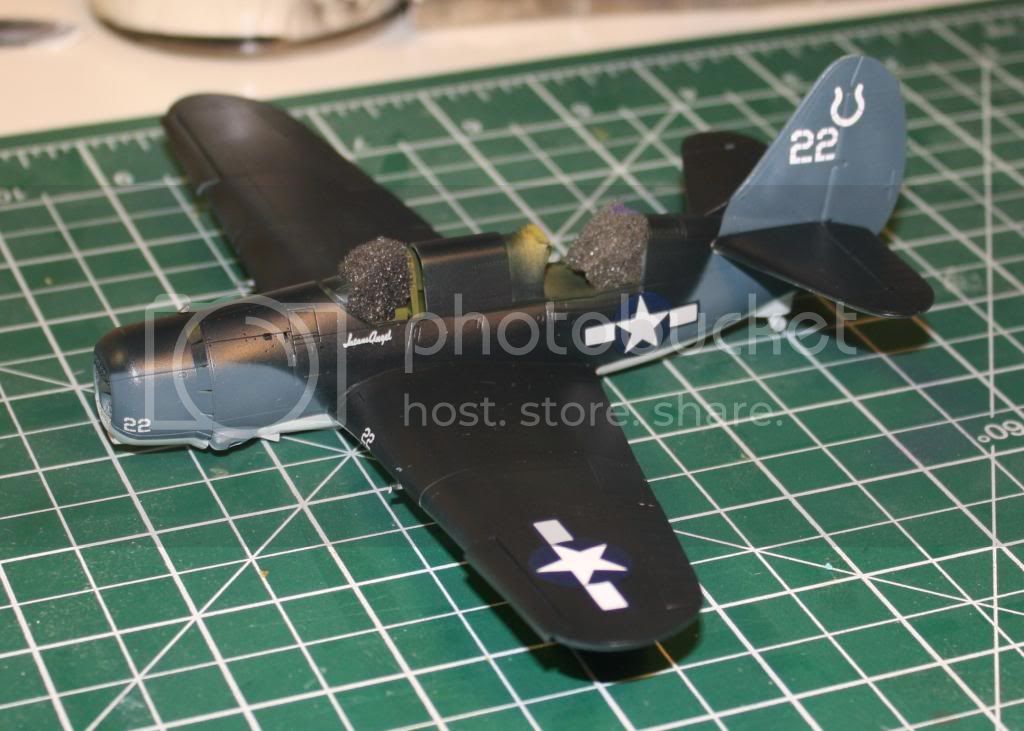
I used blu-tack and tape to achieve a soft edge to the demarcation between colours. After touching up some minor overspray, I glossed the model with Klear in preparation for the decals.
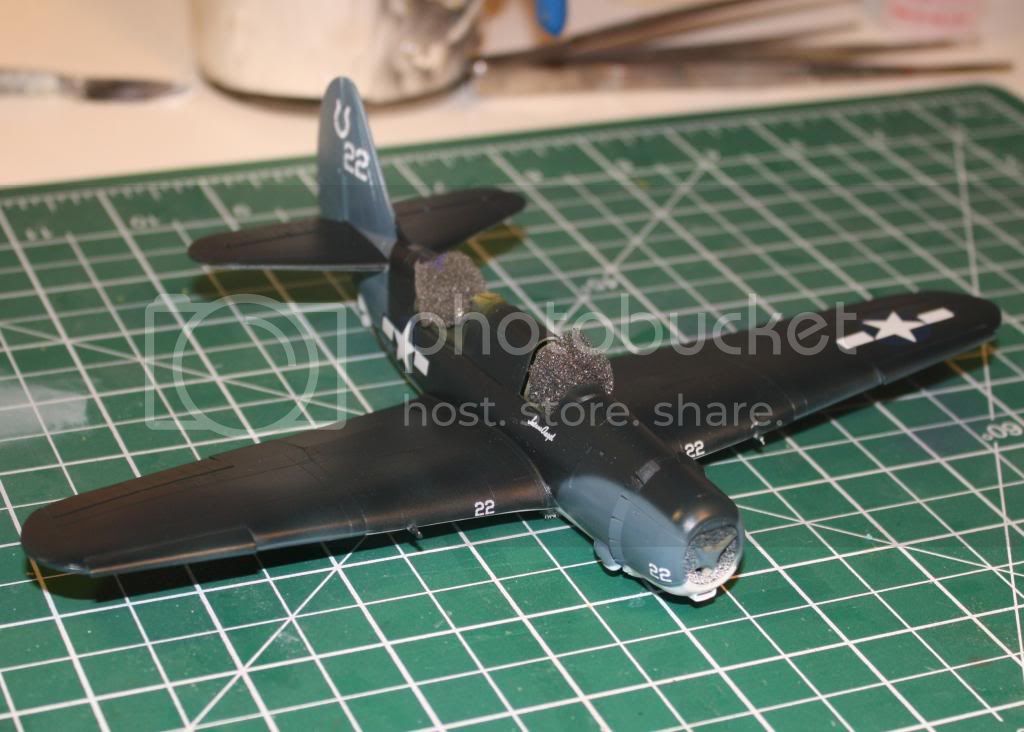
These were applied using MicroSet and Sol and behaved very well despite seeming rather thick.
Next steps will be weathering the airframe and masking the canopies (gulp).
"The music business is a cruel and shallow money trench,
a long plastic hallway where thieves run free,
and good men die like dogs. There's also a negative side."
Hunter S Thompson
Joel_W
Associate Editor New York, United States
Joined: December 04, 2010
KitMaker: 11,666 posts
AeroScale: 7,410 posts
Posted: Sunday, July 07, 2013 - 10:21 AM UTC
Mike the camo scheme looks really good. Same for the decaling. Looking forward to your next update.
Joel
On my Workbench:
Monogram 1/24 scale 427 Shelby Cobra
Just Completed:
Beemax 1/24 scale BMW M3 E30 1992 Evolution II
Tennessee, United States
Joined: September 20, 2005
KitMaker: 1,747 posts
AeroScale: 1,673 posts
Posted: Sunday, July 07, 2013 - 01:57 PM UTC
Mike, good job there on the Helldiver! Good work on camoflauge too. I wonder if crews really didn't like this bird as much as I have heard? The Douglas Dauntless remained in service, through the end of the war. The Dauntless SBD was suppose to be replaced I thought by the Helldiver, the SB2C.

Russell
To Thine Own Self Be True
Siderius
A.K.A., RTA
Ontario, Canada
Joined: October 11, 2012
KitMaker: 141 posts
AeroScale: 139 posts
Posted: Sunday, July 07, 2013 - 02:07 PM UTC
The fact that the Helldiver crews nicknamed the plane 'Son of a 'lady dog' 2nd Class' says a lot for it's early reputation I think.
"The music business is a cruel and shallow money trench,
a long plastic hallway where thieves run free,
and good men die like dogs. There's also a negative side."
Hunter S Thompson
Tennessee, United States
Joined: September 20, 2005
KitMaker: 1,747 posts
AeroScale: 1,673 posts
Posted: Sunday, July 07, 2013 - 02:33 PM UTC
I hear you Mike, I wonder if like the Martin B-26 Marauder for the USAAF, the Navy had similar experience with the Helldiver. Until crews got used to it they didn't like it, in the end it was a good machine though. I sort of like the rounded Curtiss tail on this airplane. Just a thought, Russell.
To Thine Own Self Be True
Siderius
A.K.A., RTA
Joel_W
Associate Editor New York, United States
Joined: December 04, 2010
KitMaker: 11,666 posts
AeroScale: 7,410 posts
Posted: Monday, July 08, 2013 - 03:35 AM UTC
Russell, I've always felt the exact opposite about the tail. Just looks to large & out of proportion to the rest of the fuselage.
Joel
On my Workbench:
Monogram 1/24 scale 427 Shelby Cobra
Just Completed:
Beemax 1/24 scale BMW M3 E30 1992 Evolution II