_GOTOBOTTOM
Early Aviation
Discuss World War I and the early years of aviation thru 1934.
KotS III GB Hawker Fury
amegan
#243
_VISITCOMMUNITY
England - North East, United Kingdom
Joined: March 21, 2008
KitMaker: 996 posts
AeroScale: 915 posts
Posted: Sunday, September 01, 2013 - 10:39 AM UTC
Change of plan, still Airfix but a 1/48 scale Hawker Fury Mk1 building mainly oob and in the 43 Sqn colours on the box front


First job wash all parts in warm soapy water, rinse and allow to dry. Next job, find some RR Kestrel pictures.
JPTRR
Staff MemberManaging Editor
RAILROAD MODELING
#051
_VISITCOMMUNITY
Tennessee, United States
Joined: December 21, 2002
KitMaker: 7,772 posts
AeroScale: 3,175 posts
Posted: Sunday, September 01, 2013 - 04:11 PM UTC
Andrew,

I look forward to this build.

Do you know if this is an original Airfix kit or a rebox of the Pyro model?
DaveCox
_VISITCOMMUNITY
England - South East, United Kingdom
Joined: January 11, 2003
KitMaker: 4,307 posts
AeroScale: 272 posts
Posted: Sunday, September 01, 2013 - 05:49 PM UTC

Quoted Text

Andrew,

Do you know if this is an original Airfix kit or a rebox of the Pyro model?


Airfix original. When it was first released (1970/80s) it was reckoned to be one of the best biplane kits on the market.
amegan
#243
_VISITCOMMUNITY
England - North East, United Kingdom
Joined: March 21, 2008
KitMaker: 996 posts
AeroScale: 915 posts
Posted: Thursday, September 12, 2013 - 08:15 PM UTC
Starting as per instructions with the engine. This is somewhat basic so I will be doing some enhancement. Pictures of the Kestrel engine in Haker installations aren't too hard to find


I would have liked to leave the prop off but I don't think it is practical.
The kit mounting in the fuselage is not very scale, can try to improve it but it will never be right as the construction of the kit uses the bottom oof the fuselage to support the engine, on the real thing this is a lower cowling and the engine mount is a tubular structure mounted on the firewall.
Cockpit detail is very sparse, need some Fury 'pit pics to spice it up a little. I
amegan
#243
_VISITCOMMUNITY
England - North East, United Kingdom
Joined: March 21, 2008
KitMaker: 996 posts
AeroScale: 915 posts
Posted: Tuesday, September 24, 2013 - 03:45 AM UTC
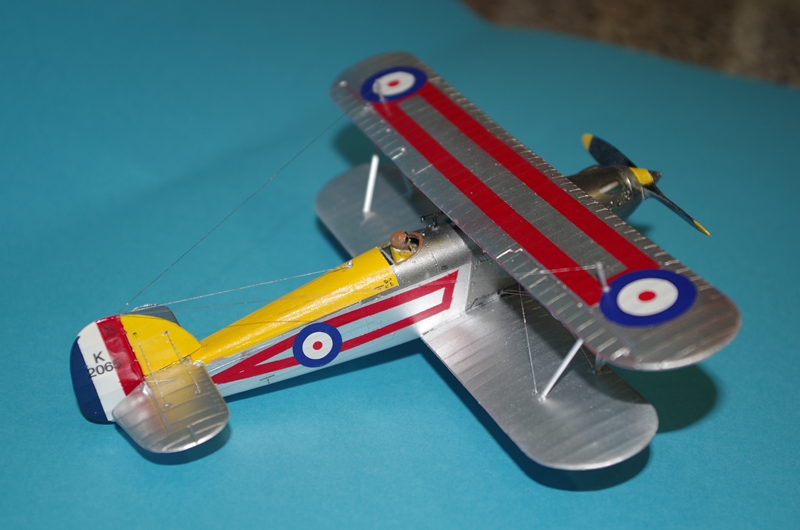
Another update on the Fury

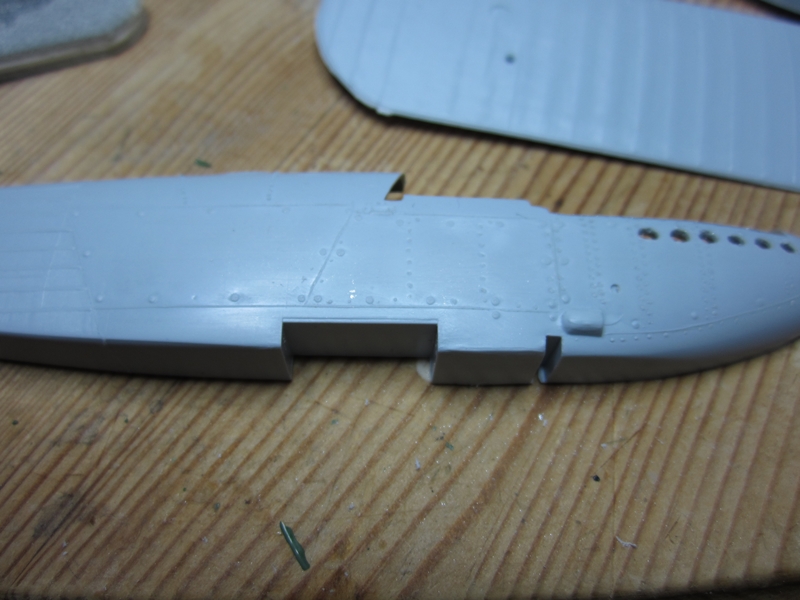
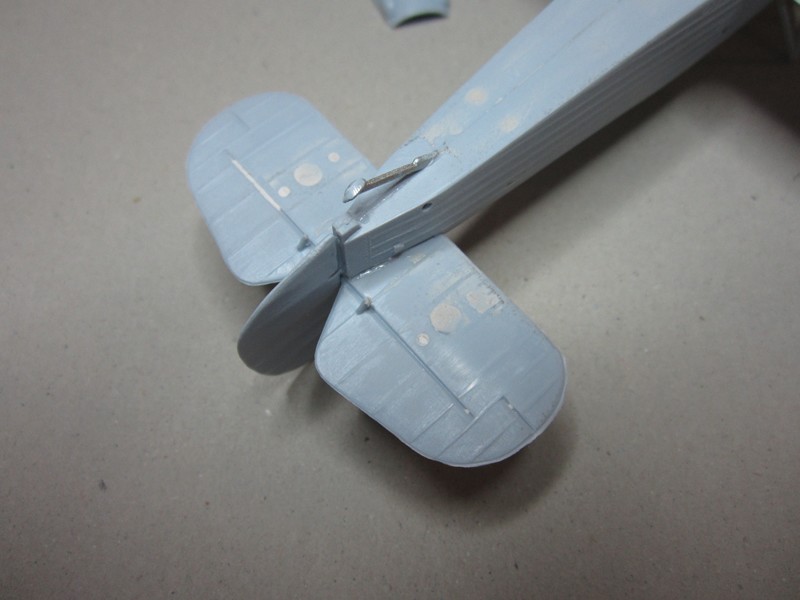
Moulding defect a plenty to make good in this kit

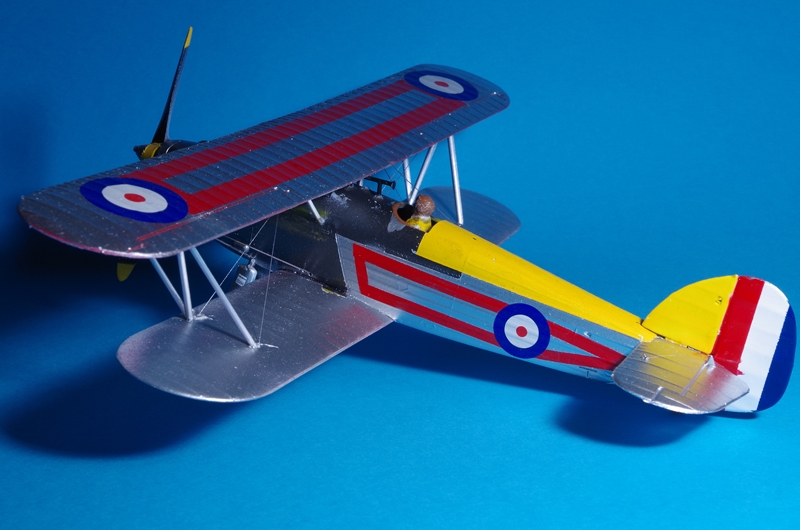
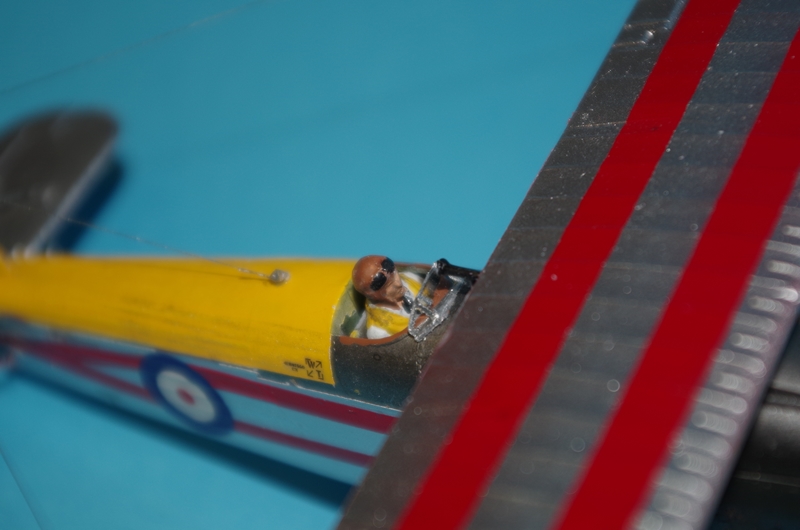
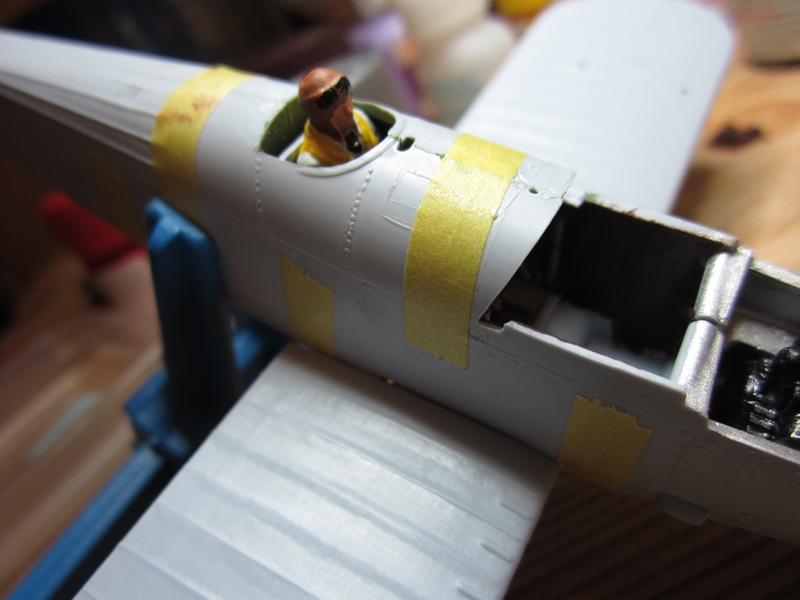
Going to install Biggles, painted to represent the white flying suit often affected by RAF fighter pilots in the early 30s Minimal frame detail added inside the cockpit

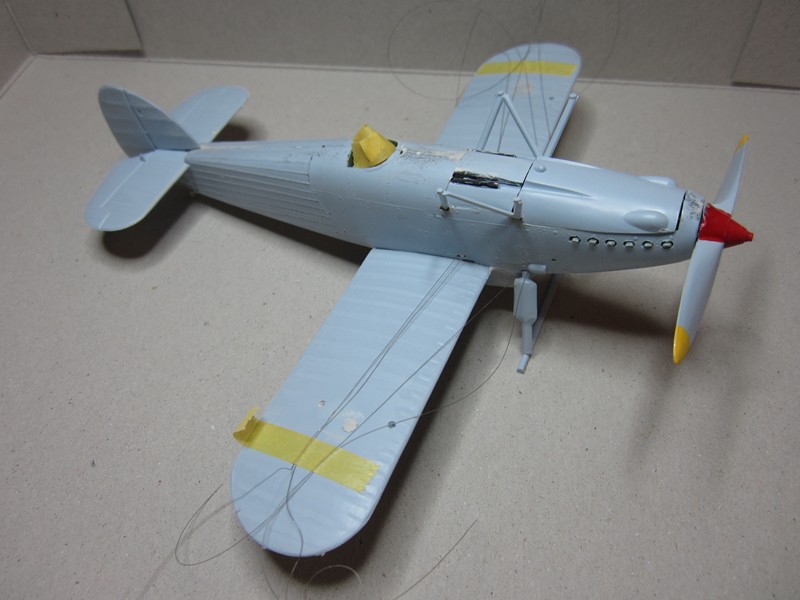
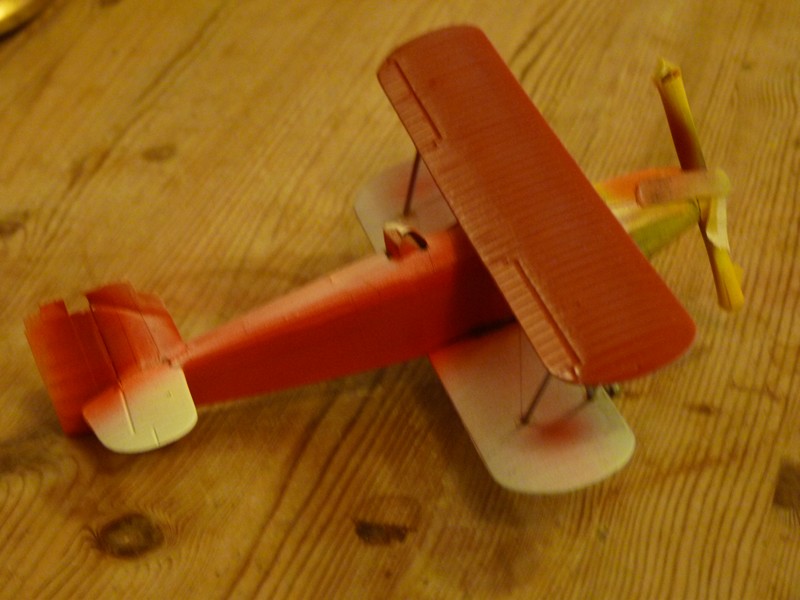
Fuselage assembly, fits look OK, wing dry fitted to help hold the fus together

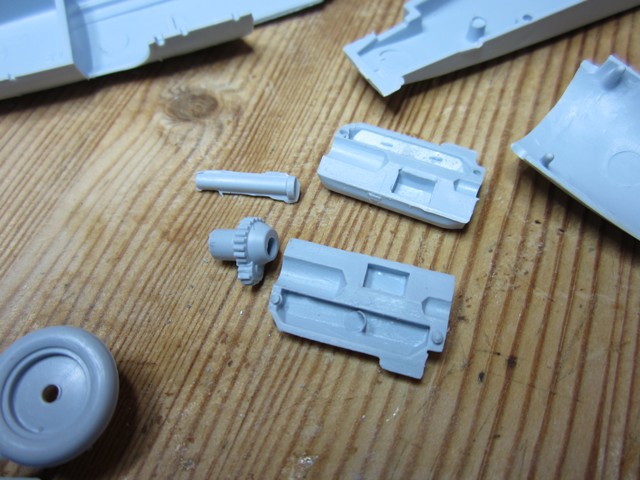
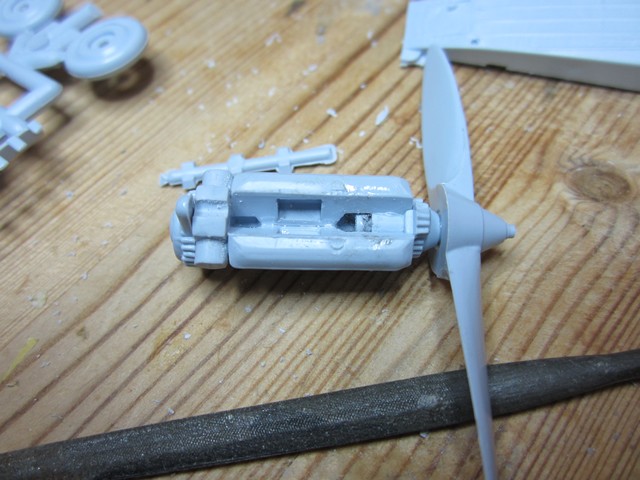
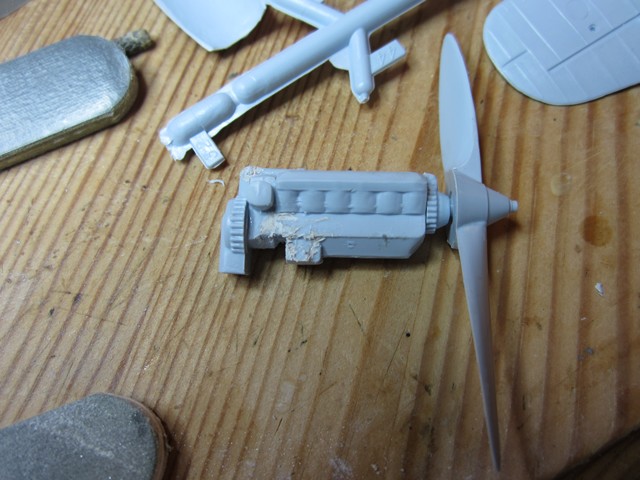
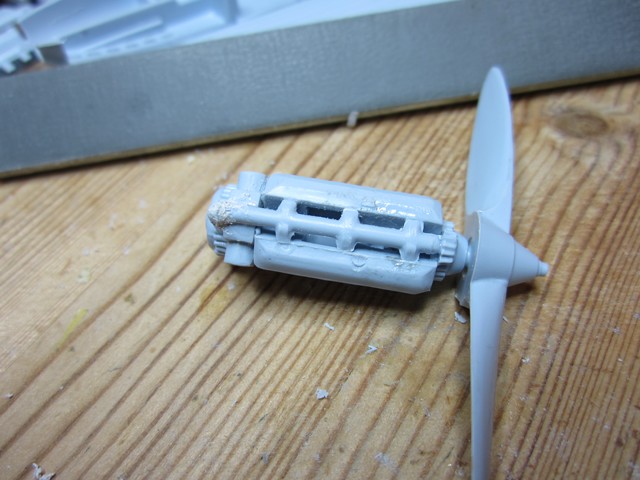
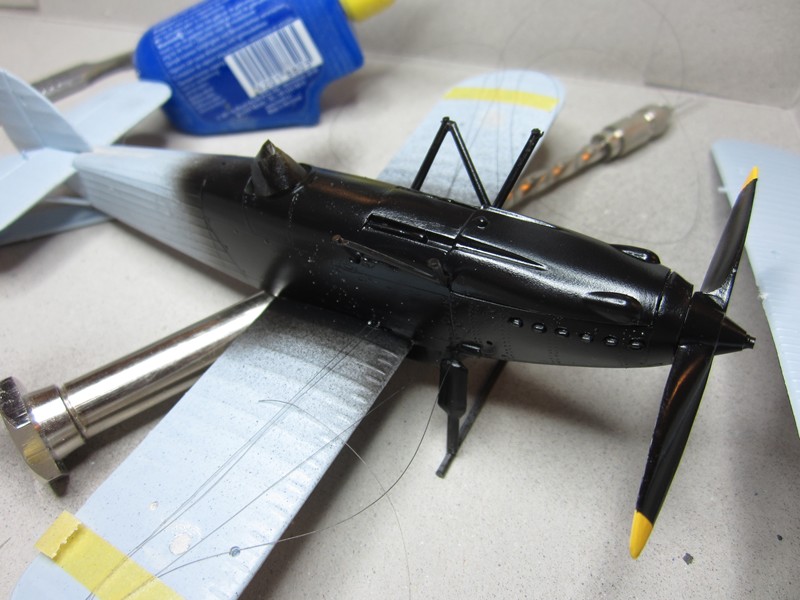
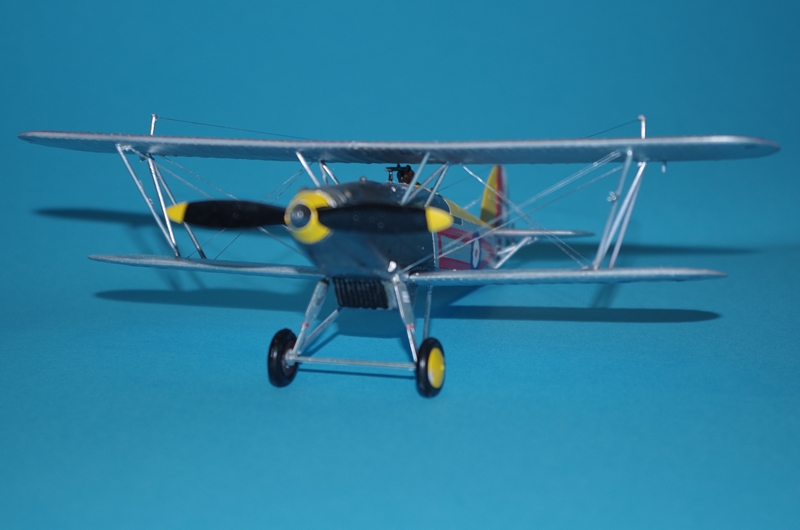
Engine bay detail and kit construction precludes detailing the engine. Should have a visible tubular engine mount but the engine bay mouldings take up the space where it should go

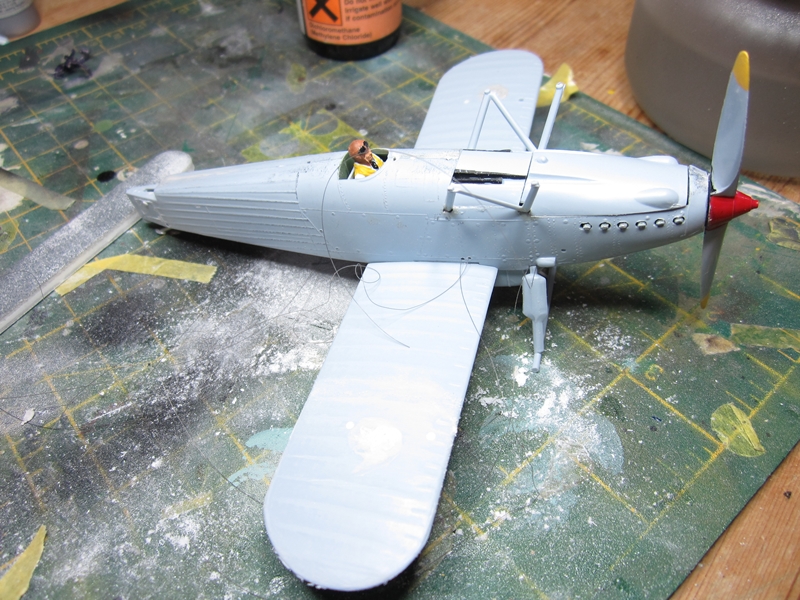
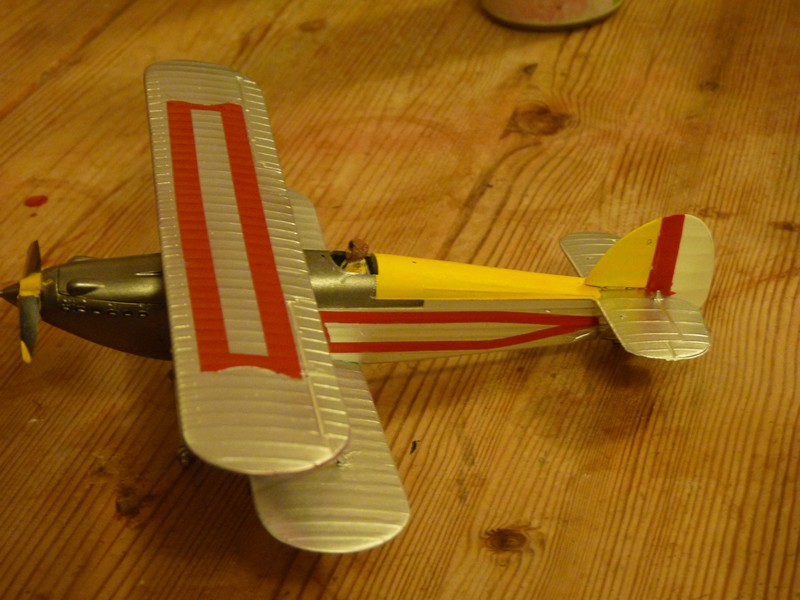
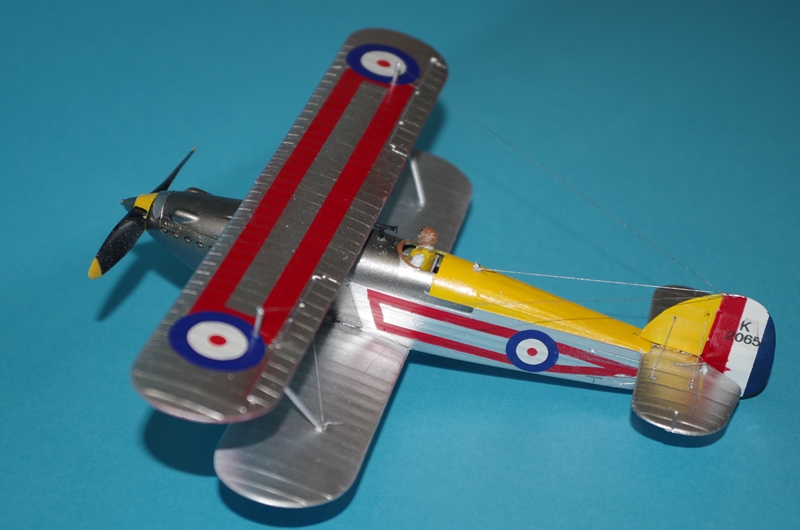
Cabane,upper fuselage and undercarriage front legs assembled, fuselage drilled for lift wires and wire installed. The forward set are laid into the undercarriage groove, temporarily secured with cyano then the u/c fitted. Lift wires are doubled. RAF machines had streamline wires and no turnbuckles, I can't model the attachment brackets, drilling components and securing in the holes is neat at least


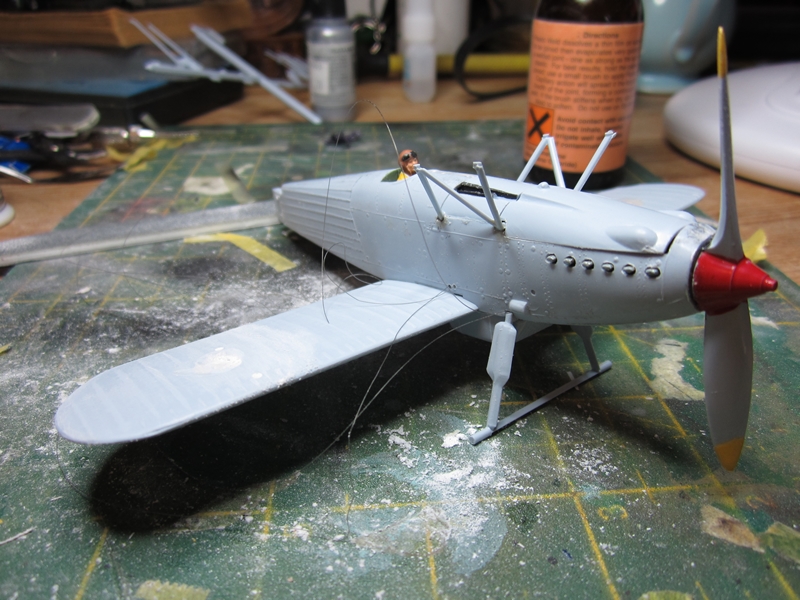
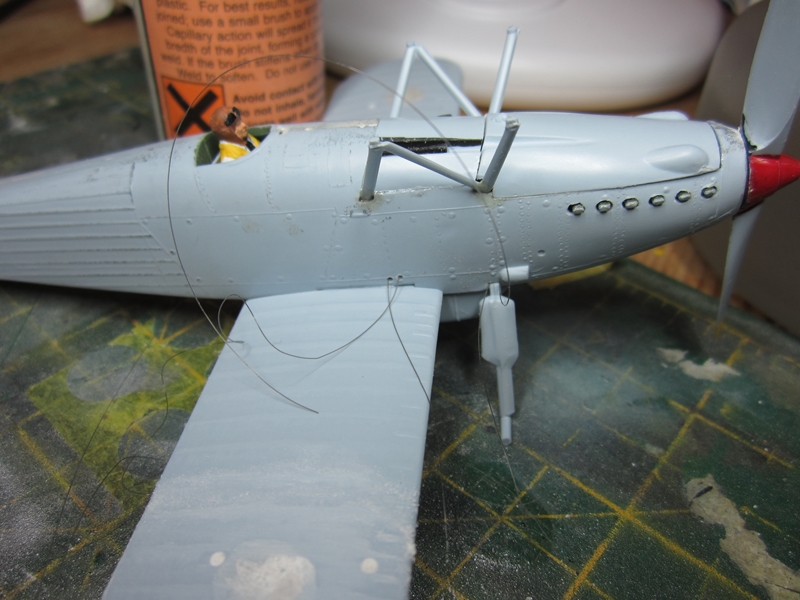
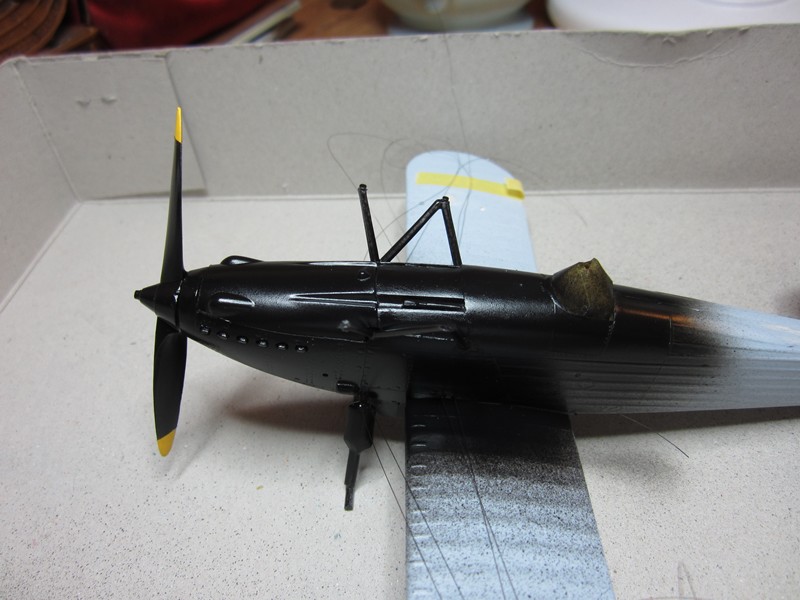
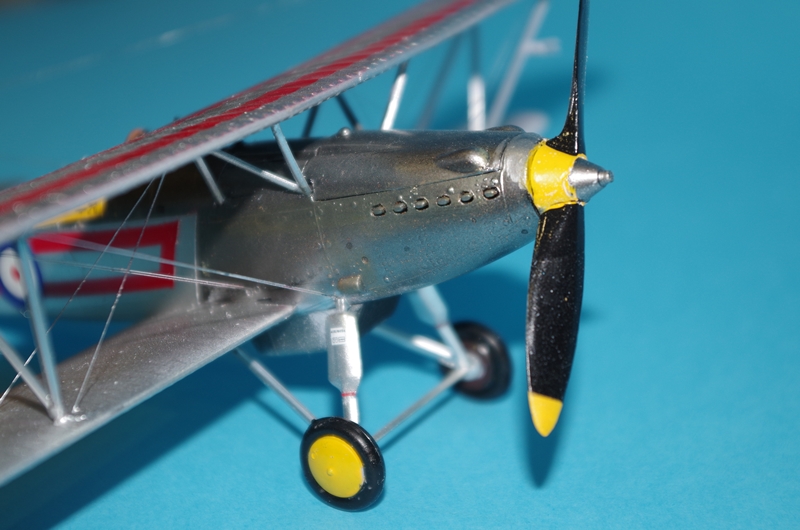
With and without cowling


Not too much filling. Most detail is too pronounced, this has already been reduced. Planning the all silver scheme with NMF forward fuselage.
Kit so far lacks detail but fits are good and cabane arrangement should make fitting the upper wing easy
Jessie_C
_VISITCOMMUNITY
British Columbia, Canada
Joined: September 03, 2009
KitMaker: 6,965 posts
AeroScale: 6,247 posts
Posted: Tuesday, September 24, 2013 - 01:20 PM UTC
Nice to see this one still going strong. What squadron will it be?
amegan
#243
_VISITCOMMUNITY
England - North East, United Kingdom
Joined: March 21, 2008
KitMaker: 996 posts
AeroScale: 915 posts
Posted: Wednesday, September 25, 2013 - 01:15 AM UTC
I like the kit decals for 43 Sqn, but I am leaning towards C flight No 1 Sqn, but I'll have to mask most of the markings and make my own serial numbers, need to check stocks of printable decal sheet.
phantom_phanatic309
#372
_VISITCOMMUNITY
United Kingdom
Joined: March 10, 2010
KitMaker: 2,568 posts
AeroScale: 1,619 posts
Posted: Sunday, September 29, 2013 - 08:54 AM UTC
Looking good. I've been thinking of picking one up so interesting to see one being built up.
Looking foreward to seeing the finished model.
amegan
#243
_VISITCOMMUNITY
England - North East, United Kingdom
Joined: March 21, 2008
KitMaker: 996 posts
AeroScale: 915 posts
Posted: Wednesday, October 02, 2013 - 03:58 AM UTC
A bit more progress this week

This kit suffers a lot from ejector pin marks, most of the mouldings are double sided so they aren't easy to hide. In addition the rear tailplane strut (which controls the tailplane incidence on the real aircraft) was broken in the kit and the slot it runs in was not well defined on the port side. New struts were made. All reaining rigging holes are drilled in wings and tail

All reaining rigging holes are drilled in wings and tail and the pre-run rigging taped out odf the way on the wing tips. Biggles and the propellor tips are masked and a coat of Alclad black laquer shot over the nose.

Black laquer needs polishing before the Aluminium colour coat goes on but I'm going to leave it a week to harden first

I notice the gun grooves in the cowling don't line up, I don't know what I am going to do about that
amegan
#243
_VISITCOMMUNITY
England - North East, United Kingdom
Joined: March 21, 2008
KitMaker: 996 posts
AeroScale: 915 posts
Posted: Sunday, October 27, 2013 - 10:31 PM UTC
Work on the Fury has been progressing, since the last post the NMF has been done, the the NMF masked and the rear fuselage and fin painted yellow, then masked. The top wing was fitted and the rigging completed for the wings then the was masked and the rear fuslage sides,then the rudder at the hinge side and the upper wing painted Vallejo Ferrari red (then repainted Tamiya Gloss red 'cos I didn't like the Vallejo colour or sheen). The red stripes were masked and the entire aircraft painted Vallejo Silver. Stripped all the masking and hey presto! Generally happy with the masking, virtually no touching in needed apart from the prop. These pics are where the Fury is up to now, I have a few more of earlier stages on a different camera I will post later.


JackFlash
_VISITCOMMUNITY
Colorado, United States
Joined: January 25, 2004
KitMaker: 11,669 posts
AeroScale: 11,011 posts
Posted: Monday, October 28, 2013 - 04:09 AM UTC
Nice layering of the colours.
amegan
#243
_VISITCOMMUNITY
England - North East, United Kingdom
Joined: March 21, 2008
KitMaker: 996 posts
AeroScale: 915 posts
Posted: Sunday, November 24, 2013 - 12:07 PM UTC
Been on holiday for a couple of weeks but this work was done before I went.


Jessie_C
_VISITCOMMUNITY
British Columbia, Canada
Joined: September 03, 2009
KitMaker: 6,965 posts
AeroScale: 6,247 posts
Posted: Sunday, November 24, 2013 - 01:35 PM UTC
That's delightfully bright!
amegan
#243
_VISITCOMMUNITY
England - North East, United Kingdom
Joined: March 21, 2008
KitMaker: 996 posts
AeroScale: 915 posts
Posted: Monday, November 25, 2013 - 11:37 AM UTC
Hi Jessie, your idea to go for a different aircraft to the 43 Sqn aircraft in the kit. No 1 Sqn B flight commander. Having trouble doing the serial numbers. Found a small piece of plain decal paper, will try that
JackFlash
_VISITCOMMUNITY
Colorado, United States
Joined: January 25, 2004
KitMaker: 11,669 posts
AeroScale: 11,011 posts
Posted: Monday, November 25, 2013 - 02:02 PM UTC
Glad to see you almost to the finish line!
amegan
#243
_VISITCOMMUNITY
England - North East, United Kingdom
Joined: March 21, 2008
KitMaker: 996 posts
AeroScale: 915 posts
Posted: Sunday, December 15, 2013 - 12:09 PM UTC
Fury finished.
This kit is one I should have built two of. the first to show me where to improve the techniques and work. I feel I made a better job of the I-15, and having reviewed it there are a couple of lessons I had learned that I fogot on this one. The Airfix kit really overstates the wing ribs, I should have rubbed down more but I was unsure how far to go.


JackFlash
_VISITCOMMUNITY
Colorado, United States
Joined: January 25, 2004
KitMaker: 11,669 posts
AeroScale: 11,011 posts
Posted: Sunday, December 15, 2013 - 12:12 PM UTC
Thank you Andrew for the fine effort in this venerable older kit.
thegirl
_VISITCOMMUNITY
Alberta, Canada
Joined: January 19, 2008
KitMaker: 6,743 posts
AeroScale: 6,151 posts
Posted: Sunday, December 15, 2013 - 01:14 PM UTC
Very nicely done Andrew


Terri
amegan
#243
_VISITCOMMUNITY
England - North East, United Kingdom
Joined: March 21, 2008
KitMaker: 996 posts
AeroScale: 915 posts
Posted: Monday, December 16, 2013 - 10:52 AM UTC
Thanks Terri, nice to hear from you again
phantom_phanatic309
#372
_VISITCOMMUNITY
United Kingdom
Joined: March 10, 2010
KitMaker: 2,568 posts
AeroScale: 1,619 posts
Posted: Tuesday, December 17, 2013 - 10:45 AM UTC
Great looking model. You've got to love those inter-war RAF markings!
 _GOTOTOP