_GOTOBOTTOM
Modern (1975-today)
Discuss the modern aircraft age from 1975 thru today.
RCAF Hawk 115 1/32 Kinetic kit
Jessie_C
_VISITCOMMUNITY
British Columbia, Canada
Joined: September 03, 2009
KitMaker: 6,965 posts
AeroScale: 6,247 posts
Posted: Sunday, September 08, 2013 - 08:28 AM UTC
I am remiss. I owe Kinetic a build log for their generosity in supplying this review kit. I should have been blogging this build as I went along so now I'll have to play catch-up.


Here's the beginning post, just after I splashed a little Neutral Grey about over the cockpit bits. The paint is still wet in the pictures. Once it's dry, on to painting the details.


Jessie_C
_VISITCOMMUNITY
British Columbia, Canada
Joined: September 03, 2009
KitMaker: 6,965 posts
AeroScale: 6,247 posts
Posted: Sunday, September 08, 2013 - 08:28 AM UTC
While waiting for the paint to dry I indulged myself in subassemblies.

The sprue gates on the bang seats are very inconveniently placed.

They need very careful cleanup.

Another poor sprue gate is the one in the flap recess. Once more, cleanup must be done with extreme caution.

There, subassemblies galore
Jessie_C
_VISITCOMMUNITY
British Columbia, Canada
Joined: September 03, 2009
KitMaker: 6,965 posts
AeroScale: 6,247 posts
Posted: Sunday, September 08, 2013 - 08:29 AM UTC
More subassemblies. The intakes in white primer

Instrument panels with the first bits of black on them

And the cockpit tub with its black
Jessie_C
_VISITCOMMUNITY
British Columbia, Canada
Joined: September 03, 2009
KitMaker: 6,965 posts
AeroScale: 6,247 posts
Posted: Sunday, September 08, 2013 - 08:29 AM UTC
I've done some drybrushing in the cockpit


And a quick test fit
Jessie_C
_VISITCOMMUNITY
British Columbia, Canada
Joined: September 03, 2009
KitMaker: 6,965 posts
AeroScale: 6,247 posts
Posted: Sunday, September 08, 2013 - 08:31 AM UTC
I've been doing more cockpit work in the Hawk, plus a few other things.

The bang seats have their preliminary paint and drybrushing done

I tried to portray a slight amount of wear on the edges

The seat belts have their base colours on

A bit of a wash and brush-up in the cockpit. The flash washed out most of the wear I drybrushed onto the floor


Now on to other parts of the Hawk's anatomy. The intake and turbine fans with a dark wash and polish respectively

The business end of the jet pipe, plus just a sliver of the zinc chromate painted on the interior of the fuselage showing which is exactly what I wanted to happen here.
Jessie_C
_VISITCOMMUNITY
British Columbia, Canada
Joined: September 03, 2009
KitMaker: 6,965 posts
AeroScale: 6,247 posts
Posted: Sunday, September 08, 2013 - 08:32 AM UTC
I'm not very thrilled about the bang seats' firing handles and I really hate trying to paint the yellow and black spirals.

I'm going to solve this little problem by borrowing Drabslab's thread technique and modify it a little bit. Since I haven't got a button, I'll need something else. First, the thread

Then instead of a button, I used my Vice-grips, dangled them from the thread and spun them for a few minutes while the threads wrapped together.

I clipped the plastic firing hoops off

Drilled a pair of holes

Superglued in a loop of the twisted thread, et voilà! Instant bang seat firing handles, no fussy painting required!
Jessie_C
_VISITCOMMUNITY
British Columbia, Canada
Joined: September 03, 2009
KitMaker: 6,965 posts
AeroScale: 6,247 posts
Posted: Sunday, September 08, 2013 - 08:33 AM UTC
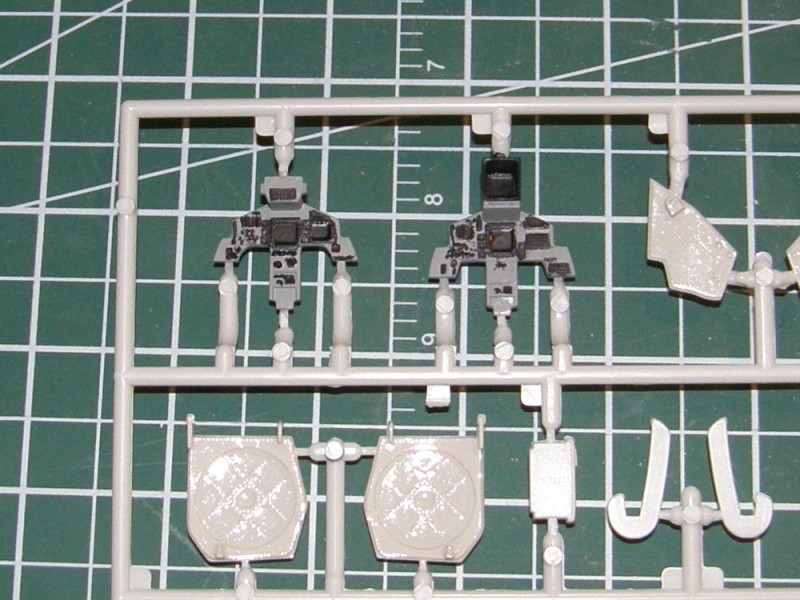
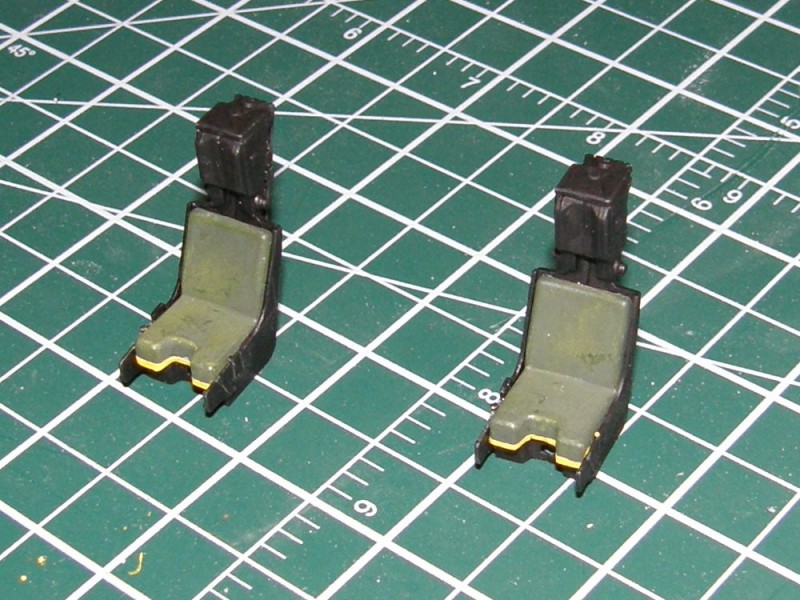
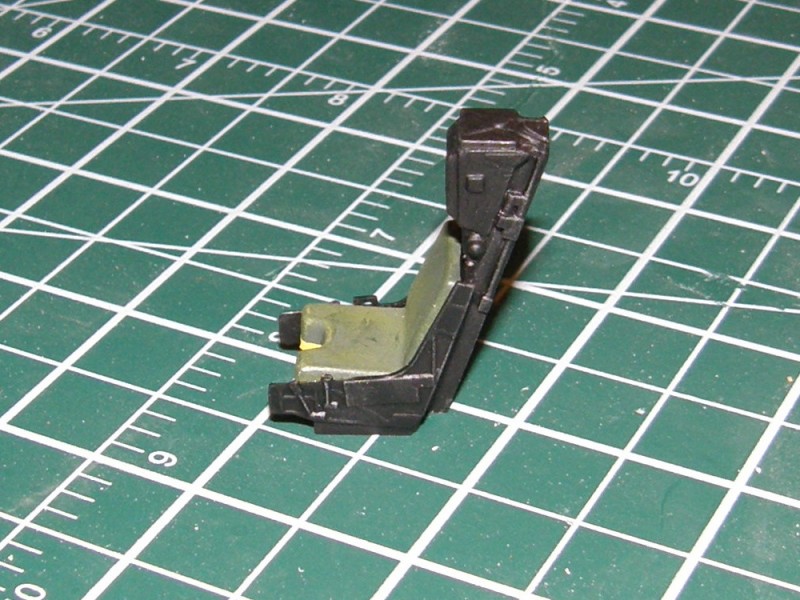
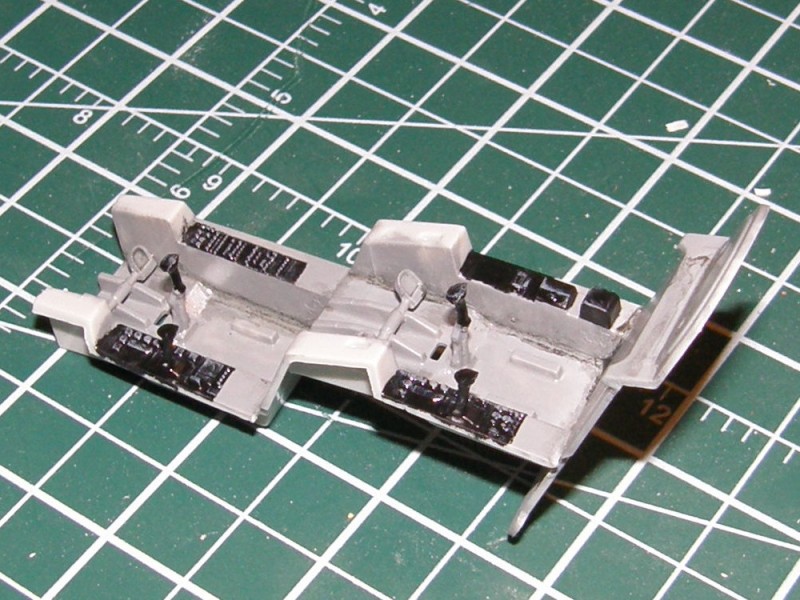
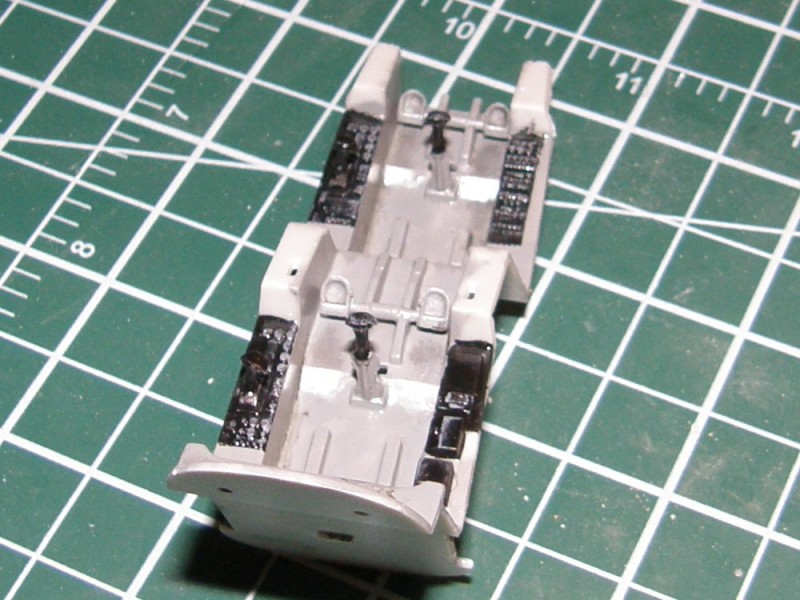
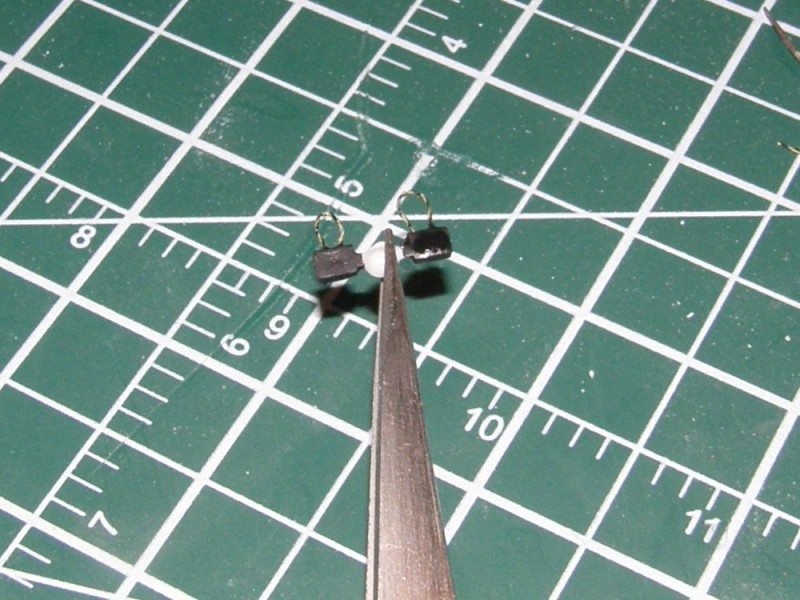
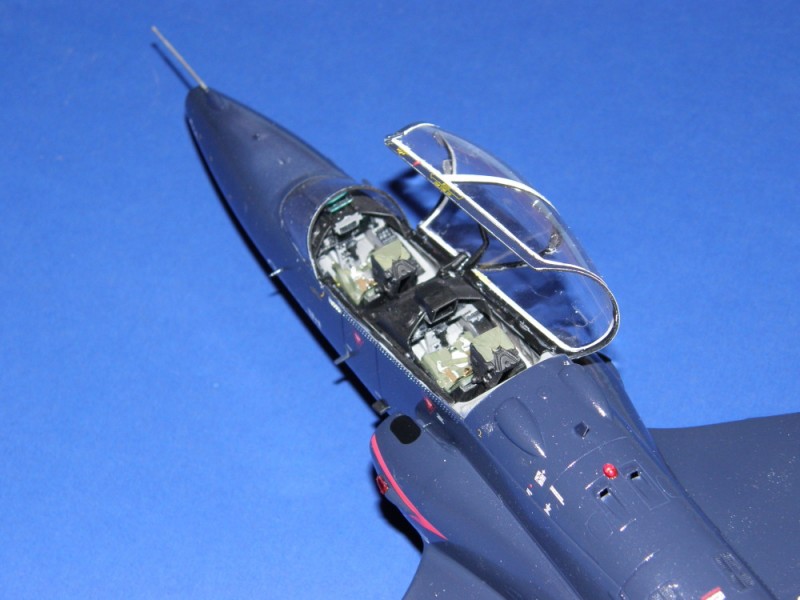
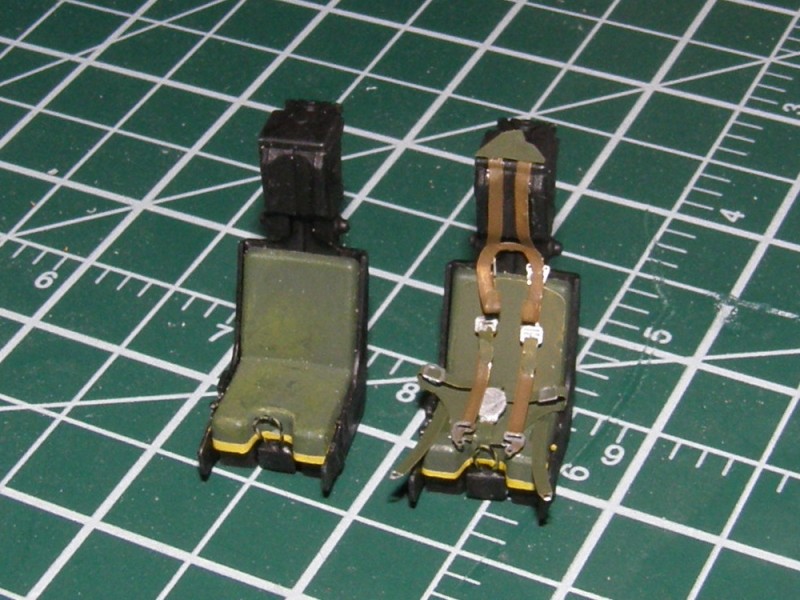
The seat looks much better with seat belts on it

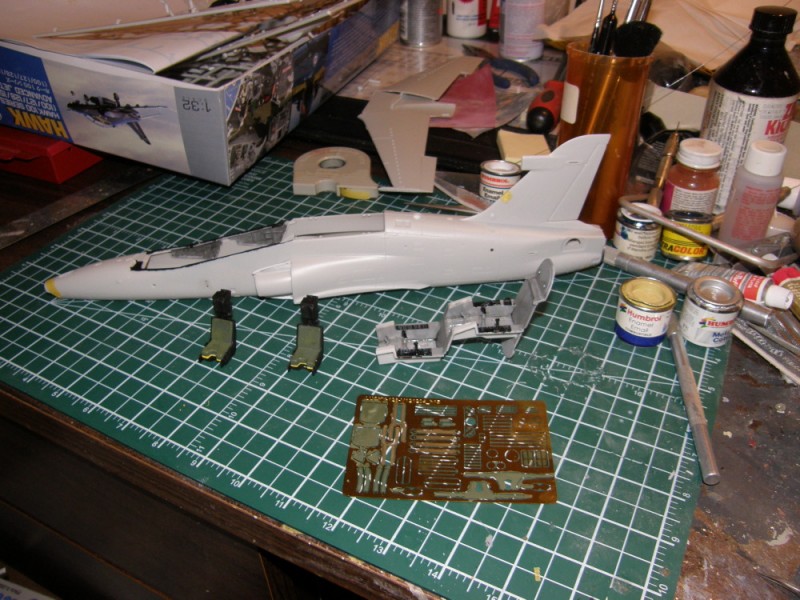
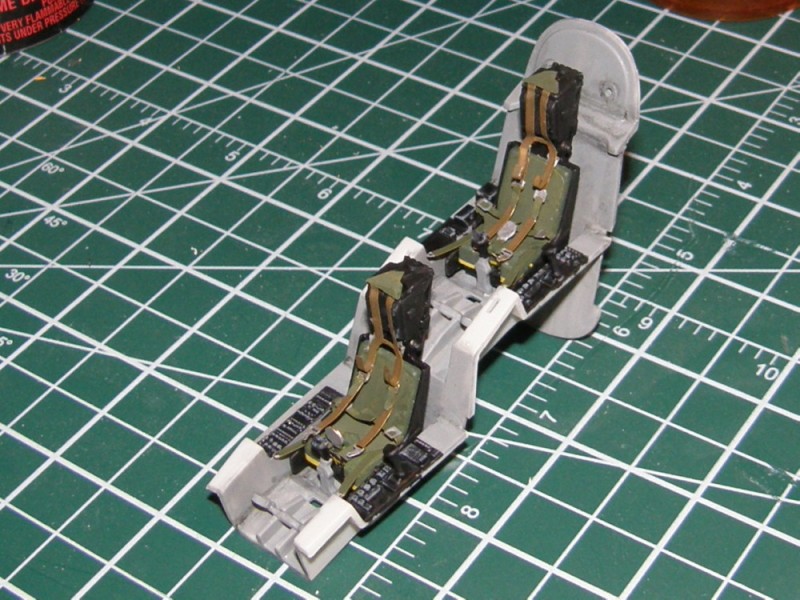
And a quick test fit in the cockpit to see how they look

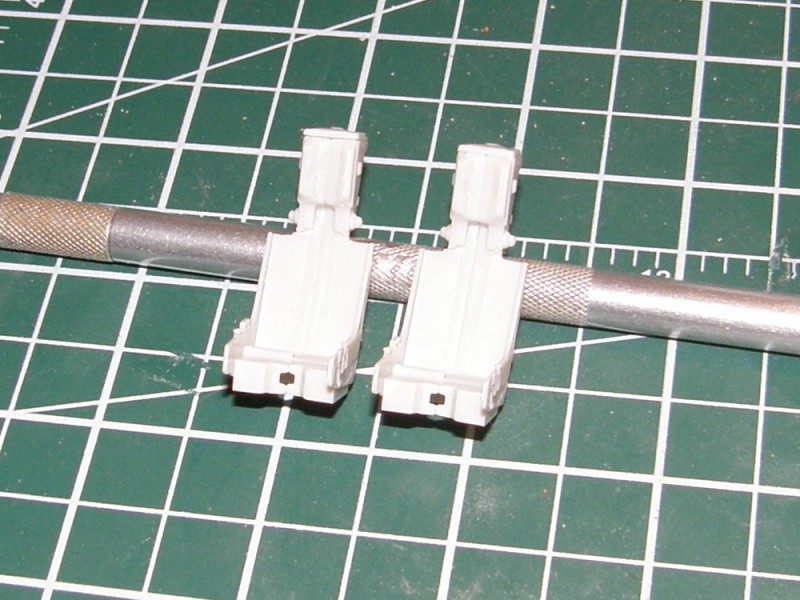
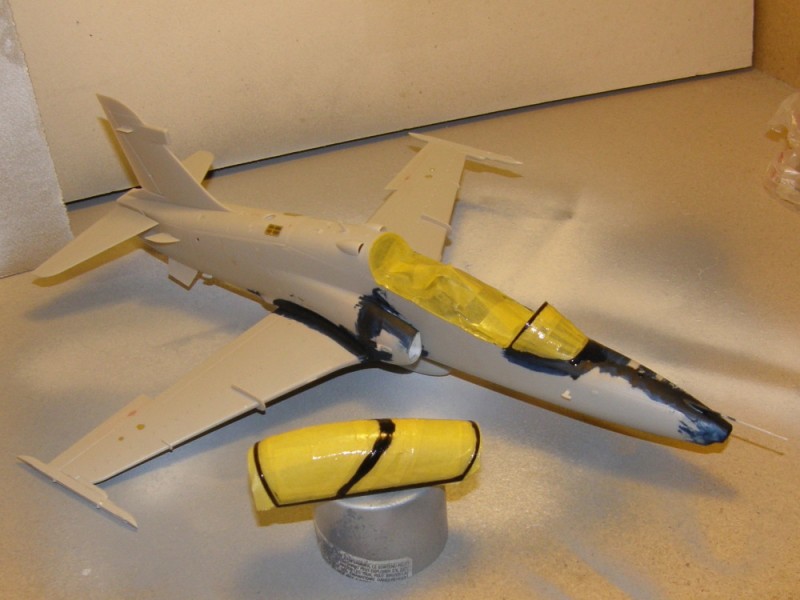
I have a cunning plan to deal with the intakes. Here it is.
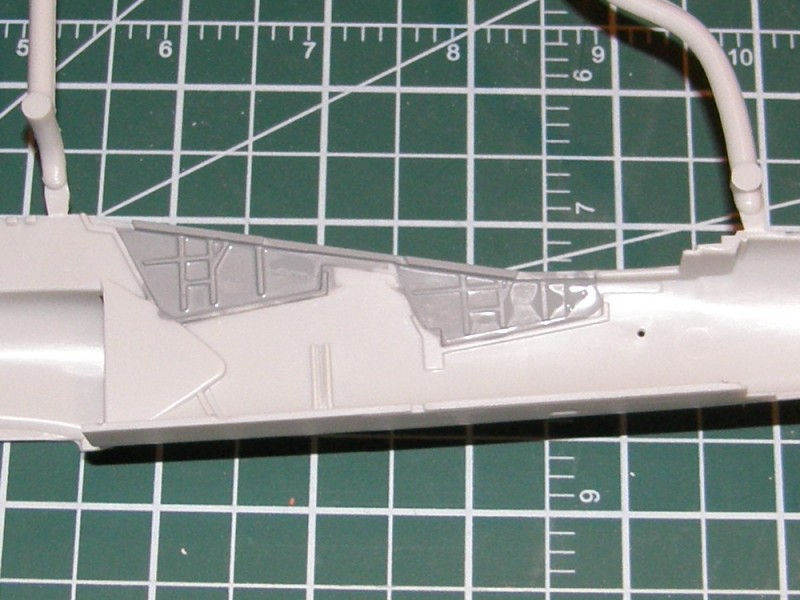
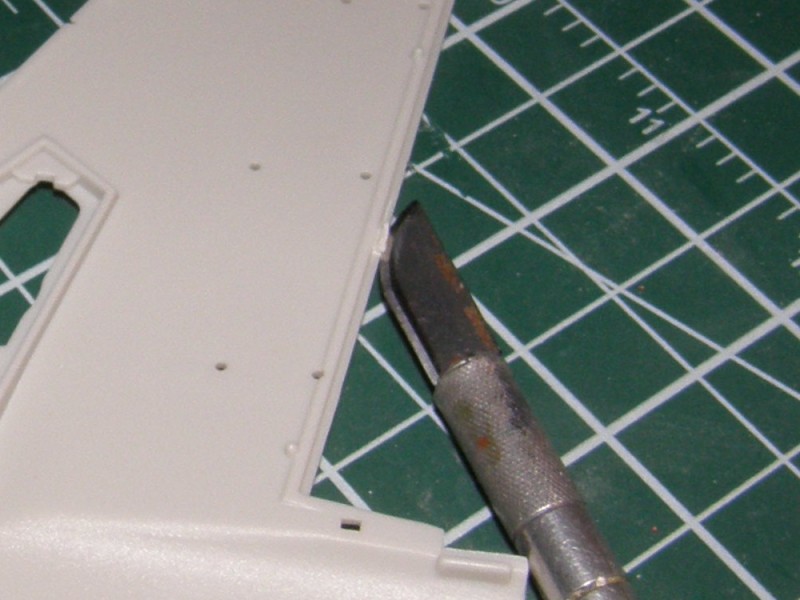
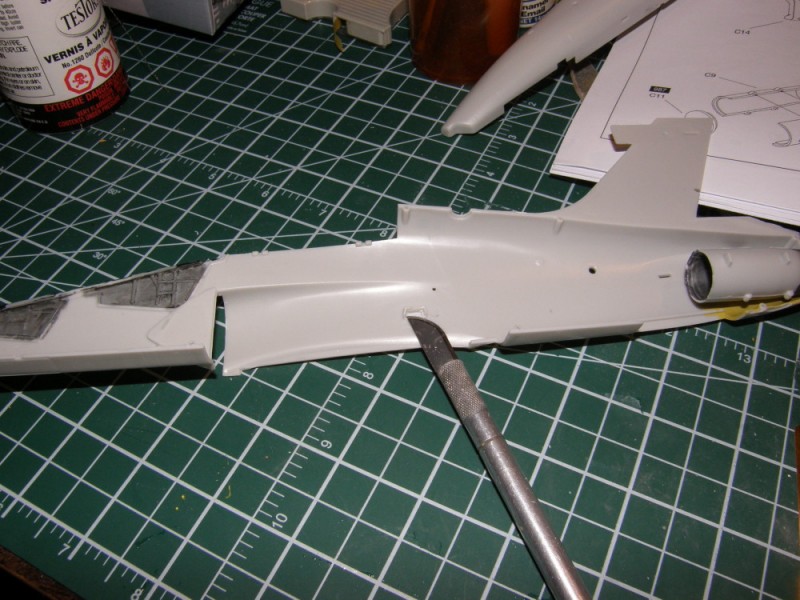
First, chisel out the bottom of the rear intake mounts on the fuselage sides

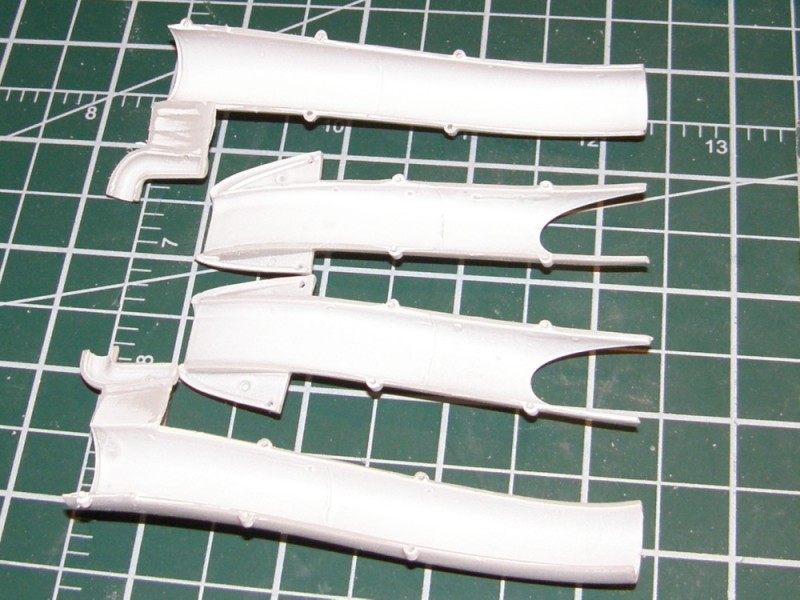
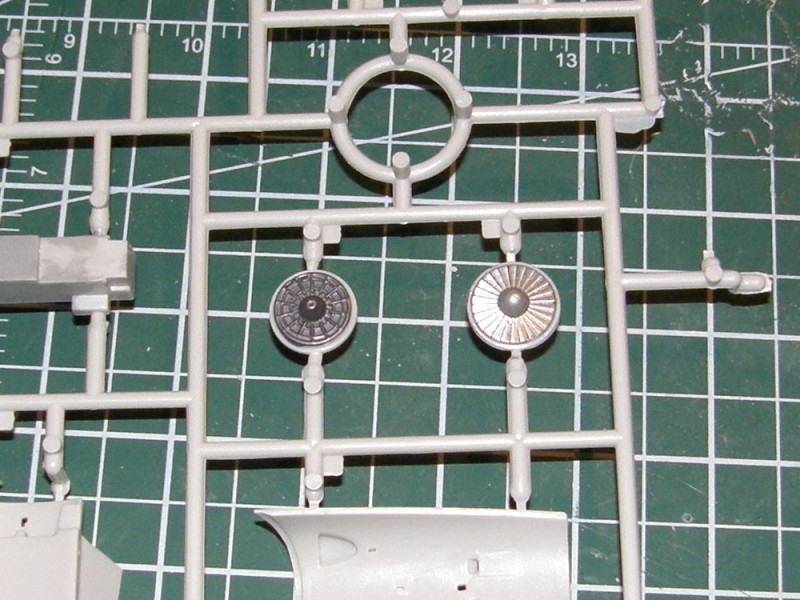
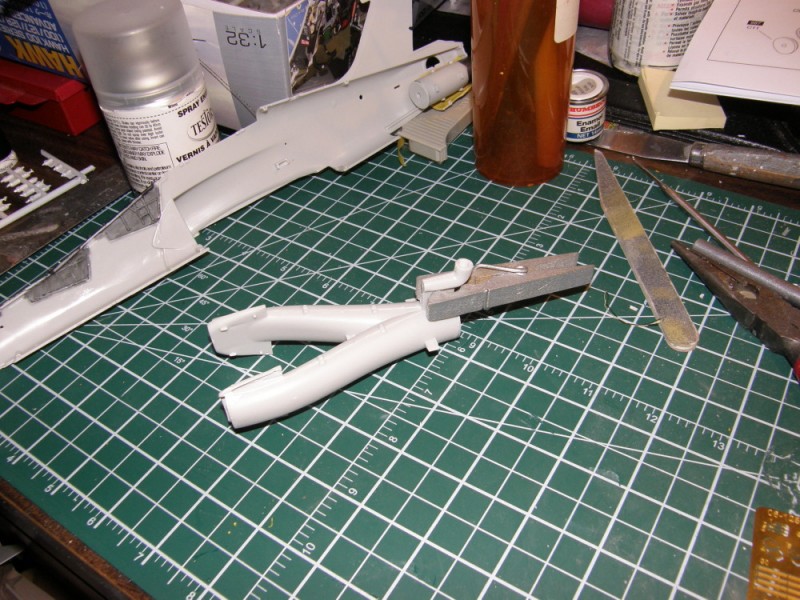
Glue the intake halves together, making sure to remember to glue on the intake fan, then deal with the seam inside the upper exhaust vent

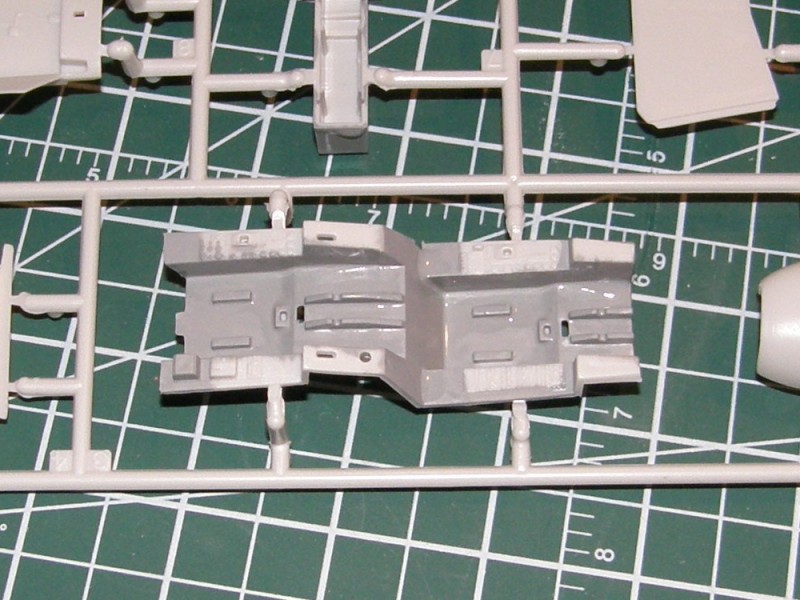
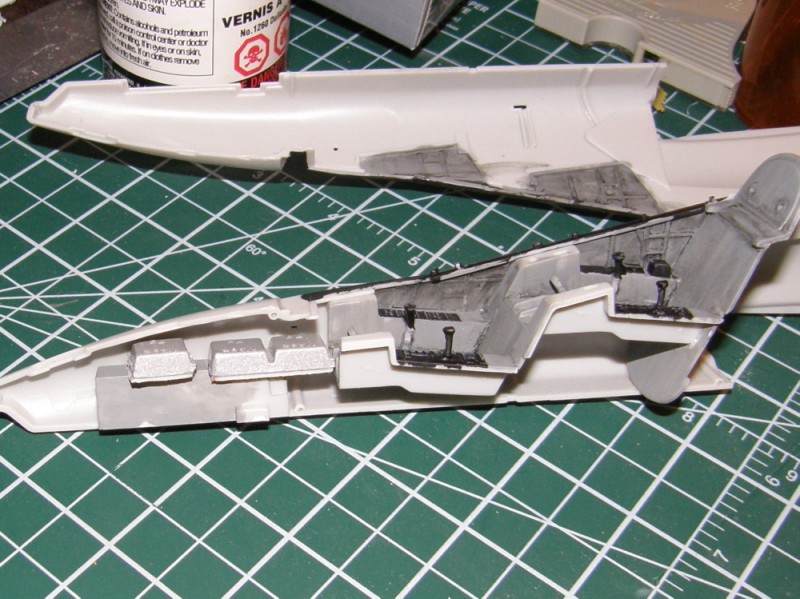
Now a quick digression to make sure all the other things which have to go inside the fuselage are all glued in. Add 21 g of nose weight, just because

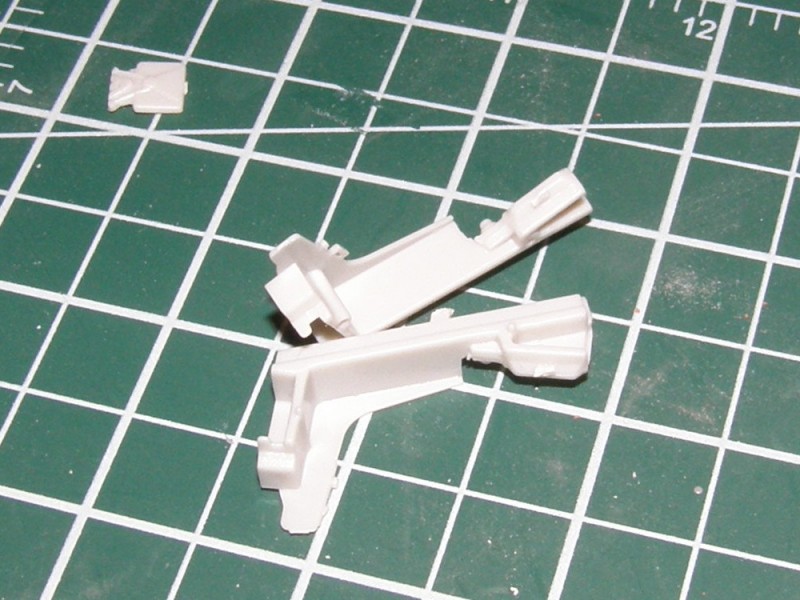
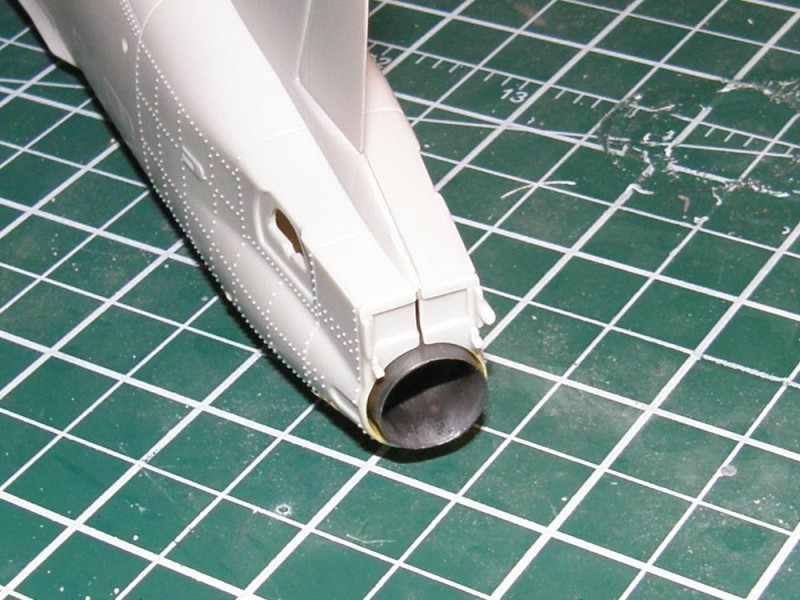
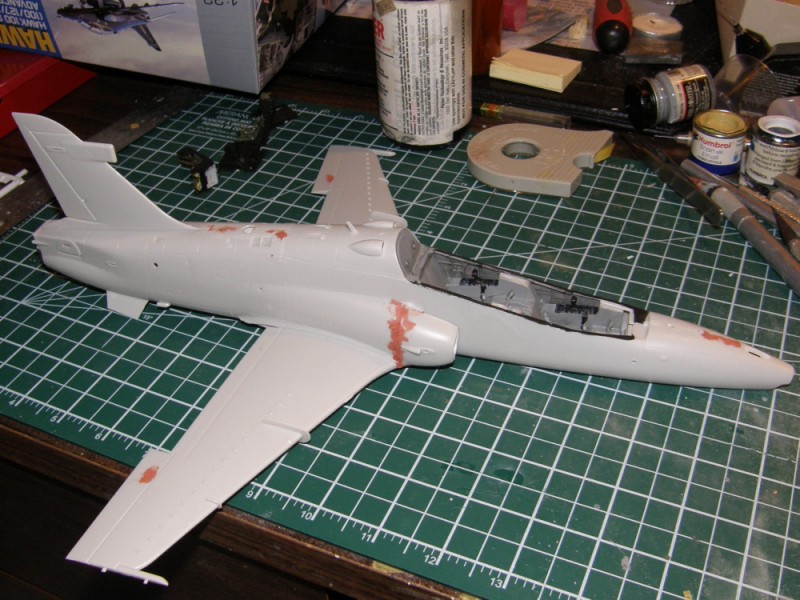
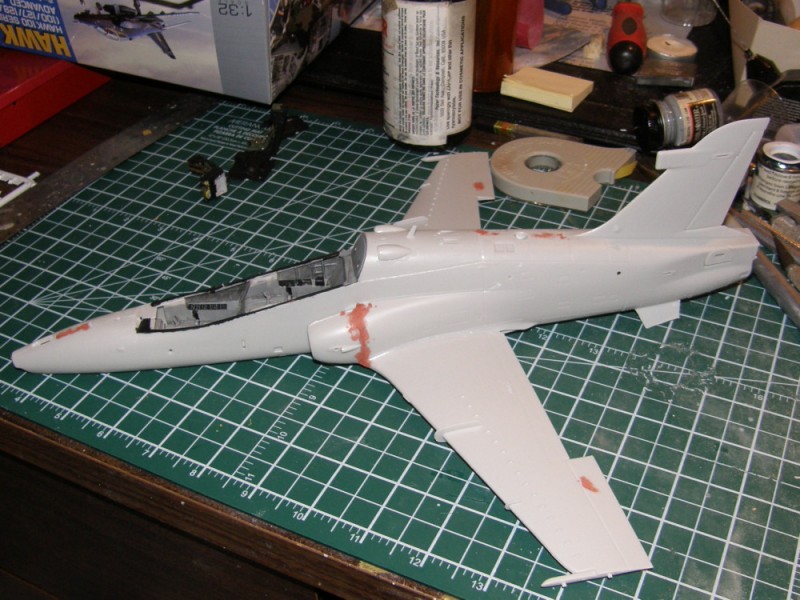
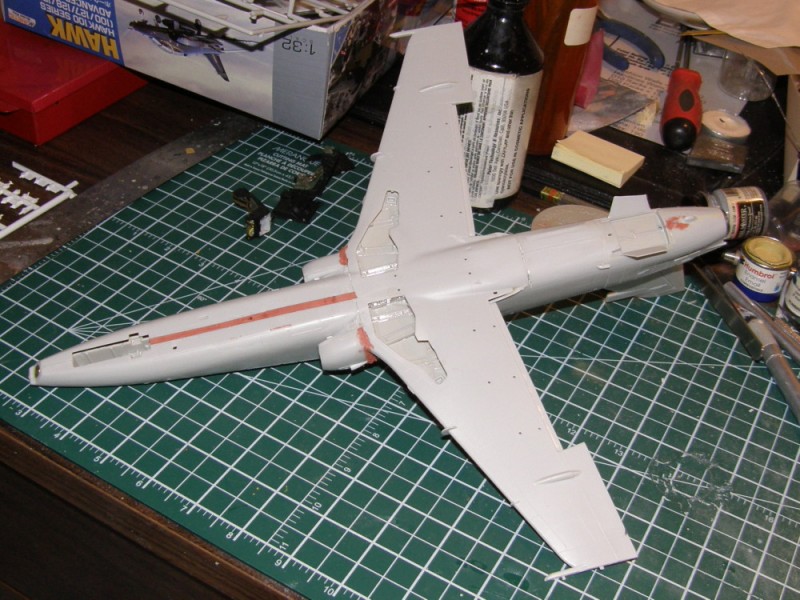
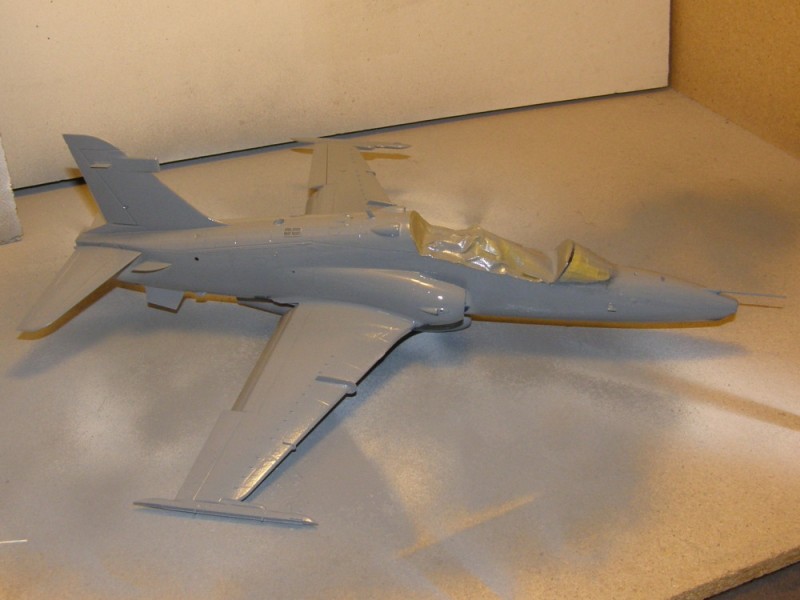
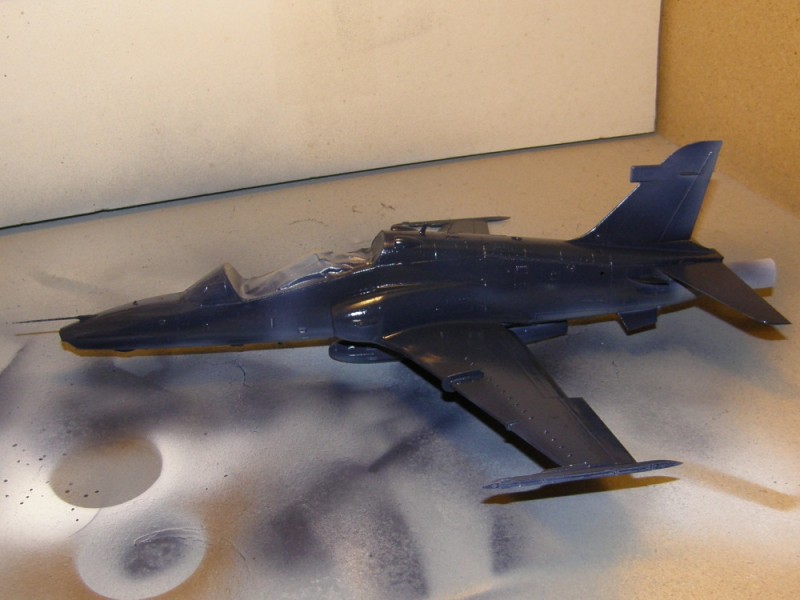
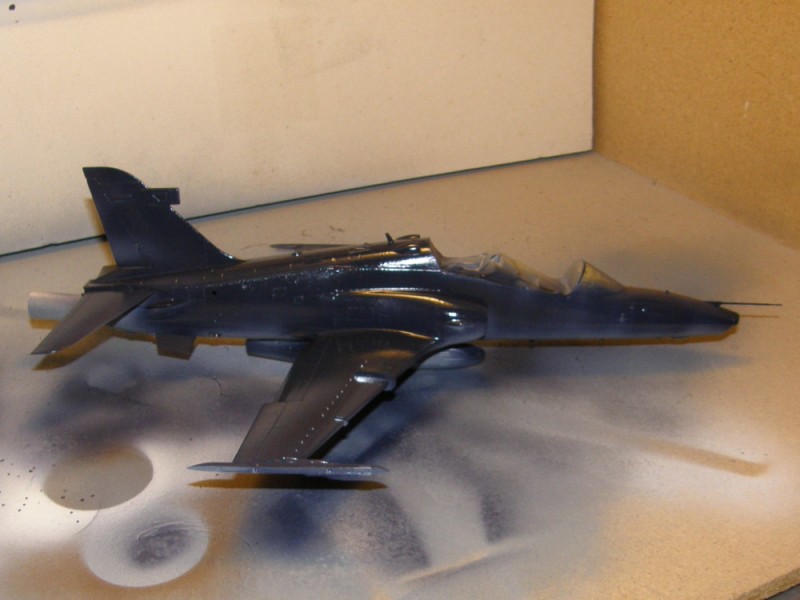
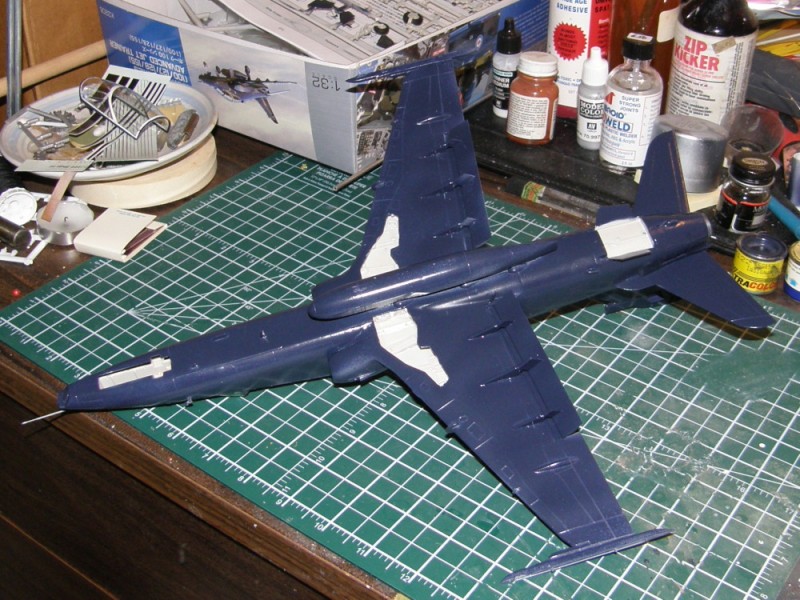
Then once the fuselage is nicely buttoned up, it's time to deal with those intakes. Drop the rear inside the fuselage

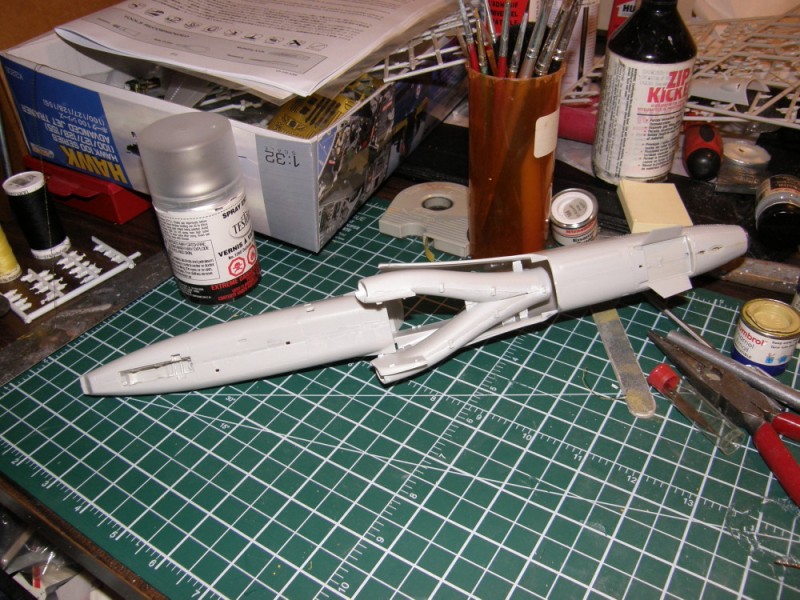
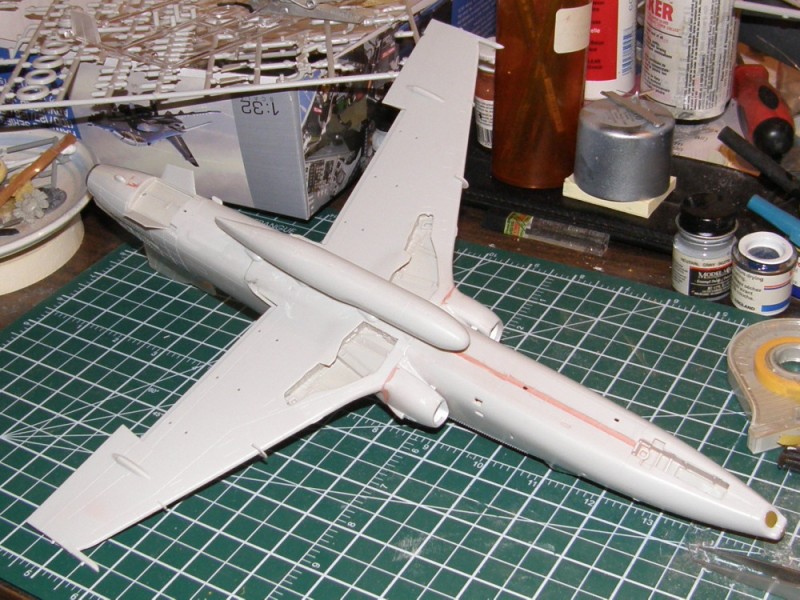
Then carefully shoehorn the intakes into their mounting holes on the fuselage sides. They'll snap into position with a little persuasion

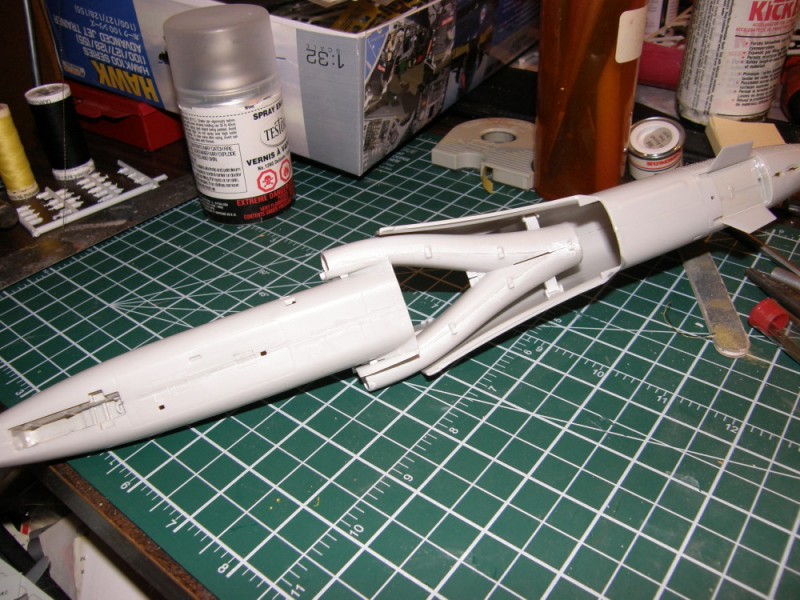
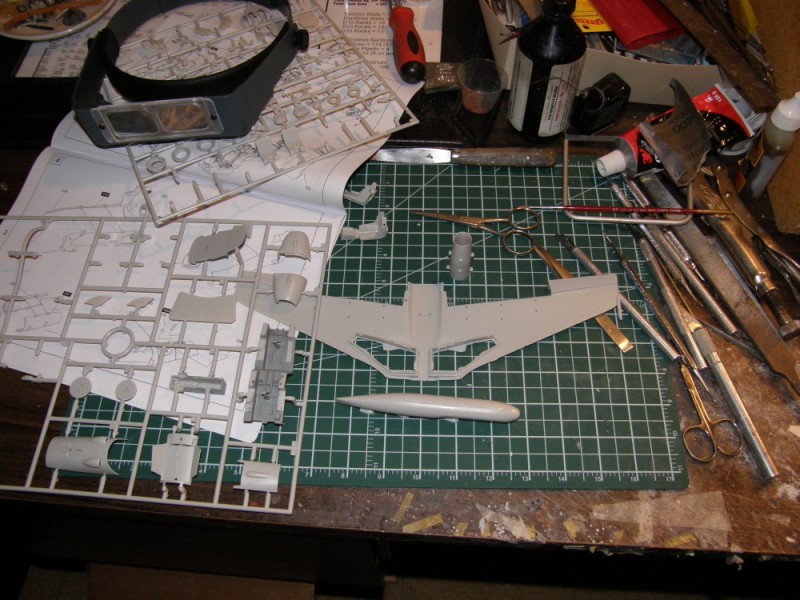
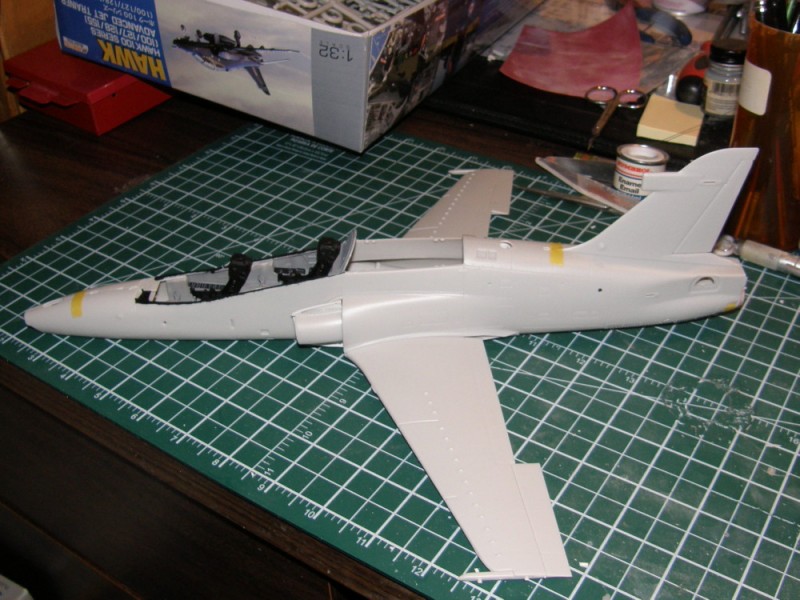
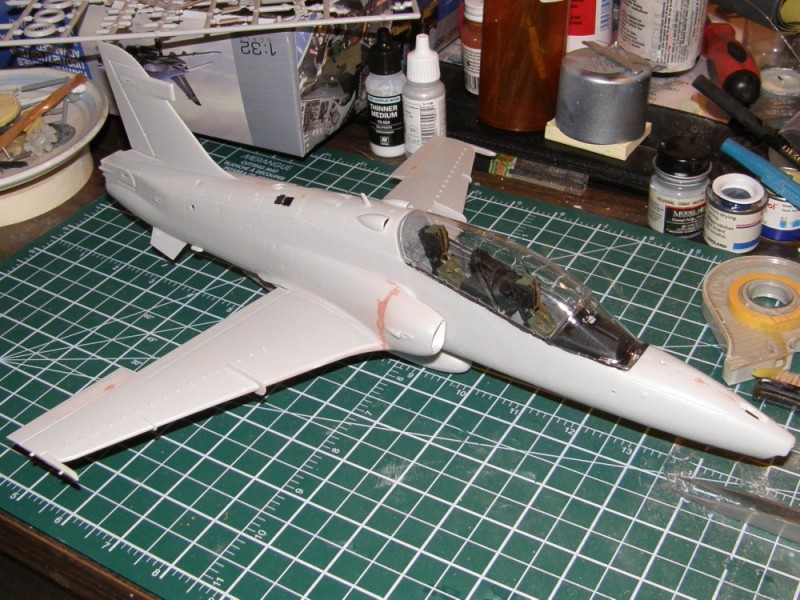
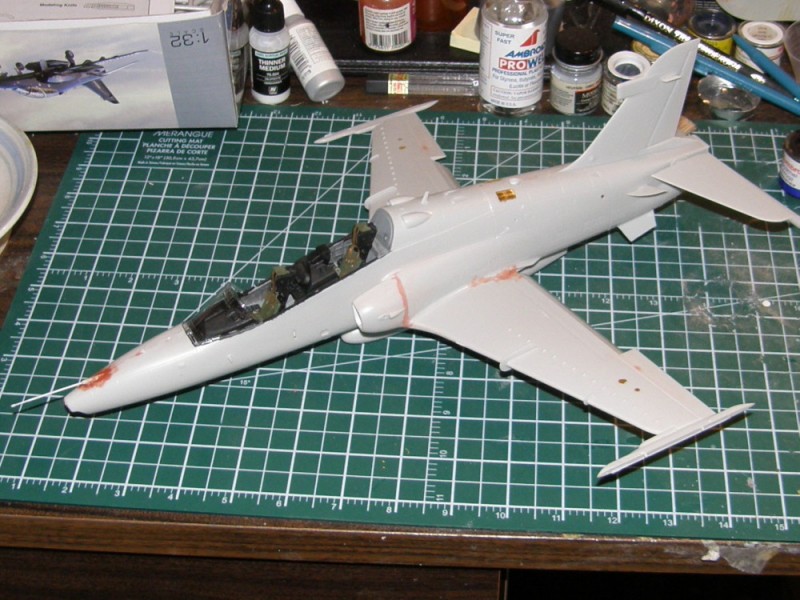
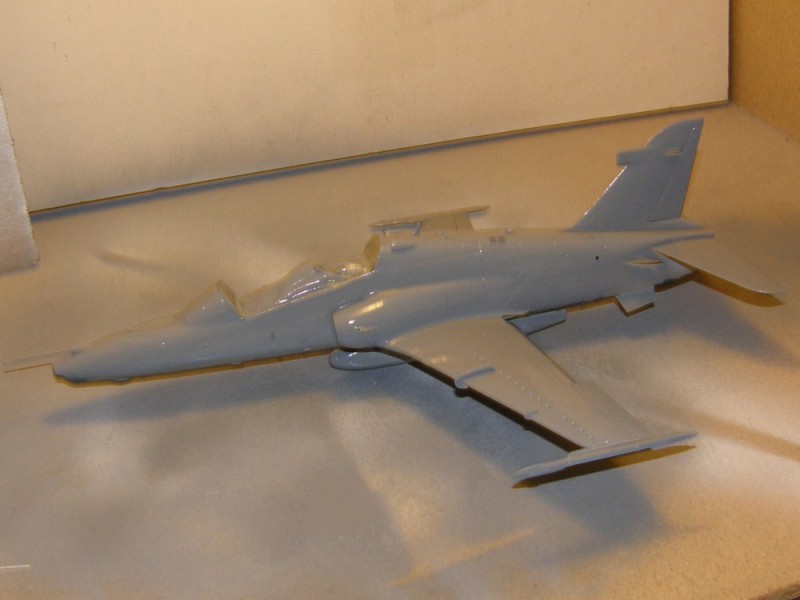
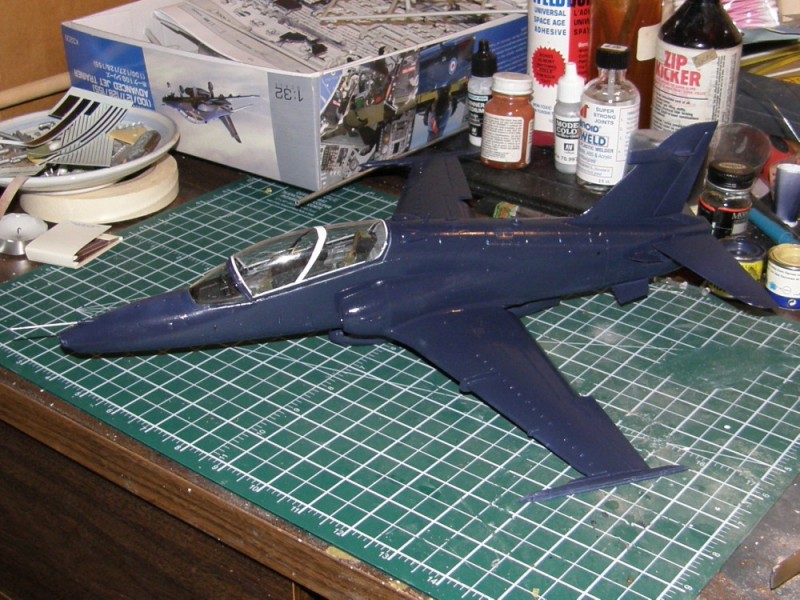
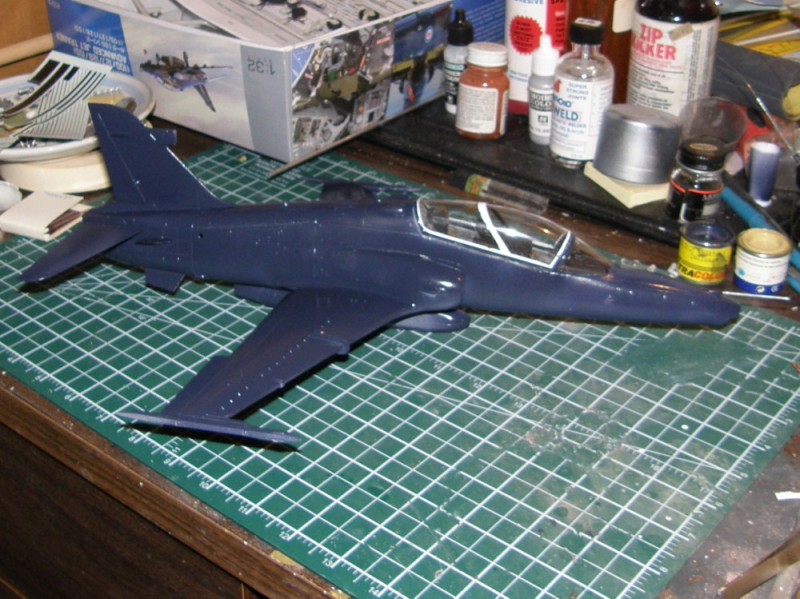
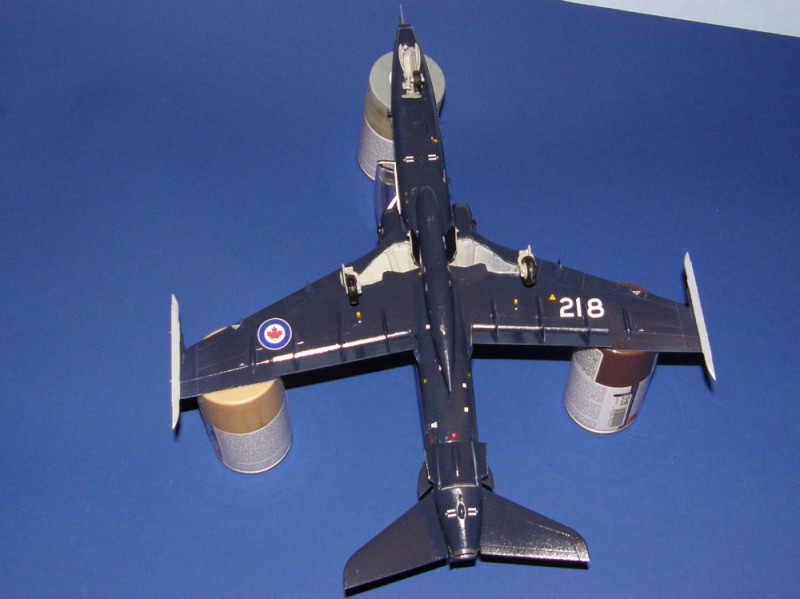
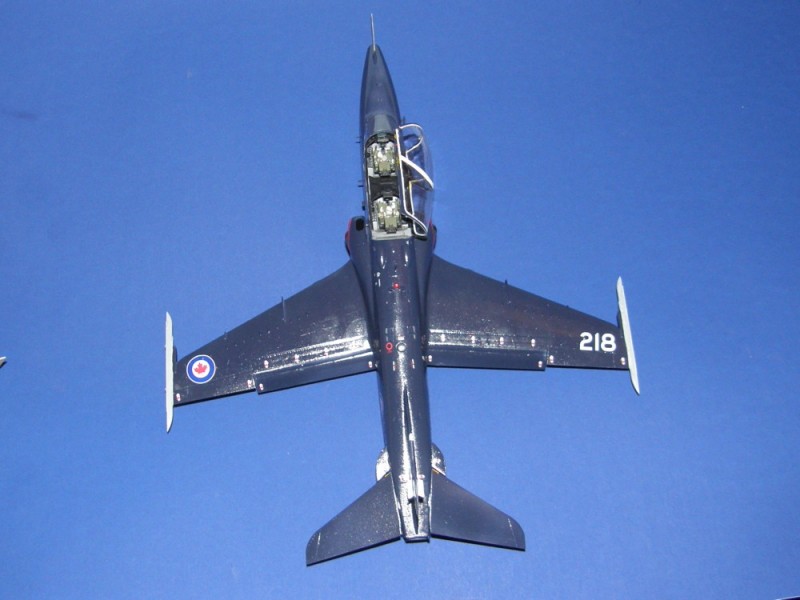
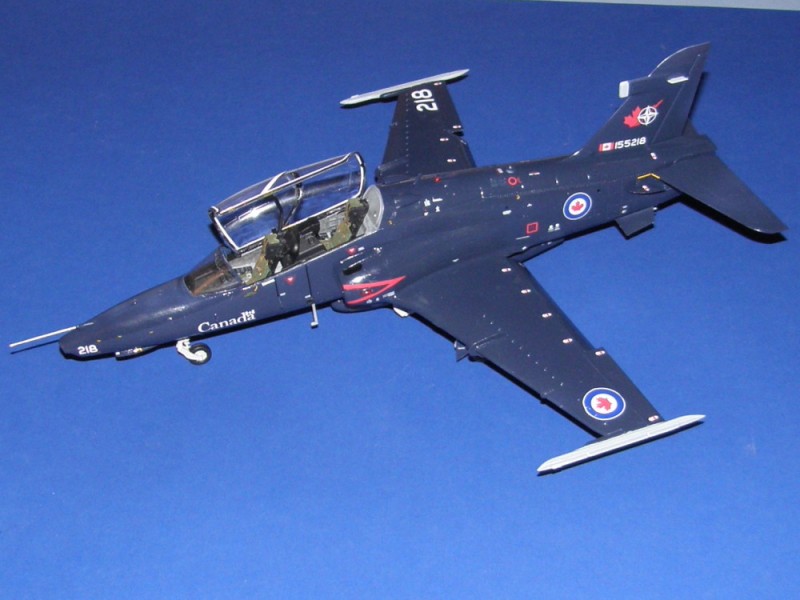
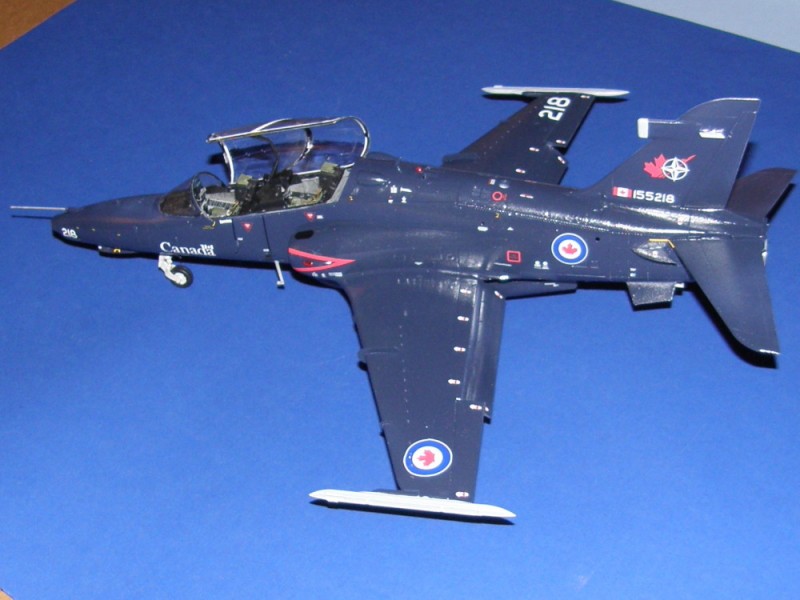
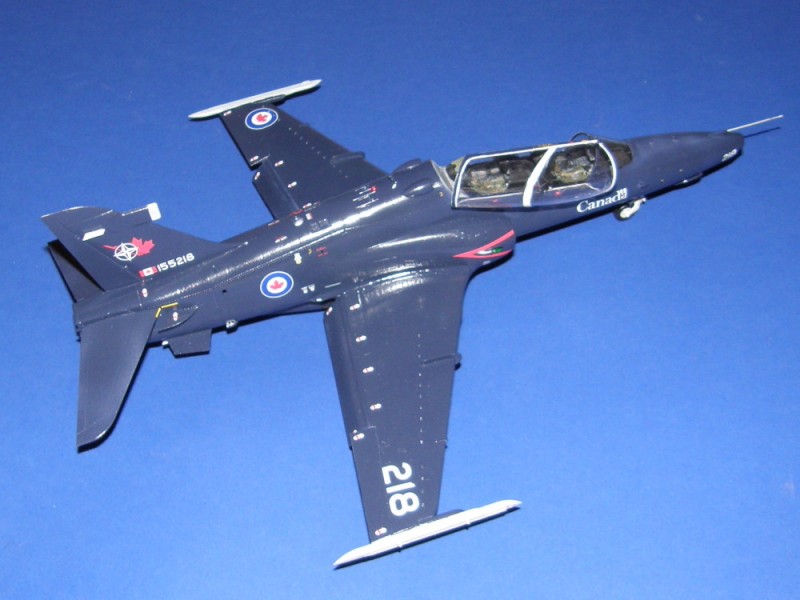
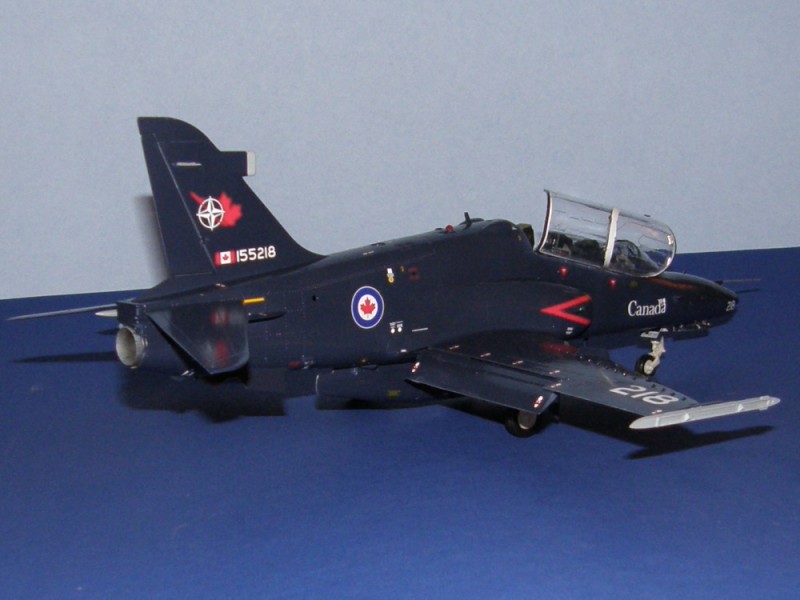
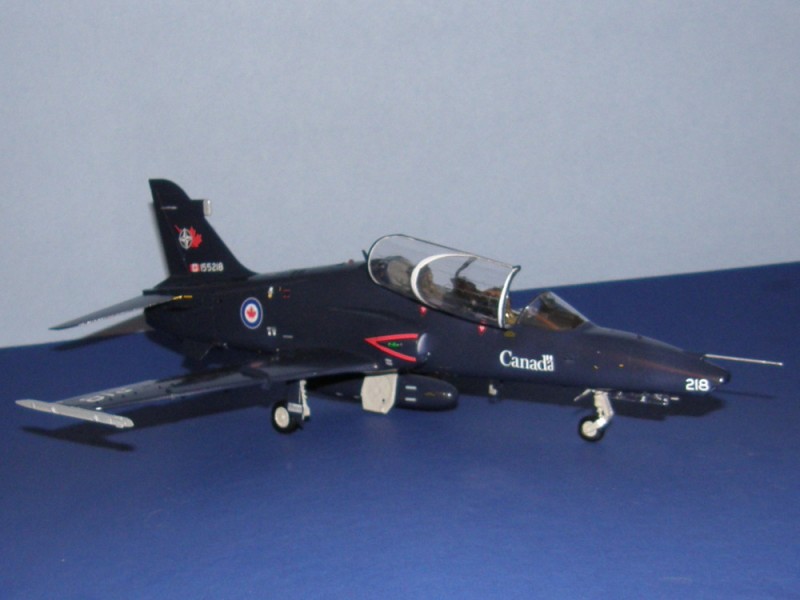
Now we almost have an airplane!
Jessie_C
_VISITCOMMUNITY
British Columbia, Canada
Joined: September 03, 2009
KitMaker: 6,965 posts
AeroScale: 6,247 posts
Posted: Sunday, September 08, 2013 - 08:35 AM UTC
The wings, intakes and several smaller bits are glued on. The fit in general is atrocious.


Jessie_C
_VISITCOMMUNITY
British Columbia, Canada
Joined: September 03, 2009
KitMaker: 6,965 posts
AeroScale: 6,247 posts
Posted: Sunday, September 08, 2013 - 08:36 AM UTC
Some more progress on the hawk. The cockpit is for the most part complete. The canopy doesn't fit terribly well closed so I guess it's a good thing I intend to have it open.

The seams are sanded down. Now I need to put the remaining little outside bits on and I can give it a coat of primer.

Jessie_C
_VISITCOMMUNITY
British Columbia, Canada
Joined: September 03, 2009
KitMaker: 6,965 posts
AeroScale: 6,247 posts
Posted: Sunday, September 08, 2013 - 12:37 PM UTC
The majority of assembly is finished. Some last bits of cleanup will be needed and then I can get a coat of primer on.


Jessie_C
_VISITCOMMUNITY
British Columbia, Canada
Joined: September 03, 2009
KitMaker: 6,965 posts
AeroScale: 6,247 posts
Posted: Wednesday, September 11, 2013 - 09:48 AM UTC
Cockpit masking on and sealed with Future

And now the primer coat

JPTRR
Staff MemberManaging Editor
RAILROAD MODELING
#051
_VISITCOMMUNITY
Tennessee, United States
Joined: December 21, 2002
KitMaker: 7,772 posts
AeroScale: 3,175 posts
Posted: Wednesday, September 11, 2013 - 12:48 PM UTC
Coming along very well.
Mcleod
_VISITCOMMUNITY
Alberta, Canada
Joined: April 07, 2010
KitMaker: 1,028 posts
AeroScale: 939 posts
Posted: Wednesday, September 11, 2013 - 01:40 PM UTC
Really looking good, Jessica.
Never heard of sealing in the mask tape with future. Will that not make it more difficult to remove, with a beautiful paint job at risk?
Jessie_C
_VISITCOMMUNITY
British Columbia, Canada
Joined: September 03, 2009
KitMaker: 6,965 posts
AeroScale: 6,247 posts
Posted: Wednesday, September 11, 2013 - 04:35 PM UTC
Most of the future is on the tape itself, to seal any potential gaps rather than gluing the tape to the model. In any case I'm going to be running my knife blade over the edge of the tape to release it when it's unmasking time.
spaarndammer
_VISITCOMMUNITY
Noord-Holland, Netherlands
Joined: January 28, 2007
KitMaker: 1,945 posts
AeroScale: 388 posts
Posted: Wednesday, September 11, 2013 - 10:59 PM UTC
Very nice to see this big Hawk being build.

Will it be a mirror-like black shining hawk?


Jelger
Jessie_C
_VISITCOMMUNITY
British Columbia, Canada
Joined: September 03, 2009
KitMaker: 6,965 posts
AeroScale: 6,247 posts
Posted: Thursday, September 12, 2013 - 04:39 AM UTC
No, dark blue with maple leaves
spaarndammer
_VISITCOMMUNITY
Noord-Holland, Netherlands
Joined: January 28, 2007
KitMaker: 1,945 posts
AeroScale: 388 posts
Posted: Thursday, September 12, 2013 - 06:26 AM UTC
Color isn't important, as long as it gleams, because that is what I like so much about Hawks .
Jessie_C
_VISITCOMMUNITY
British Columbia, Canada
Joined: September 03, 2009
KitMaker: 6,965 posts
AeroScale: 6,247 posts
Posted: Thursday, September 12, 2013 - 06:28 AM UTC
So I take it that the Australian Hawks wouldn't get your approval?
spaarndammer
_VISITCOMMUNITY
Noord-Holland, Netherlands
Joined: January 28, 2007
KitMaker: 1,945 posts
AeroScale: 388 posts
Posted: Thursday, September 12, 2013 - 10:56 PM UTC
I must admit, that two tone grey color scheme looks nice, but not my first choice for a Hawk scheme.
Jessie_C
_VISITCOMMUNITY
British Columbia, Canada
Joined: September 03, 2009
KitMaker: 6,965 posts
AeroScale: 6,247 posts
Posted: Friday, September 13, 2013 - 04:44 PM UTC
Hawk has come down with a case of the blues


After this dries I'll do the undersides and then see how it turns out.
Jessie_C
_VISITCOMMUNITY
British Columbia, Canada
Joined: September 03, 2009
KitMaker: 6,965 posts
AeroScale: 6,247 posts
Posted: Wednesday, September 18, 2013 - 08:53 AM UTC
Unmasking reveals the need for touch-ups


There are a few places where I didn't get the paint on thickly enough, and a few others where it crept under the masking, but it could have been so much worse. Soon enough it'll be time for the decals.
Jessie_C
_VISITCOMMUNITY
British Columbia, Canada
Joined: September 03, 2009
KitMaker: 6,965 posts
AeroScale: 6,247 posts
Posted: Wednesday, September 18, 2013 - 10:20 AM UTC
Construction is essentially finished, barring a few pieces of the canopy which I'll leave to the last. Now it's time for clear coat and decals.
Jessie_C
_VISITCOMMUNITY
British Columbia, Canada
Joined: September 03, 2009
KitMaker: 6,965 posts
AeroScale: 6,247 posts
Posted: Thursday, September 19, 2013 - 06:28 AM UTC
The major decals are on and it's looking much more like an airplane


I'll let those dry and then get started on umpty-zillion tiny white stencils...
Jessie_C
_VISITCOMMUNITY
British Columbia, Canada
Joined: September 03, 2009
KitMaker: 6,965 posts
AeroScale: 6,247 posts
Posted: Thursday, September 19, 2013 - 04:18 PM UTC
Finished!


The decal placement instructions could have been much better. The dark shading washed out the shapes of the stencils, and the small print was difficult to read clearly. I had trouble getting the upper wing roundel to conform itself to the vortex generators, and it distorted. The decals are extremely susceptible to Solvaset. I recommend a gentler setting solution.
 _GOTOTOP