Update 20
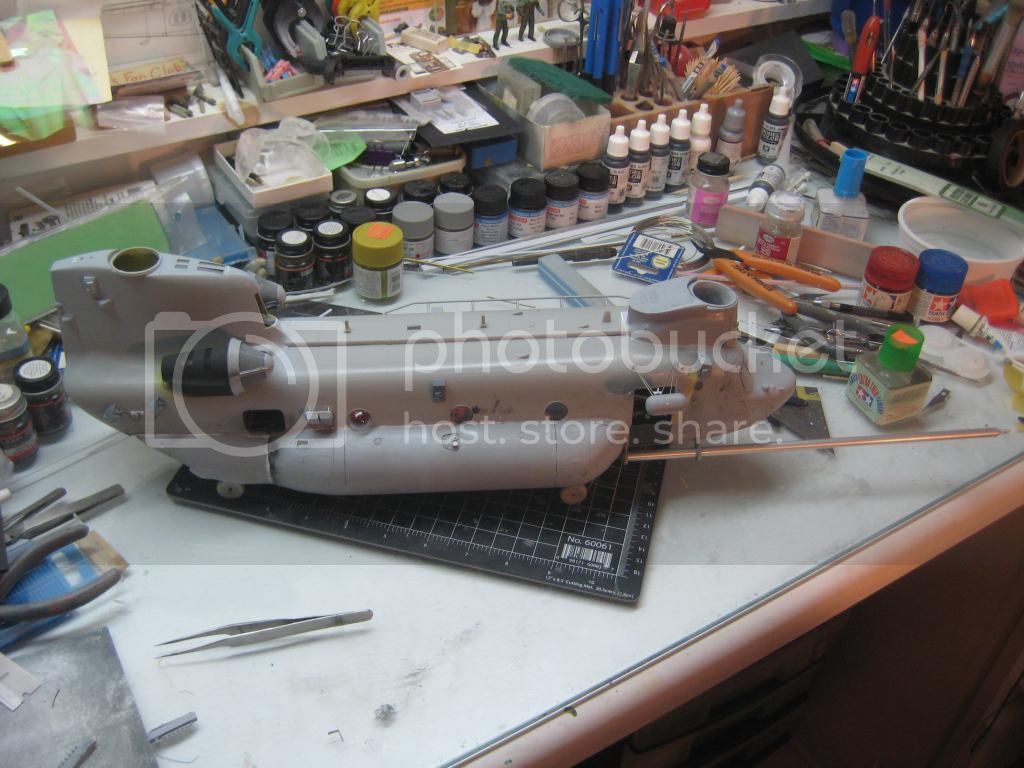
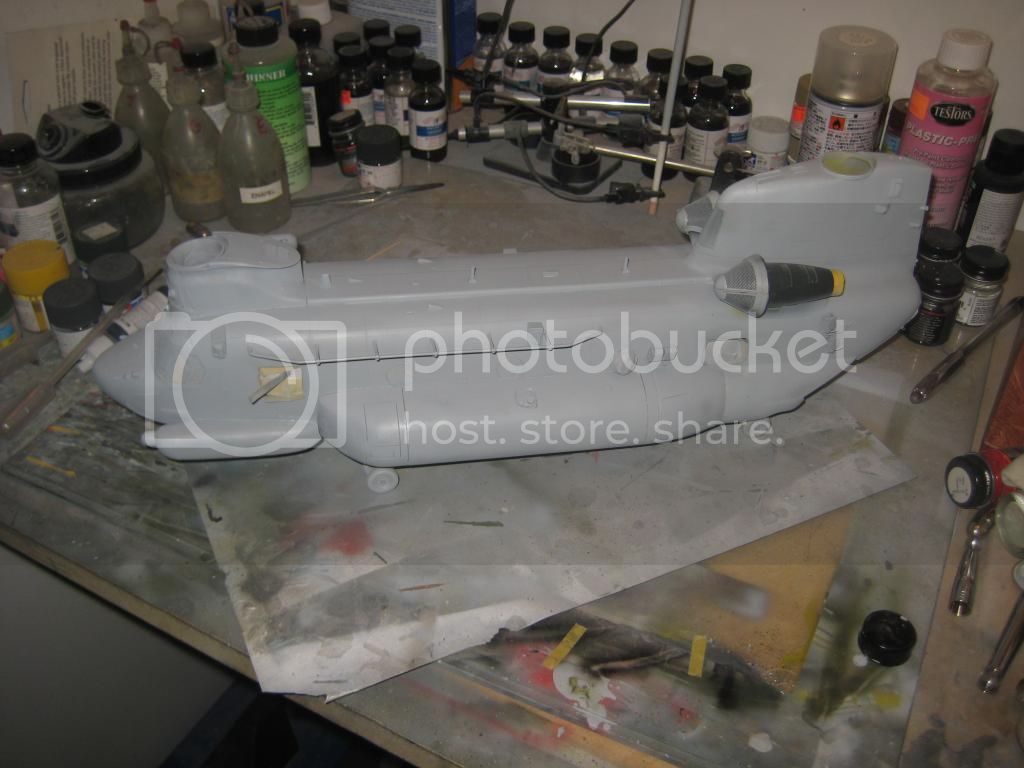
It was now time to dirty up the fuselage. Dots of white, buff, and some flesh artist oils were applied to the kit, more on the top than on the side or bottom. This was then blended with a damp brush in Turpenoid. I tended to blend in a vertical dimension as the flow of rain would ‘flow’ down the fuselage. I tried to do one panel at a time to make a random pattern. I was really happy with the results.


Now comes a part of the weathering that many aircraft modelers are not comfortable with, dust and dirt. I use Mig Pigments for this, Dust and Desert Sand to be specific. This was applied with a wide brush and allowed to build up in recessed areas and on horizontal surfaces. This made the model ‘attached’ to the Afghanistan terrain. If you look at aircraft, especially Army aircraft, in a desert environment you have free reign on the amount of dirt you add. I thought I kind of went overboard so instead of freaking out I used some very thinned flat which tones down the dirt and seals it to the model.


Razor 1 did not carry the M-240 machine guns but had M-60s. It also had a ramp mounted M-60D. Live Resin doesn’t make an M-60 yet so I went with a Dragon set for Vietnam weapons. It contained some really nice M-60s, including the D. It was just a moment of pinning them to the Live Resin mounts. It was easy to do and they look great. I was surprised at how well the plastic guns were.

While I was doing armament I added the front M-134s and the tubing. I had to scratchbuild the guide for the shell ejector chute. This was done with some ¼ inch tubing cut to size. The actual ammo chute and shell ejector chute presented a unique problem. They are solid resin, how do you get those big bends? I used an embossing heat gun which works faster than hot water. You have to be careful but it does allow you to get a lot of bends. I only heated the part away from the model then bent it to shape. It is a pain but the results worked out nicely. I start at the gun and worked my way down the tube. This is especially important because the right front gun has to go inside the refueling tube. When I got a section how I wanted it I wrapped that portion in tape and cool damp tissue which acts like a heat sink and preserves the previous bends. These were then added to the guns when I was happy. They had to be threaded through the guide and glued into place.

The area under the engines are subjected to the oils and gas bath that is used to ‘wash’ the engine. I added some of Mig washes and oil. I added under the engine then added Mig thinner then let it flow with gravity like the real thing. This does a few things. First it makes for some unique color and it is shiny in contrast to the flat finish.

While I was playing with the Mig stuff I added mud to the tires. The aircraft operated the in the harsh desert environment of Bagram and then in the ice and snow of the peaks of Afghanistan.
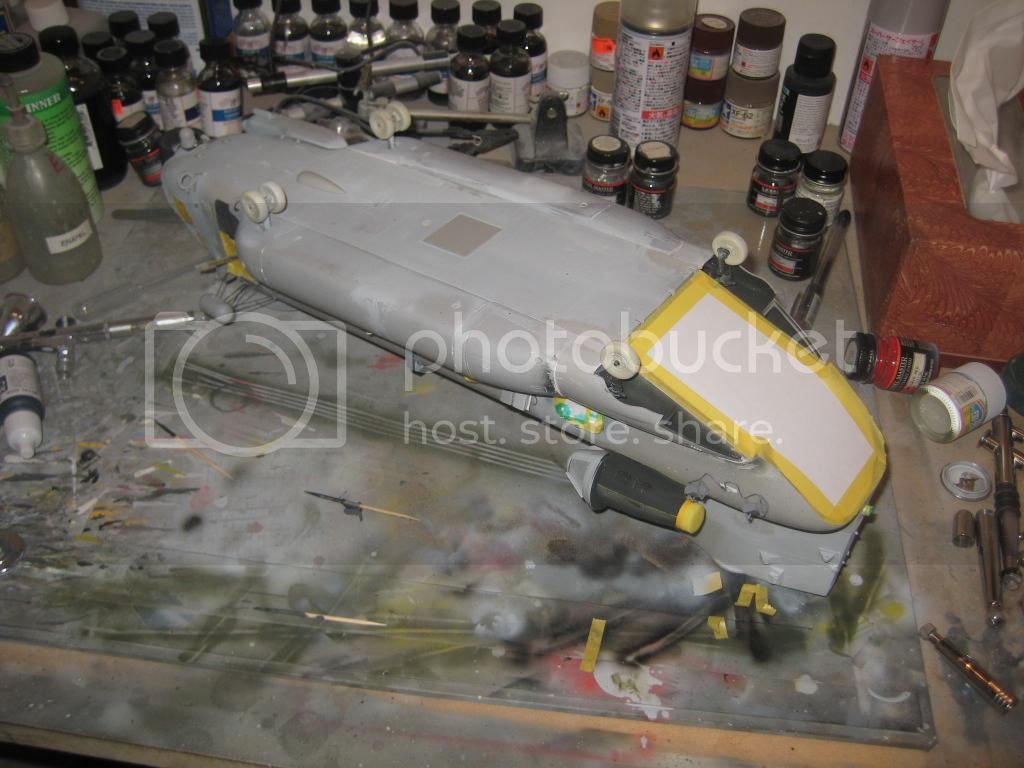
Now the helicopter was essentially done. I only had to add the ramp and the rotor heads. So I started to remove the tape from the canopy. It came off nicely and looked good….until I removed the tape from the chin bubbles. Lo and behold there was masking tape on the INSIDE of the bubbles. What the heck!? I’m so stupid. It was on both bubbles and a strip of tape inside the front windscreen. What to do? Rip off the canopy and reattach? Throw the model against the wall? Get the tape out somehow? I elected to go to bed and fretted over it all night.

In the morning I decided to drill out the clear part and replace it. It sounded hard but actually wasn’t too bad. I initially was going to just use sheet plastic but didn’t like the way it looked. Since I’m the manufacturer I had some spare canopies that had flaws in them that I wouldn’t send out so I took one and drilled out the canopy. I worked them into position and was pleasantly surprised by how nice they turned out. The area around them did require touch up but it is hardly noticeable, except in the harshest light.

After that near fiasco I built up ramp assembly. I was not happy that the ramp sits in the in-flight mode but I left it at that. It fits just fine and looks great.
It was time to add the inflight refueling boom which was only slightly harder than it should have been. The boom fit fine when I test fit it. Of course that was before primer and paint. It eventually went on just fine though.
I added some small final parts like the position lights, anti-collision light, hoist hook, pitot tubes, rear antenna array, and antennas on the spine.

The finished fuselage was set aside for now while I worked on the rotor heads. These worked out just fine. The assembly was painted Lifecolor Satin Black. Decals were added to the blades for some color and the rotor were added to fuselage and remarkably the model was done.
I sat back and admired my work. I was really glad that Andrey did the hard work to make this beast buildable. It is frackin huge, ugly and beautiful at the same time. Will I do it again? Well let’s just say I am working on releasing an MH-47G conversion set.
I’d like to thank some people, not the least is, Andrey Bass from Storm Miniatures for entrusting me with finishing his baby up and releasing it to the market. 95% of the work you get in the conversion is his excellent work. Without him there was no way we would have this conversion. Then there is Norbert Jakob who helped out with CAD work for the flare/chaff dispensers and rear antennas. Mason Doupnik, as usual, made some great decals. He makes me look good. Live Resin was Johnnie on the spot with their armament sets just when I needed them. Black Ops for releasing the toolbox that I love, even though it is hidden inside the belly of the beast. Again this came at the exact time I needed it. Mark Rocca from NJ for providing me with some of the equipment inside the cabin. Thanks to Joseph Osborn of Fireball Modelworks for getting me the decals I needed until the Werner’s Wings ones were delivered. I’d also like to thank Chris Miller from the Cobra Company for his help with various parts of this model and technical advice.
And finally I have to thank my wife, Yvonne, for allowing me to spend so much time in the model room. Without her understanding this model would still not be finished. You can’t ask for a better wife.
Things I would do differently
-I would not ‘reupholster’ the insulation.
-I would pin everything in place.
-I might like to cut the front canopy so that the resin upper and chin bubbles were used but all the others would be the kit parts. Dave Hoernle did this and it looks awesome. It was probably stressful but the end results were indisputable.
-I would like the ramp to sit on the ground on the next one.
-I’d assemble the complete Live Resin sets BEFORE I closed up the fuselage. Not add the guns after.
-I would pin the In Flight Refueling boom to make it stronger.
-I would not add the left rectangular window on the MH-47E. I think on a G I would have both of them rectangular, but the E model would not.
-I might build the troop seats out of a fabric or tape so I could drape it and make it ‘fabric’ looking.
Aftermarket used besides the basic conversion
Werner’s Wings
WW Decals 35-04 Night Stalkers-Part 2 GOTHIC SERPENT to Present
Live Resin
LRE 35163 CH47 Chinook Door M134D Minigun mount
LRE 35164 CH47 Chinook Window M134D Minigun mount
LRE 35167 CH47 Chinook Window Weapon hand made Mount with M240D
LRE 35168 CH47 Chinook Back Ramp Weapon Mount with M240D
LRE 35175 Ammo casing ejection chute extension set
LRE 35156 US Army Scepter Military Water Canister
LRE 35159 Mini-UHF X-Wing Sattelite antenna for the TACSAT system with Base Matching Unit
Cobra Company
35022 CH-47 Cabin Structure detail set
35024 CH-47D Detail set (select parts)
35025 CH-47D Aft Pylon detail set
Meng
SPS-014 1/35 Equipment For Modern U.S. Military Vehicles
SPS-015 1/35 Modern U.S. Military Individual Load-Carrying Equipment
Dragon
DML3818 Vietnam War Infantry Weapons


