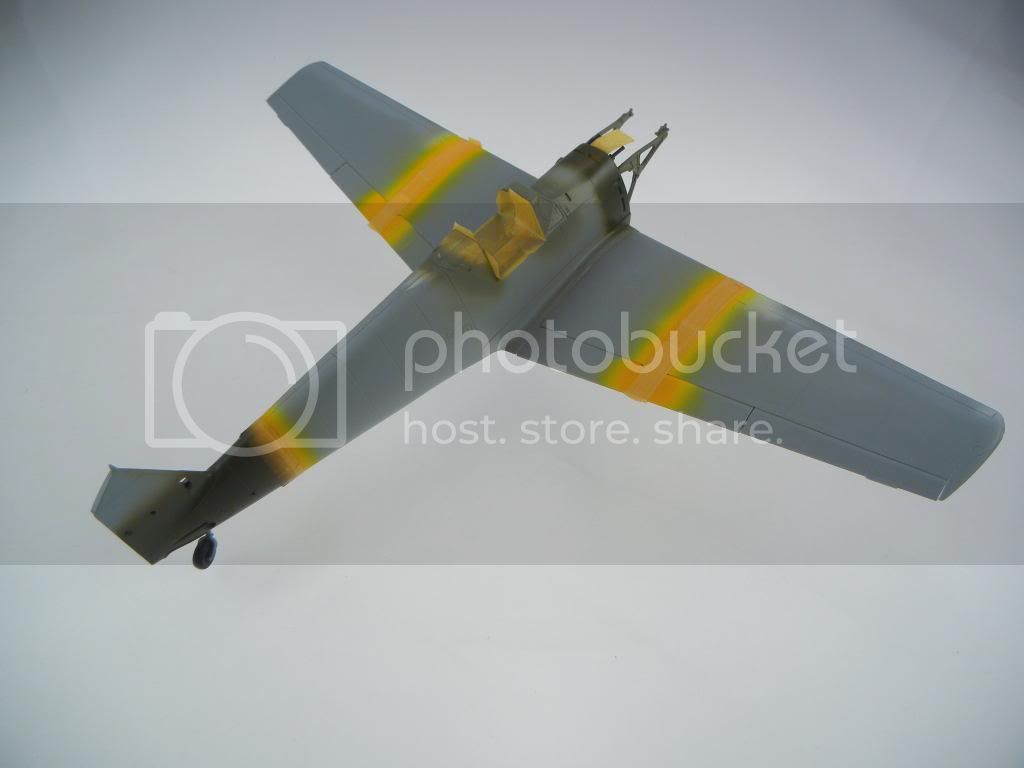
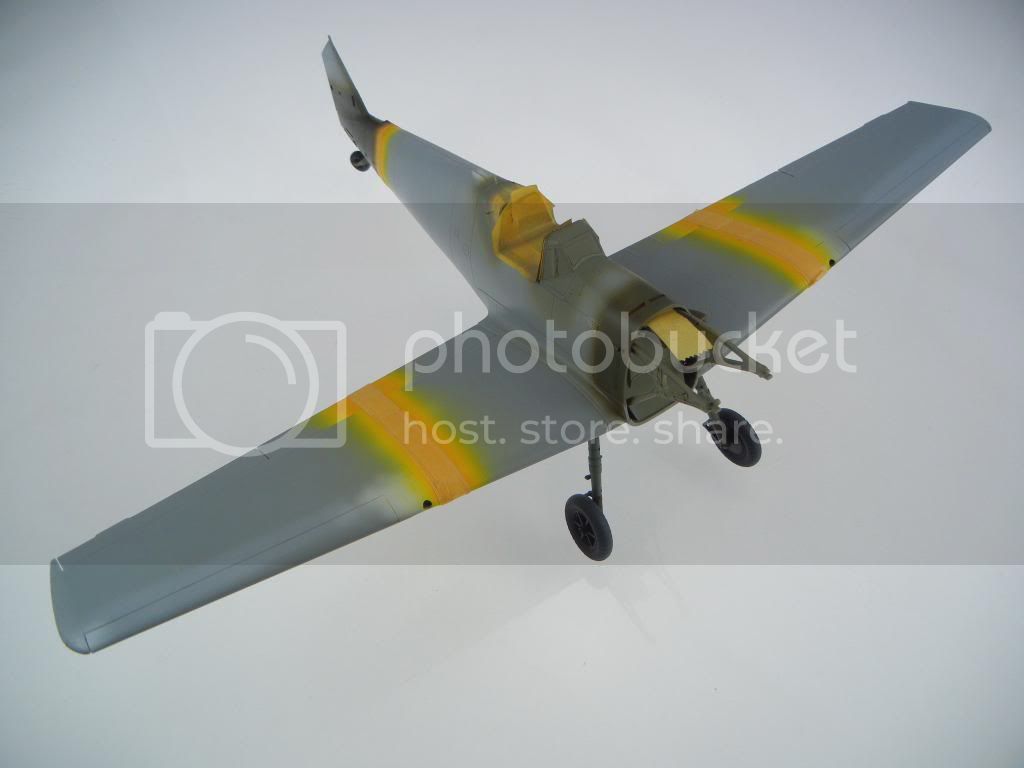
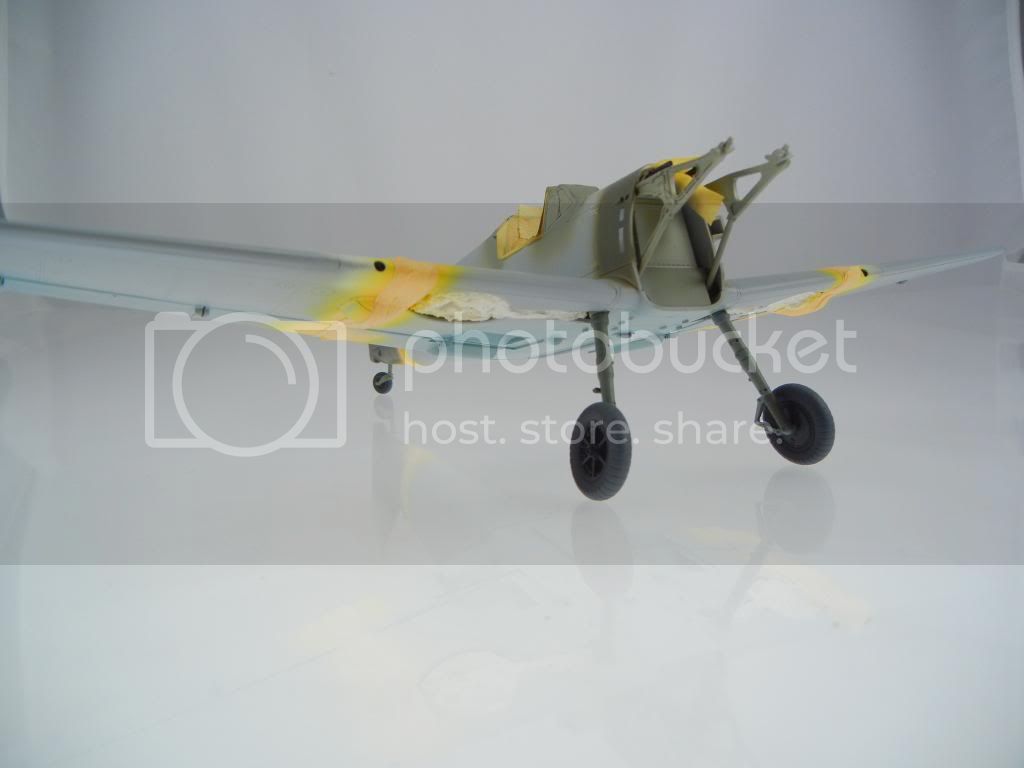
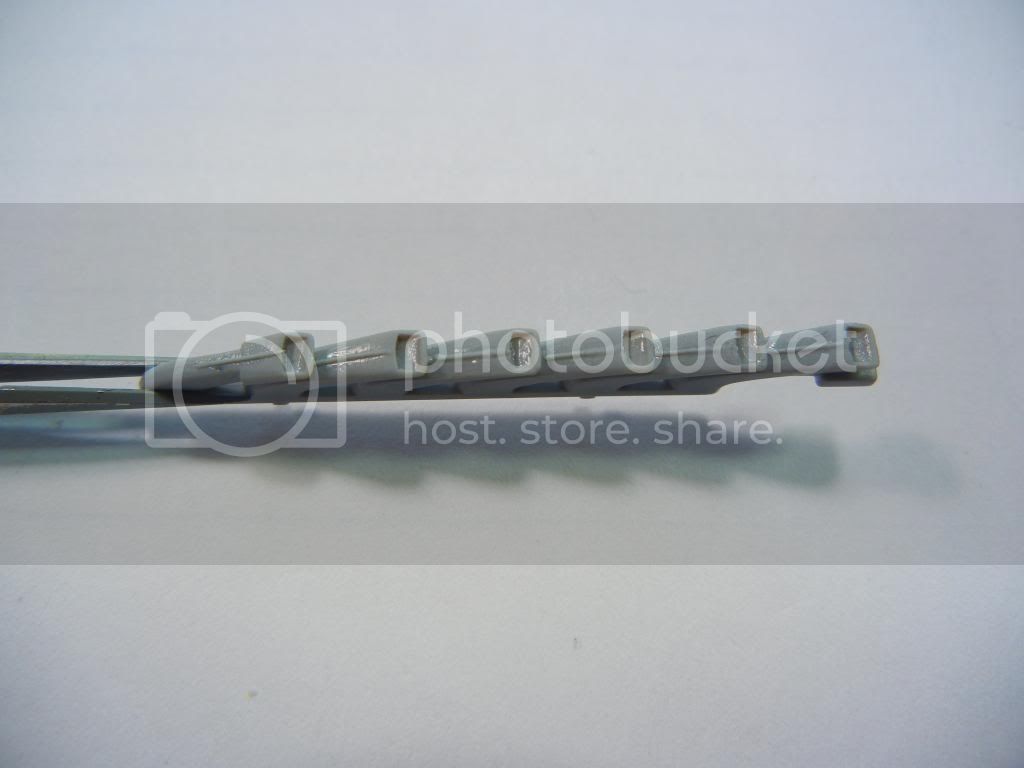
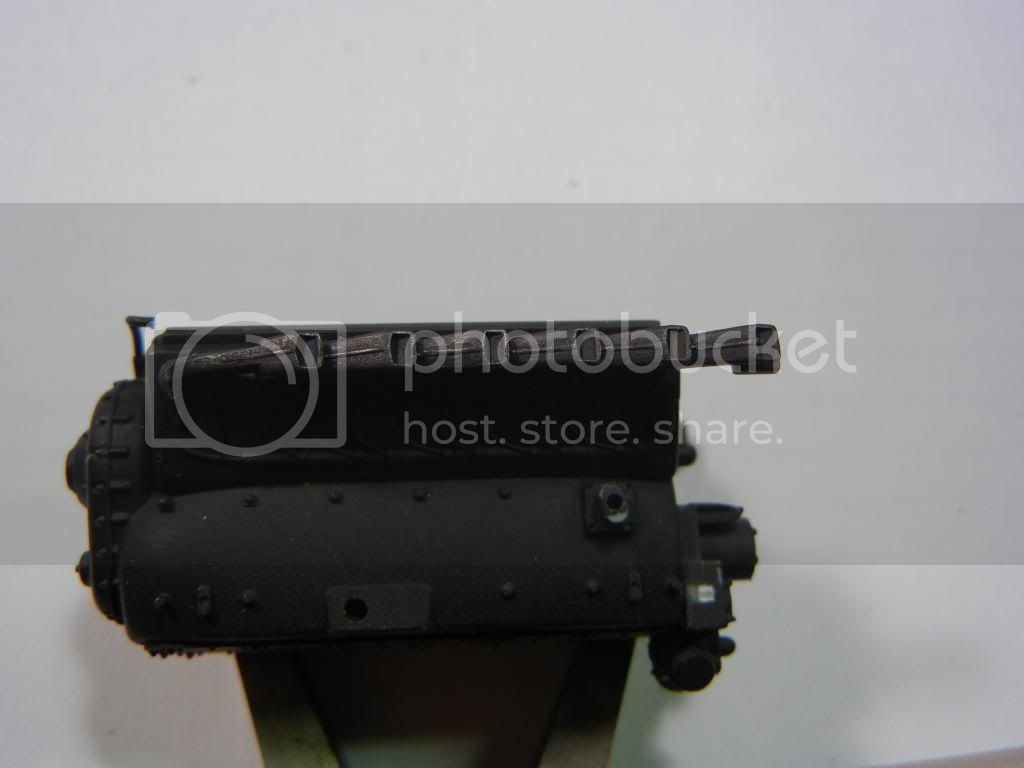
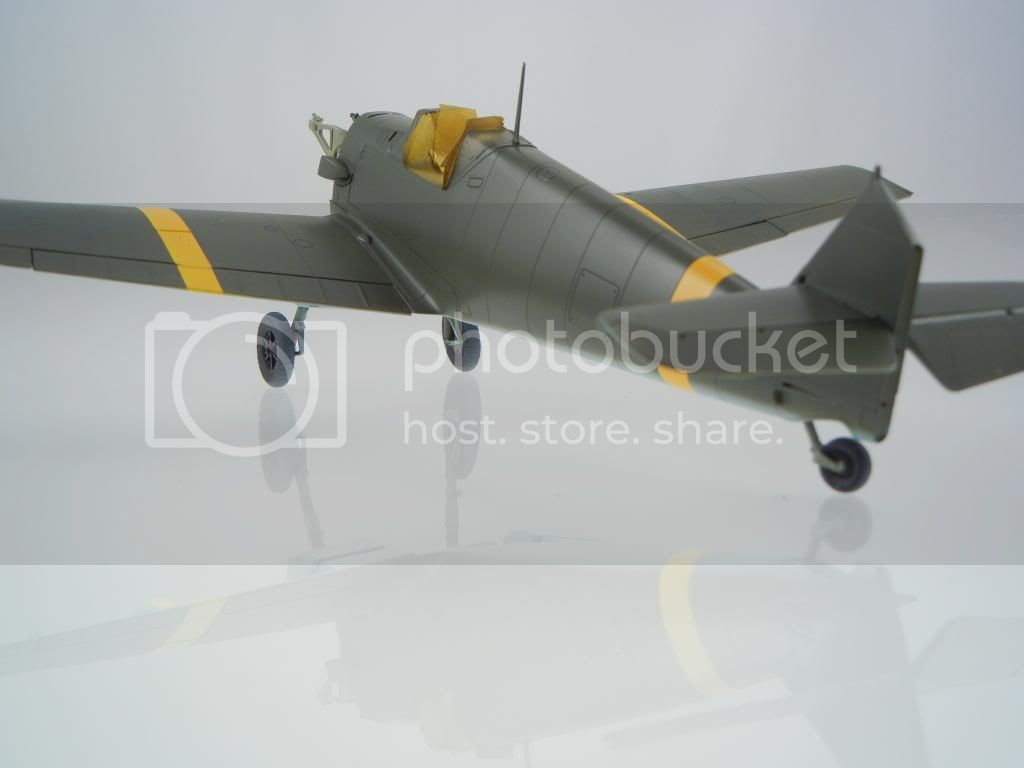
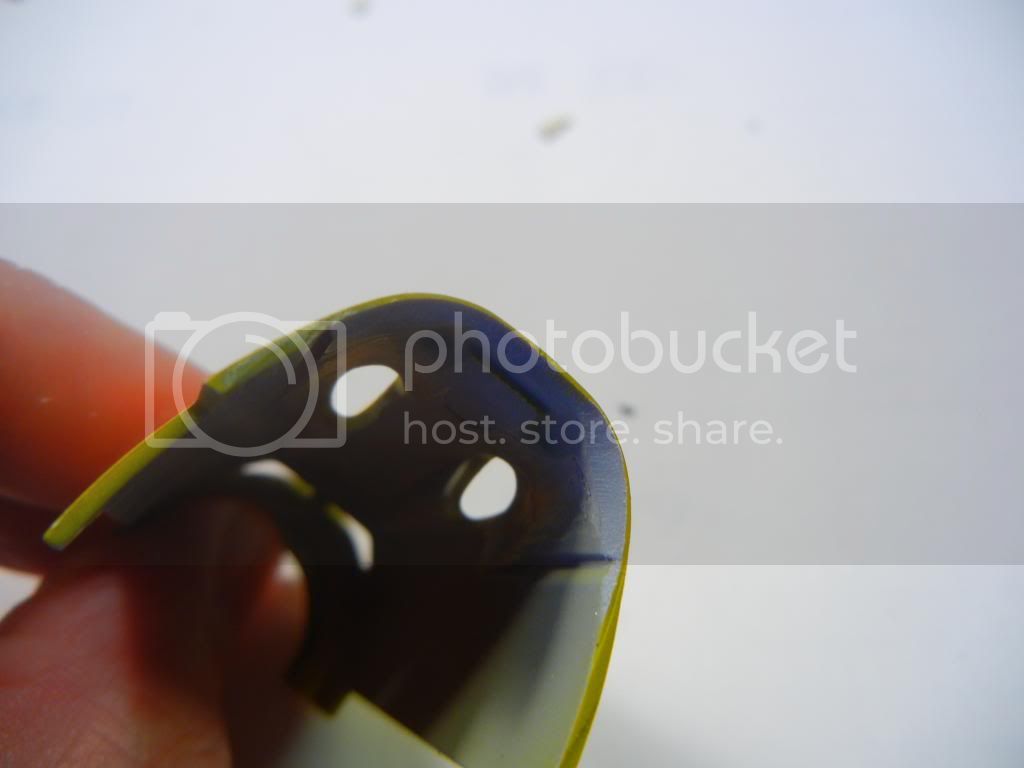
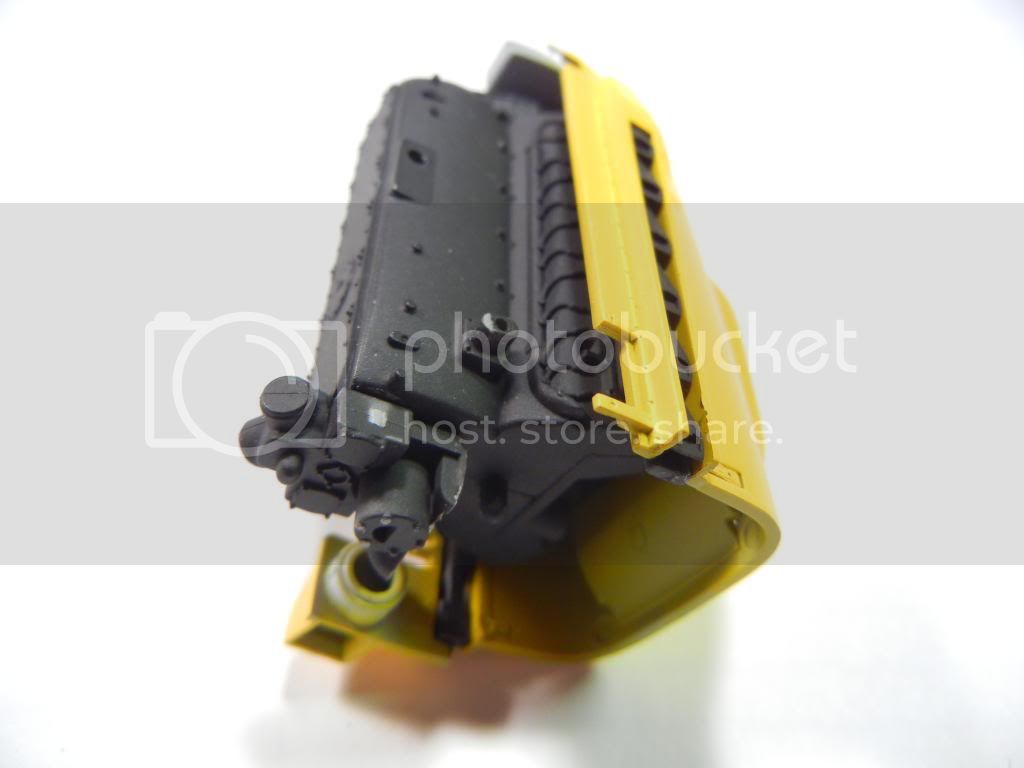
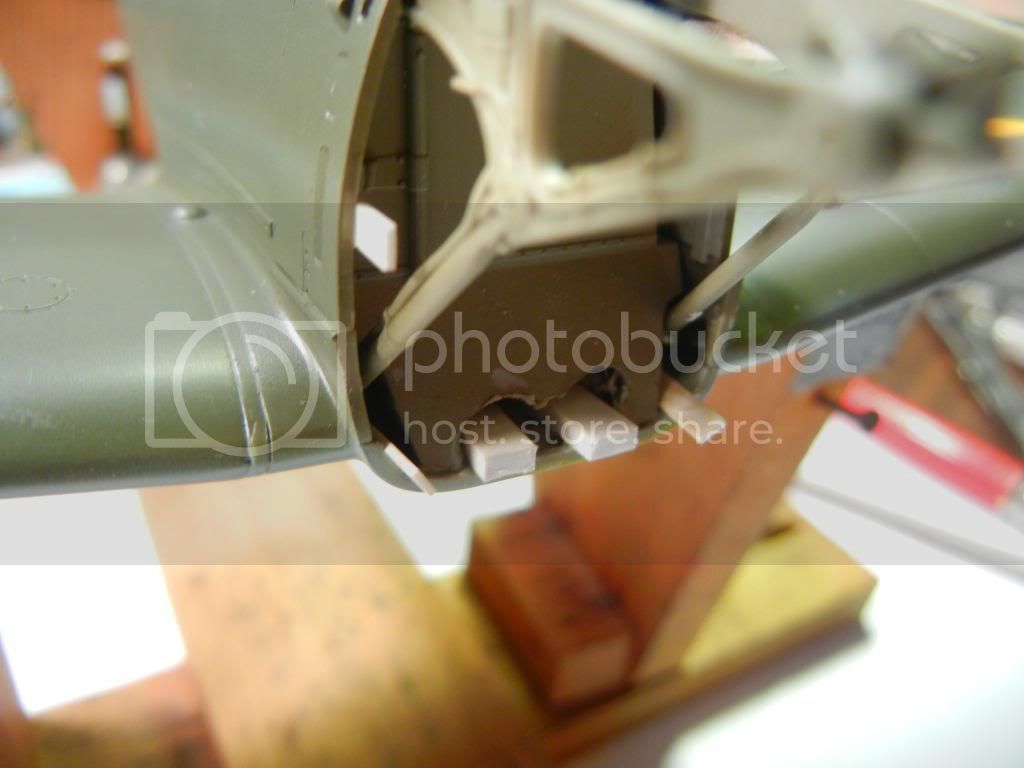
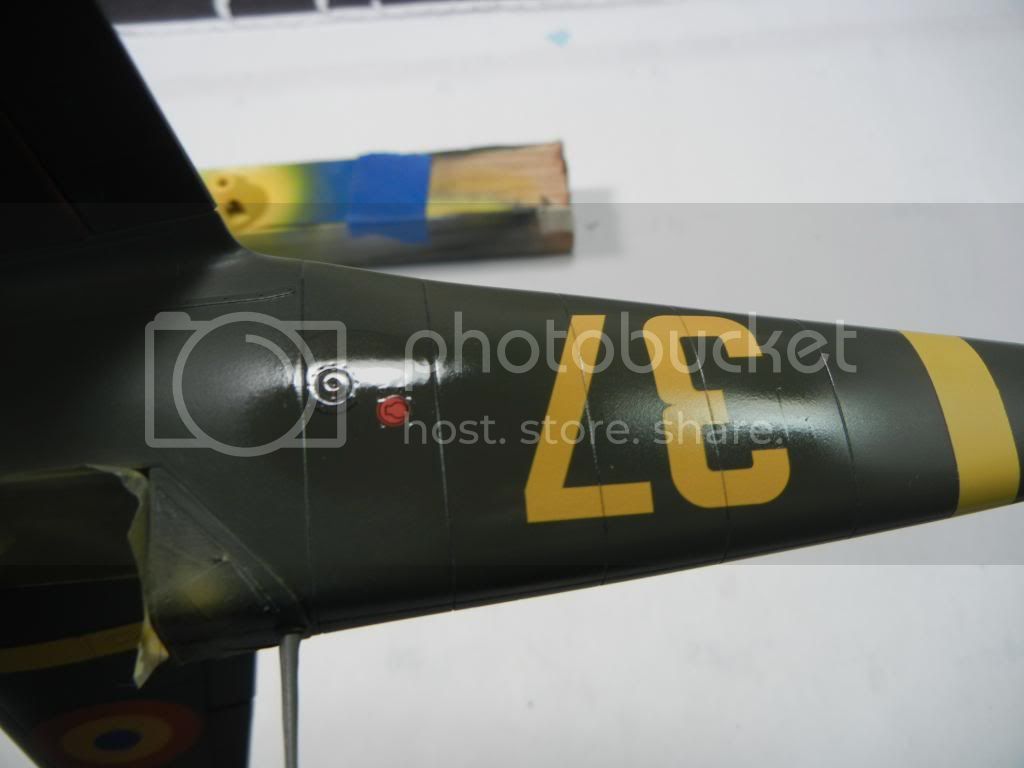
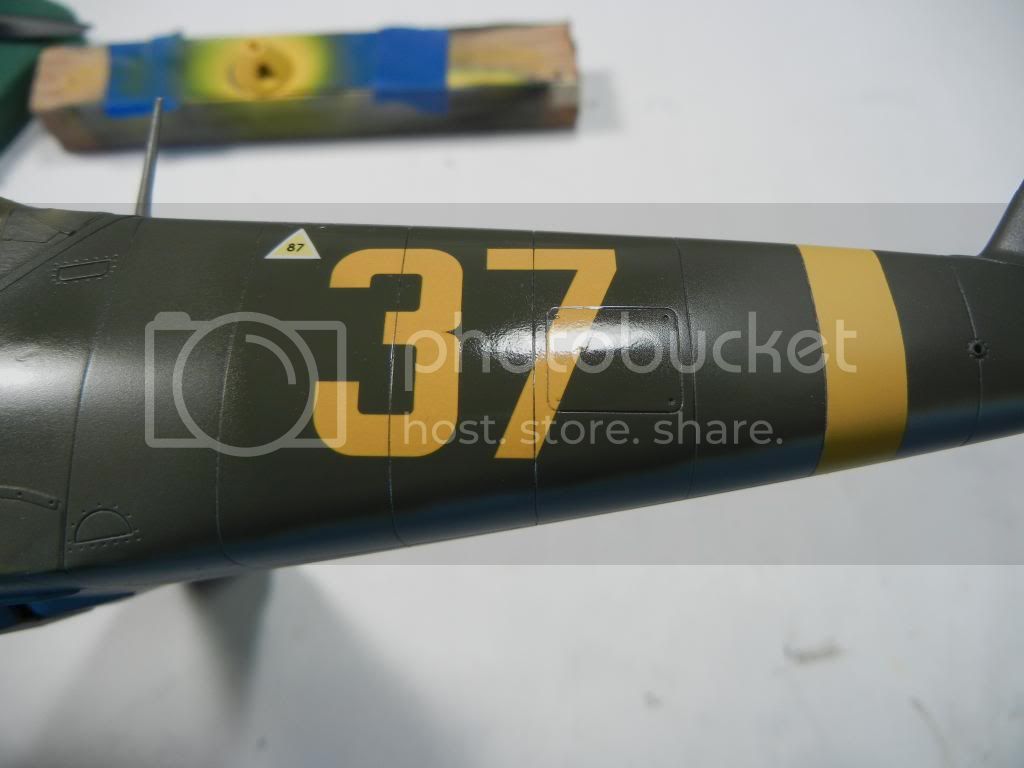
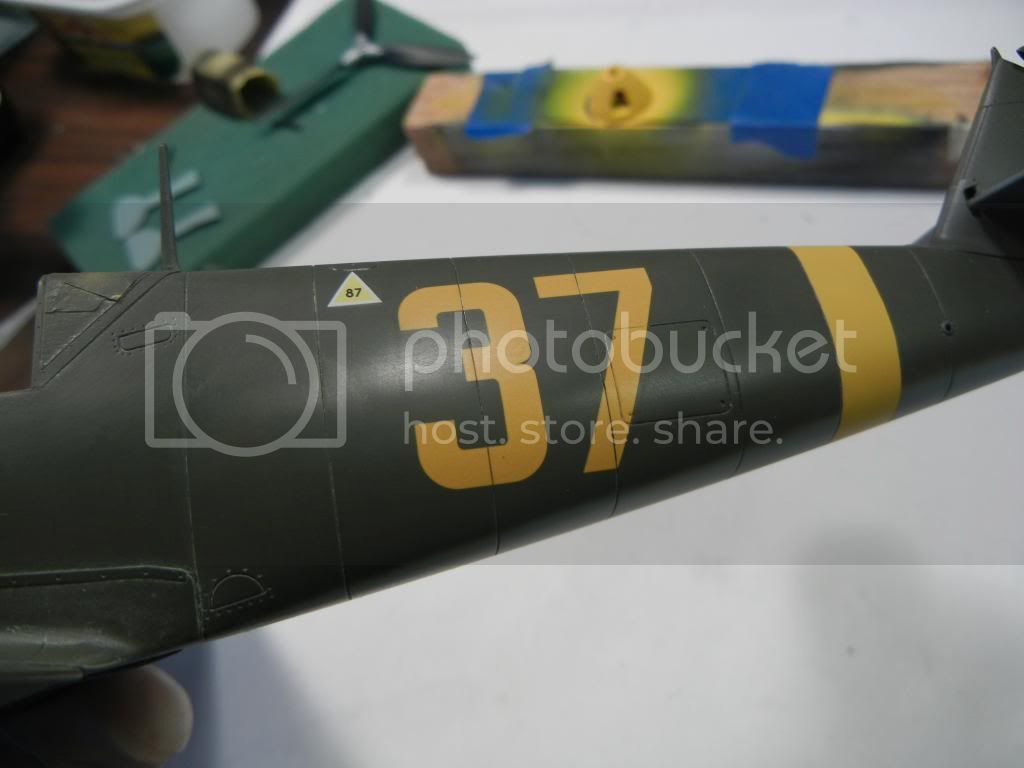
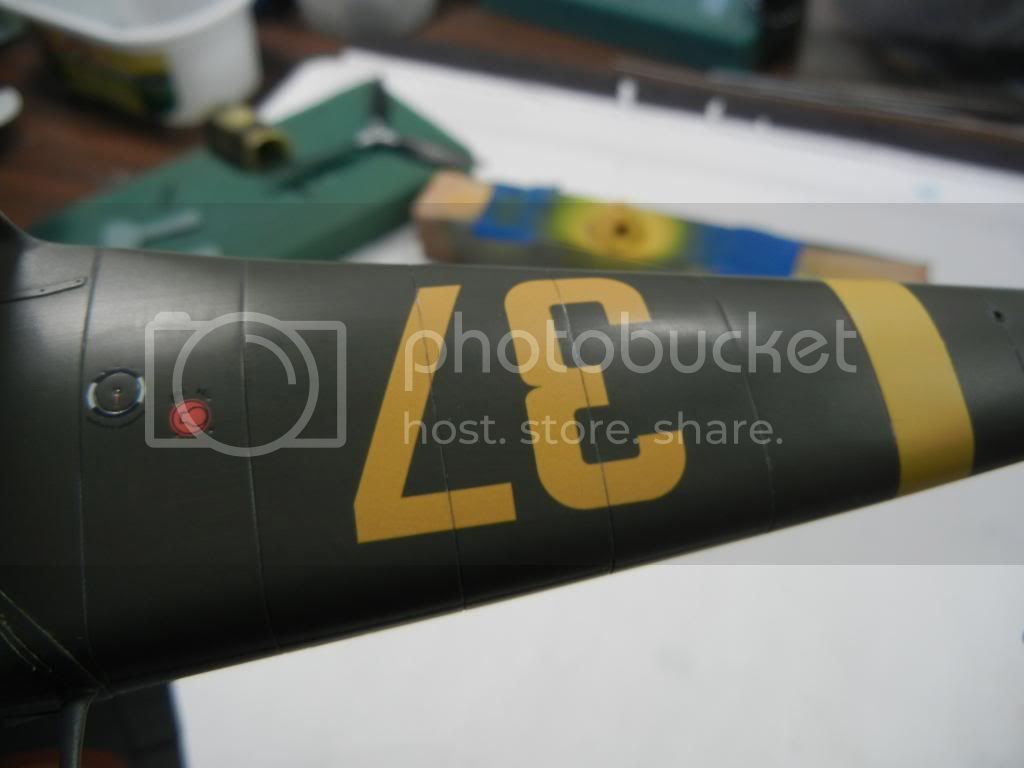
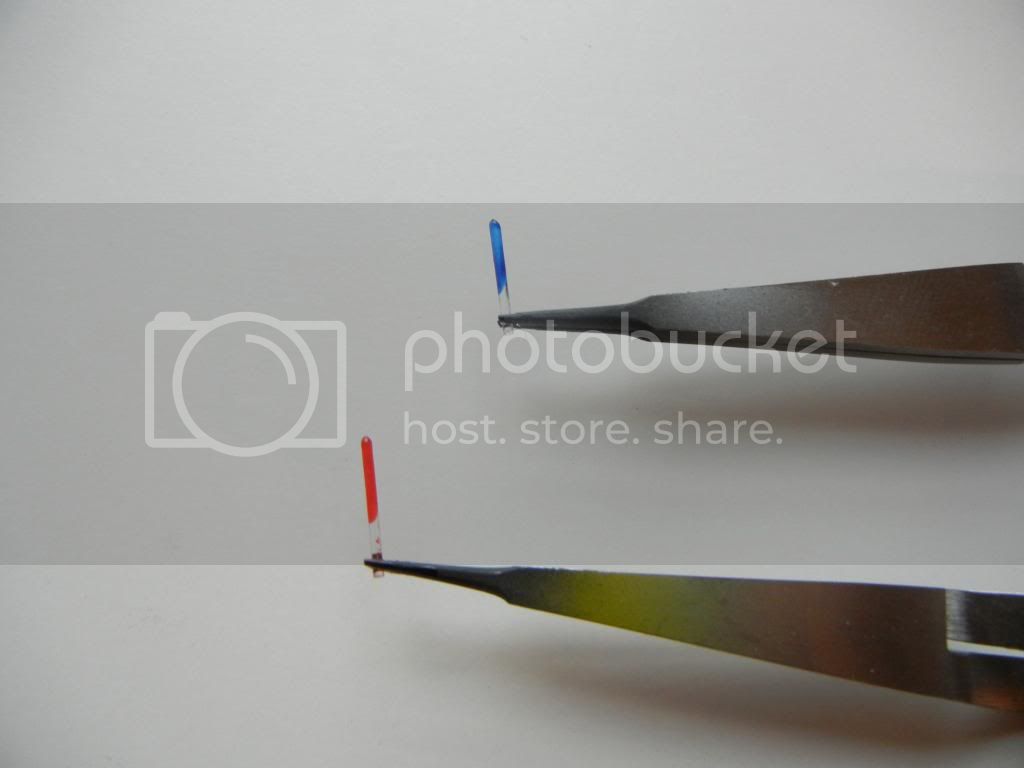
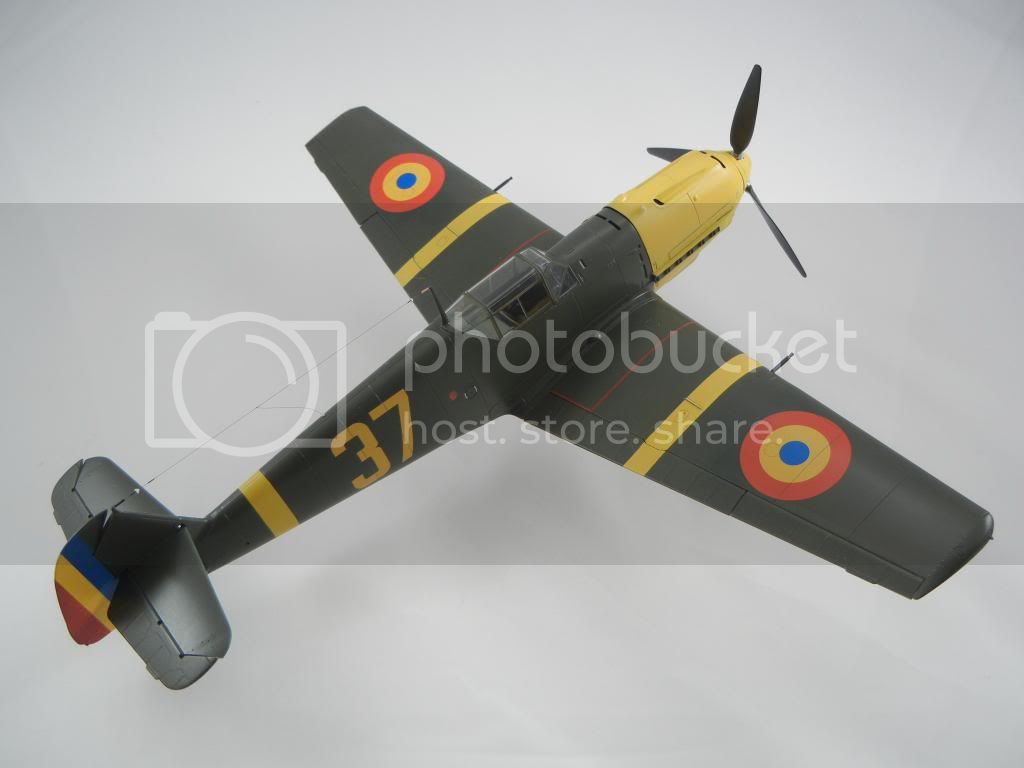
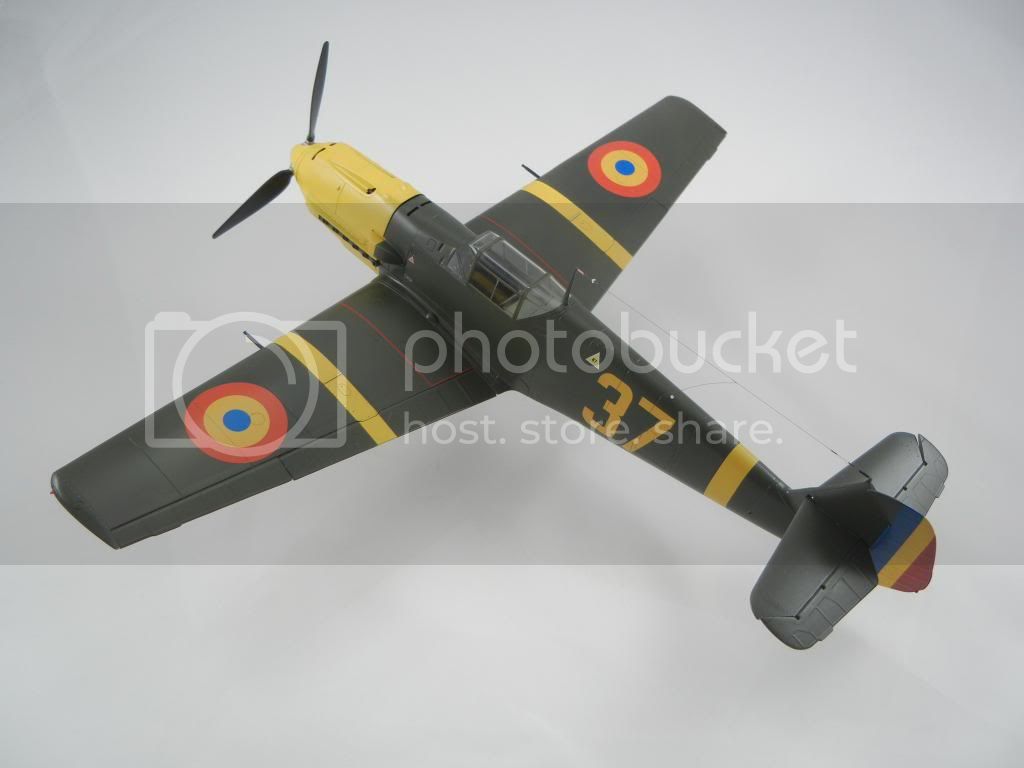
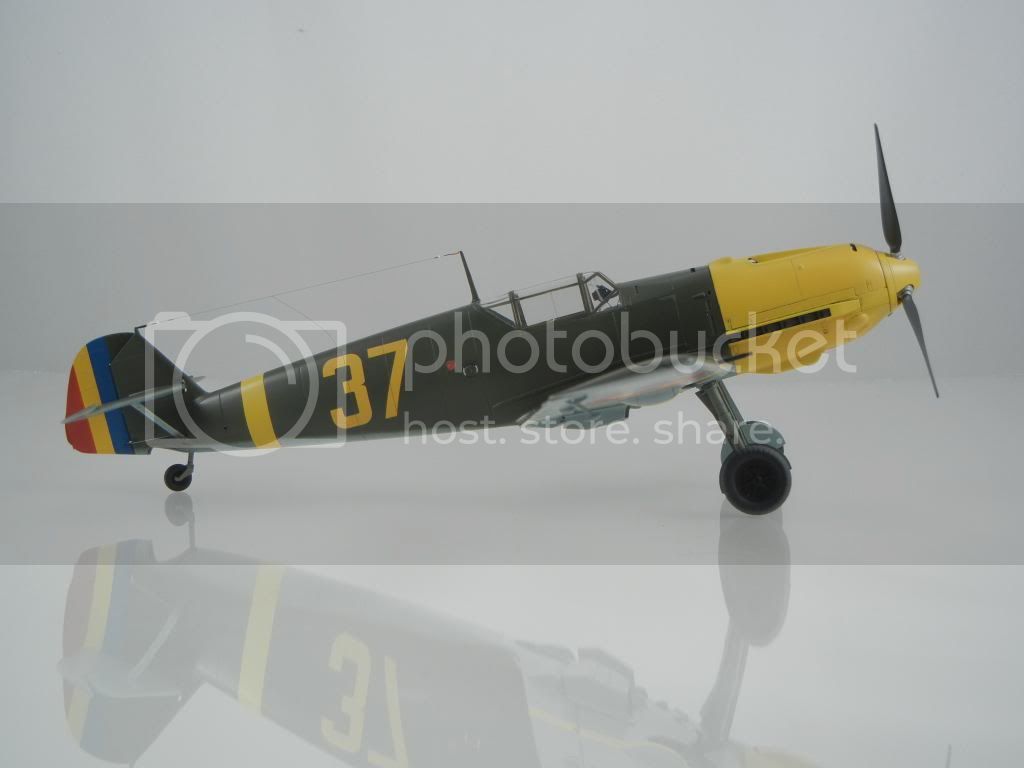
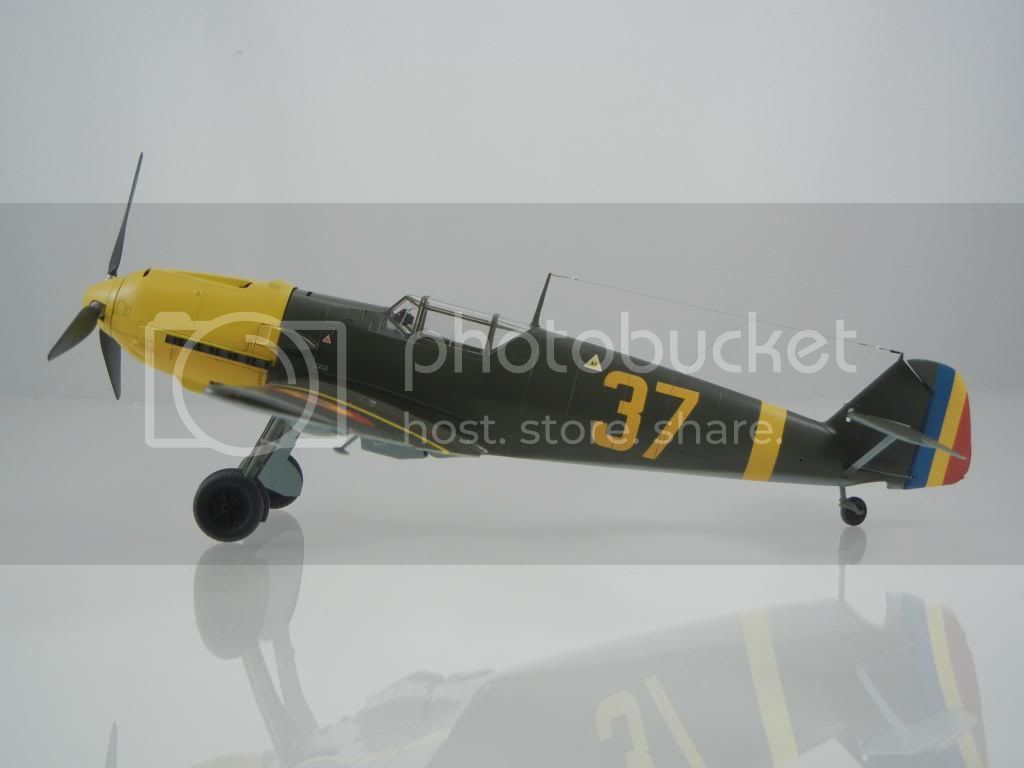
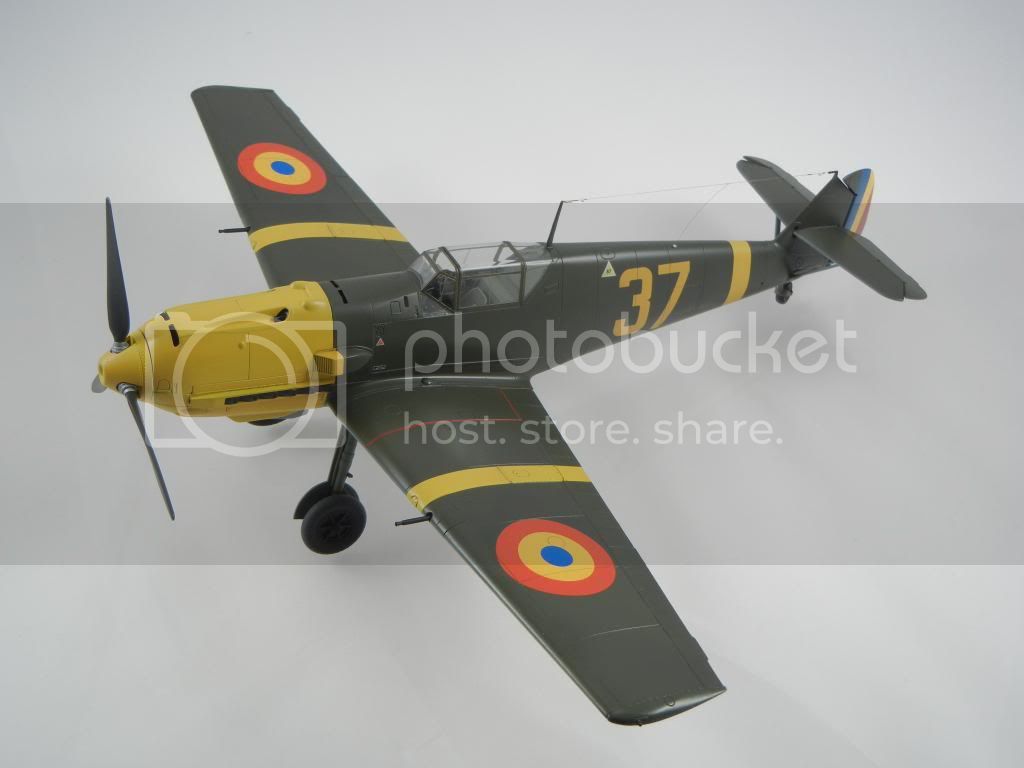
@ Joel - With the realization that I have only a limited time to build an overwhelming number of kits, I decided some time ago to only put effort into enhancements that will actually be seen when the model is completed. So, I look for little things like the aluminium tube that deliver big impact for little effort. I'm glad you like the aluminum tube

@ Mal - The kit part is actually pretty good, and you would only need to get the right size drill and deepen the hole a little and it should look very nice.
On to the update!
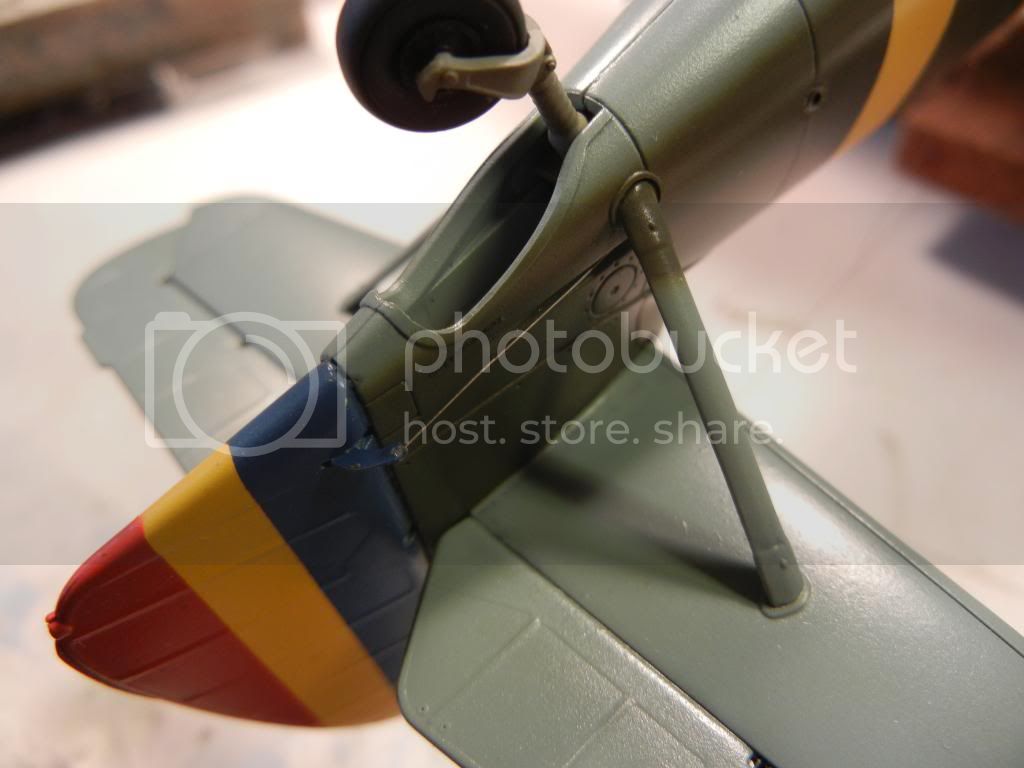
I decided to attach the front/rear canopy sections before attaching the wings (for ease of access). So, I started by painting the inner framework on the rear part.
Eduard got this wrong in their kit, as they have the framing on the outside for the 3 horizontal frames, when in actuality for the E3 style canopy they are all internal. Fortunately CH got this right and have provided raised frames on the inside which I simply masked and painted:
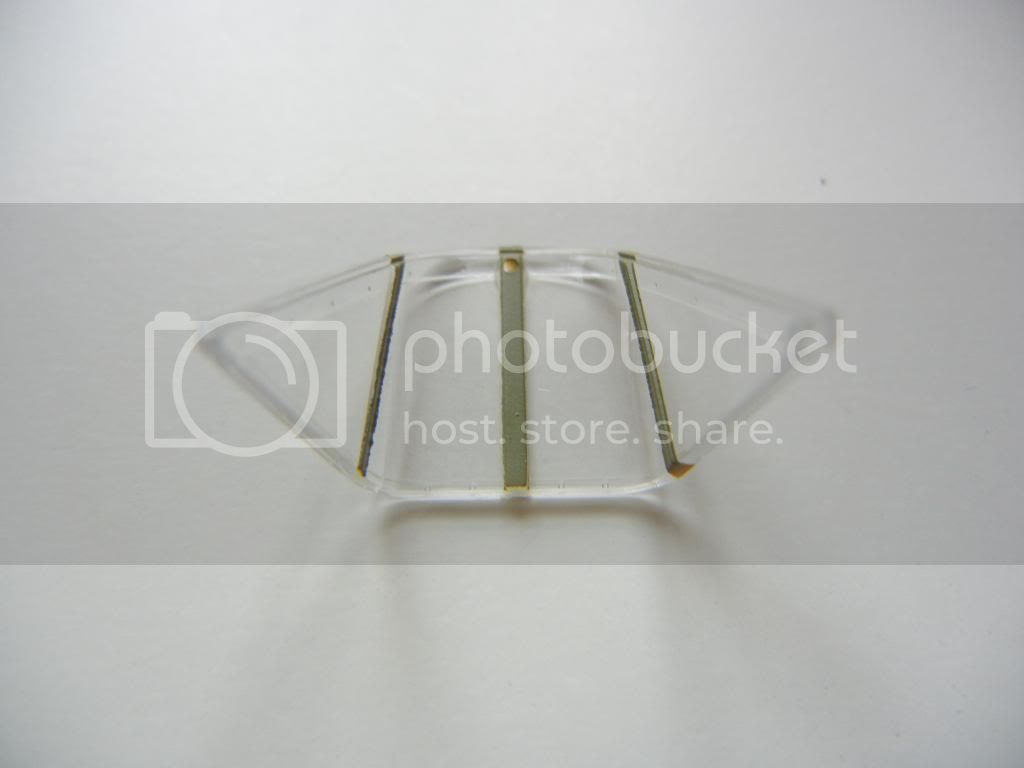
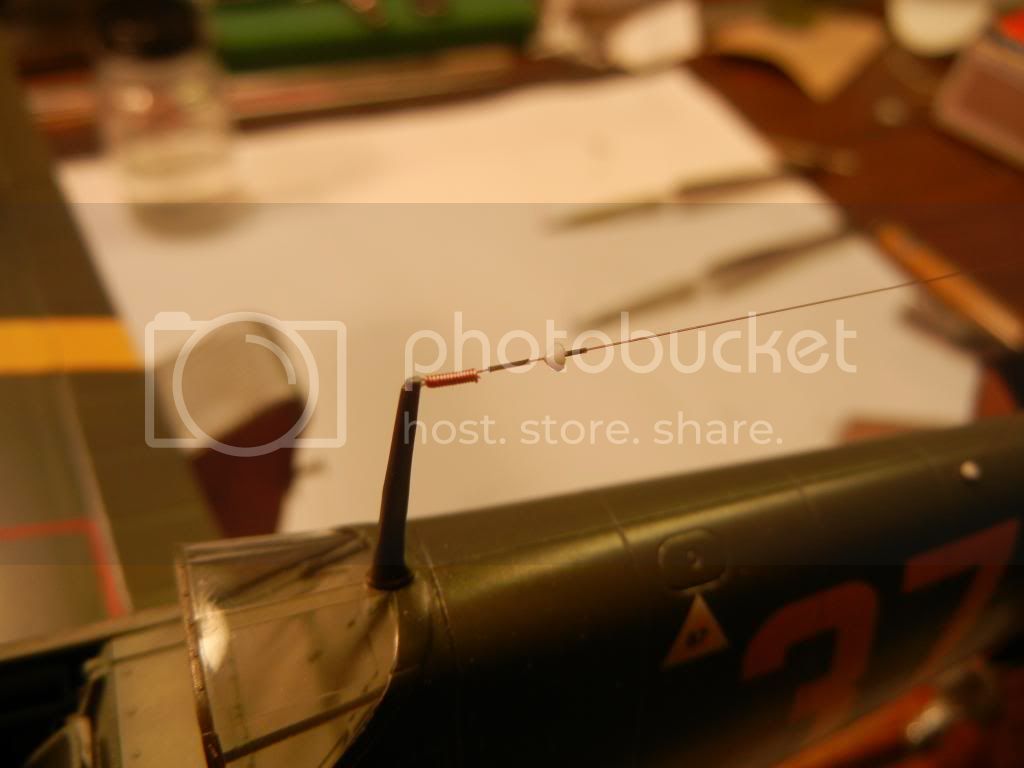
I attached the gunsight (and wire power cord to the IP that I added) and then attached the front windscreen:
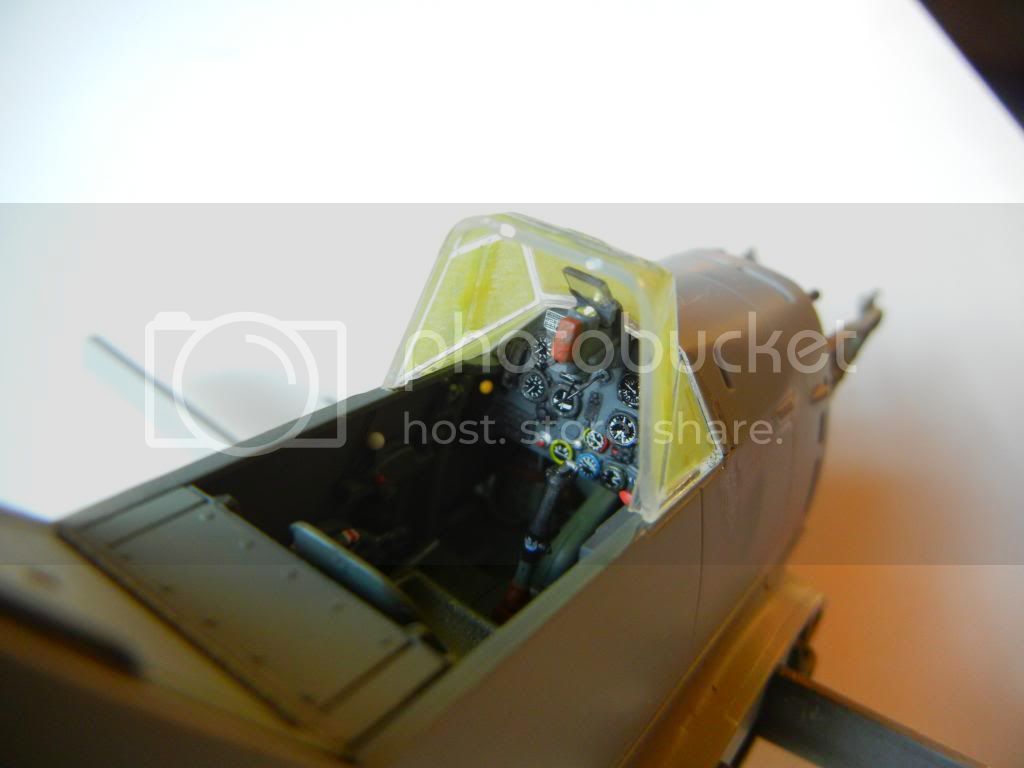
I used the Eduard mask set for this build, and while the fit is good, there are issues with it. Mainly, Eduard has left gaps for framing where there is none in reality. I already mentioned the rear canopy section where Eduard have the 3 internal frames as external on their kit, and this carries over to the mask set (even though it is for the CH kit) and these gaps need to be filled in. Additionally, the same issue is present on the center section. The center section has sliding front sections and where they meet there is a "line" created by the overlap of the two plexiglass parts. The kit part has a line molded there which is perfect to represent this and this line should not be a frame or painted. So, again, the gap needs to be filled in. Finally, on the side windows of the front canopy there is the same two pieces of plexi that join, represented on the kit part by a line, and again this line should not be painted, so the gap needs to be covered. You can see in this pic all the covered gaps mentioned above:
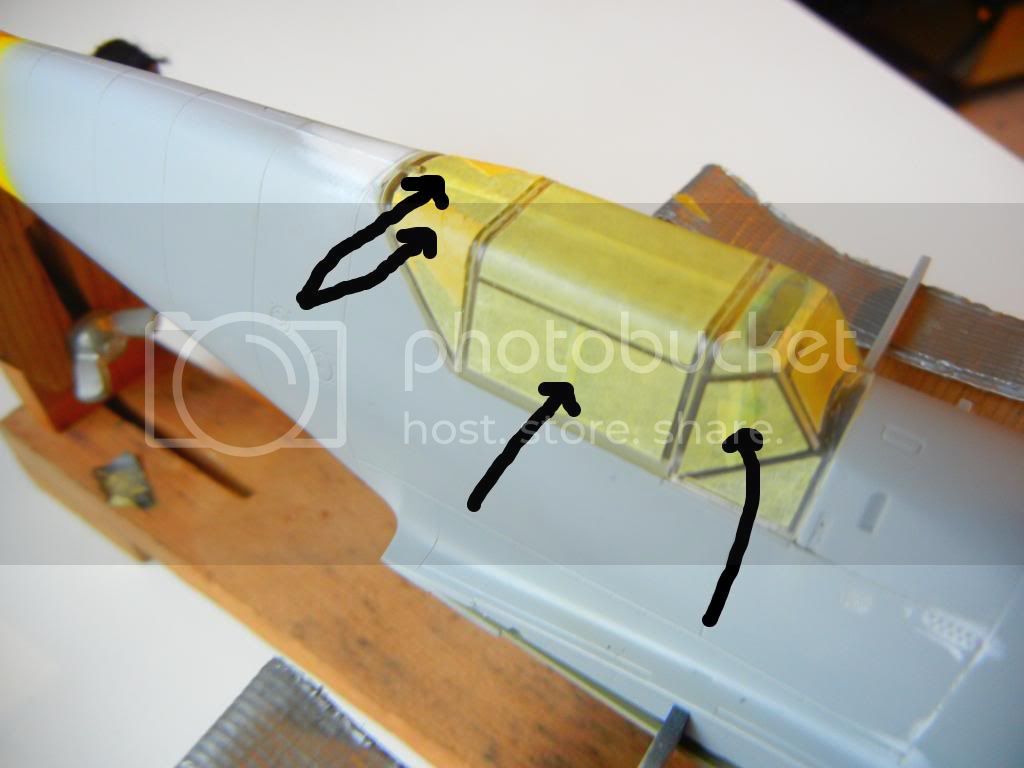
Although not really difficult to do, it would be even easier if the mask was cut properly

That's it for now, wings on next!
Thanks for looking, as always, comments/questions/critique welcomed!
Doug


