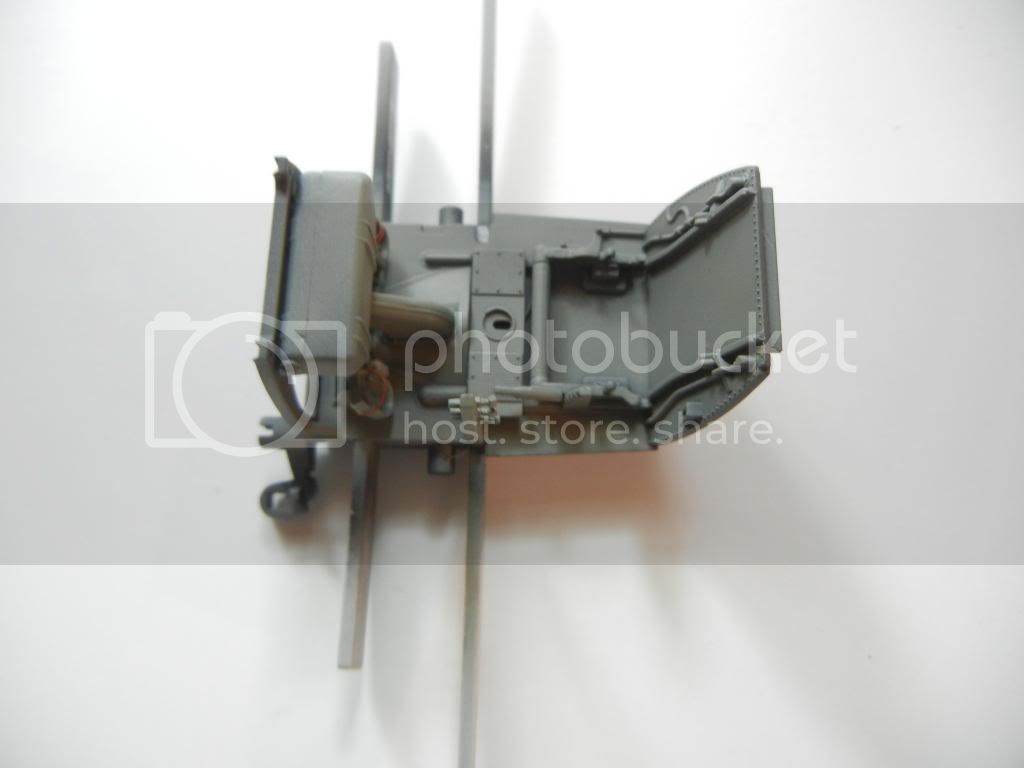
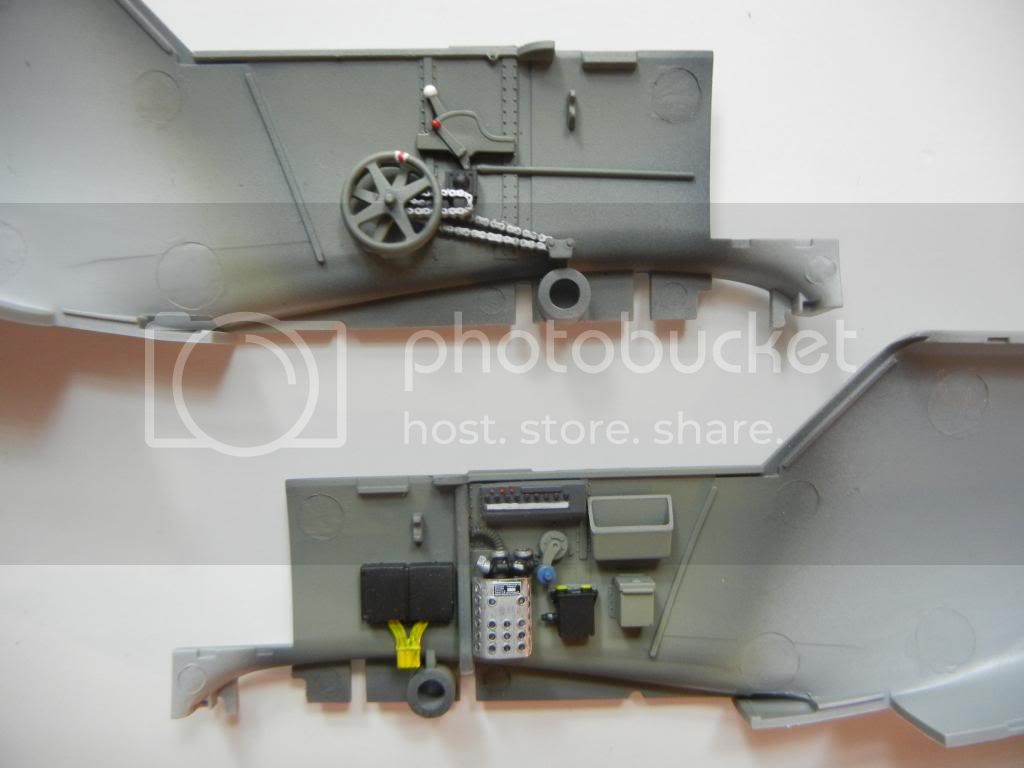
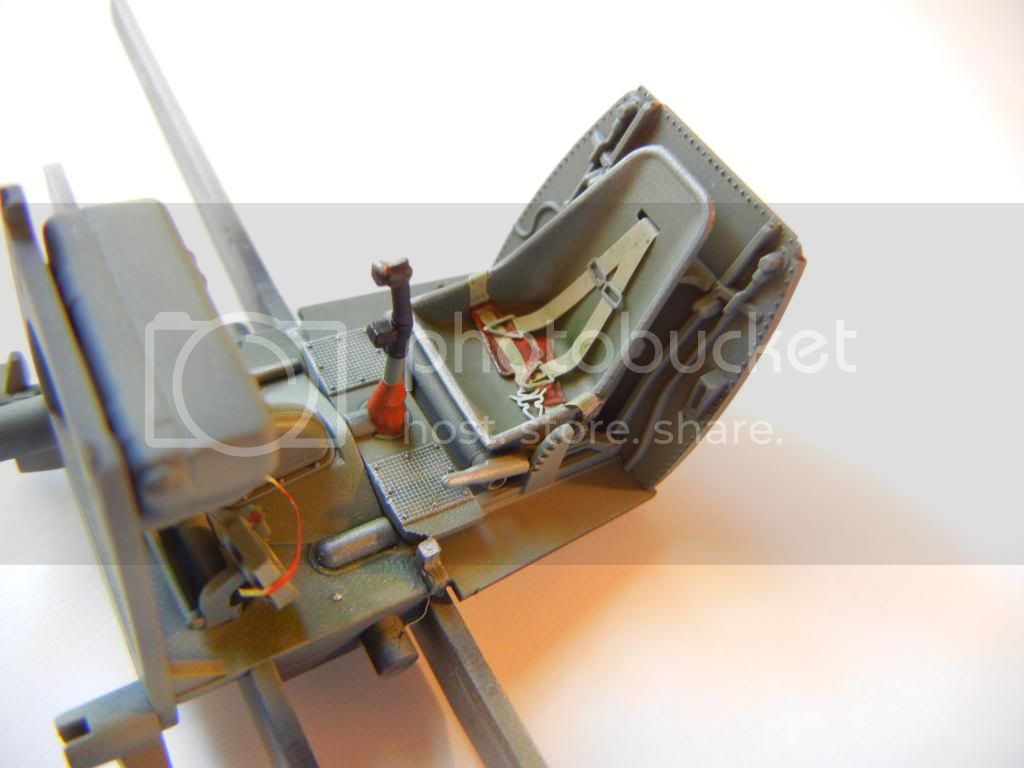
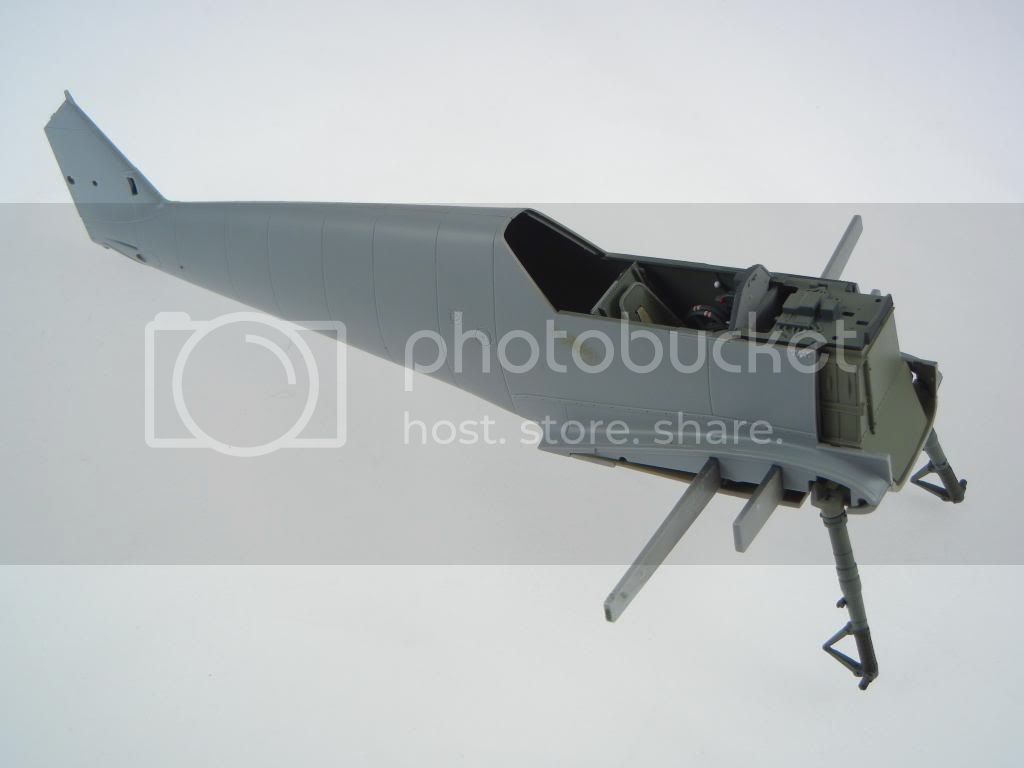
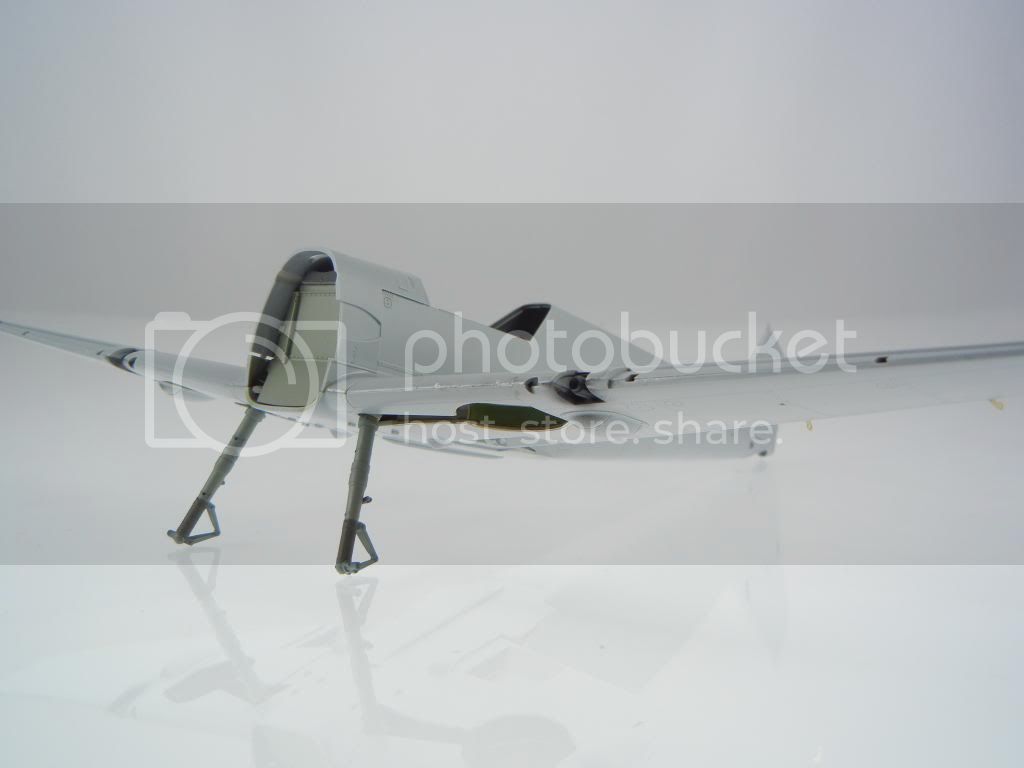
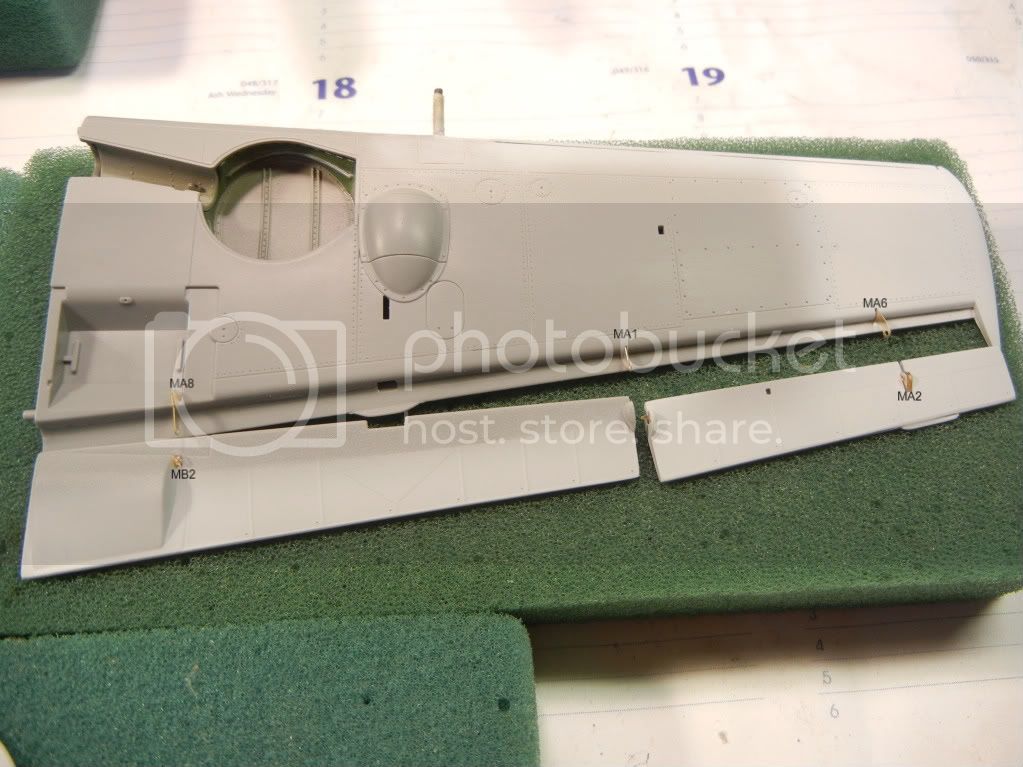
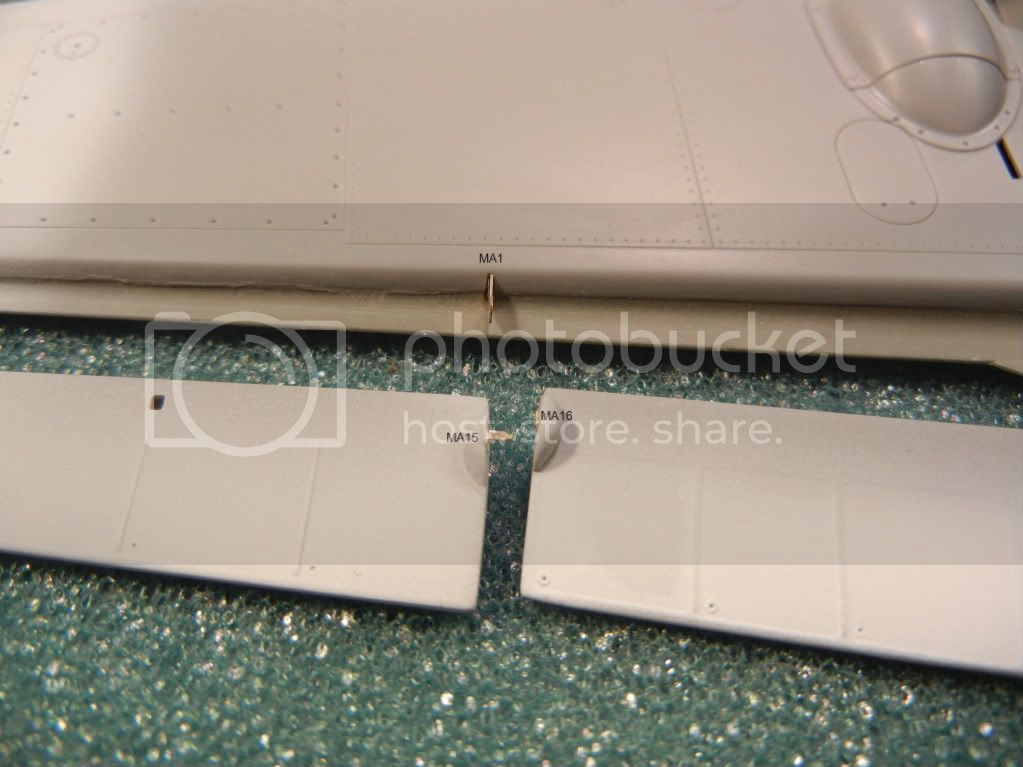
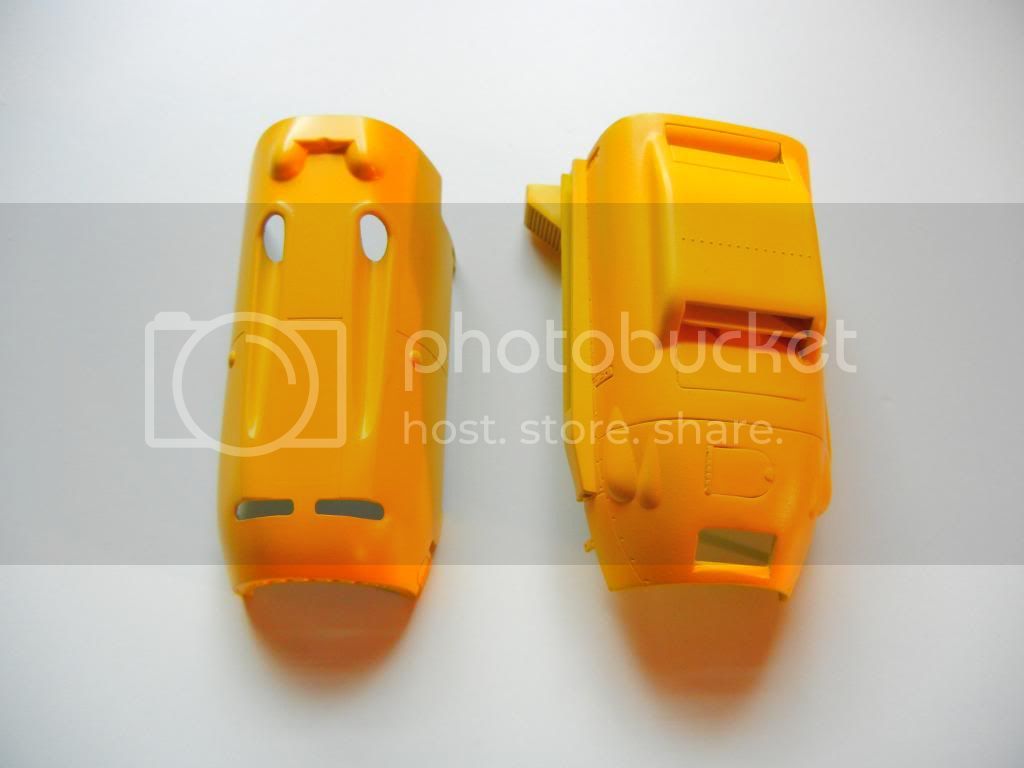
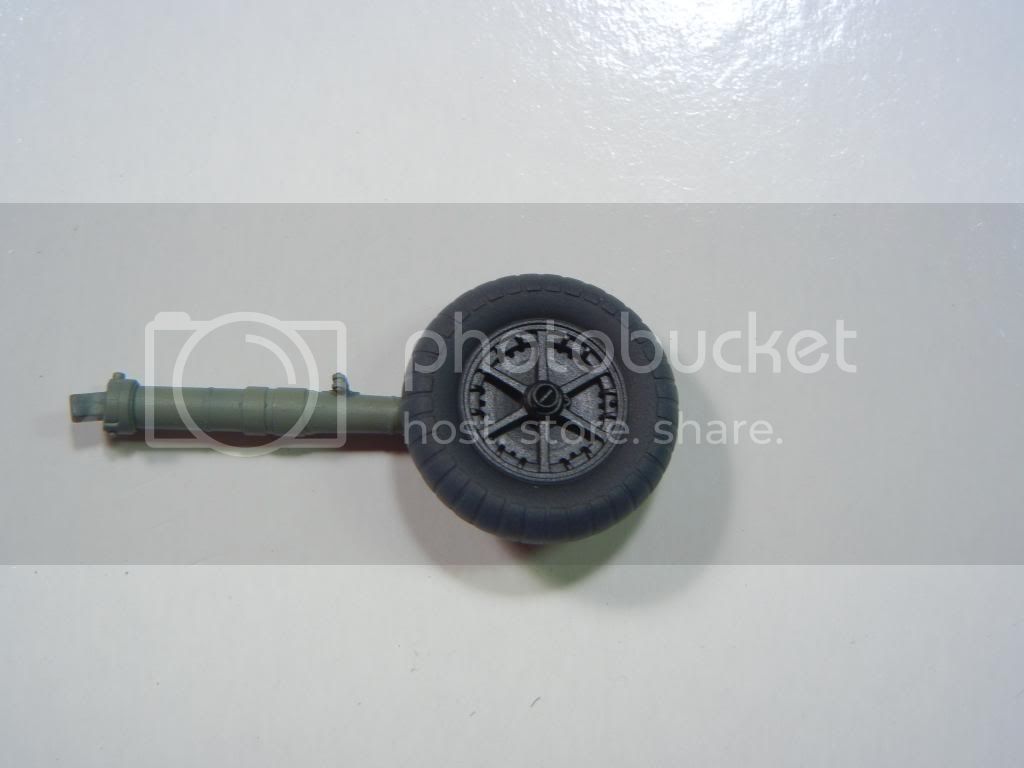
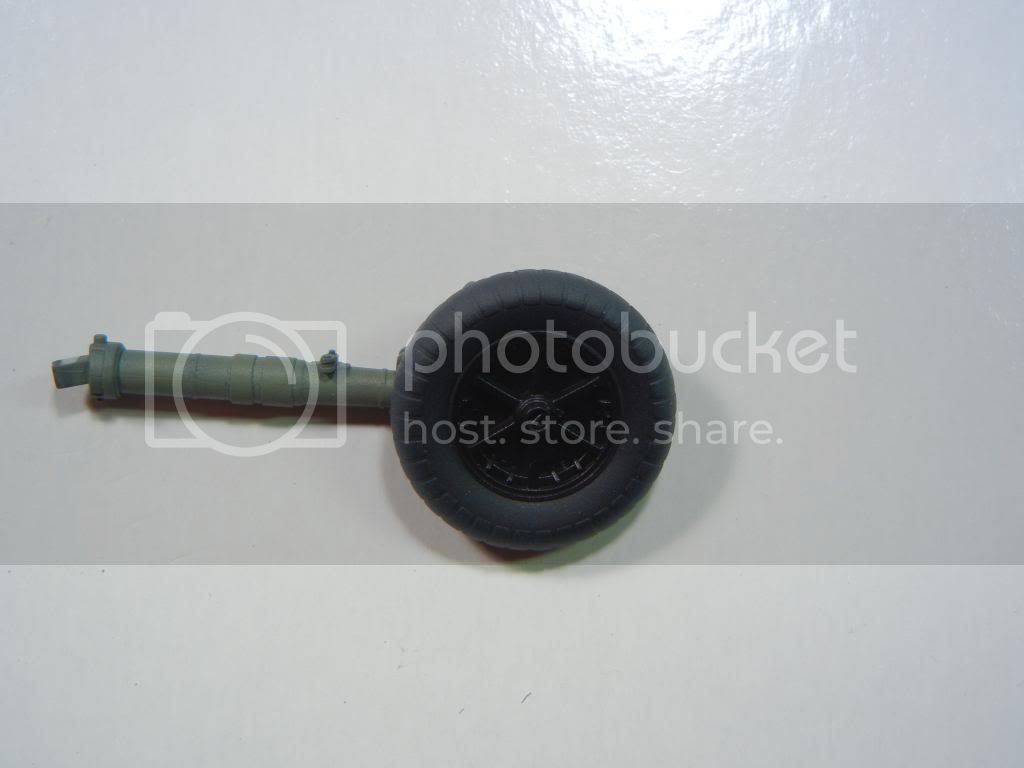
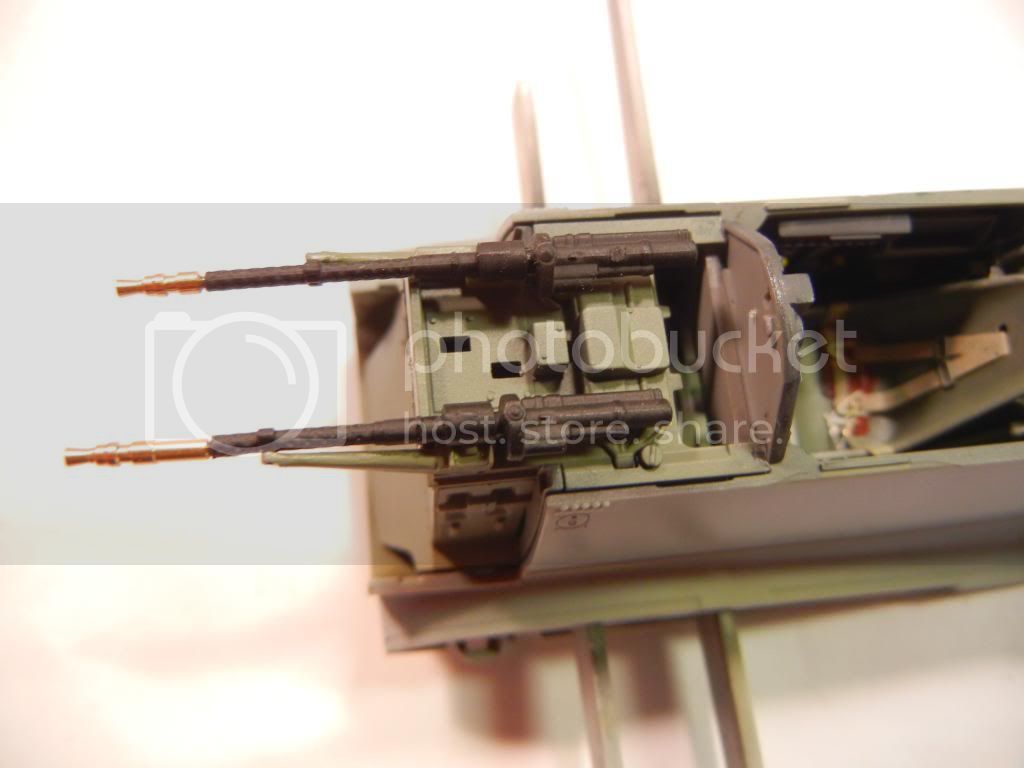
So, what better than to pull out this very nice 1/32 CH 109 E3 kit!
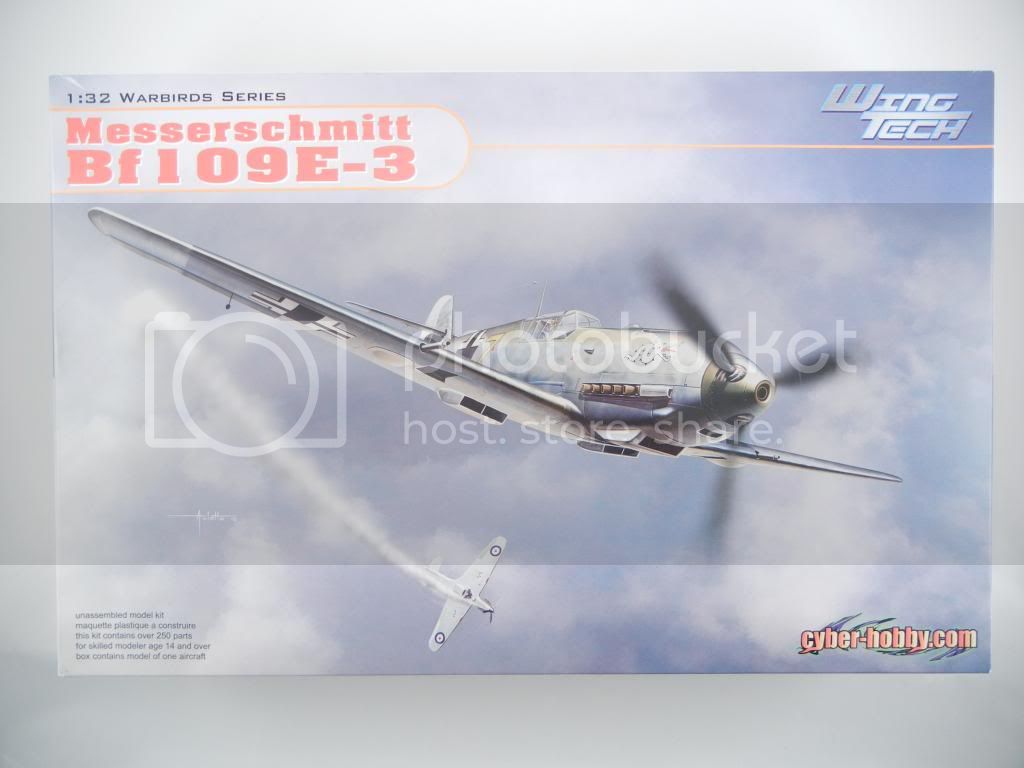
While the Eduard kit is very nice, and has excellent surface detail, I must admit that I prefer the CH kit. I think the CH kit has better engineering and fit which make it an easier build.
Having built the E4 version of this kit, I will try to use lessons learned from that experience.
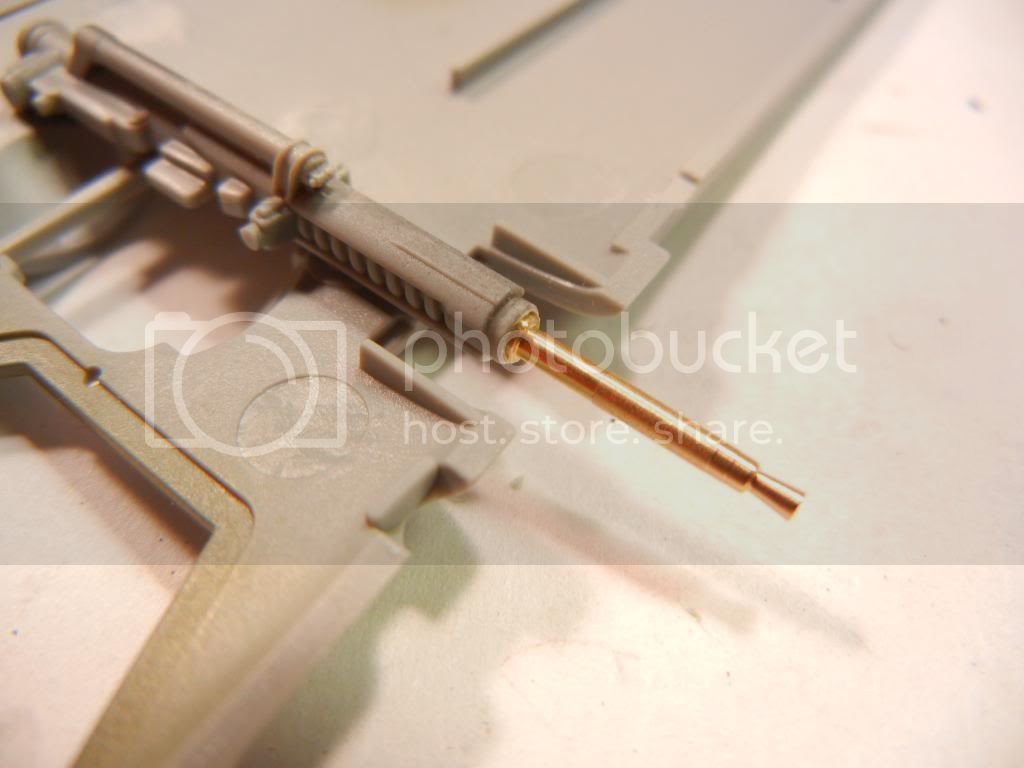
I plan to build the kit oob with the exception of some Master brass barrels. While the kit ones look very good painted, I wanted to try a set of these, so we'll see how that goes.
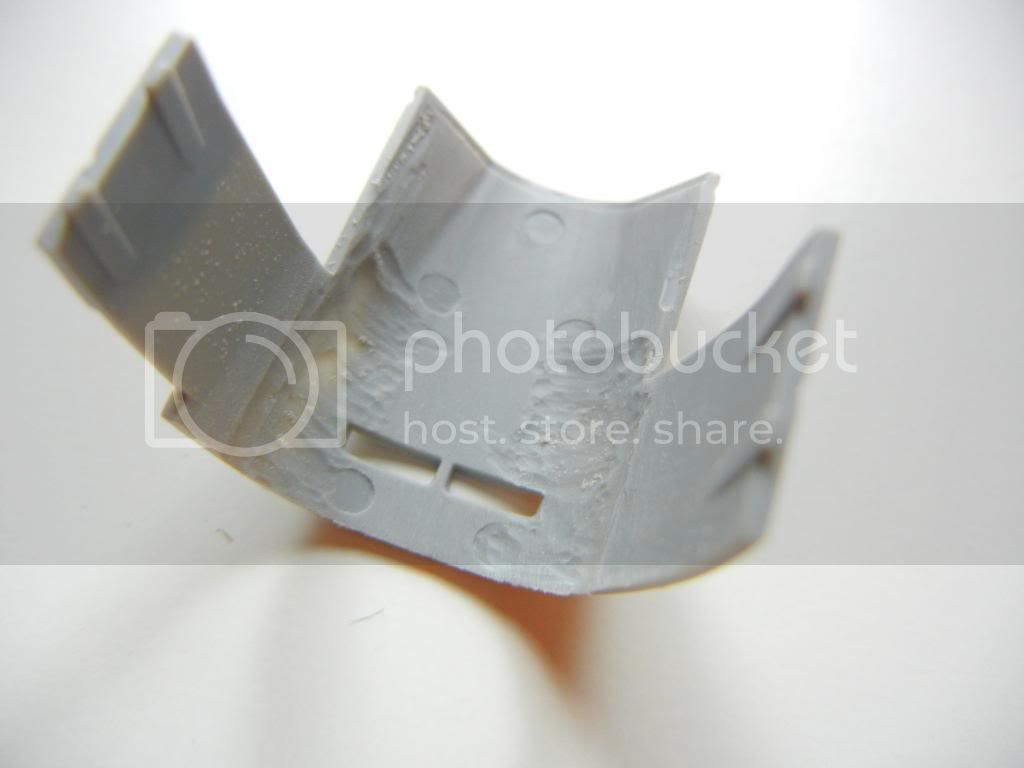
As usual, the build begins with the cockpit. I modified the single molded throttle quadrant by cutting a slot in it to improve the look:

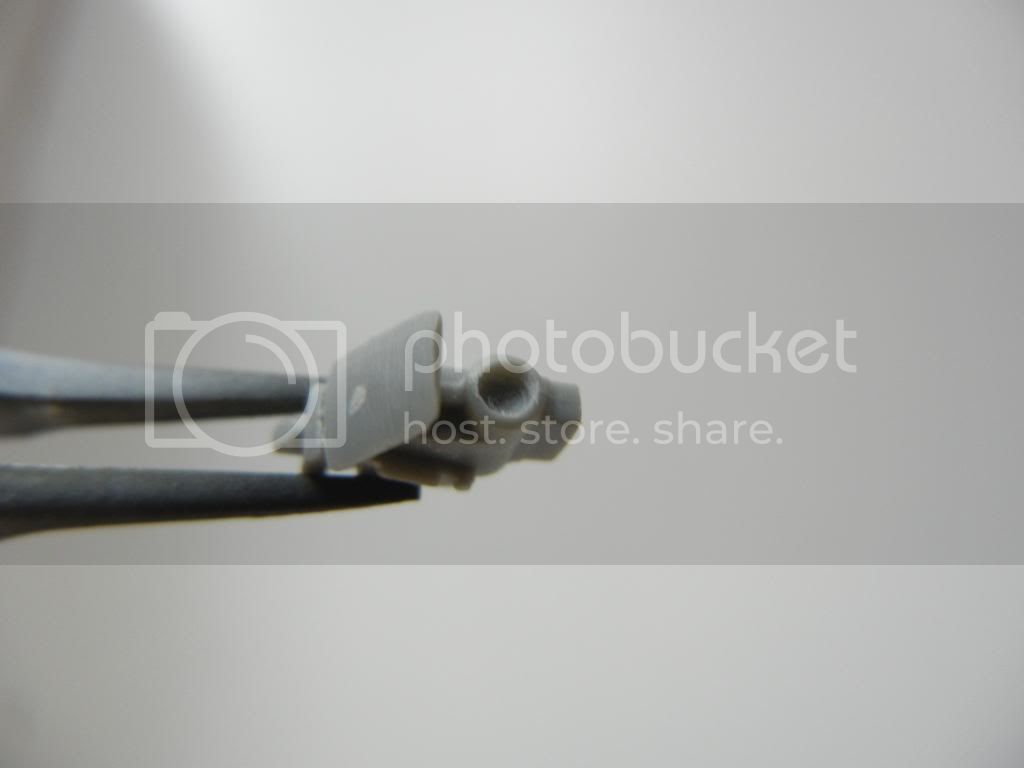
I also modified the gunsight by drilling a hole where the sight glass goes and will add a MV lens there after painting:
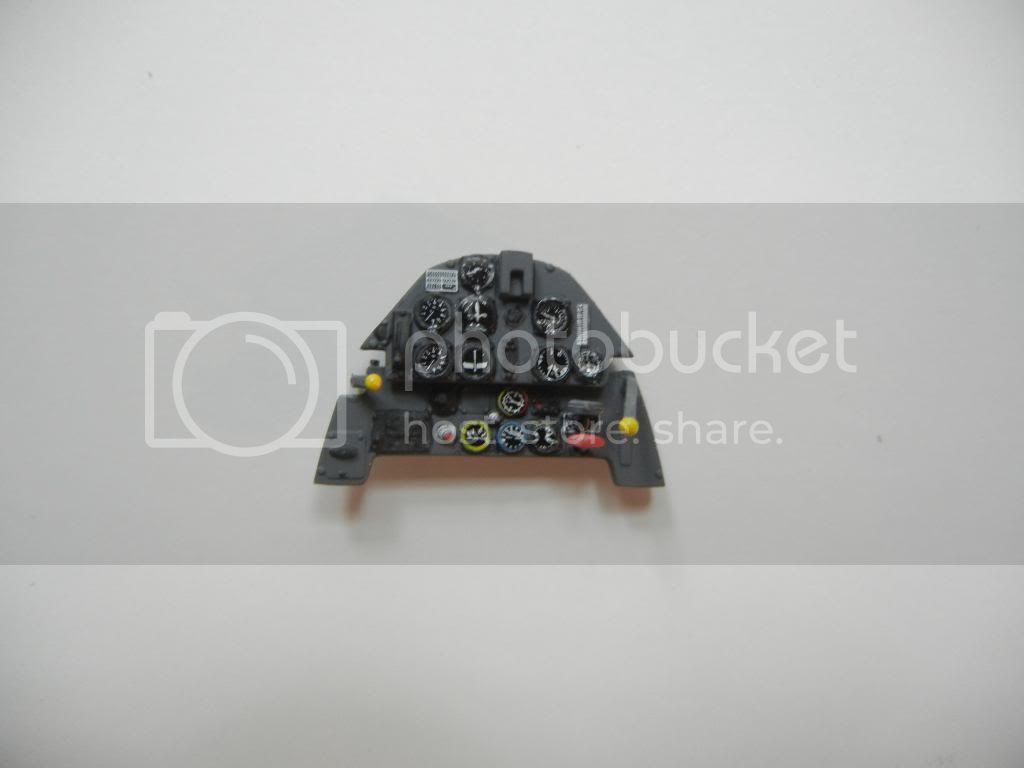
I debated on using an Eduard IP on this build, after not having a good time trying to paint the IP on my E4 build. However, after using some instrument decals on my Dragon 1/32 build (seen here), I decided to use some airscale instrument decals on this one as I prefer the 3D look. I am pleased with the way it came out:
Next, I'll be getting the cockpit together.
Thanks for looking, comments/critique welcomed!
Doug


