_GOTOBOTTOM
World War II: USA
Aircraft of the United States in WWII.
Hosted by Rowan Baylis
B-17 1/32 by HK Models, Eduard, Profimodeller
elmarriachi
_VISITCOMMUNITY
Baden-Württemberg, Germany
Joined: December 26, 2009
KitMaker: 813 posts
AeroScale: 98 posts
Posted: Monday, November 25, 2013 - 11:54 PM UTC
Hello @ all from Germany!

I want to show you my built of the big B-17G "Flying Fortress" in the large scale 1/32 by HK Models. I am using several etched parts from Eduard and parts from Profimodeller. Decals are coming from Kitsworld.

Please accept my excused for my English - it is ok so far, but the technical words concerning airplanes are mostly missing..... I will try my best

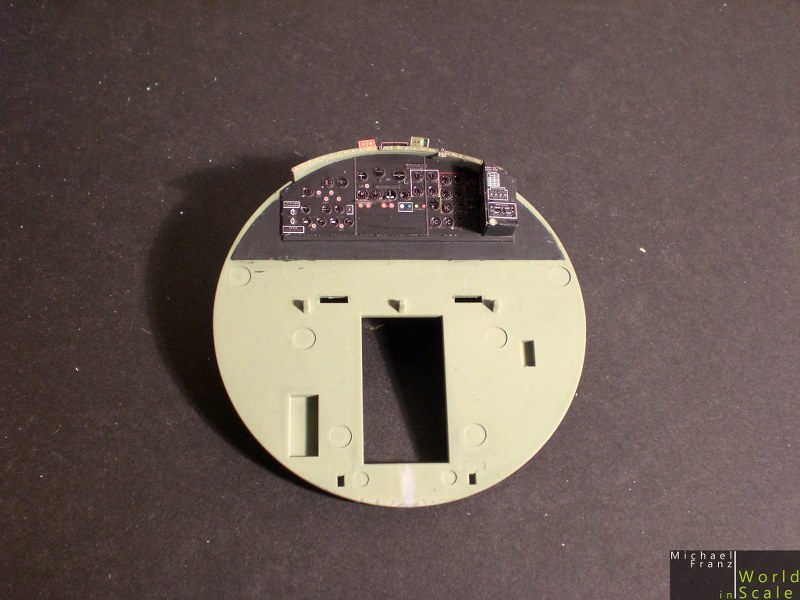
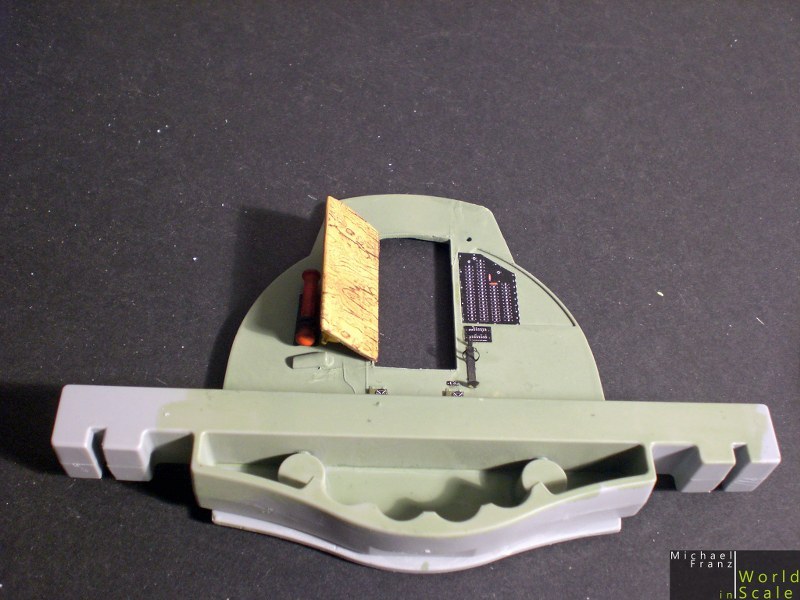
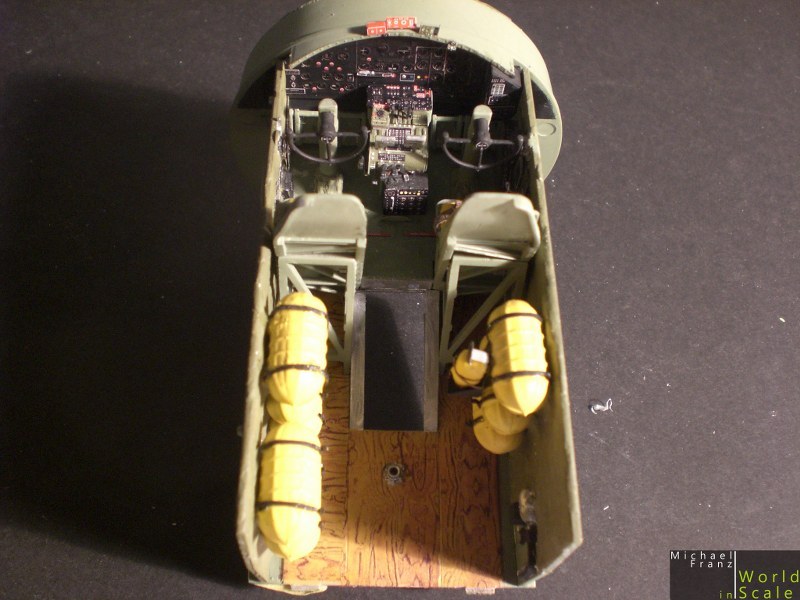
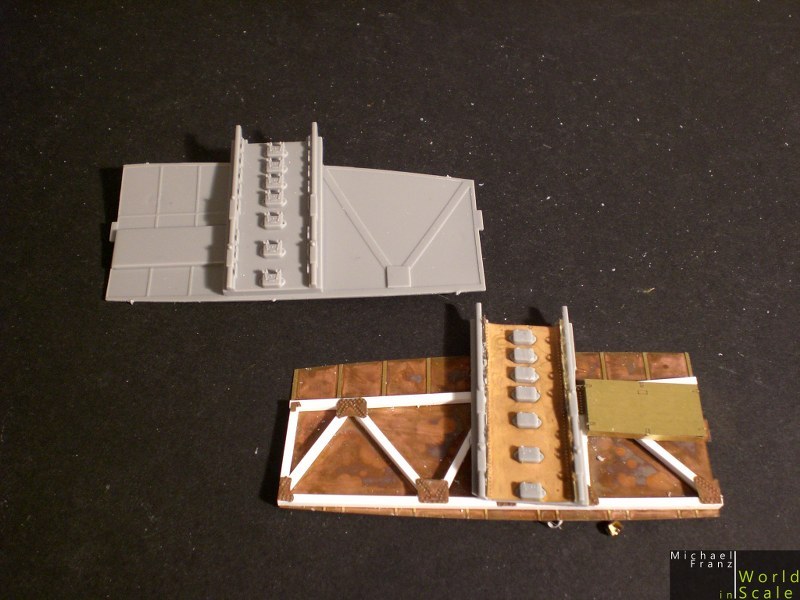
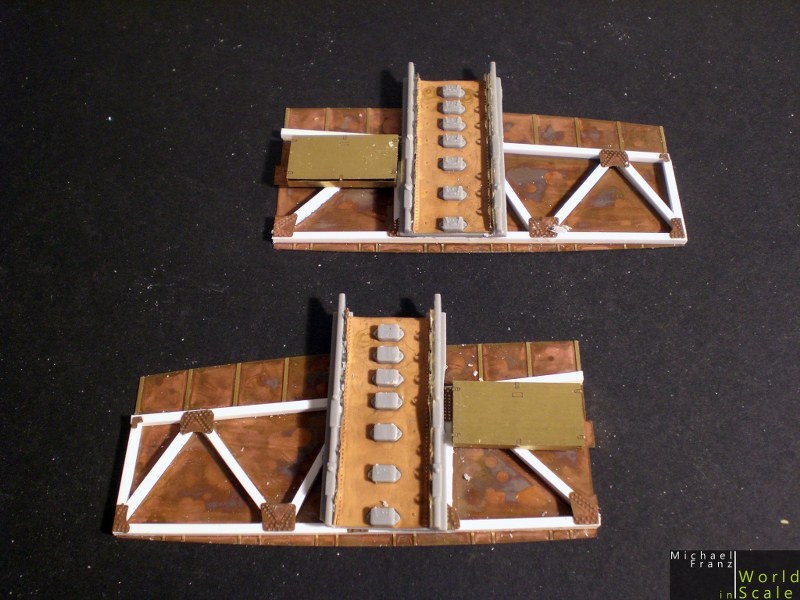
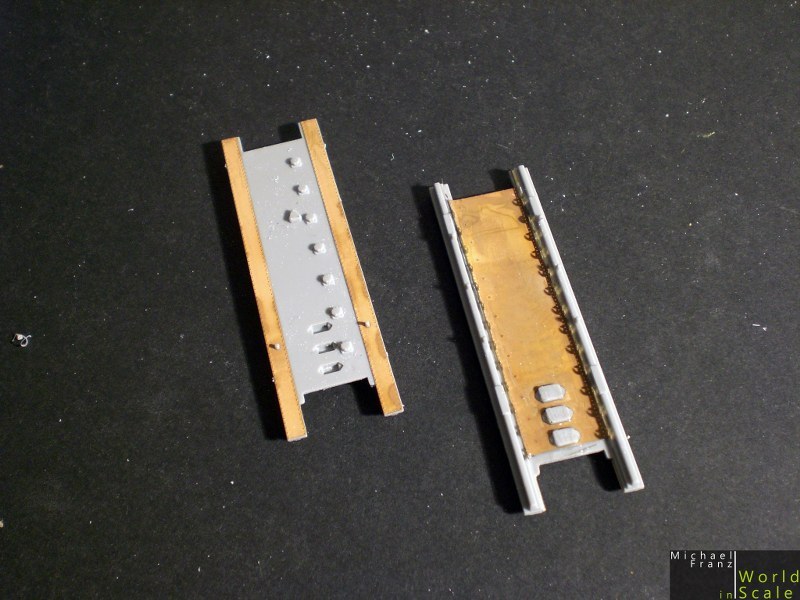
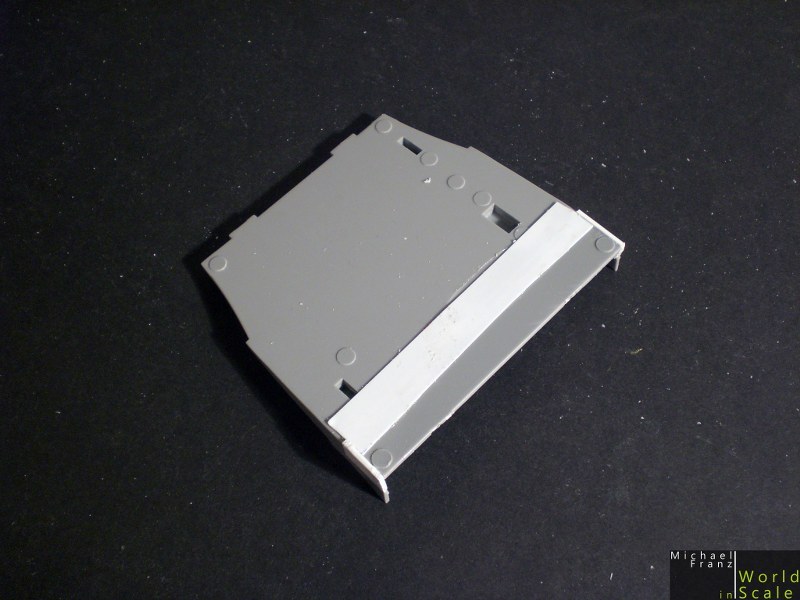
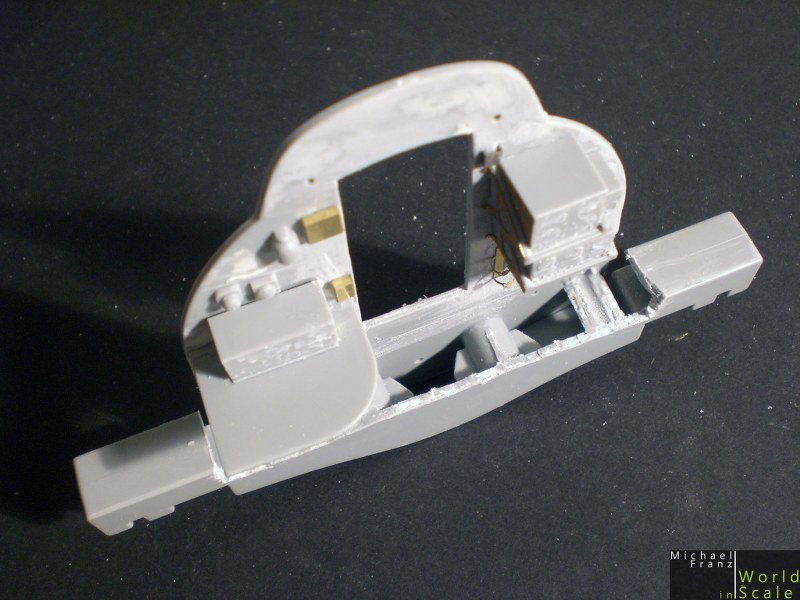
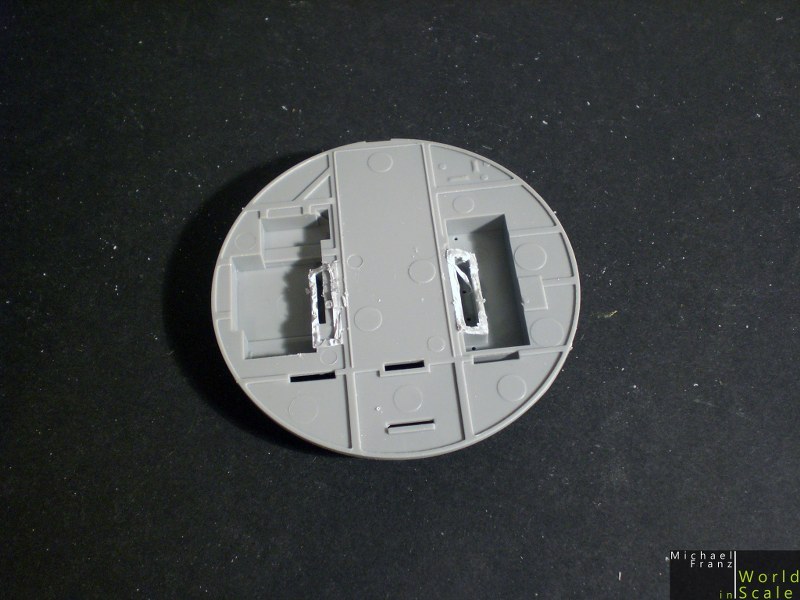
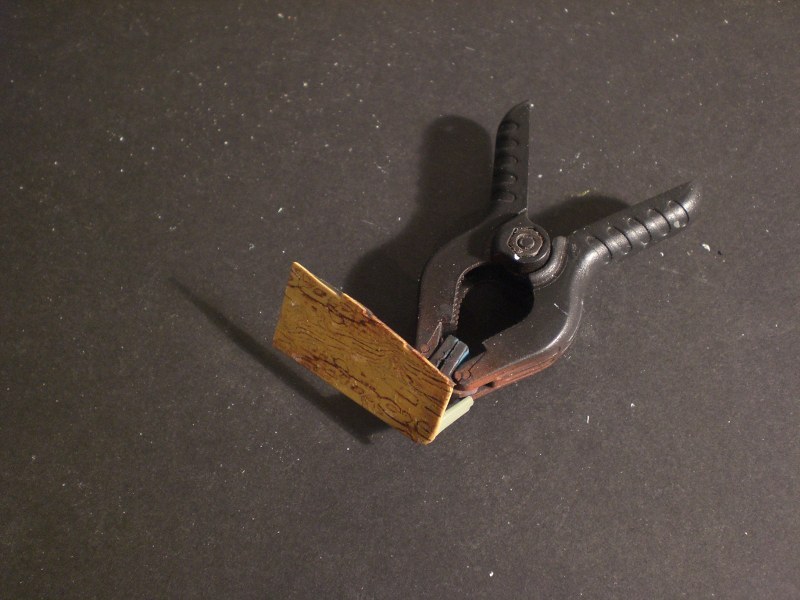
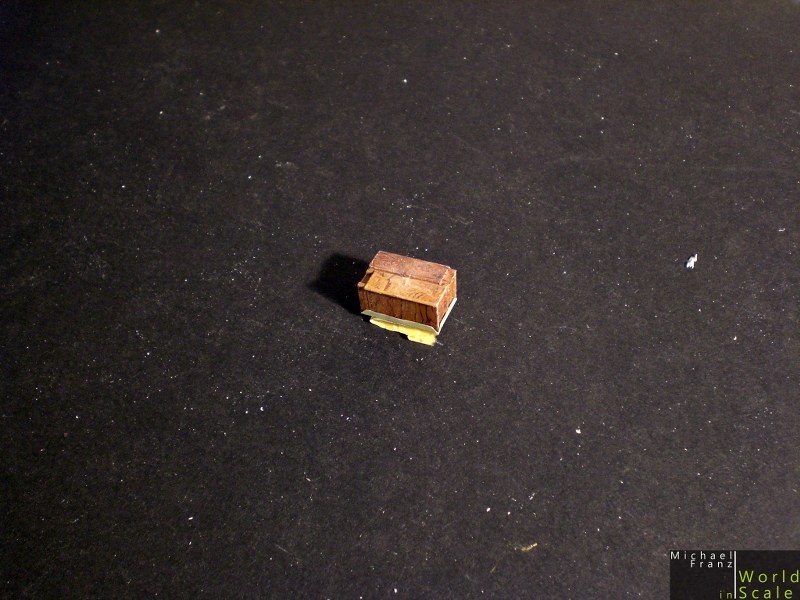
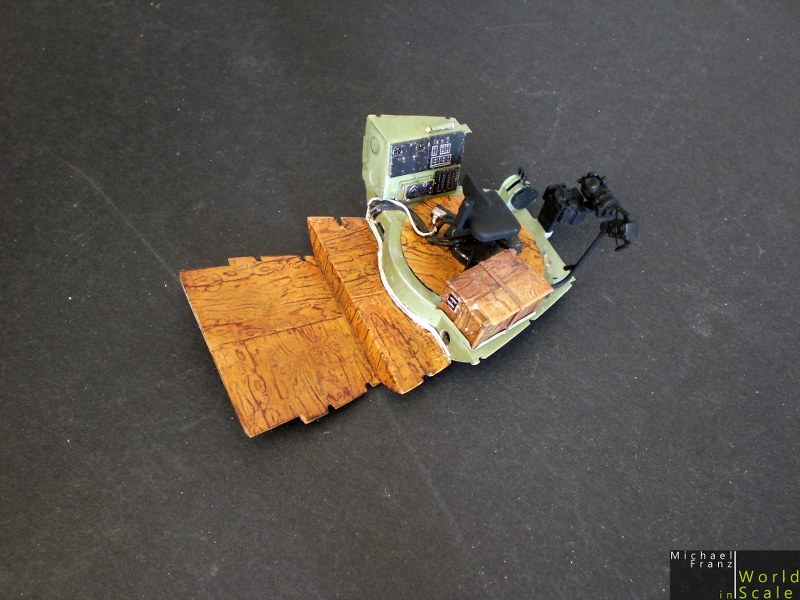
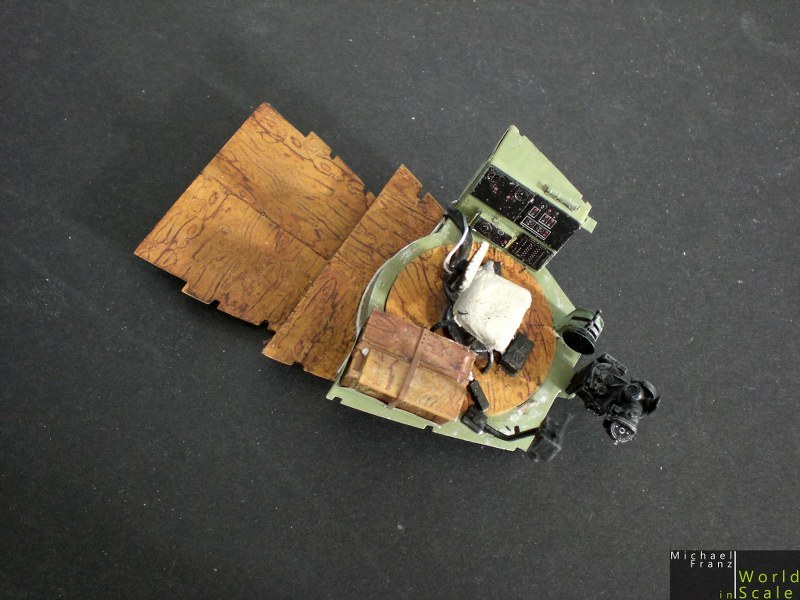
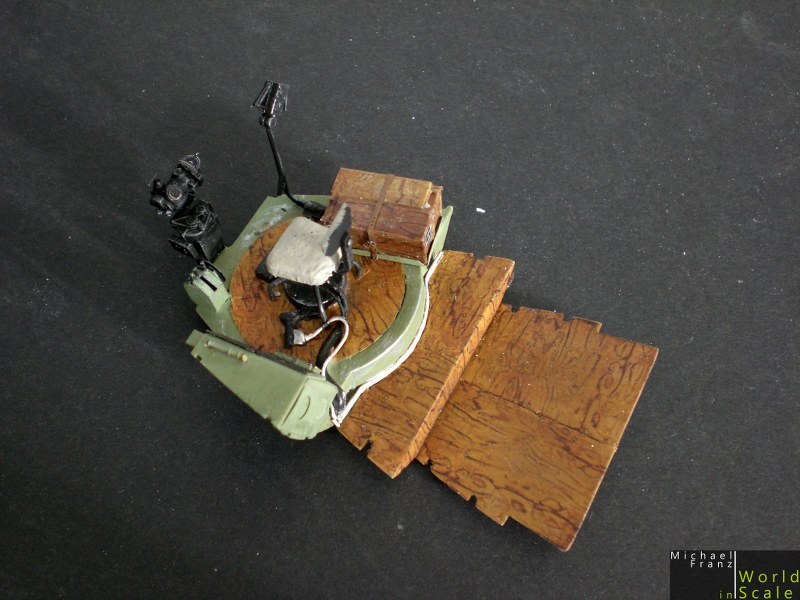
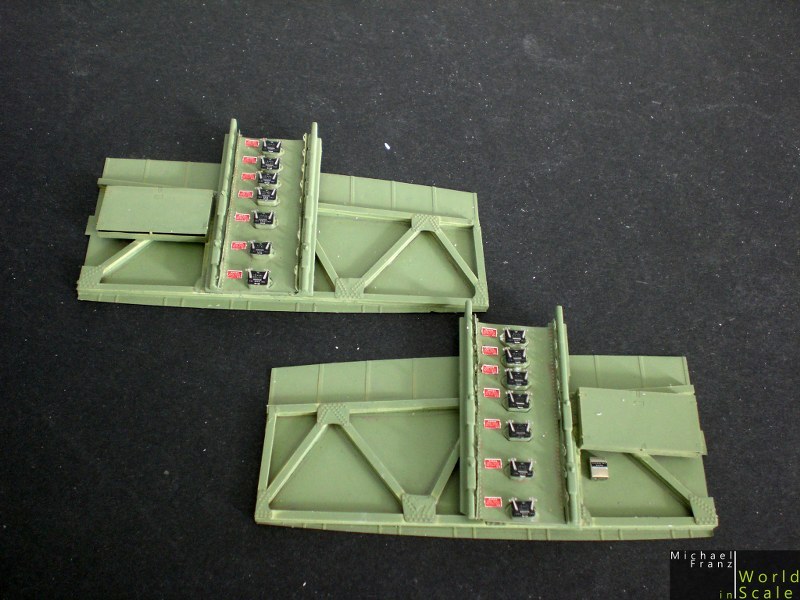
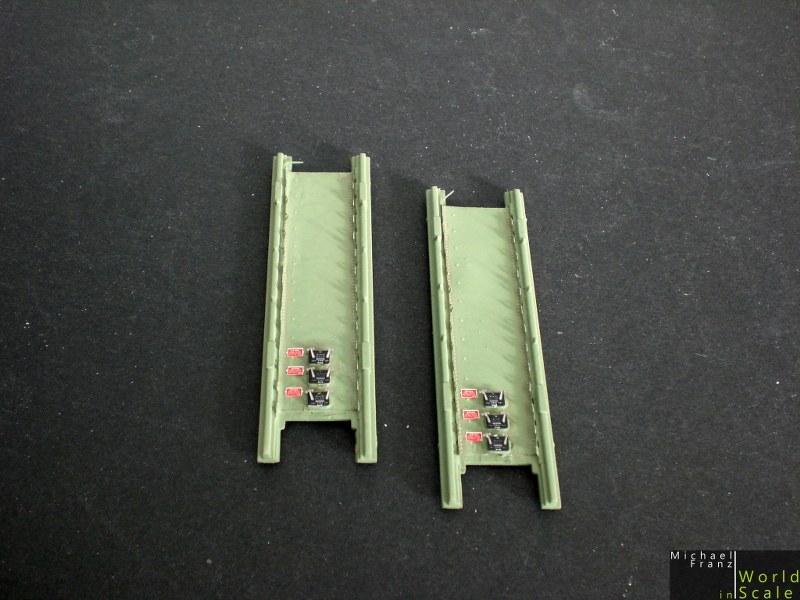
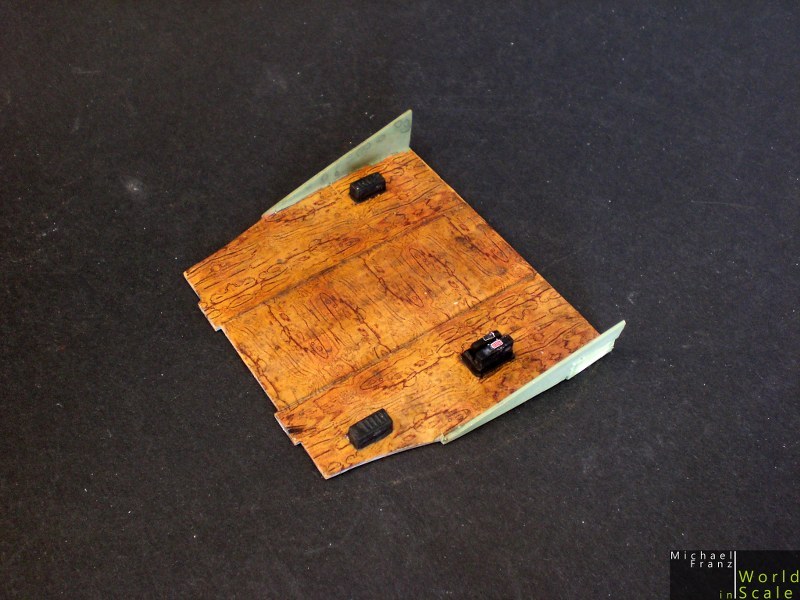
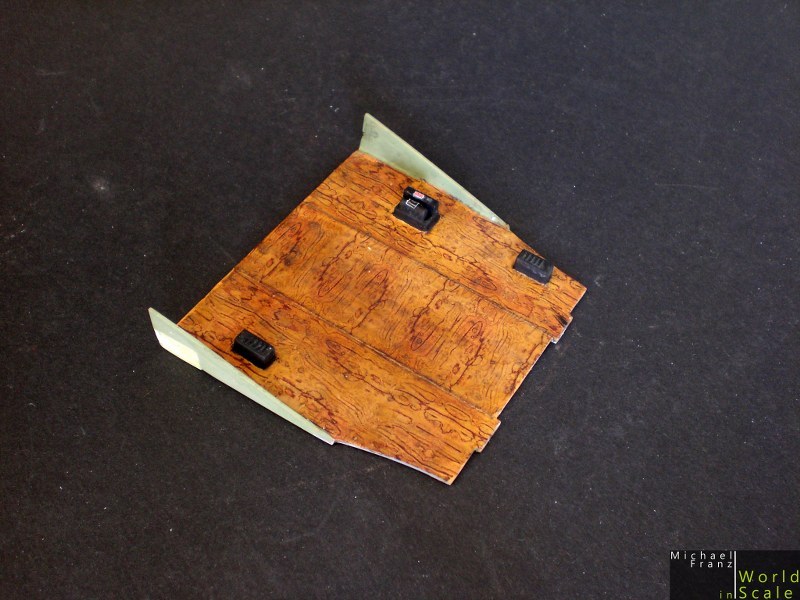
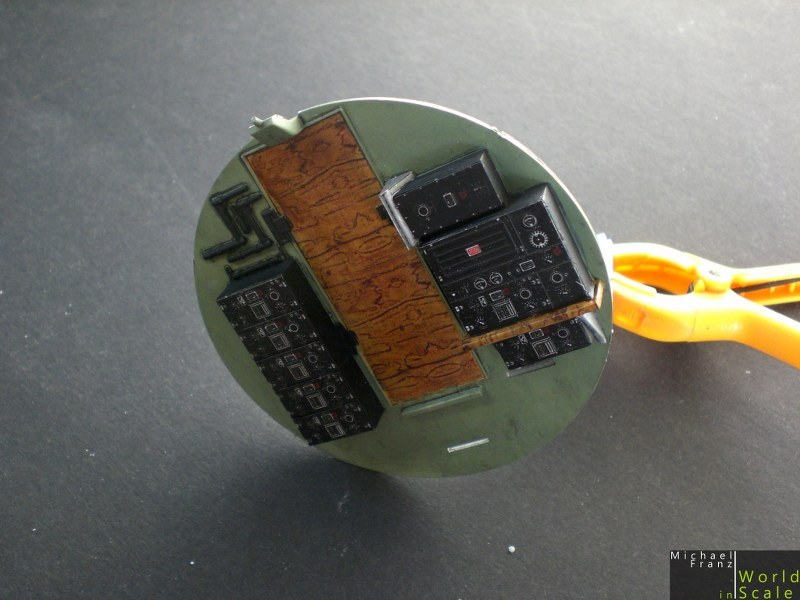
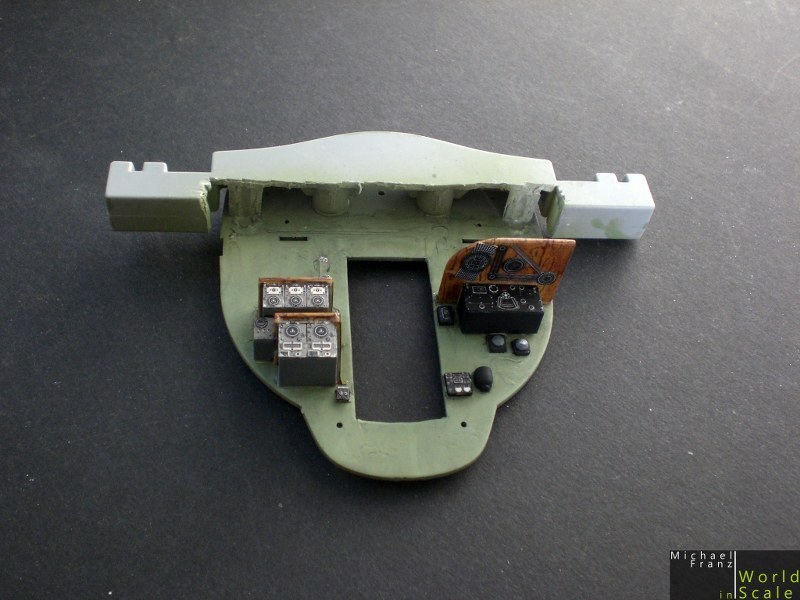
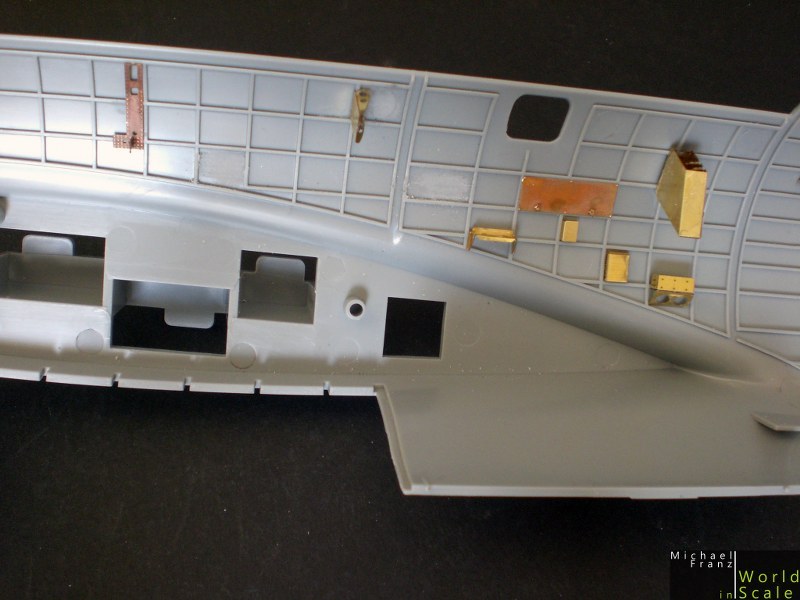
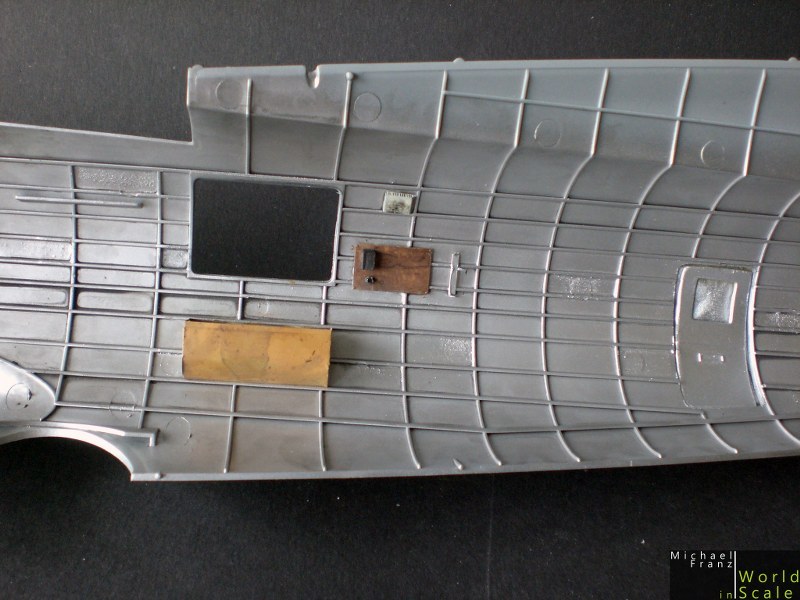
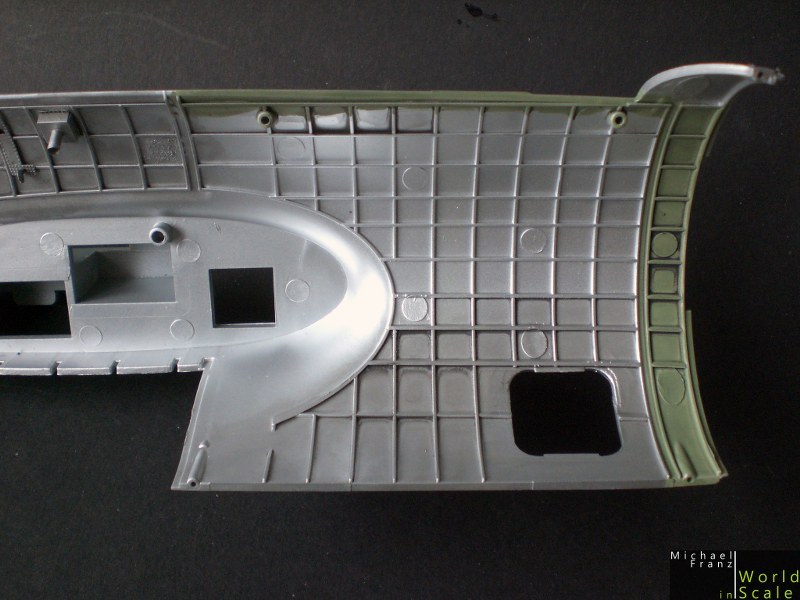
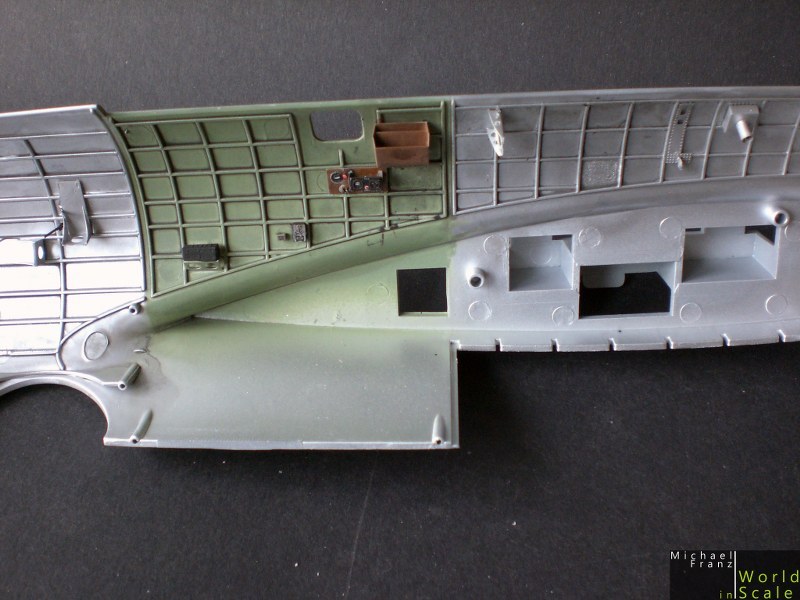
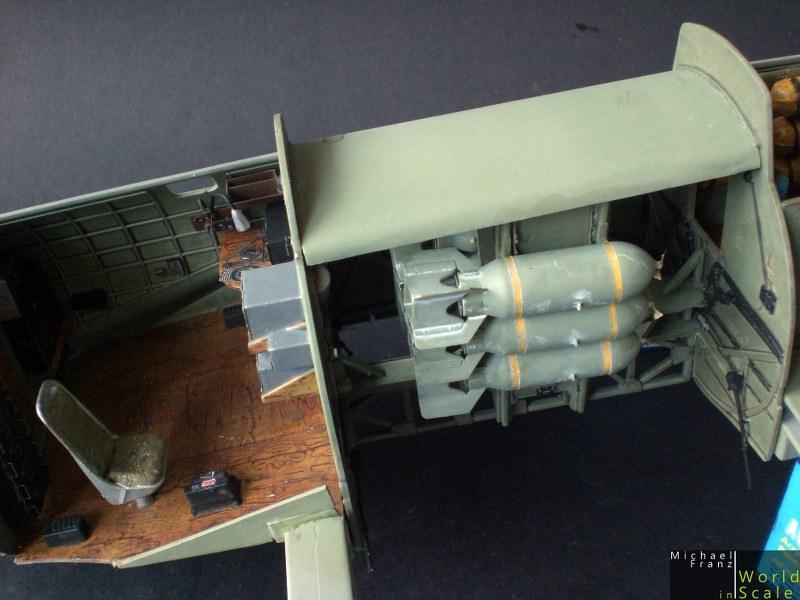
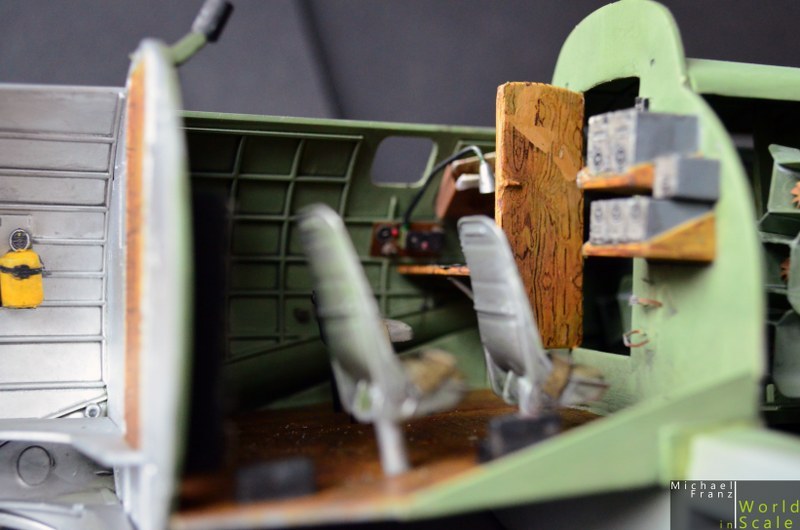
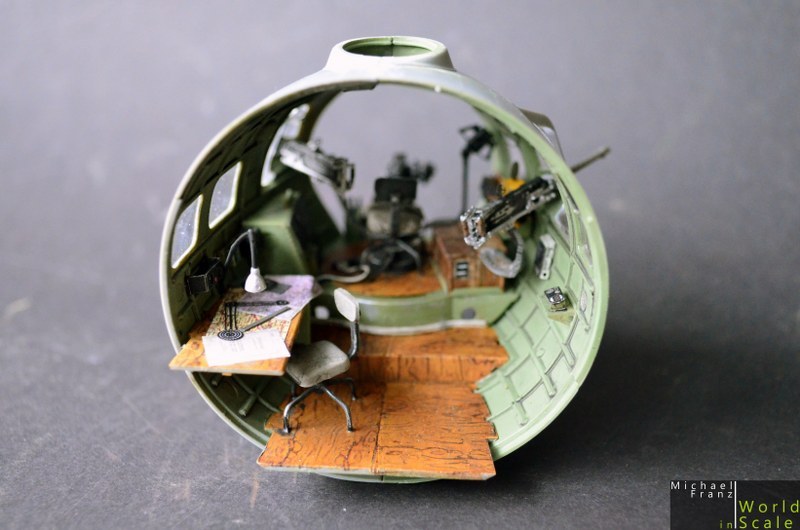
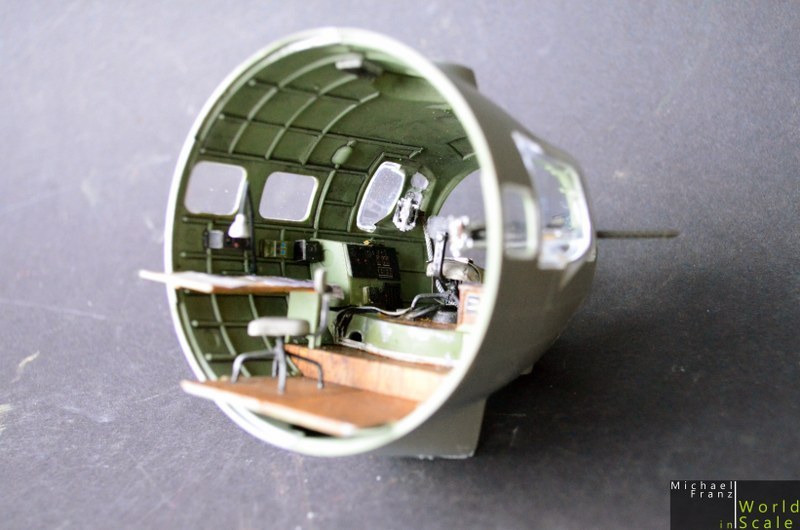
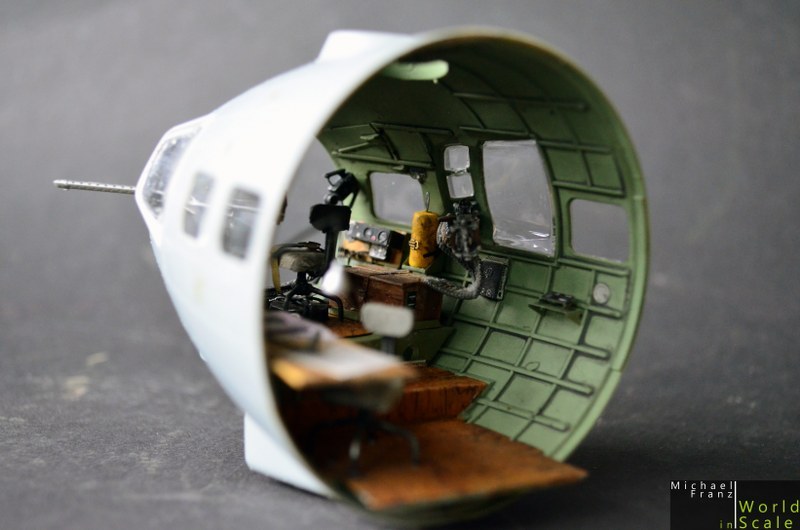
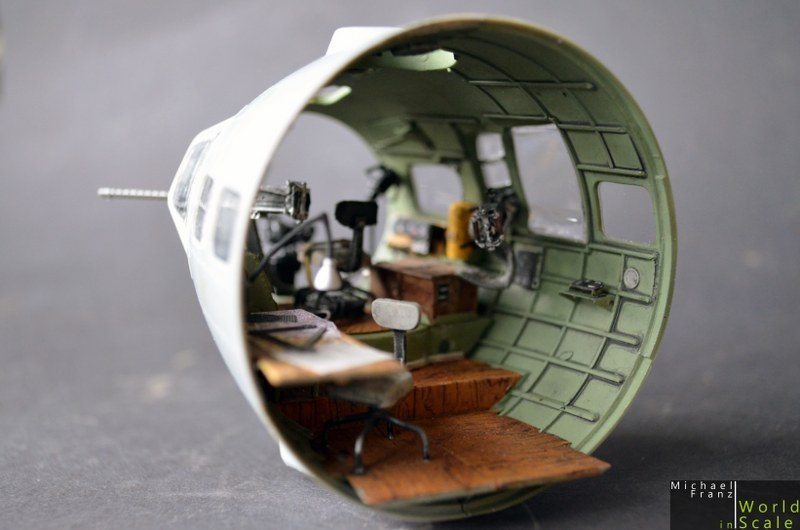
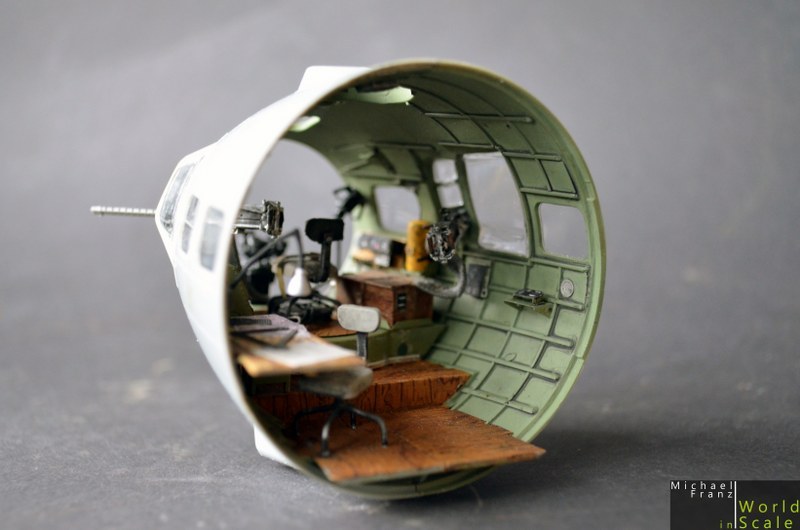
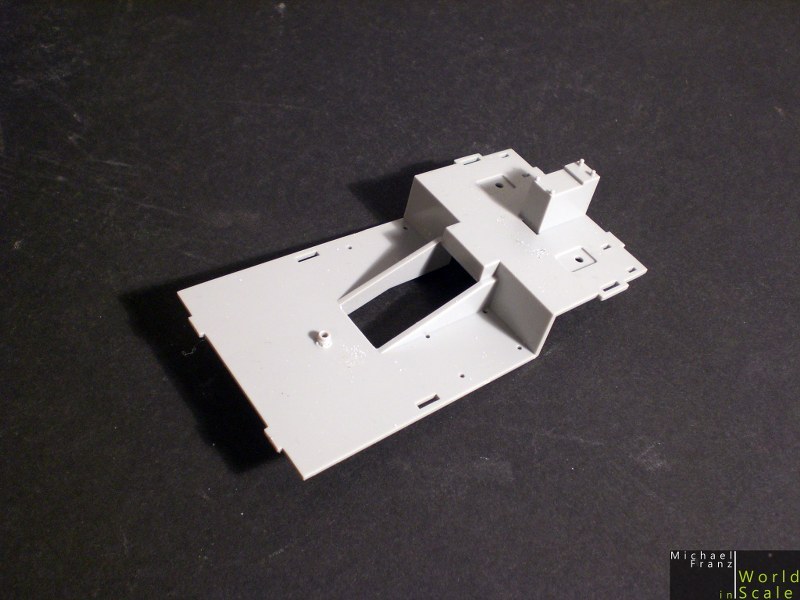
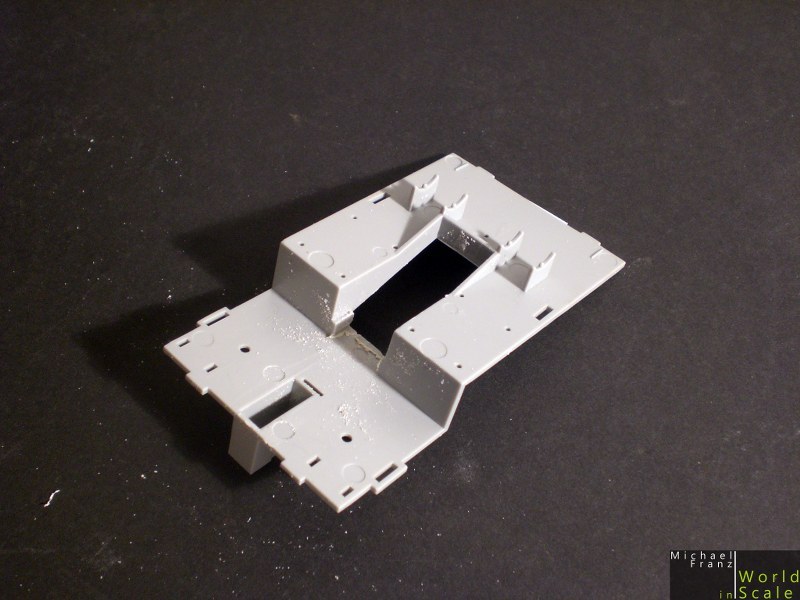
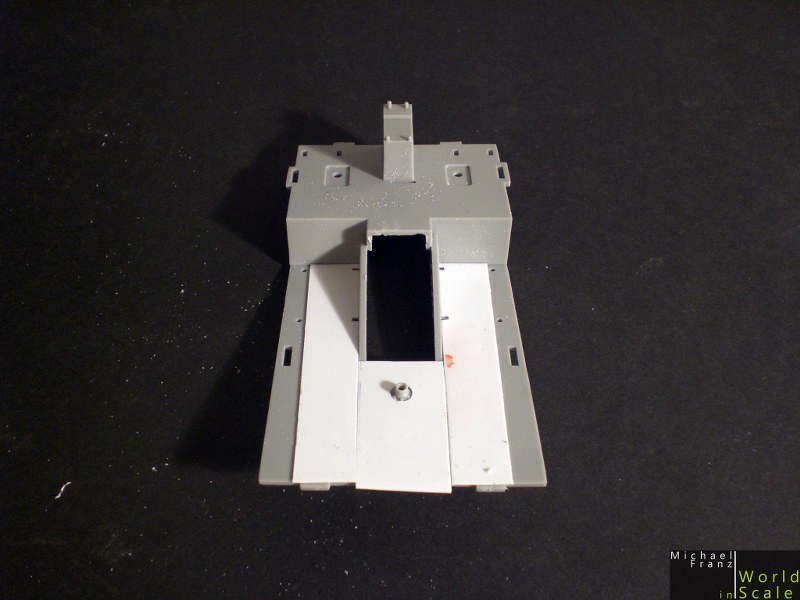
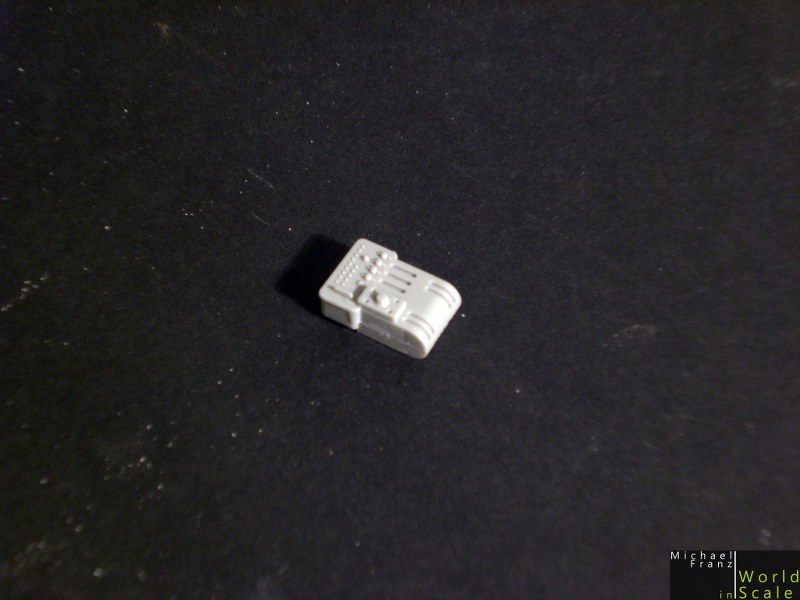
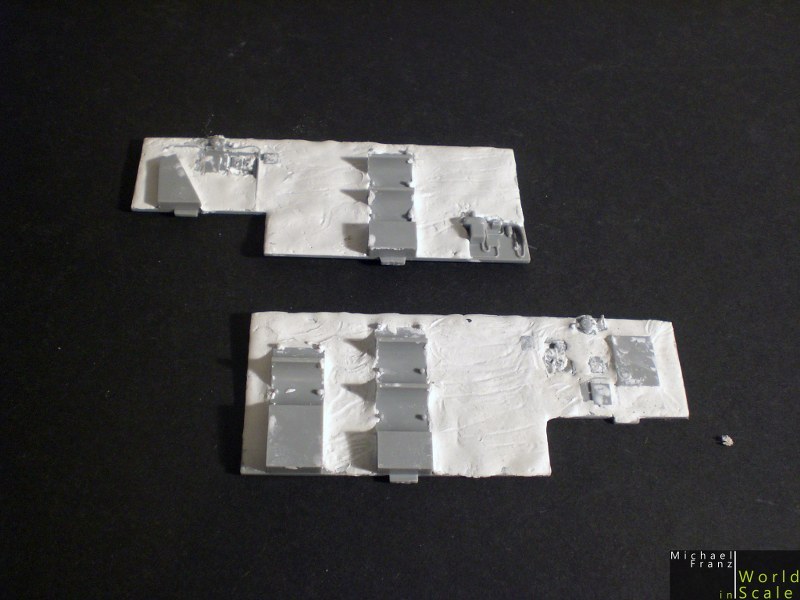
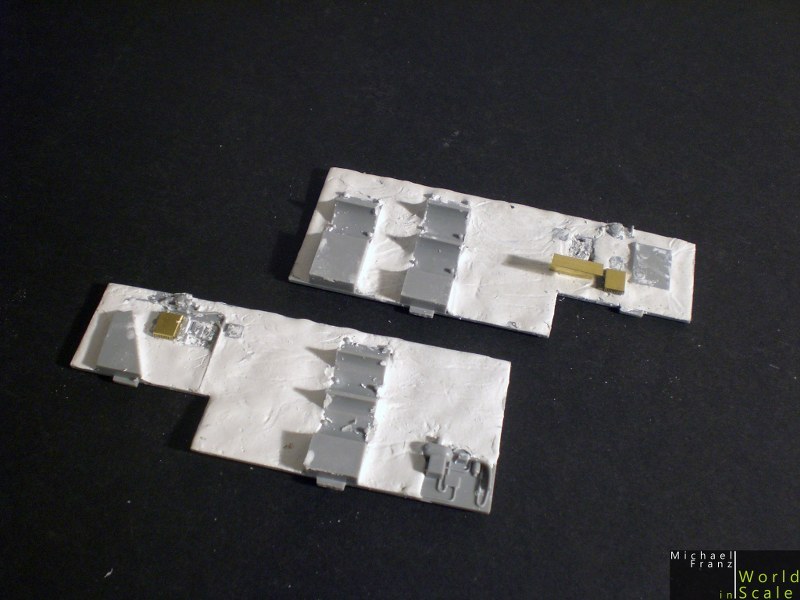
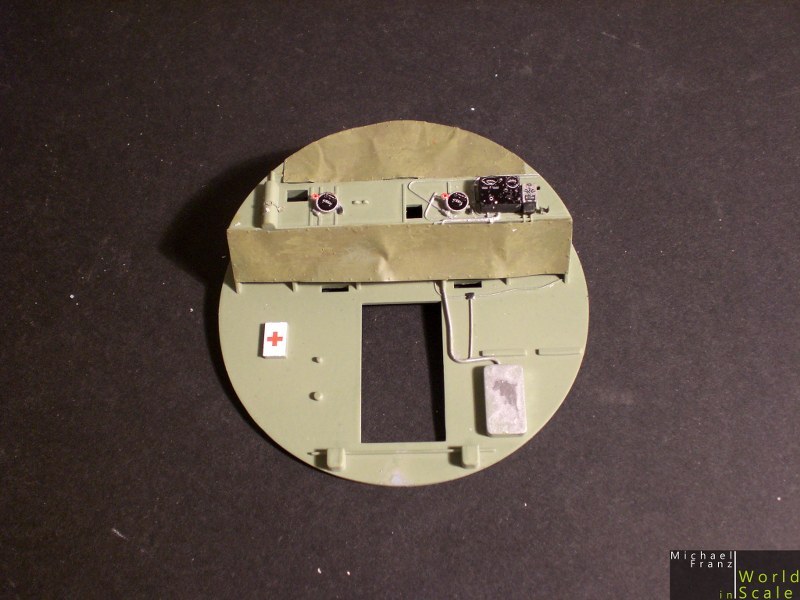
I have started with the floor of the Cockpit where I installed a new floor (later - wood). This is made of plastic card. In the front part there is a photo etched part added on the floor for building the round turnable part on the floor. It will become also wooden design later. The center console of the cockpit is new detailed with Eduard parts as well as the entrance to the cockpit in the nose.

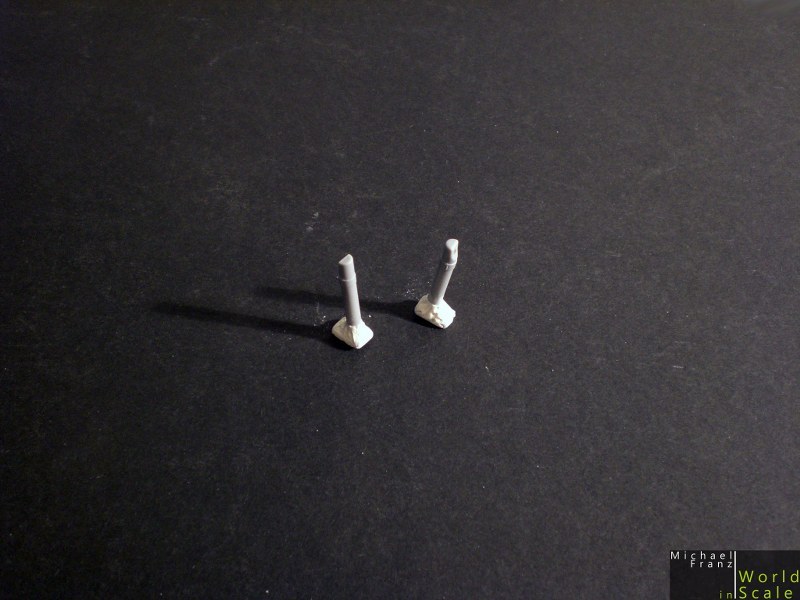
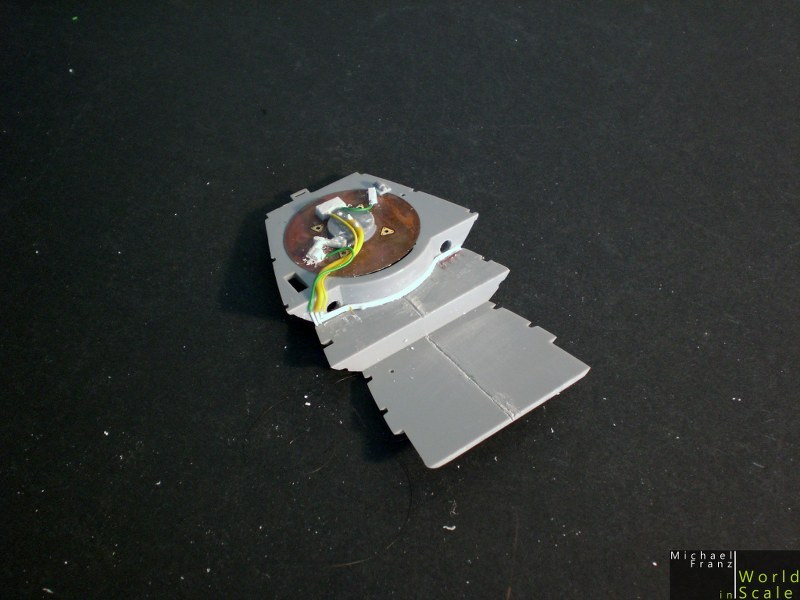
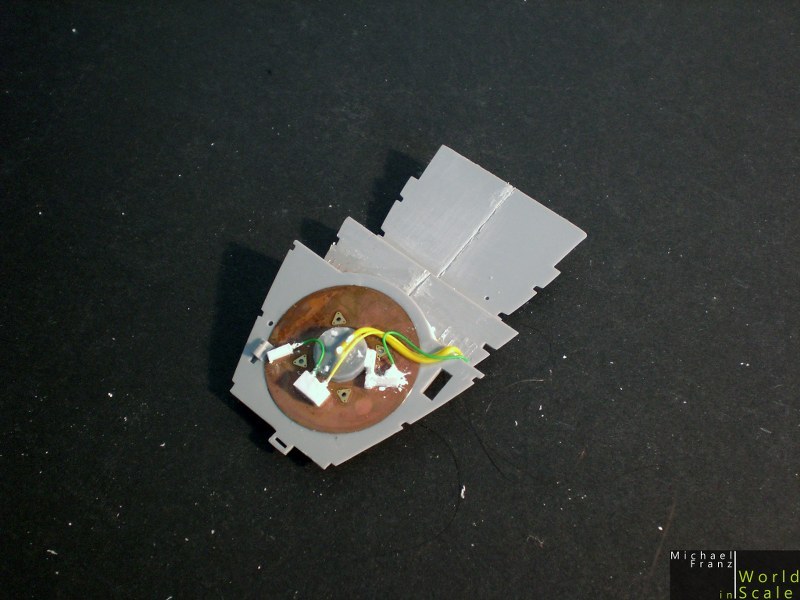
In the nose I added some wire and cables as well as the turning mechanism on the floor.

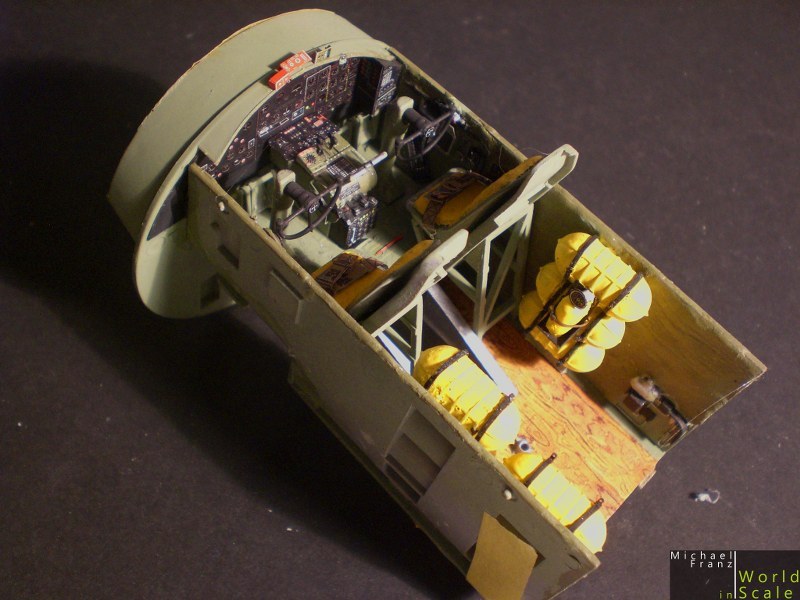
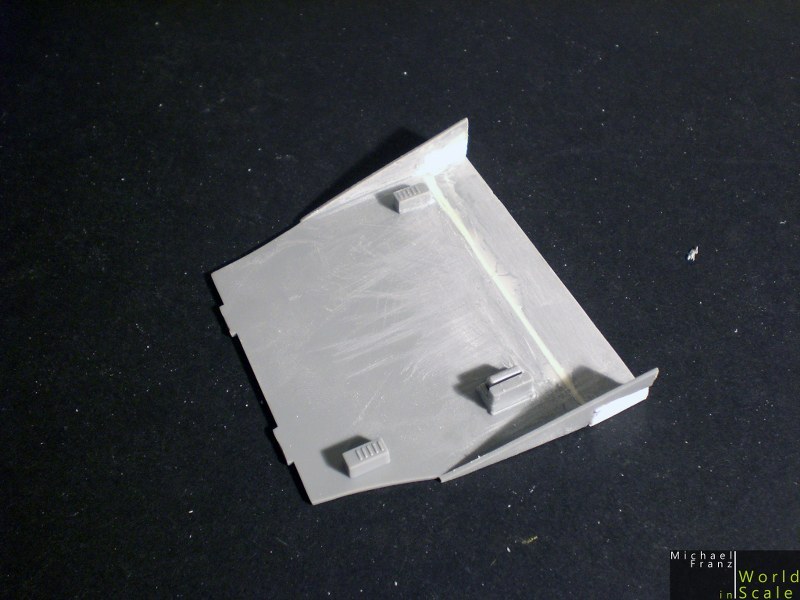
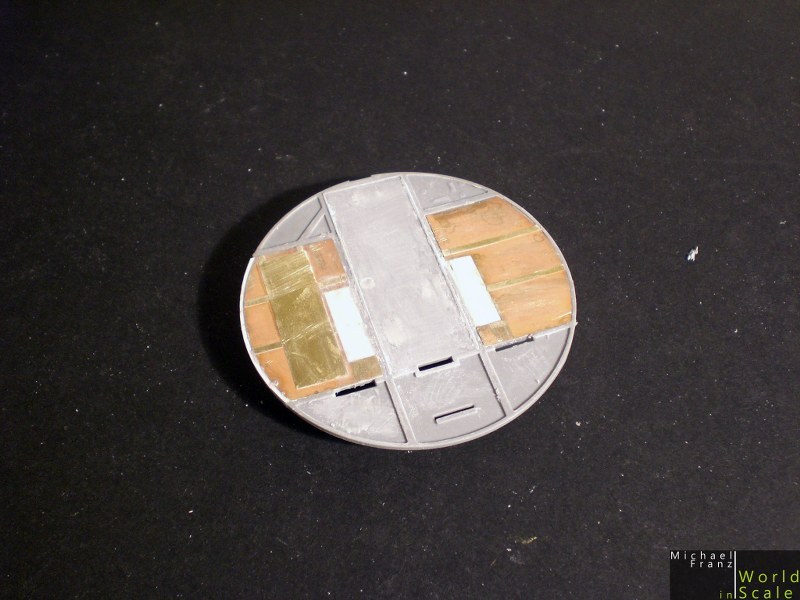
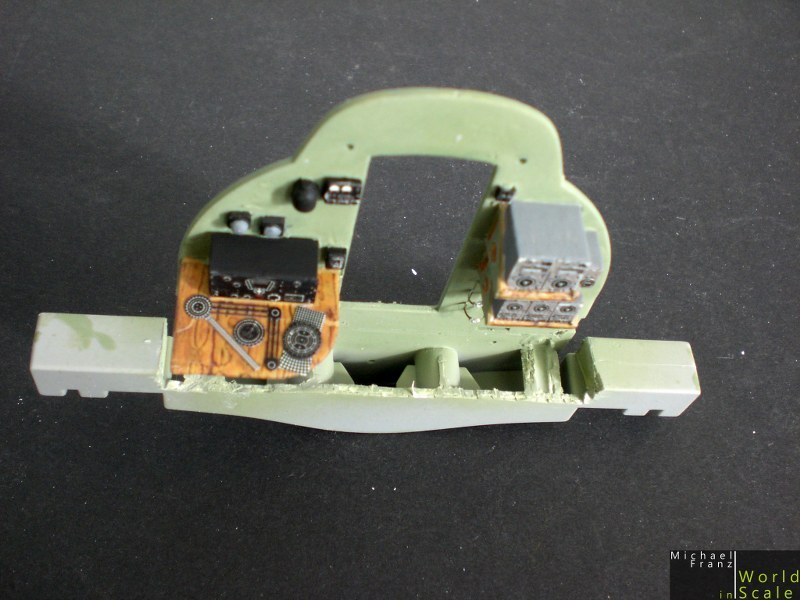
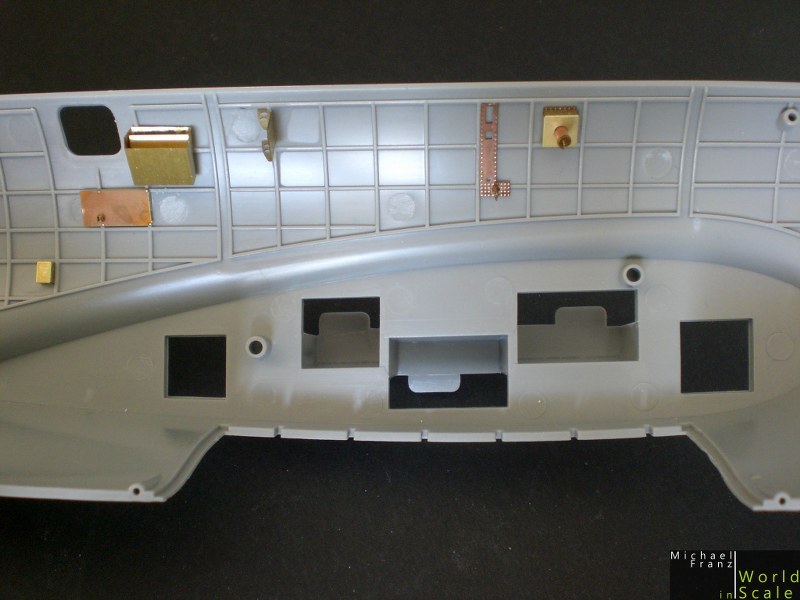
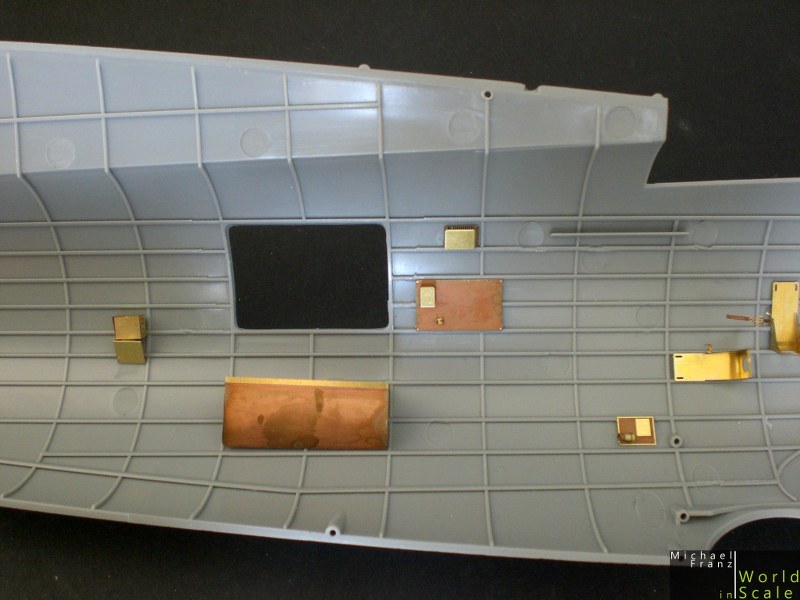
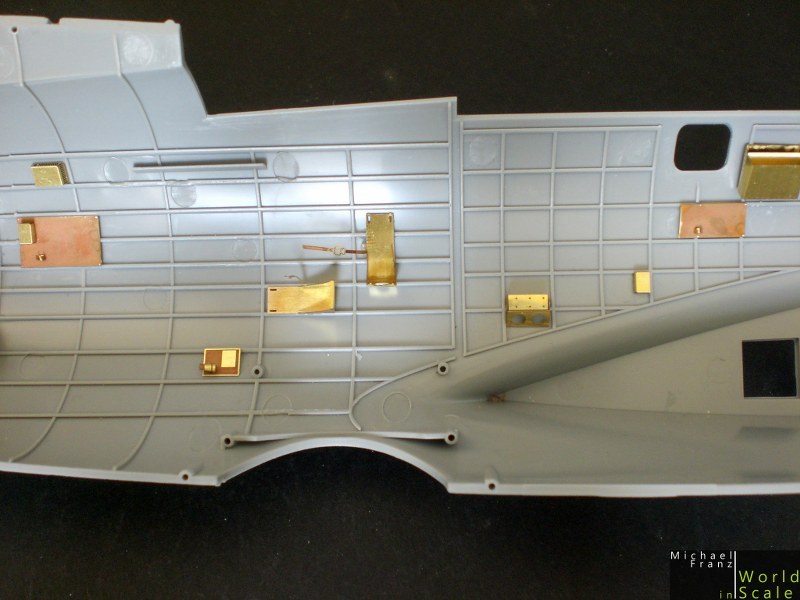
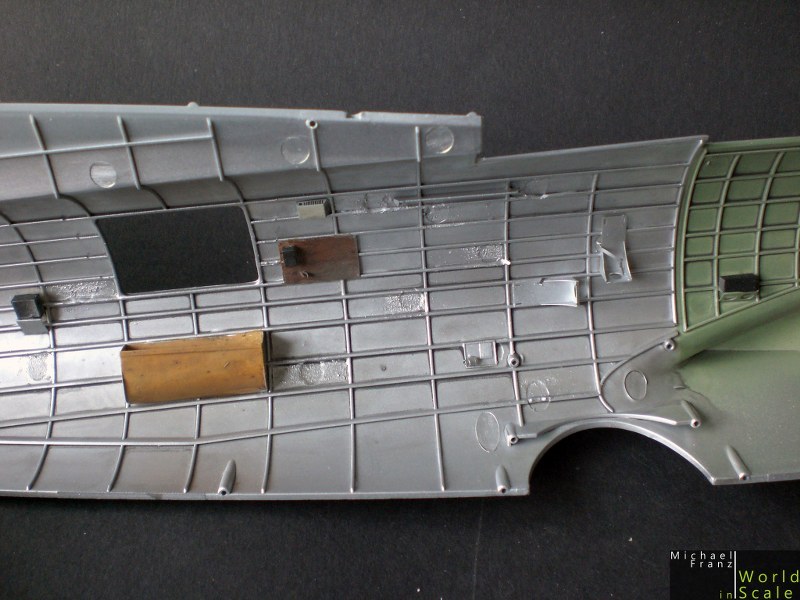
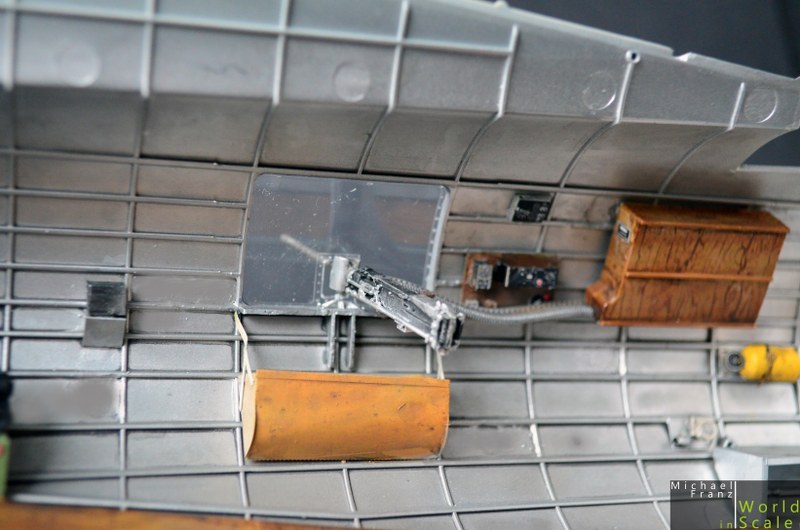
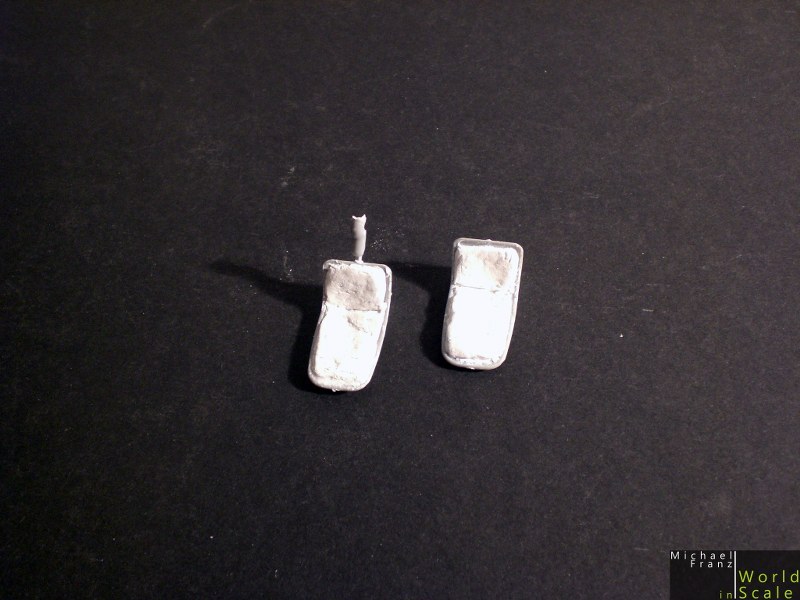
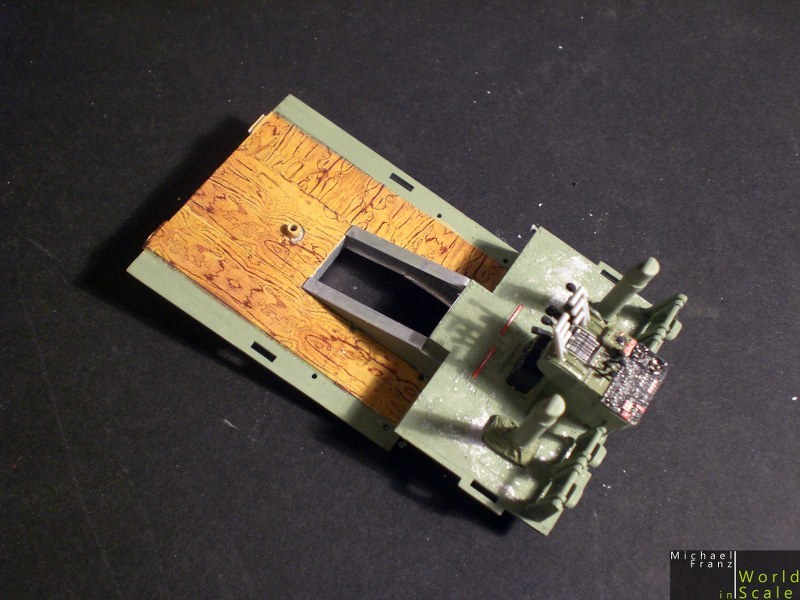
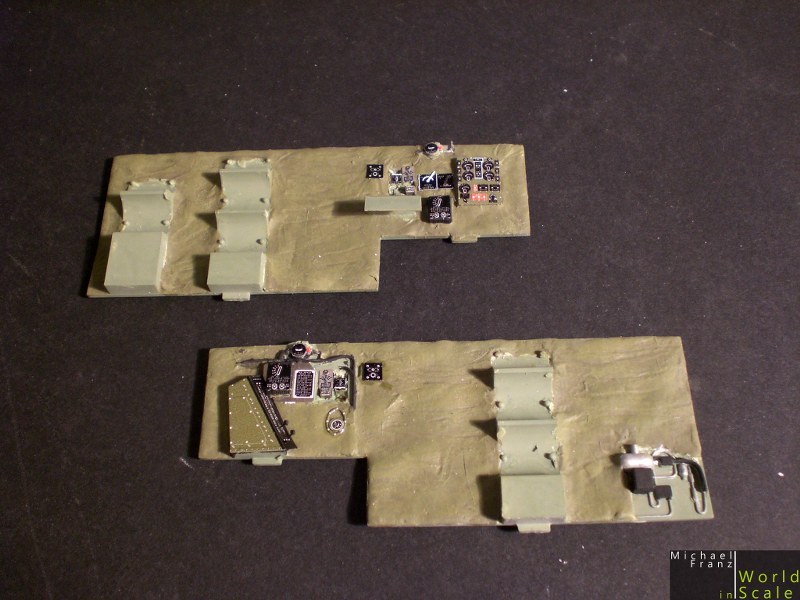
The sides of the cockpit received a plane made of magic sculp.


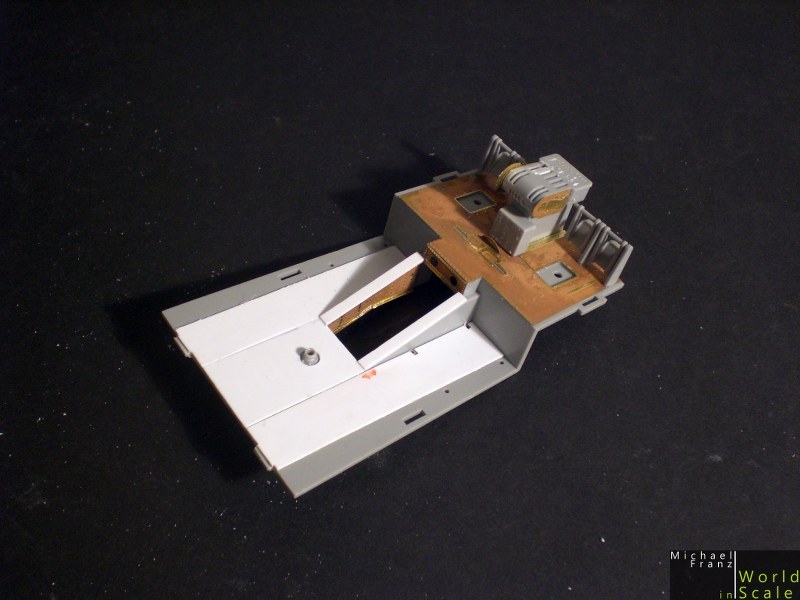
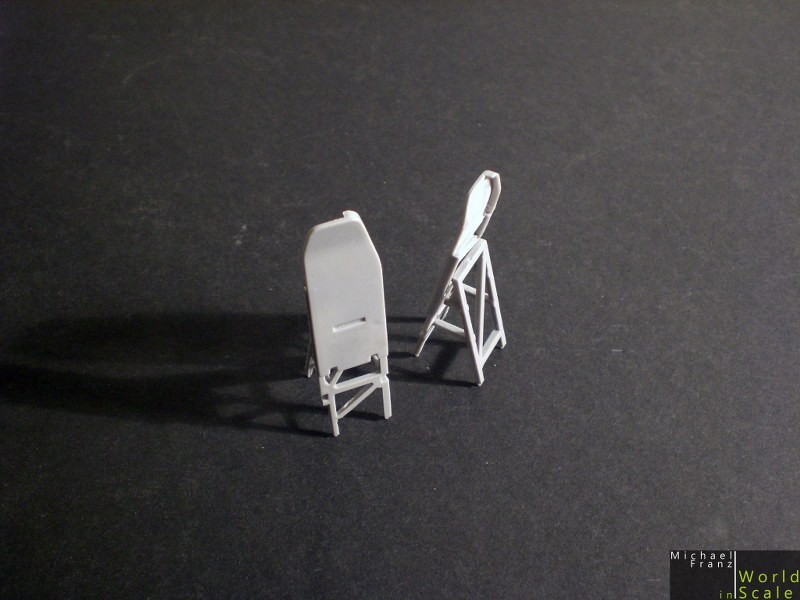
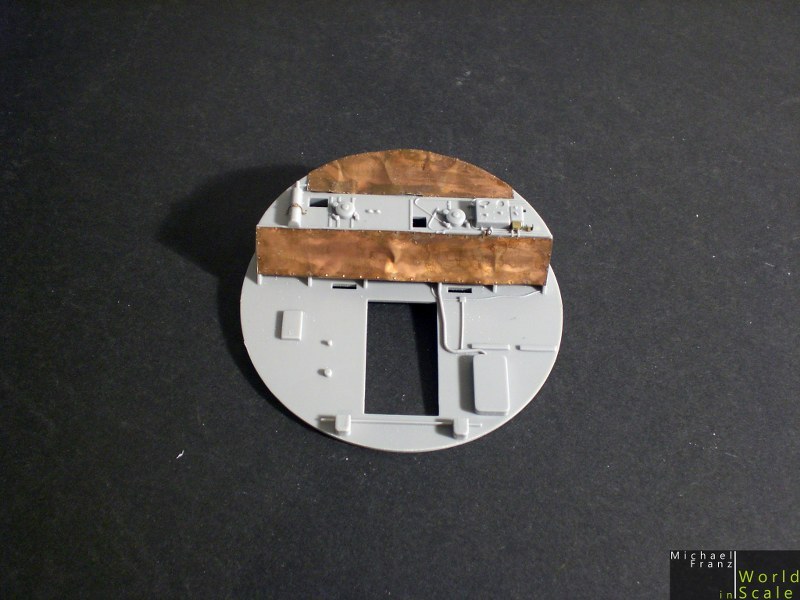
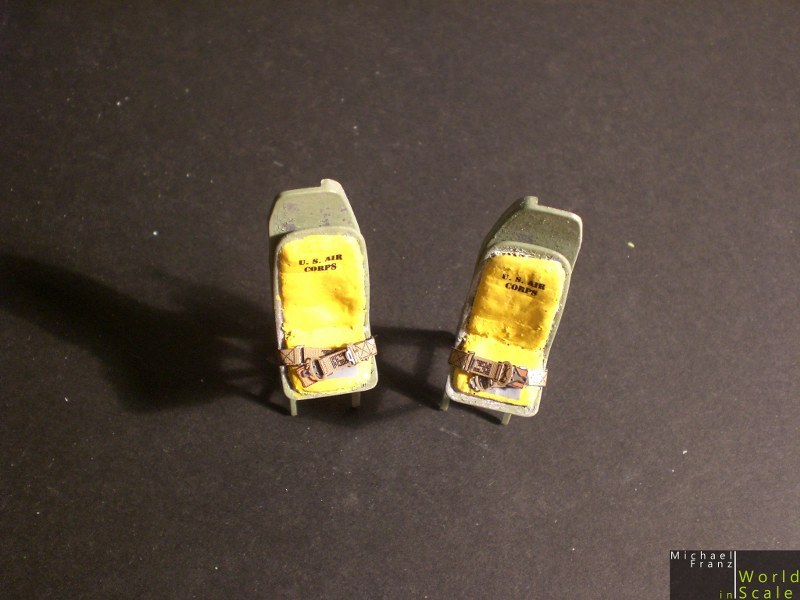
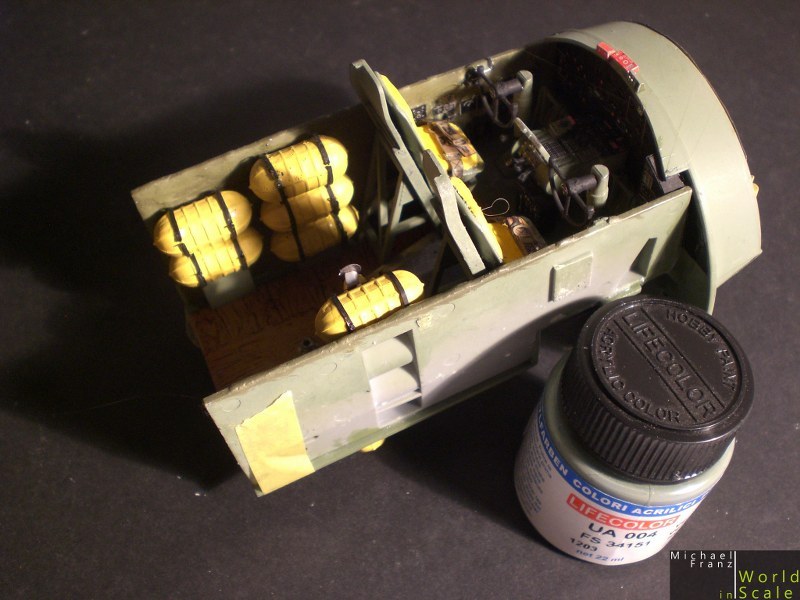
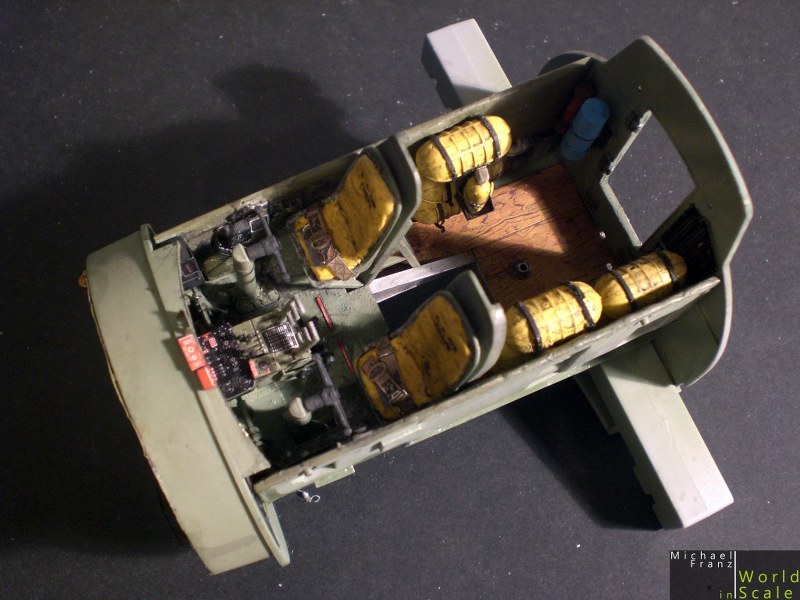
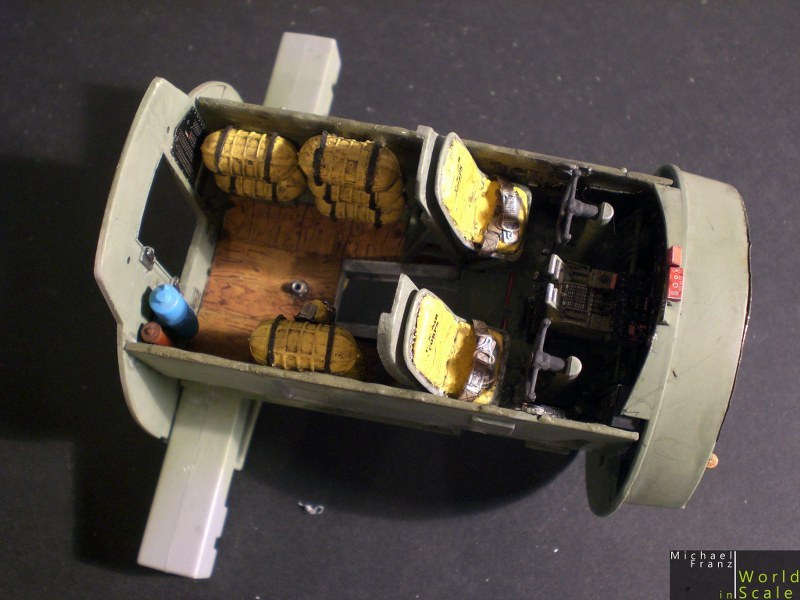
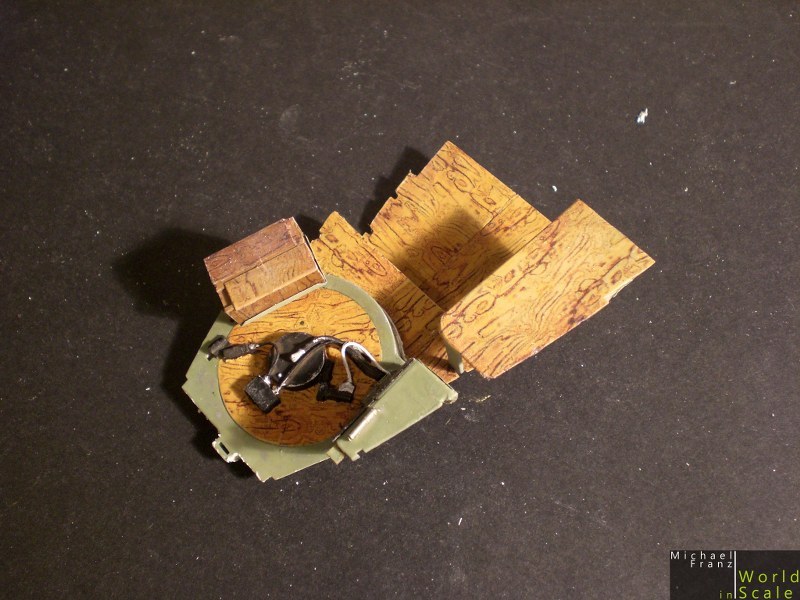
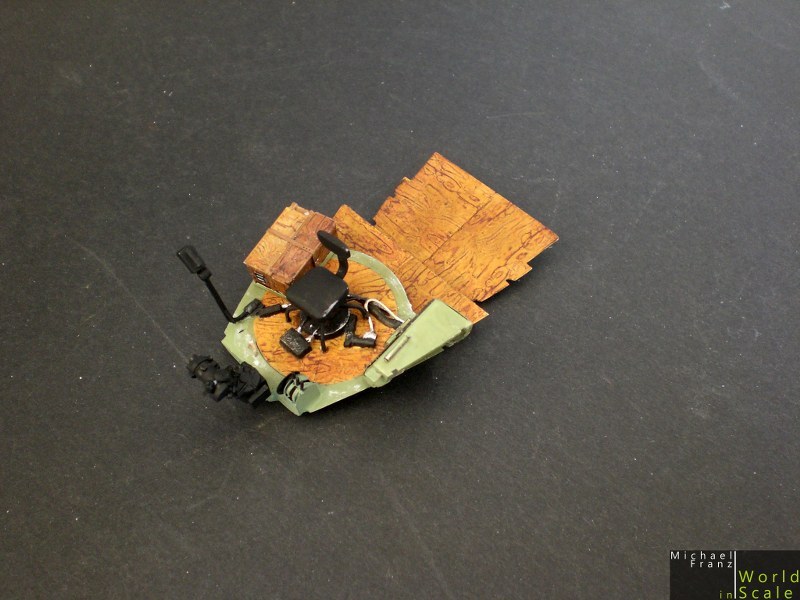
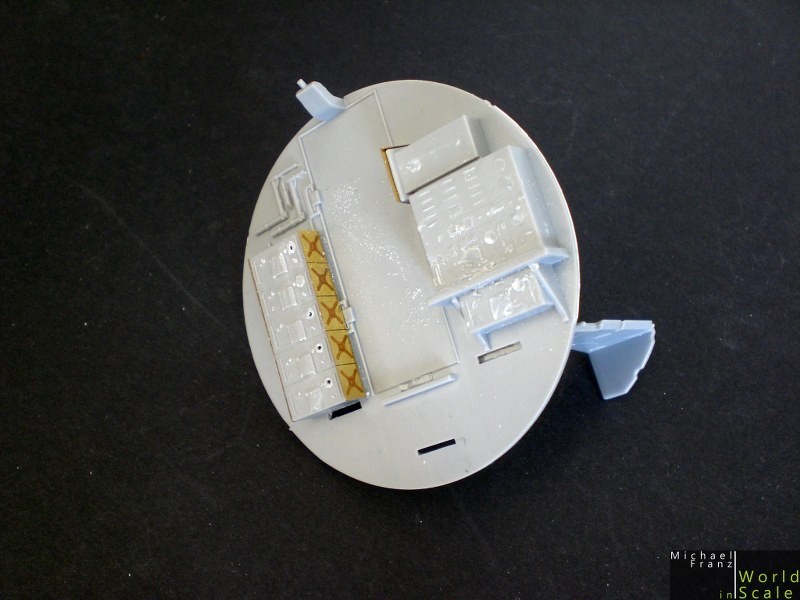
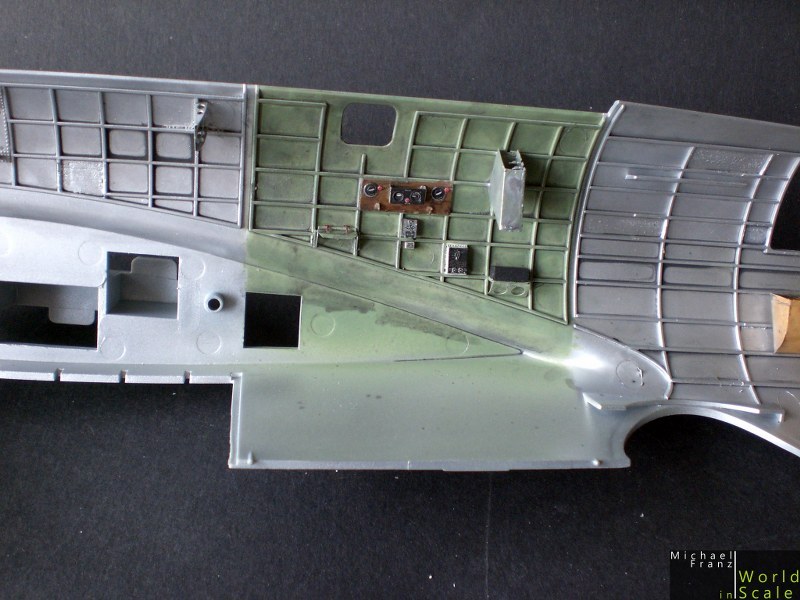
After the mounting of all parts so far I started with a painting of some "mostly used" areas in the cockpit (floor, seat frames, ...) in Aluminium before I added some salt on these areas.After its drying I airbrushed the interior in Lifecolor's interior green. The planes on the sides were painted in several olive green tones, the wooden floor in beige before adding the wooden decals on it. After that further etched parts (prepainted ones by Eduard) were added.


Now further parts will be installed before the whole interior will receive some washings.

I hope you like it... one more B17...

Micha
golfermd
_VISITCOMMUNITY
Maryland, United States
Joined: March 01, 2013
KitMaker: 152 posts
AeroScale: 98 posts
Posted: Tuesday, November 26, 2013 - 03:54 AM UTC
Looking good, Michael. Will be following your build log with interest.
Joel_W
Staff MemberAssociate Editor
AUTOMODELER
_VISITCOMMUNITY
New York, United States
Joined: December 04, 2010
KitMaker: 11,666 posts
AeroScale: 7,410 posts
Posted: Tuesday, November 26, 2013 - 06:03 AM UTC
Michael, Will be following your build with great interest, as there has been so much discussion on the pros & cons of this kit.
Great start on the cockpit. I really like the wood decals. The best I've seen for wood as yet.

Joel
BlackWidow
_VISITCOMMUNITY
European Union
Joined: August 09, 2009
KitMaker: 1,732 posts
AeroScale: 1,336 posts
Posted: Tuesday, November 26, 2013 - 08:12 AM UTC
Michael, that looks good so far. I will follow your build as I plan to get the older Revell/Monogram B-17 G in 1/48 on the workbench sometime next year. So maybe I can learn something, though I usually build oob. Where about are you in BaWü?

Greetings from Karlsruhe
Torsten
Holdfast
Staff MemberPresident
IPMS-UK KITMAKER BRANCH
#056
_VISITCOMMUNITY
England - South West, United Kingdom
Joined: September 30, 2002
KitMaker: 8,581 posts
AeroScale: 4,913 posts
Posted: Tuesday, November 26, 2013 - 07:01 PM UTC
Hi Michael,
That's looking good, I'll be following this. I haven't made up my mind yet as to whether I'll get one of these. It might be an easier decision when I have sorted out some space to display my 1/32 scale models. It will probably then become a "must have" kit
elmarriachi
_VISITCOMMUNITY
Baden-Württemberg, Germany
Joined: December 26, 2009
KitMaker: 813 posts
AeroScale: 98 posts
Posted: Tuesday, November 26, 2013 - 08:03 PM UTC
Hello @all.

thank you very much for your interest! It is a great kit but will need so much space later... no idea where to put the finished kit one day...

@Torsten: Near Stuttgart......

BR
Michael
elmarriachi
_VISITCOMMUNITY
Baden-Württemberg, Germany
Joined: December 26, 2009
KitMaker: 813 posts
AeroScale: 98 posts
Posted: Wednesday, November 27, 2013 - 07:14 AM UTC
Hello @ all.

Let's go on a little bit. ....

The instruments received "glasses" with Micro Crystal Clear. All colored Eduard etched parts and the decals received a painting with matt clear coat to save the decals during the next painting steps.

But before - I have added the belts on the seats. These are etched parts by Eduard consisting of several parts. The belts were glued on the seats, first decals were added.

Some further smaller parts were mounted before I fixed the components together... :


... a "lifecolor" dose to show the size of the cockpit section...:


After 1-2 days of drying I will start with the washings made of brown, white and black oil colors.
Until that we will start wtih the bombs, the bomb rack, etc....

BR
Micha
MrMtnMauler
_VISITCOMMUNITY
Washington, United States
Joined: January 15, 2011
KitMaker: 224 posts
AeroScale: 223 posts
Posted: Wednesday, November 27, 2013 - 07:58 AM UTC
Looks great so far! Thank you for the pictures. Could you please point me in the direction of the decals to simulate wood? They would be most helpful for me. Take care! Jim
elmarriachi
_VISITCOMMUNITY
Baden-Württemberg, Germany
Joined: December 26, 2009
KitMaker: 813 posts
AeroScale: 98 posts
Posted: Wednesday, November 27, 2013 - 11:03 PM UTC
HI Jim,

please check their website: Uschi

BR
Michael
MrMtnMauler
_VISITCOMMUNITY
Washington, United States
Joined: January 15, 2011
KitMaker: 224 posts
AeroScale: 223 posts
Posted: Thursday, November 28, 2013 - 06:01 AM UTC
Danke, ser goode, Aufvietwsene
Jim
elmarriachi
_VISITCOMMUNITY
Baden-Württemberg, Germany
Joined: December 26, 2009
KitMaker: 813 posts
AeroScale: 98 posts
Posted: Thursday, December 05, 2013 - 06:28 AM UTC
Hello...

a few new pictures....

the bomb bay..... parts premounted for painting, further details follow after the first painting....


The radio compartment - the floor modified, the wrong step removed.... the table as well..... the door opened.... some first etched parts included ....


The rear of the radio compartment from the backside.... door remains closed, ammunitons removed. These will installed at the fusselage later.....


Cockpit after its first washing with oil colors....


Ammuniton box with wooden decals, table as well.....


That's it for today.... next week more

Best regards
Michael
elmarriachi
_VISITCOMMUNITY
Baden-Württemberg, Germany
Joined: December 26, 2009
KitMaker: 813 posts
AeroScale: 98 posts
Posted: Wednesday, December 18, 2013 - 05:41 AM UTC
All parts painted in interior green by LIfecolor, floors in brown with wooden decals on it, later washed with brown (floor) and black (walls), later drybrushed with aluminium (not the floor).

The chair received an upholstery with paper tissue and painted in beige. The belt is by eduard.


After the parts of the bomb bay were finished all are painted in interior green as well. After drying colored photo etched parts applied, then clear coat and washings.

The bombs were glued together, sanded and modifed with etched parts as well. After that the yellow stripes were painted and masked before painting the bombs in green. The bombs receive a white washing and some signs on it made by the pilots.

Die Bomben werden anschließend an ihren Halterungen platziert.


After having modifed the floor (removing the step) the floor was engraved in three parts, painted in brown and the wooden decals applied. After sealing the decals with matt clear coat it received a brwon washing.

Further details, etched parts installed and painted, later added the colored etched parts and details colored, then everything washed..... and ready for installing (further details follow when the parts are installed in one half of the fuselage)


Both halfs of the fuselage receive the first etched parts before painting in interior green and aluminium:


So far for now.... the next steps are painting of the fuselage and installing the interior.

BR
Micha
elmarriachi
_VISITCOMMUNITY
Baden-Württemberg, Germany
Joined: December 26, 2009
KitMaker: 813 posts
AeroScale: 98 posts
Posted: Thursday, December 19, 2013 - 05:07 AM UTC
So.... und noch ein kleines Update....

Die ersten Teile sind im Rumpf eingebaut...... es fehlen noch ein paar Stühle, Gurte am eingebauten Stuhl, Holz an der hinteren Türe, dazu noch weitere Kleinteile .)


LG
Micha
JohnVasco
_VISITCOMMUNITY
England - East Anglia, United Kingdom
Joined: July 27, 2008
KitMaker: 54 posts
AeroScale: 49 posts
Posted: Friday, December 20, 2013 - 04:25 AM UTC
I don't wish to be a spoil-sport, but isn't this in the wrong section completely...?
elmarriachi
_VISITCOMMUNITY
Baden-Württemberg, Germany
Joined: December 26, 2009
KitMaker: 813 posts
AeroScale: 98 posts
Posted: Thursday, December 26, 2013 - 06:31 AM UTC
Hope you enjoyed Christmas!

Here a last update of the interior before mounting the 2nd half of the fuselage / the nose.... I hope that I have not forgotten anything .... or that I will not get any new idea when it is too late


BR
Michael
Joel_W
Staff MemberAssociate Editor
AUTOMODELER
_VISITCOMMUNITY
New York, United States
Joined: December 04, 2010
KitMaker: 11,666 posts
AeroScale: 7,410 posts
Posted: Friday, December 27, 2013 - 02:02 AM UTC
Michael, great progress on a super detailed 1/32 scale kit. Tons of PE added, additional detail as needed, and even the removal of those two Ammo boxes. The wood grain decals seem to be everywhere. Well done. Looking forward to your next set of updates.

Happy Holidays,
Joel
raypalmer
_VISITCOMMUNITY
Ontario, Canada
Joined: March 29, 2010
KitMaker: 1,151 posts
AeroScale: 985 posts
Posted: Friday, December 27, 2013 - 05:54 AM UTC
Fantastic interiors Mike!

The b17's piddling bomb load always amazes me. Second only to how completely overlooked that colossal shortcoming has been...
 _GOTOTOP