Early Aviation
Discuss World War I and the early years of aviation thru 1934.
Discuss World War I and the early years of aviation thru 1934.
Hosted by Jim Starkweather
1:32 Salmson 2-A2 USAS build
guitarlute101

Joined: December 18, 2006
KitMaker: 1,121 posts
AeroScale: 1,063 posts

Posted: Thursday, January 09, 2014 - 02:42 AM UTC
Thanks Rick!
Mark
Posted: Thursday, January 09, 2014 - 10:01 PM UTC
Quoted Text
So that leaves me with Profile C (possibly D) to use which was my first choice anyway so it worked out fine.
As I don't have the kit can you post a scan of those schemes?
guitarlute101

Joined: December 18, 2006
KitMaker: 1,121 posts
AeroScale: 1,063 posts

Posted: Friday, January 10, 2014 - 01:46 AM UTC
Hi Mal,
Here are the schemes from the instructions. I'll be doing profile "C".....
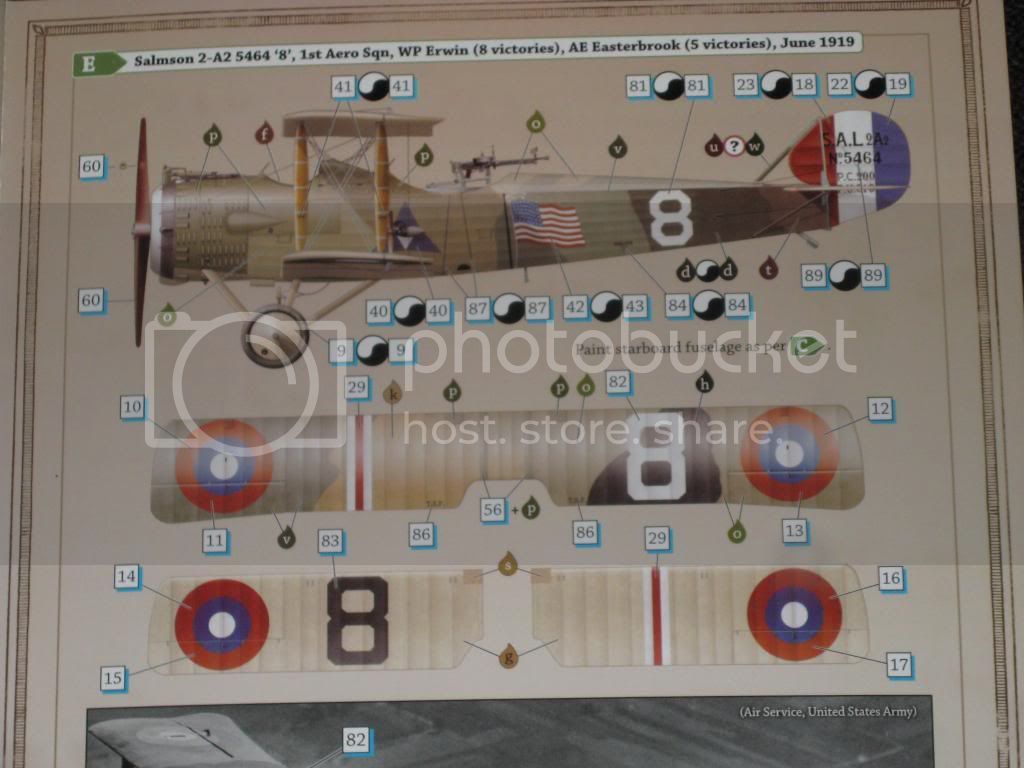
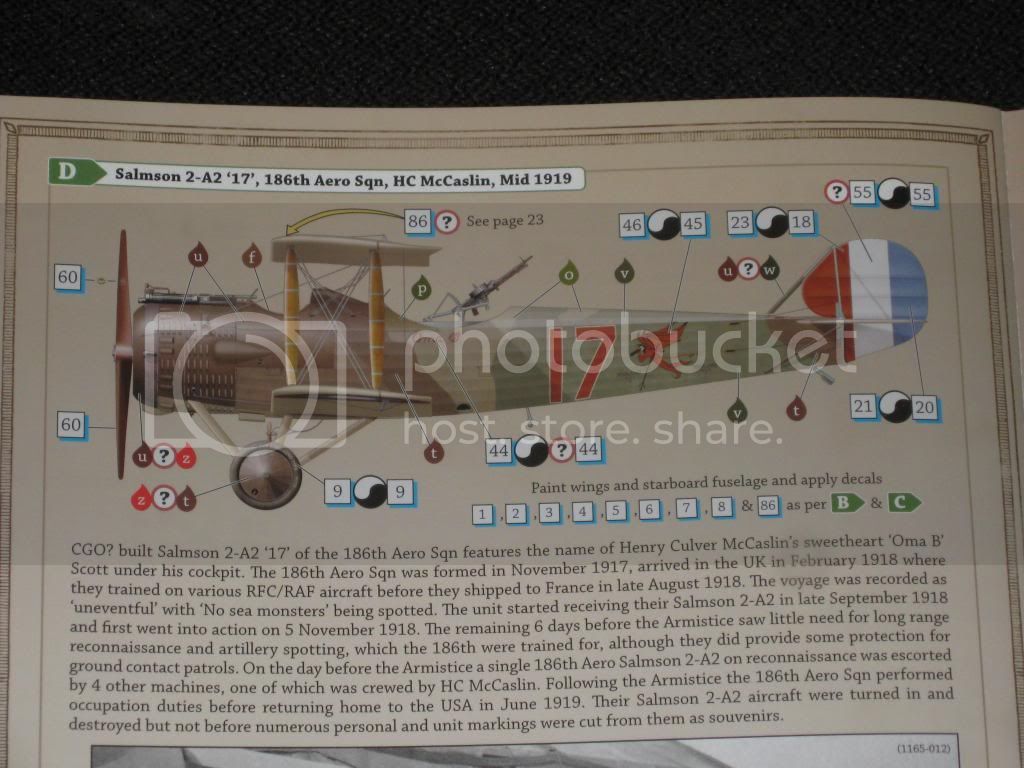
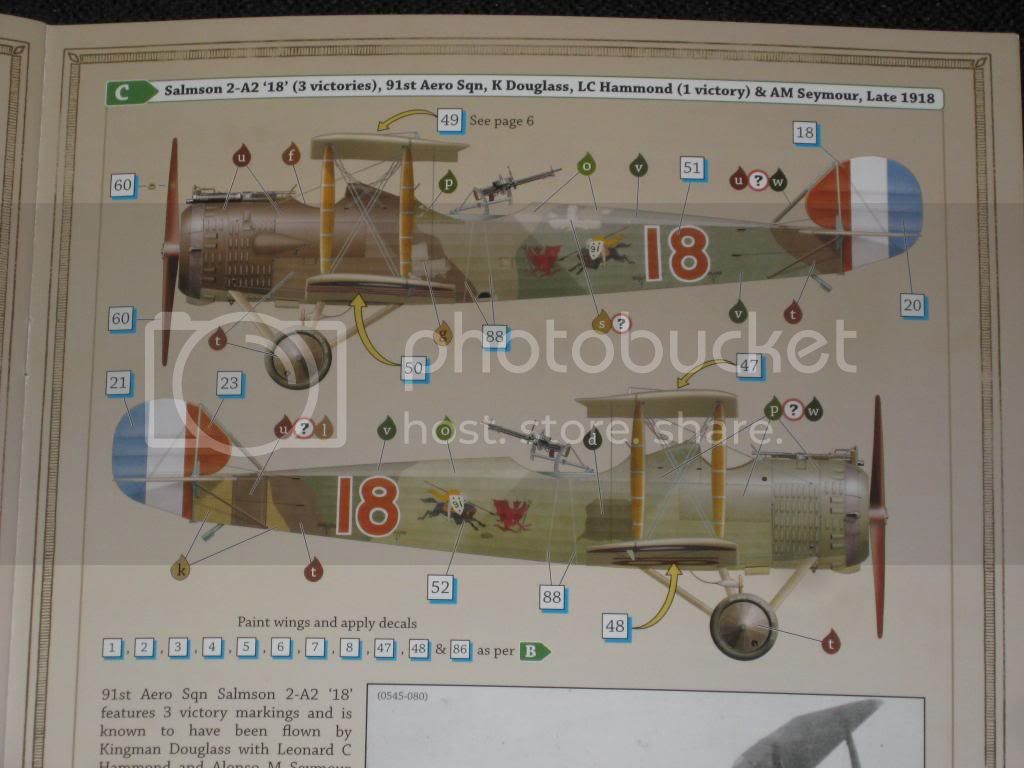
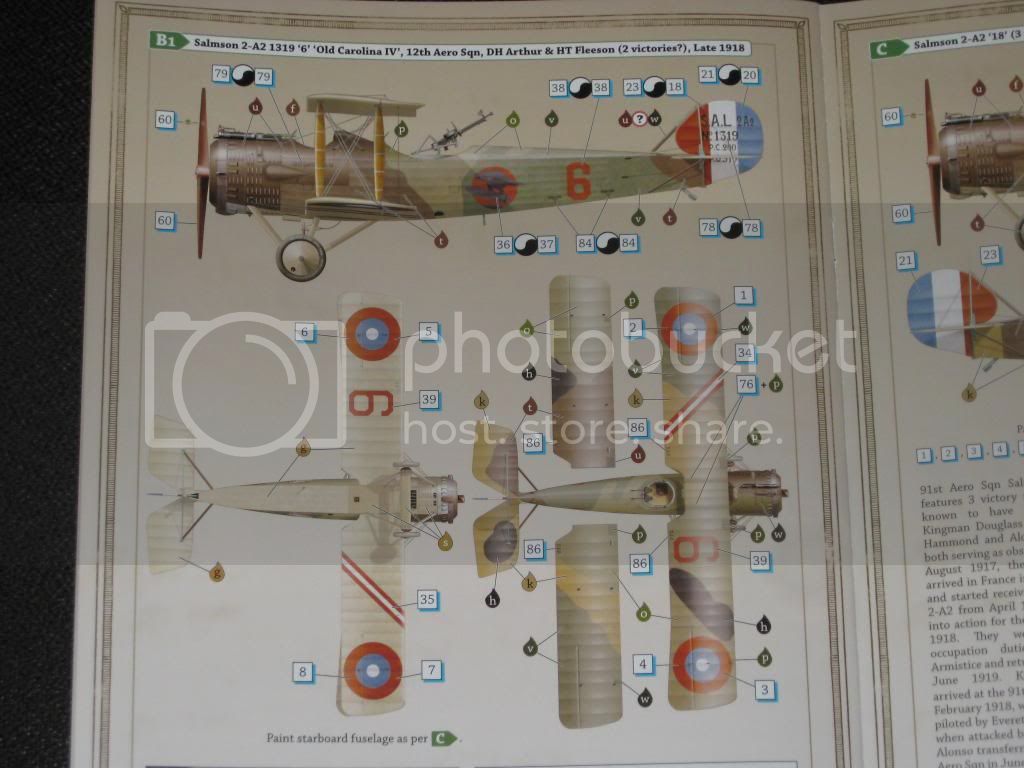
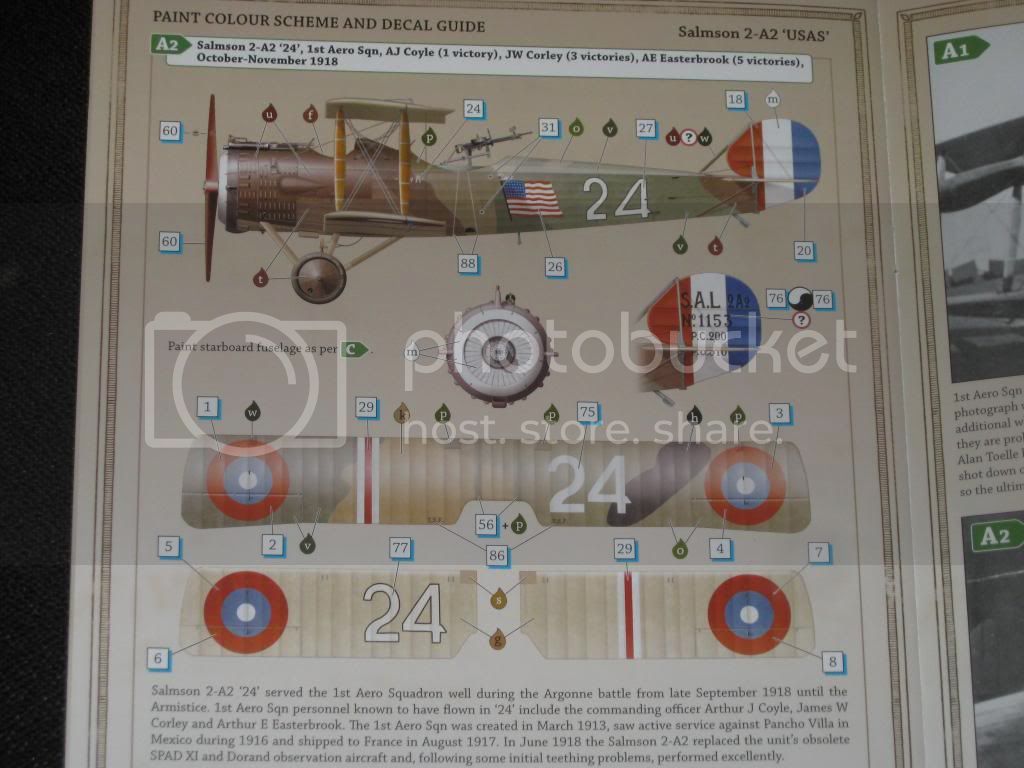
Also check out Stephen's Review of the kit here.
Mark
Here are the schemes from the instructions. I'll be doing profile "C".....


Also check out Stephen's Review of the kit here.
Mark

JackFlash

Joined: January 25, 2004
KitMaker: 11,669 posts
AeroScale: 11,011 posts

Posted: Friday, January 10, 2014 - 03:04 AM UTC
Looking good Mark!

Mgunns

Joined: December 12, 2008
KitMaker: 1,423 posts
AeroScale: 1,319 posts

Posted: Friday, January 10, 2014 - 04:53 AM UTC
Hi Mark:
The engine really turned out nice. The springs really add an extra dimension to it. Looking forward to seeing you progress through the build.
Best
Mark
The engine really turned out nice. The springs really add an extra dimension to it. Looking forward to seeing you progress through the build.
Best
Mark
guitarlute101

Joined: December 18, 2006
KitMaker: 1,121 posts
AeroScale: 1,063 posts

Posted: Friday, January 10, 2014 - 05:10 AM UTC
Thanks Stephen and Mark!
guitarlute101

Joined: December 18, 2006
KitMaker: 1,121 posts
AeroScale: 1,063 posts

Posted: Friday, January 10, 2014 - 05:46 AM UTC
Here's a little detail work I've managed to get together on the wireless equipment.....................
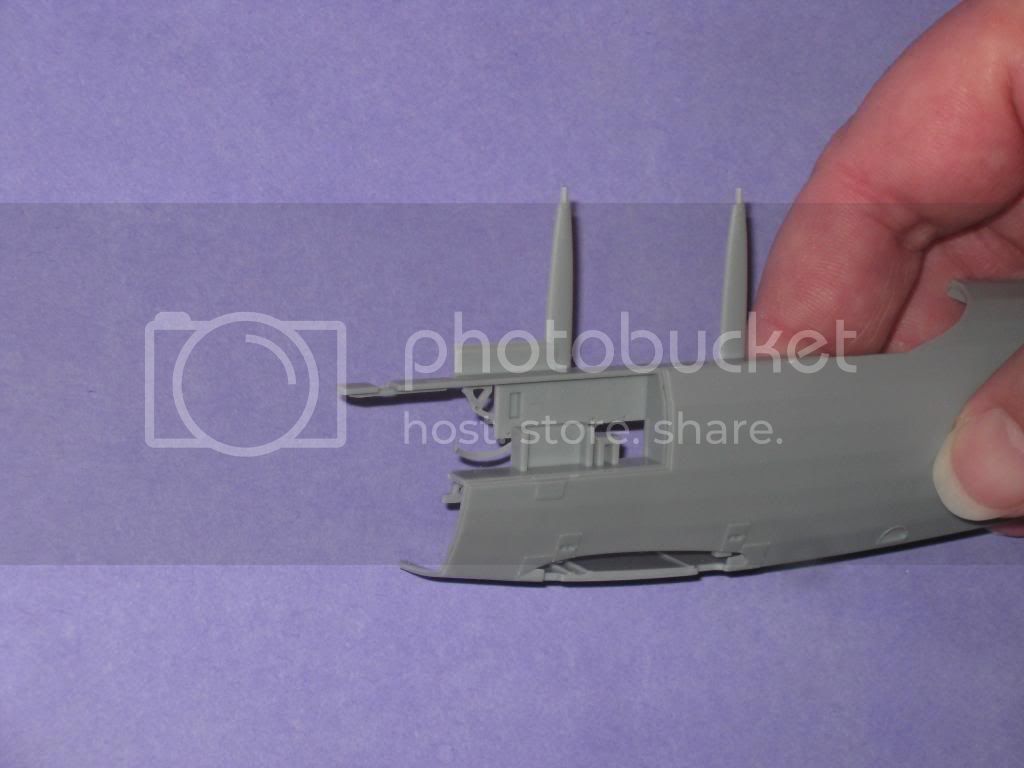
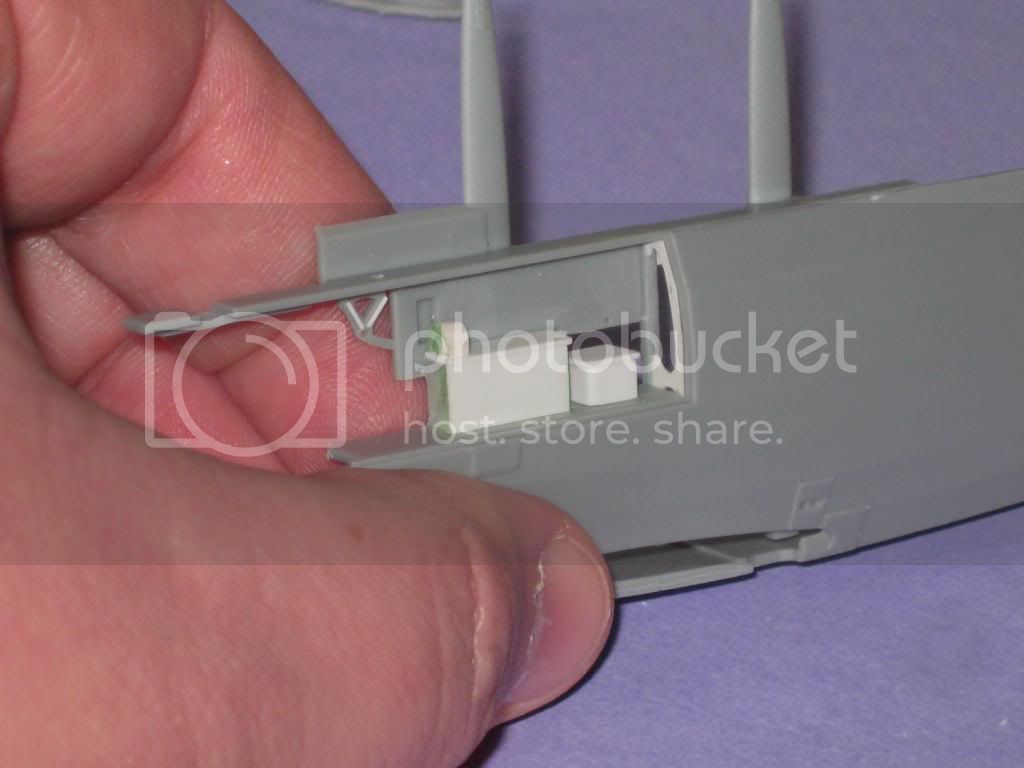
a bunch of wiring to add next...........
Mark


a bunch of wiring to add next...........
Mark
thegirl

Joined: January 19, 2008
KitMaker: 6,743 posts
AeroScale: 6,151 posts

Posted: Friday, January 10, 2014 - 01:25 PM UTC
Hey Mark , thanks up ! 
Terri

Terri
Posted: Friday, January 10, 2014 - 07:25 PM UTC
Hi Mark, thanks for taking the time to post the scans of the profiles but I can't see profile "C". No worries, I was only wondering if I could produce paint masks for your chosen scheme before offering them 
Some more nice detailed work there

Some more nice detailed work there


Jessie_C


Joined: September 03, 2009
KitMaker: 6,965 posts
AeroScale: 6,247 posts

Posted: Friday, January 10, 2014 - 07:32 PM UTC
These are the markings, except it's number 18 instead of 0


guitarlute101

Joined: December 18, 2006
KitMaker: 1,121 posts
AeroScale: 1,063 posts

Posted: Saturday, January 11, 2014 - 02:17 AM UTC
@ Jess -Thanks for posting the picture Jess!
@ Mal - Sorry, I'm a little slow on the uptake sometimes Mal. Here are pictures of the kit decals. The unit emblem is rather smallish....
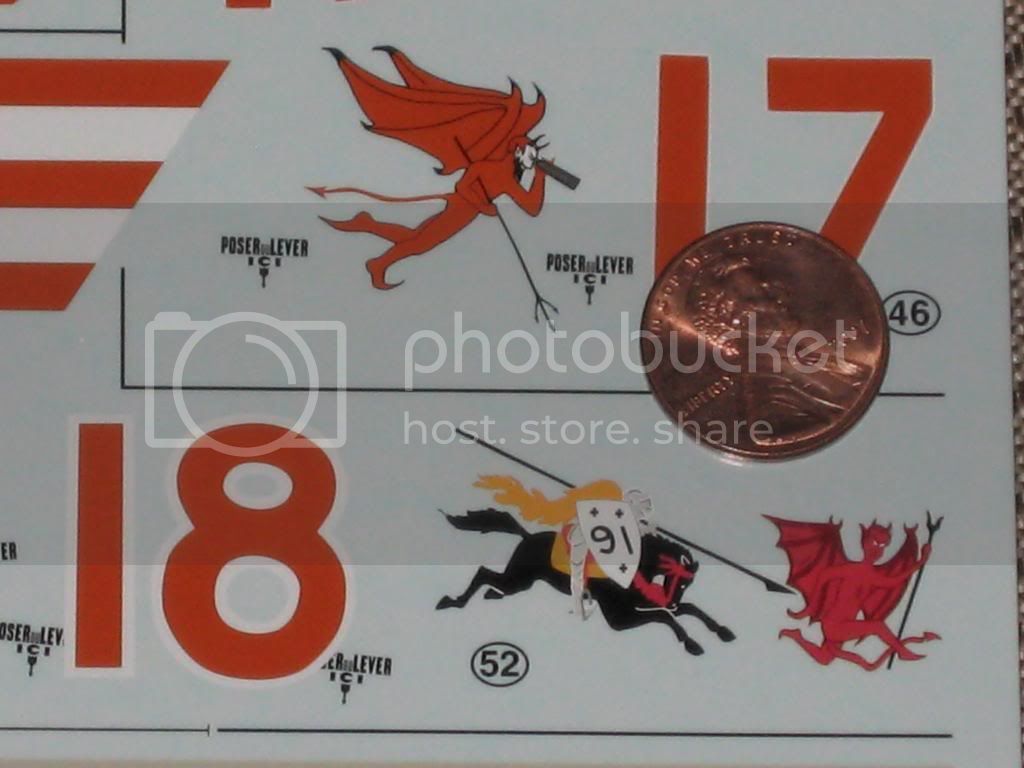

Mark
@ Mal - Sorry, I'm a little slow on the uptake sometimes Mal. Here are pictures of the kit decals. The unit emblem is rather smallish....


Mark
guitarlute101

Joined: December 18, 2006
KitMaker: 1,121 posts
AeroScale: 1,063 posts

Posted: Tuesday, January 14, 2014 - 08:10 AM UTC
Hi everyone,
I had to do a little more modification of the kit part, the molded on box was getting in the way of my wiring ideas.
So it went from this :

To this:
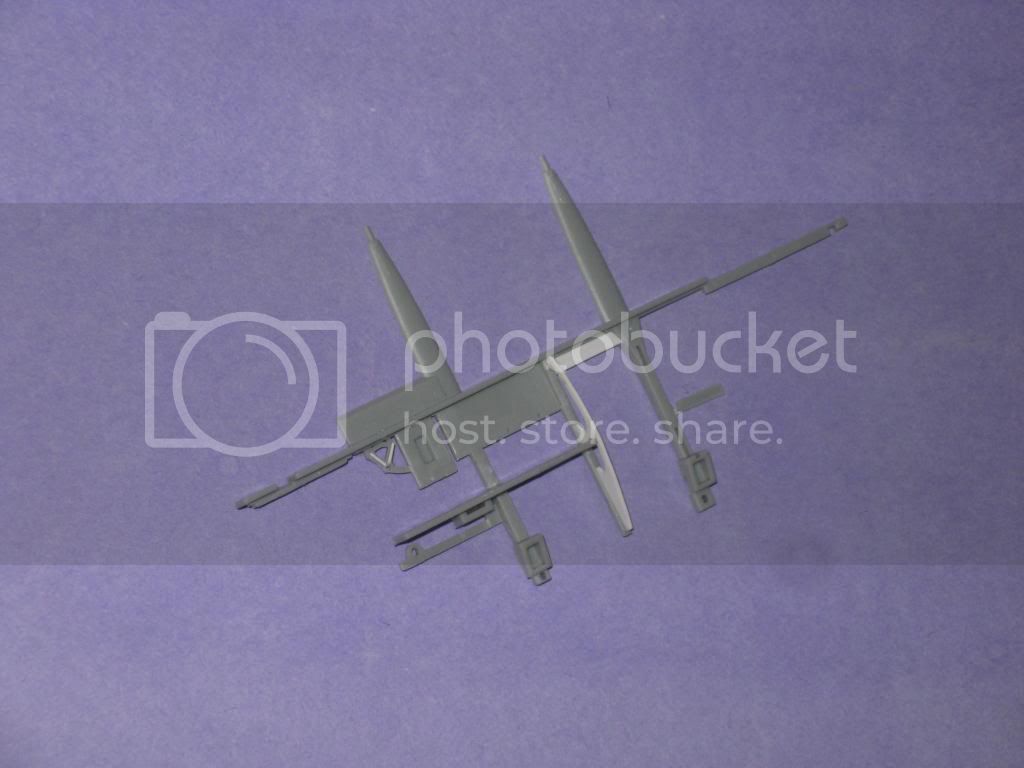
Now I have room to work.......
more soon,
Mark
I had to do a little more modification of the kit part, the molded on box was getting in the way of my wiring ideas.
So it went from this :

To this:

Now I have room to work.......
more soon,
Mark

JackFlash

Joined: January 25, 2004
KitMaker: 11,669 posts
AeroScale: 11,011 posts

Posted: Tuesday, January 14, 2014 - 11:25 AM UTC
Quoted Text
These are the markings, except it's number 18 instead of 0.

This particular marking came from the Commander's Spad XIII. He had 2 such aircraft and "0" was the commander's personal machine in the AEF.

guitarlute101

Joined: December 18, 2006
KitMaker: 1,121 posts
AeroScale: 1,063 posts

Posted: Friday, January 17, 2014 - 08:57 AM UTC
Quoted Text
Quoted TextThese are the markings, except it's number 18 instead of 0.
This particular marking came from the Commander's Spad XIII. He had 2 such aircraft and "0" was the commander's personal machine in the AEF.
Oh crap, now I want to build that Spad too!
guitarlute101

Joined: December 18, 2006
KitMaker: 1,121 posts
AeroScale: 1,063 posts

Posted: Friday, January 17, 2014 - 08:57 AM UTC
Hi everyone,
The self-sealing fuel tank that was positioned behind the pilot seat was fabric wrapped. The kit part only has fabric texture on the front and back so I used some modelling mesh and super glued it around the middle...............

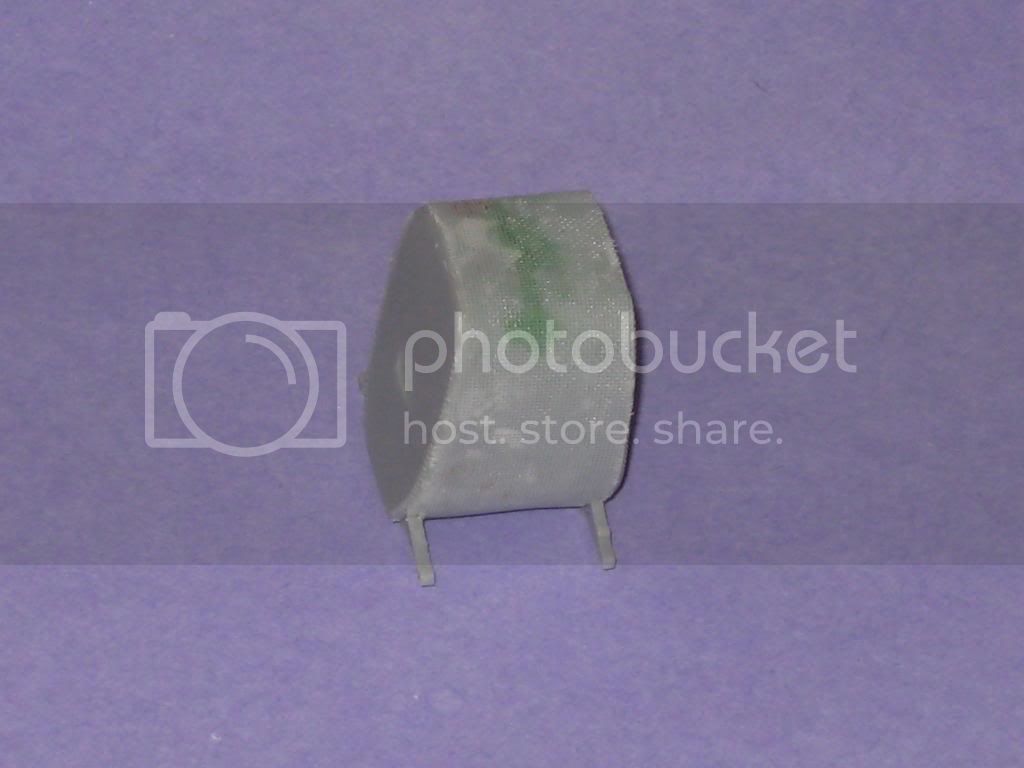
then primed it in grey..............
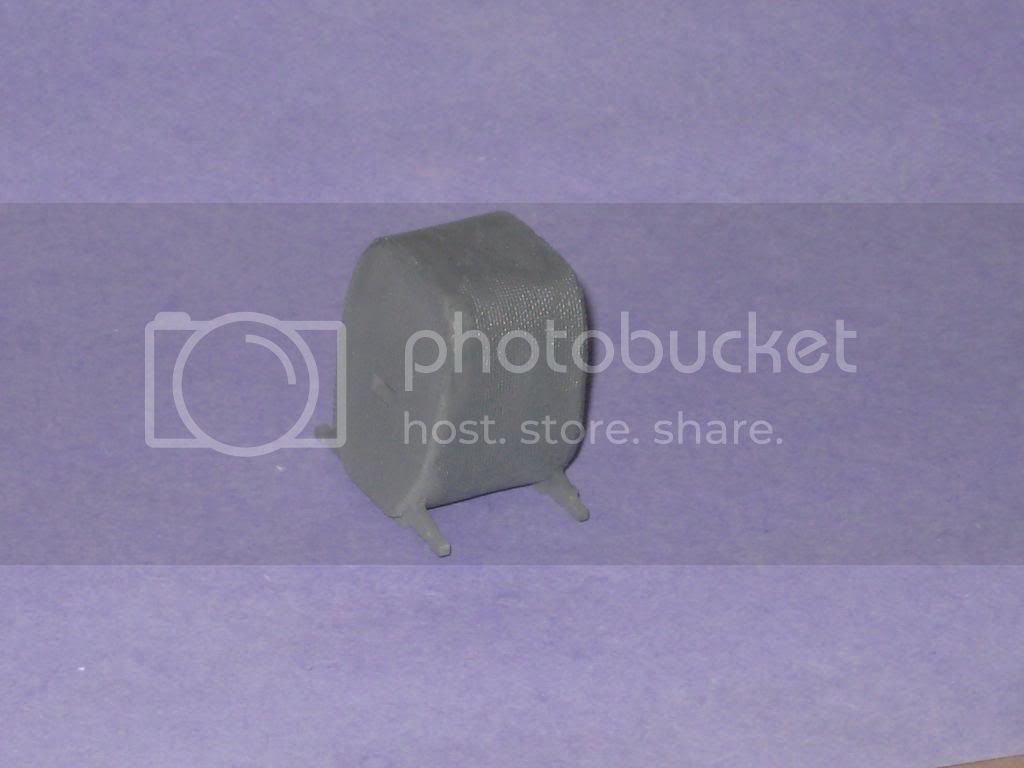
I wanted to do this because you will be able to see a little of the side of the fuel tank through the open wireless access panel.
I also managed to make a partial fuselage former and paint and detail the wireless boxes..................................
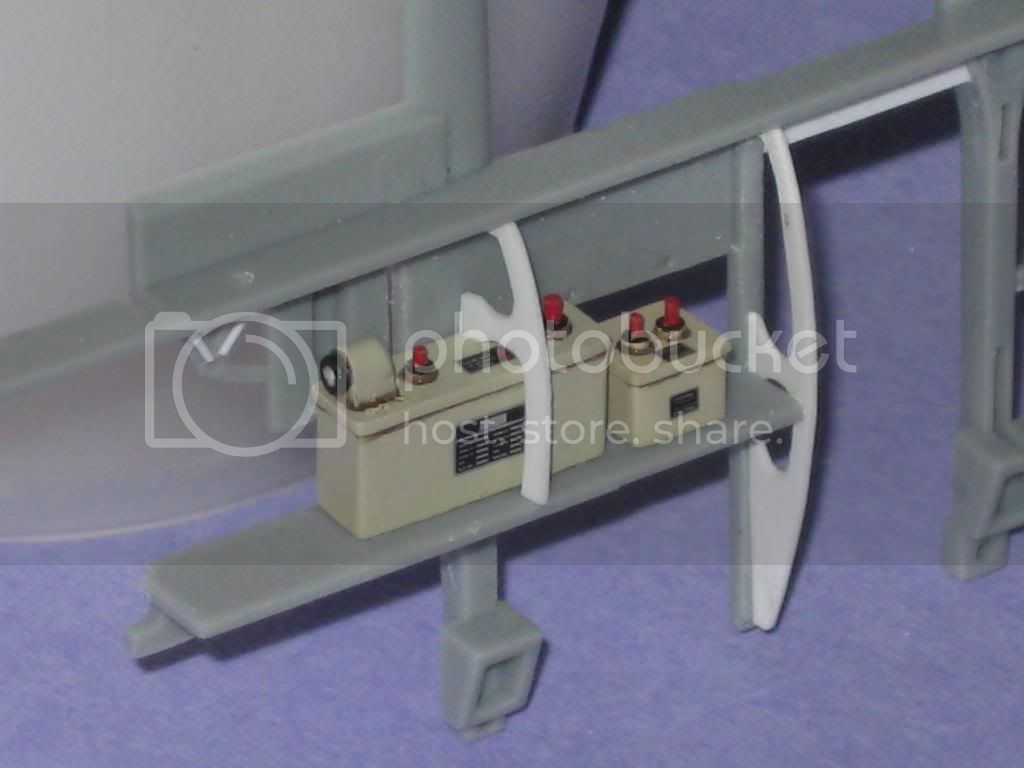
More soon!
Mark
The self-sealing fuel tank that was positioned behind the pilot seat was fabric wrapped. The kit part only has fabric texture on the front and back so I used some modelling mesh and super glued it around the middle...............


then primed it in grey..............

I wanted to do this because you will be able to see a little of the side of the fuel tank through the open wireless access panel.
I also managed to make a partial fuselage former and paint and detail the wireless boxes..................................

More soon!
Mark
RAGIII

Joined: June 19, 2007
KitMaker: 604 posts
AeroScale: 600 posts

Posted: Friday, January 17, 2014 - 12:44 PM UTC
Mark,
Your work is looking great! Just aquestion, Where /from what source, did you get the placards on the Radios/wireless boxes?
RAGIII
Your work is looking great! Just aquestion, Where /from what source, did you get the placards on the Radios/wireless boxes?
RAGIII
guitarlute101

Joined: December 18, 2006
KitMaker: 1,121 posts
AeroScale: 1,063 posts

Posted: Friday, January 17, 2014 - 02:31 PM UTC
Hi Rick,
Those are from a 1/35 Archer Placard set for the Sd.Kfz 250.
Mark
Those are from a 1/35 Archer Placard set for the Sd.Kfz 250.
Mark
DrIAce

Joined: August 14, 2011
KitMaker: 59 posts
AeroScale: 56 posts

Posted: Thursday, January 30, 2014 - 12:41 PM UTC
Quoted Text
Mark,
Echoing what all of the others have already said: Brilliant work on the jig! Your color choices and detailing are quite striking!
RAGIII
Ditto to the above, thanks for sharing the jig too !
ED
 |


