_GOTOBOTTOM
Early Aviation
Discuss World War I and the early years of aviation thru 1934.
Wingnut Wings Pfalz D.IIIa - MFJ ??
lcarroll
_VISITCOMMUNITY
Alberta, Canada
Joined: July 26, 2010
KitMaker: 1,032 posts
AeroScale: 1,025 posts
Posted: Friday, January 10, 2014 - 12:05 PM UTC
This will be my New Year's Build; I started it on the 1st of January. I'm doing the aircraft as one from an unknown Marine Feld Jaasta as surrendered to the Allies immediate Post War.


References as shown, not as many nor with the detail I'd like however up to the task.
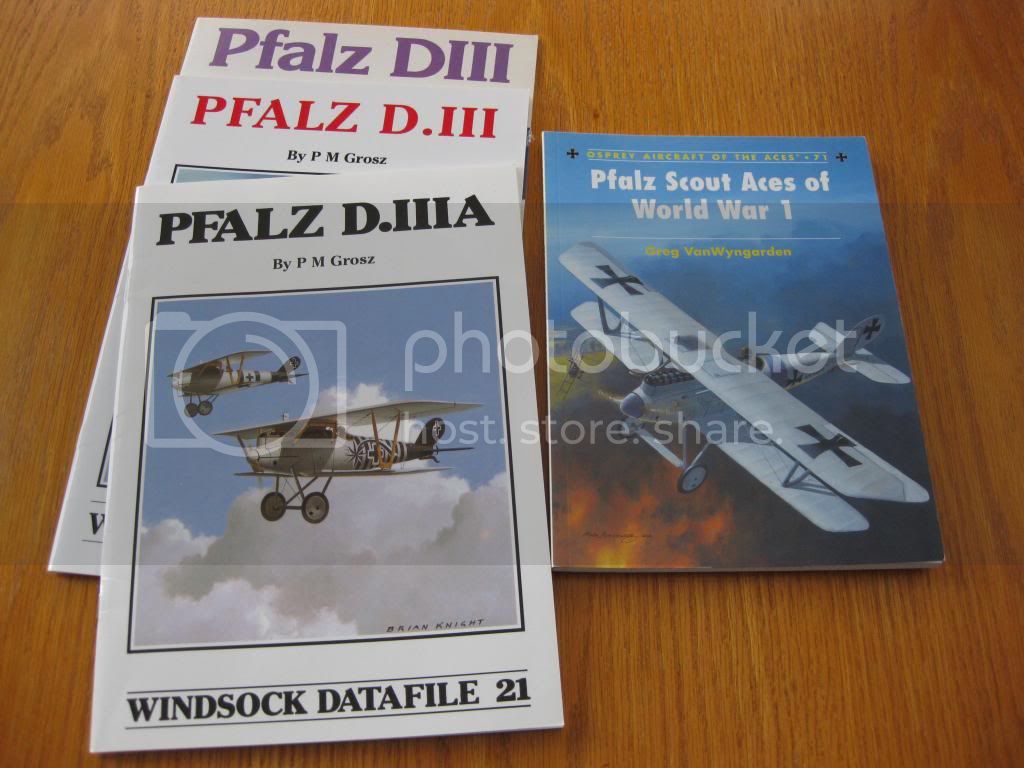


The After market items I'll be incorporating into the Build. Master Spandau upgrade parts, HGW Seat Belts, some Taurus Mercedes resin upgrades, and not showm, the excellent Aeroclub Instrument Bezels. Decals are from the Wingnut Wings After Market Sheet 30019, Pfalz D.IIIa Flying Circus Part 1.


This is the colour scheme......


Last, Ill be using a set of Stephen Robson's Wire Spoked Wheels for the Build.


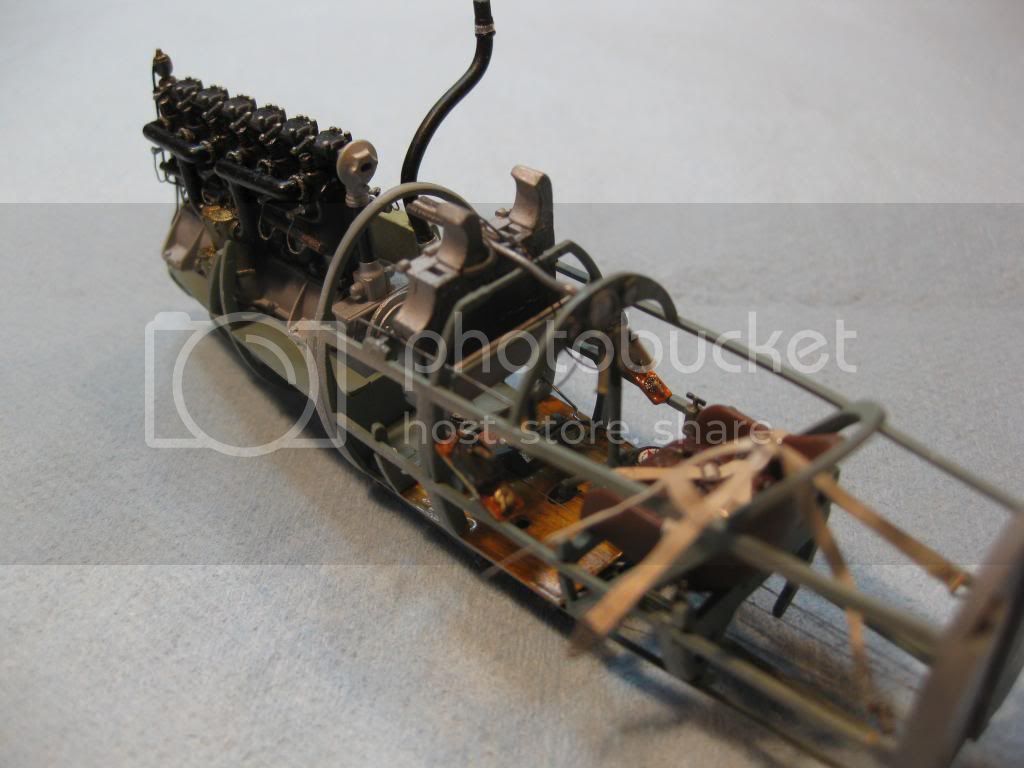
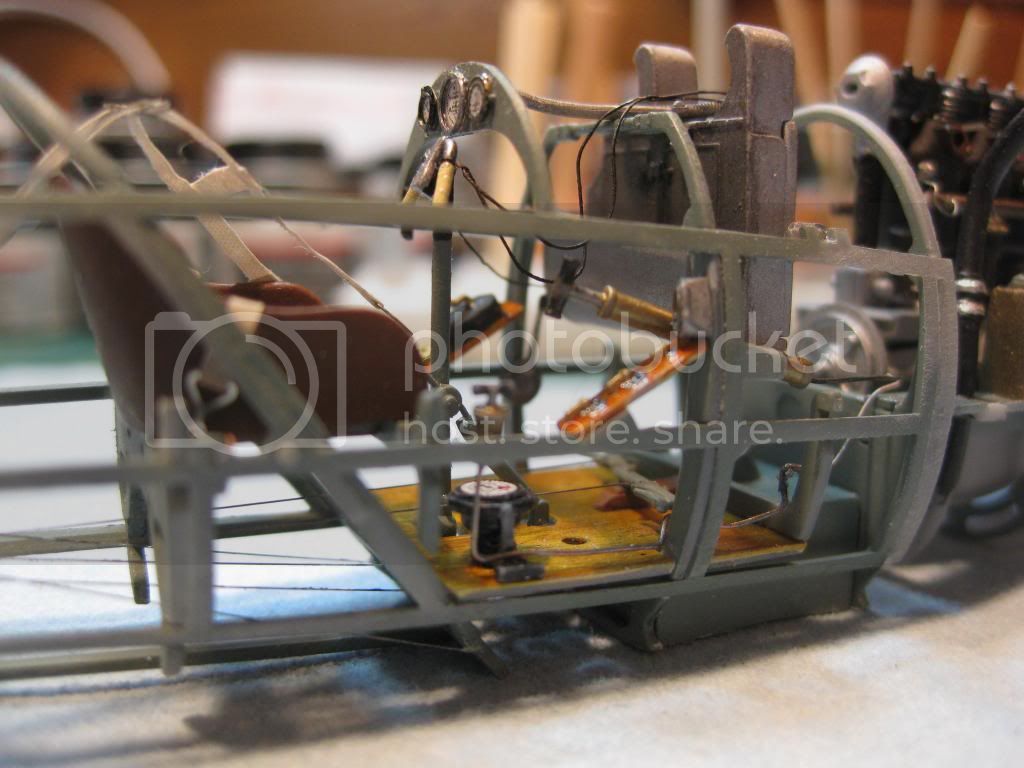
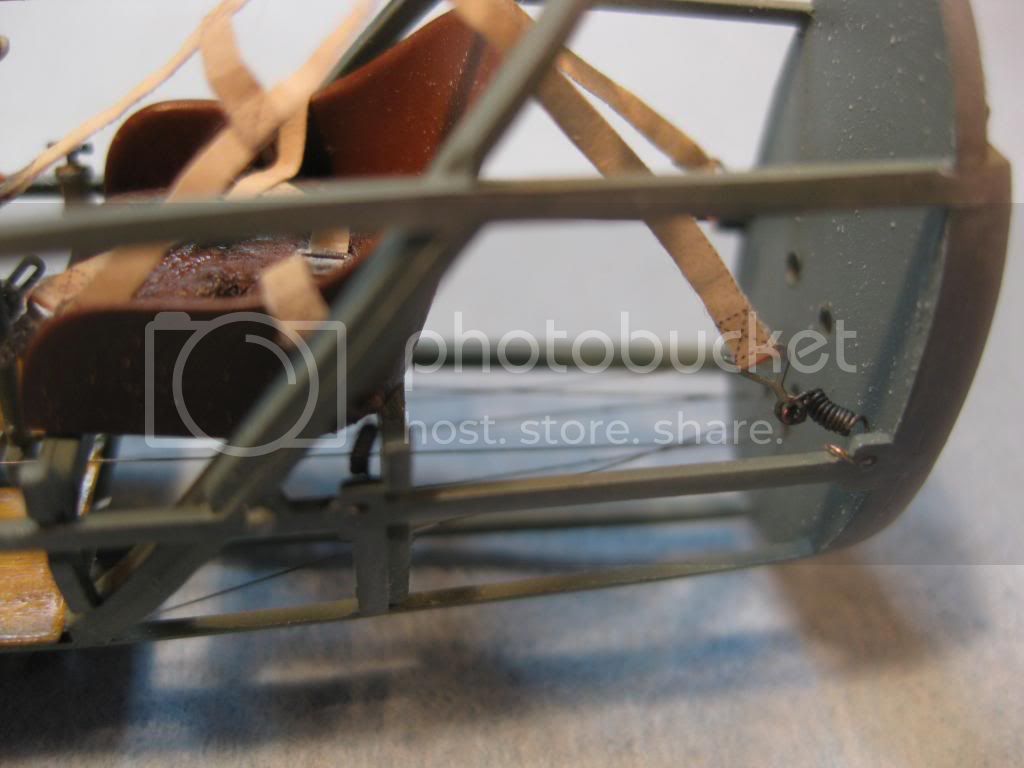
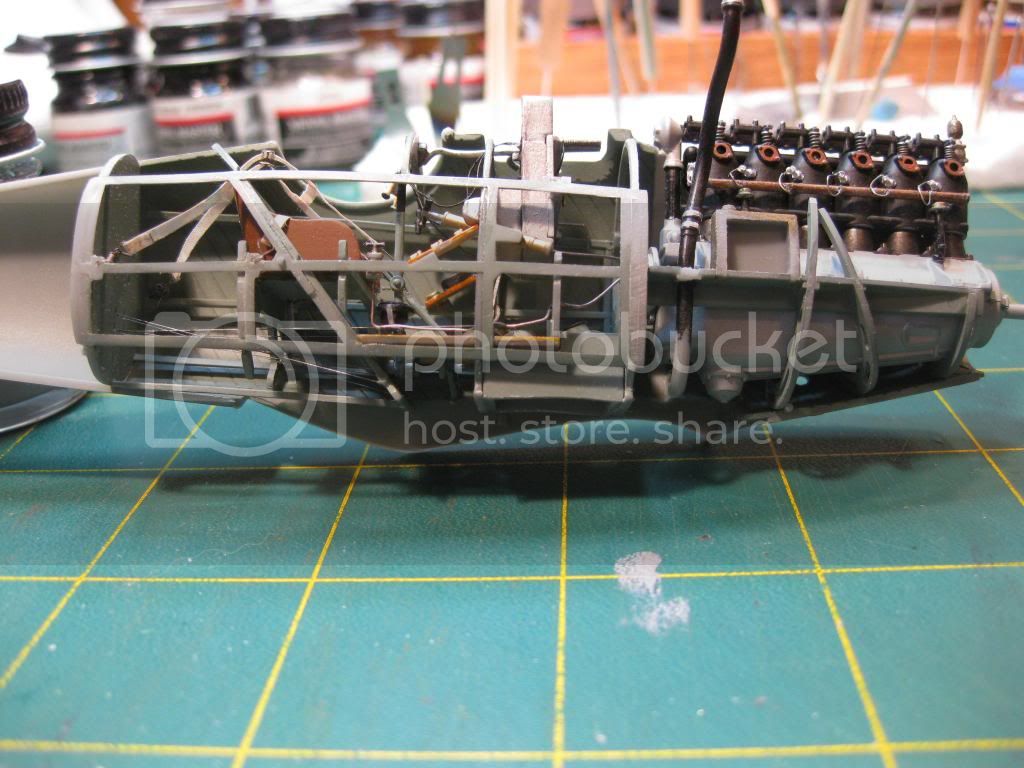
I've spent the past week working on the cockpit module, add ons being a carb mixture control rod, an aux. throttle. and wires from the triggers to the guns along with a cable from the control stick twist grip throttle up to the engine area. Also a scratched seat cushion added and some lines from the greaser and fuel pressurization pumps. Some work in progress photos.........


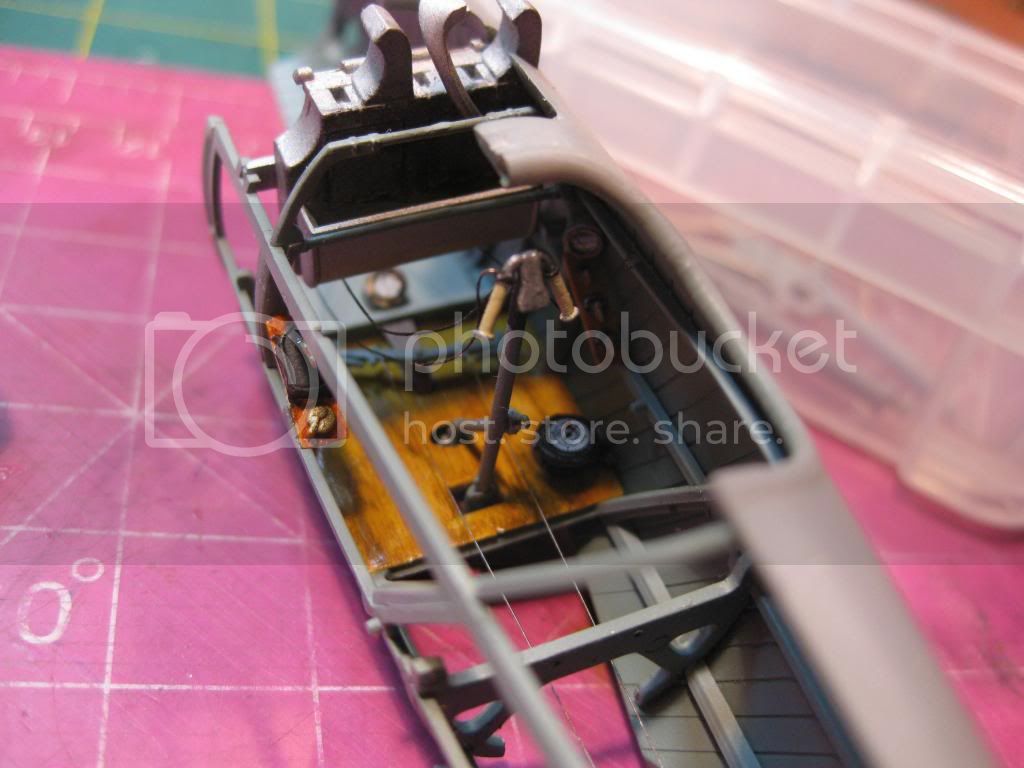
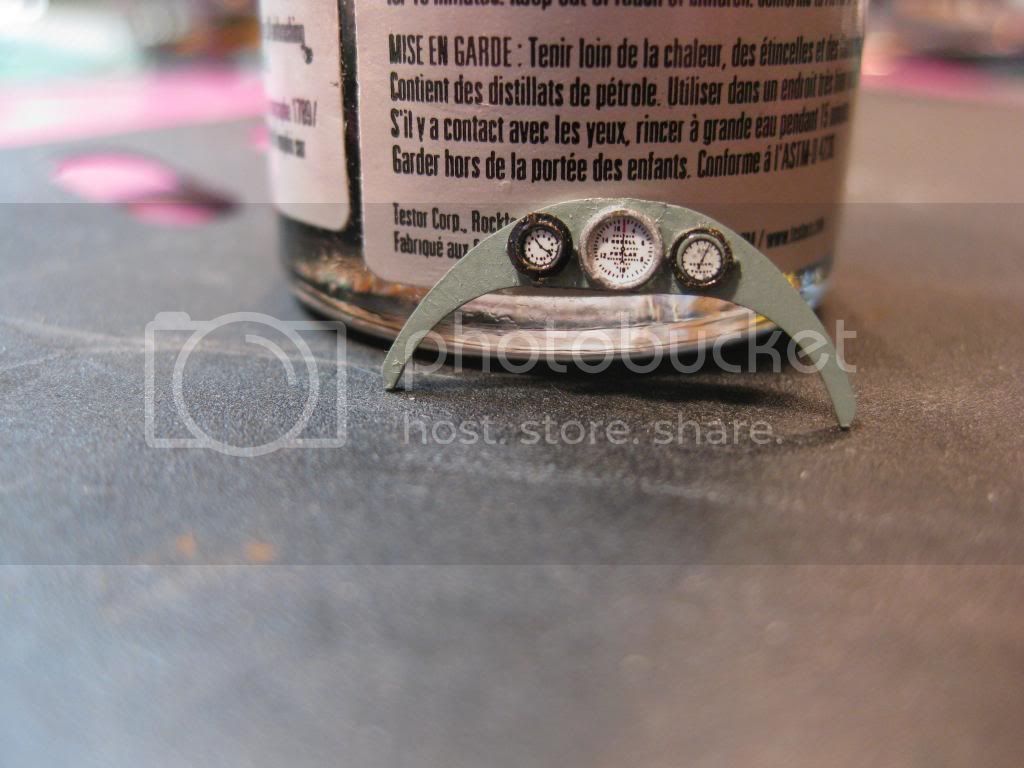


The seat belts completed and ready to install...........(absolutely excellent product BTW) The damper springs were scratched from copper wire and, much to my chagrin, won't be visible once She's closed up!?


I've got the Spandaus assembled and they await a date at the spray booth. I'll post more progress in the next week hopefully.
So far a really nice Kit to work with, standard "way above standard" Wingnut Wings Product!
Cheers,
Lance


thegirl
_VISITCOMMUNITY
Alberta, Canada
Joined: January 19, 2008
KitMaker: 6,743 posts
AeroScale: 6,151 posts
Posted: Friday, January 10, 2014 - 01:16 PM UTC
Your off to a great start Lance ! What details are you looking for ? Nice choice for the scheme as well , not one many folks do . I will be following this build very keen interest


Terri
lcarroll
_VISITCOMMUNITY
Alberta, Canada
Joined: July 26, 2010
KitMaker: 1,032 posts
AeroScale: 1,025 posts
Posted: Friday, January 10, 2014 - 01:39 PM UTC
Hey Terri,
I knew you'd be among the first to comment as I seem to recall the Pfalz DIII and DIIIA are your absolute favorites!
The details I was looking for were answered in a review of a couple of Stephen's Reviews here and several Build Logs as well, including yours. I was seeking confirmation of an Auxiliary Throttle and a Spark Advance Lever along with confirmation of a stick mounted twist throttle, found it all!
I can see why you have this "thing" about these aircraft, She's sleek, pretty, and really "racy" looking, I'm looking forward to completing this one. The Kit is incredible!
Cheers,
Lance
RAGIII
_VISITCOMMUNITY
North Carolina, United States
Joined: June 19, 2007
KitMaker: 604 posts
AeroScale: 600 posts
Posted: Friday, January 10, 2014 - 02:21 PM UTC
A very nice beginning! I like those springs on the belts!
RAGIII
JackFlash
_VISITCOMMUNITY
Colorado, United States
Joined: January 25, 2004
KitMaker: 11,669 posts
AeroScale: 11,011 posts
Posted: Friday, January 10, 2014 - 06:36 PM UTC
Good start Lance.
lcarroll
_VISITCOMMUNITY
Alberta, Canada
Joined: July 26, 2010
KitMaker: 1,032 posts
AeroScale: 1,025 posts
Posted: Monday, January 20, 2014 - 07:12 AM UTC
Time to update progress; the cockpit and engine modules are 95% complete and it's time to close her up.
The seat harness shoulder portion has been left loose, to be draped over the left side of the fuselage when the model is completed. I added a few extra engine controls as planned and installed the two hand pumps to complete the "office".


The shoulder harness spring restraints were installed and unfortunately will be all but invisible once the fuselage is closed.


The fit tolerances were, as always with WNW Kits, very tight. An hour or more of shaving and sanding preceded the final fitting. The box structure below the seat had to be significantly trimmed to allow fitting of the lower wing assembly.


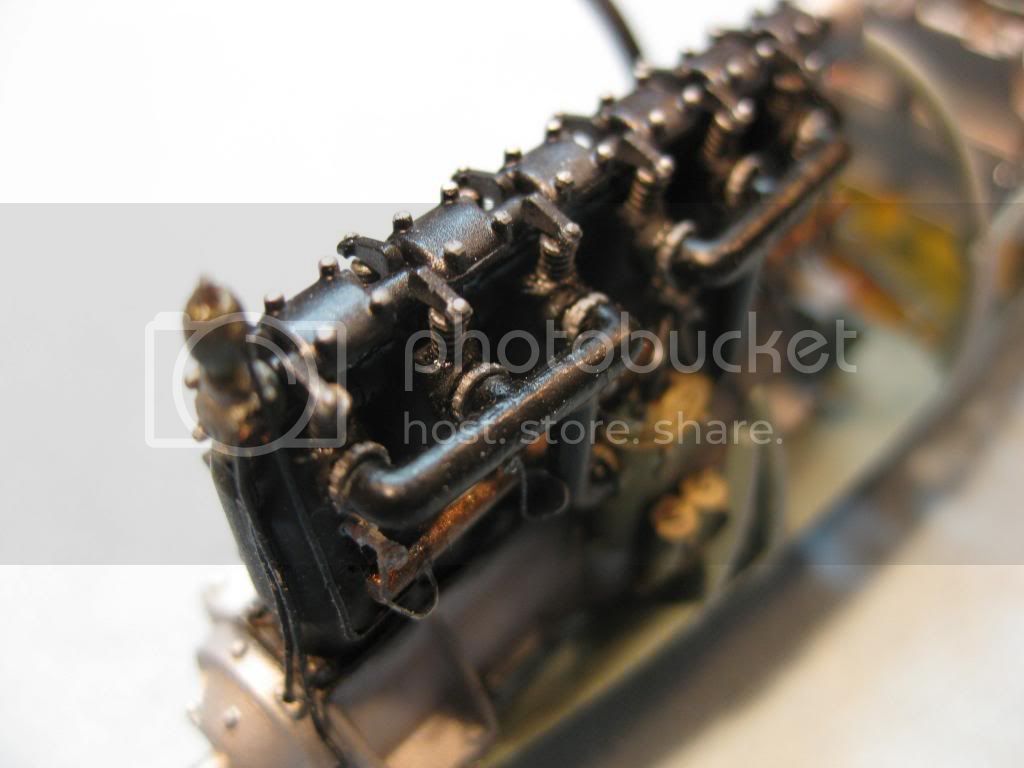
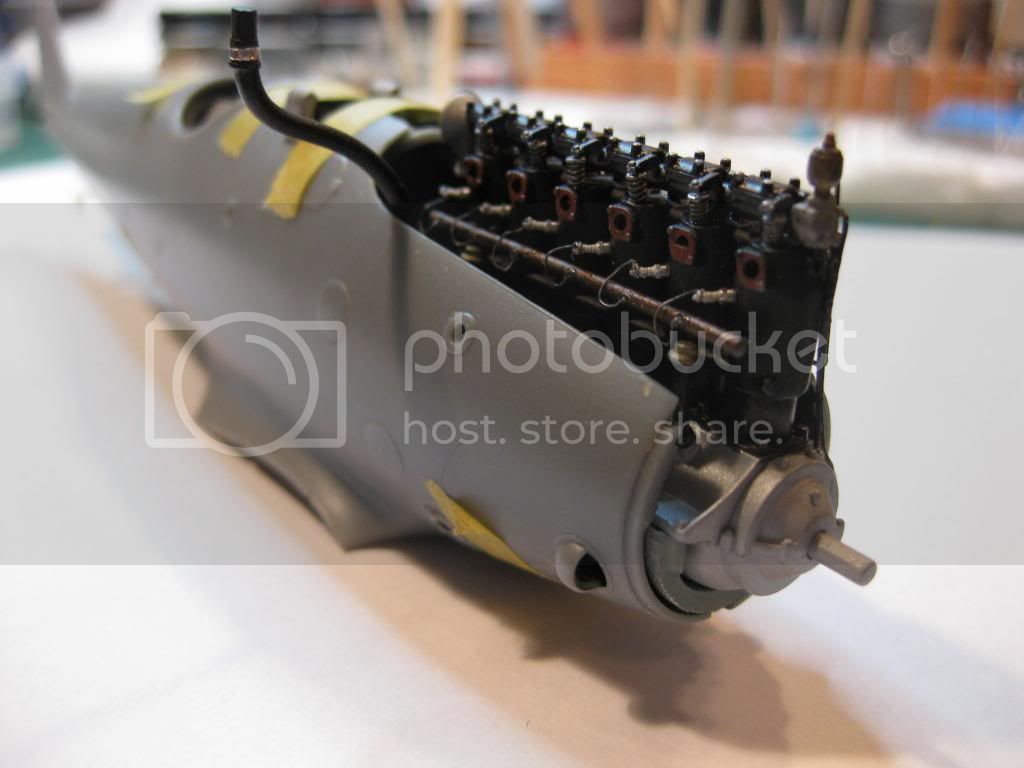
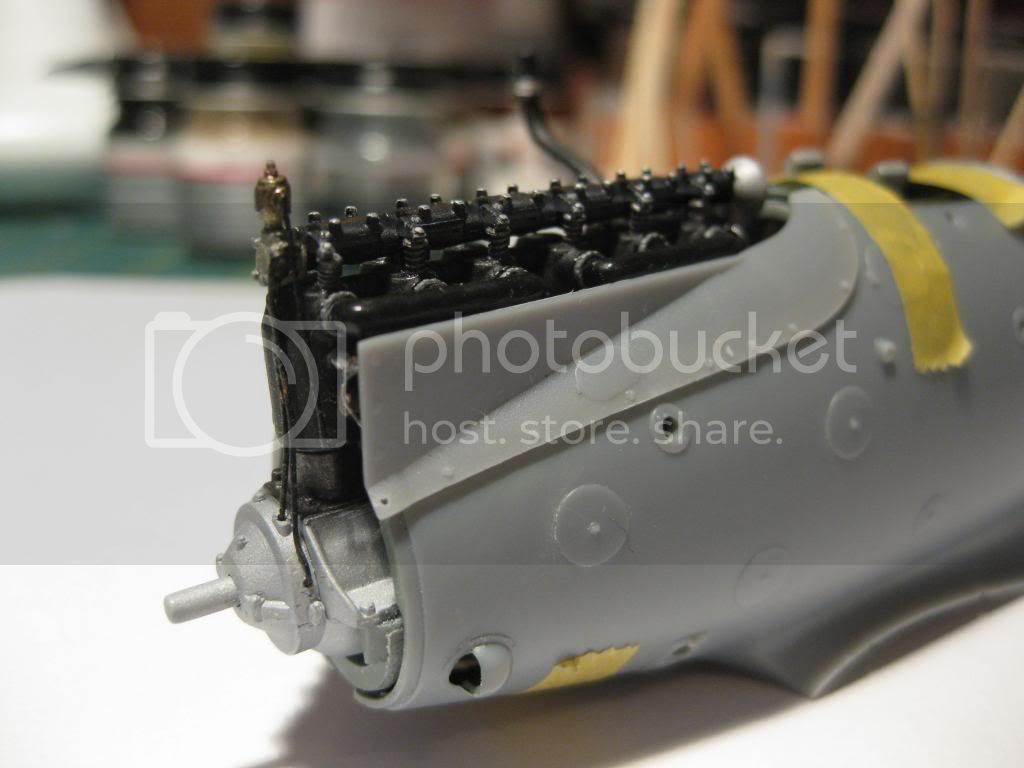
I kept detailing of the engine to only the top half, as most will be covered by the cowlings once installed. The Taurus Mercedes DIIIa upgrade Kit valve springs were used and also their excellent Intake Manifold Nuts. The plugs which will be largely hidden are RB Motion ones as I am saving the Taurus plugs for a future Build.


Here's the engine dry fitted and with the cowlings "posed".


The fuselage was closed up late yesterday and the lower wing installed. Both wings have been sprayed with an off-white enamel in preparation for the Lozenge Decals. I'll be using the 5 Colour Wood and Wire with white background product. It's my first opportunity to use the Wood and Wire Lozenge and I'm really looking forward to that part of the Build, great looking product!
I'll do another update once the Lozenge is on.........
Cheers,
Lance
Holdfast
Staff MemberPresident
IPMS-UK KITMAKER BRANCH
#056
_VISITCOMMUNITY
England - South West, United Kingdom
Joined: September 30, 2002
KitMaker: 8,581 posts
AeroScale: 4,913 posts
Posted: Monday, January 20, 2014 - 06:59 PM UTC
Excellent stuff Lance, I love the extra detailing work I need to build one of these wonderful WNW kits; every time I see one being built gives me the urge to crack on with one, but I have to fight that urge as I have several other kits on the go that must be finished first! I also need to get some reference material, as I have nothing about aviation in WWI.
RAGIII
_VISITCOMMUNITY
North Carolina, United States
Joined: June 19, 2007
KitMaker: 604 posts
AeroScale: 600 posts
Posted: Thursday, January 23, 2014 - 12:08 PM UTC
Lance,
Very impressive cockpit work. Your engine valve springs and plug wires are also well done.
RAGIII
thegirl
_VISITCOMMUNITY
Alberta, Canada
Joined: January 19, 2008
KitMaker: 6,743 posts
AeroScale: 6,151 posts
Posted: Sunday, January 26, 2014 - 02:15 PM UTC
Lovely work on the details Lance . Will you be leaving the cowls off ?


Terri
JPTRR
Staff MemberManaging Editor
RAILROAD MODELING
#051
_VISITCOMMUNITY
Tennessee, United States
Joined: December 21, 2002
KitMaker: 7,772 posts
AeroScale: 3,175 posts
Posted: Sunday, January 26, 2014 - 02:50 PM UTC
Spoked wheels - incredible!

I love the Pfalz - will be watching.
dolly15
_VISITCOMMUNITY
Quebec, Canada
Joined: May 20, 2004
KitMaker: 8,227 posts
AeroScale: 3,915 posts
Posted: Sunday, January 26, 2014 - 10:28 PM UTC
Lookin' good !
guitarlute101
_VISITCOMMUNITY
West Virginia, United States
Joined: December 18, 2006
KitMaker: 1,121 posts
AeroScale: 1,063 posts
Posted: Monday, January 27, 2014 - 12:45 AM UTC

Very nice Lance!

Mark
GhostHawk
_VISITCOMMUNITY
Cordoba, Argentina
Joined: January 27, 2011
KitMaker: 268 posts
AeroScale: 264 posts
Posted: Monday, January 27, 2014 - 12:58 AM UTC
Yes, I agree... Very Good Ones...!!! Diego
lcarroll
_VISITCOMMUNITY
Alberta, Canada
Joined: July 26, 2010
KitMaker: 1,032 posts
AeroScale: 1,025 posts
Posted: Monday, January 27, 2014 - 04:41 AM UTC
Thanks All, for the nice comments.
Terri, I plan on having the top cowlings fully installed on this one as I really like the "sleekness" of this aircraft. Since the engine has only the top end detailed and is installed I can't change the plan now anyway..........!
Cheers,
Lance
redcap
_VISITCOMMUNITY
England - East Midlands, United Kingdom
Joined: November 06, 2005
KitMaker: 753 posts
AeroScale: 311 posts
Posted: Monday, January 27, 2014 - 06:20 AM UTC
Excellent progress so far Lance. I built this kit last year and loved every single minute. Can't wait to see yours finished.
Gary
Mgunns
_VISITCOMMUNITY
Arizona, United States
Joined: December 12, 2008
KitMaker: 1,423 posts
AeroScale: 1,319 posts
Posted: Wednesday, January 29, 2014 - 07:45 AM UTC
Hi Lance:

Coming along nicely. I like your detailing of the upper portion of the engine, very convincing. I am looking forward to your next update. I think my next one will be Pfalz DIII.a in Berthold's markings. Pfalz mania running wild!
DrIAce
_VISITCOMMUNITY
California, United States
Joined: August 14, 2011
KitMaker: 59 posts
AeroScale: 56 posts
Posted: Thursday, January 30, 2014 - 12:21 PM UTC
Coming along nicely !
lcarroll
_VISITCOMMUNITY
Alberta, Canada
Joined: July 26, 2010
KitMaker: 1,032 posts
AeroScale: 1,025 posts
Posted: Monday, February 03, 2014 - 11:55 AM UTC
Thanks Gary, Mark and Ed. It's time for another update as I've made a bit more progress with the Build.
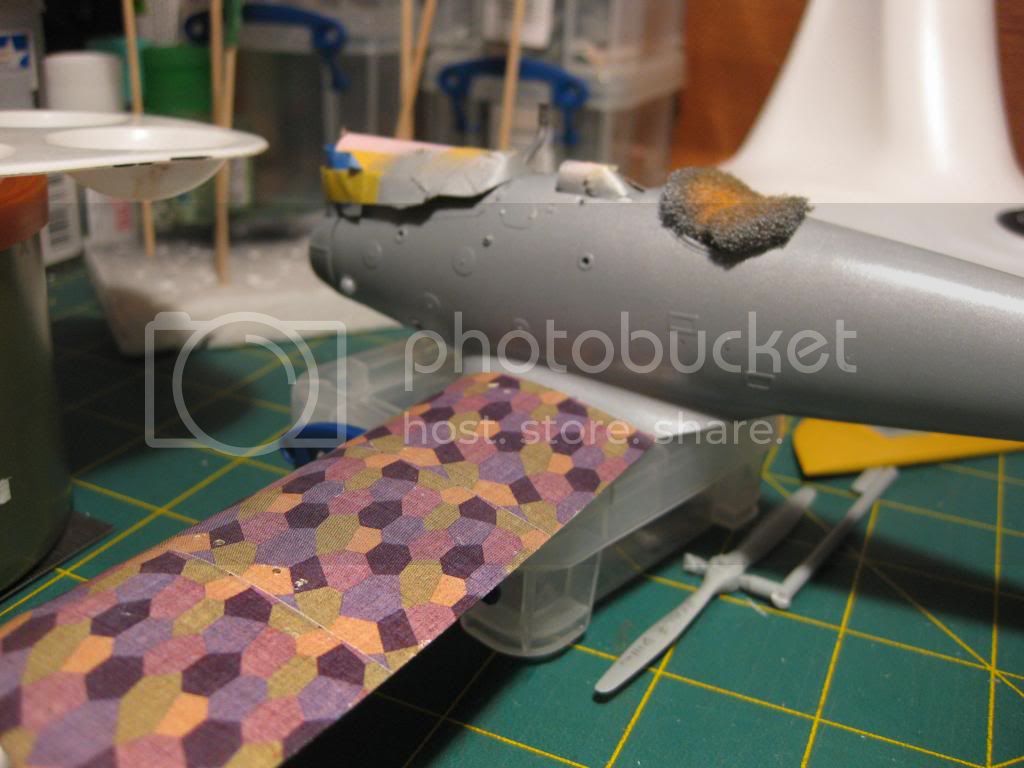
Once the fuselage was sprayed with the "Silbergrau" the Lozenge was completed on the wings. Lots of chipping of colours from the white base necessitated patching here and there. Once that was complete a coat of Future was applied to both protect the Lozenge and provide a smooth surface for the tapes and other decals. I also forgot to order lozenge pattern tapes and had to cut them by hand. The chipping resulting from this approach was solved by applying a coat of Microscale Decal Film to the stock and allowing it to dry overnight before cutting.


Here's some of the chipping I had to repair, in this case it would be covered by the decals I painted for the wing step areas.


.......and here's a few examples of completed patching.


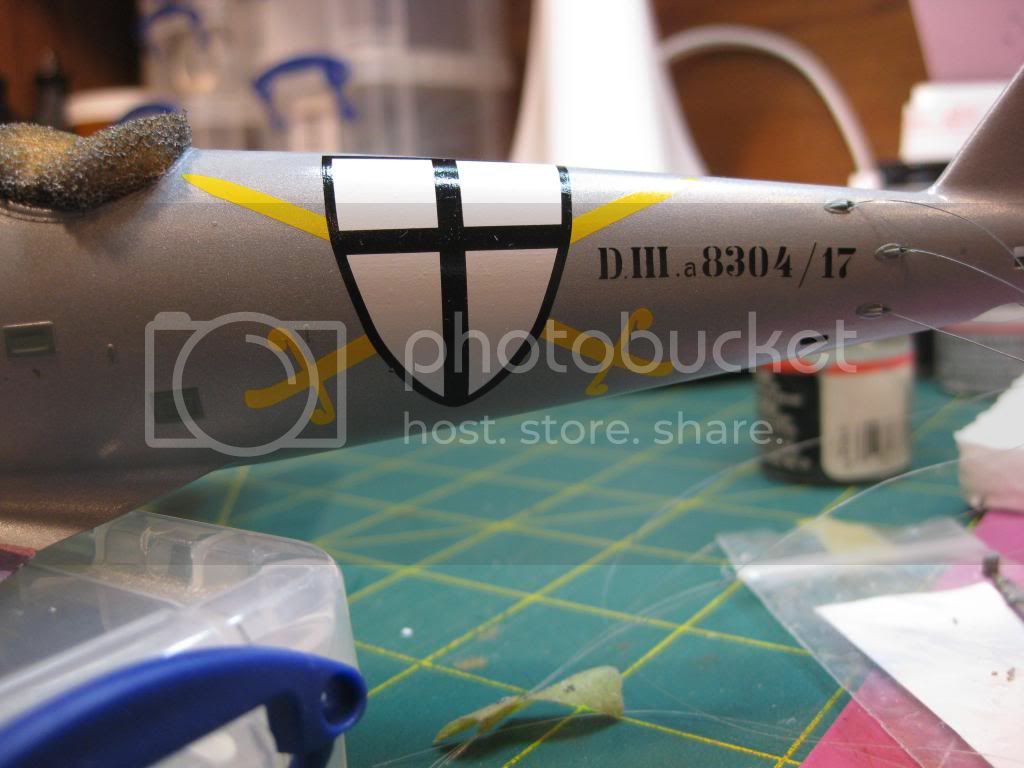
Once the repairs were complete I got the wing decals on and then moved to the fuselage. The various hatches were hand painted with the exception of the round ones which were masked with vinyl masks and then brush painted.


Masks applied..


and finished product.


I also completed the (three coats) airbrushed yellow on the nose and empennage.


I'm now working on the fuselage decaling prior to starting the turnbuckle installation, more to follow soon!
Cheers,
Lance

lcarroll
_VISITCOMMUNITY
Alberta, Canada
Joined: July 26, 2010
KitMaker: 1,032 posts
AeroScale: 1,025 posts
Posted: Tuesday, February 04, 2014 - 08:00 AM UTC
Just a bit more progress, the decals have been completed. Most from the Wingnut Wings After market Sheet 30019 Flying Circus Part 1. Like the Kit this product is of outstanding quality, great decals and easy to work with the use of a little Microset.


Next is a coat of semi gloss clear, I am experimenting with Alclad II Klear Kote Semi Matte on some test samples and it looks very encouraging.
Cheers,
Lance
lcarroll
_VISITCOMMUNITY
Alberta, Canada
Joined: July 26, 2010
KitMaker: 1,032 posts
AeroScale: 1,025 posts
Posted: Wednesday, February 19, 2014 - 10:40 AM UTC
Time for another update before progress gets away on me!
The upper wing is completed and pre-rigged. the Radiator installed; the shutter lever is "posed" for now.


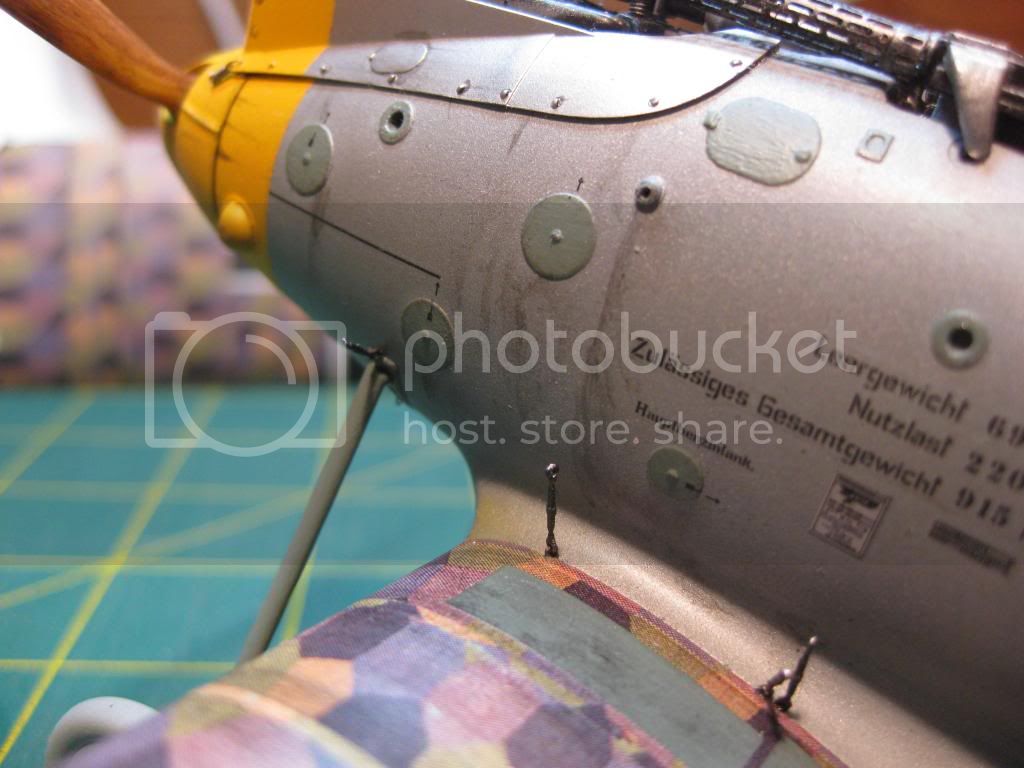
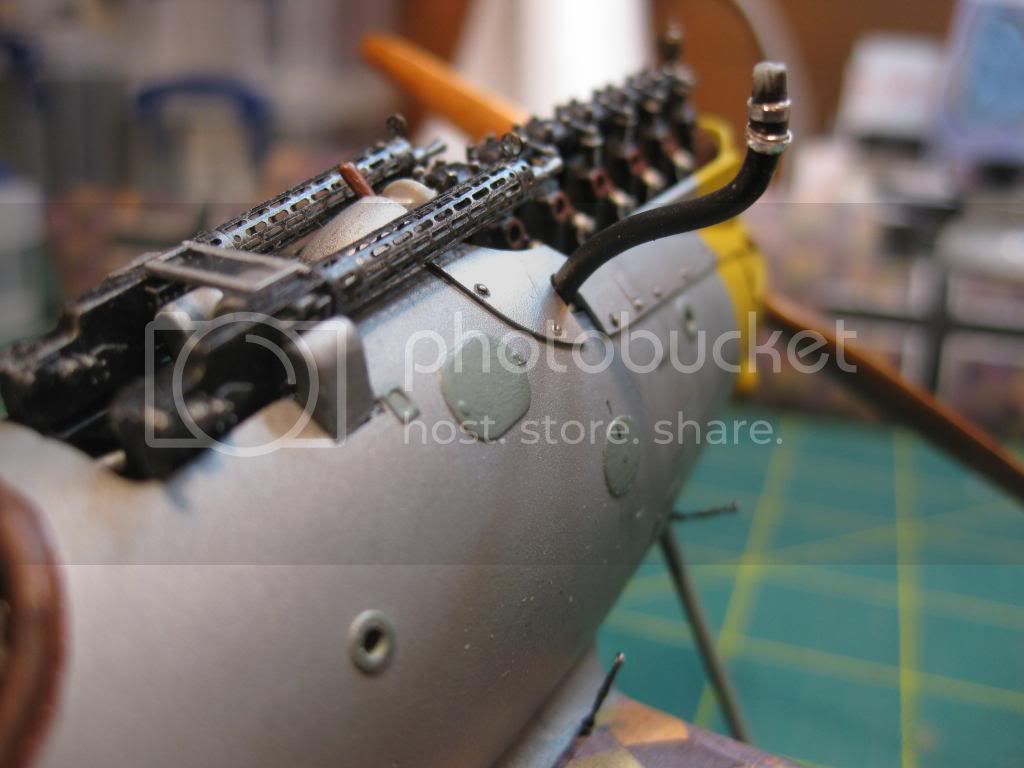
I'm using Gas Patch turnbuckles on the lowers, Bob's Buckles on the uppers for the rigging. The weathering is about 3/4 complete and I'll be adding a bit of mud/dirt to the lower portions. Guns installed, windscreen, and engine side cowlings on as well.


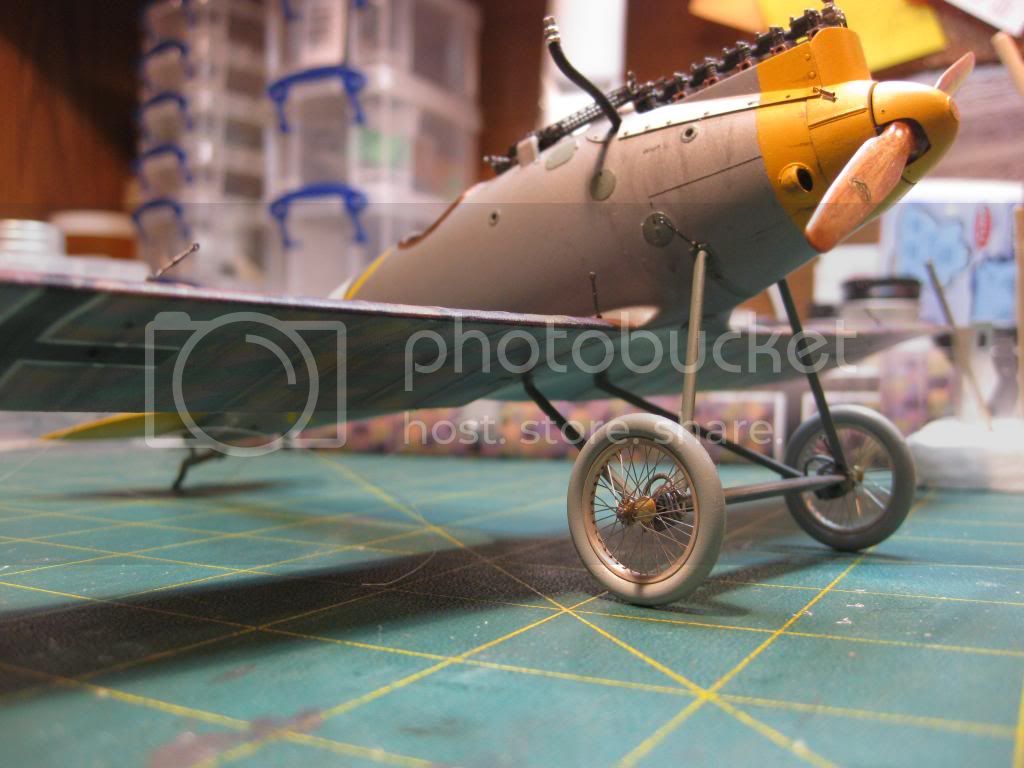
I'm using Steven Robson's wire wheels, absolute little jewels. The landing gear is dry fitted to the fuselage at this point.


I also added panel retaining springs to the side panels (need a coat of steel paint) and the spinner attachment bolt holes. The Axial prop is hand laminated and carved veneers.


Now it's on with the upper wing and some serious rigging time!
Cheers,
Lance
Jessie_C
_VISITCOMMUNITY
British Columbia, Canada
Joined: September 03, 2009
KitMaker: 6,965 posts
AeroScale: 6,247 posts
Posted: Wednesday, February 19, 2014 - 11:20 AM UTC
The more I see of this one the more I want to do a feature of it once it's finished
StukaJr
_VISITCOMMUNITY
California, United States
Joined: April 26, 2010
KitMaker: 346 posts
AeroScale: 292 posts
Posted: Wednesday, February 19, 2014 - 01:34 PM UTC
Fantastic progress on the Pfalz! Most impressive! Love the way you are super-detailing an already detailed base kit - continuing to watch with interest.

Some assumptions / Questions on the point of "Old Propeller" (Wood and Wire) Decals - how prominent was "chipping" and how widespread was it, as decals have set after application? I believe the decals are laser printed on single sheet of waterslide paper? I've been experimenting with my own designs (on inkjet) but without much success (cracking and decals designs are too fragile to properly smooth out over curved surface).

I'm trying to find correct level of inks / sealant in the meantime, while encouraged by the look of your results with Wood and Wire offerings.
lcarroll
_VISITCOMMUNITY
Alberta, Canada
Joined: July 26, 2010
KitMaker: 1,032 posts
AeroScale: 1,025 posts
Posted: Thursday, February 20, 2014 - 02:58 AM UTC
Ivan,
I used the Old Propeller Wood and Wire "Base White" version as I prefer to Pre and then Post Shade as required and reasoned that the translucent version would involve a lot of guess work on the degree and depth of Pre Shading. In the end I skipped the Pre-Shading did all Post Shading with dry Pastels.
The decals were reasonably easy to work with and certainly not the worst I've used however the printed colours of the Lozenge pattern tended to chip away from the white base leaving a lot of white "shattered" areas. I patched them using individual lozenge "diamonds" of the appropriate colours however cutting this white backed stuff leaves a chipped or cracked edge no matter how you cut it or with what. Perhaps the normal translucent product would work better.
I read a comment on another Site from someone at Old Propeller that said the Decal Manufacturer has been advised of the problems and has undertaken to add more varnish to the top or sealer coat. For my part I won't use it again (the white base that is) and I'm going to try the Aviattic Products to see how they compare.
The chipping I experienced was a factor during application and particularly after the decals had dried. I applied several light sealant or top coats but any amount of handling caused chipping again, particularly on edges or curved areas.
I can say that I really like the Wood and Wire colours, particularly the "Faded" stuff. I hope this answers your questions.
Cheers,
Lance
StukaJr
_VISITCOMMUNITY
California, United States
Joined: April 26, 2010
KitMaker: 346 posts
AeroScale: 292 posts
Posted: Friday, February 21, 2014 - 01:48 PM UTC
Hi Lance,

Sounds like your experience with old propeller decals is about what I get with my home printed trials - lots of patching Thanks for the info!

I'm very much spoiled by Cartograf or Lifelike Decals, but I'll still keep on testing for the solution to the cracking.
lcarroll
_VISITCOMMUNITY
Alberta, Canada
Joined: July 26, 2010
KitMaker: 1,032 posts
AeroScale: 1,025 posts
Posted: Monday, February 24, 2014 - 08:29 AM UTC
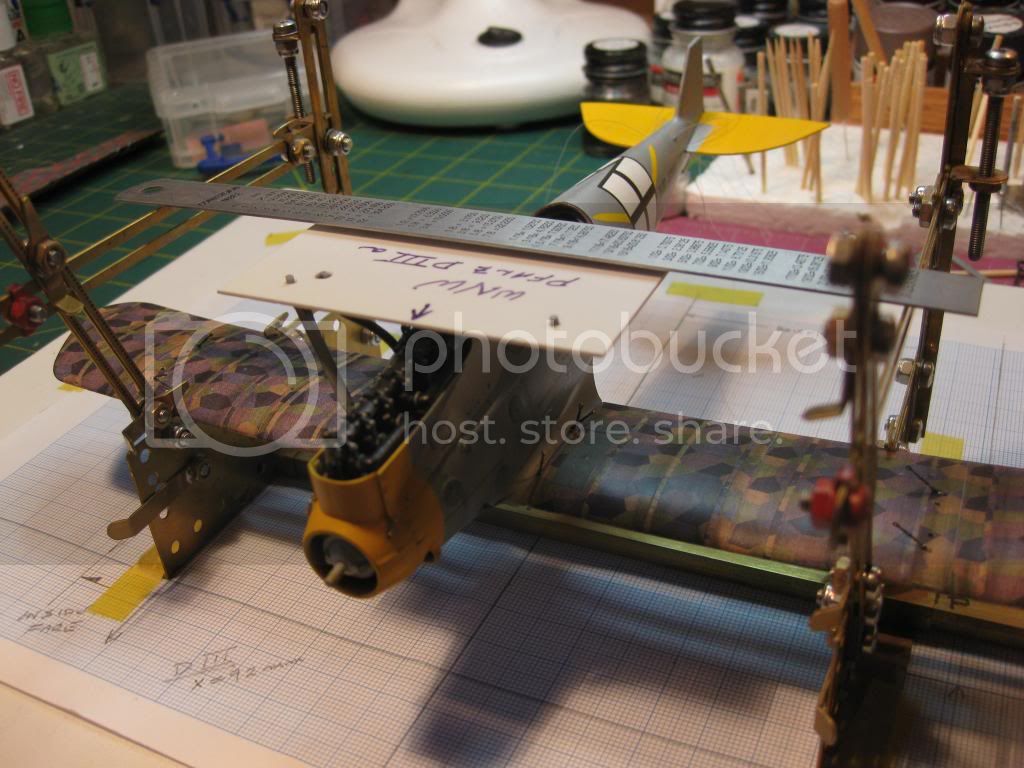
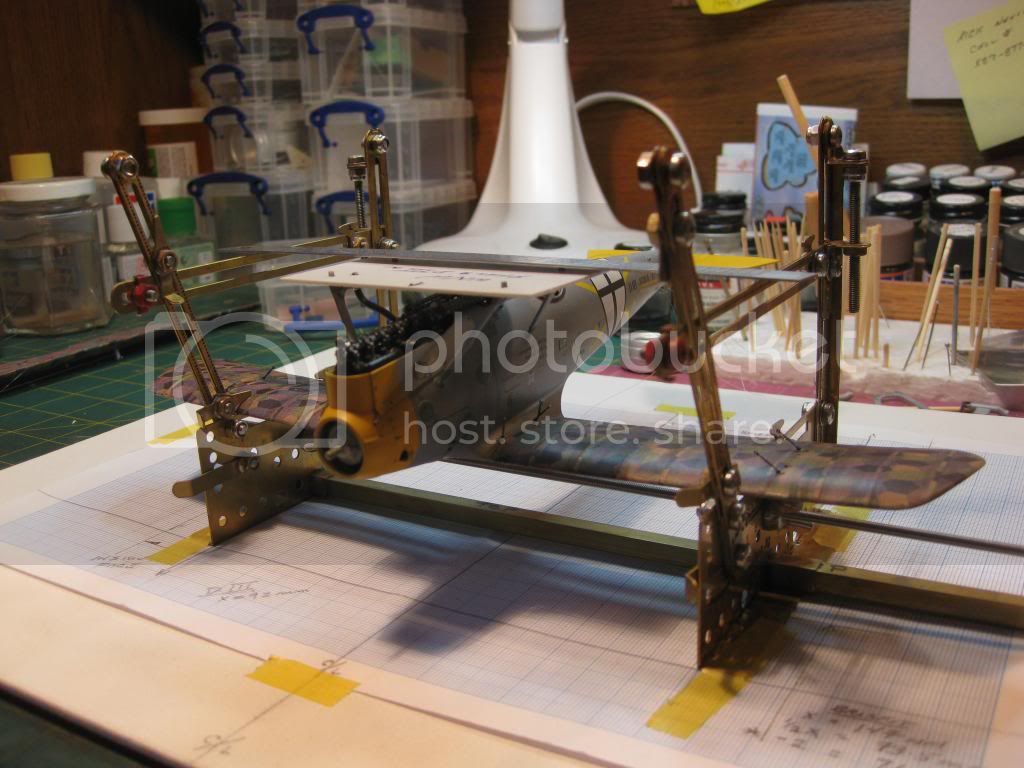
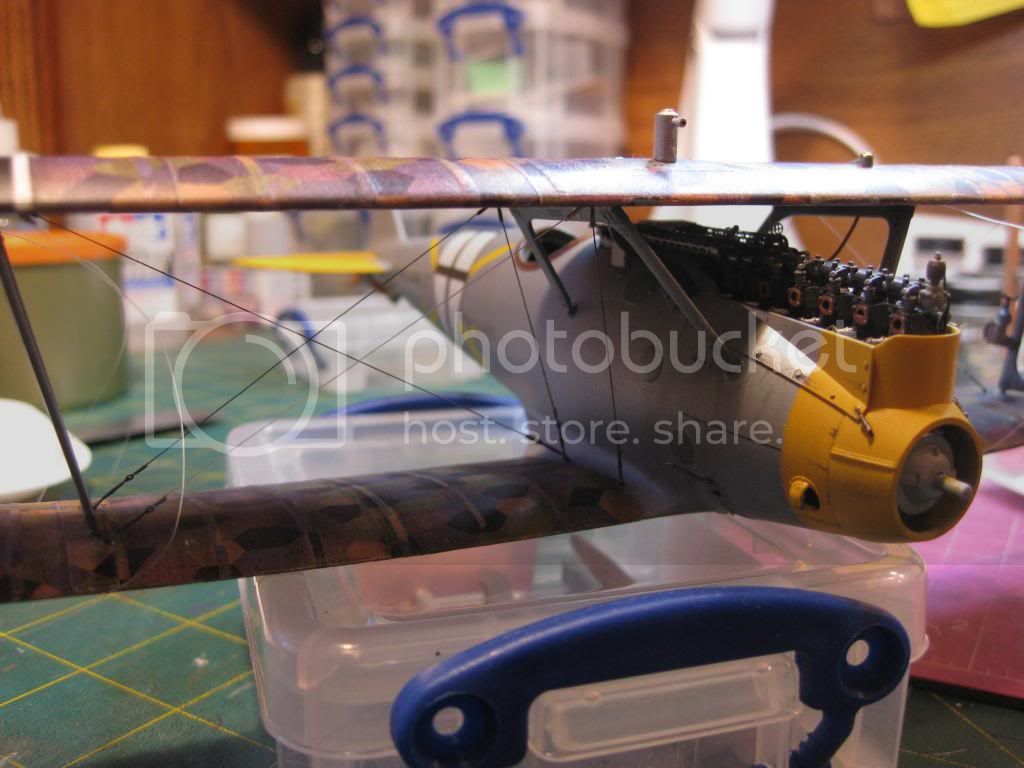
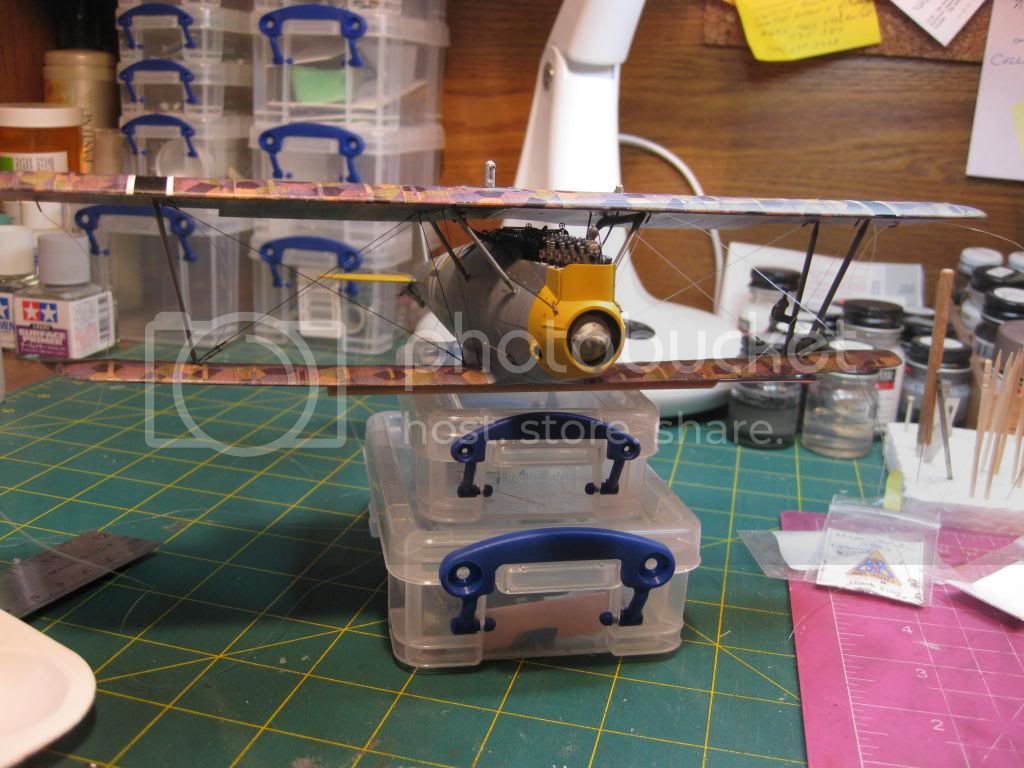
The upper wing is mounted and rigging is in progress. I used my Bi plane Assembly Jig as a work stand and installed the cabanes first using a simple alignment template and the Assembly Jig to ensure a level fit. The interplane struts were then installed on the lower wings using measurements from the C/L to ensure proper angles. The Kit engineering and fit made this phase very simple and quick.


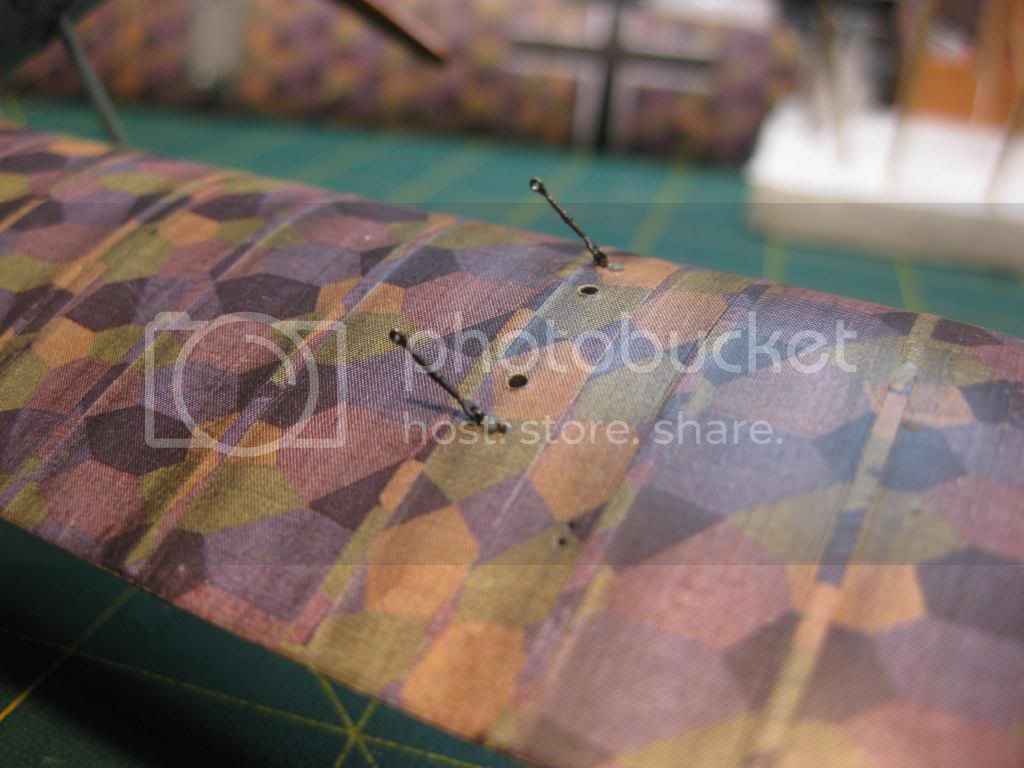
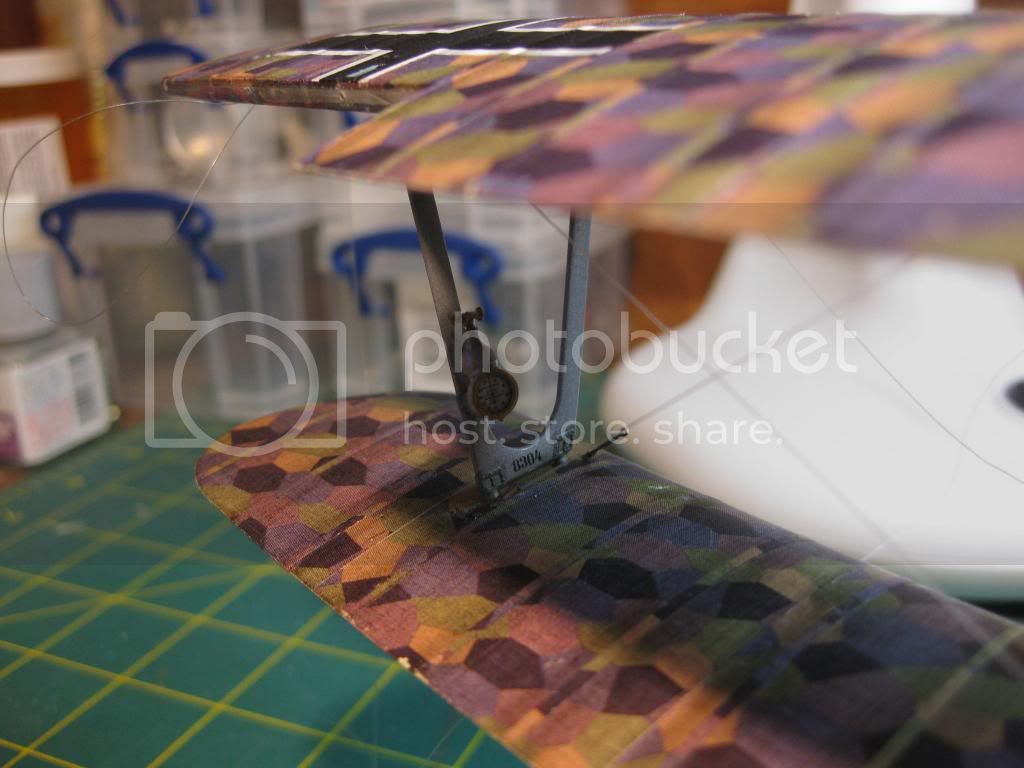
...........and here's a few shots of the upper in place with rigging and wire painting in progress.


Last, a shot of yet more chipping of the lozenge as the handling for rigging and assembly takes it's toll......


The anemometer is the Kit supplied version however the air cup spinner portion proved a real challenge to get off the Sprue, and this is the third attempt, after robbing the part from some Albies in the stash. The carpet beast got the other two or most of their pieces!
Once the rigging is completed and the lozenge touched up I'll be very close to completing this little devil!
Cheers,
Lance
 _GOTOTOP