_GOTOBOTTOM
World War II
Discuss WWII and the era directly before and after the war from 1935-1949.
Hosted by Rowan Baylis
1/48 Tamiya Me262a-1a
byrne0ut
_VISITCOMMUNITY
Alabama, United States
Joined: February 09, 2007
KitMaker: 3 posts
AeroScale: 3 posts
Posted: Monday, February 17, 2014 - 01:04 PM UTC
Hi everybody,
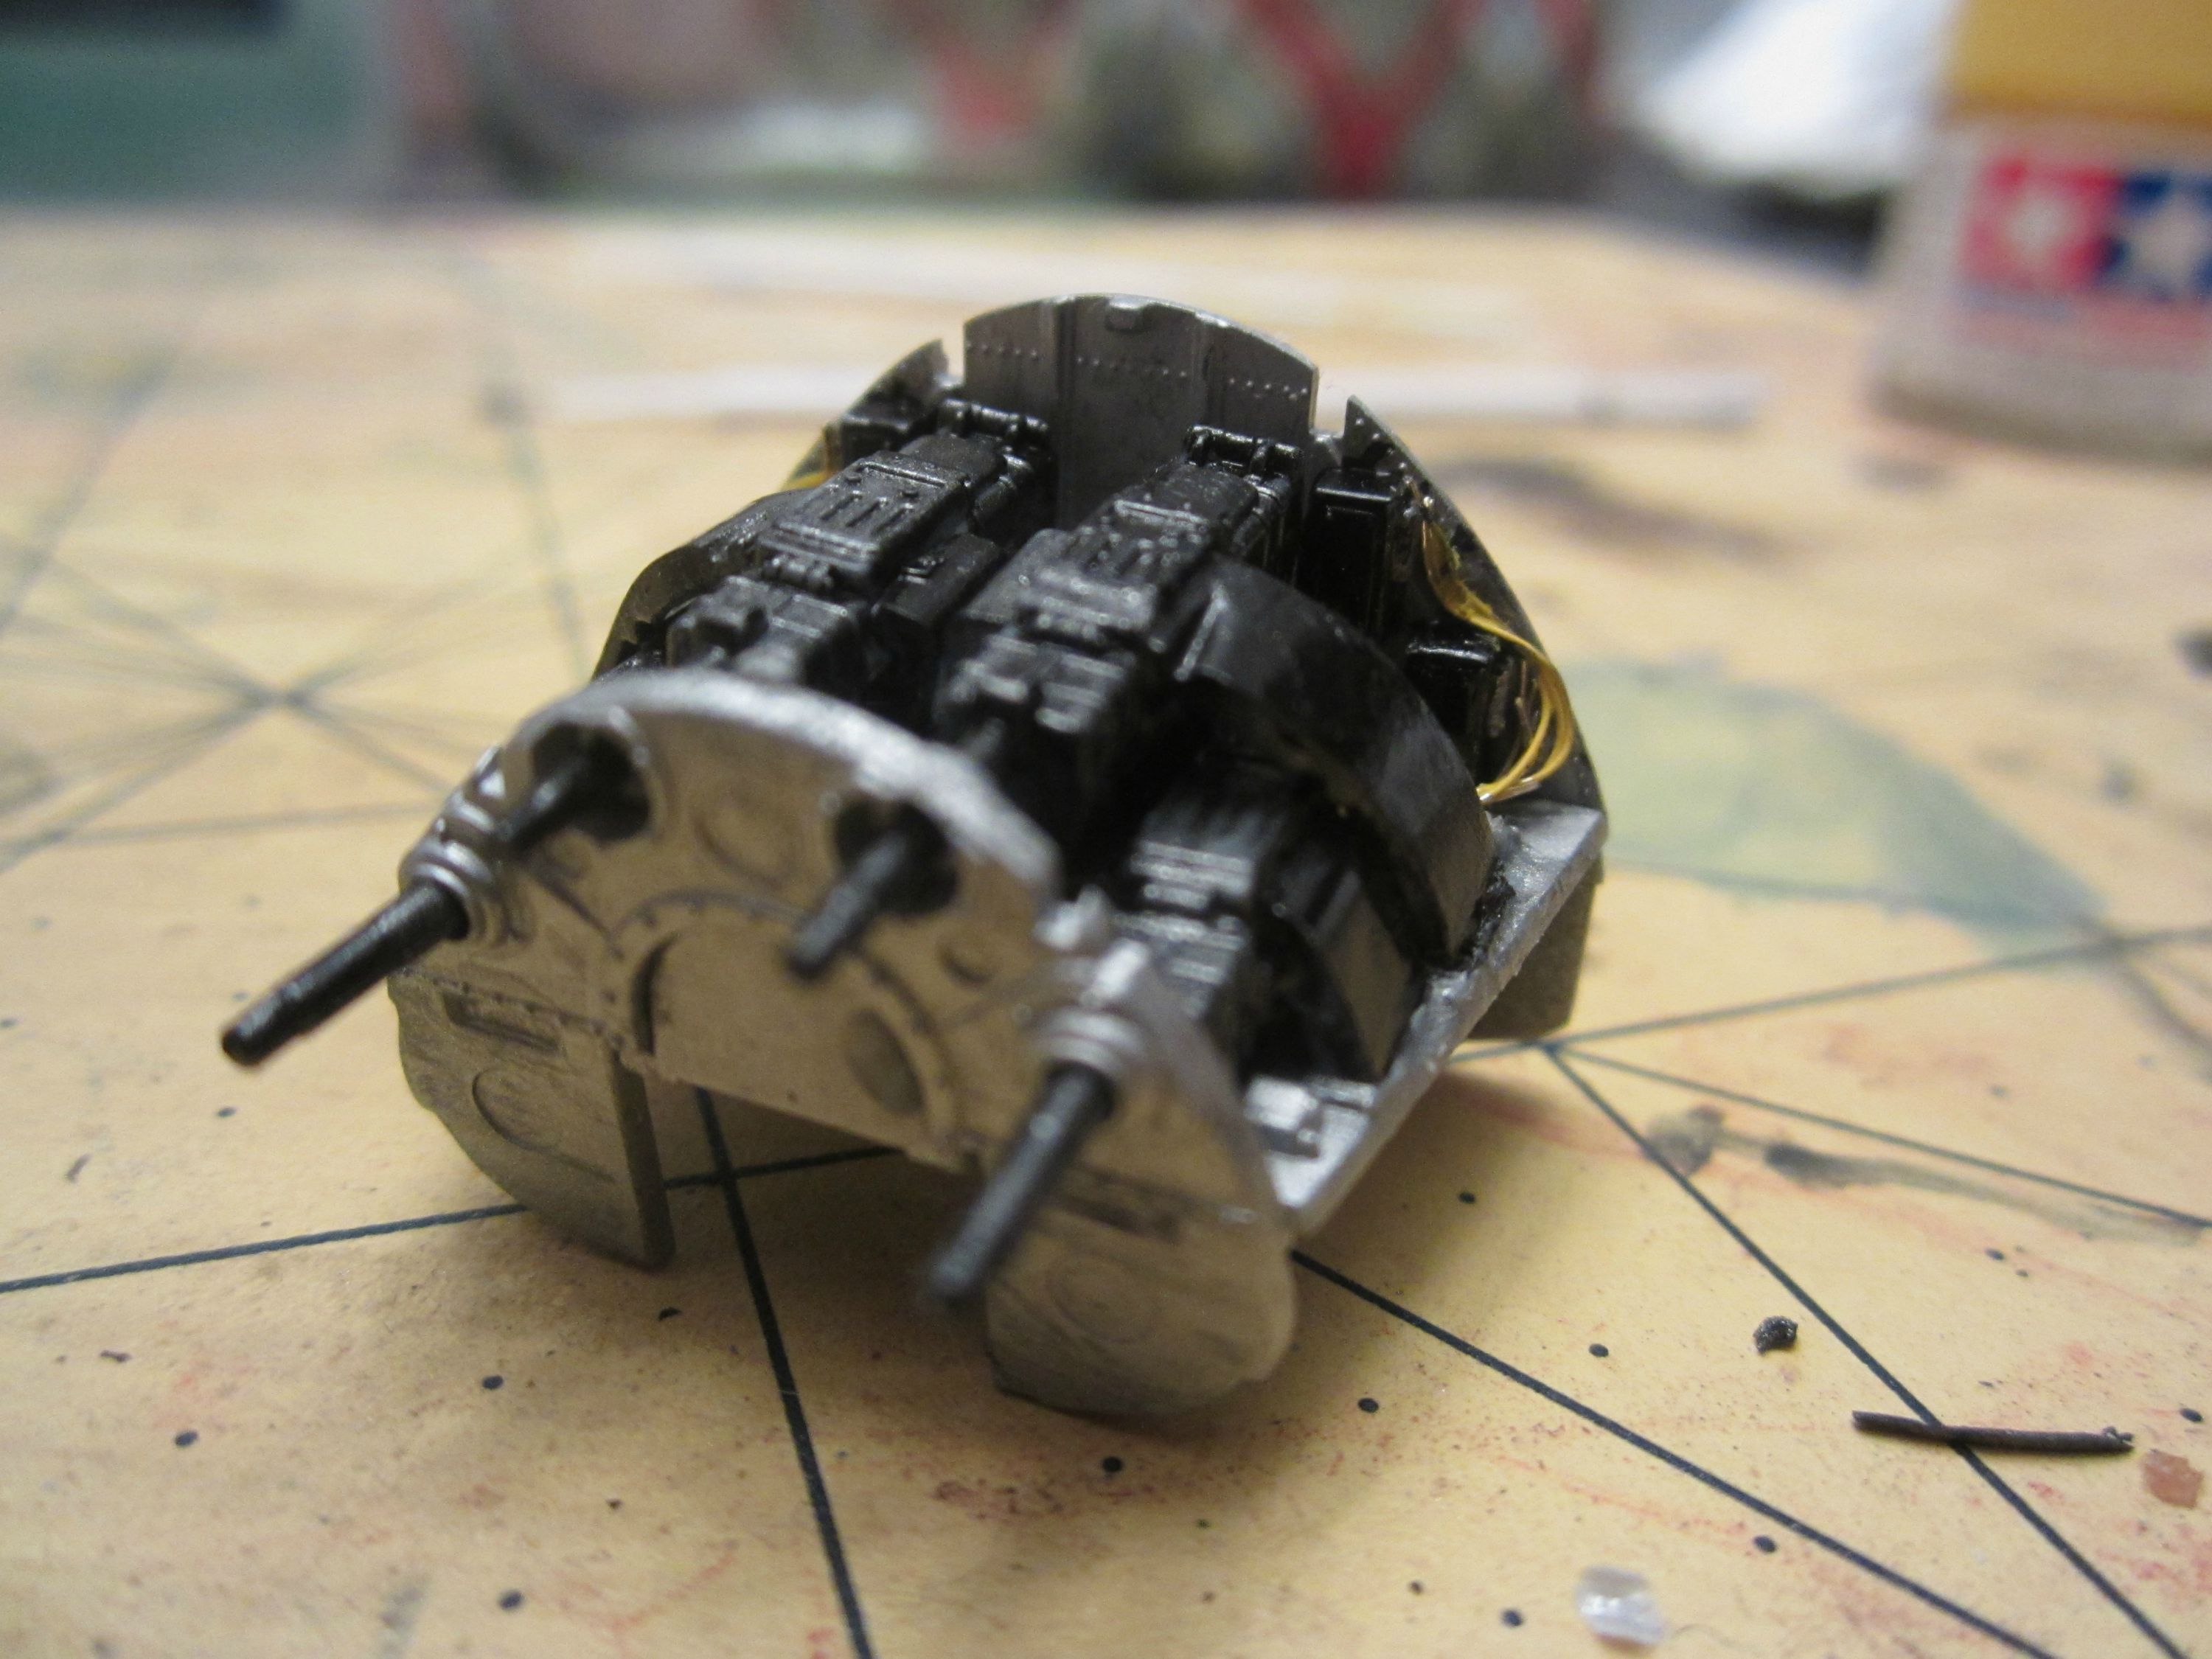
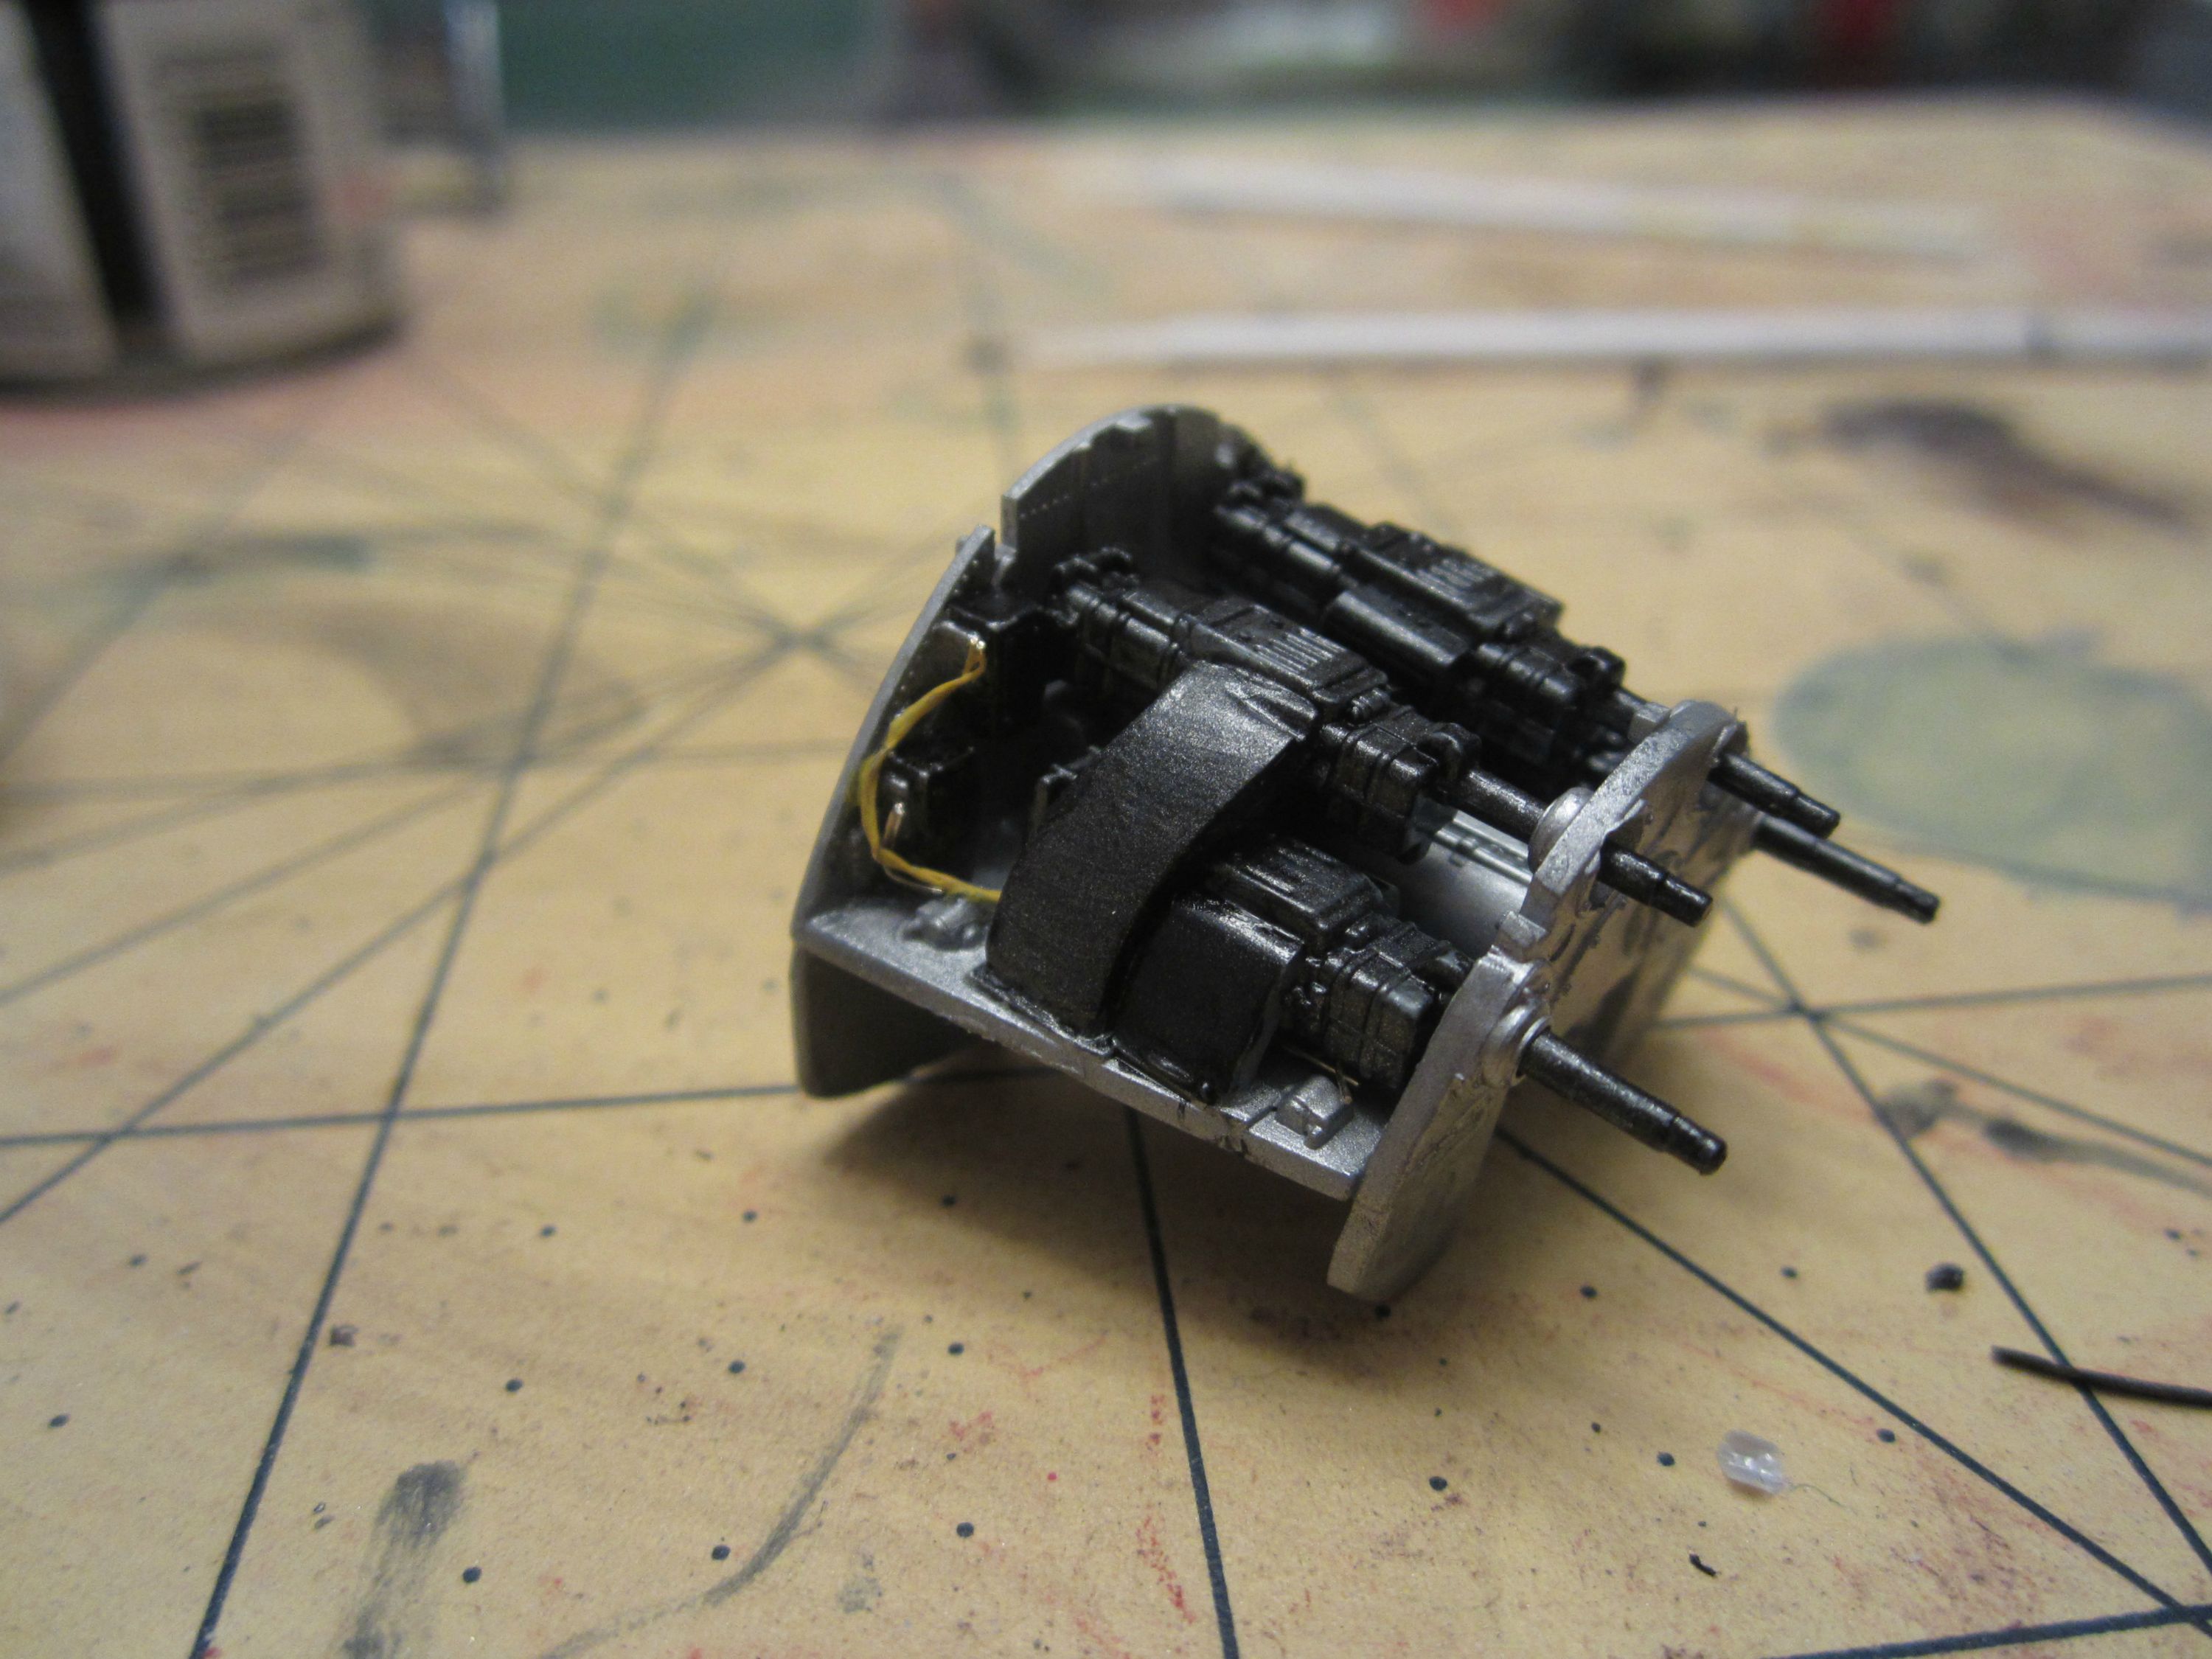
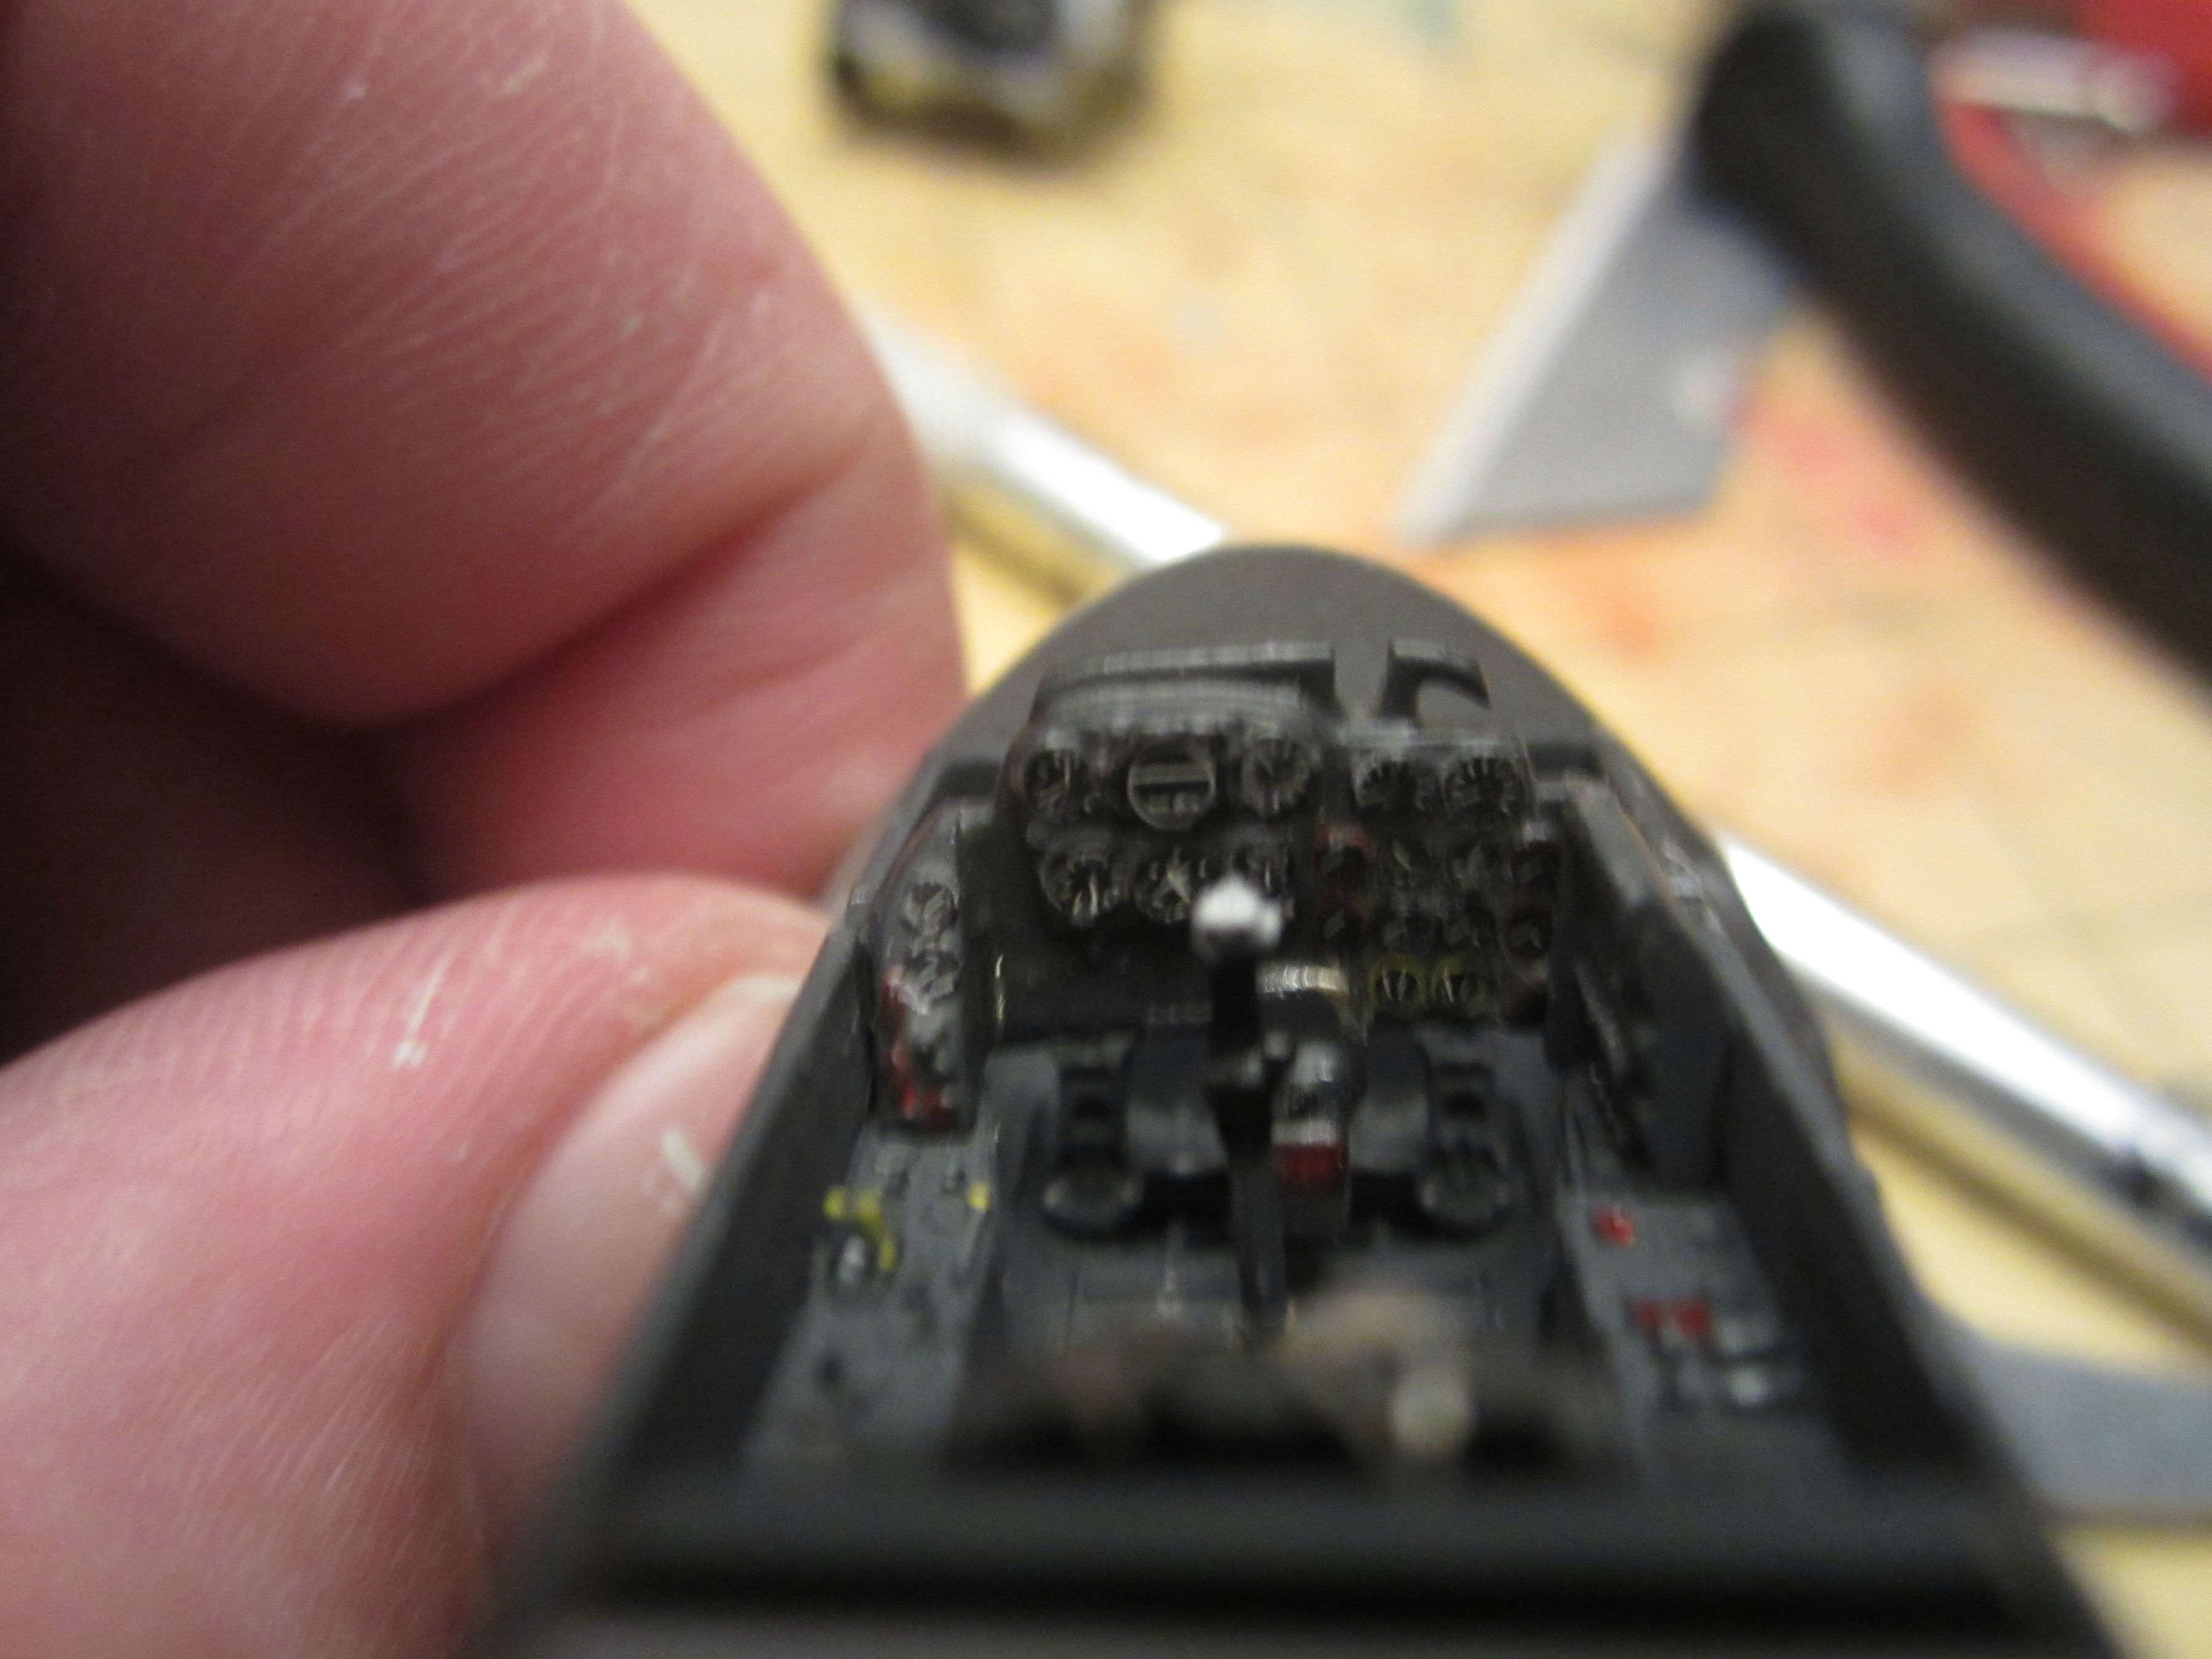
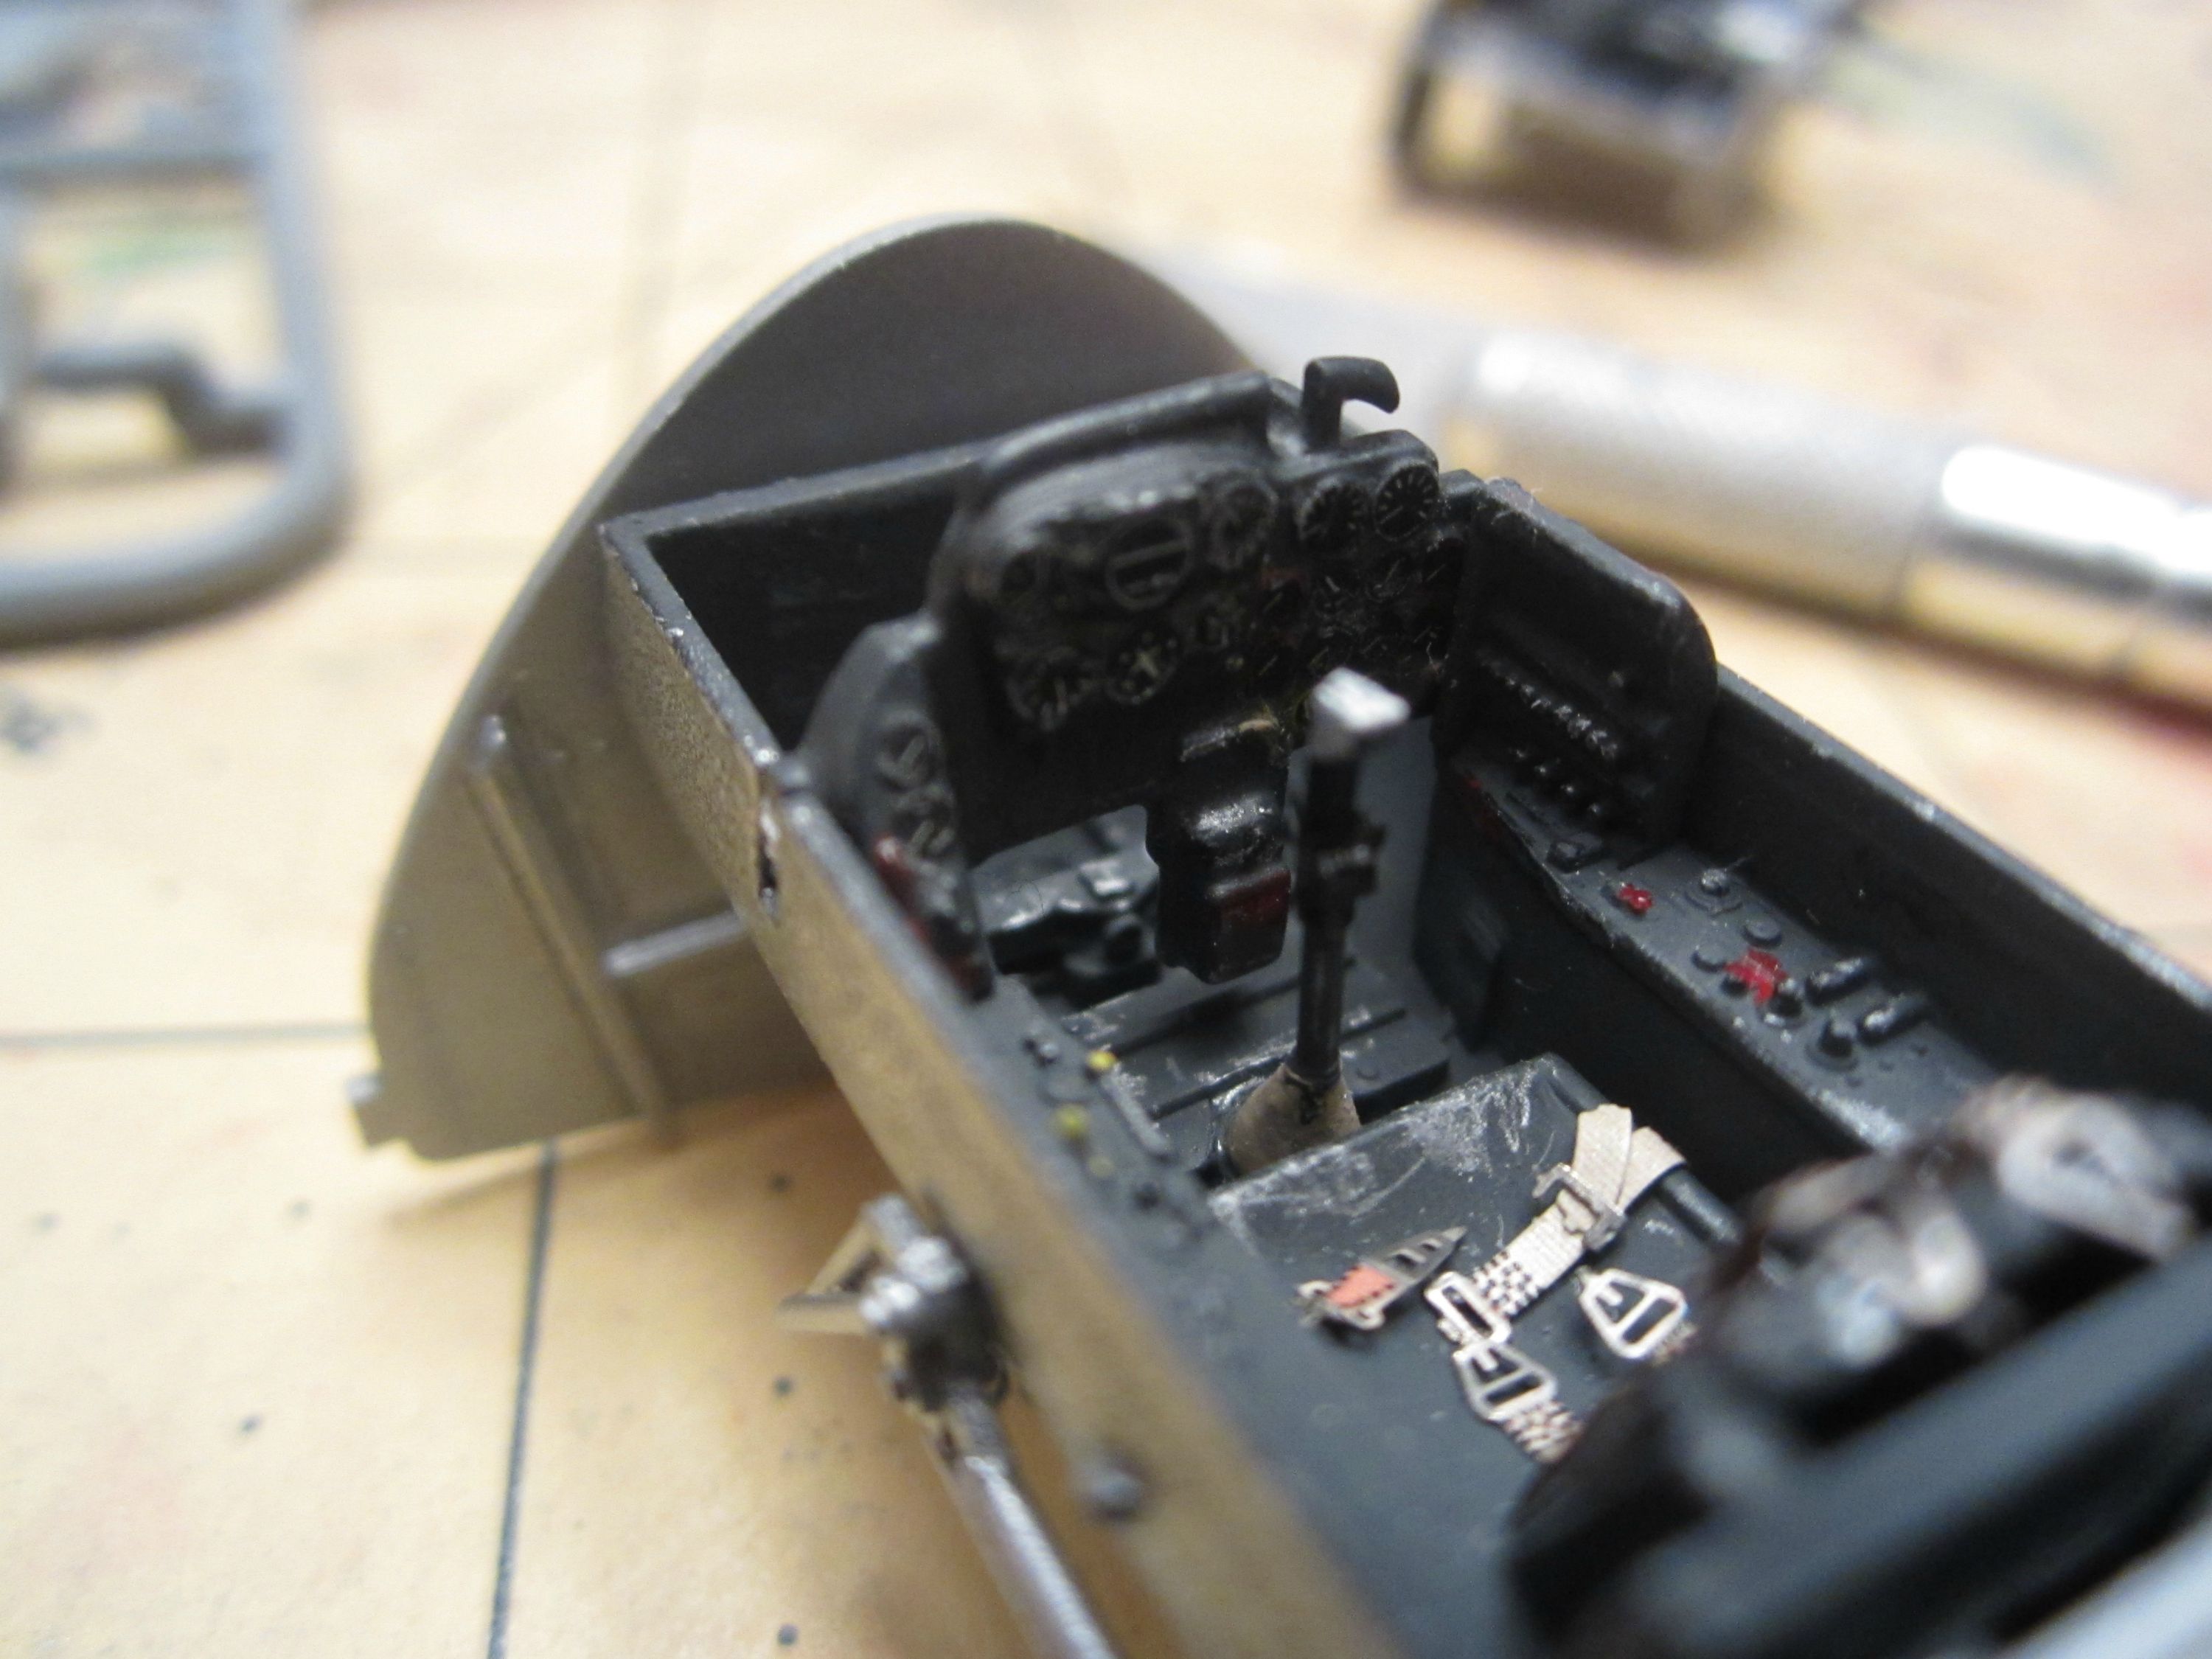
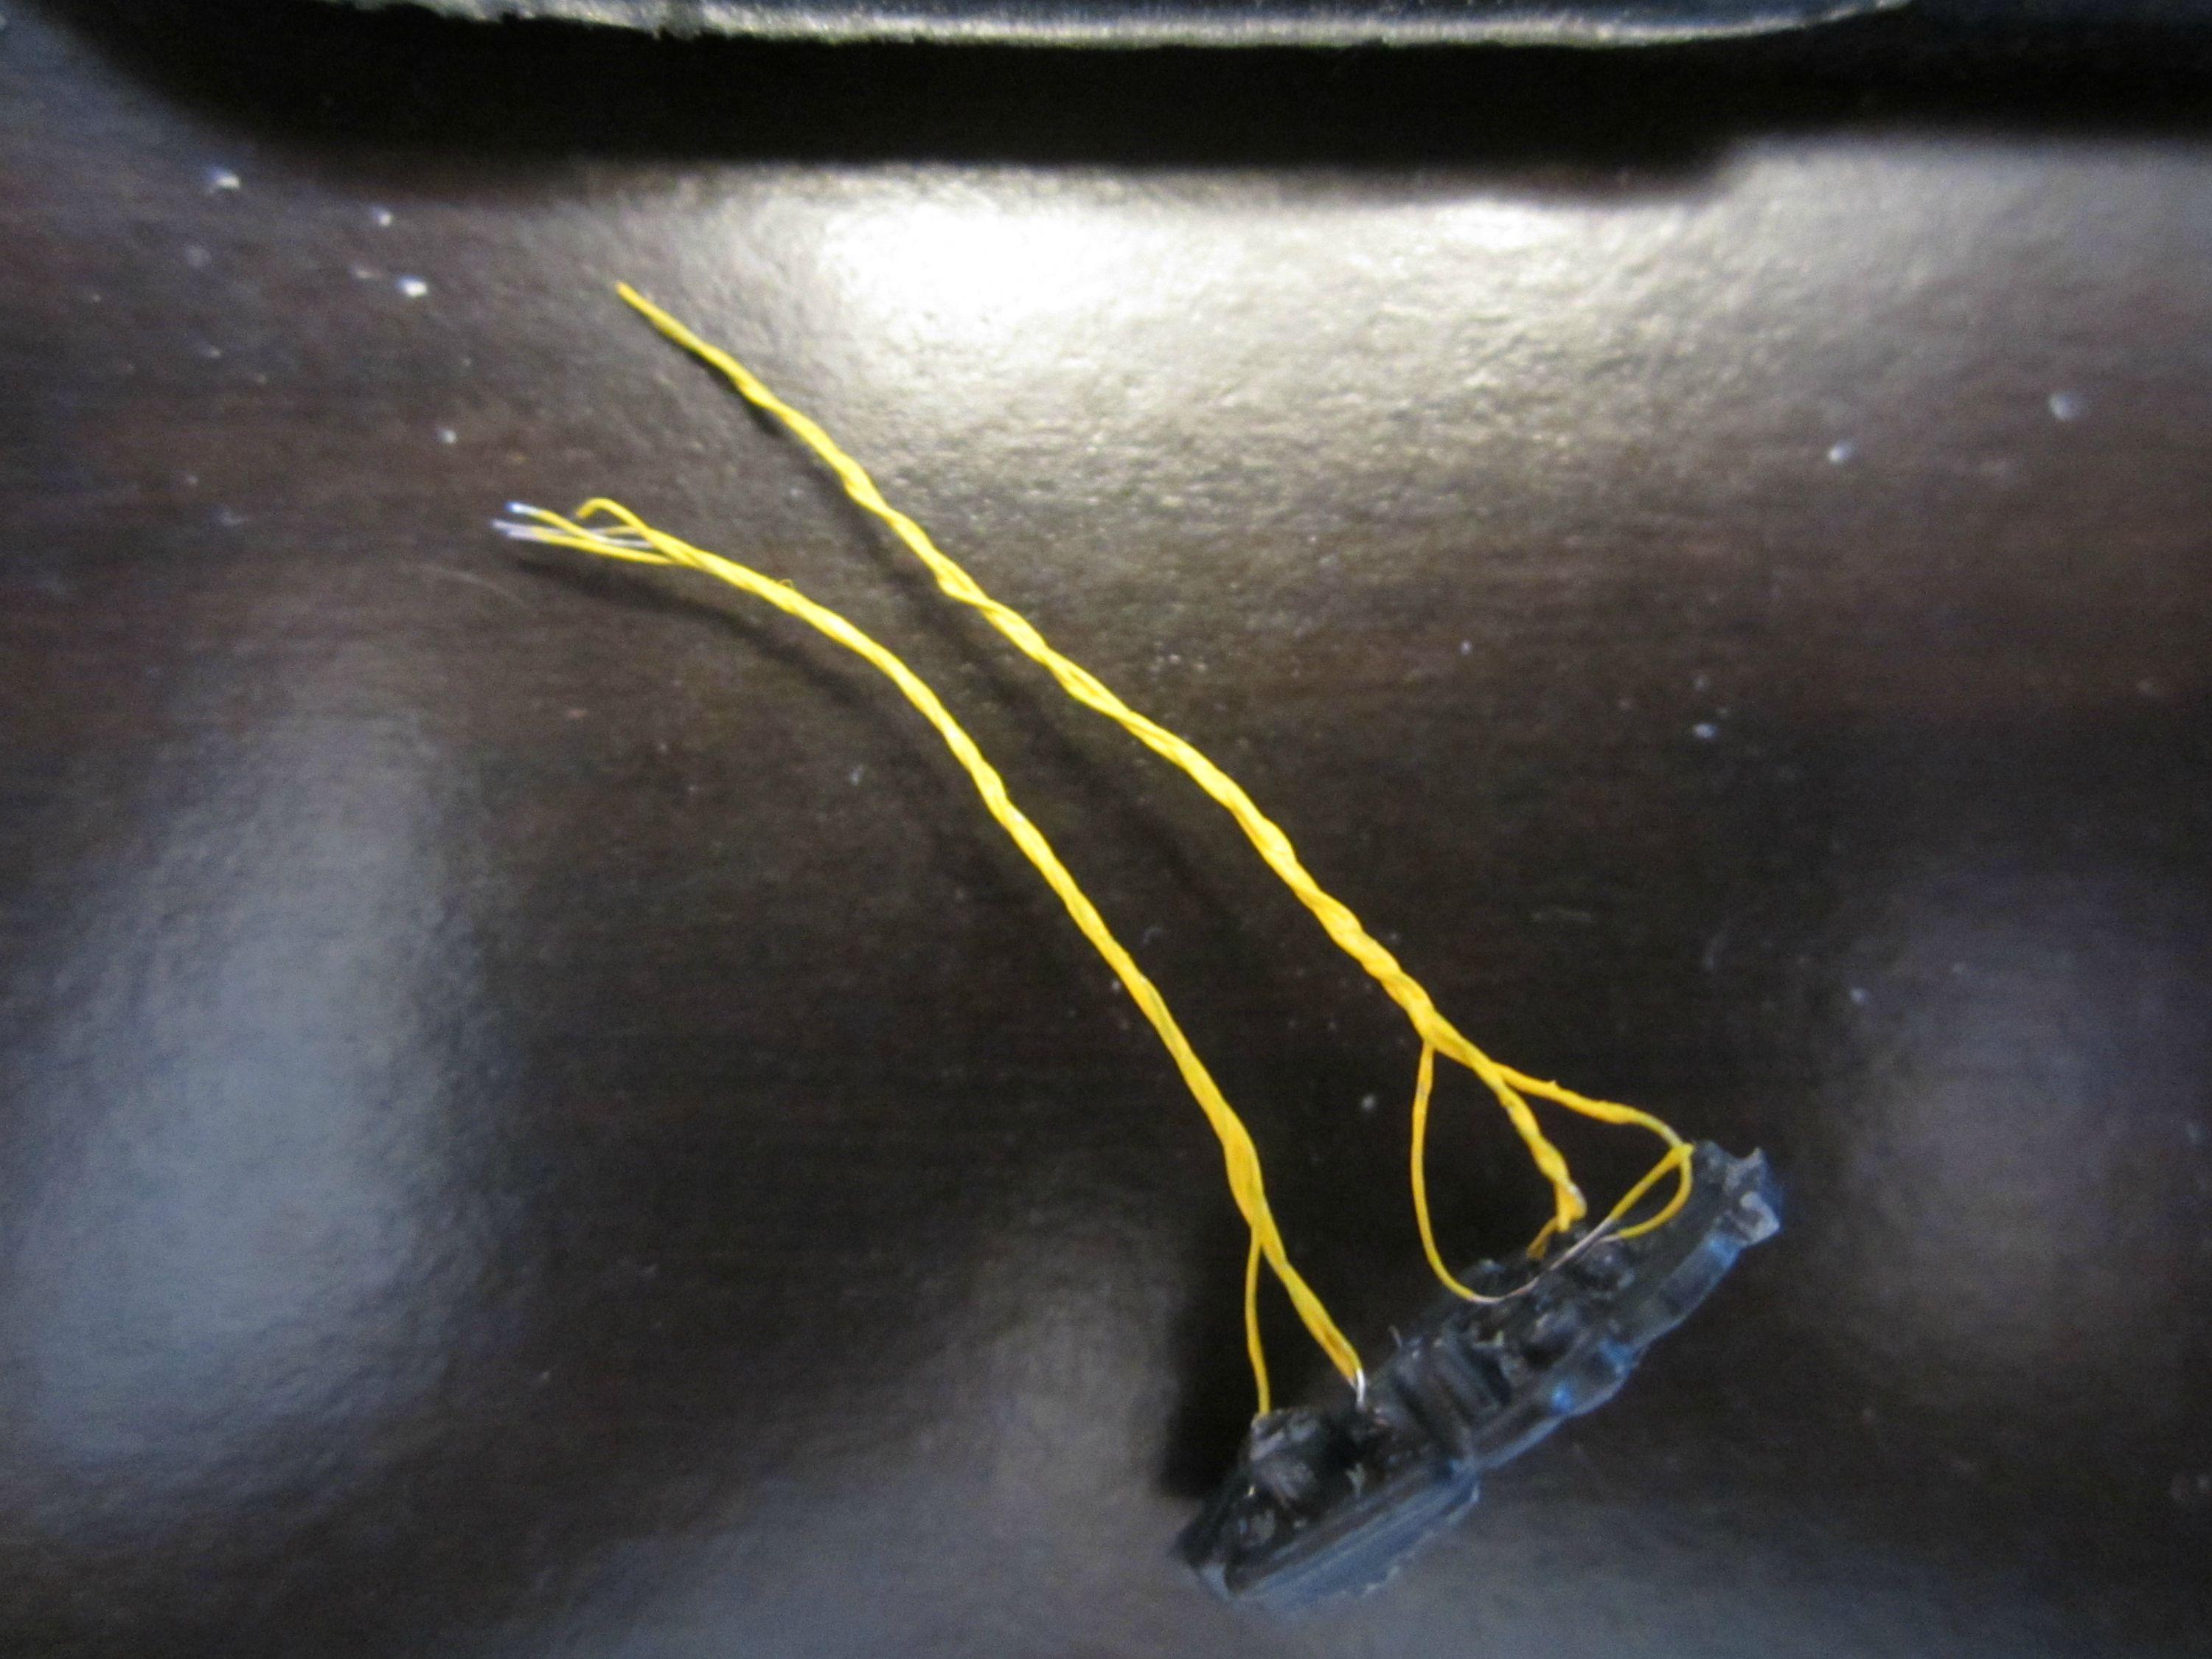
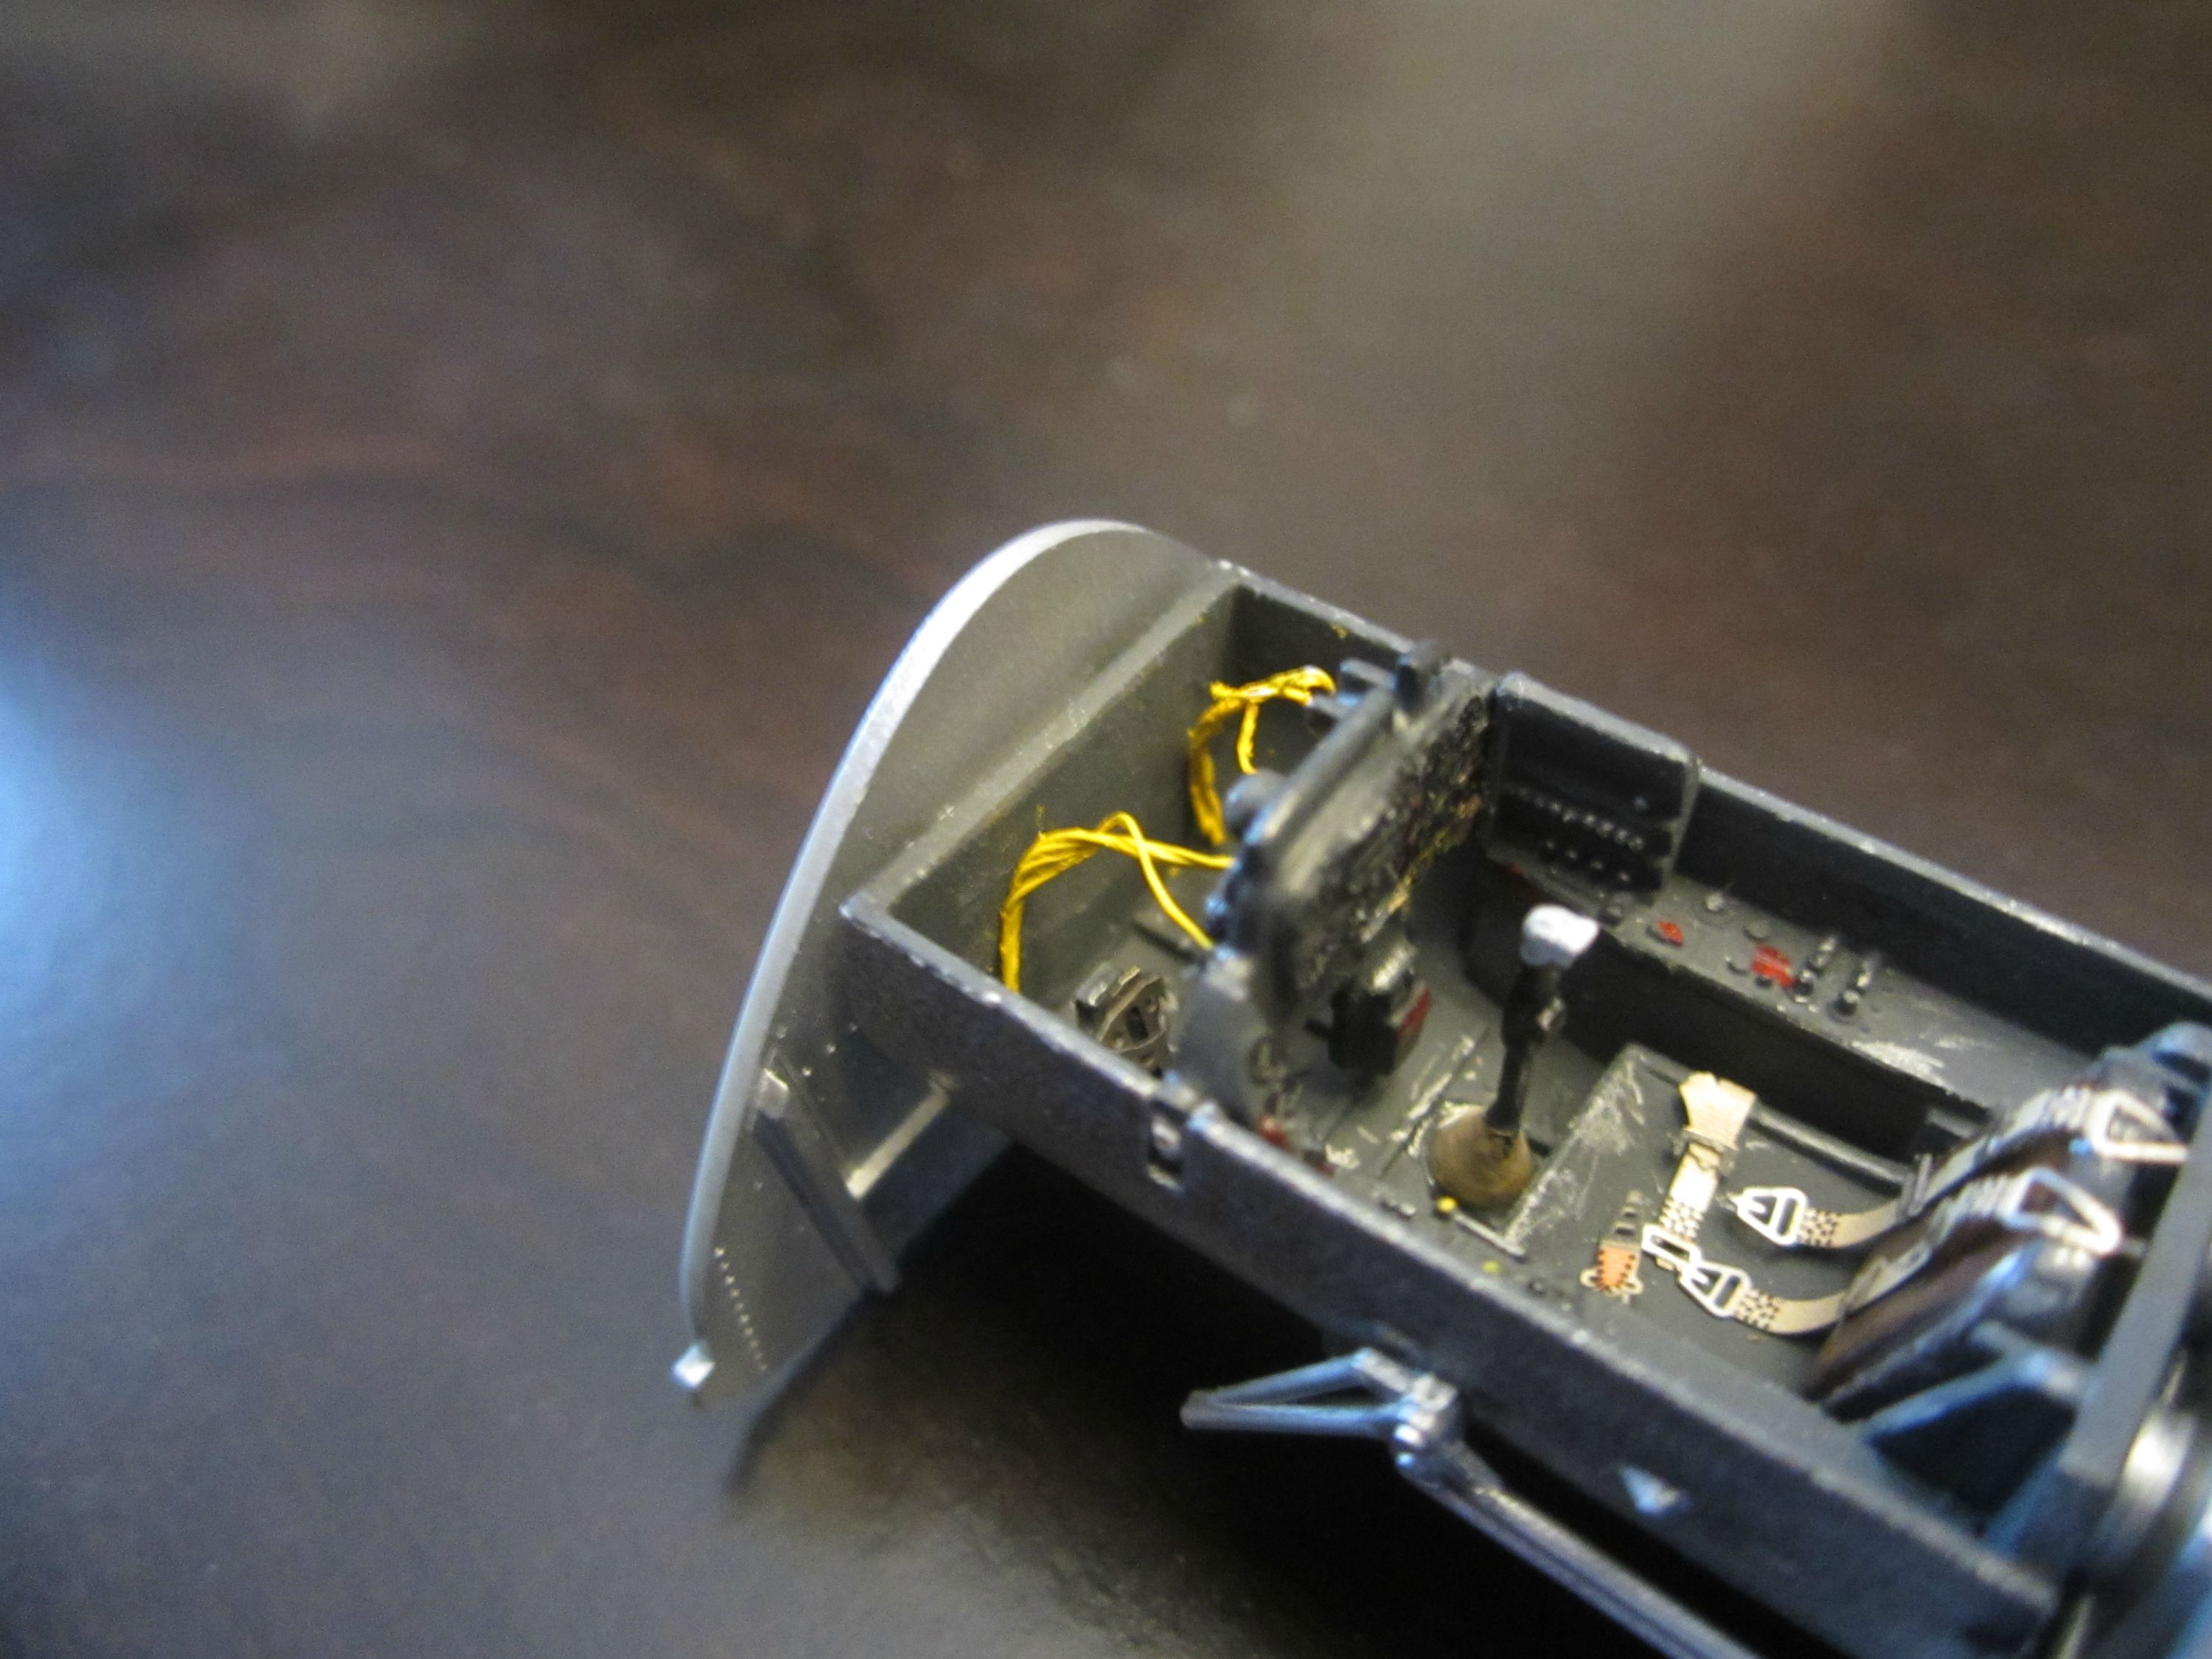
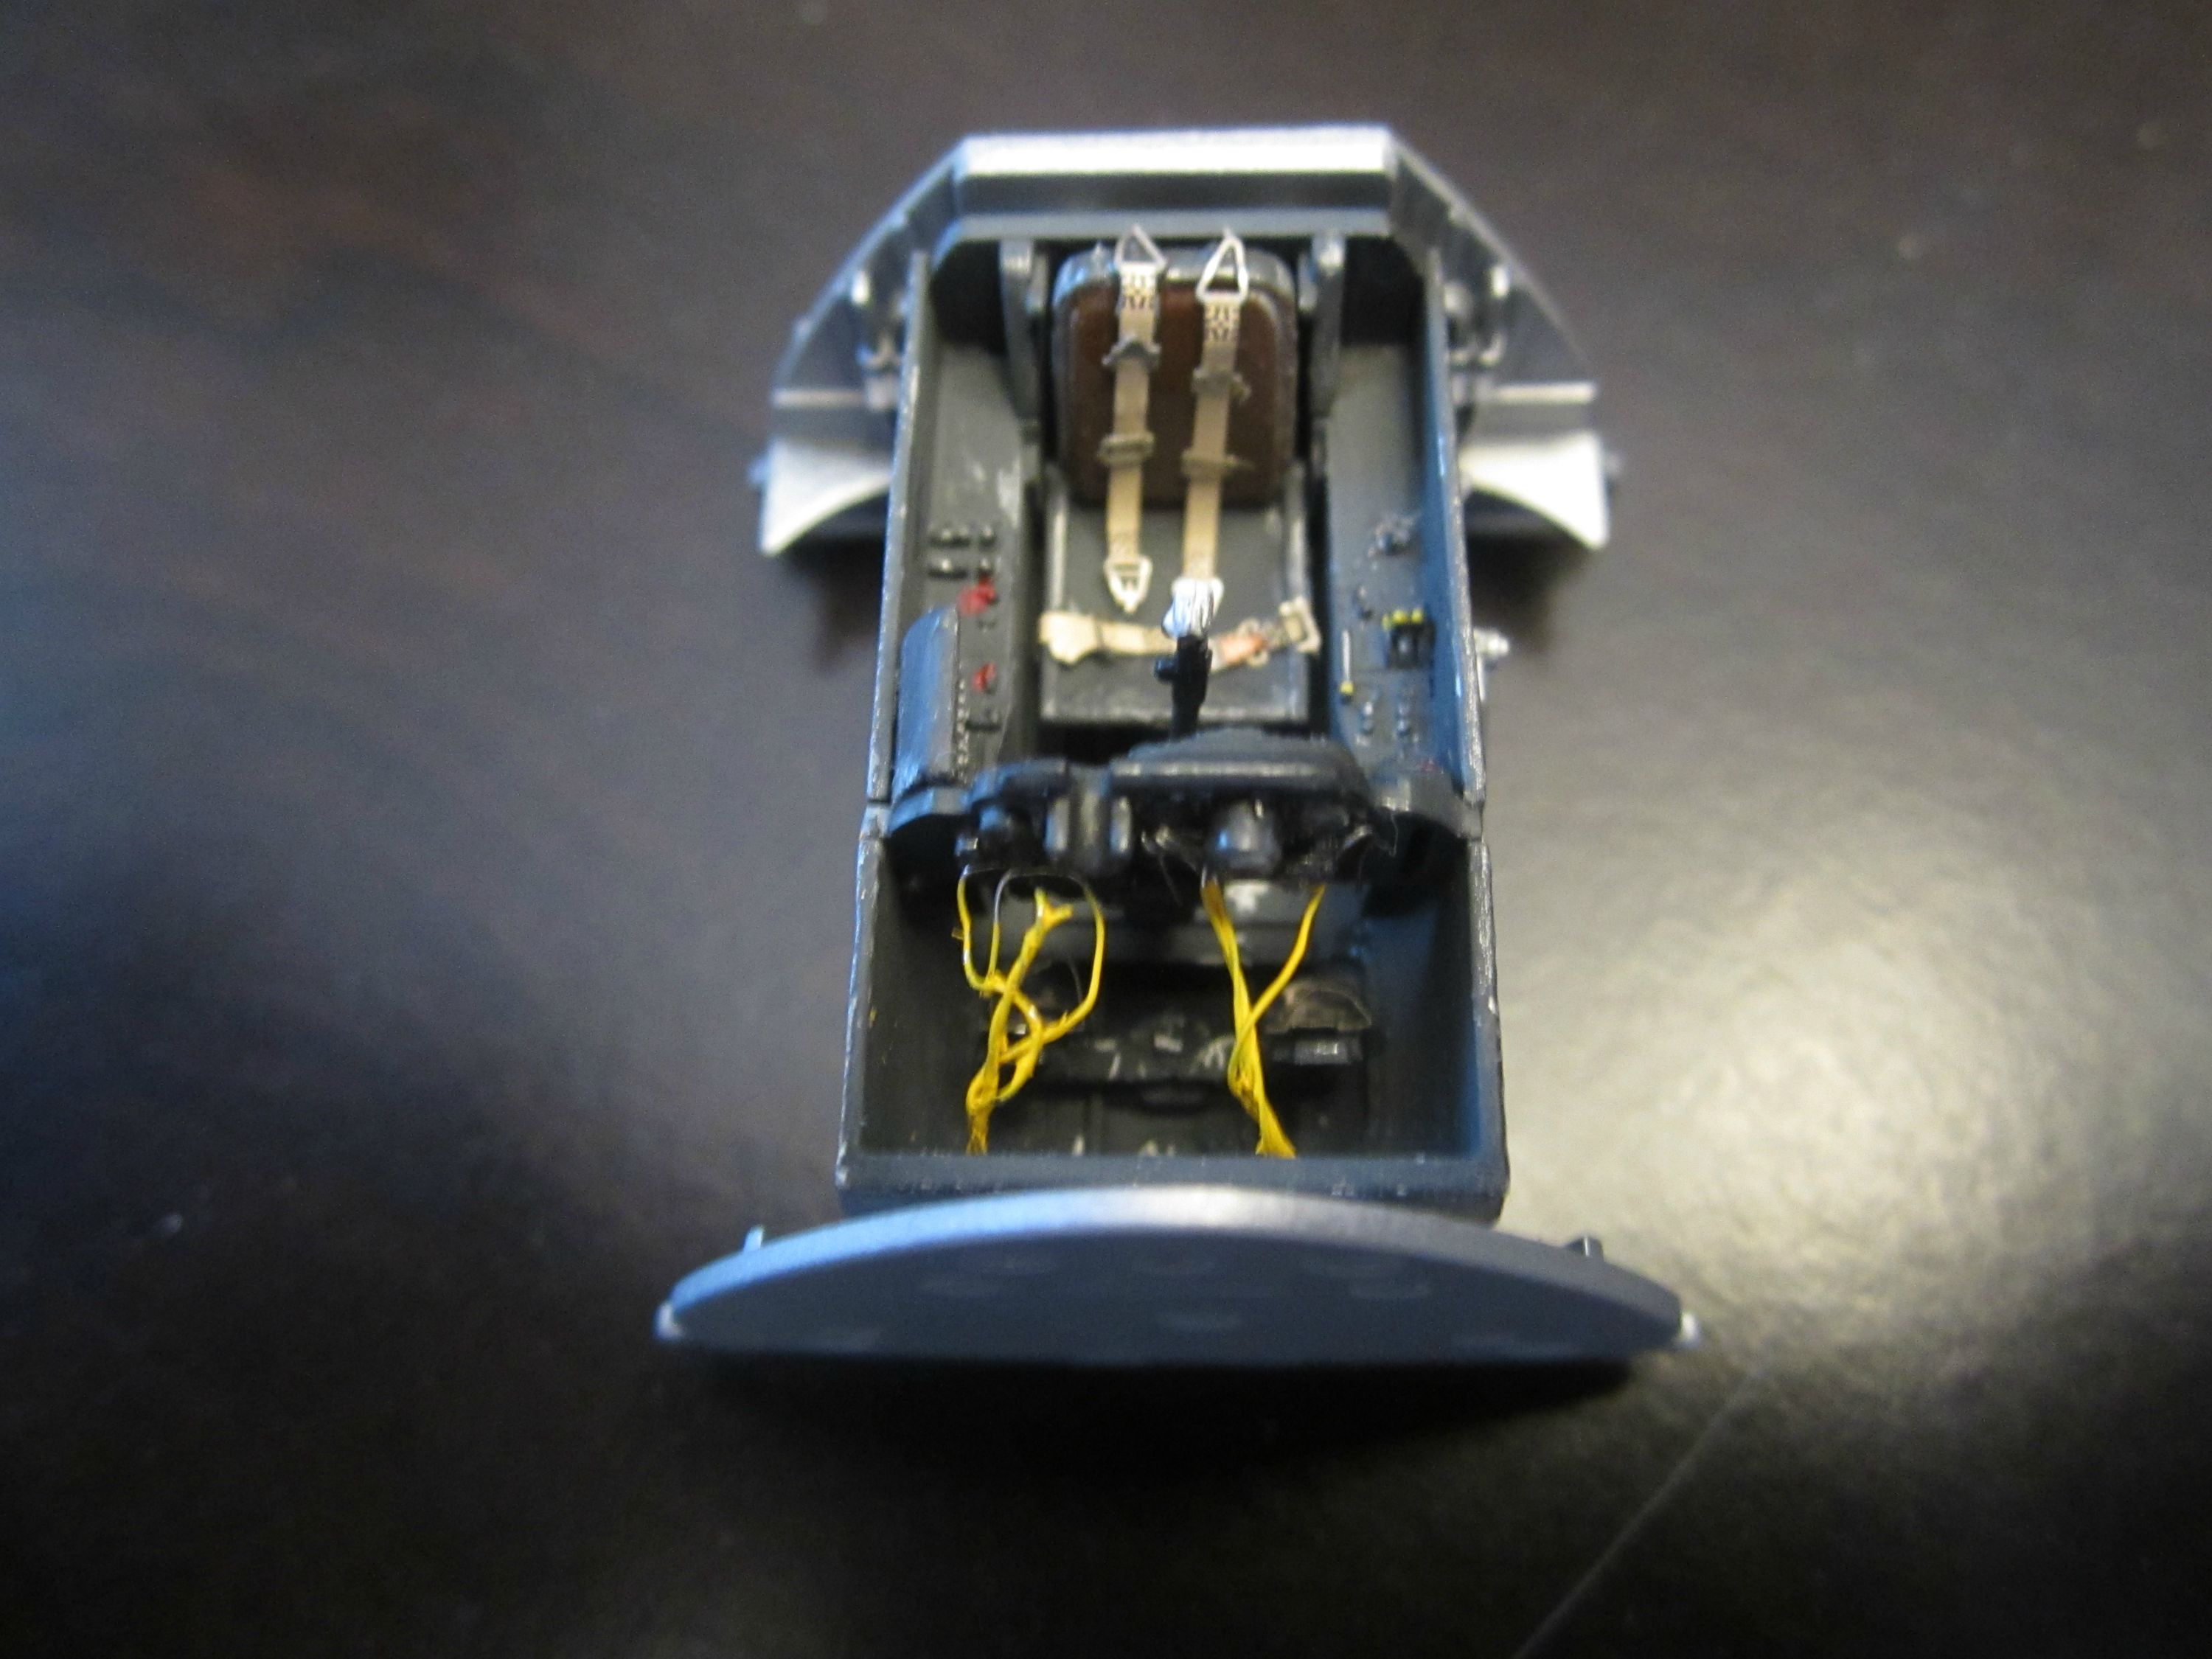
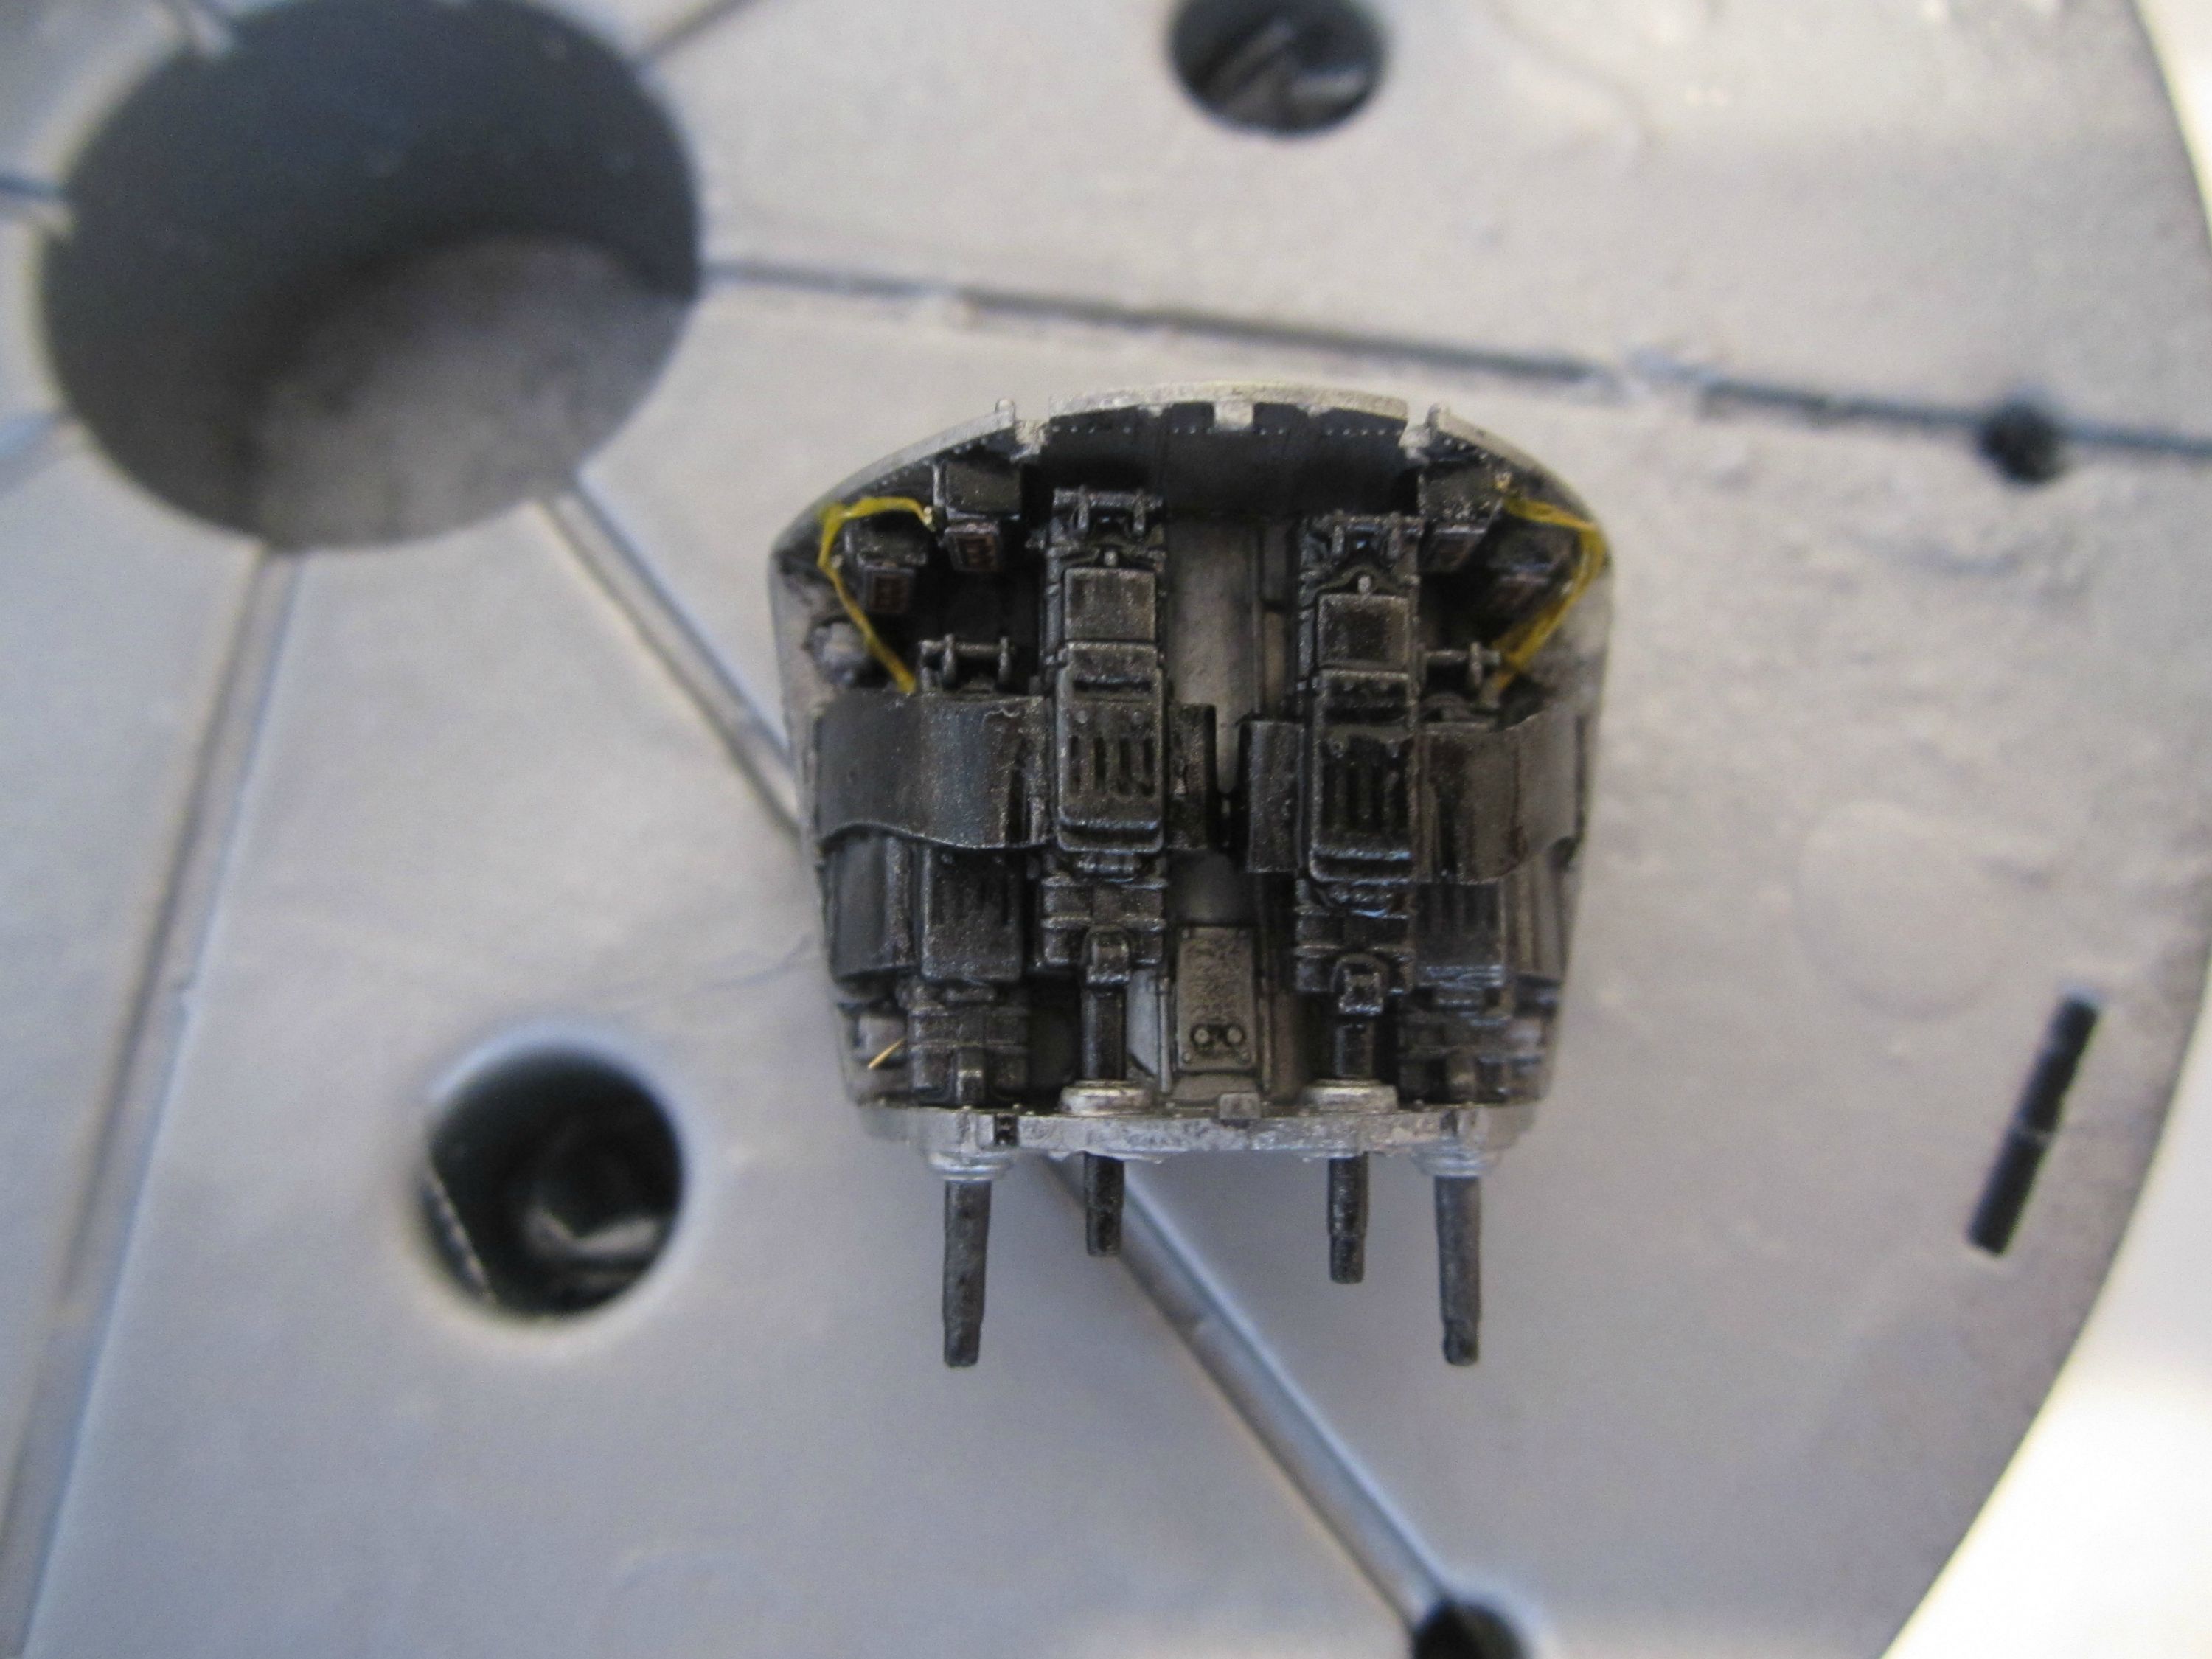
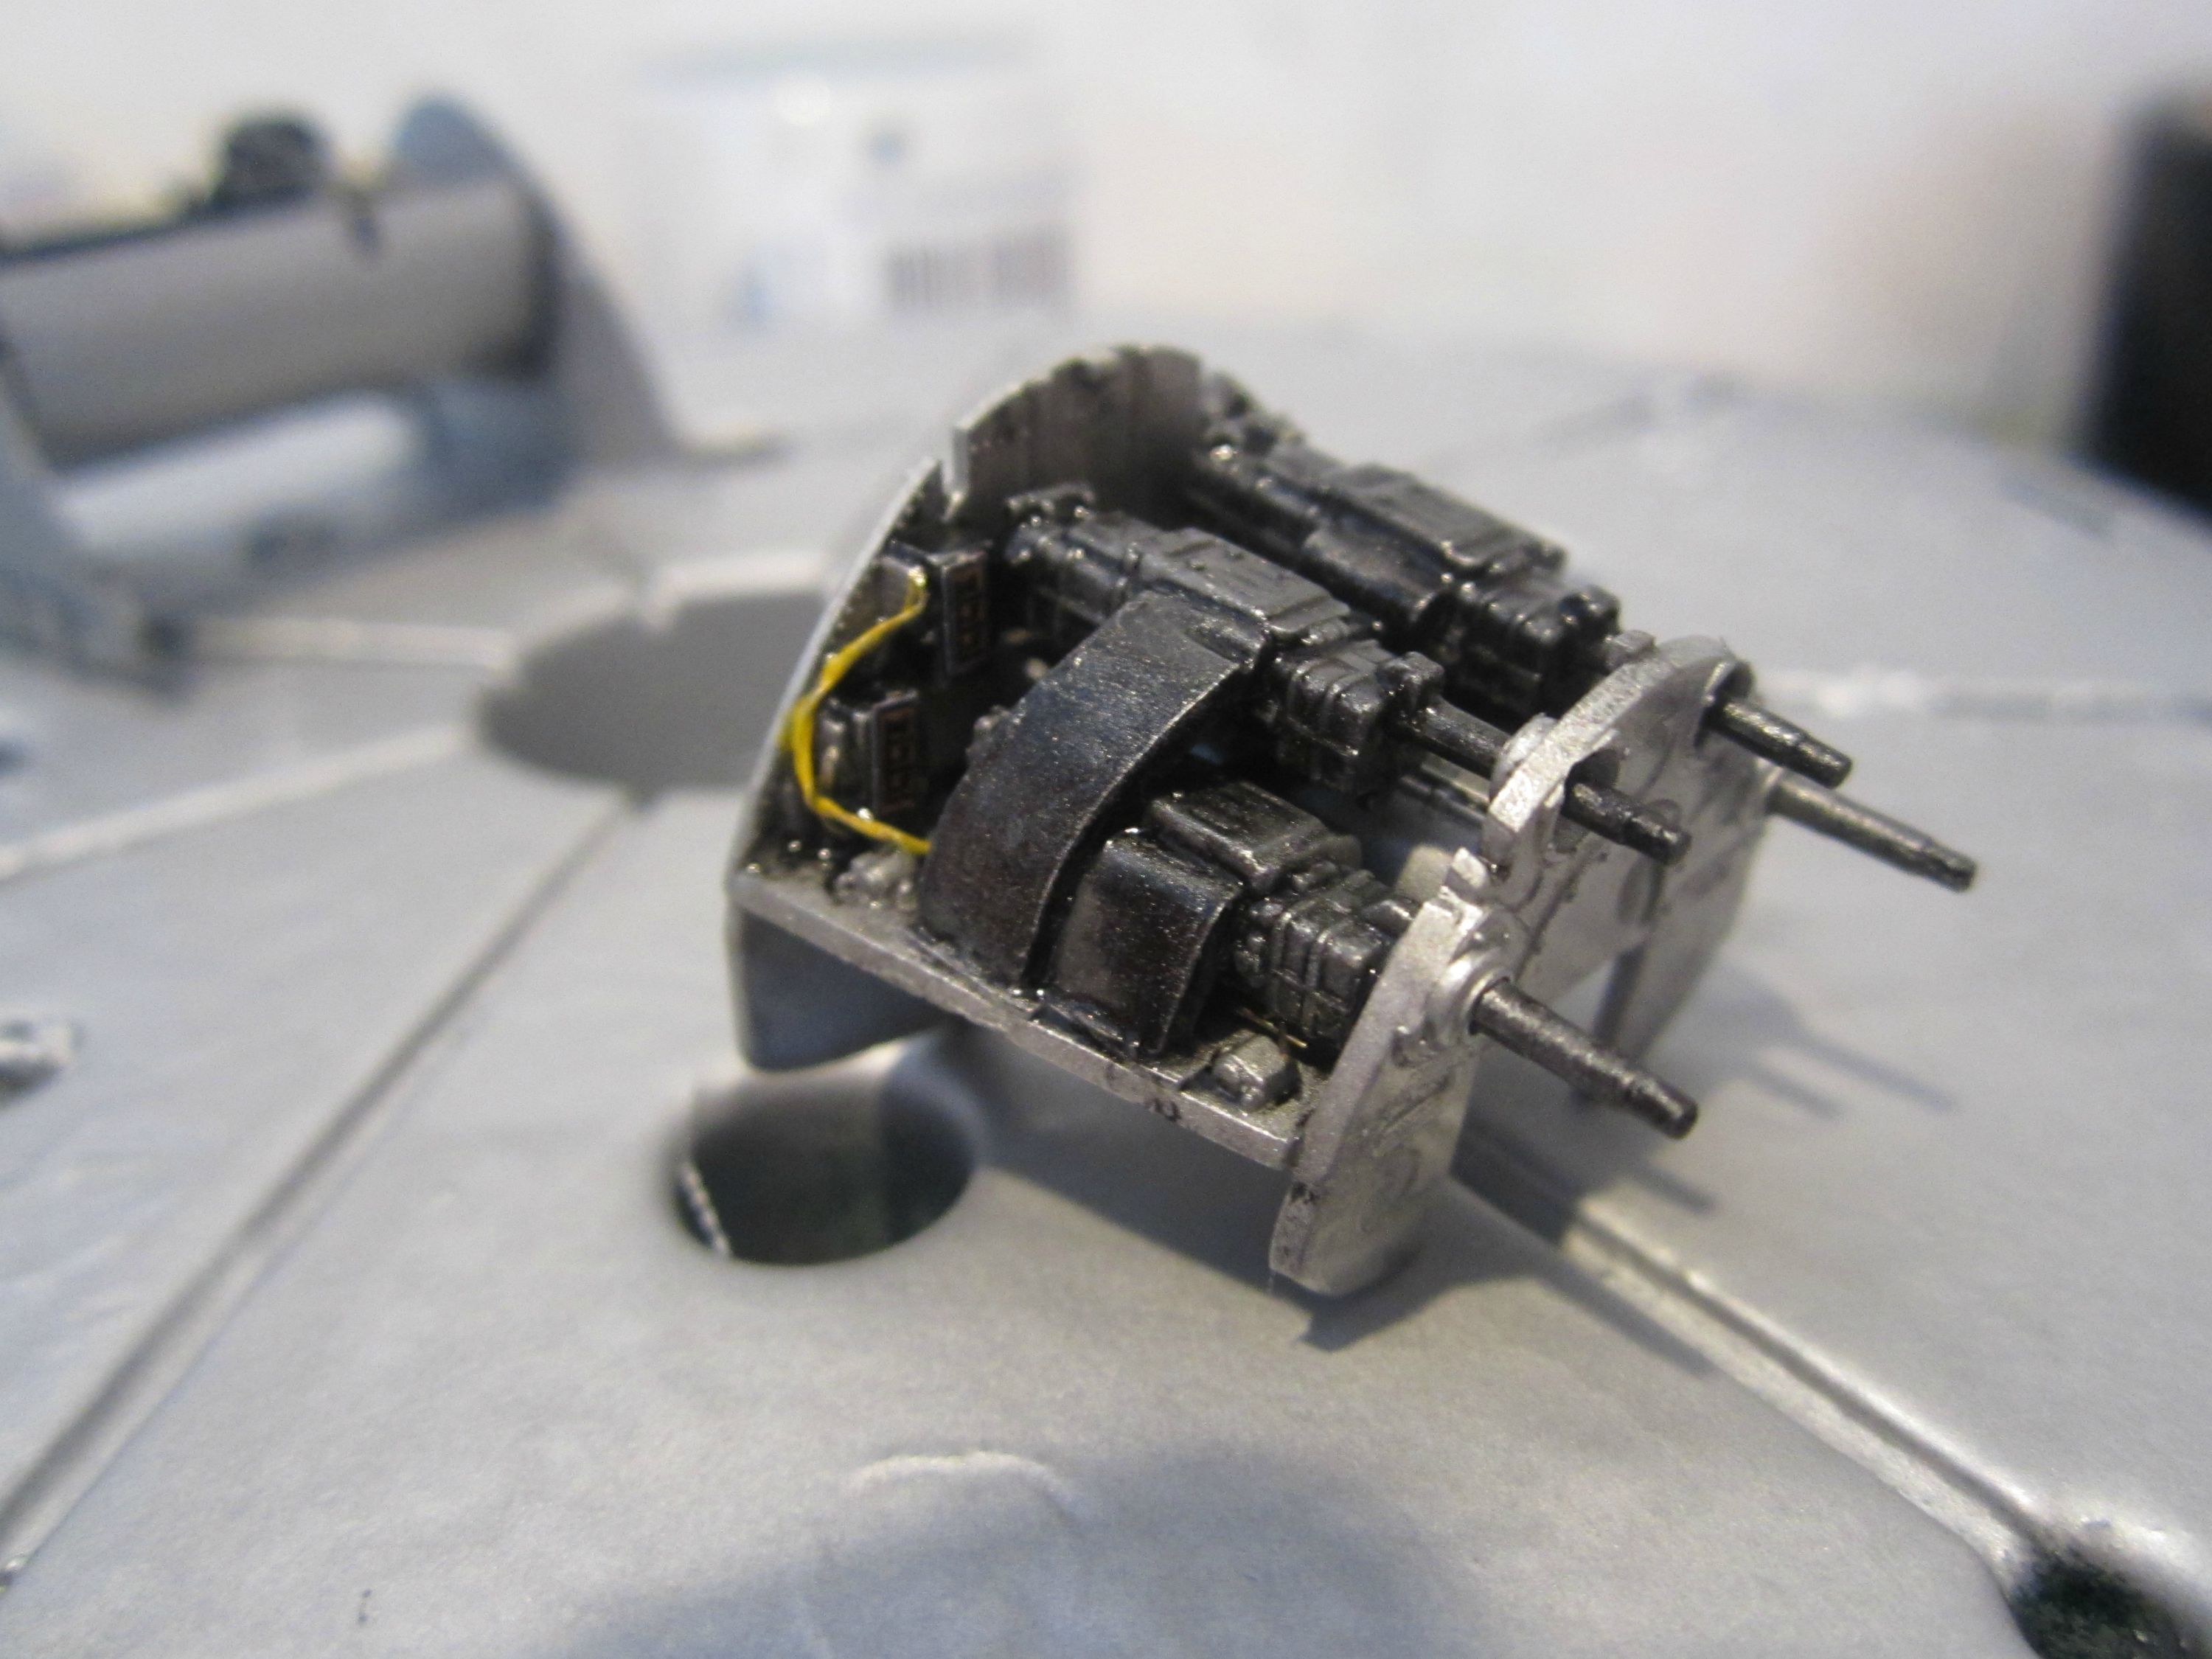
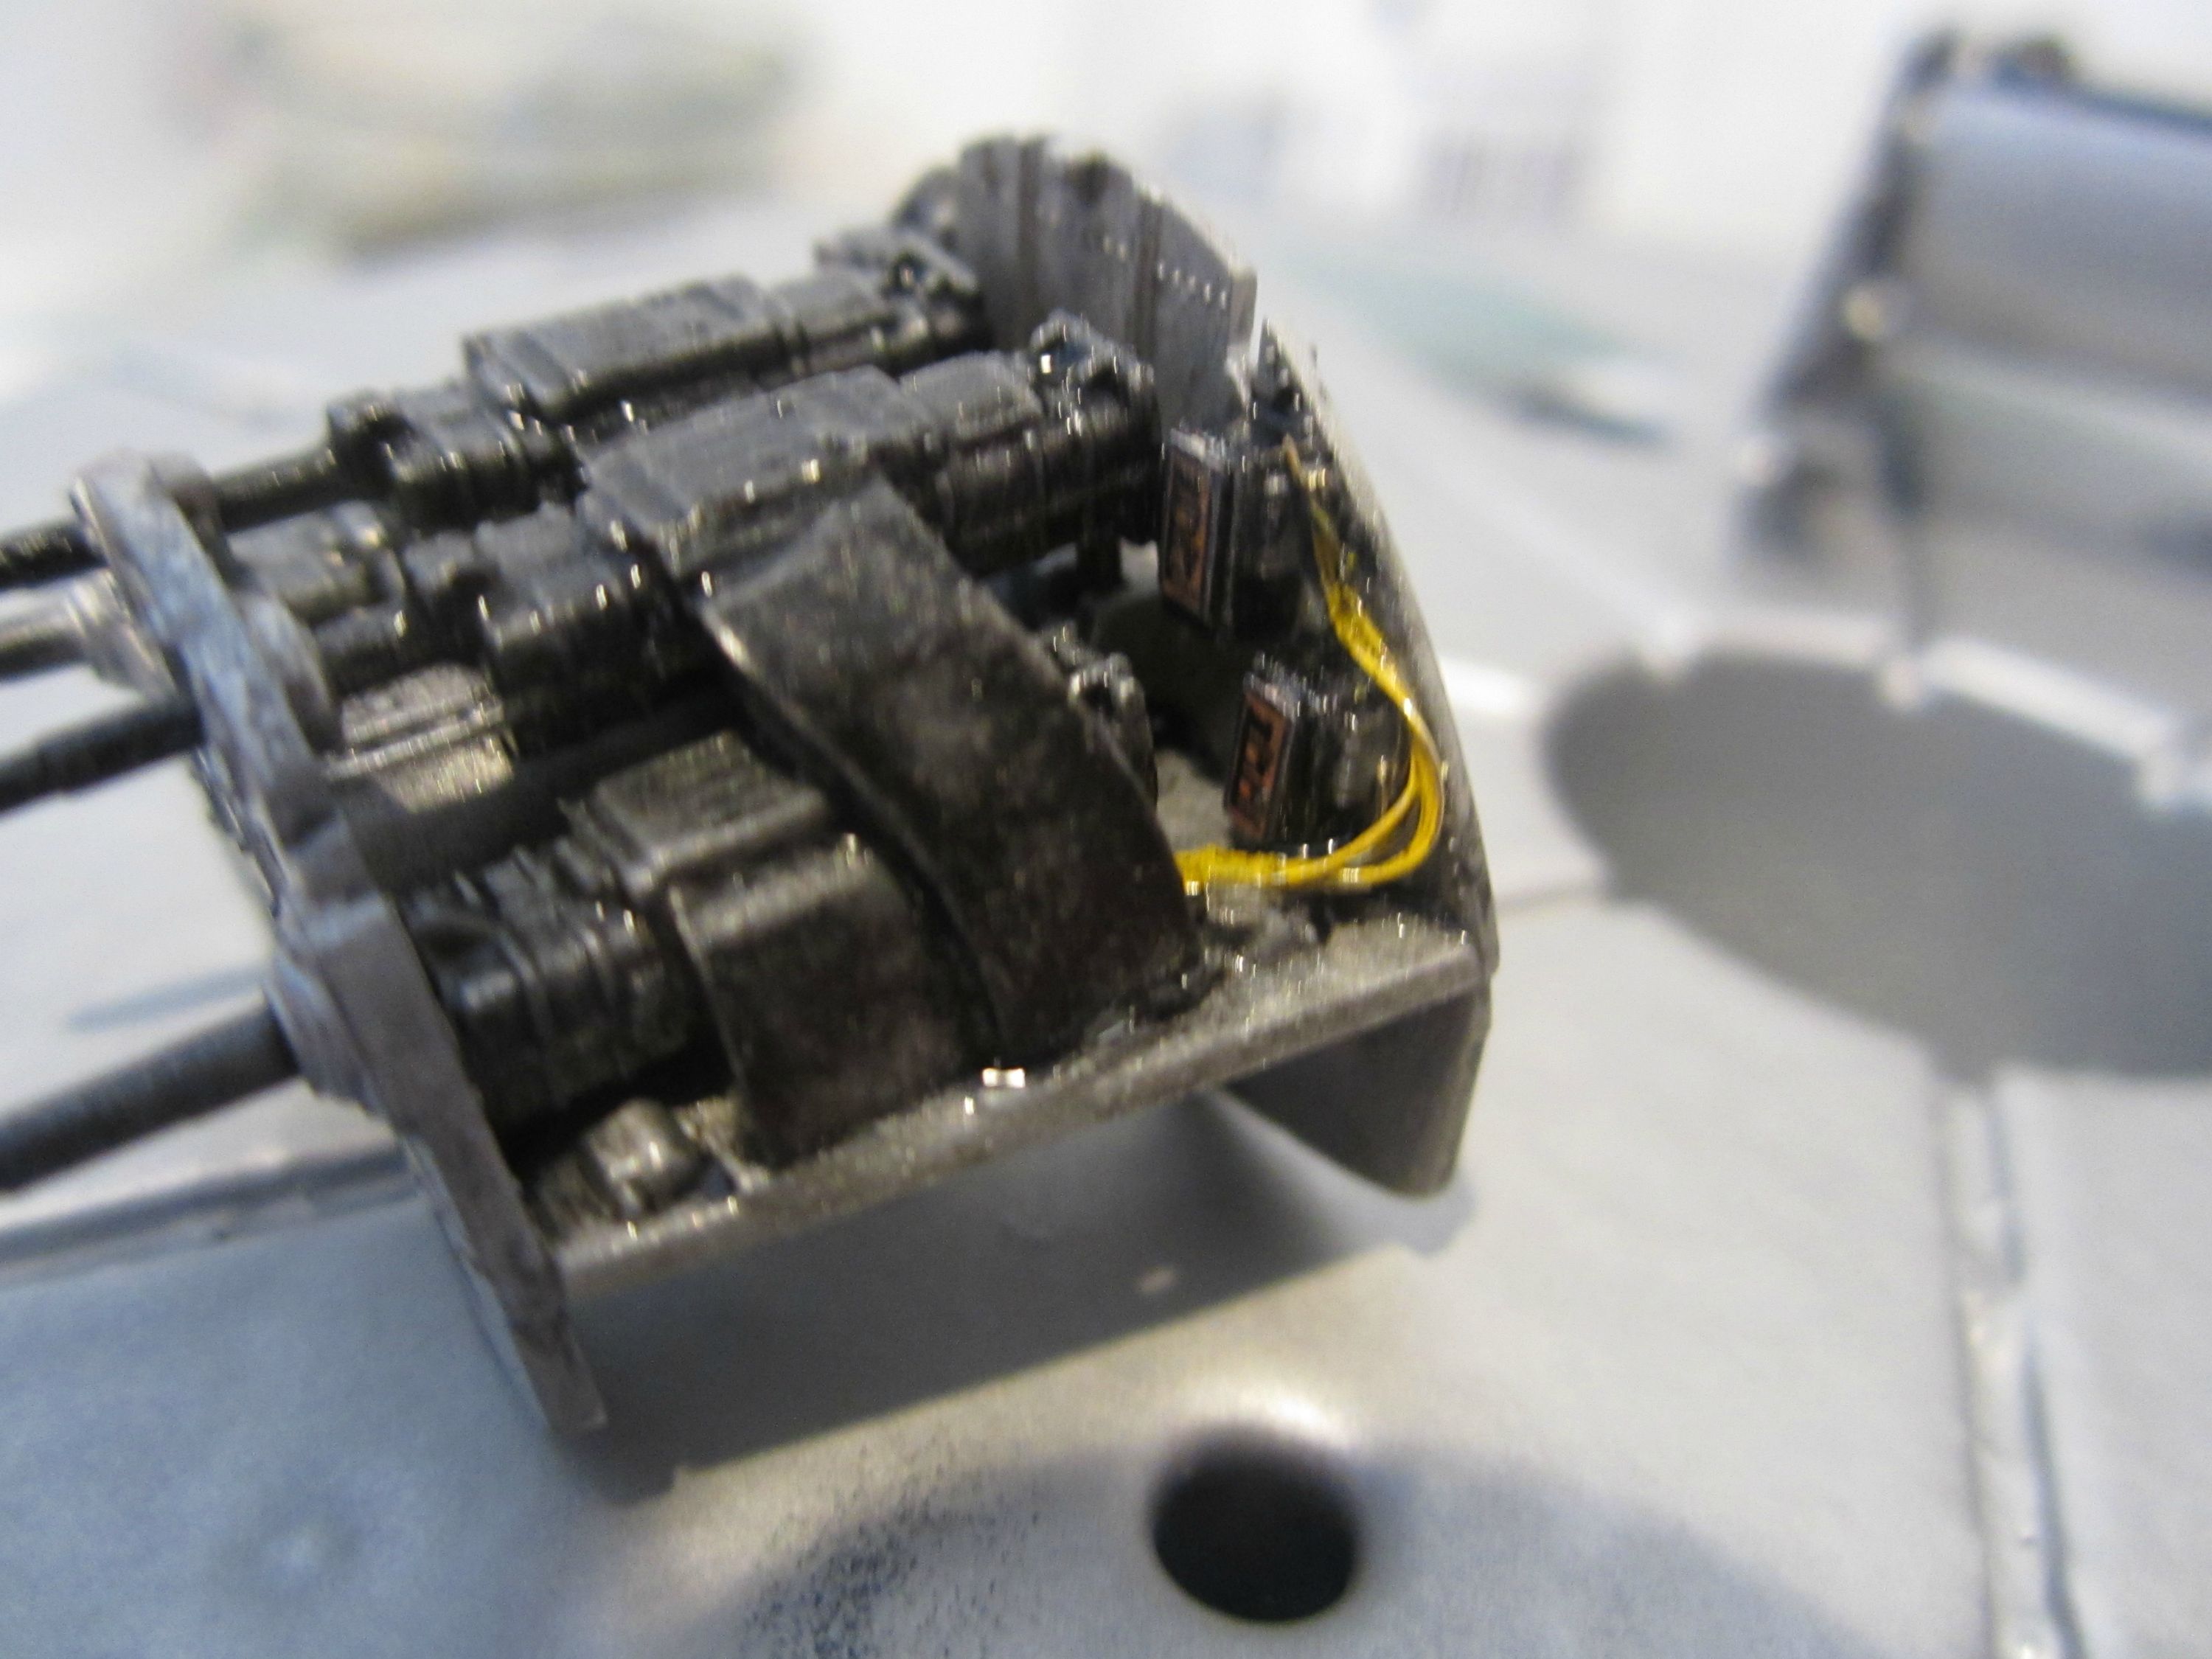
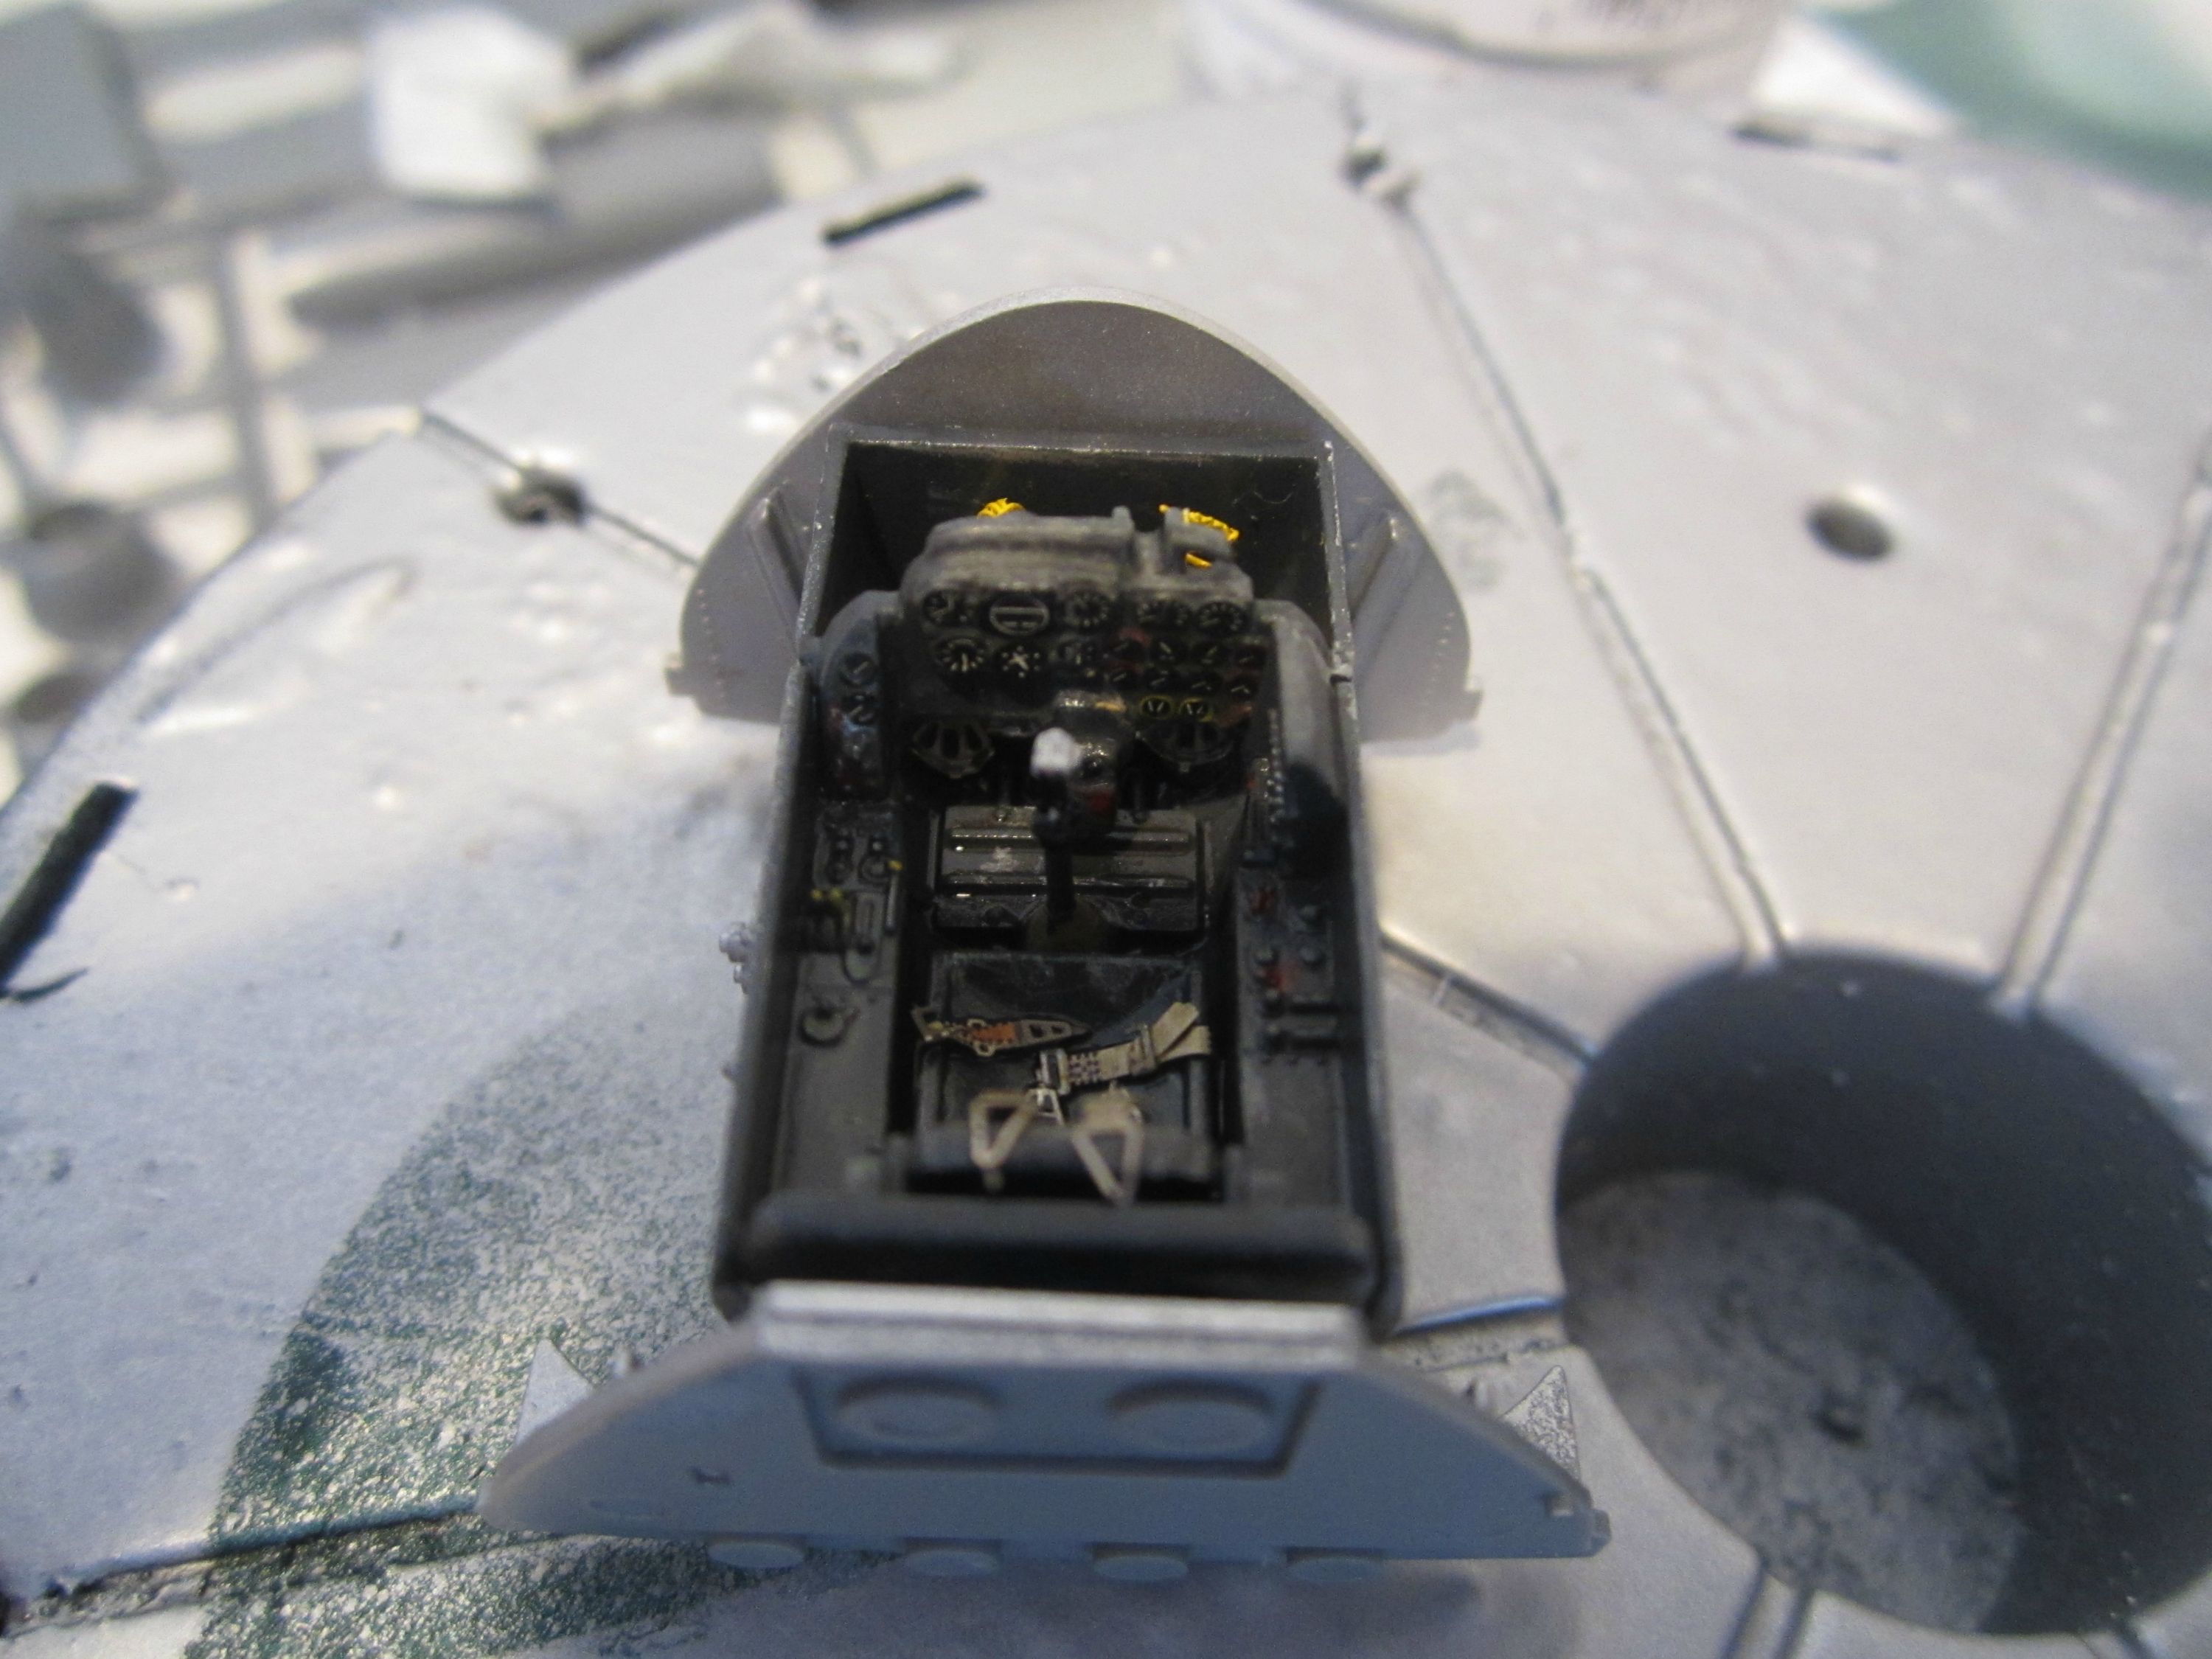
This is my first post on this forum so I figured why not start with a build log. My schedule has been absolutely insane with getting married and doing a 1:1 scale complete restoration of our house, but I have finally found some time to dedicate to getting this project going again after it has been sitting on my bench for over a year. This is my second aircraft I am building (second model since coming back from the hobby after a 5 year layoff really) and I can't wait to see how this comes together. I appreciate all of the feedback I can get. Right now I have the cockpit mostly complete, it is just in need of an oil wash and a few bits of dry brushing as well as to add some wires behind the IP. The gun bay which I will be posing in the open position has been wired but is still in need of dry brushing and an oil wash as well.

The after market bits that I got a hold of for this build consists of Brassin wheels (first time using resin wheels. The hubs were more of a pain to get off the stubs that I thought), Eduard masks for the canopy, and some bits of the Eduard colored photo etched set that I bough mostly for the seat Harness.

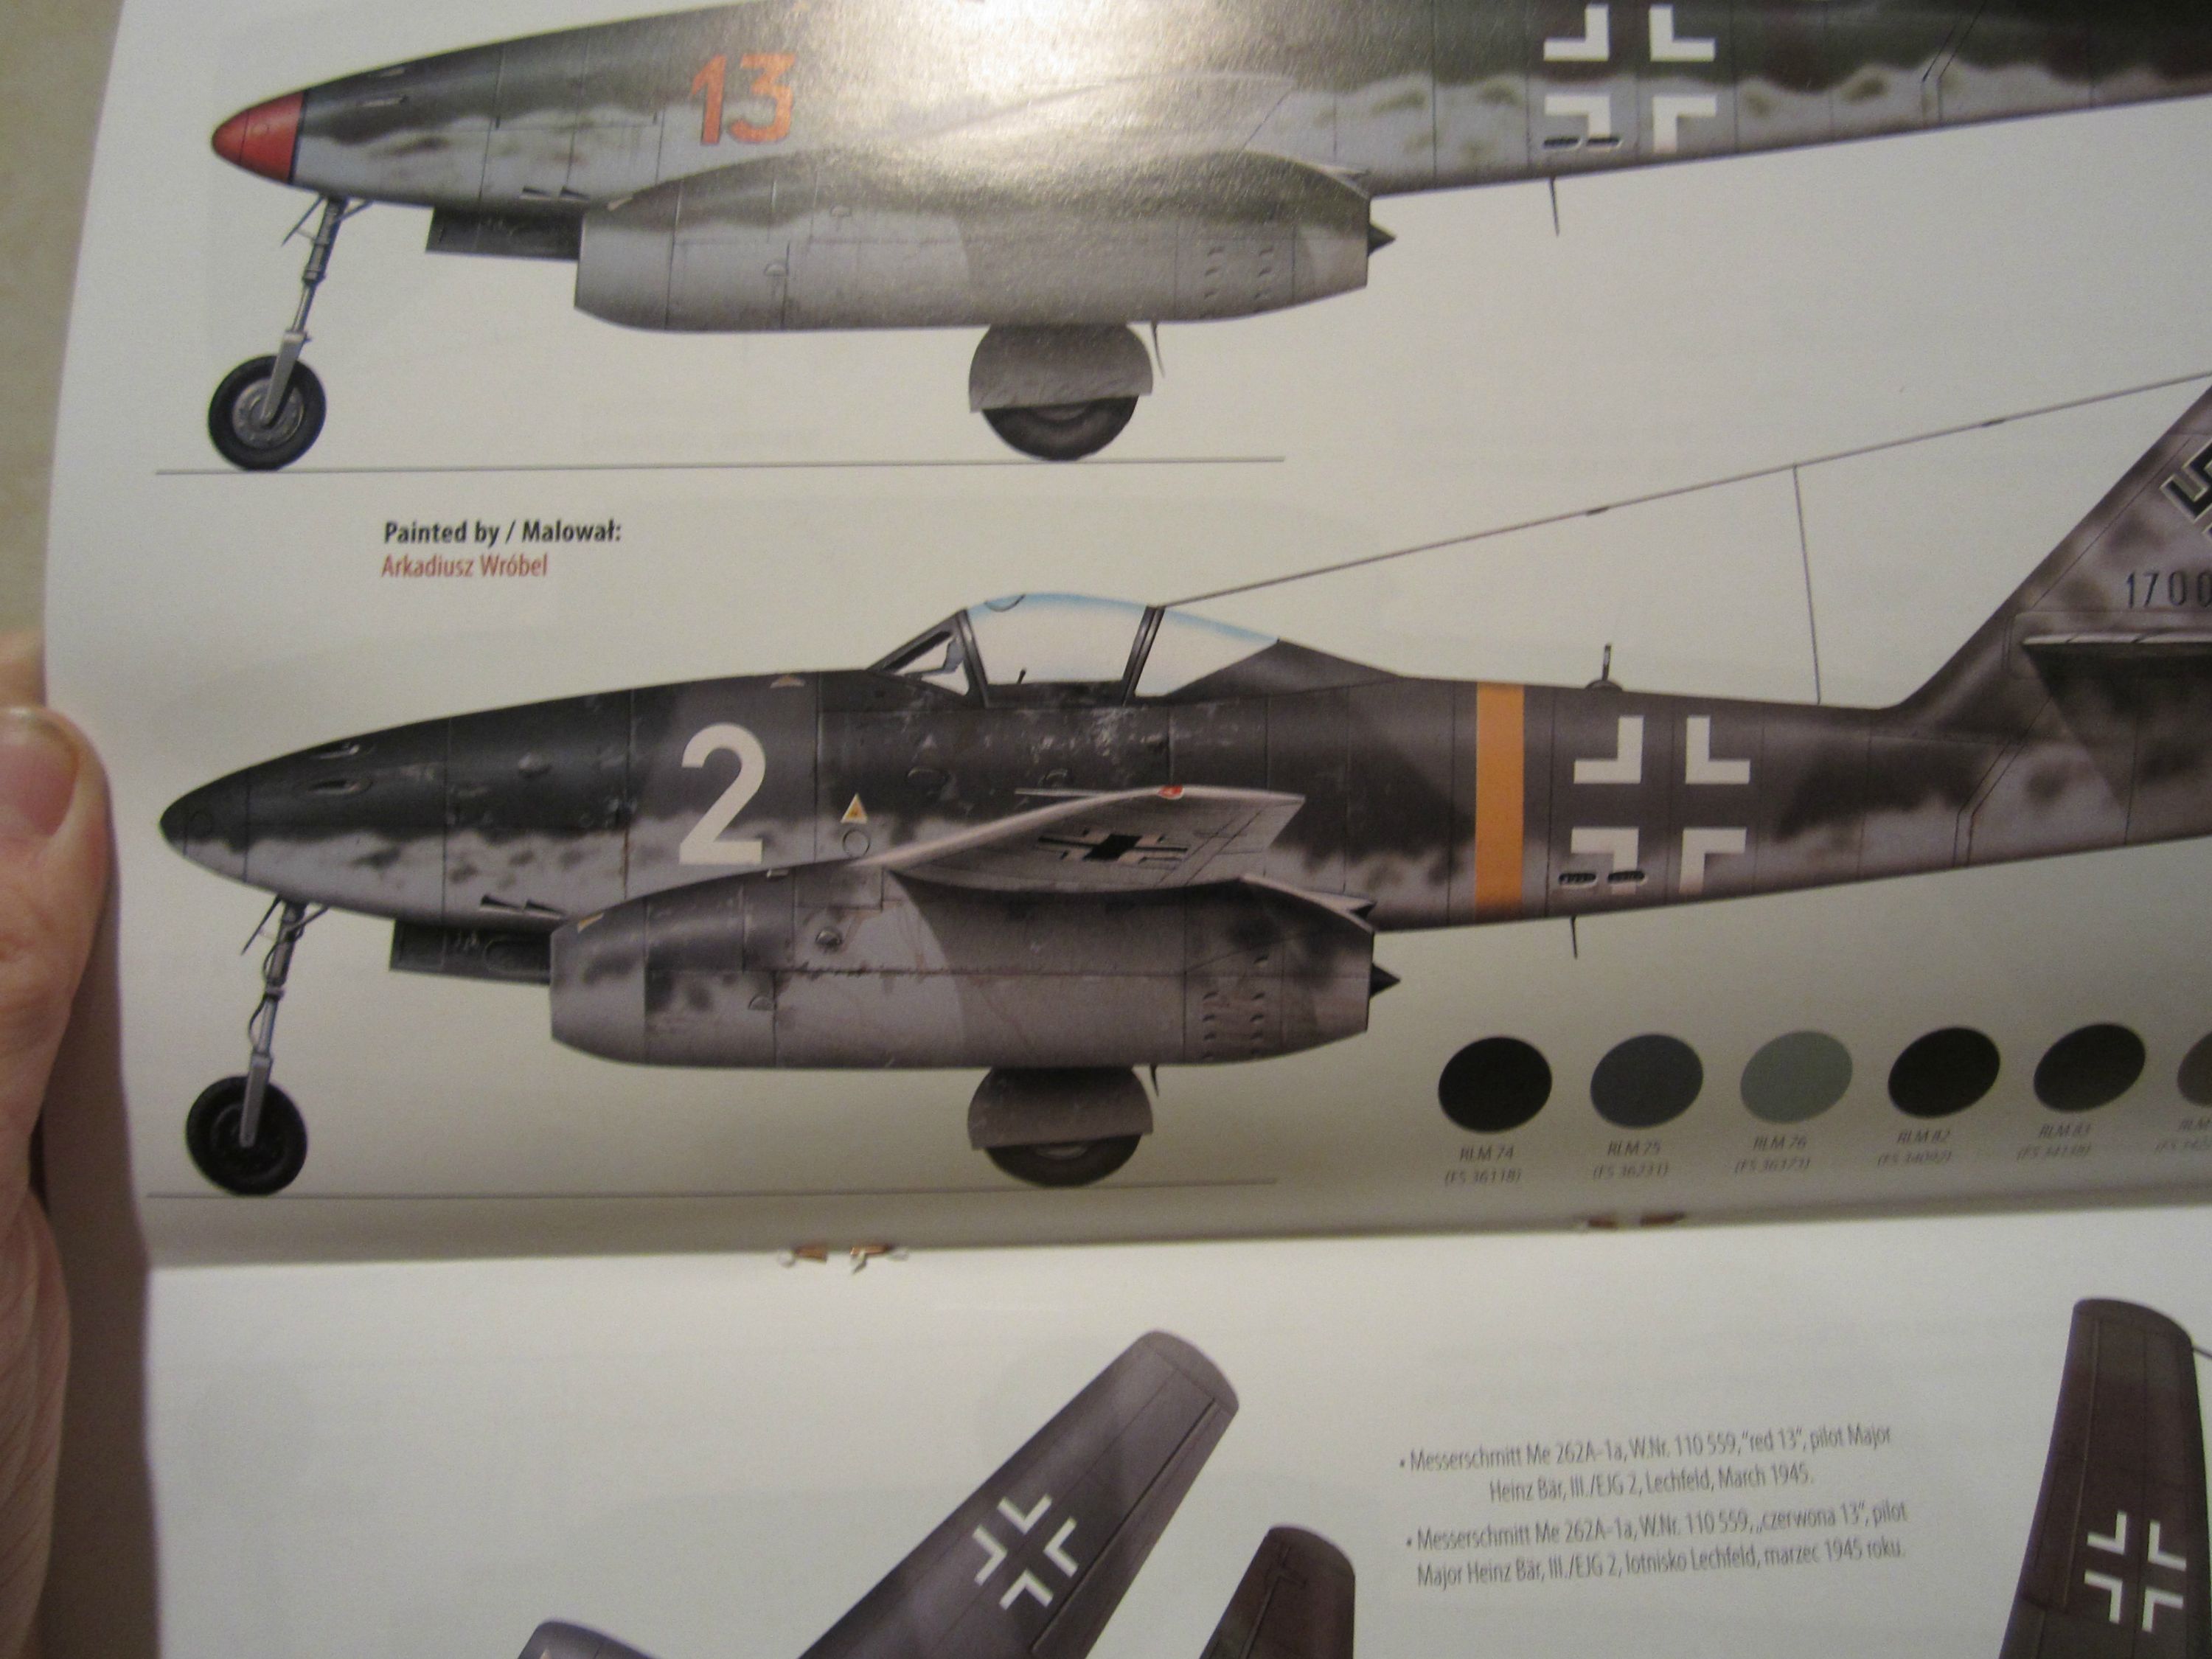
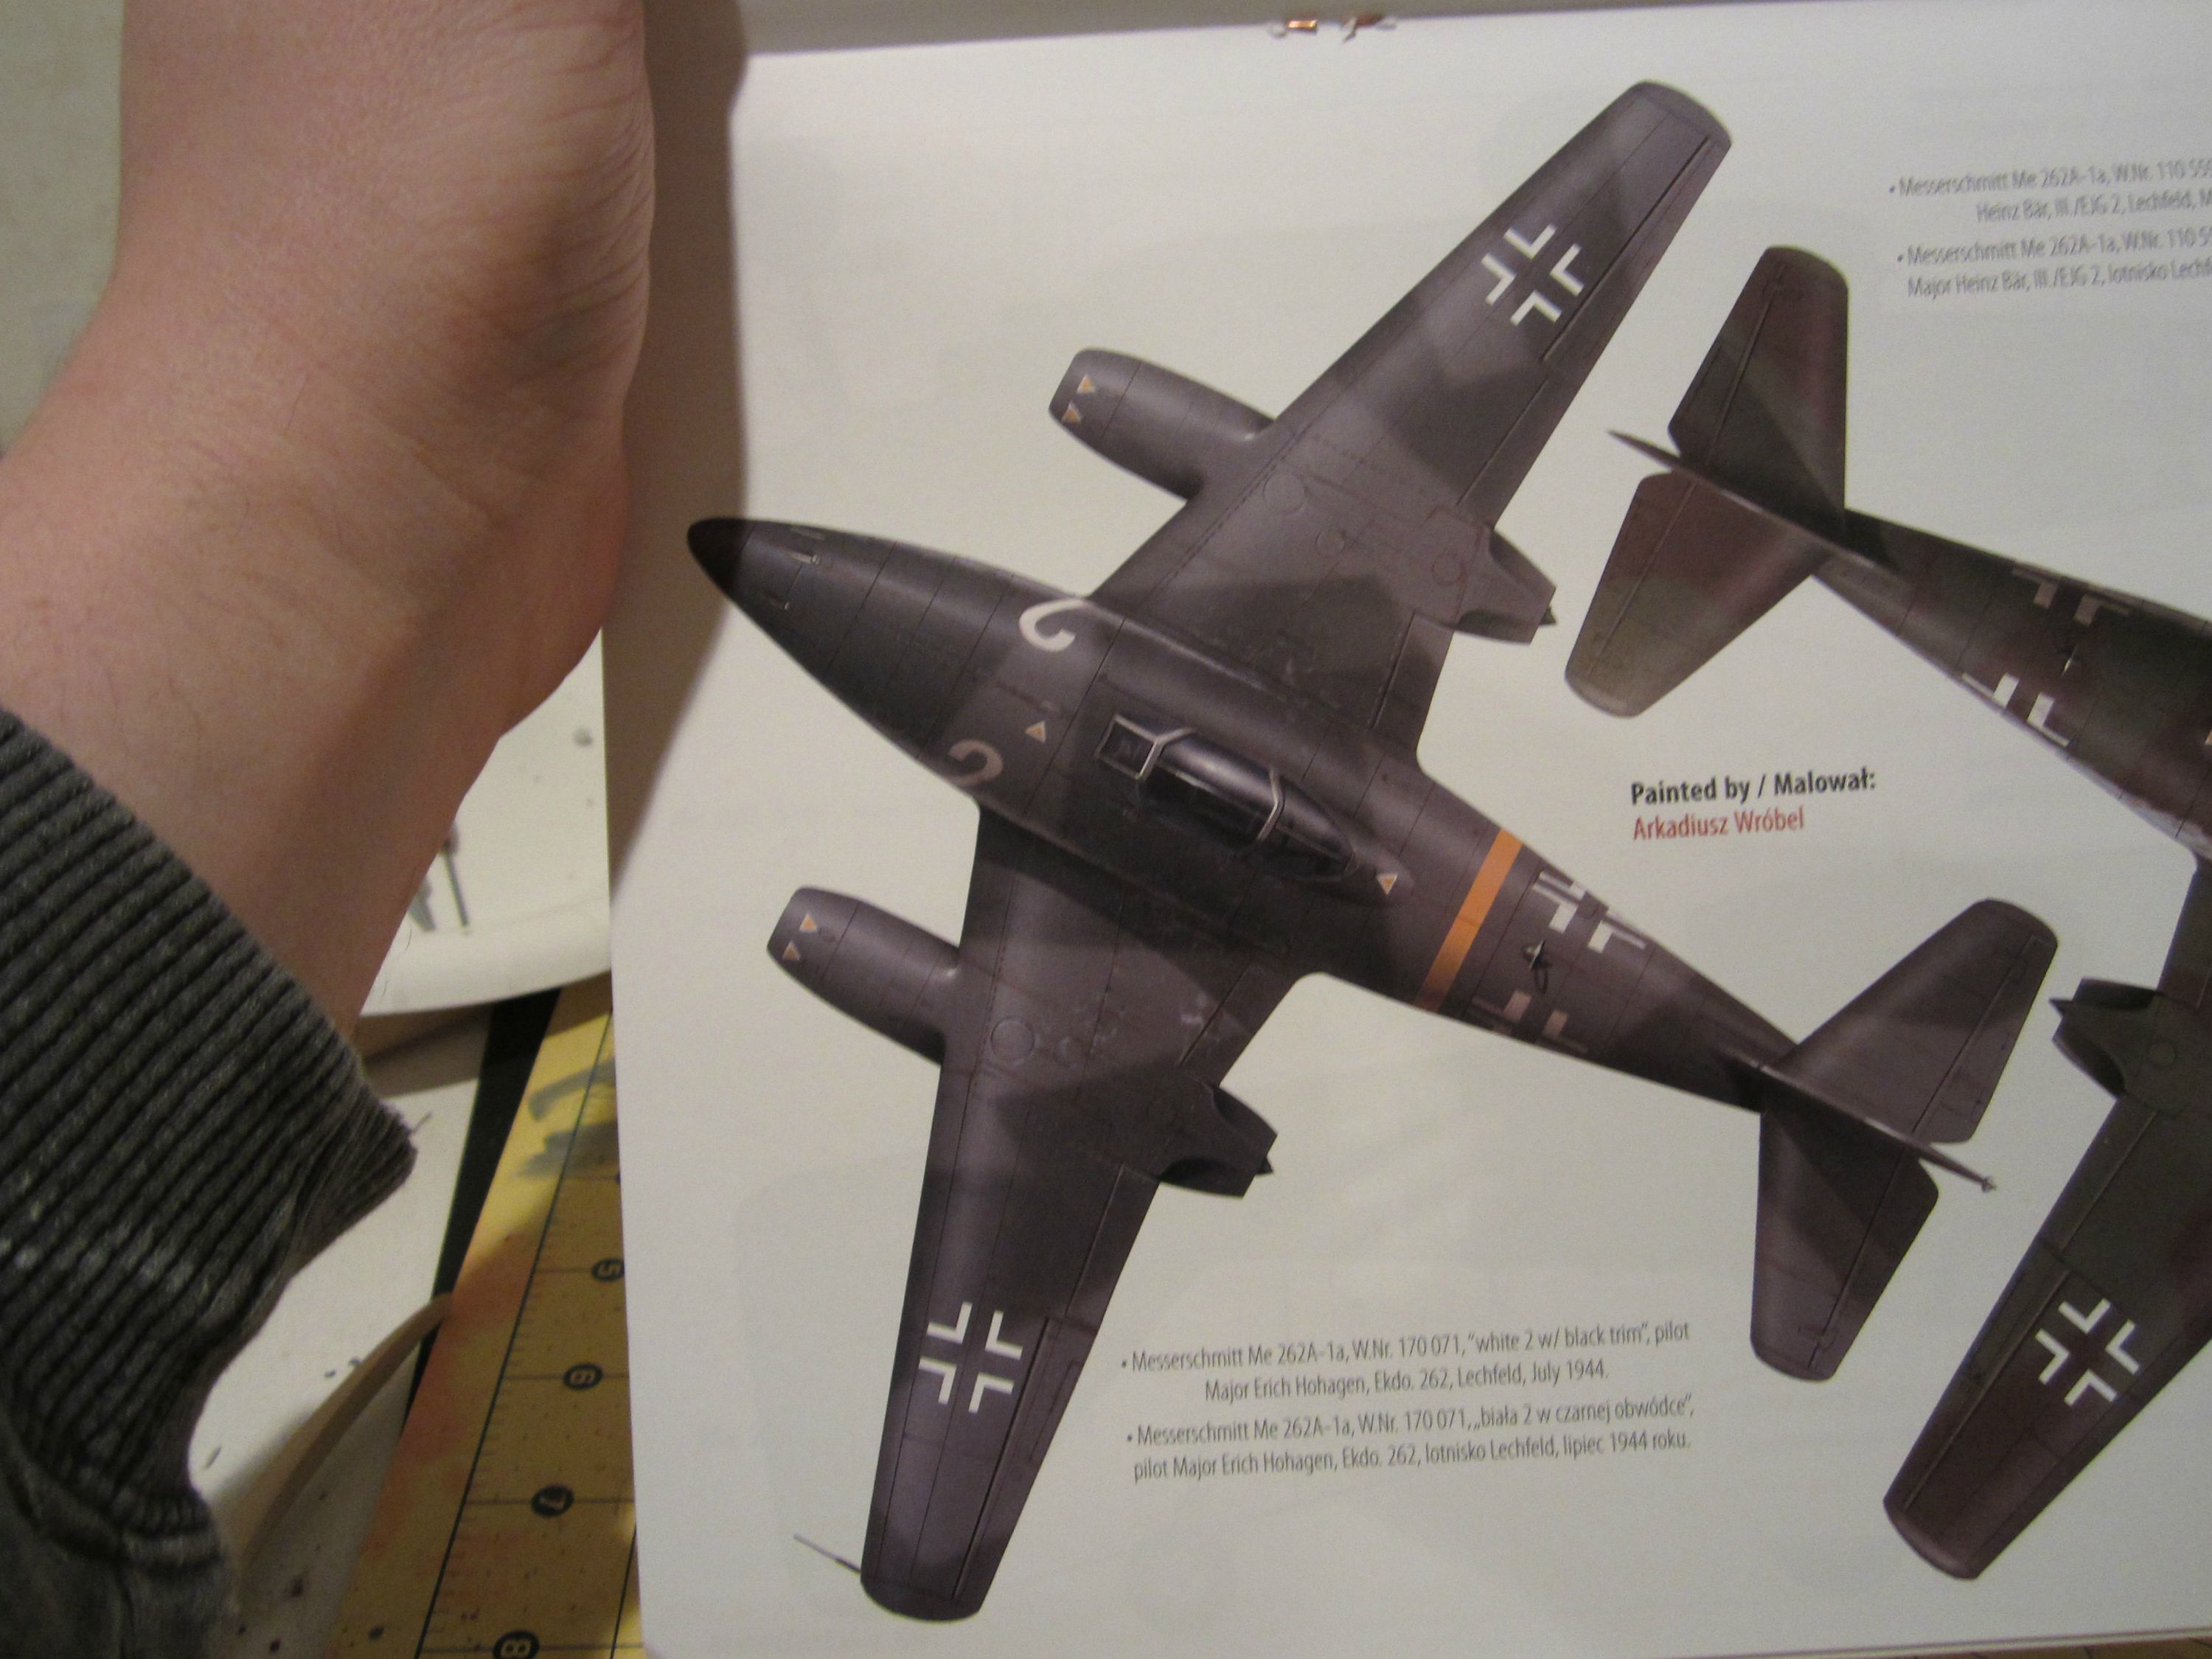
Without further ado here are the pictures:


Jessie_C
_VISITCOMMUNITY
British Columbia, Canada
Joined: September 03, 2009
KitMaker: 6,965 posts
AeroScale: 6,247 posts
Posted: Monday, February 17, 2014 - 05:16 PM UTC
Welcome to Aeroscale! It's great to see you begin with a build log What markings have you chosen?
AussieReg
Staff MemberAssociate Editor
AUTOMODELER
#007
_VISITCOMMUNITY
Victoria, Australia
Joined: June 09, 2009
KitMaker: 8,156 posts
AeroScale: 3,756 posts
Posted: Monday, February 17, 2014 - 06:01 PM UTC
Great work so far, the detailing is super !

If you get the bug and want to build another 262, we have a dedicated Me262 group build Campaign next year. You can see the discussion thread HERE.

Keep up the great work, and keep those updates coming !

Cheers, D
Joel_W
Staff MemberAssociate Editor
AUTOMODELER
_VISITCOMMUNITY
New York, United States
Joined: December 04, 2010
KitMaker: 11,666 posts
AeroScale: 7,410 posts
Posted: Tuesday, February 18, 2014 - 02:19 AM UTC
ByrneOut,
1st & foremost, welcome to our modeling community; Aeroscale. You're going to really like it here. Not to big to get lost in, and not to small to get bored in.

Nice start with your Me262a. Your Pit and gun bay are nicely detailed. Both should look even better with a oil wash.

I've subscribed to your build blog, and will be following along. Looking forward to your next update.

Oh yeah, congratulations on getting married and your other hobby: the house. I've been at both for more then 32 years. Somehow the house just never gets done as something or other needs fixing or replacing, and then there is the constant tender loving care of maintenance.

Joel
byrne0ut
_VISITCOMMUNITY
Alabama, United States
Joined: February 09, 2007
KitMaker: 3 posts
AeroScale: 3 posts
Posted: Wednesday, February 19, 2014 - 02:49 AM UTC
Thank you guys for all of your kind words and encouragement.
Jessica,
The marking I have chosen came from a top drawing book from Kagero. I am going to be doing the White 2


The book also supplied a set of masks for the insignia on the wings and the fuselage.

Damian,
Depending on how this builds out I may be interested in doing another 262, It is my second favorite wwII plane behind the P-51 mustang.

Joel,
Thank you for your kind words and congratulations on making it over 30 years, I will probably need some pointers from you in the future.

Joel_W
Staff MemberAssociate Editor
AUTOMODELER
_VISITCOMMUNITY
New York, United States
Joined: December 04, 2010
KitMaker: 11,666 posts
AeroScale: 7,410 posts
Posted: Wednesday, February 19, 2014 - 05:15 AM UTC
John, I've been married so long, I don't remember what single is.
Joel
byrne0ut
_VISITCOMMUNITY
Alabama, United States
Joined: February 09, 2007
KitMaker: 3 posts
AeroScale: 3 posts
Posted: Wednesday, February 19, 2014 - 06:49 AM UTC
Hi guys,
I was able to get a little bit done the last couple days, and when I say a little bit I mean a little bit.


I remembered I never glued in the IP because the fit was so perfect it wasn't necessary, and looking at the Eduard colored photo etch i decided I wanted to put the rudder pedals in. So that is what I did:


They are going to be buried but the fact I know they were there makes it worth doing.

While the IP was out I decided it would be best to attach some wiring that will be visible and also because I am trying to be thorough.


The wire i used was actually left over wire from a ceiling fan I installed last week. When the rubber insulation is taken away there is some really fine wire in the guts that is going to be perfect for when I go overkill and add wiring to 1/48 projects. The locations of where the wires come out are not correct, but the amount of wires according to my research are. I found a diagram somewhere (linked on another forum, can't find it now) showed 8 wires coming from the rear of the panel and then bundled in groups of four and routed to either side of the cockpit. After the wire was trimmed to length and reinserted into the cockpit I did my best to recreate this to the best of my ability.


Probably not perfect but it is good enough for my purposes.

I also finally had a chance to do some dry brushing and add some photoetch bits to the gun bay and I also hit it with an ivory black filter wash. I am pretty satisfied with the look of the gun bay at this point.


I also hit the cockpit with a raw umber oil wash:


The last thing I have been able to do was the engine nacelles with Tamiya titanium gold and a raw umber oil wash. I originally went with ivory black but it didn't look as good. Im happy with the decision to go with raw umber.


Well thats all for now thank you guys for looking. Again any feedback is appreciated.
FredrikA
_VISITCOMMUNITY
Uppsala, Sweden
Joined: January 09, 2008
KitMaker: 92 posts
AeroScale: 90 posts
Posted: Thursday, February 20, 2014 - 06:57 PM UTC
Great work, John!

Nice looking details, I have to say. Isn't it fascinating how one tends to look at everyday items with a modellers eye!? In your case the ceiling fan wiring, in my case aluminium baking trays...

Good to see you on the forum
/Fred
Snorri23
_VISITCOMMUNITY
Ontario, Canada
Joined: March 25, 2010
KitMaker: 514 posts
AeroScale: 244 posts
Posted: Friday, February 21, 2014 - 03:27 AM UTC
Good work on your swallow. I have a fairly large selection of 262s since it is also one of my favourite planes. I did learn that DML and Tamyia are of different sizes. Thus some resin updates are sized for Tamyia's which will fit DML's just a tad small for the ac. DML's is older and a tad more finicky yet cheaper. That is why I mainly build theirs. Keep up the good work.
 _GOTOTOP